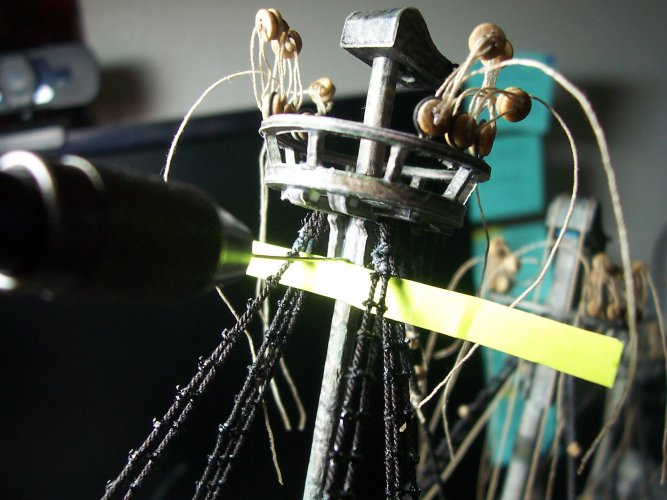
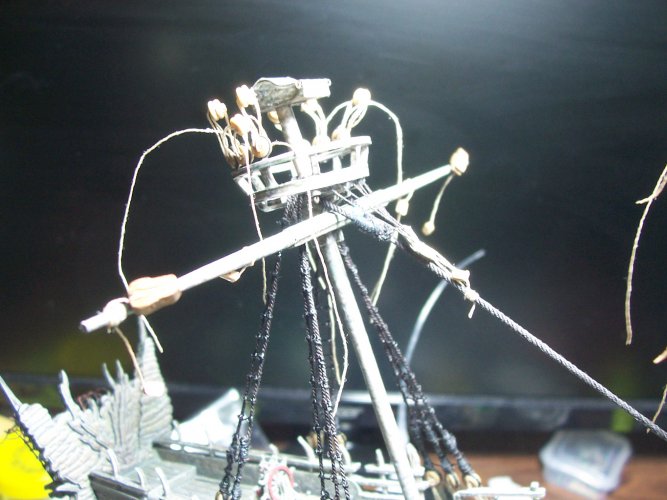
"Flying Dutchman" - Ghost Ship - OREL Russian Paper Model Build

mtrappett

Well-Known Member
Where is the end of all this roping.
I know :sadno: I can see the light at the end of the tunnel, I think? I did choose to add all the rigging though I guess? Its just like my wife said to me a while ago, that I'm insane in the membrane :violin:. Truthfully, whoever builds the model can stop at any point and call it quits. Some people may prefer the ship without any rigging. That is how the model is displayed on their Web site after all. I myself though, want the full presentation of the model. I might be adding lights to the model too at the end of it all? I am crazy on Disney stuff :toast:

:)
 

mtrappett

Well-Known Member
Fabulous work on what looks a very interesting kit, love the mixed use of materials to build this up...fine work Sire
Do they do anything else and is there a website?
I'm very pleased you like the ship sir :CHEERS:

Yes they do have a Web site but they are in the Ukraine where they make the kits. I wanted to get the Black Pearl but they have shut down their operations unfortunately as the city, Kyiv is occupied now by the Russians :realmad: What a total bummer!!! They make a ton of awesome kits normally! Like tanks, ships, cars, jet fighters, WW1, WWII stuff, and much more. I imported this one of the Flying Dutchman over a year ago.
 

mtrappett

Well-Known Member

Belaying Pins Installation - Continued​


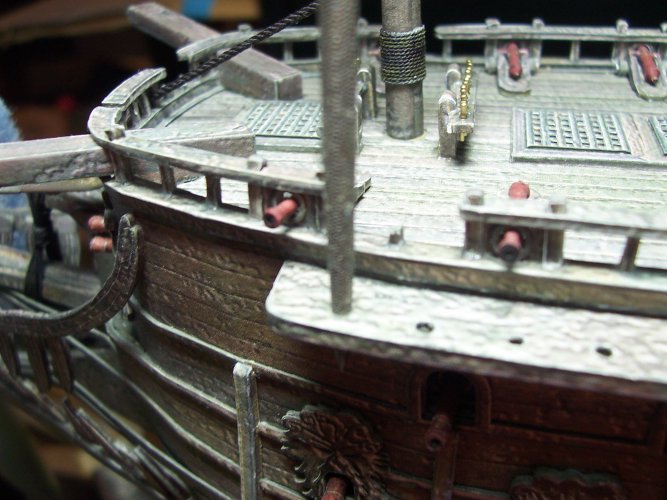
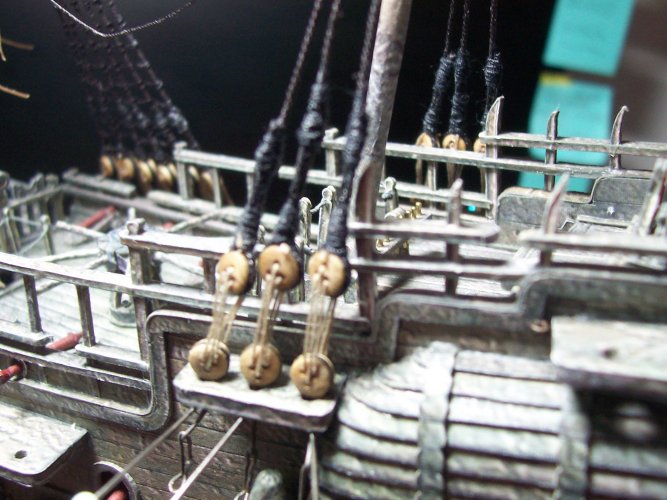
This is the pin rail at the foremast location. Those large "posts" are where the ropes go for the raising and lowering of the lower foreyard.

031.JPG

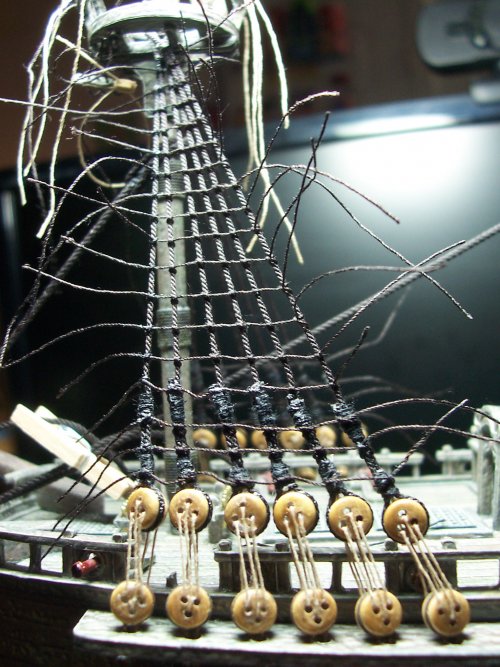
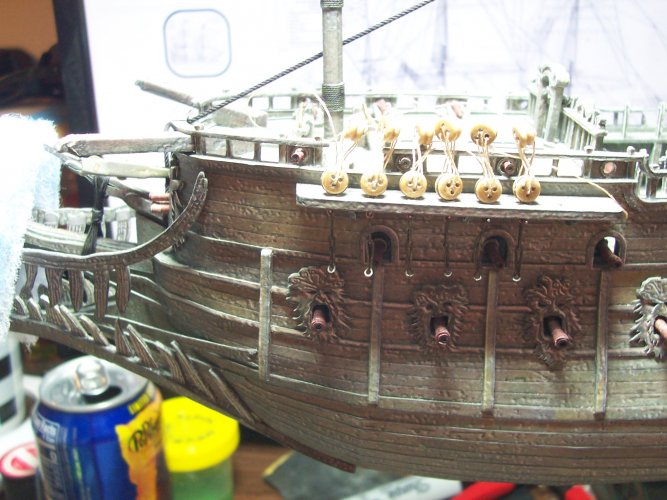
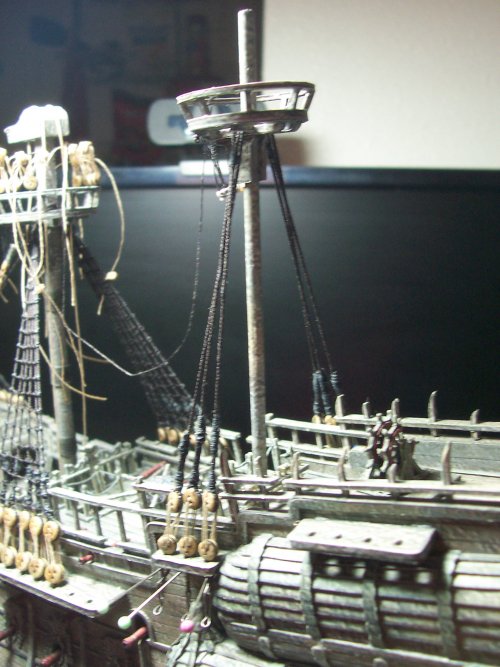
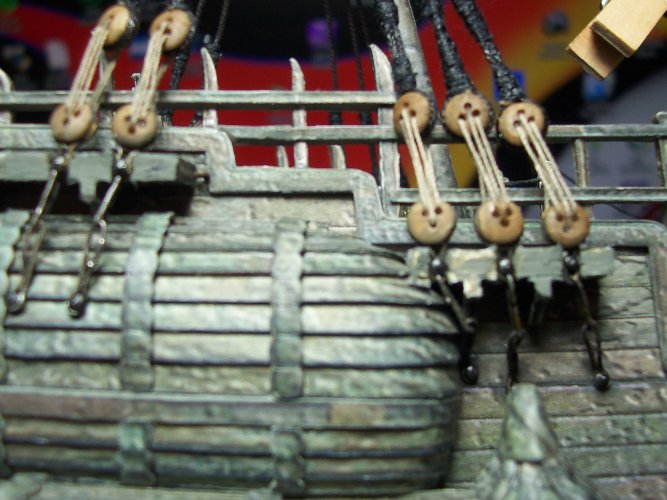
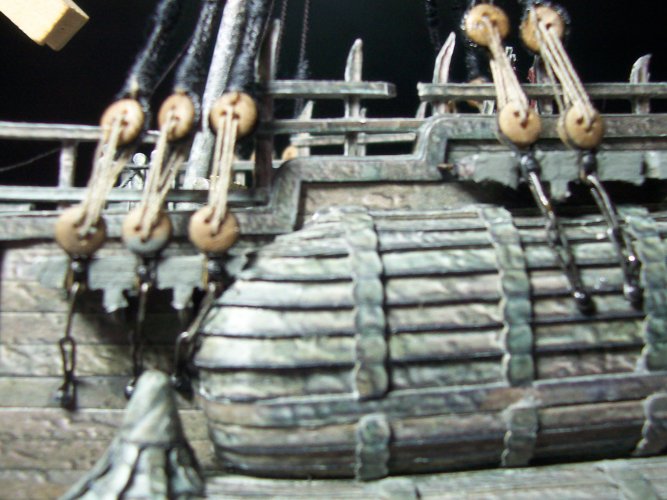
Here we have the lanyards for the lower foremast installed. The strops for the lower dead eyes are long enough to reach out from the bottom of the channels, which is handy! The chain plates are just loosely hanging at the moment.

032.JPG

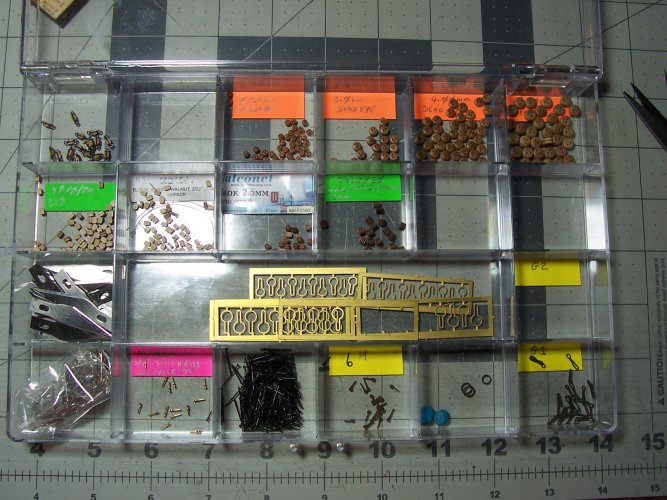
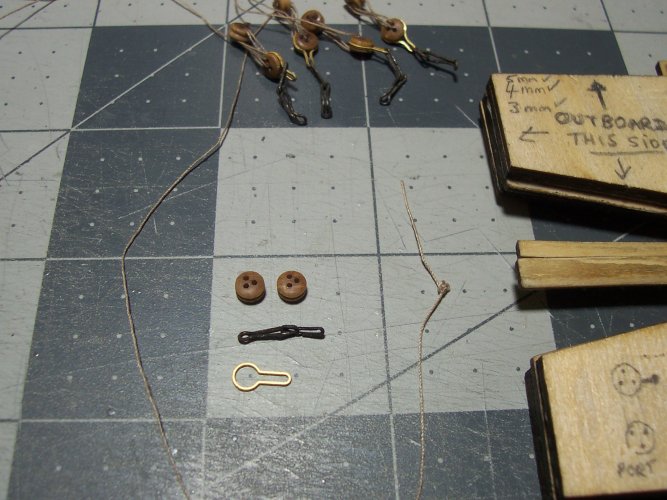
If you do decide to rig the Flying Dutchman, you will need a *load of fittings. You will also need to organize them all too.

033.JPG

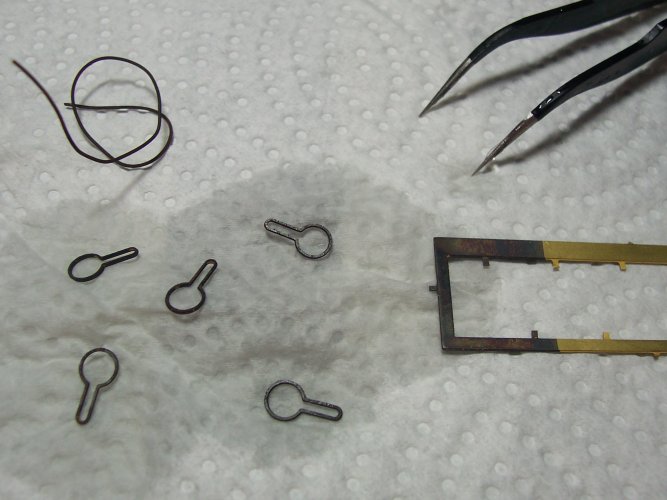
You can see here the brass sprue that I experimented on dipping into the black acid. Hey, that would be an awesome name for a rock group! "Black Acid :skull".

034.JPG

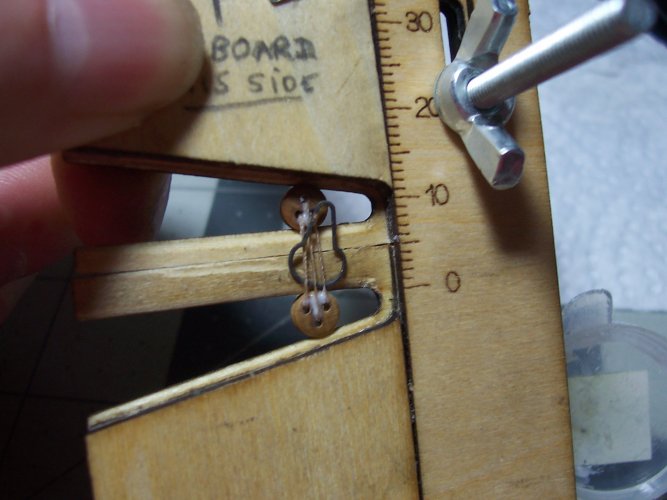
This is how you use those brass etched strops. They need to be integrated with the lanyards when putting them together using the jig. I have some white glue here to keep them together.

035.JPG

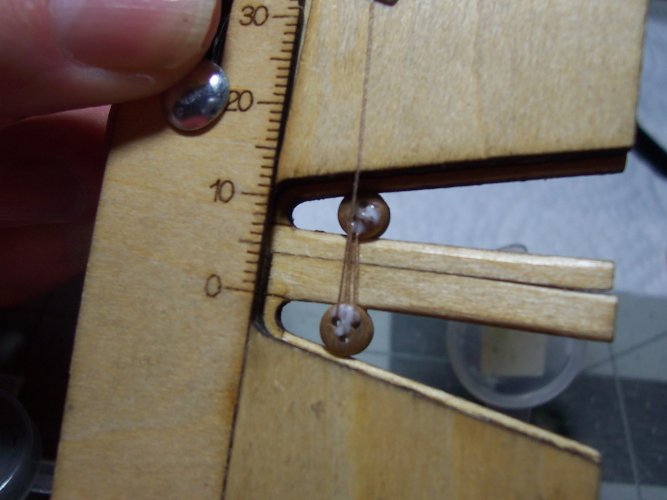
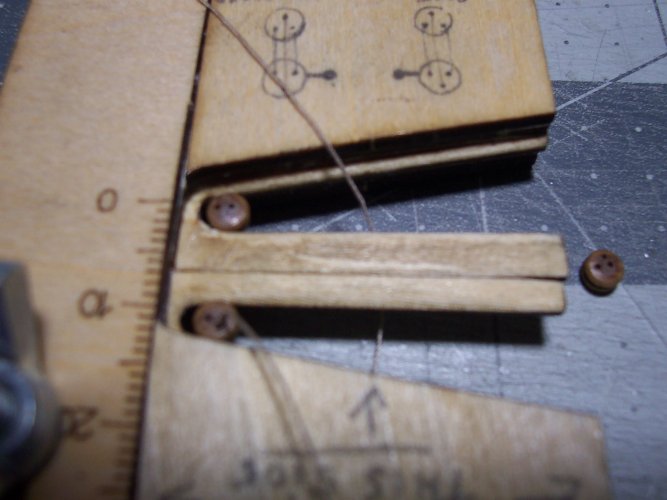
This is the reverse side of the jig and lanyard. You leave the rope long to enable it to be used for seizing if required. If not, it can be threaded through the shroud and dead eye, and cut off.

036.JPG

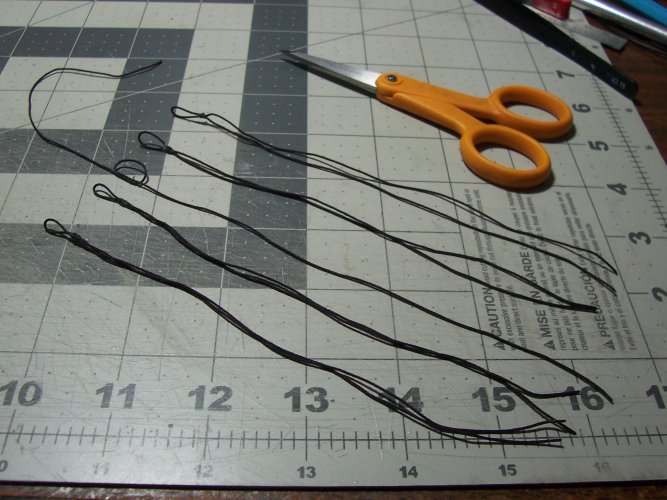
I made some boards to wrap the line around to keep it from get all tangled up :laughrolling:

037.JPG

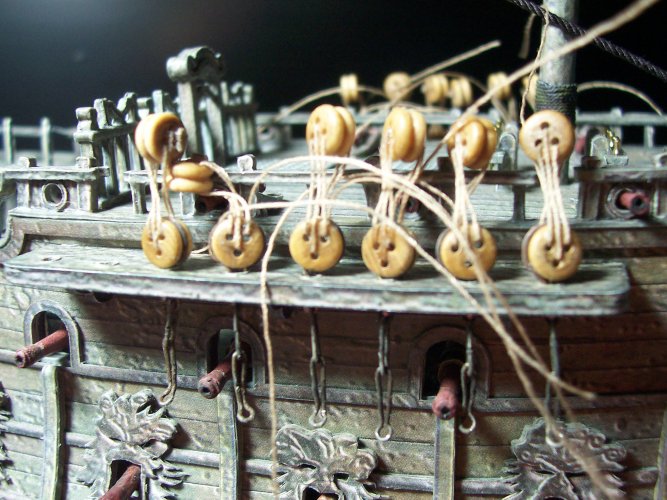
This is the view from the starboard side of the ship at the front foremast lanyards in place for the shrouds only.

038.JPG

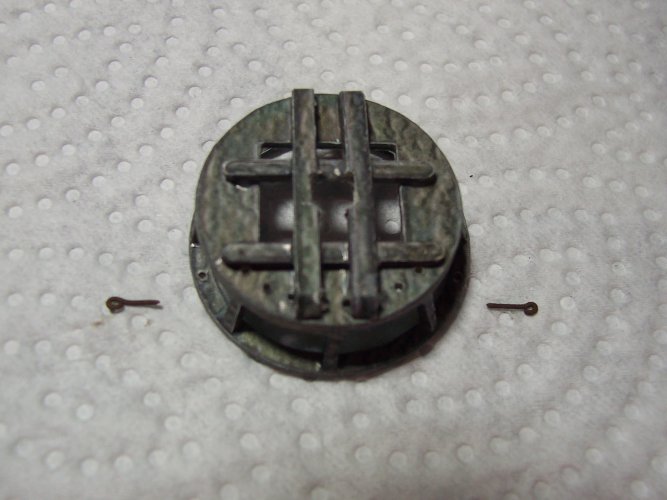
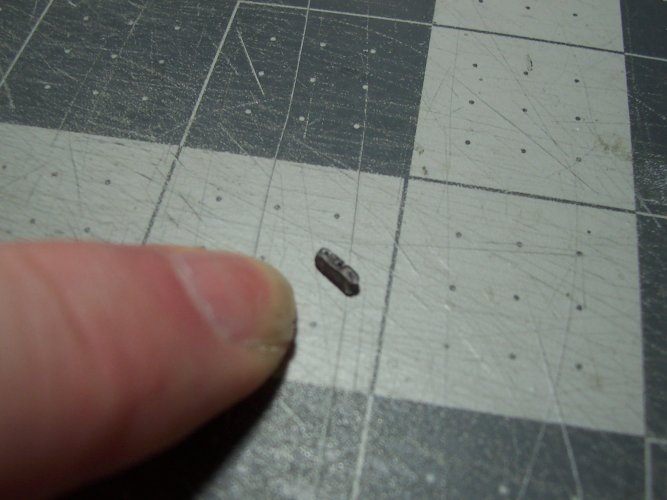
The 2 eyelets that will be inserted into the bottom of the foremast crow's nest.

039.JPG

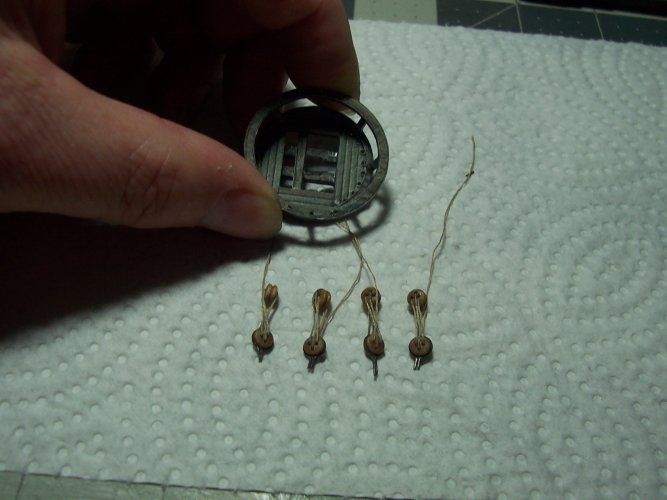
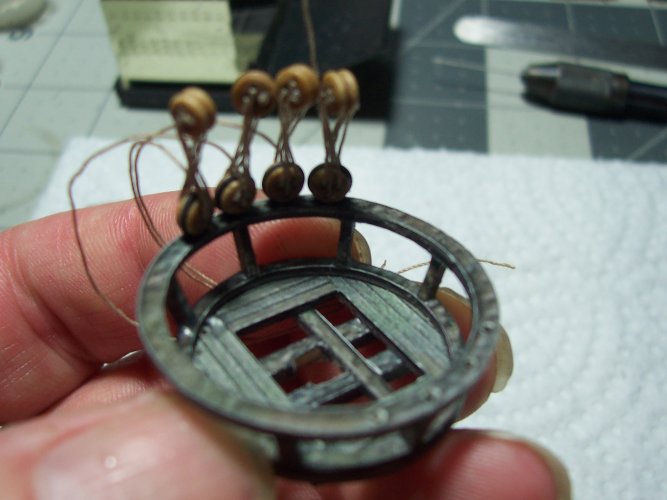
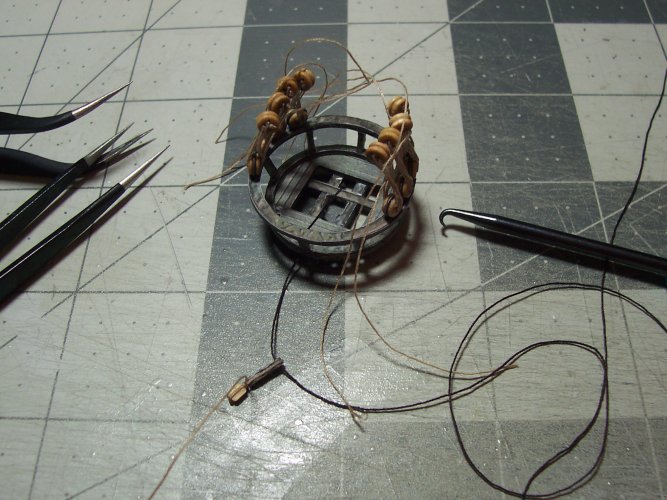
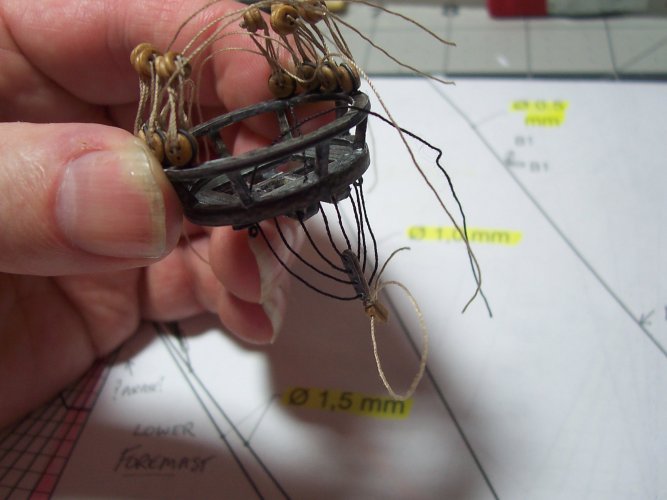
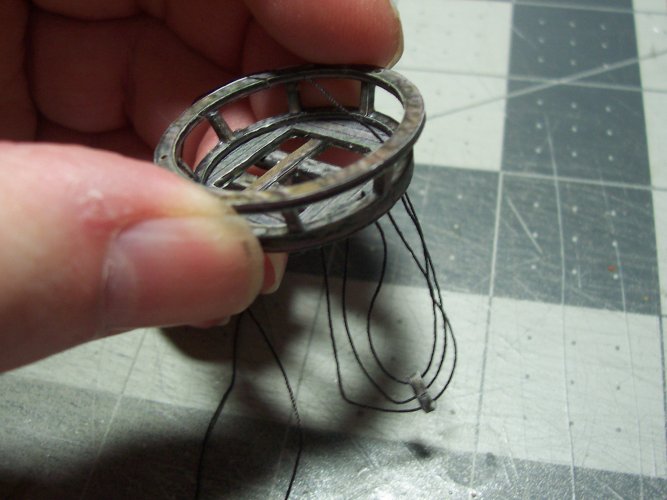
These are the lanyards made for the rim of the foremast crows nest.

040.JPG

Foremast crow's nest assembled off the ship for ease.

041.JPG

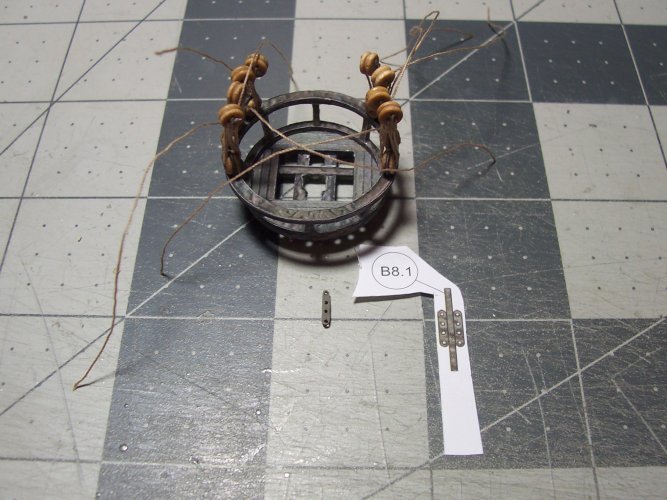
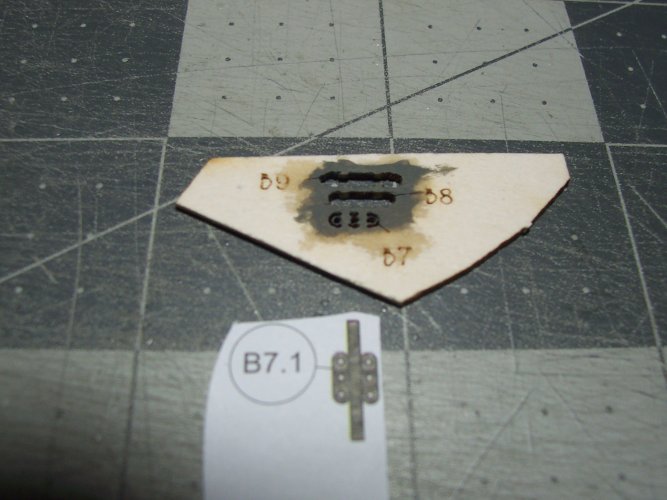
The foremast euphroe B8 and B8.1

042.JPG

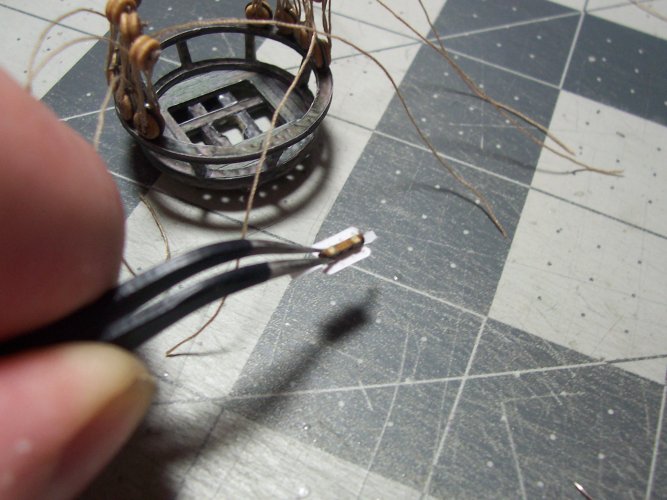
Yes, I know, its tedious, but I am Mr. tedious :blueface:

043.JPG

Just don't sneeze!

044.JPG

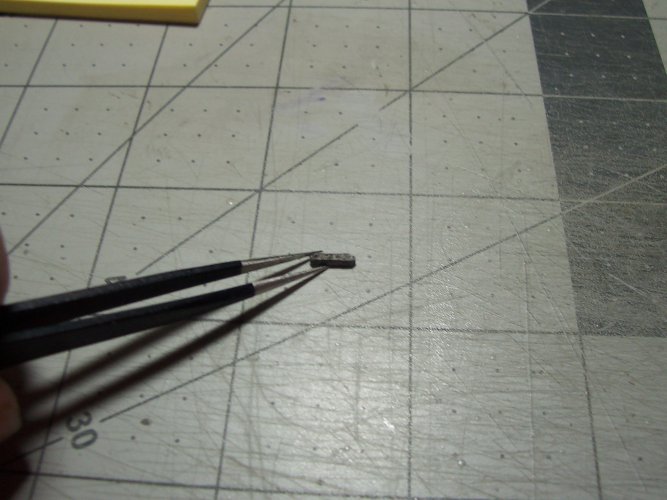
You have to hit it with all the tools you have in your collection.

Add a couple of blocks to the euphroe to tension it (refer back to the image I included previously for more detail of the euphroe in general).

045.JPG


046.JPG

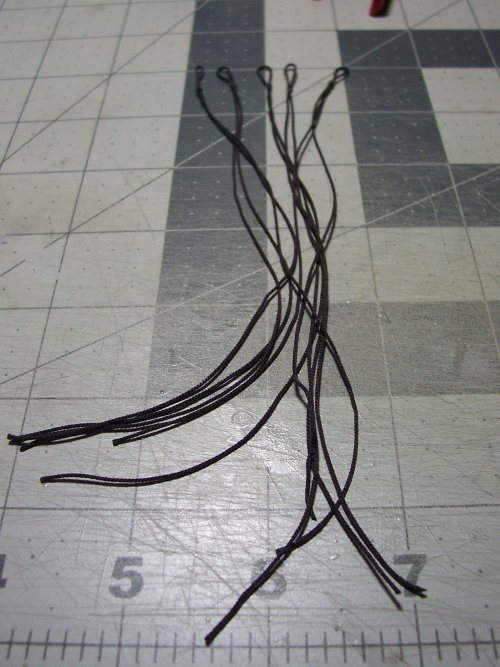
These are all the lower foremast shrouds. These are made of 1.5mm standing rigging rope.

047.JPG
 

zathros

*****SENIOR ADMINISTRATOR*****
Staff member
Administrator
Moderator
They may want to use a picture, or a few of them, for their website, to show what can be done. This is one fine ship. Don't let it be your last ship though, there are lots of smaller sailboats, like sharpies, which can be built, won't take as much time at all, but will look beautiful. I even have a tutorial I started in this forum for a Sharpie model I designed. Look up Phil Bolger, and you will find some real beauties. :)

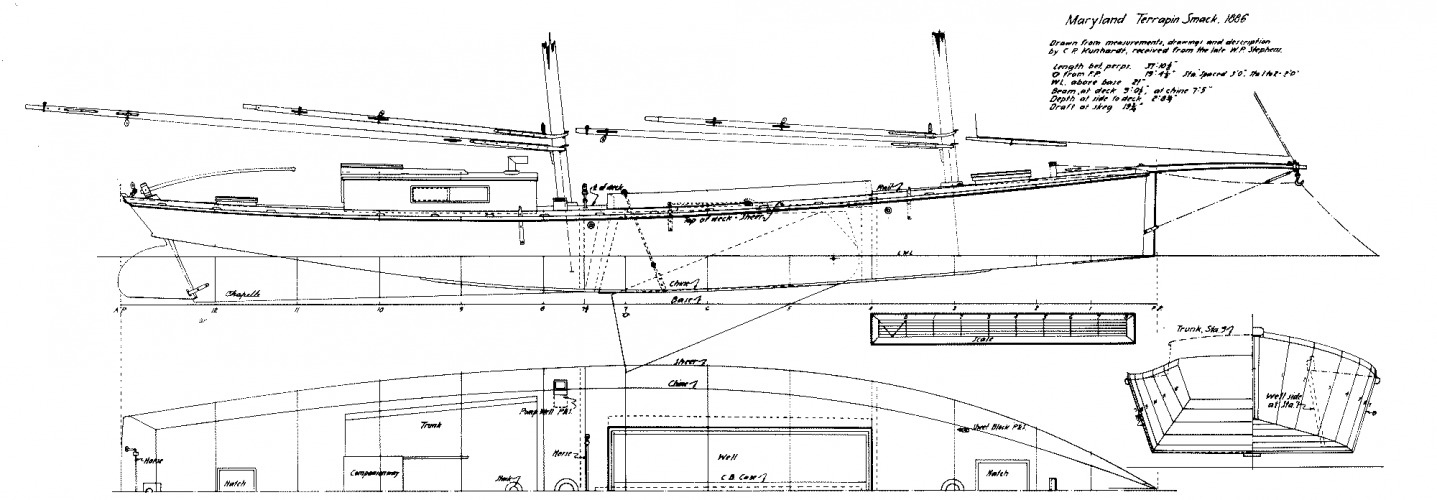
I 3D modeled this Terrapin Smack, I've always wanted to model it. I may have lost the model in my last computer crash. Easy enough to do again with this picture. This type of boat has quite a history. Many boats like this that deserve attention, look great, and would give you the satisfaction but not consume so much time and labor. You could even scale a few to accompany your masterpiece. :)

Check out this link: https://www.gutenberg.org/files/29285/29285-h/29285-h.htm

Terrapin Smack:

Terrapin Smack.png
 

Chuffy70

Well-Known Member
I'm very pleased you like the ship sir :CHEERS:

Yes they do have a Web site but they are in the Ukraine where they make the kits. I wanted to get the Black Pearl but they have shut down their operations unfortunately as the city, Kyiv is occupied now by the Russians :realmad: What a total bummer!!! They make a ton of awesome kits normally! Like tanks, ships, cars, jet fighters, WW1, WWII stuff, and much more. I imported this one of the Flying Dutchman over a year ago.
Lets hope for a resolution to this stupid war and we can get on doing simpler things like modelling, rather than killing each other! :hammerhead:
 

mtrappett

Well-Known Member
Lets hope for a resolution to this stupid war and we can get on doing simpler things like modelling, rather than killing each other! :hammerhead:
YES!!!! I totally agree! I wish I could go over and help all of those good people of the Ukraine. It sickens me to hear the atrocities that have been happening on the news! My mom and dad were in WWII and I swear, I never thought we would be seeing those same things happening all over again in this 'modern' world :sadno:
 

mtrappett

Well-Known Member
They may want to use a picture, or a few of them, for their website, to show what can be done. This is one fine ship. Don't let it be your last ship though, there are lots of smaller sailboats, like sharpies, which can be built, won't take as much time at all, but will look beautiful. I even have a tutorial I started in this forum for a Sharpie model I designed. Look up Phil Bolger, and you will find some real beauties. :)

I 3D modeled this Terrapin Smack, I've always wanted to model it. I may have lost the model in my last computer crash. Easy enough to do again with this picture. This type of boat has quite a history. Many boats like this that deserve attention, look great, and would give you the satisfaction but not consume so much time and labor. You could even scale a few to accompany your masterpiece. :)

Check out this link: https://www.gutenberg.org/files/29285/29285-h/29285-h.htm

Terrapin Smack:

View attachment 203619
I have no problem with them using any pictures or whatever for their ads. I would be honored in fact!

Thank you, I will check that out here Zathros! Also, thank you for your support (and everyone else's) building the ship. It honestly does help to keep me on the rails for sure!

I love 3D printers, but where we are staying right now makes it impossible to use because of the fumes off the PLA, and the noise, as well as the terrible heat of SoCal.

I have some work to do on my old 30 year old vehicle this week too :violin::laughrolling:
 

mtrappett

Well-Known Member

Lower Foremast Continued​


There is an angle to the mainmast, and mizzen on the Flying Dutchman. This is called the 'rake". This is where the masts lean slightly to the stern of the ship.

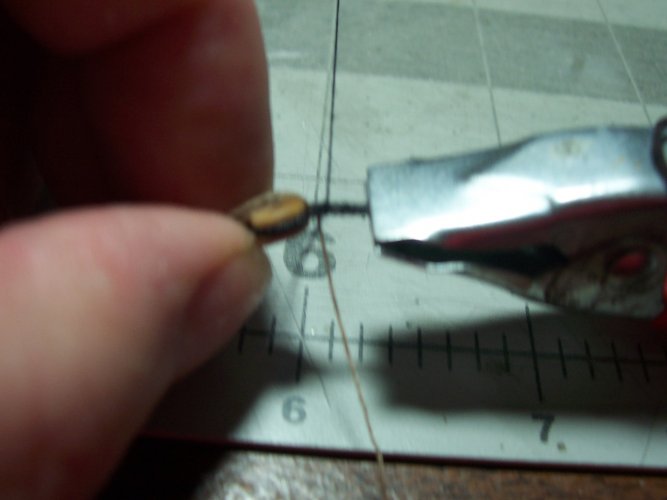
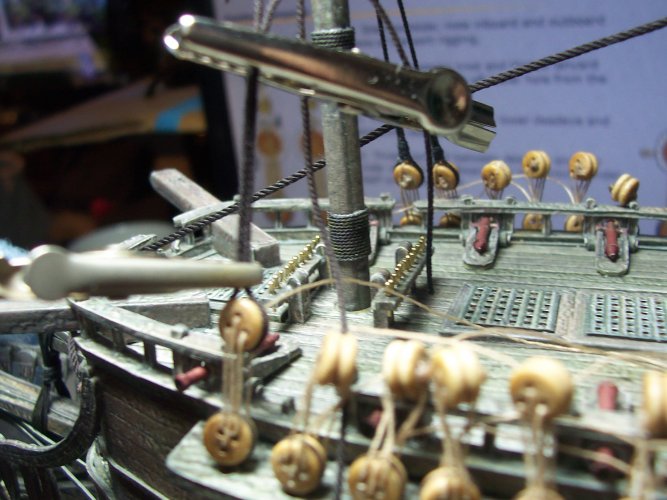
Time for some more dead-eyes and lanyards, this time on the port side of the ship. We started on the starboard side, then over to the port, then repeat until done. The large croc-clip holds the ropes tightly, while the smaller clip nips in where the ropes loop around the dead-eye. Then some CA glue to the rescue. They are 5 mm deadeyes on the lower foremast same as the lower mainmast.
001.JPG

Here we go a seizing.

002.JPG

Trying to figure out the main and fore stays. The padded stuff is around the front of the ship is to protect it.
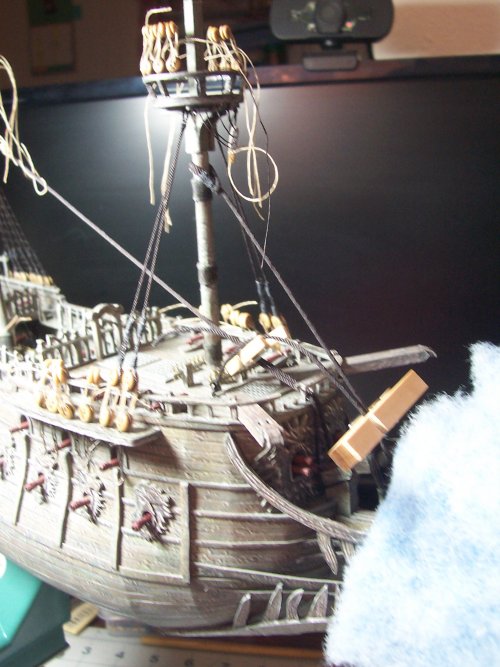
003.JPG

Nice and clear pic of the starboard lower foremast deadeyes.
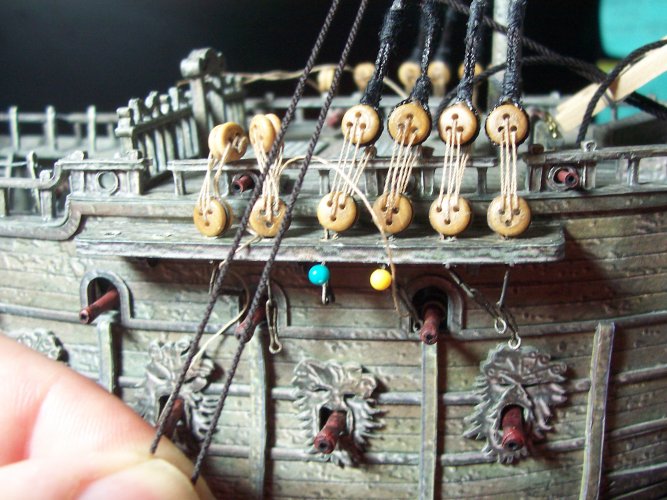
004.JPG

A view of the upper end of the shrouds.
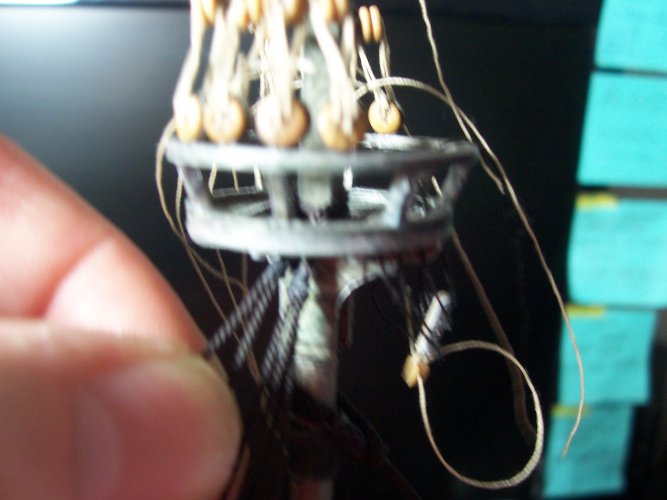
005.JPG

Being able to take off the shrouds off the ship makes it easier to perform the seizings.

006.JPG

WOW! Another clear picture that should help a new builder.
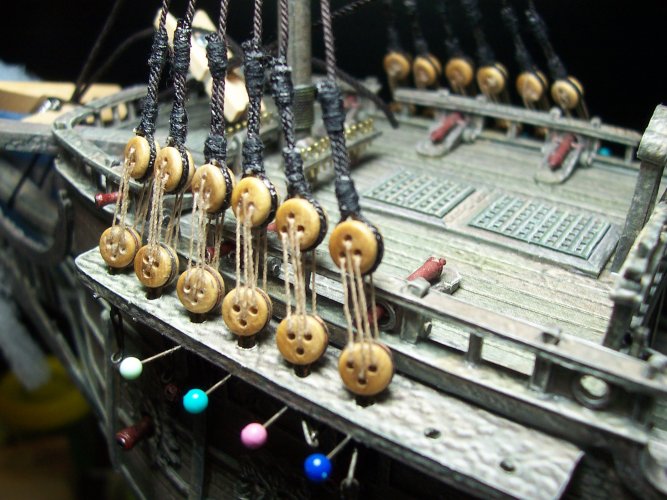
007.JPG

Aha, this is the chain plates for the lanyards. I used some CA glue on the cannon barrels to give them more strength.
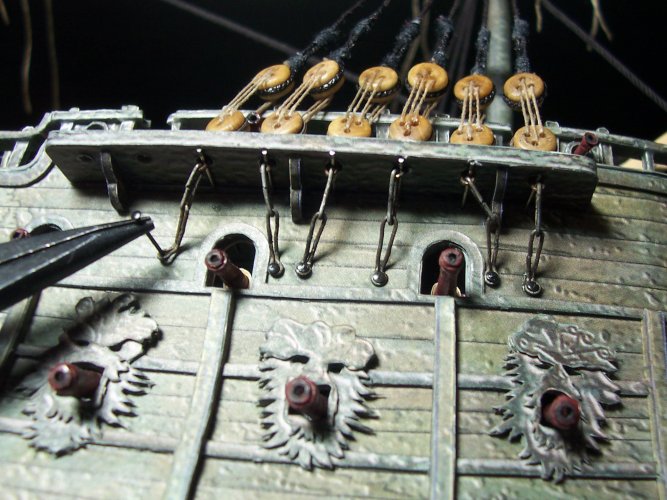
008.JPG

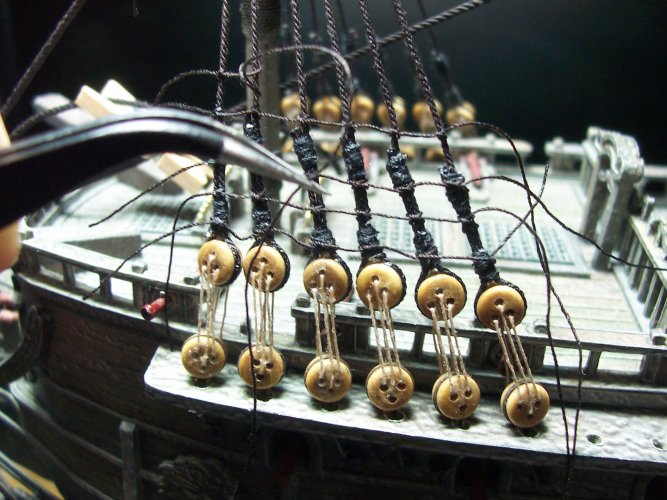
Clove knots! Lots of them.... like hundreds and hundreds of the little buggers :animated: :animated::animated::animated::animated:You will need to get used to tying these using 2 pairs of tweezers surgeon style.
009.JPG

It looks like a rats nest. I was looking at the size needed for the ropes of the ratlines. They say that the ratlines should appear invisible when looking at the ship from a short distance. I used 0.2mm. Hey, get your finger out of there!!!

010.JPG

All of my hard-work :violin::bulgeeye:

011.JPG

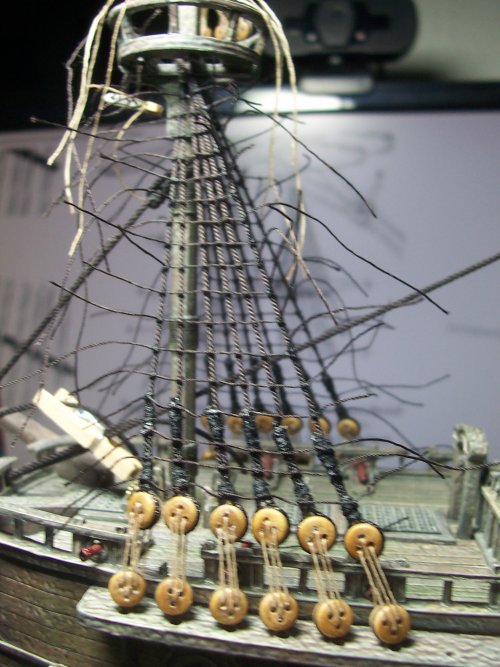
Put a dab of CA glue only on the end knots to help it all stay in place. Its okay if they are a bit slack to get a 'swagger' effect to the ratlines.
012.JPG

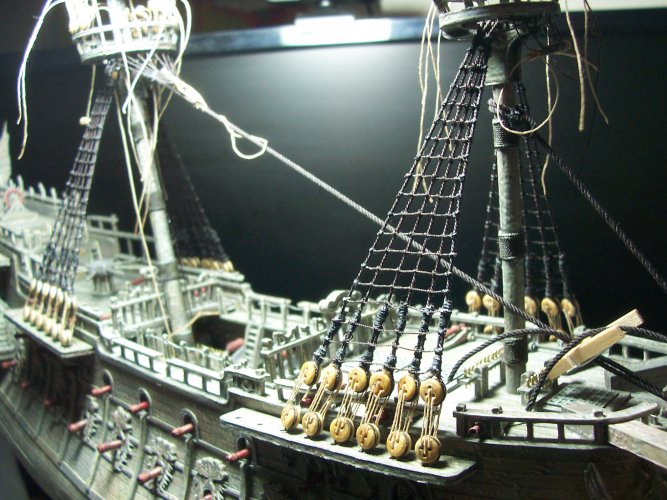
Still figuring out what to do with the mainstay.
013.JPG

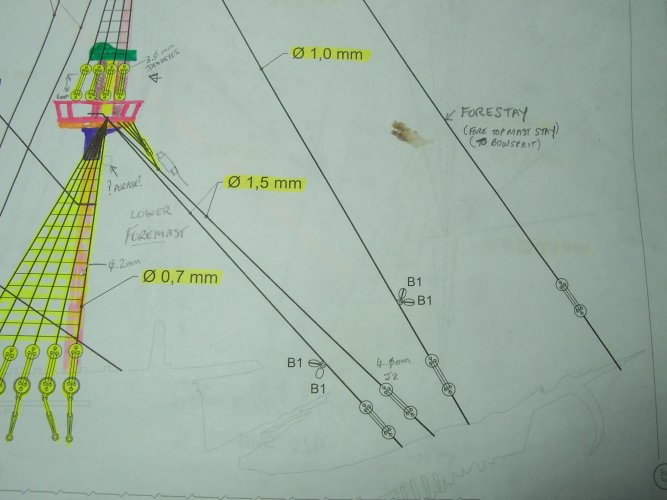
A view of the lower foremast standing rigging.
014.JPG

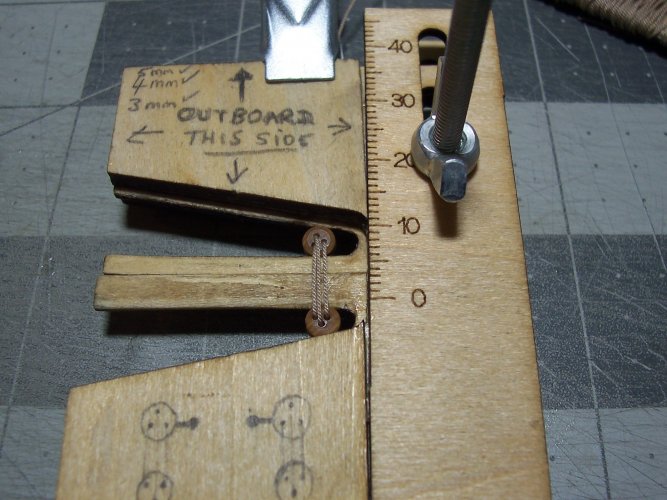
This jig is so useful I find after it has been modded a bit. This would make a great 3D printing project!
015.JPG

Experimenting with the wrong way of doing the bowsprit rigging :hammerhead::)

016.JPG

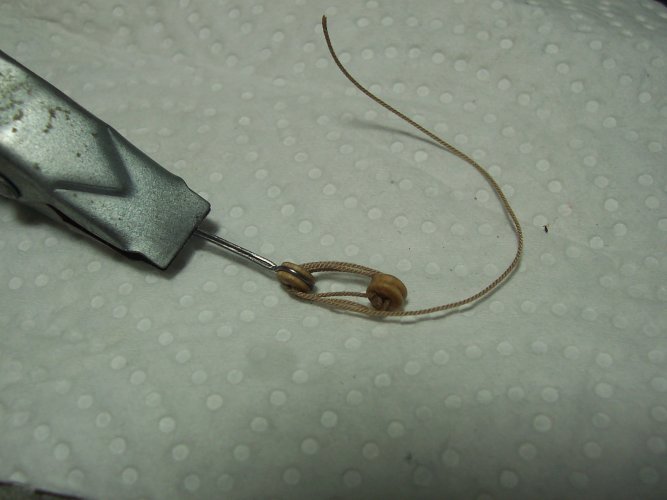
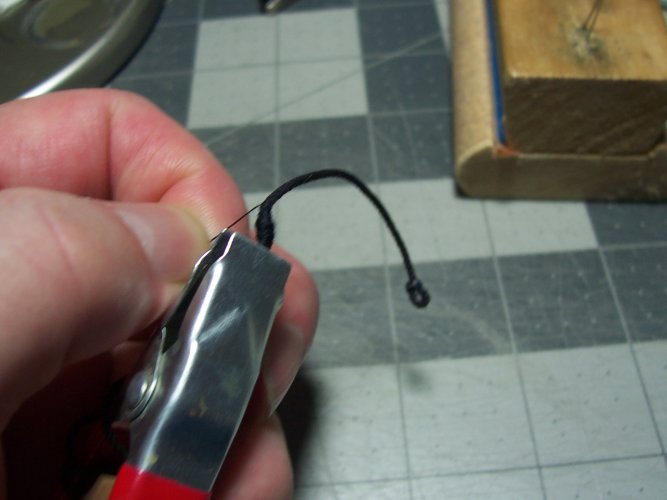
Here is a mouse. I made this one using a thin twine wrapped around the rope. I marked the rope using a tint dab of white paint on the rope for where the mouse needs to be located.
017.JPG

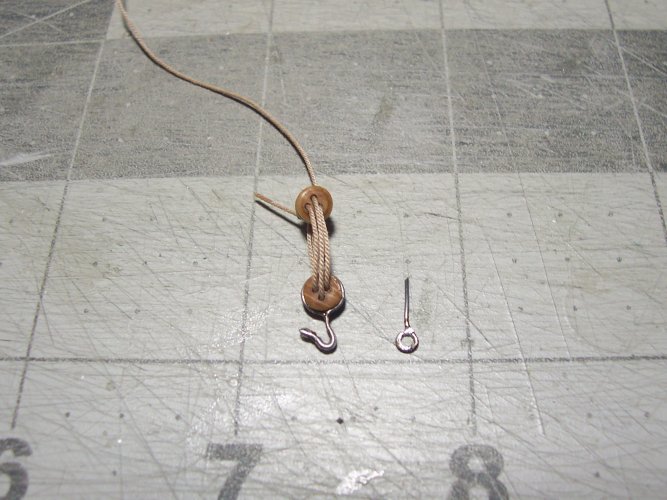
I made some hooks using the wire I used for the strops. It needed to be double strength for the hook itself, and so I had to solder it to hold the ends together.
018.JPG

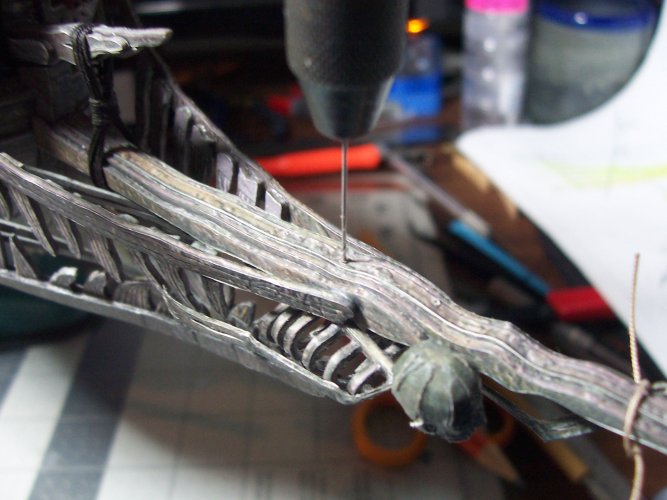
Here I am drilling some tiny hair like holes through the bowsprit for the needed eyelets. I found that this is the way its done for this ship by very carefully examining the pics zoomed in.
019.JPG

Slightly larger diameter eyelets CA glued in place on the bowsprit.
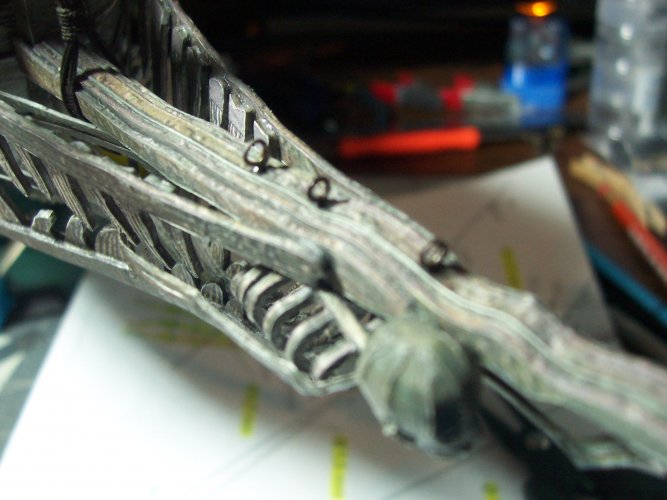
020.JPG
 

micahrogers

Moderator "Where am I, and how did I get here?"
Staff member
Moderator
I'll say it again, Truly Amazing work here. I use Clove 'Hitches" all the time tying lines around branches and other lines, but with tweezers? Nope.
 

zathros

*****SENIOR ADMINISTRATOR*****
Staff member
Administrator
Moderator
The attention to detail is amazing. It's edumacating!! My Brain hurts!! Your ship is fantastic, and the best! :)
 

mtrappett

Well-Known Member

Bowsprit Rigging - Continued​


I created a custom strop for the lanyard that incorporates a hook at the end.

023.JPG

Hooking the stay from the foremast into the eyelet located on t he bowsprit.

024.JPG

Time to do the seizing around the rope.

025.JPG

View of the cap that now has the eyelets H installed at the sides. Also, you get a good view of the ties used to raise and lower the yard on the foremast.

026.JPG

There are 2 stays for additional strengths. These are heavy ropes! In scale form, they are 1,5mm thick!

027.JPG

The crows feet of the foremast.

028.JPG

Having to do the seizing with the rope's ends on the ship is a little tough!

029.JPG

The mainstay goes to the base of the lower foremast.

030.JPG


Plugging Ends of Capstan Arms​


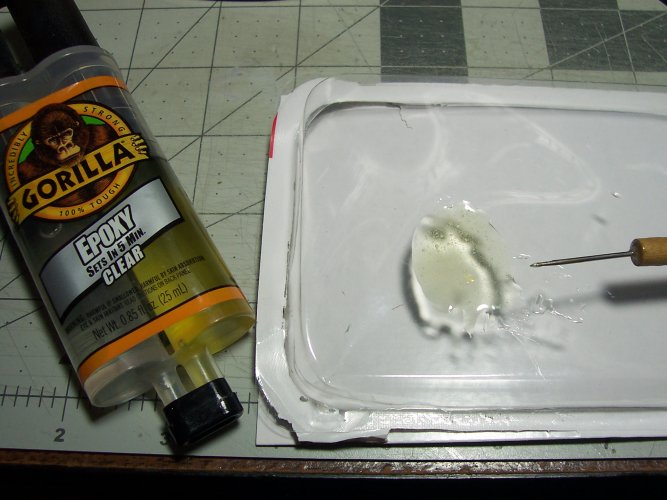
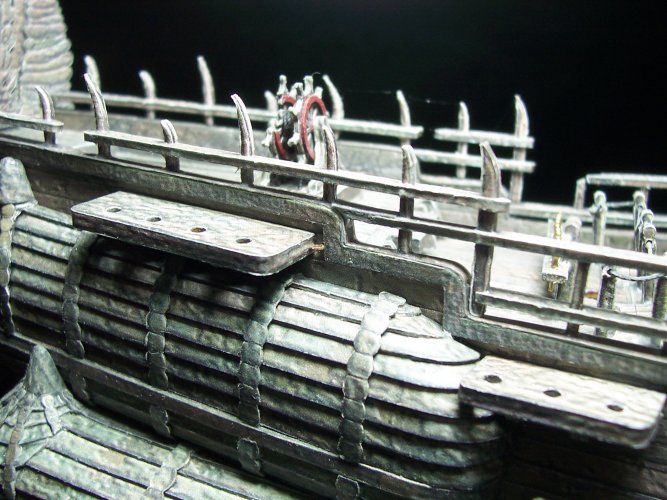
I mixed a bit of 5 minute epoxy to push into the ends of the tubes for the capstan. It was bothering me that the ends looked open!

031.JPG

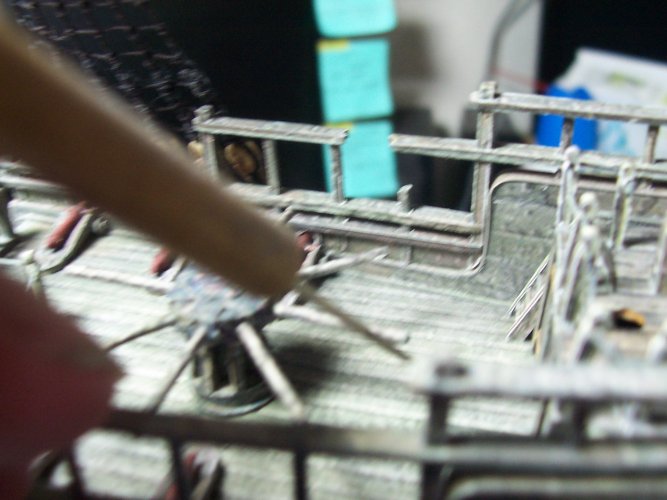
I just used a needle to push the epoxy into the ends, and then painted them with pewter colored acrylic.

032.JPG

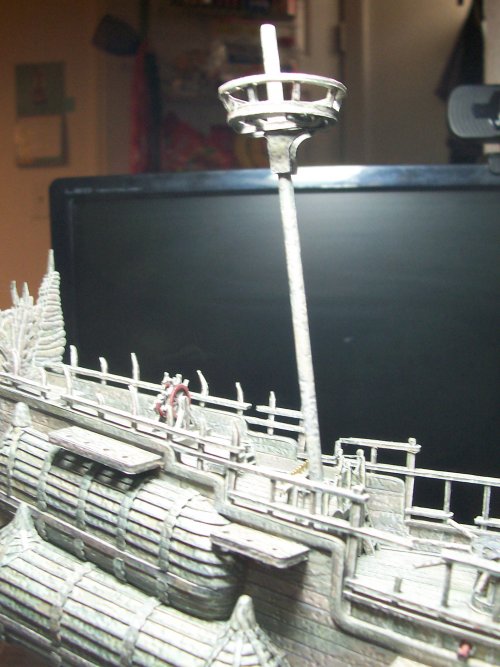
So, here we are going to work on the lower mizzen mast and its associated shrouds, lanyards and so on.

033.JPG

G1 and G2 are a little different and it matters! Just be careful of the length of the strops.

034.JPG

The lower mizzen mast in place.

035.JPG

Getting all the lanyards ready for the mizzen mast.

036.JPG

These are the shrouds for the lower mizzen mast. These are 0.7 mm in thickness. Make sure to use the beeswax!

037.JPG

The jig is VERY useful for making the lanyards accurately.

038.JPG

The euphroe for the lower mizzen mast.

039.JPG

The euphroe's are coated with CA for strength.

040.JPG

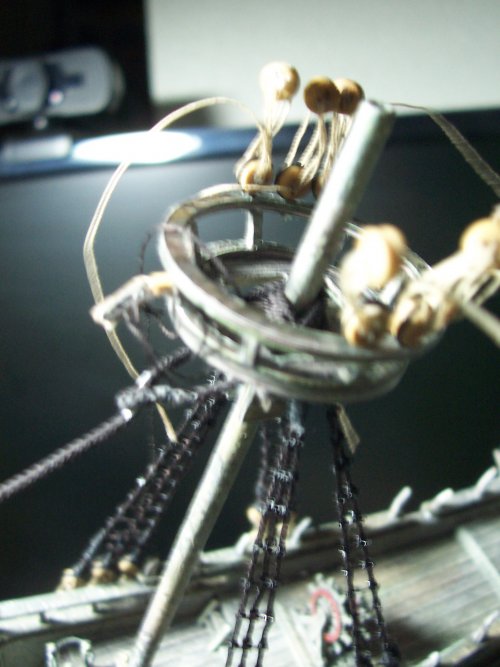
The lower mizzen mast's crows nest being kitted out with its euphroe.

041.JPG

Start of adding the shrouds for the lower mizzen.

042.JPG
 

mtrappett

Well-Known Member

Lower Mizzen Mast Rigging​


There are only 3 shrouds per-side for the lower mizzen mast.

043.JPG

The thickness is greater for the channels for the mizzen than the main and foremasts.

044.JPG

I decided to cut the channels in half to make the fitting of the chain plates more accessible. This was the way it was done on ships in fact.

045.JPG

Now, the strops for the chain plates can be easily pinned and glued to the channel wales.

046.JPG

They are hard to cut, but its totally worth it and would be a good thing to do earlier in the ships build.

047.JPG

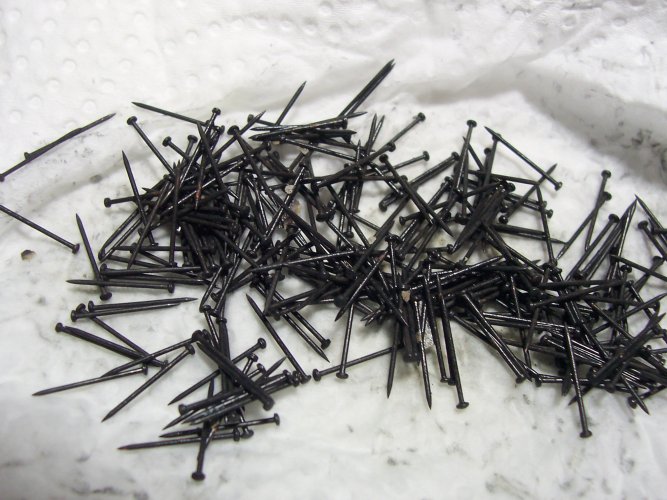
I just dipped some tiny nails into my acid solution to make them patina black finish.

001.JPG

The nails hold the chain plates securely to the sides of the ship and just a dab of CA glue to really hold it all together.

002.JPG


003.JPG

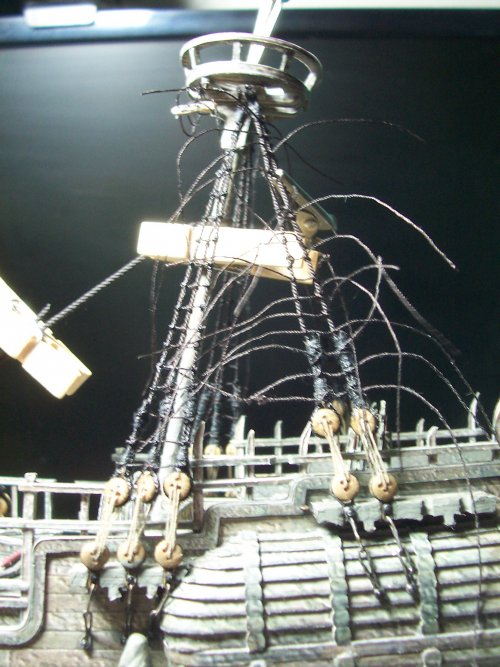
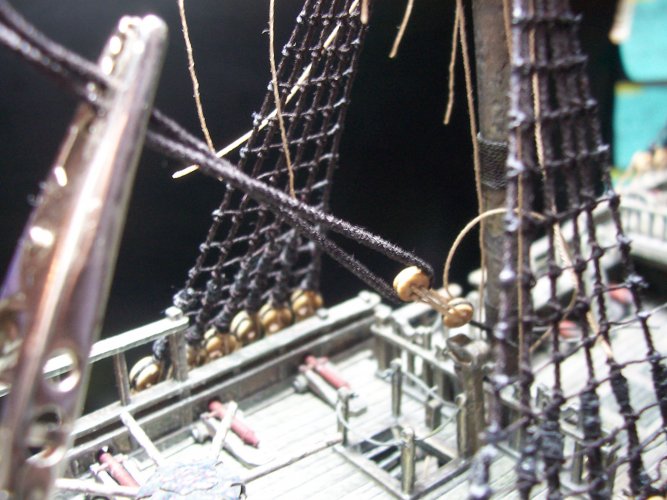
Time to rattle down on the ratlines.

004.JPG

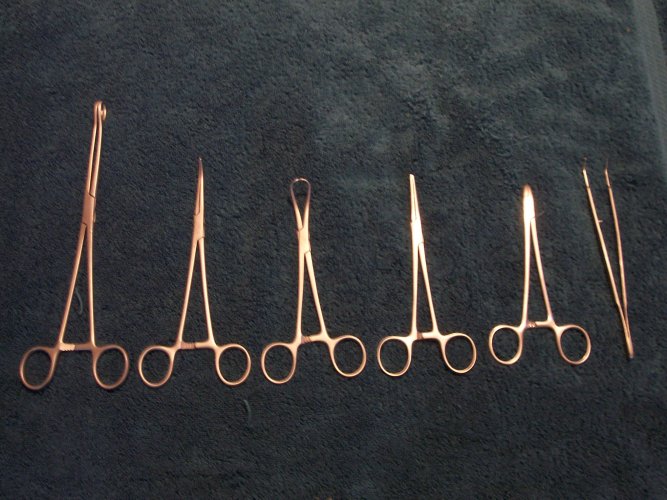
A friend bought me a set of surgical tools for working on my ship. They are very useful!

005.JPG

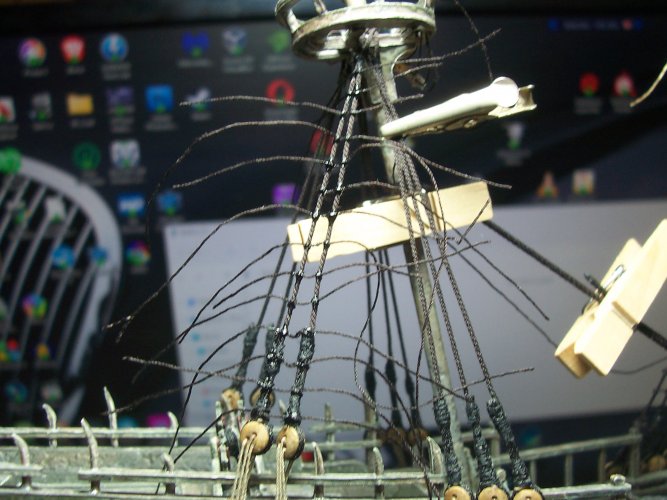
You have to brace and temporary affix the stays in place.

007.JPG

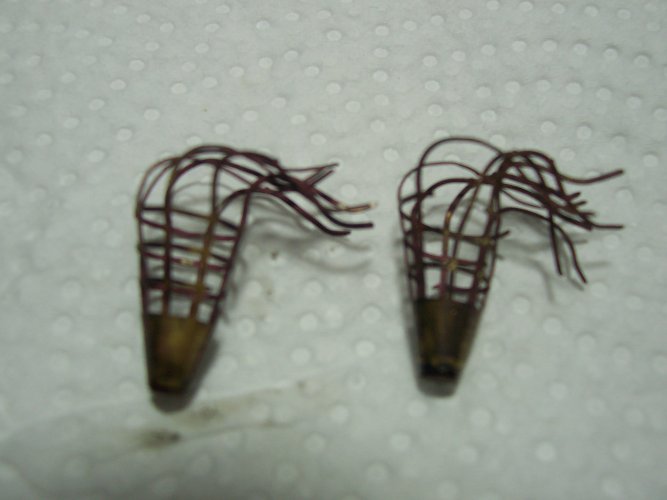
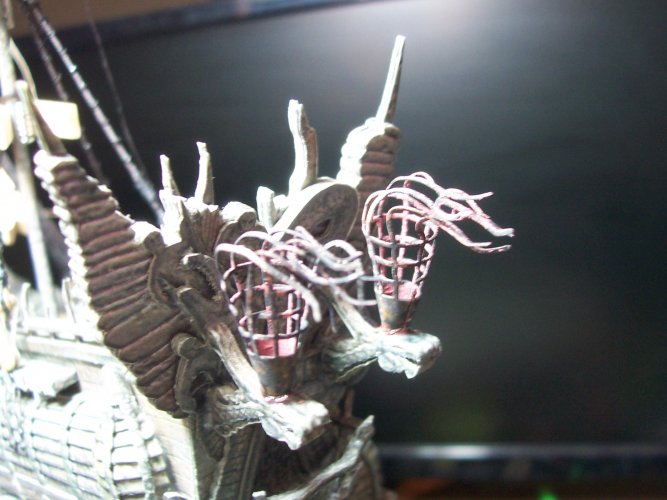
I decided to re-do the lanterns at the back of the ship. I didn't like just the chocolate brown paint job.

008.JPG

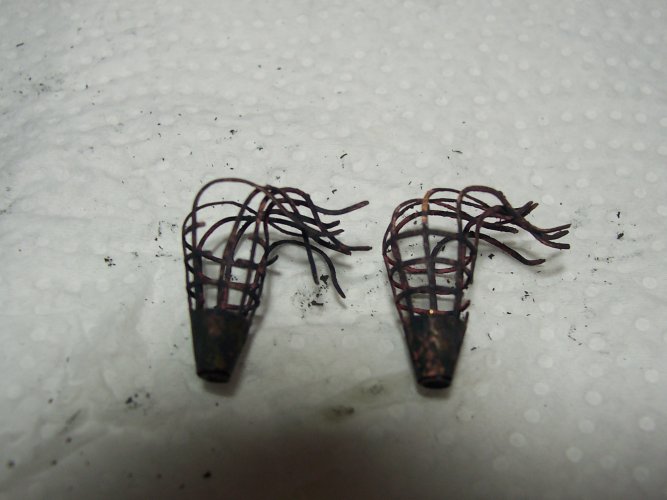
This is the new, finished results of dipping them finally in the patina black acid. Now they look nice and old.

009.JPG

Much better I feel!

010.JPG

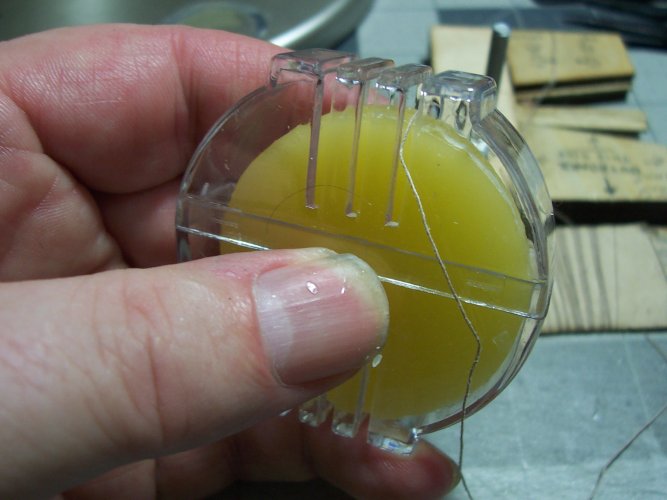
I got some beeswax to coat the ropes for all the rigging. It has many advantages such as preventing knots from undoing, and making the ropes resistant to contracting / expanding through damp / dry weather conditions.

011.JPG


012.JPG


013.JPG

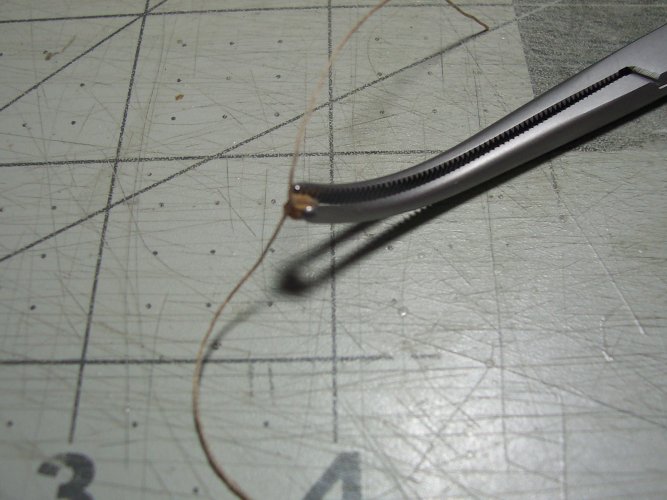
The hemostats hold the blocks so nicely while they are worked on for the rigging.

014.JPG

I temporarily drilled a small home through the yard and put a nail to hold it in place for when I work on it in the future.

015.JPG

The first yard to be experimentally fitted to the mast.

016.JPG
 

spaceagent-9

Right Hand Man and Confidant
Moderator
I really hope that you clear coat this whole thing and put it in a museum!!! children should see what can be done with paper, patience and perseverance! I really admire this and feel shame that I haven't embarked on a complicated detailed work as this yet!!!
 

mtrappett

Well-Known Member
I really hope that you clear coat this whole thing and put it in a museum!!! children should see what can be done with paper, patience and perseverance! I really admire this and feel shame that I haven't embarked on a complicated detailed work as this yet!!!
Great to hear you Spaceagent-9 :) You are right about clear-coating! I think matte-finish would work good.
 
Top