Lower Foremast Continued
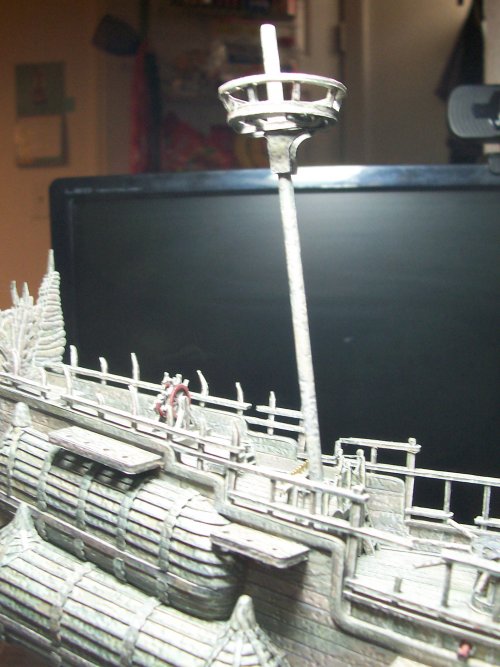
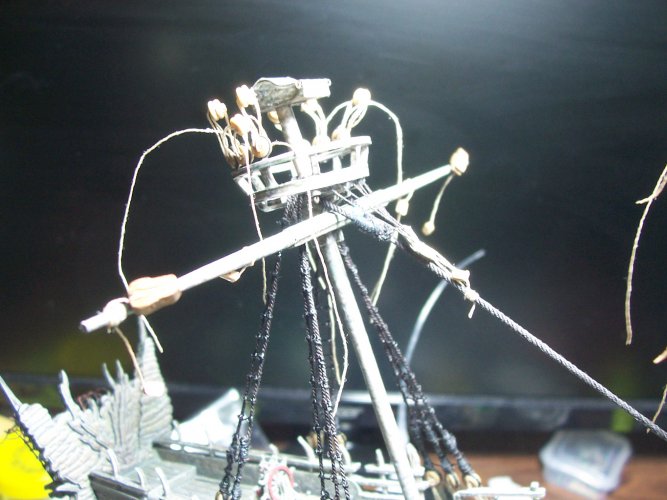
There is an angle to the mainmast, and mizzen on the Flying Dutchman. This is called the '
rake". This is where the masts lean slightly to the stern of the ship.
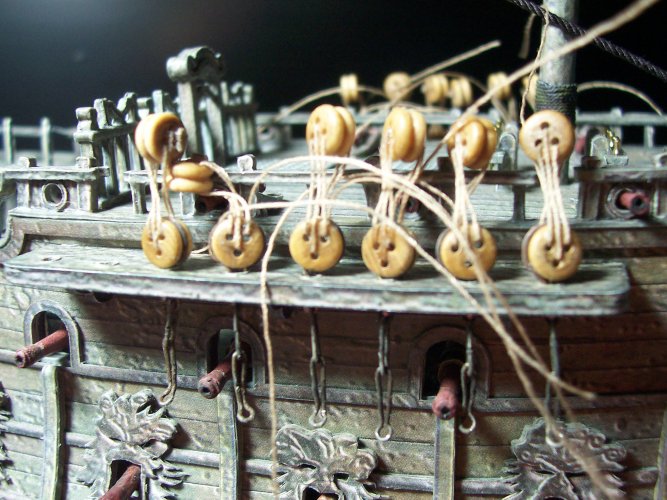
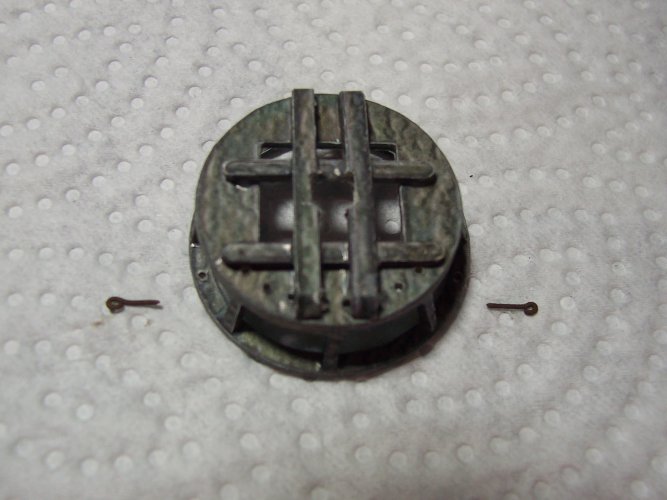
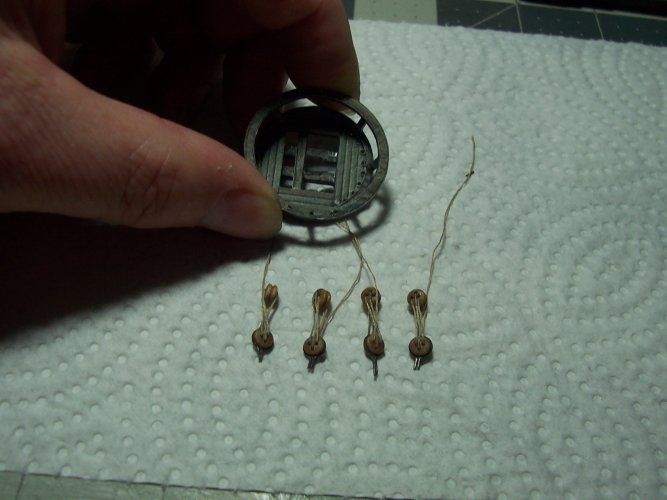
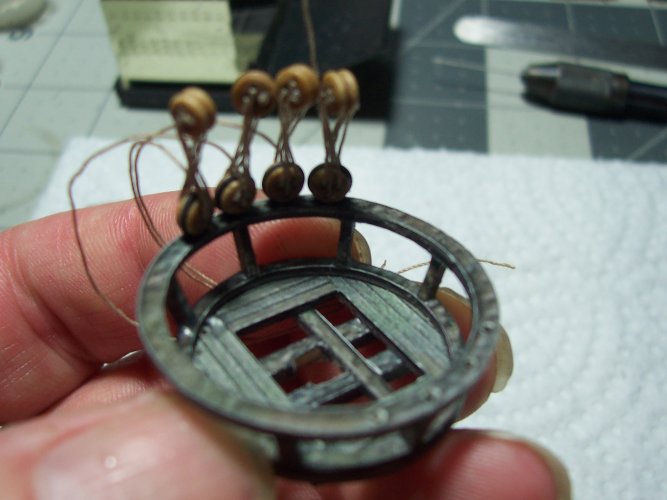
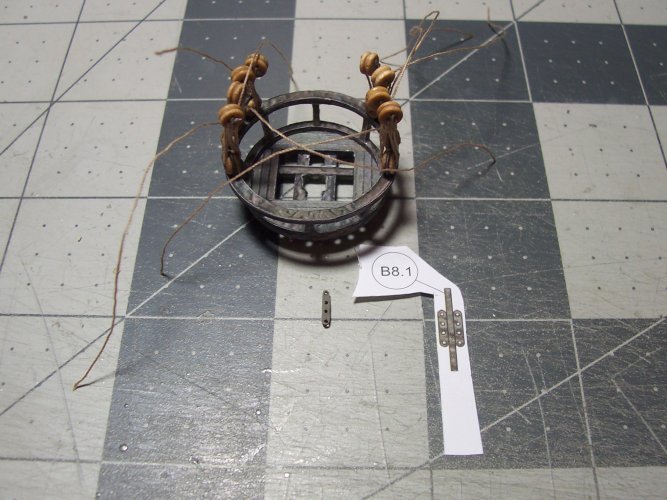
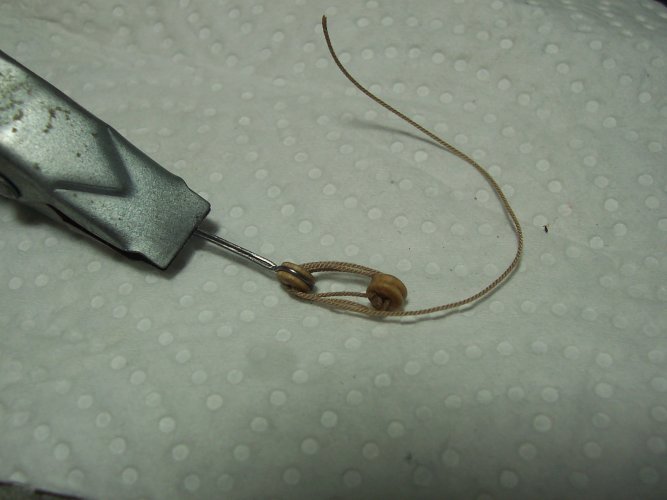
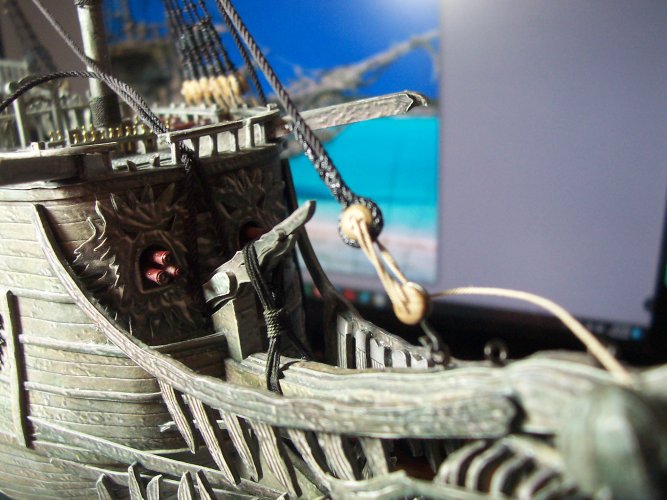
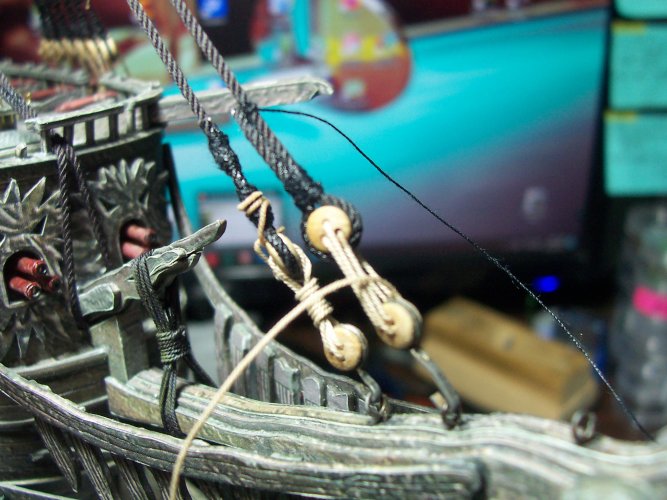
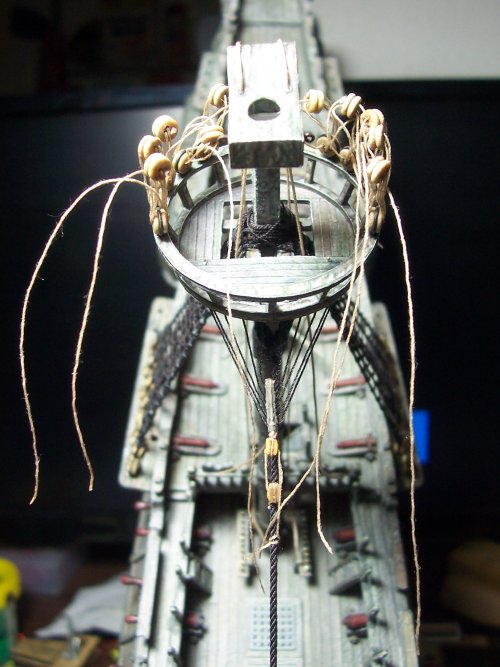
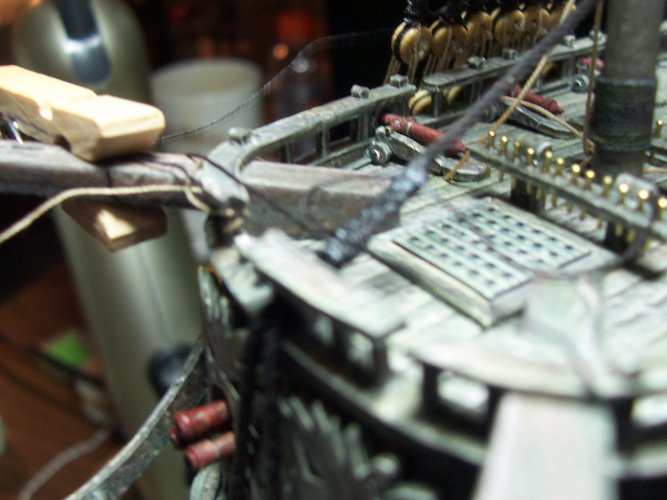
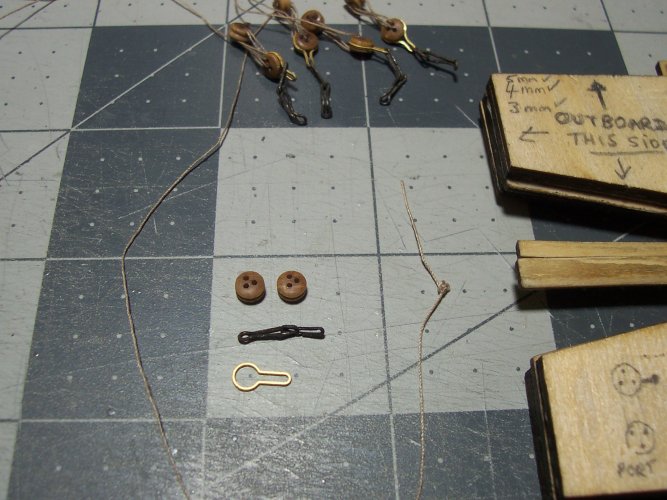
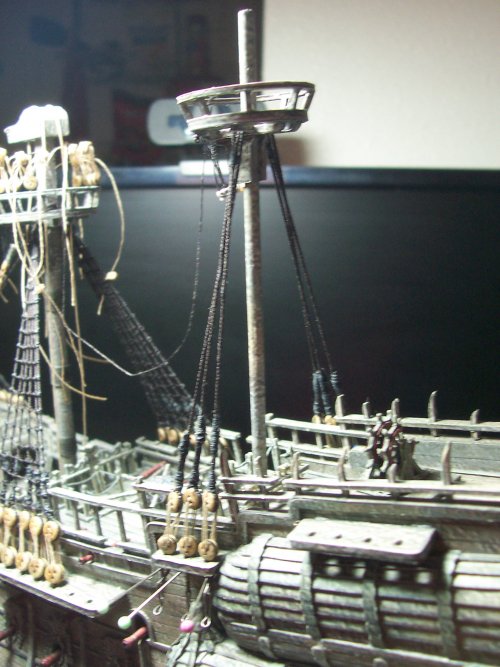
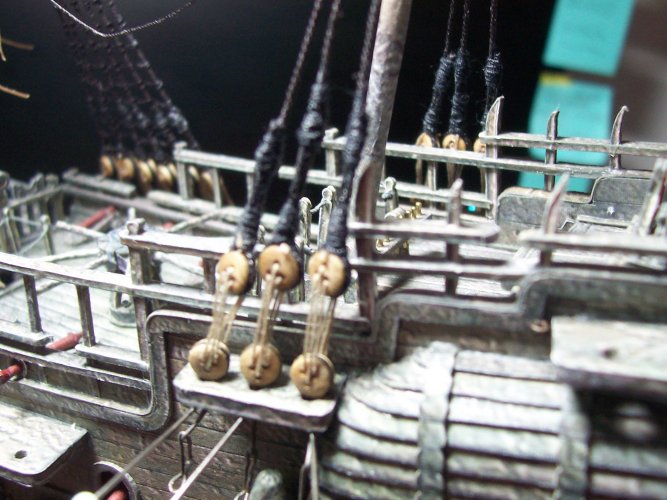
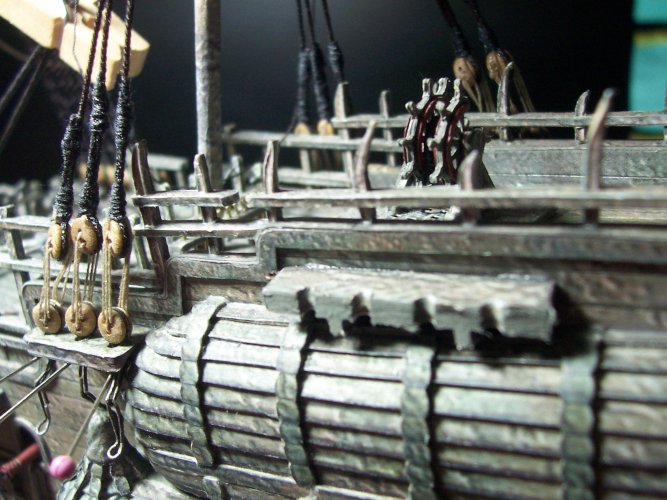
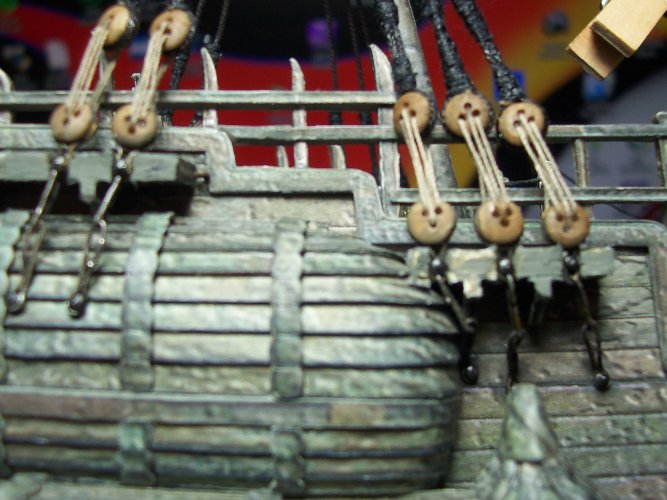
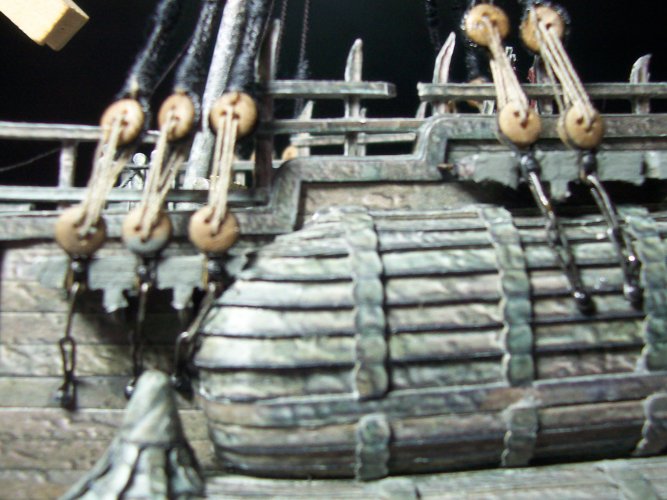
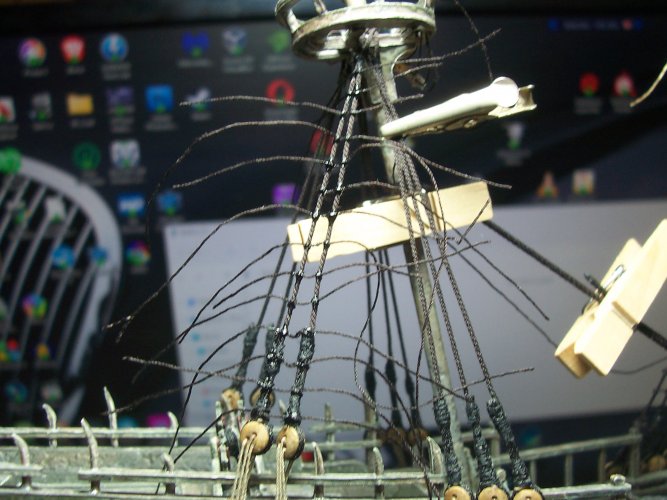
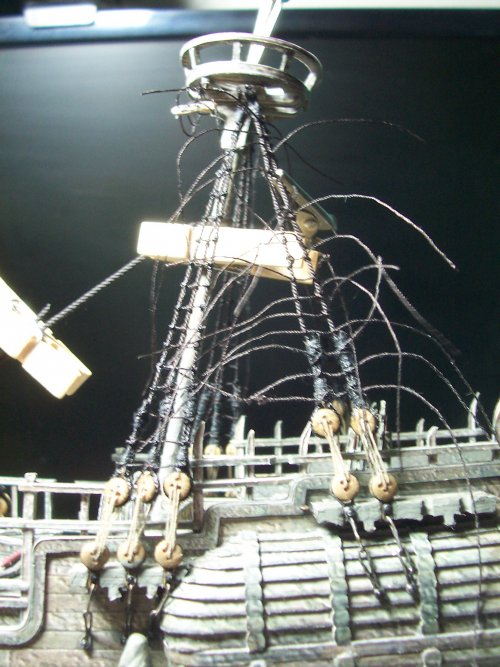
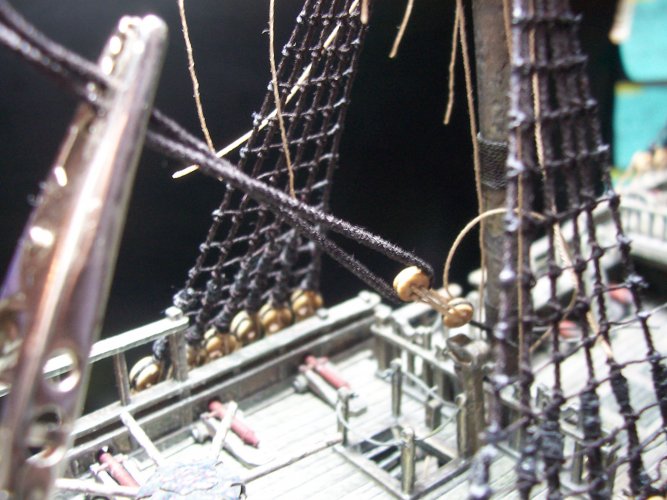
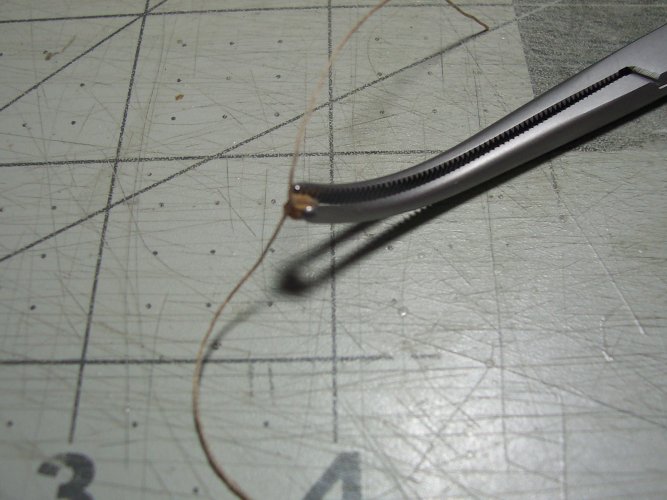
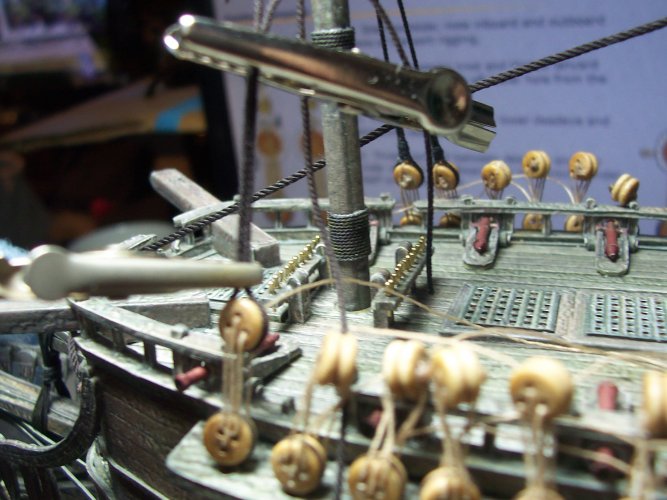
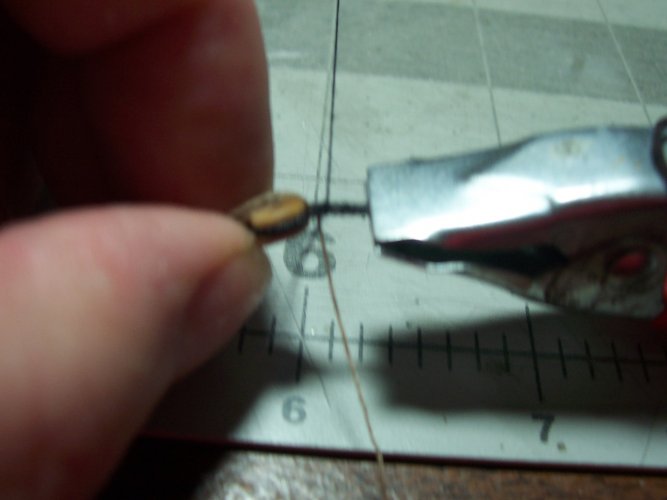
Time for some more dead-eyes and lanyards, this time on the port side of the ship. We started on the starboard side, then over to the port, then repeat until done. The large croc-clip holds the ropes tightly, while the smaller clip nips in where the ropes loop around the dead-eye. Then some CA glue to the rescue. They are 5 mm deadeyes on the lower foremast same as the lower mainmast.
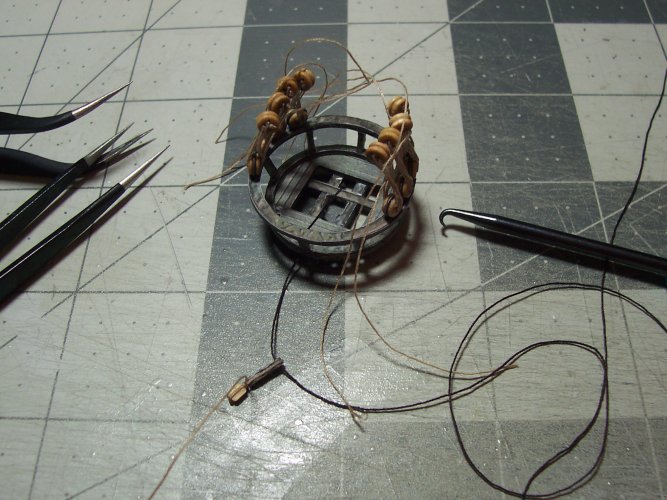
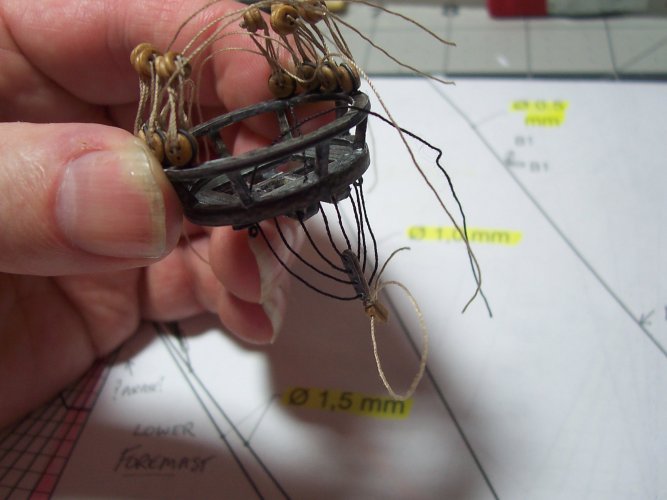
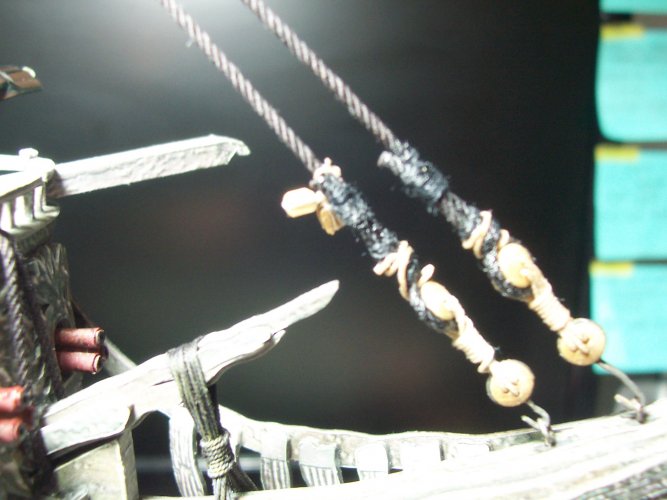
Here we go a seizing.
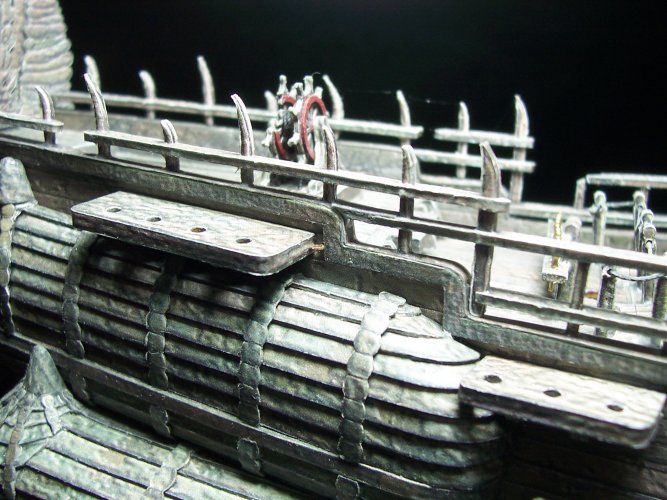
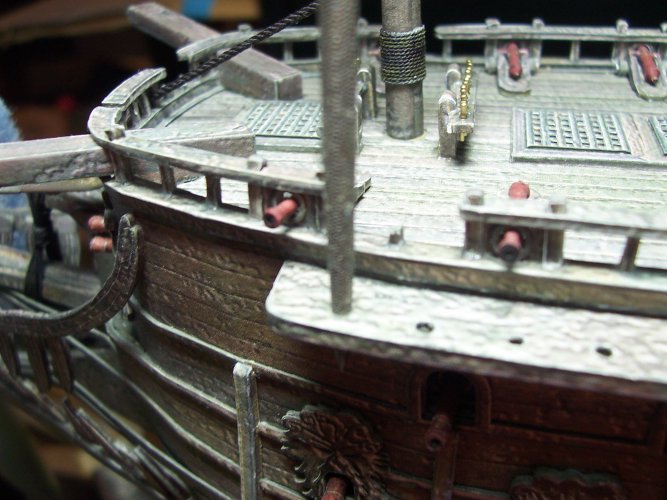
Trying to figure out the main and fore stays. The padded stuff is around the front of the ship is to protect it.
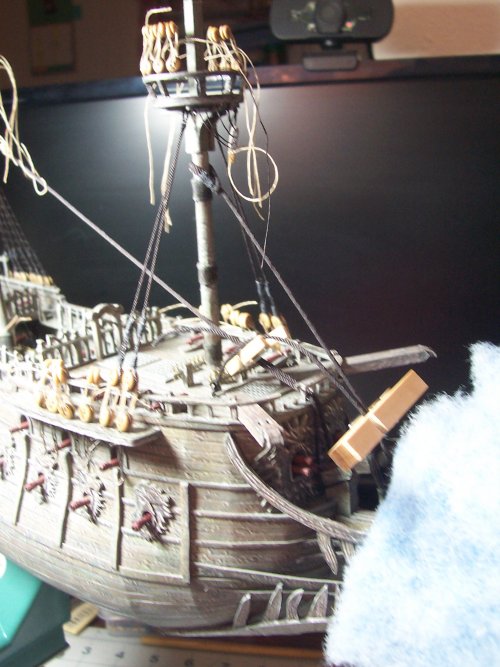
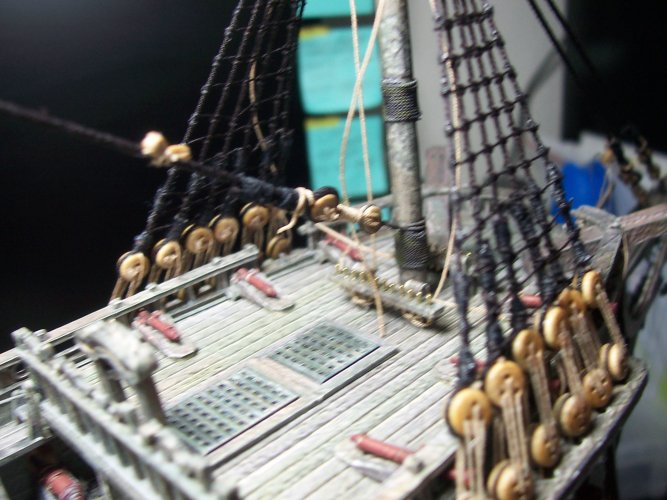
Nice and clear pic of the starboard lower foremast deadeyes.
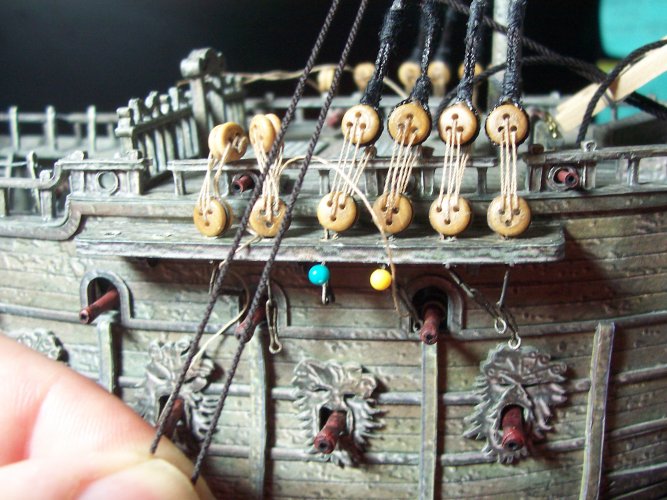
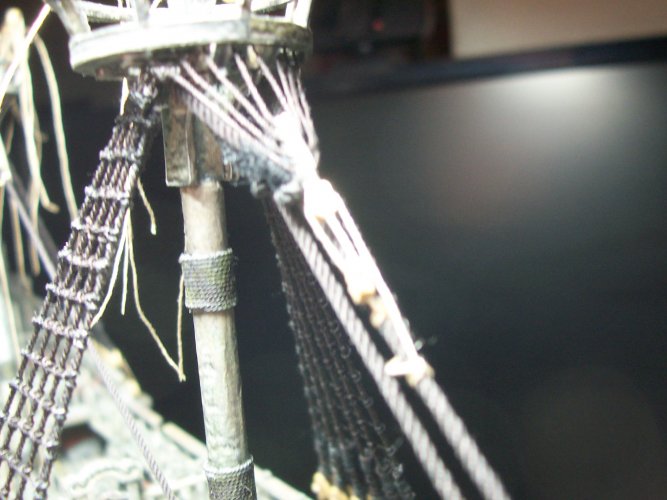
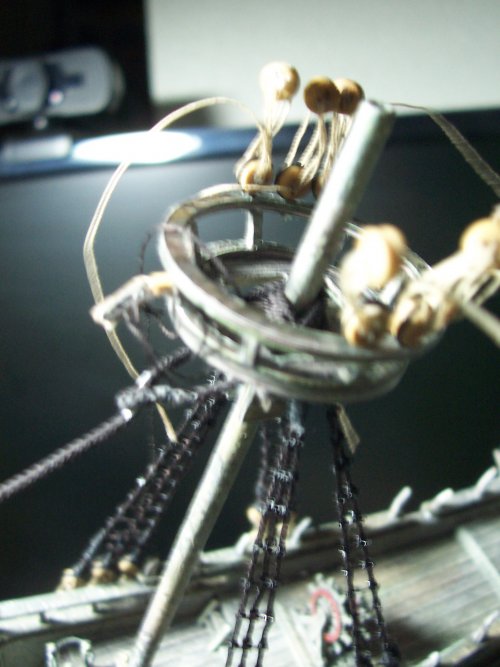
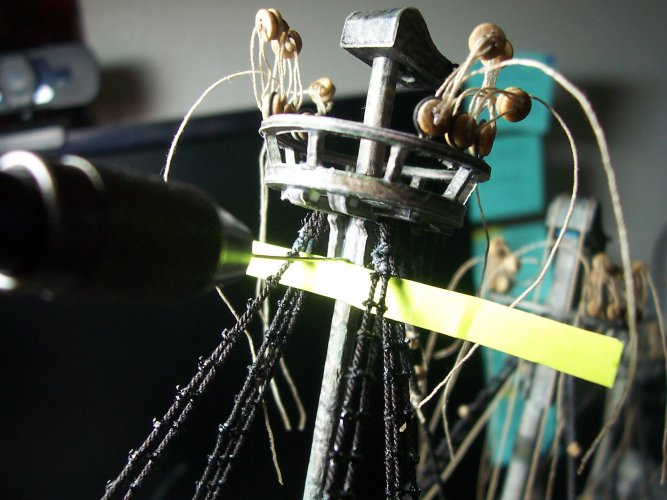
A view of the upper end of the shrouds.
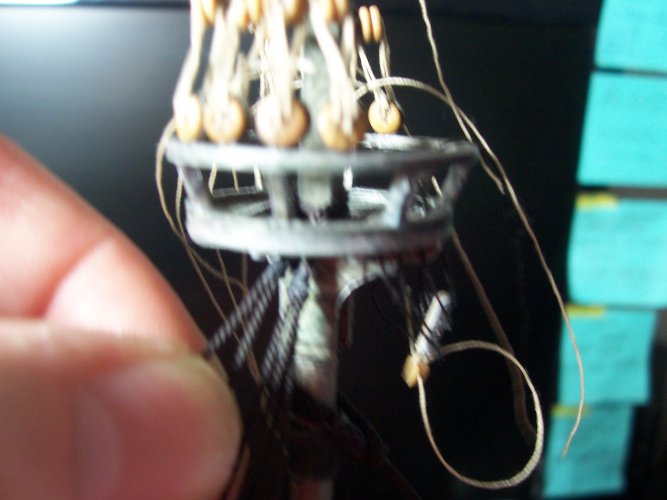
Being able to take off the shrouds off the ship makes it easier to perform the seizings.

WOW! Another clear picture that should help a new builder.
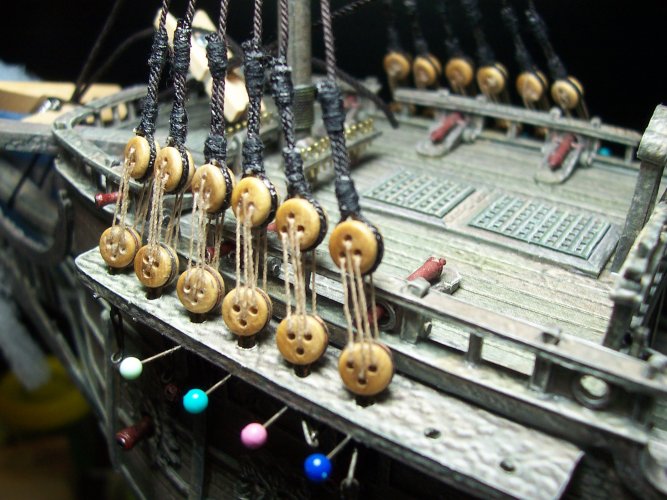
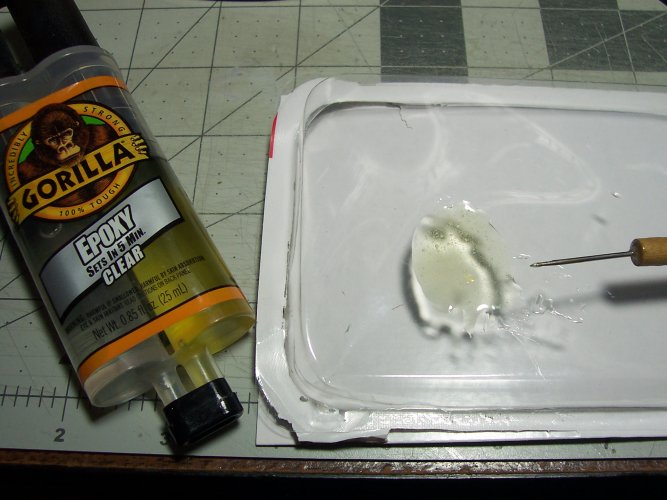
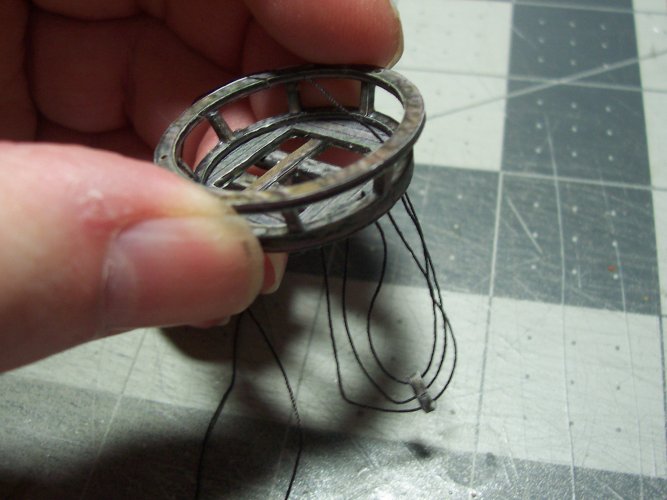
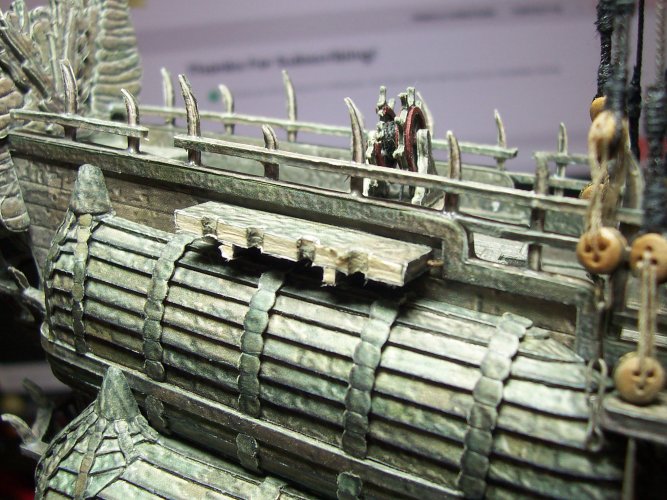
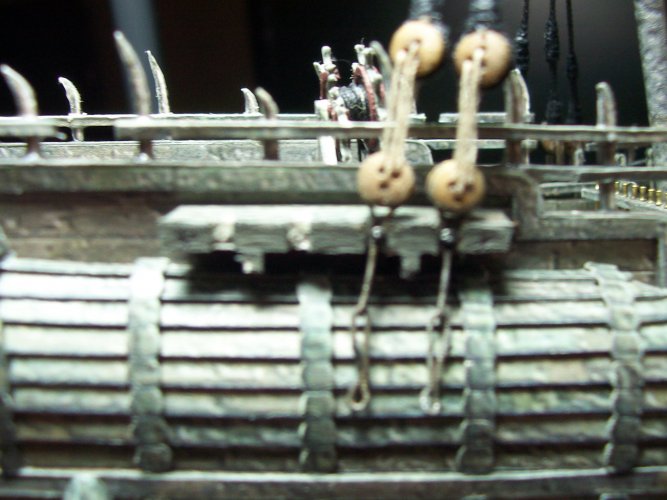
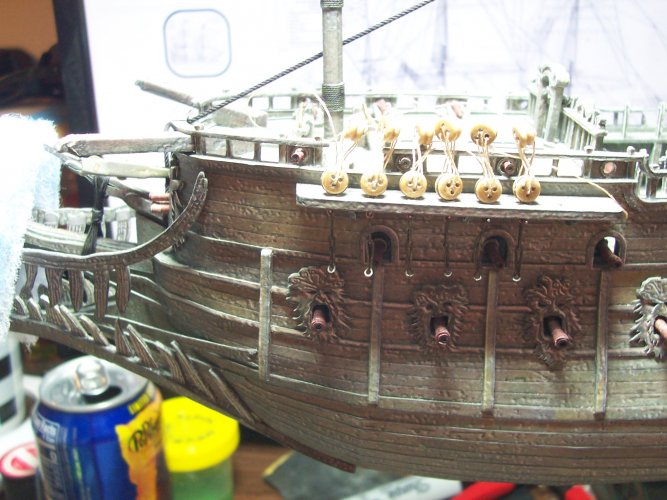
Aha, this is the chain plates for the lanyards. I used some CA glue on the cannon barrels to give them more strength.
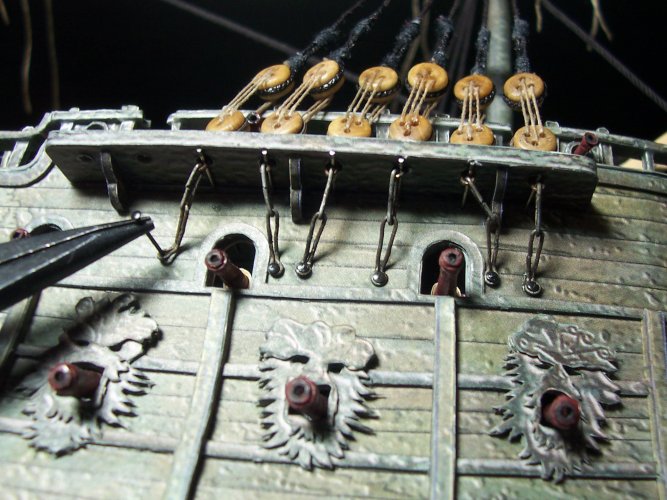
Clove knots! Lots of them.... like hundreds and hundreds of the little buggers


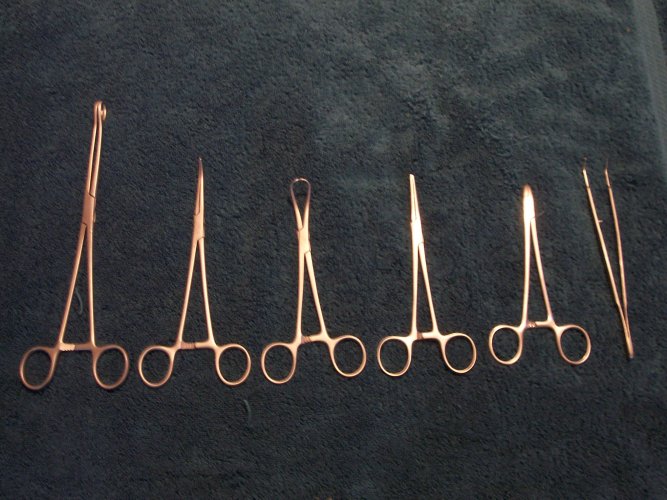
You will need to get used to tying these using 2 pairs of tweezers surgeon style.
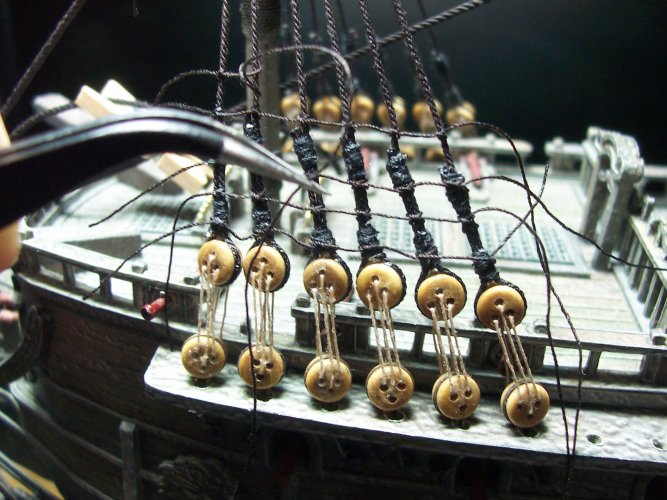
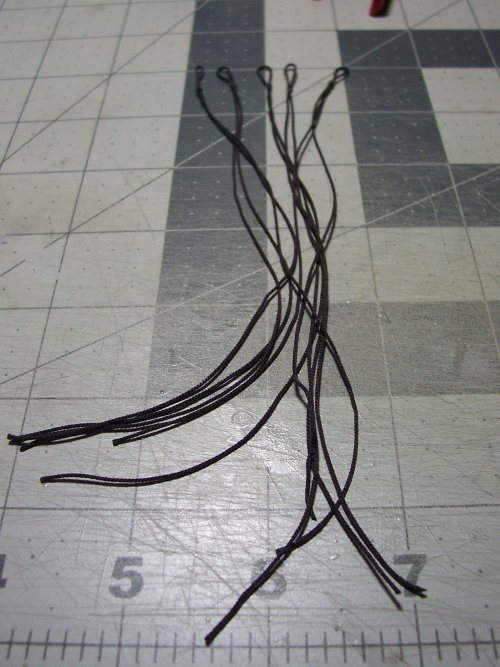
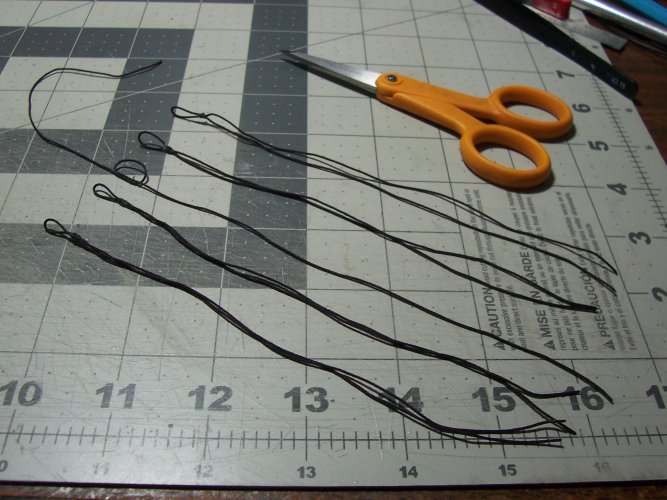
It looks like a rats nest. I was looking at the size needed for the ropes of the ratlines. They say that the ratlines should appear invisible when looking at the ship from a short distance. I used 0.2mm. Hey, get your finger out of there!!!

All of my hard-work


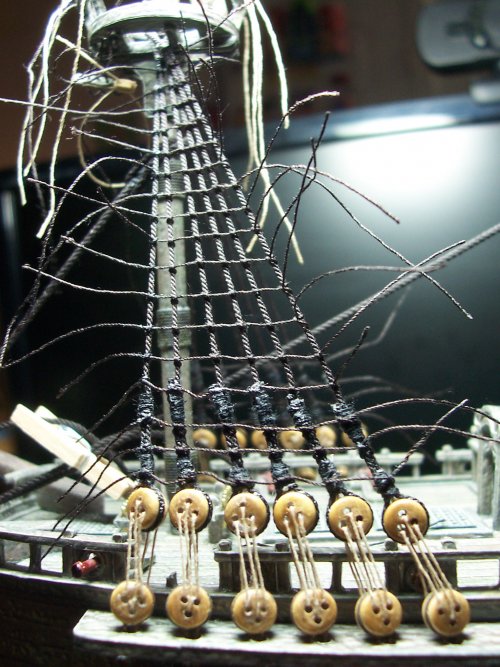
Put a dab of CA glue only on the end knots to help it all stay in place. Its okay if they are a bit slack to get a 'swagger' effect to the ratlines.
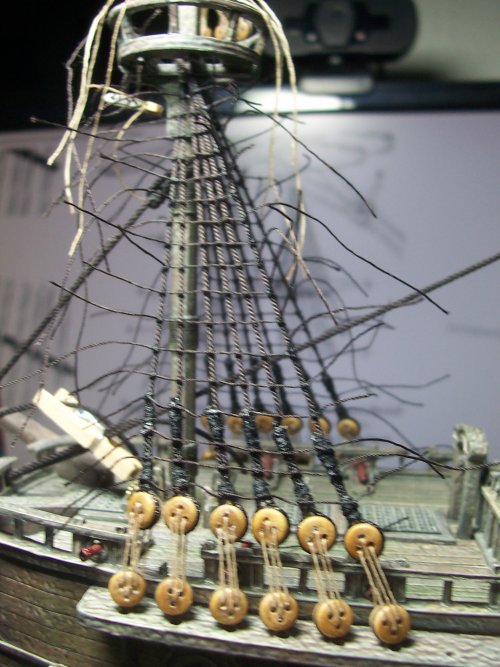
Still figuring out what to do with the mainstay.
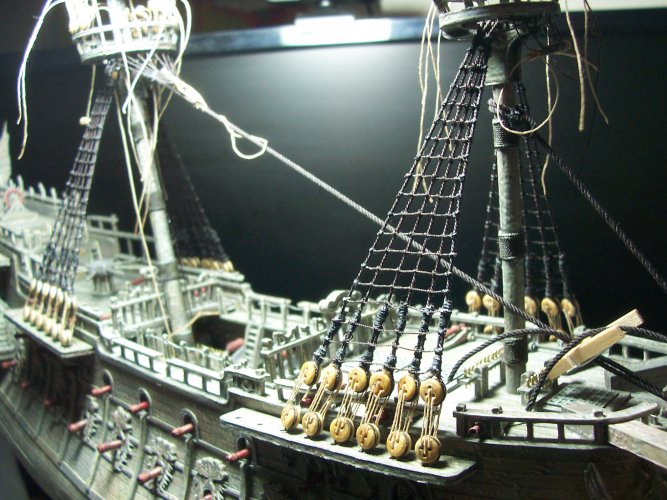
A view of the lower foremast standing rigging.
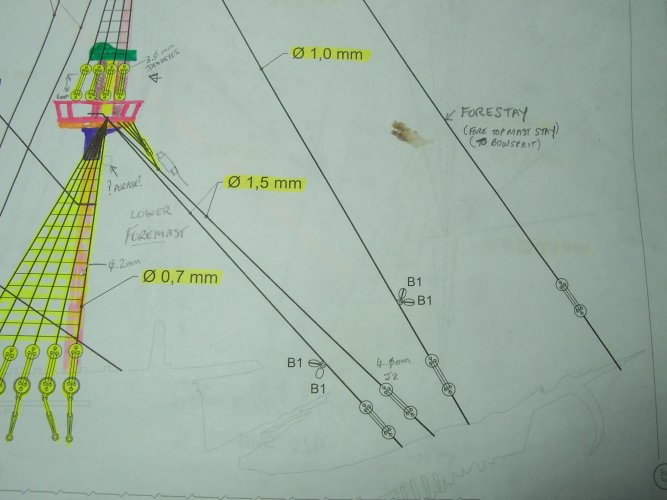
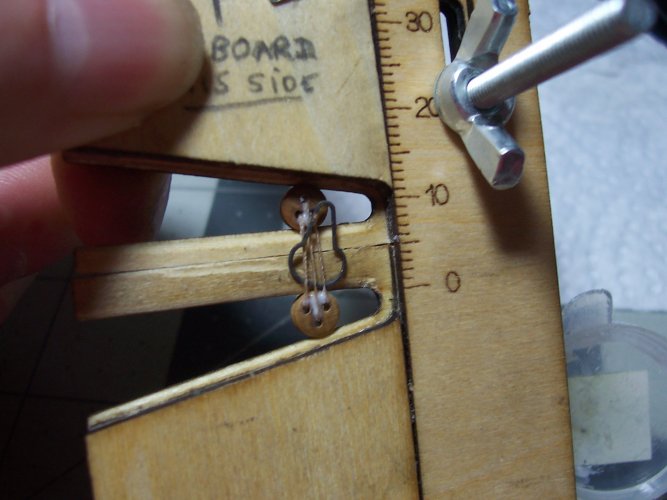
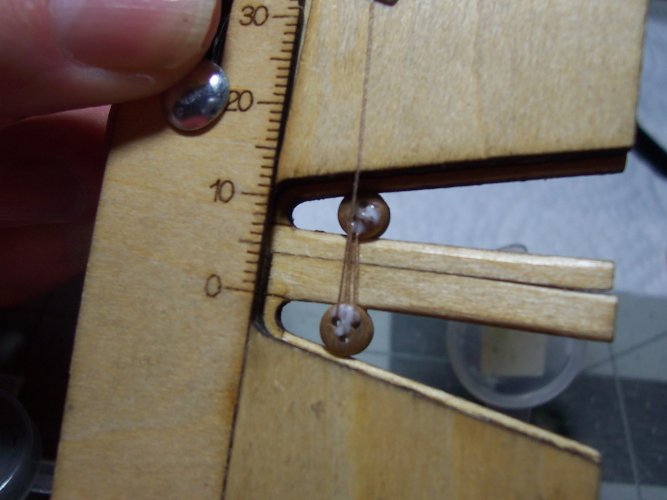
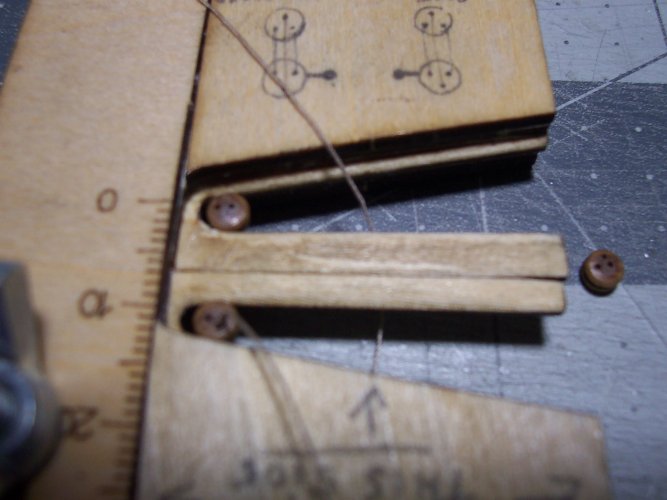
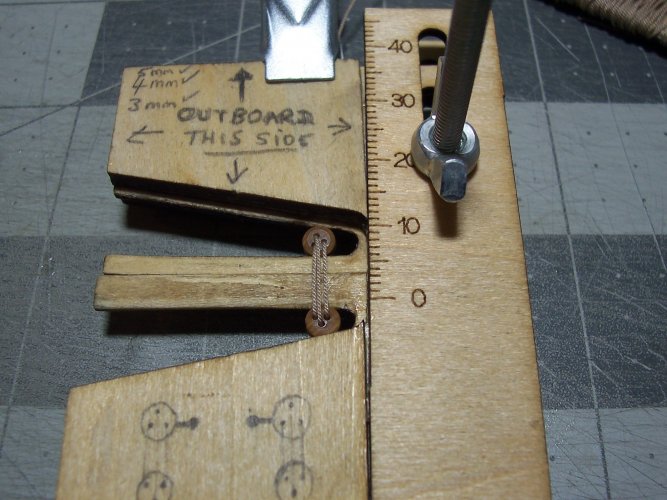
This jig is so useful I find after it has been modded a bit. This would make a great 3D printing project!
Experimenting with the wrong way of doing the bowsprit rigging


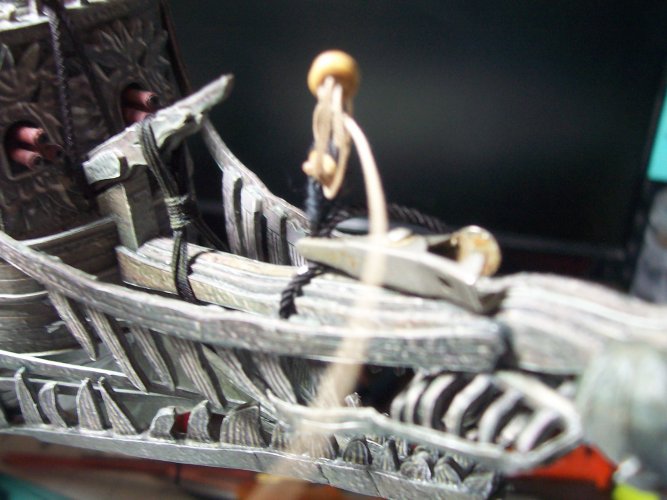
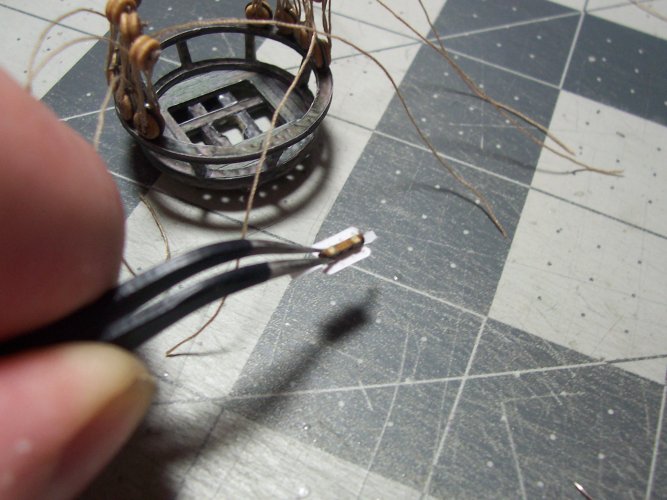
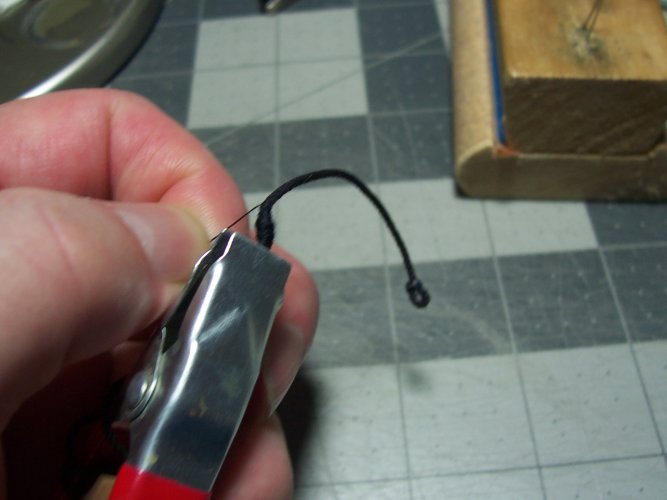
Here is a mouse. I made this one using a thin twine wrapped around the rope. I marked the rope using a tint dab of white paint on the rope for where the mouse needs to be located.
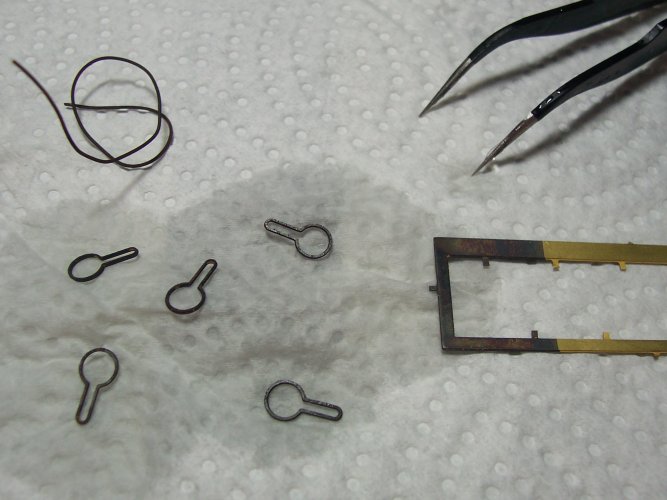
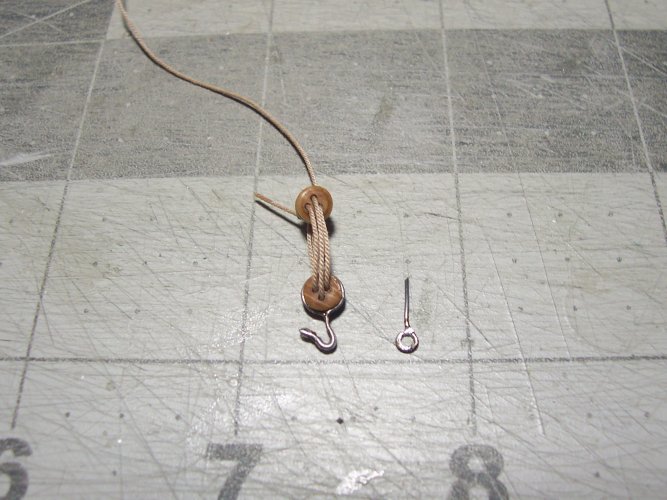
I made some hooks using the wire I used for the strops. It needed to be double strength for the hook itself, and so I had to solder it to hold the ends together.
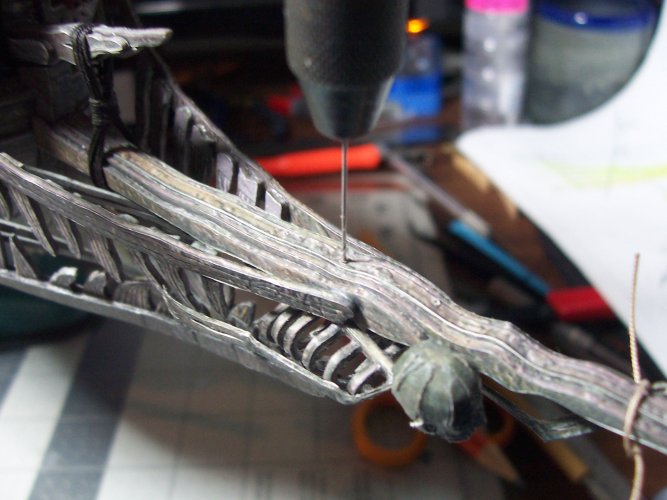
Here I am drilling some tiny hair like holes through the bowsprit for the needed eyelets. I found that this is the way its done for this ship by very carefully examining the pics zoomed in.
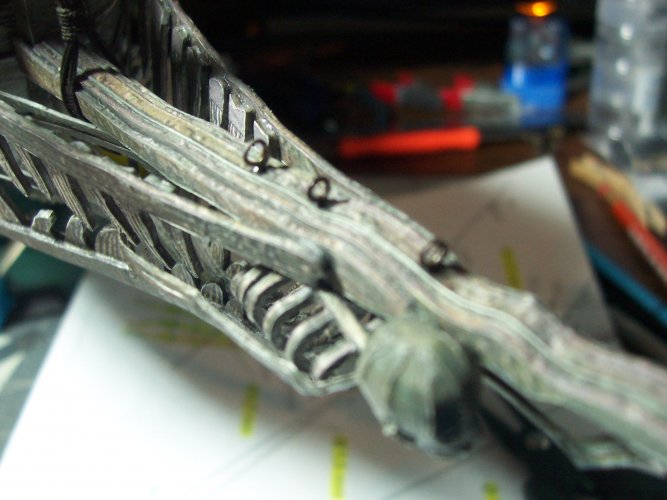
Slightly larger diameter eyelets CA glued in place on the bowsprit.
 I can see the light at the end of the tunnel, I think? I did choose to add all the rigging though I guess? Its just like my wife said to me a while ago, that I'm insane in the membrane
  . Truthfully, whoever builds the model can stop at any point and call it quits. Some people may prefer the ship without any rigging. That is how the model is displayed on their Web site after all. I myself though, want the full presentation of the model. I might be adding lights to the model too at the end of it all? I am crazy on Disney stuff


 What a total bummer!!! They make a ton of awesome kits normally! Like tanks, ships, cars, jet fighters, WW1, WWII stuff, and much more. I imported this one of the Flying Dutchman over a year ago.
 ".
".