Nautilus - Disney Version

Chuffy70

Well-Known Member
As a child the Nautilus as it appears in the 1954 Disney film captivated me.

The gothic looking submarine with its monstrous looking eyes was very alluring. I have always wanted a model of this submarine and over the years a few decent models have been made of her.
A few years back my brother and I visited the Model Engineering Show at Olympia in London - A guy there had an absolutely massive version for sale, easily around 5ft in length and quite capable of destroying the local model boat club's flotilla in mere minutes! (a boyhood dream)

Sadly, both price and space were not on my side that day, but Rhaven Black kindly supplied me with this version which shall satisfy my current needs.

Not
sure if this version is in the resource section, but if in doubt see R.B

Around 78 parts make up the model, and as custom on my builds of late, I had my local copy shop, enlarge this up onto A3 sheets.


Giddy with excitement and rubbing my hands with glee... *I set sail to own my Nautilus - *Come with me as I dive in!
(*This build will no doubt be full of nautical puns)

. . . . . . . . . .


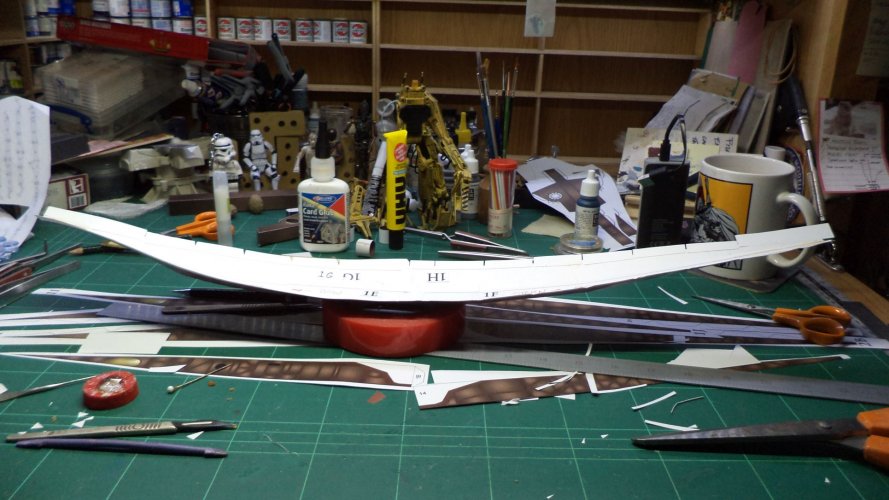
Sorry for the low light on these first two shots, as I was away from the bench, due to technical reasons.

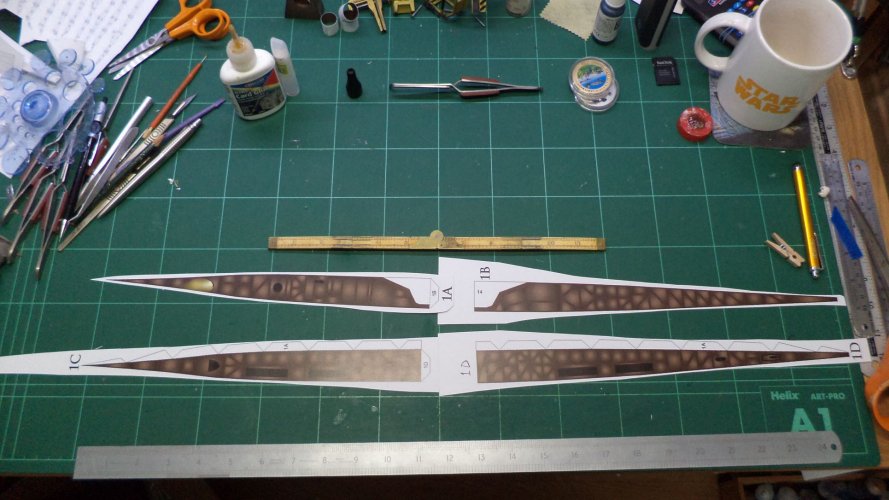
78 parts on seven sheets are the order of the day here, with a further 9 making up the stand (sheet not in picture)
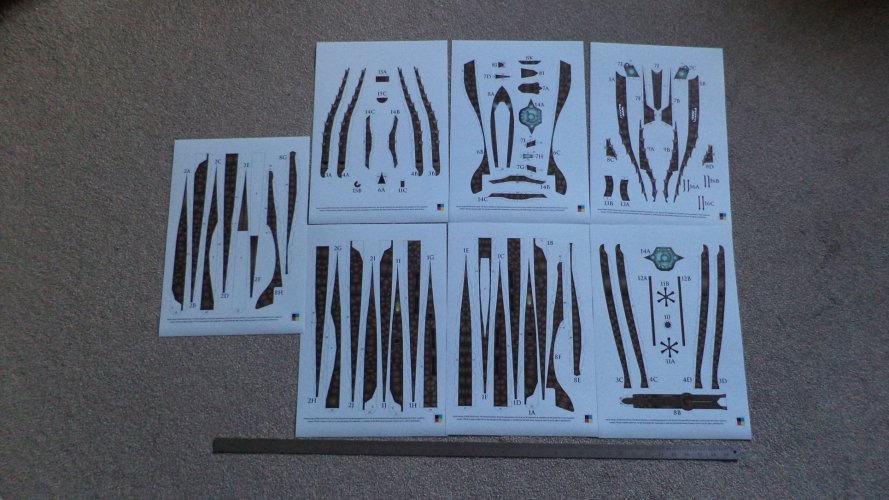
1.JPG

Parts have good register and offer a nice rendition of the boat.
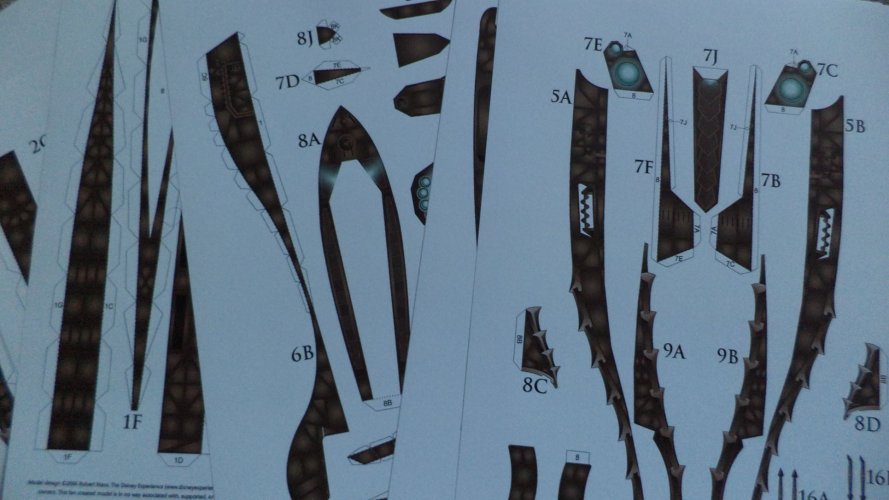
2.JPG

Stand assembly is the first order of the day...there's no instructions for this, but I'm happy it will become apparent when pieces are built.
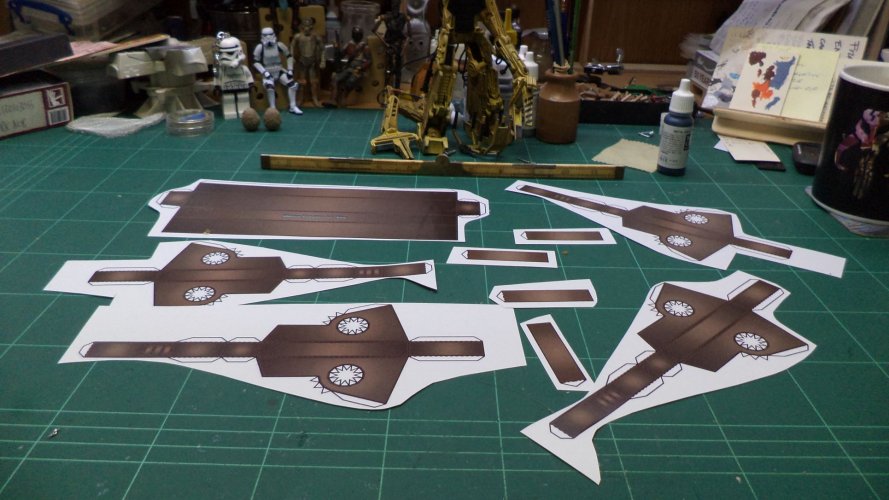
3.JPG

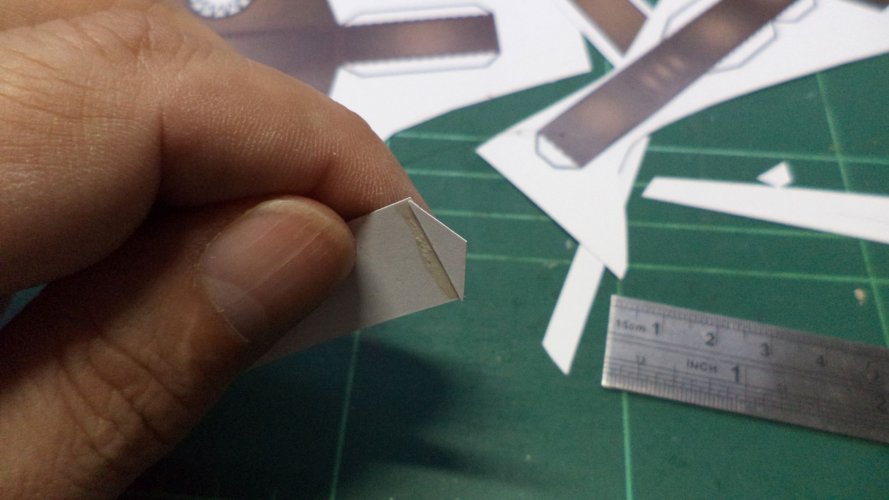
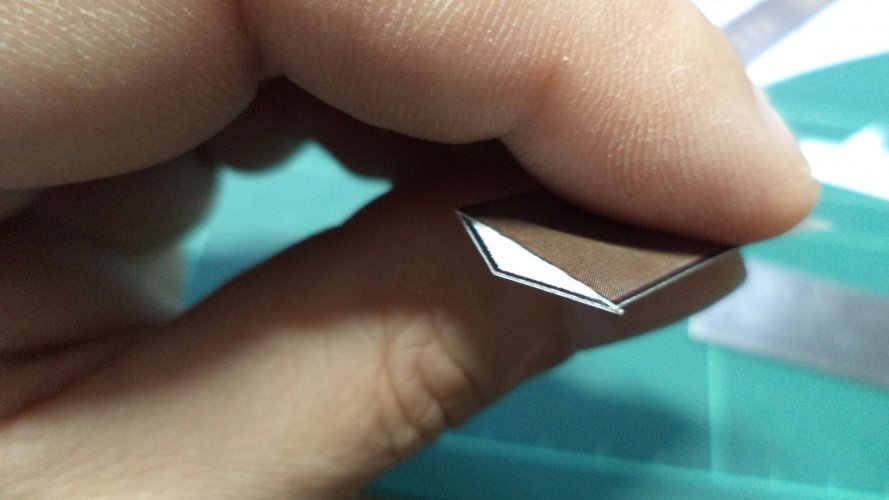
On this build I will be cutting off the tabs and re-setting them underneath - I think I've had just enough experience now to edge bond, rather than rely on tabs. Certain areas warrant it, but I would like smooth edges on my constructions from now on.
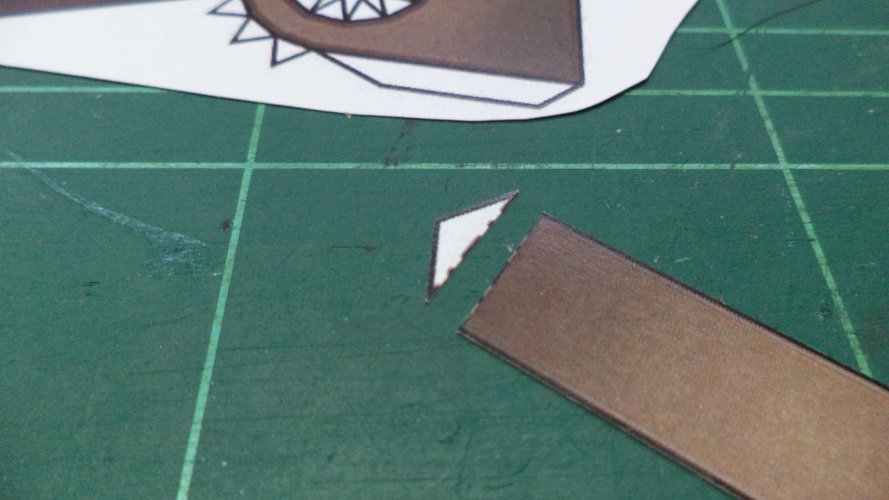
4.JPG
5.JPG
6.JPG

Unfortunately, due to a spectacular and horrific spillage of super glue - the build abruptly comes to a full-stop today.
 

micahrogers

Moderator "Where am I, and how did I get here?"
Staff member
Moderator
@zathros will expound in depth on the reasons to stay away from CA, Most notably the fact that it is made from cyanide, which will build up in the blood to toxic levels. I use it sparingly, but I use it. mine usually goes bad in the bottle before I get a clogged nozzle.

My styrene glues are MEK based, and that stuff is nasty too. I have switched to Tamiya Extra Thin, because it comes in a rather squat square bottle that doesn't tip easily, but leave the top loose for an hour, and half of it's gone.
 

zathros

*****SENIOR ADMINISTRATOR*****
Staff member
Administrator
Moderator
Plastic models build, well, I had a big computer fan ( 5"inches) hooked up to a 5V power supply with a tube going out the windows. That took every smell outside, and my wife never complained (she is extremely sensitive to chemicals). I used Testers glue, but I always put a little dab on a toothpick to have absolute control. I could spread it, just put a pin spot, etc. The fumes of these glues can make cockpit glass haze very easily. I always glued them on at 3 or 4 points, just enough to hold it on. Crazy Glue has it places. I fixed a cast pulley on my M.G. Midget 30 years ago with the Gap filling glue, and the accelerator liquid. It has held for 30 years. It worked it's way into the casting and never let go. That's what it does to your Brain and lungs, if you can smell it. It has to be used outside, or in an extremely well ventilated room. I was poisoned by Cyanide when machining the chopped Kevlar Block into what looked like half of a dirigible. This piece when on the end of a CH53E helicopter blade, the a solid Nickel cover was bonded to it. The Cyanide leeched from the Kevlar into the Lusol fluid, which was all over my hands. Through the process of Osmosis, about 6 hours, I fell over and started puking. It permanently messed up my lungs, God knows what else. The "poop" hit the fan, my 5 axis CNC machine was professionally decontaminated. I got a week off. I should have made them compensate me, but I was dumb and young, and I really liked my job. I was programing those things when they first came out, right there with the engineers. I already knew a lot of coding, so with my experience, I could design the fixtures, write the program, and get the machine up and running before they came down. Needless to say, some of the Manufacturing Engineers hated me, the other ones put me in for production awards. When I got too many of them, they made any innovation part of my job description. :)
 
Last edited:

Chuffy70

Well-Known Member
Rhaven Black, micahrodgers and zathros - Cheers guys for your thoughts, stories and recommendations on the pros & cons of MR Super Glue.

The accident occurred when I was fixing something else, the Nautilus parts just happened to be in the wrong place when it detonated...

I just normally use Deluxe Roket Card glue and UHU Gel, - very rarely touch PVA due to long setting times.

My lesson learned here is 'don't have multiple projects all going on at once' :hammerhead:
 

Rhaven Blaack

!!!THE MAN BEHIND THE CURTAIN!!!
Staff member
Administrator
Moderator
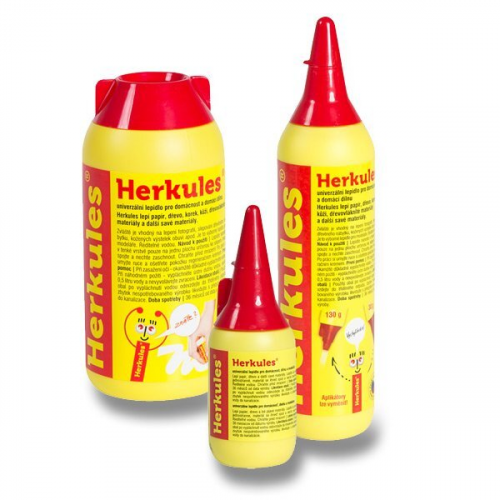
@Chuffy70 When I lived in Eastern Europe (Slovakia & Czech Republic), I used Herkules white glue. It set up fairly well, with little mess (especially, if you use it sparingly). I would (also) use a small (cough syrup) cup as a glue pot, and use a tooth pick or a hand sewing needle that was attached to a plastic handle to apply the glue.

1663516843419.png
 

Chuffy70

Well-Known Member
Diving in again with the ruined stand tossed to one side, I thought it was time to make a start on the hull of the beast.

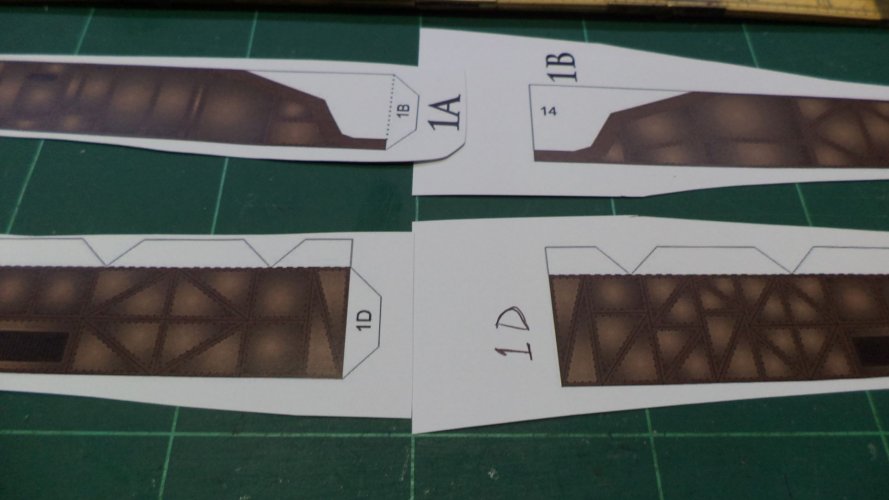
Unlike the stand there are written instructions for the sub with three plan drawings - The written instructions call for the numbered part and following letter of the alphabet (as printed on the part) this was a tad confusing to start with, so I just cut out a large number of parts and looked at the plans - Why the parts were not simply labelled for left or right is a tad frustrating.
7.JPG

Tabs on the parts help locate some connecting points.
8.JPG

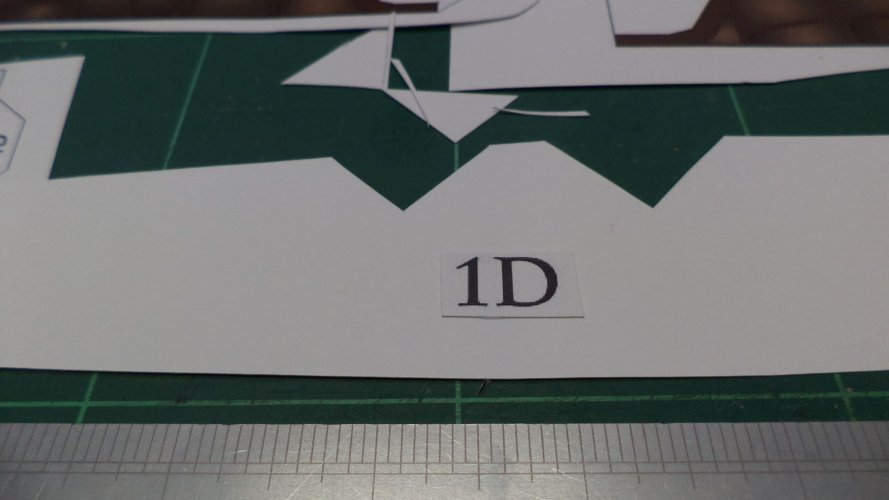
In an effort to make sure parts were not mixed up, I cut the number off the part and stuck it inside.
9.JPG

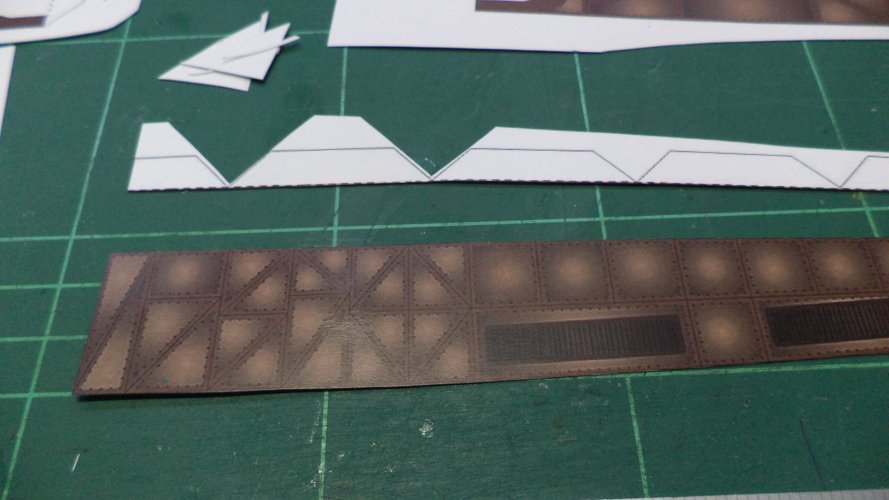
Progress continued and as mentioned in the first part of the build I was cutting the tabs off and resetting them for a flusher fit.
10.JPG

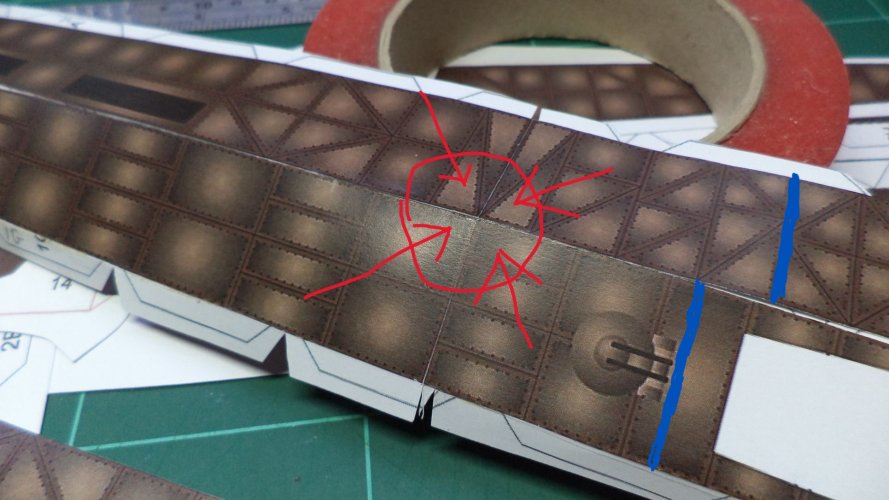
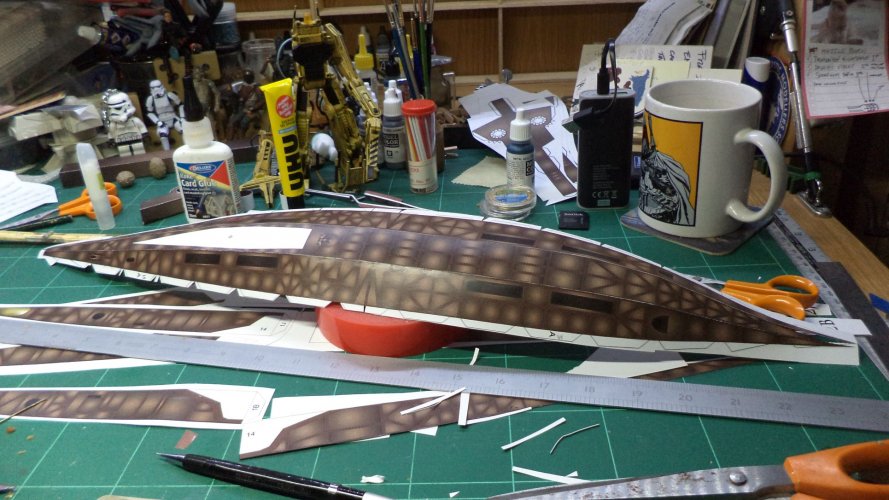
Instead of starting with the parts as instructed, I took it upon myself to start at the bottom as there made more sense with some of the parts and their fit - Six sections of plating which make up the underside were selected, I joined these in the middle to form three lengthy strips.
Tacking one to the hull and popping off for a coffee, I came back and noticed an oddity.

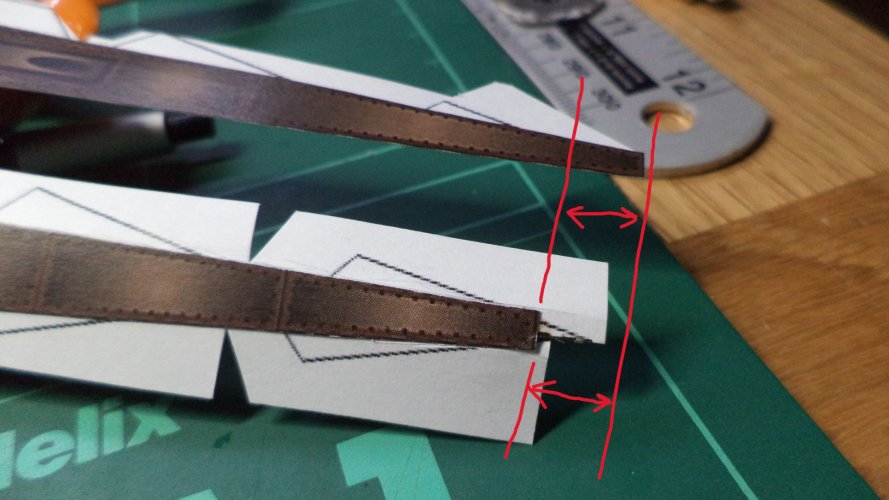
Without dry fitting the parts I had joined the plates in what I thought was the appropriate place 'the middle' but the blue lines are the correct 'I hope!' position.
11.JPG

You can see here the discrepancy in length - a pour over the plans suggest all the stern sections end in the same place. Noting too the panel lines and where they corresponded with each other was also in order.
Thankfully not too much damage was had pulling them apart and this time a dry run made.
Starting at the stern for a second attempt proved much better, and all was well.
12.JPG

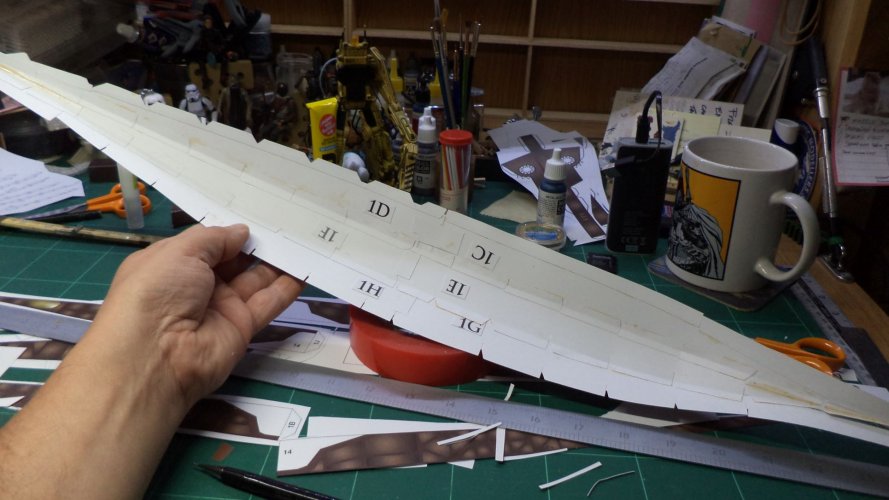
Re-setting the tabs has meant for slow work, but it one afternoon the lower hull has been formed.
She will be over 30" when finished...

13.JPG

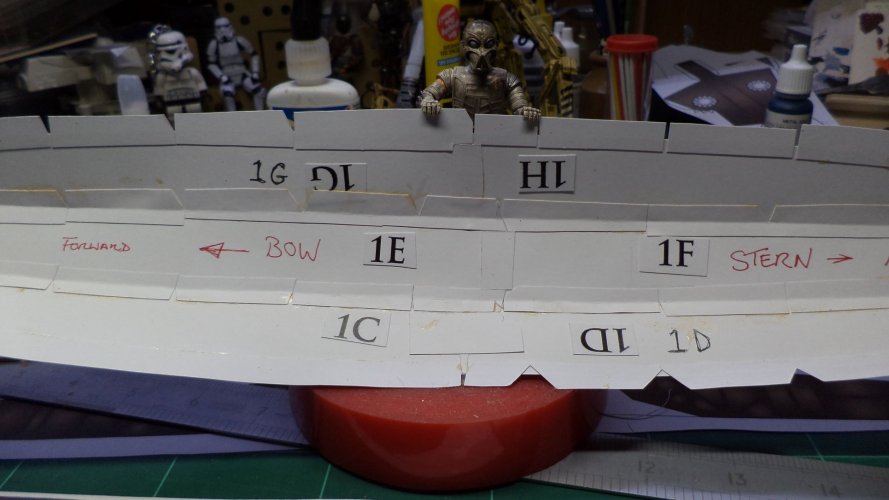
If there was a plan picture showing how these matched up, I would've appreciated it!
14.JPG

Making sure all was as it should be.
15.JPG

Looking slightly like a Junk, rather than a submarine!
16.JPG

Appearing to be an 'easy' build is proving to be more difficult than first thought...but we shall prevail!
 

the mole

Member
Your information is very helpful. I have always wanted to build this model but never got around to it.
I'll be watching this thread closely. Thanks.
 

Chuffy70

Well-Known Member
Your information is very helpful. I have always wanted to build this model but never got around to it.
I'll be watching this thread closely. Thanks.
Cheers the mole: - I have always wanted this boat right from the first time I saw it on t.v - this needs to be done by December, so I be posting often with this one.

Some plastic bubbles might enhance the view ports, but not quite seen anything which will fit yet
 

Chuffy70

Well-Known Member
@Chuffy70 When I lived in Eastern Europe (Slovakia & Czech Republic), I used Herkules white glue. It set up fairly well, with little mess (especially, if you use it sparingly). I would (also) use a small (cough syrup) cup as a glue pot, and use a tooth pick or a hand sewing needle that was attached to a plastic handle to apply the glue.

View attachment 206618
I keep my eyes out for it as I have found a few new suppliers of card models in the EU, so I'll make sure to check out their 'other' sections...

A quick UK search has not brought any results yet, but always open to new products...

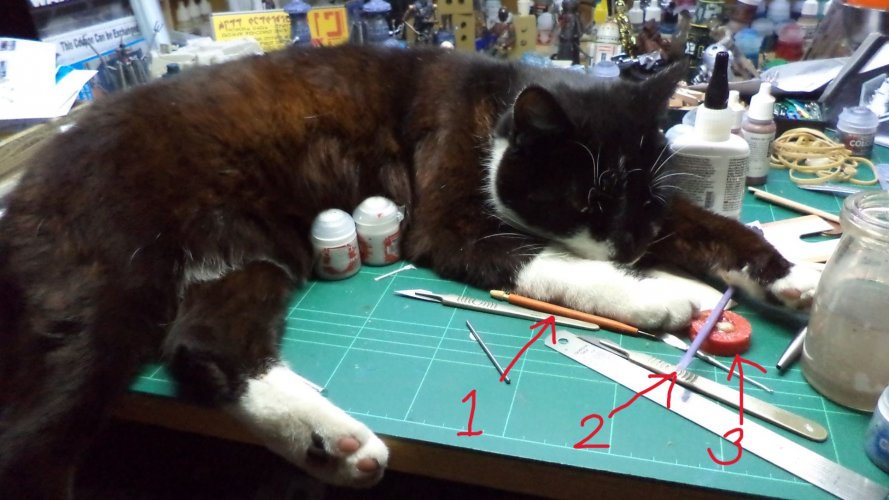
As to your suggestions for application I always use an old burger skewer, number one in the picture, painted orange with bent pin in the end, number 2 in the pic, a purple silicone art tool, and for the glue dispensary an old bottle cap number three in pic suffices nicely...
1a.JPG
 

Rhaven Blaack

!!!THE MAN BEHIND THE CURTAIN!!!
Staff member
Administrator
Moderator
I see that you scalpels as well. I have heard that they work well for precision cutting for models.
 

Chuffy70

Well-Known Member
I see that you scalpels as well. I have heard that they work well for precision cutting for models.
You can't get better than a Swann Morton with a 10a blade... I have Excel & X-Acto too, but the steel on their blades is not great.

The X-Acto sqaure chisel blade is the only one I regularly use, but once again the blade dulls quickly, and the twist
function isn't great.

I'll happily send you a handle and some blades if you want to try British Steel at its finest
 
Top