Nautilus - Disney Version

That is a good price for such a detailed model,, but you could do much of that to your model for far less. ;)
 
That is a good price for such a detailed model,, but you could do much of that to your model for far less. ;)
I think I have gone too far to start messing with this one, the size of Jonathan's kit leads a bit more towards getting a lot more detail on.

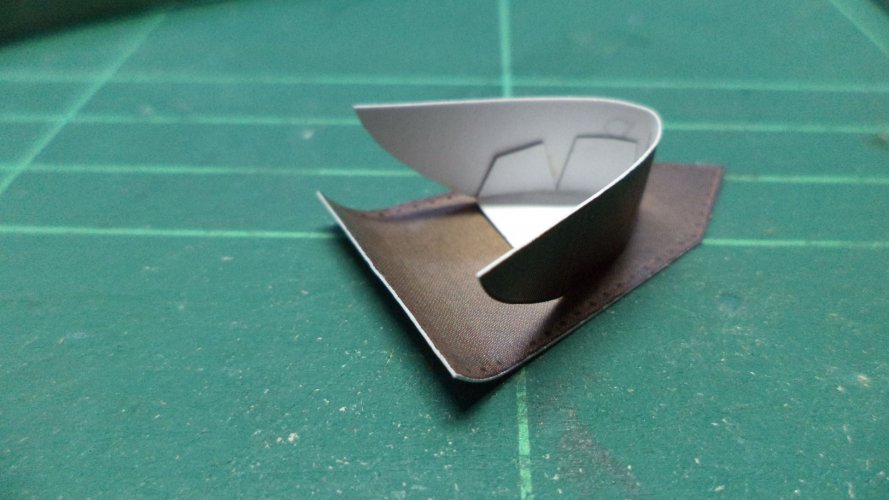
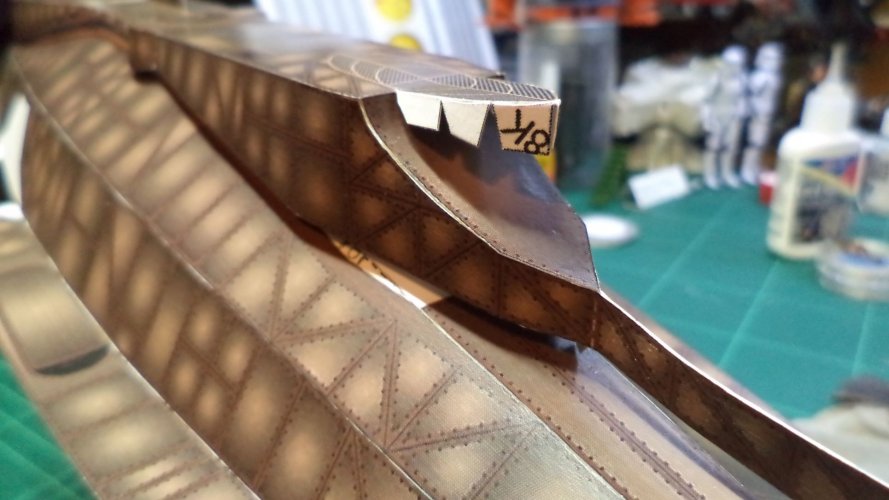
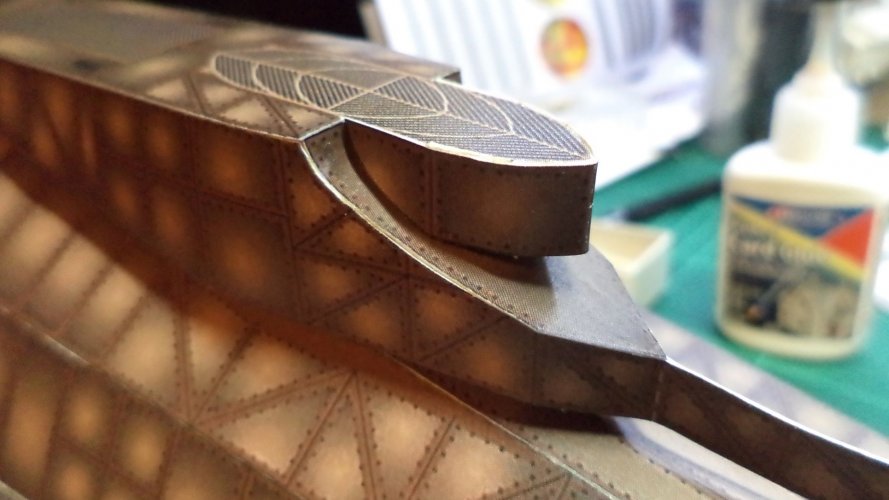
I'll be experimenting on the test piece for added hull texture/painting, plating, with the use of textured paper and adding rivets - did I say rivets! "I must be mad!"
 
  • Like
Reactions: zathros
The number of rivets you see on the Landram, the firefighter set and partially on the launch bay set model are identical to what is seen on screen. Yes, I counted them all. I wasn't able to count the number on the bay set but since I simply duplicated the rivet strip from the firefighter set it should be about correct. More or less. ;)

You may carry on, please. :biggrin:
 
Righty viewers -after our intermission we are back to the main build.

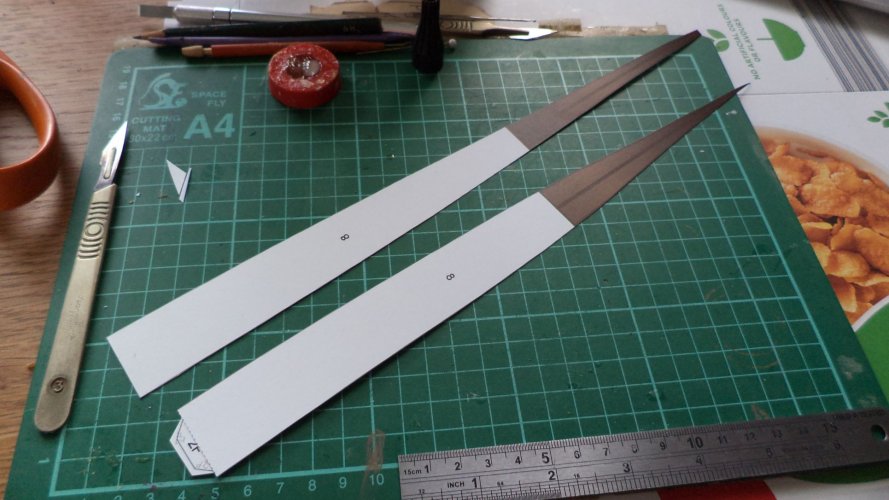
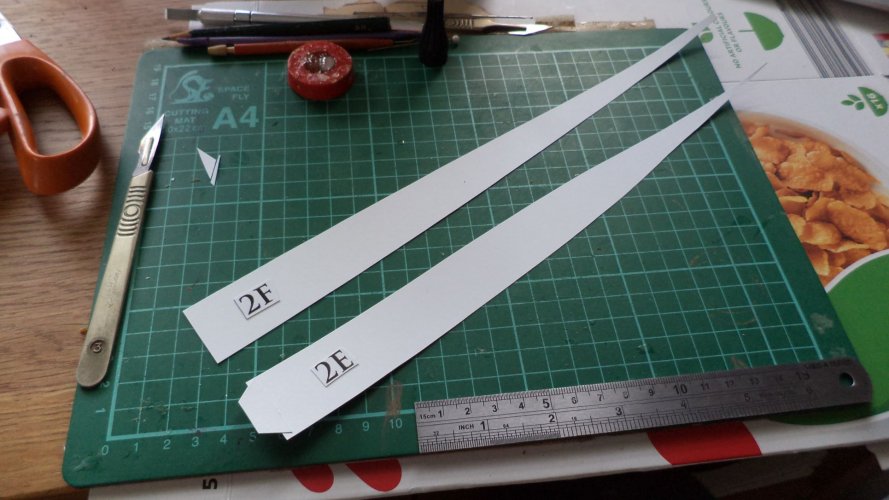
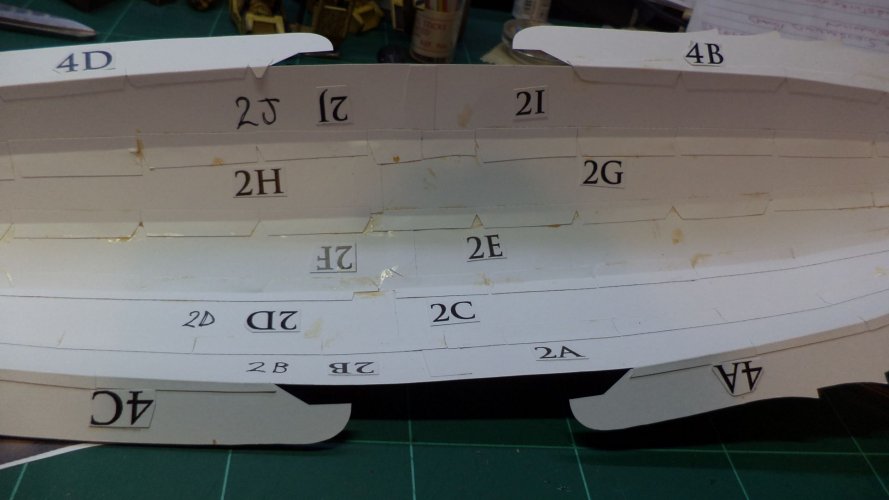
With the two upper sides constructed, I noticed I had a couple of Number 2 parts left over. 2E & 2F
44.JPG

These two parts fit together to form the uppermost deck area.
45.JPG

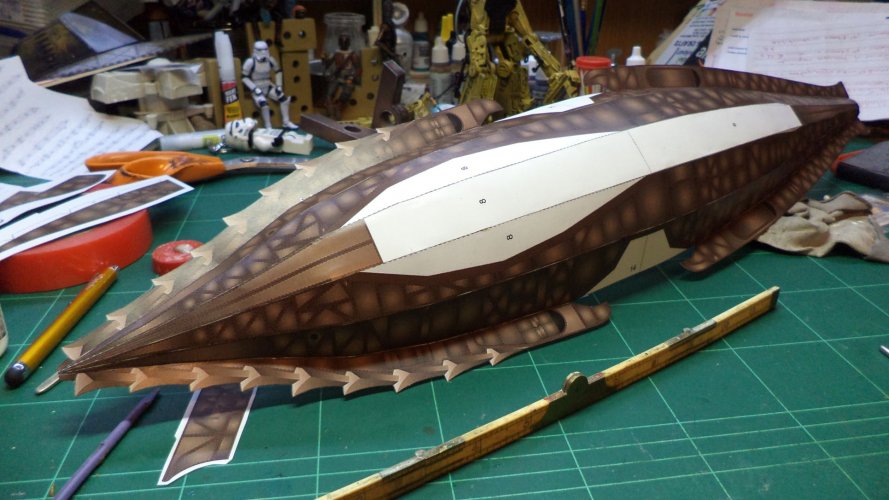
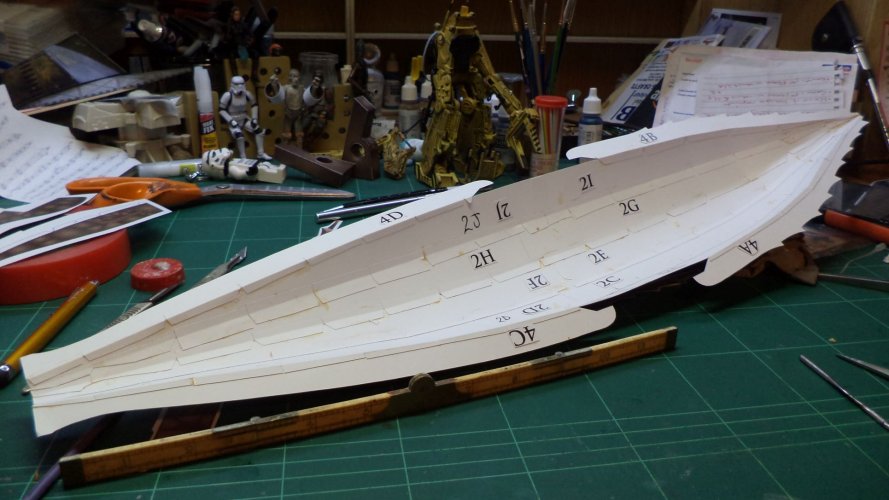
2E & 2F fitted between the upper hulls, to which the top elements will fit onto - As before, I joined all parts from the rear and worked forward.
61.JPG

All top elements came together neatly and very precisely.
60.JPG

Internal numbers for those who need to see.
62.JPG
54.JPG

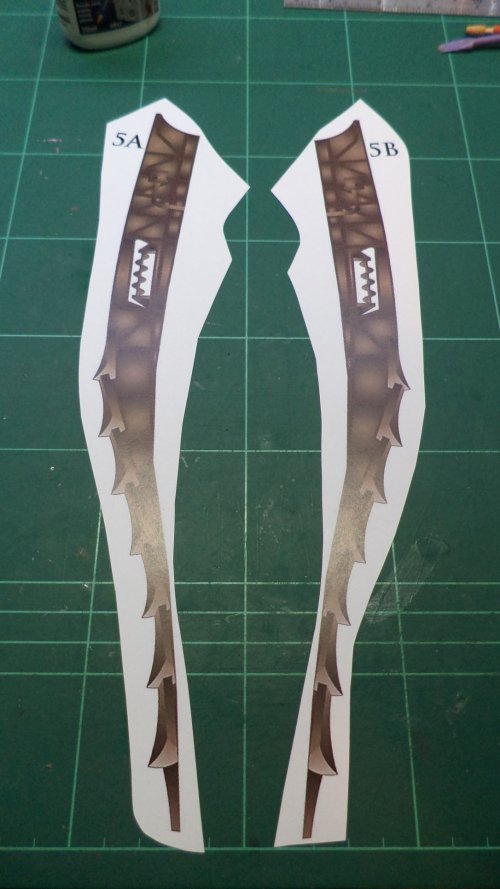
With Parts 1 to 4 out of the way, along come the 'fives' - the is the rear underbelly rake assembly.
57.JPG

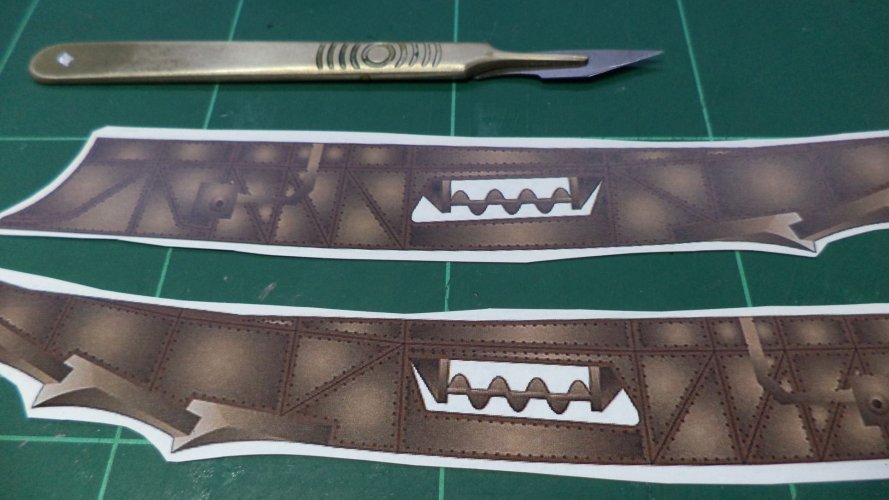
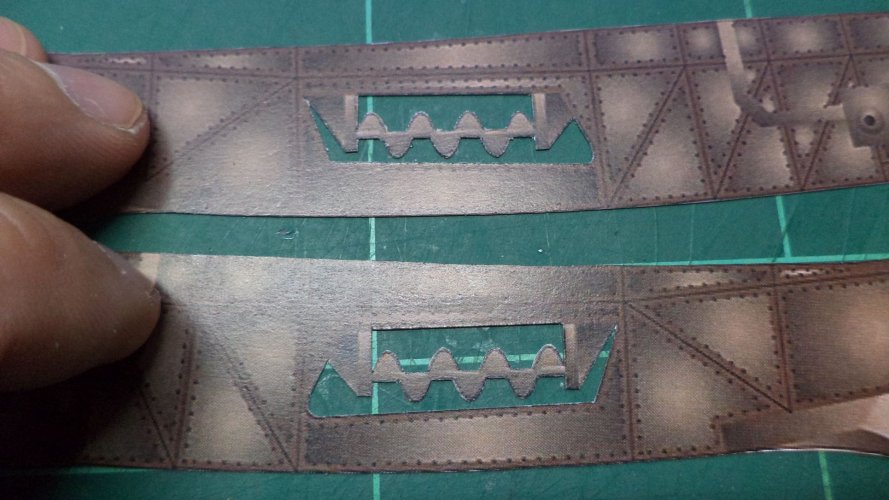
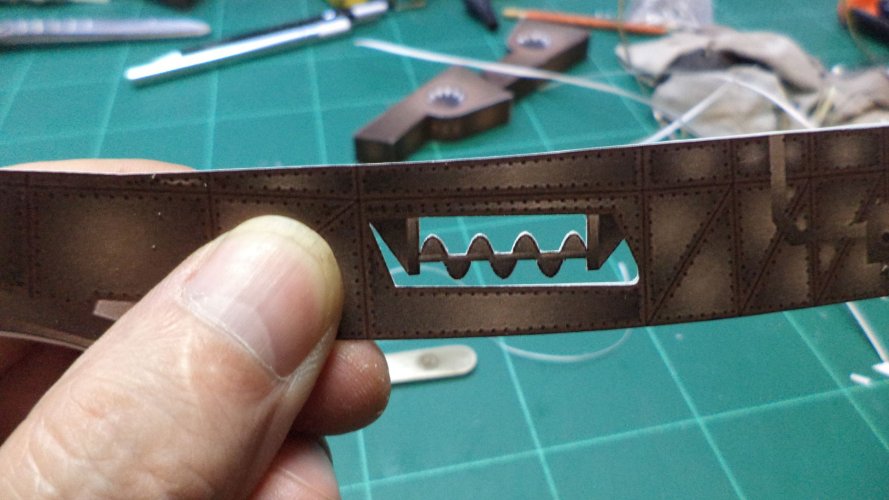
The instructions give you the option here to leave the Spiral Speed Indicator 'as-is' or you can open it out...
Well, new blade in, and let's open her up!

58.JPG

Fiddly stabbings with the scalpel, yields results... Now let us see if they match.
59.JPG

Both sides together, with a near perfect match, well chuffed.
55.JPG

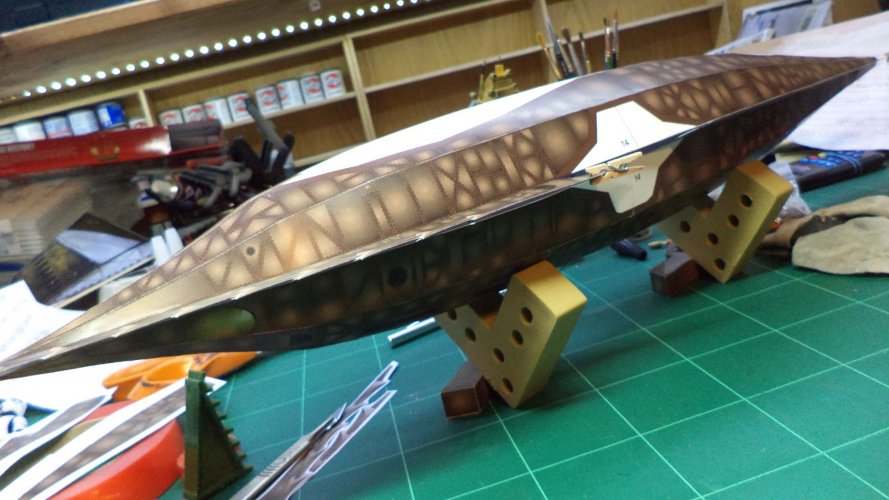
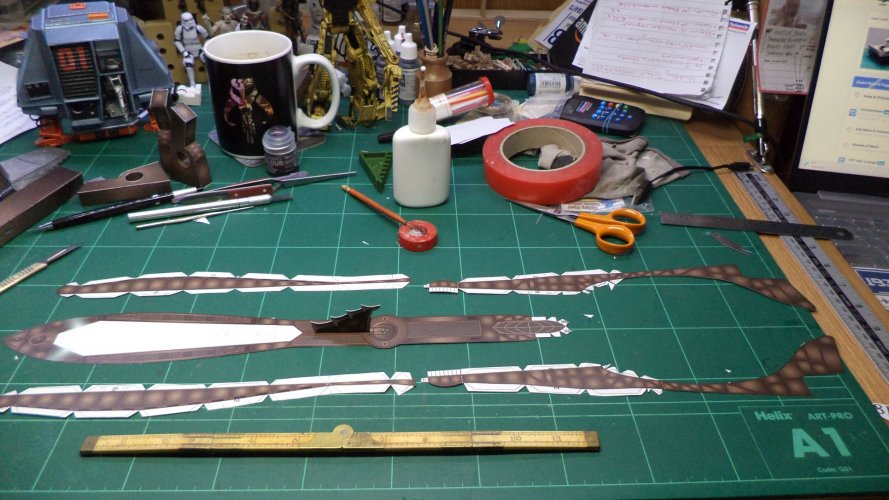
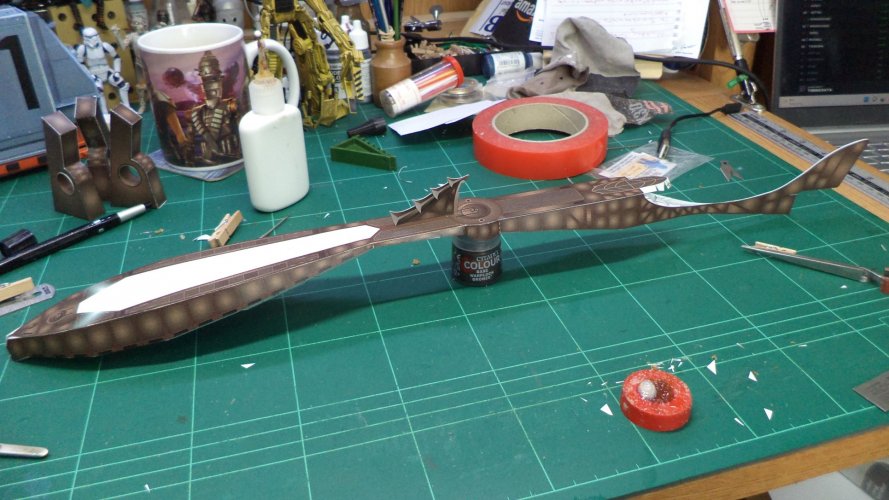
After that sucess, it was down tools for the evening, but couldn't resist seeing the upper and lower hull assemblies roughly pegged together.
56.JPG

'sea' you all later on me' hearties!
 
Just a small update with a couple of 'sub' assemblies

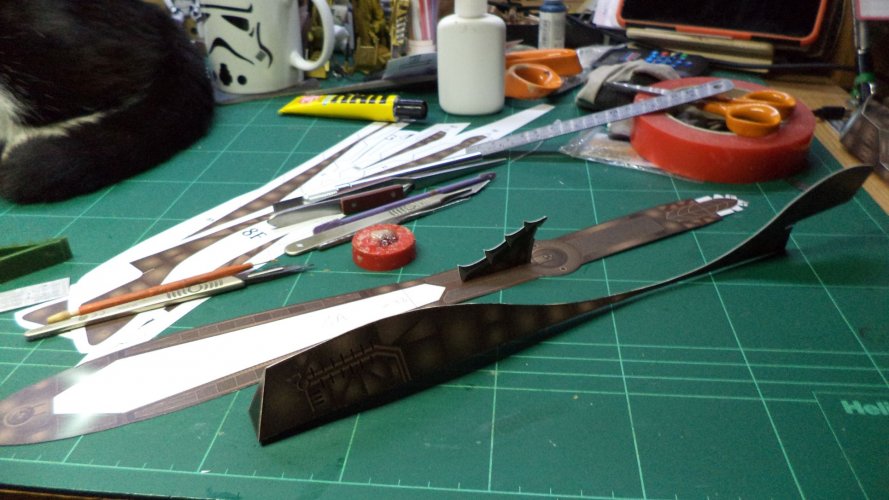
Upper deck section - to the rear of the breathers
n3.JPG

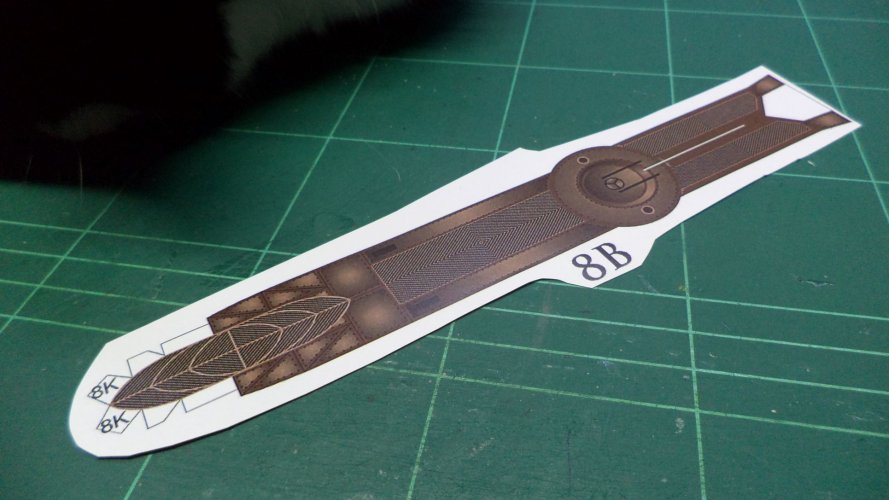
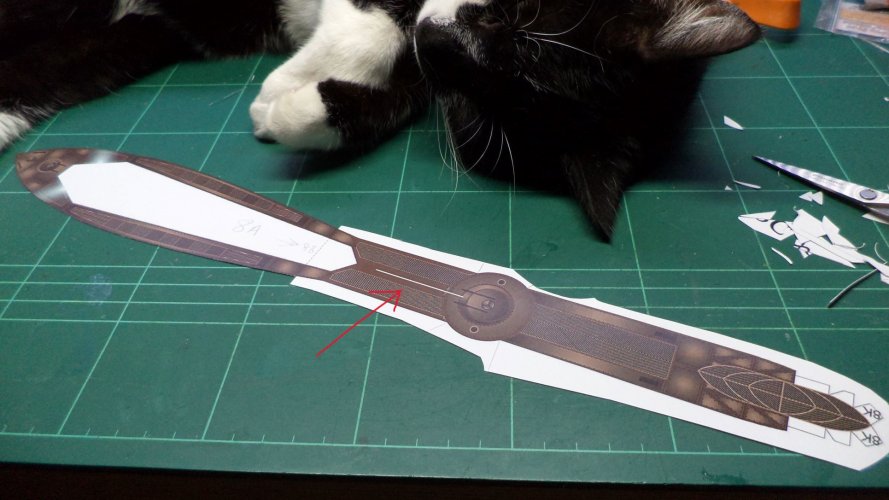
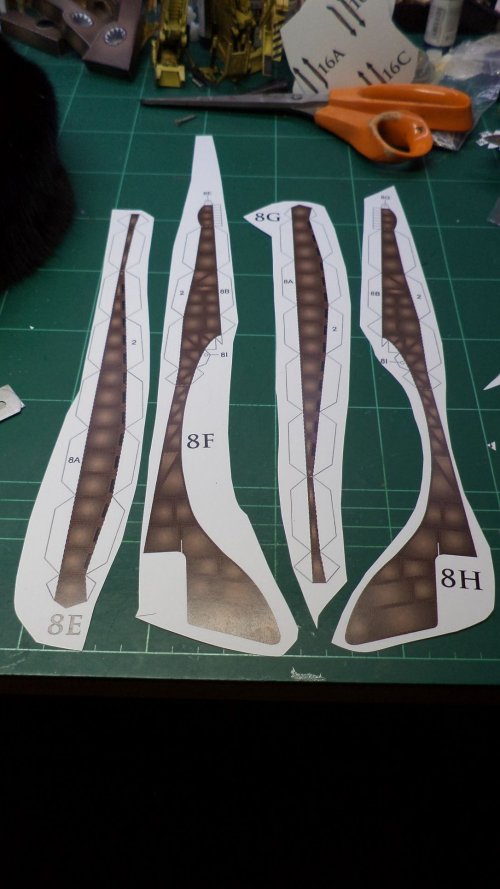
8B spliced to part 8A we cut out earlier. Arrow shows this white part is to be removed - cat optional part.
n5.JPG

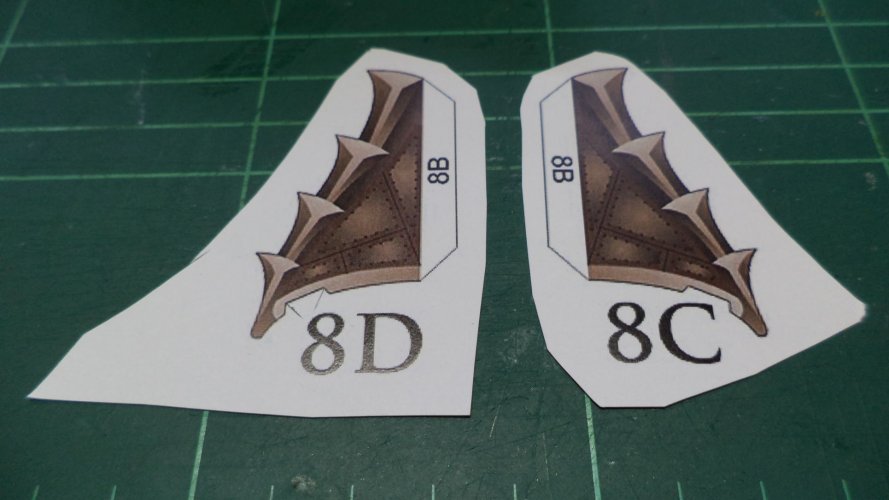
Rear dorsal fin - pieces to be glued back-to-back but not the tab section.
n4.JPG

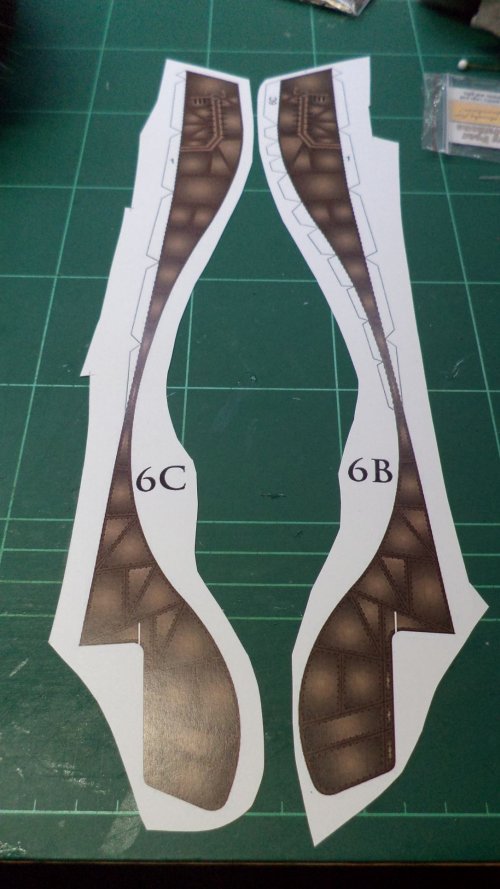
Next up 6B &6C
n1.JPG

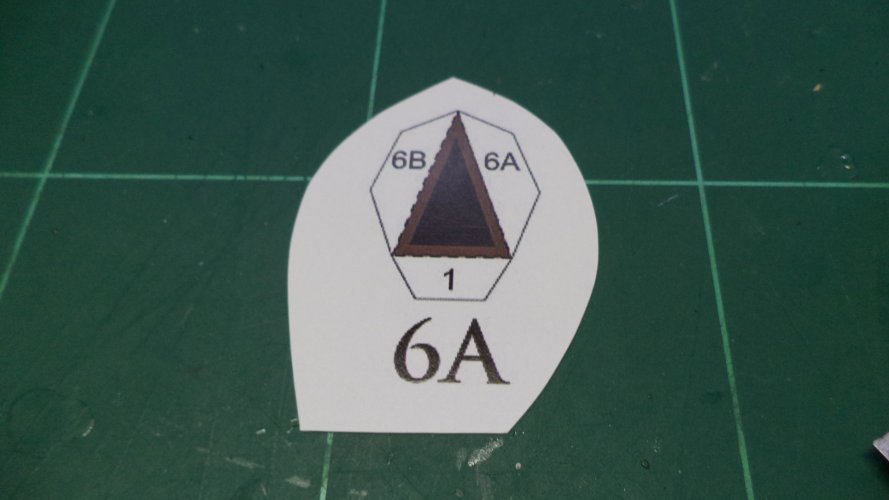
6A to be inserted into 6B 6C
n2.JPG

Both sub-assemblies completed - the fin fixed 'tabs first' into the slot. Lower rear stern section with 6A inserted - Glued just past the thin section, leaving the tail, so to speak - as to help insert the rudder part, which will be sandwiched in there later.
n7.JPG
 
Plodding along nicely - next up the surround to the top decking.

The instructions for these are to glue both parts together after you cut them out, but that's up to you,
n10.JPG

The join is just on the ring near the top hatch...
As I love doing things the hard way, I joined the two parts together - those with more sense might want to do it in sections.
My main reason for doing it joined was to make sure there were no gaps, and everything lined up where it should do.
n11.JPG

Wrestling with the long dangly pieces was tough, but the end result was worth it. Do note there are thin walls just at the end of the breathers/dorsal fin which can get bent if you are not careful.
n12.JPG

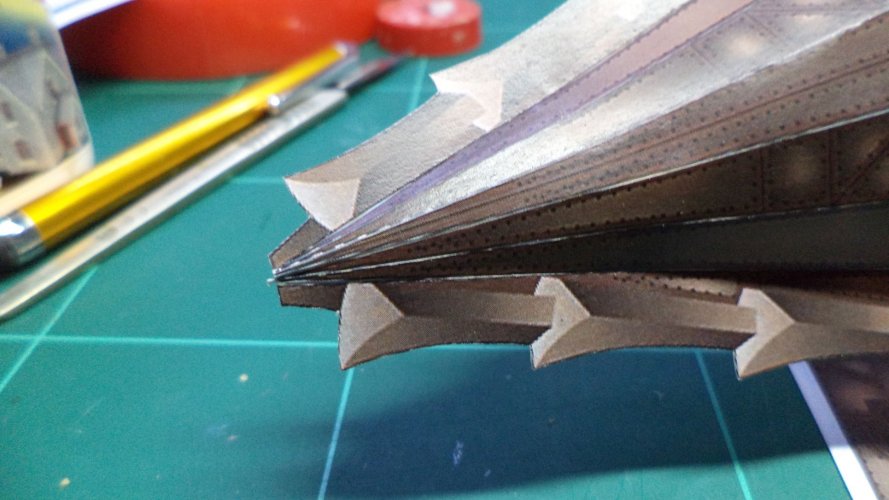
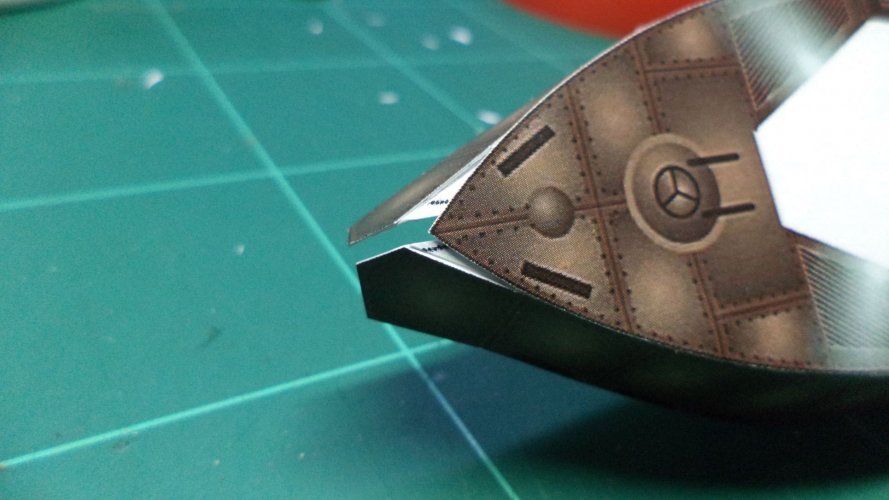
NOTE. As with the rear fins, do not glue all the way at the front of this section. The front rakes will come up though here.
n14.JPG

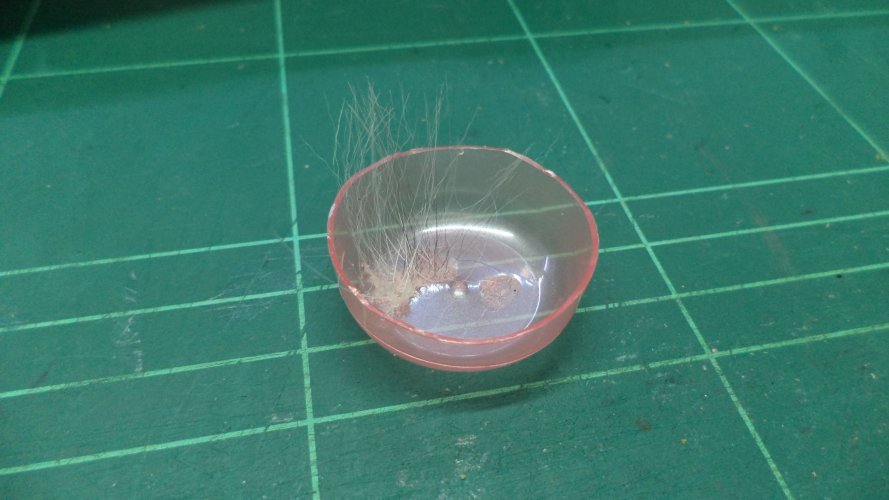
I lost one of my glue cups when doing these parts, and as Hudson came in for his nightly lap sit, I thought what on earth is that!?
He'd laid in it on the bench. got it stuck and had carried it around for a while - the poor chap! Thankfully no harm done, just some lost fur.

n13.JPG

All for today.
 

Attachments

  • n8.JPG
    n8.JPG
    251.9 KB · Views: 3
Back to the bench continues, after the successful completion of my Drone Dewey, its time to brave the waters again...

Nautilus needs to be finished within this coming week, for the Christmas Model Group meet on the 21st, so we dive right on in!

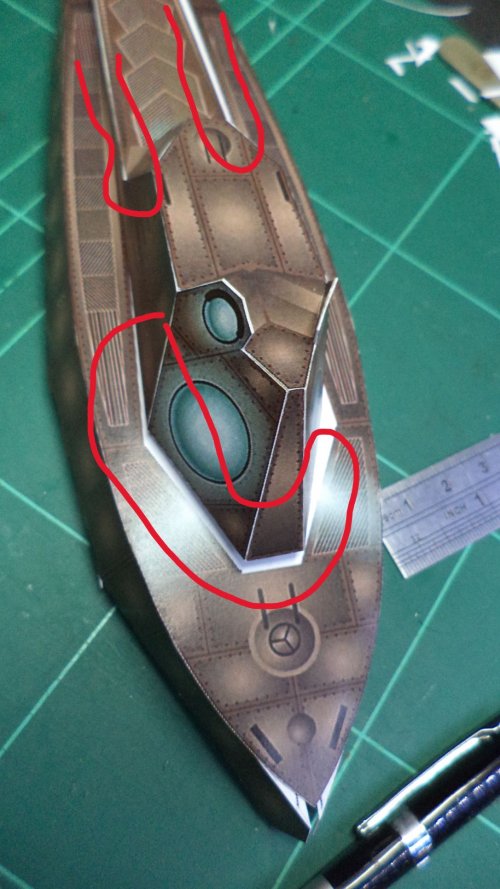
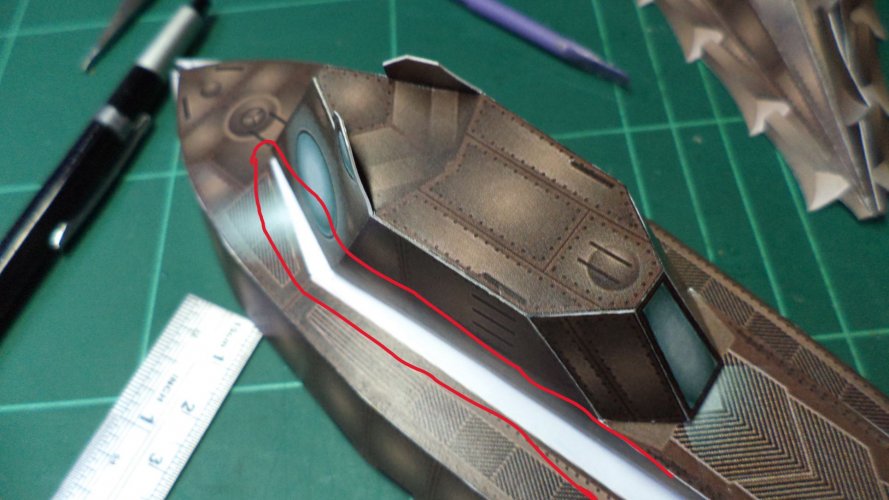
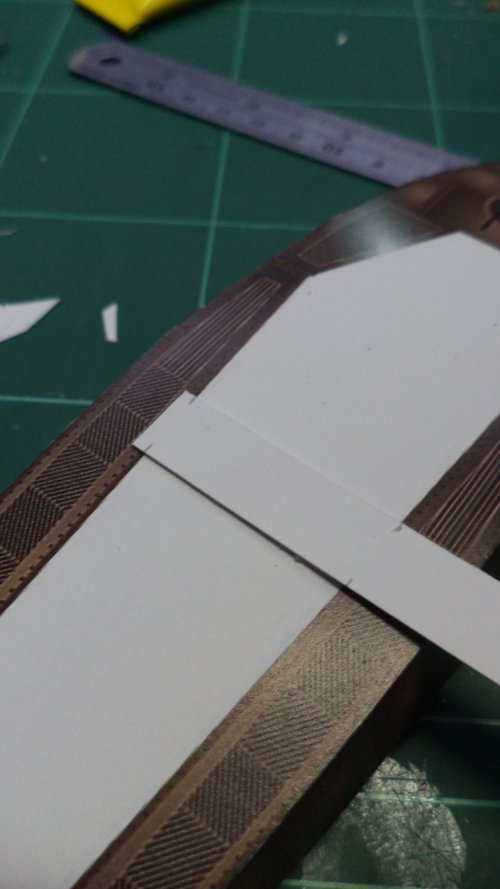
First dry-fit of the wheelhouse was disappointing to find the how much of the underlying attachment area (white-circled red) was viewable.

nn19.JPG

One option I thought of was to cut out some of the white area and poke my fingers through to push the sides out...
n16.JPG

...but I went for adding some transoms/internal spars to force the sides out, which would push the Wheelhouse assembly just over the attachment area.
DSC02367.JPG

Spars added... we'll see how this fits once its good and dry.
n18.JPG

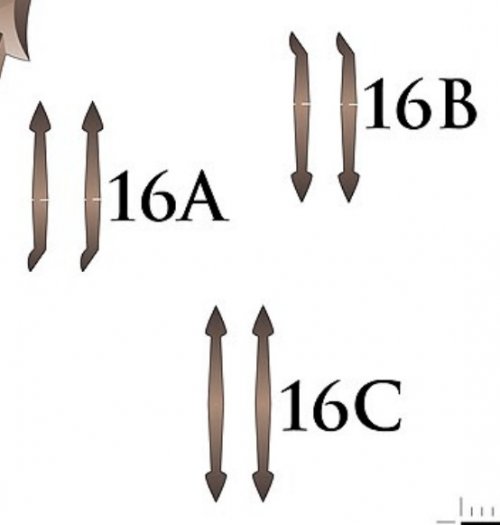
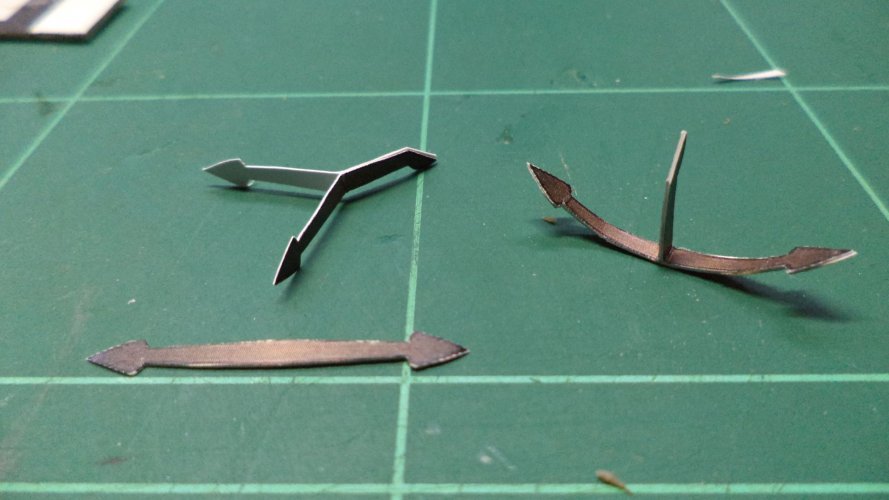
Anchors aweigh! These parts for the anchor looked odd until I had cut them out and assembled them - consulting with the photos of the filming model gave me their location and an idea as to what they actually looked like. PIC from the parts sheet, as I'd lost the one I took.
Web capture_10-12-2022_115554_.jpeg

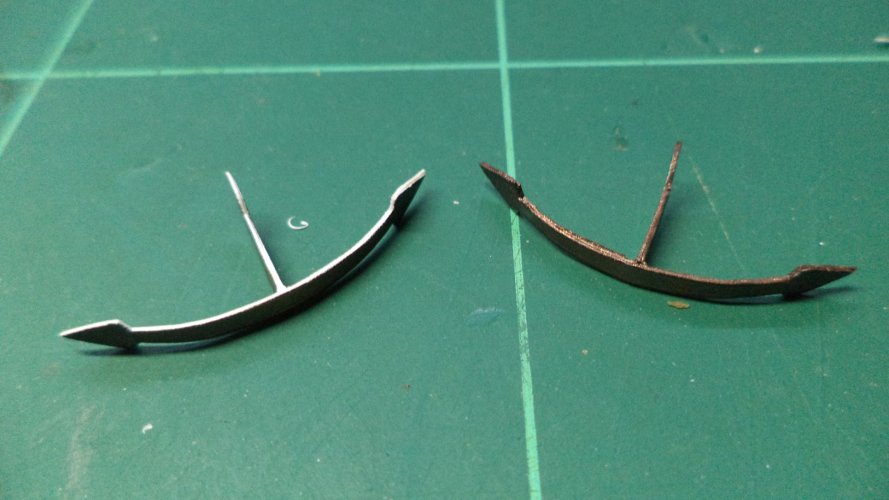
Top parts glued leaving the bottom open - then glued the tips of the bottom part first, then pushing down gluing to the middle.
n20.JPG

Two curvy anchors (British readers please ovoid the obvious joke!) Paint colour test on the right.
n21.JPG

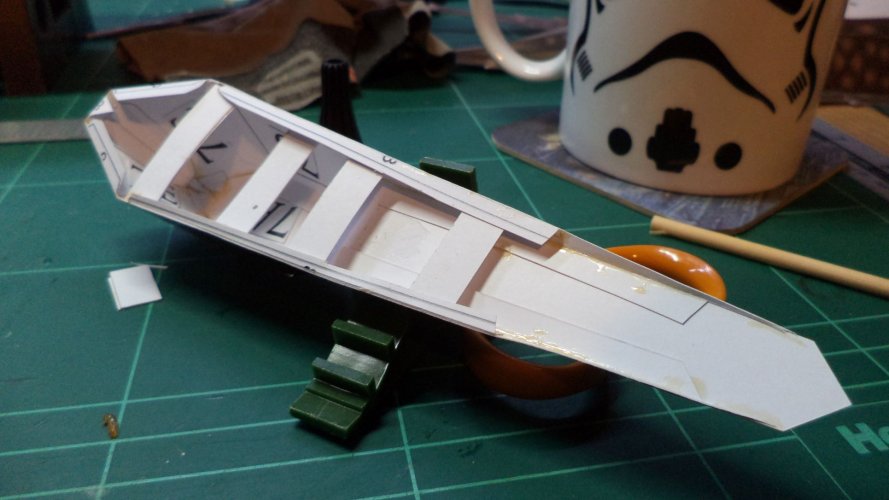
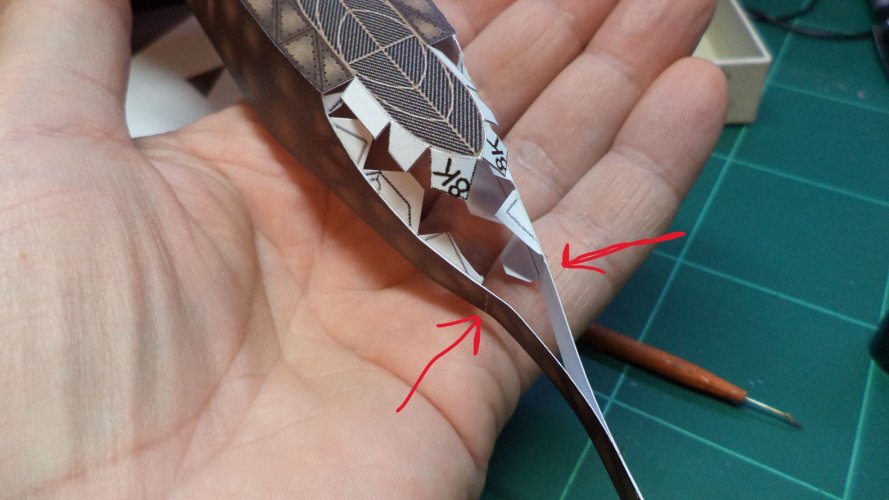
Rear part of the upper deck and time to tackle the skiff/lifeboat - neatly seen magnetizing to the hull in the movie. Red arrows show the rear fin part needed to be glued first at the dotted line.
n22.JPG

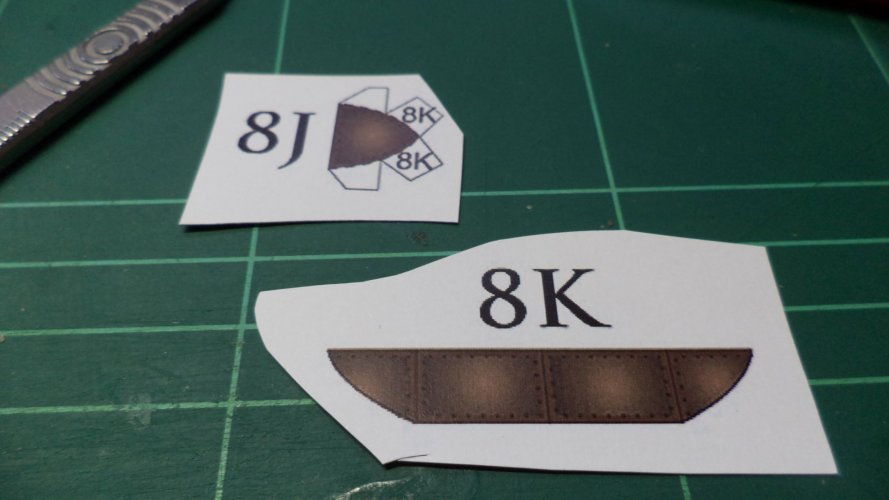
Parts for the rear skiff section.
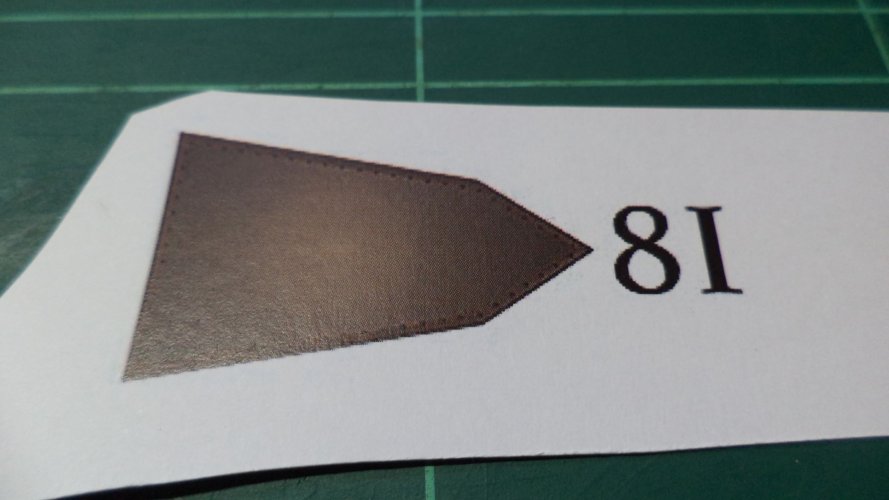
n23.JPG
n24.JPG

Dry fit of the parts. Lower piece under the bottom of the skiff needed a slight curve added to aid fit.
n25.JPG

Much wrestling and the plate was fitted. Some trimming will be needed at the front taper, due to poor fit - possibly me or the kit!?
n26.JPG

Harder than it looked! Wraparound added to rear of the skiff...slight issue with one of the top-sides, but paint will cover the poor installation.
n27.JPG

Another few bits completed - hopefully moving onto putting the top and bottom hull together tomorrow...which will be annoying, as I keep all the pre-cut parts in the hulls!

fingers crossed and fish fingers eaten!
 
This thread is very informative. Thank you for pointing out the obstacles and your solutions to overcome them. :)