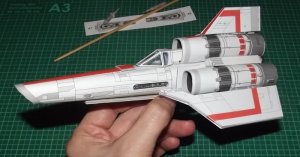
Those look like they would be fun to augment.
Launch when ready!
- Thread starter Revell-Fan
- Start date
You are using an out of date browser. It may not display this or other websites correctly.
You should upgrade or use an alternative browser.
You should upgrade or use an alternative browser.
Thank you! 
I just revised the construction of the intakes. Now you assemble the inner piece and wrap the outer hull around. That eliminated one part and makes assembly much easier. The Beta build will show if everything fits properly because you always have to consider the thickness of the paper.
I just revised the construction of the intakes. Now you assemble the inner piece and wrap the outer hull around. That eliminated one part and makes assembly much easier. The Beta build will show if everything fits properly because you always have to consider the thickness of the paper.
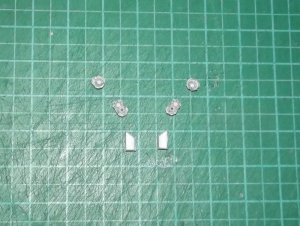
The additional laminated parts for the Y-piece are attached.
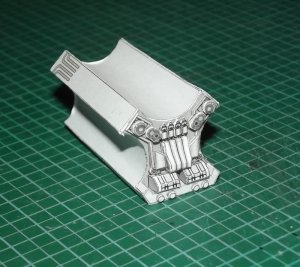
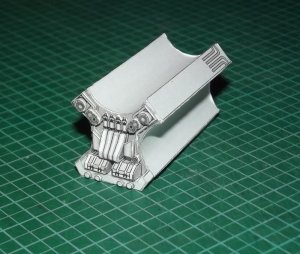
The little cylinders may be a bit thicker.
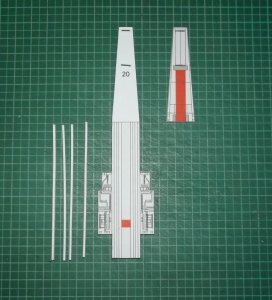
The parts for the undercarriage.
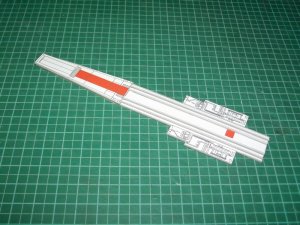
Six incisions have to be made to hold the landing gear in place.

Aft and front fuselage are glued together.

The holes became very handy for this, so I may recommend leaving them.
The pieces were left to dry and I tackled the engine tubes.
I pre-shaped the intakes of the side engines:
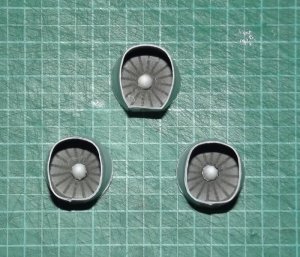
Basically they are rectangular with rounded edges. It's a bit tricky because of the lack of formers but with some patience you can achieve an even better result.
RB brought up a mistake in the intake assembly because of the flaps showing. This was intentional because a plate was to be glued over them to conceal them:
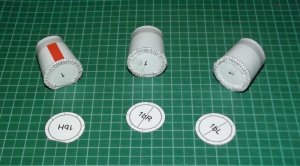
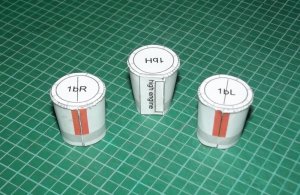
You can see that the size of the circles was a tad too small because of the thickness of the flaps. I corrected that in the plans. However, then I realized that there was a much easier way of assembly which made me revise the pattern once again. Now the circle with the fan texture was transferred to the inside part of the jet intake. You assemble the inside first and wrap the outer piece around it. Then you laminate the circle with the greeblie placement marks to the back to conceal the flaps and texture the intake piece. In the end the intakes will look the same but one part was eliminated.
This is a comparison between the old and the new collar piece:
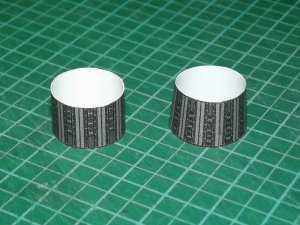
The old one was straight whereas the new is a truncated cone. This brings it closer to the original design. I may enlarge it a bit. The tubes are big enough to be greebled out. The kit will provide you with appropriate parts.
Basic assembly is the same: Just stacking the single pieces on top of each other. Make sure that they are centered correctly.
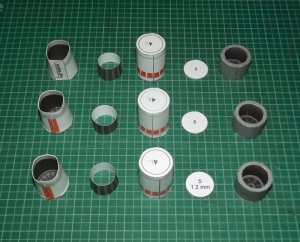
High engine complete:
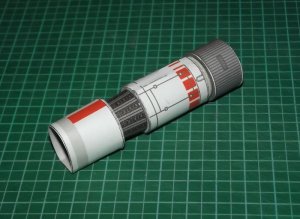

The others will follow after I have checked the overall length. CU!
Steady there she goes! 
It takes some time to shape the intakes. This doesn't look too bad!
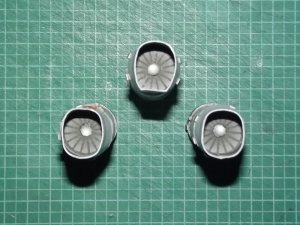
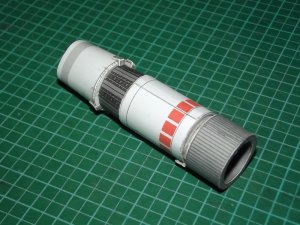
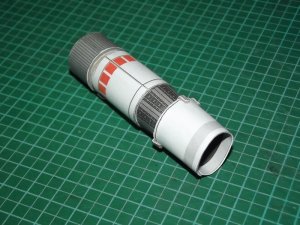
Some greeblies and clamps are attached around each tube.
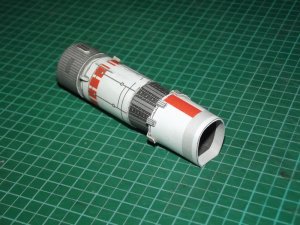

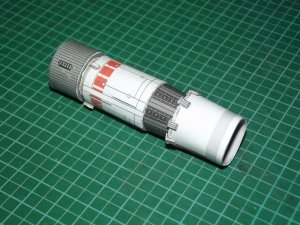
The plate behind the intake has some marks which tell you where to attach the clamps. However, there are two places where no clamp must be attached because this is where the tube is glued to the fuselage. The plate shows markings all around for easy building. So you don't need to pay attention to which side goes up and which goes down.

Now we are getting back to the fuselage.
After gluing the fuselage together the hole behind the cockpit is no longer needed. It is closed with a plate which leaves a smooth finish. Then the block behind the canopy is assembled and attached:
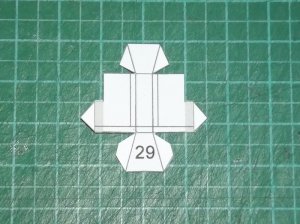
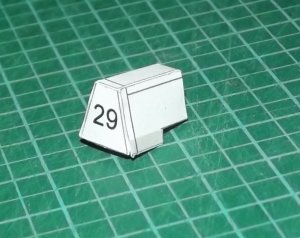

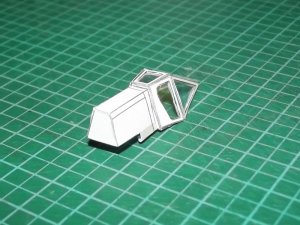
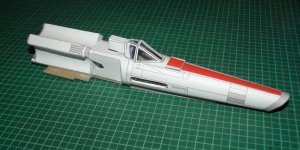
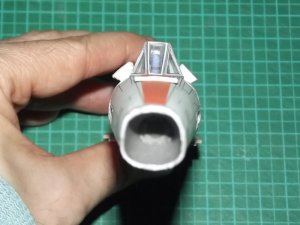
Alignment test: Passed!
It takes some time to shape the intakes. This doesn't look too bad!

Some greeblies and clamps are attached around each tube.


The plate behind the intake has some marks which tell you where to attach the clamps. However, there are two places where no clamp must be attached because this is where the tube is glued to the fuselage. The plate shows markings all around for easy building. So you don't need to pay attention to which side goes up and which goes down.


Now we are getting back to the fuselage.
After gluing the fuselage together the hole behind the cockpit is no longer needed. It is closed with a plate which leaves a smooth finish. Then the block behind the canopy is assembled and attached:


Alignment test: Passed!
Last edited:
Now comes a strange "step", literally! 
The thrusters (the dark grey ribbed rear parts) have a larger diameter than the engine tube (the part with the interrupted orange markings). The cutout in the fuselage is straight and was measured from the diameter of the thruster. If you glue the tube to the fuselage as is it will angle in and would not be attached straight. Some angling is OK but to avoid getting a skewd look the position must be corrected. I had a choice, either design a step into the fuselage cutout or to make the cutout straight and add a step later. I chose the latter because it is much easier to build.
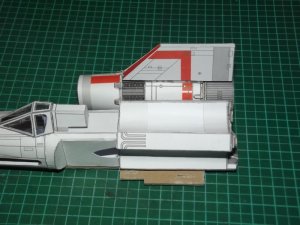
A plate is laminated to the fuselage cutout to beef it up a bit. The thicker it is the straighter the engine tube will be. I decided a medium angle would do but you are free to fill it up as you wish.

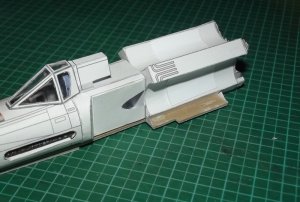
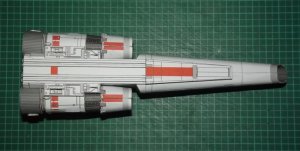
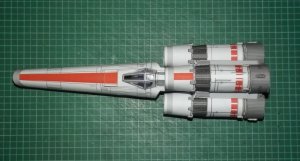
Small but important tip: I pushed the wings and fin into position to determine the correct orientation of the tubes. It is easier that way.
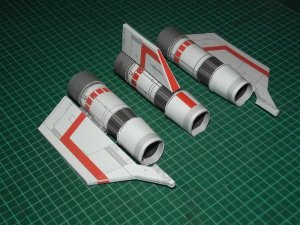
The thrusters (the dark grey ribbed rear parts) have a larger diameter than the engine tube (the part with the interrupted orange markings). The cutout in the fuselage is straight and was measured from the diameter of the thruster. If you glue the tube to the fuselage as is it will angle in and would not be attached straight. Some angling is OK but to avoid getting a skewd look the position must be corrected. I had a choice, either design a step into the fuselage cutout or to make the cutout straight and add a step later. I chose the latter because it is much easier to build.

A plate is laminated to the fuselage cutout to beef it up a bit. The thicker it is the straighter the engine tube will be. I decided a medium angle would do but you are free to fill it up as you wish.


Small but important tip: I pushed the wings and fin into position to determine the correct orientation of the tubes. It is easier that way.

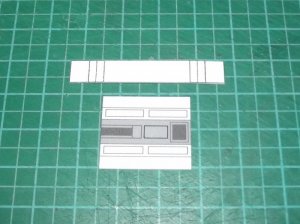
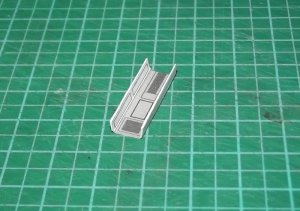
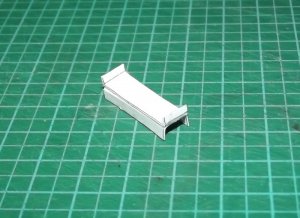
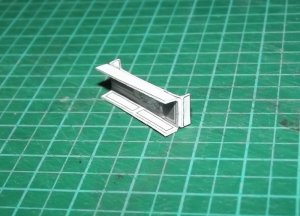
Next I continued with the flaps of the removable landing gear.
The theory behind the construction is this: The flaps are assembled in the open position. On the back side there will be pins which allow you to push the gear into place.
The front flaps:
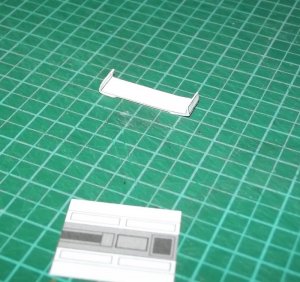
And the rear bay flaps:
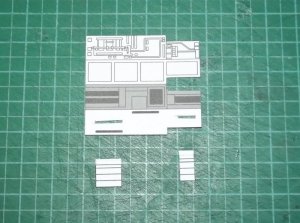
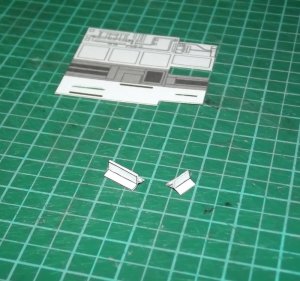
The pins are pushed through holes in the back side and glued to it.
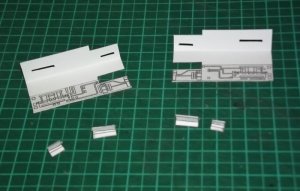
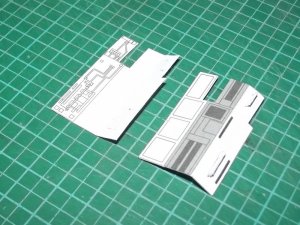
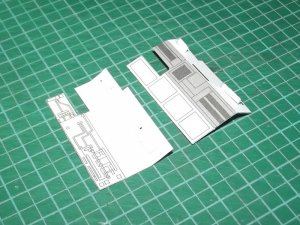
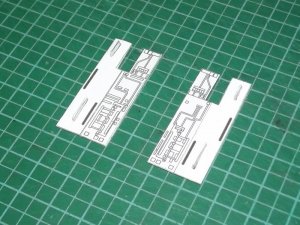
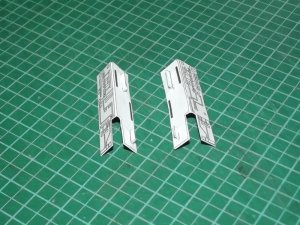
That's it for the moment.
Ah well, maybe I have one more for you. But be warned. It's nothing for the faint-hearted, so better be seated.
Ready?
Are you sure?
REALLY?
OK, don't say I haven't warned you!
The theory behind the construction is this: The flaps are assembled in the open position. On the back side there will be pins which allow you to push the gear into place.
The front flaps:


And the rear bay flaps:


The pins are pushed through holes in the back side and glued to it.


That's it for the moment.
Ah well, maybe I have one more for you. But be warned. It's nothing for the faint-hearted, so better be seated.
Ready?
Are you sure?
REALLY?
OK, don't say I haven't warned you!
Short sitrep: I need to cover up the destruction I did to the undercarriage, close some holes and add a few detail parts. These parts are ready for printing, so we may have a launch date soon! Time to dust off your flight gear..! 

Let me guess, submarine sandwiches and potato wedges are on the menu and she is behind Jolley, Boomer and Green-Bean. Not only that, but she is having lunch with Sheba, Athena and Serena. So, that means that this is going to take awhile.Not yet, Rigel is still having lunch..!

- Apr 5, 2013
- 13,876
- 10,216
- 228
I would have left the first row engine intake vane the same size, but would have cut them and turned them, trailing edge towards the rear, as they would be used that way for atmospheric flight, which was when those intakes worked, grabbing "whatever" and feeding it to a fusion reactor. One could argue they were closed for space flight, but even them, they would have separations lines, which would add some detail to the interior of the engine pods when looking inside. If this was done, or greebled by the builder, I would suggest making each blade out of folded stock, to make them into an airfoil shape, possibly mounting them on a pin so they could spin. Just an idea.
Will there be a wheels down version?
Will there be a wheels down version?
I would have left the first row engine intake vane the same size, but would have cut them and turned them, trailing edge towards the rear, as they would be used that way for atmospheric flight, which was when those intakes worked, grabbing "whatever" and feeding it to a fusion reactor. One could argue they were closed for space flight, but even them, they would have separations lines, which would add some detail to the interior of the engine pods when looking inside. If this was done, or greebled by the builder, I would suggest making each blade out of folded stock, to make them into an airfoil shape, possibly mounting them on a pin so they could spin. Just an idea.
It is somewhat funny that you mention this. Once I start to work on the "finished" model (that will be used in a diorama), I am planning to do exactly what you mentioned. thumbsup I have already been mapping out the greebles and the details that I want to add and augment for this model! :hide: :Viper:
This IS the wheels down version. And the wheels up. 2 for the price of 1.Will there be a wheels down version?


