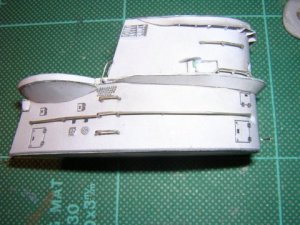
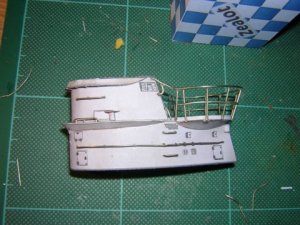
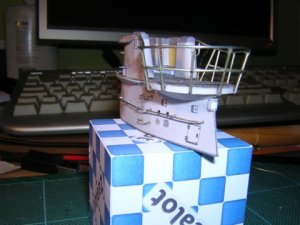
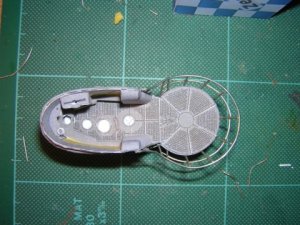
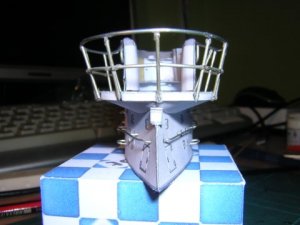
I was concerned that I had used too thicker card for the deck plate and the top half of the conning tower was not going to seat properly due to the position of the navigation light inserts....
I got away with it. Just about. It was very tight!
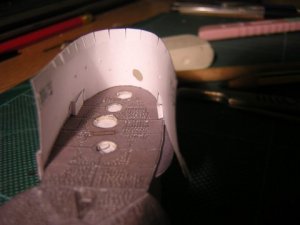
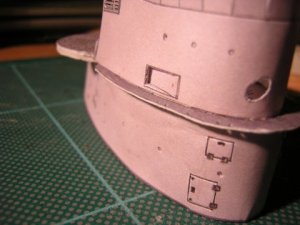
With that potential problem out of the way, I moved on to further assembly of the conning tower.
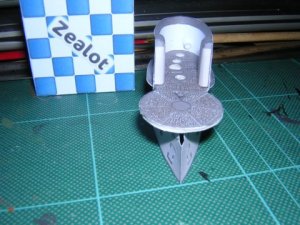
Along comes another tricky bit...
The footplate that sits inside the conning tower, needs to sit atop the nav light inserts, and accommodate the cylindrical recess at the front of the tower.
This took some considerable effort to fettle into place.
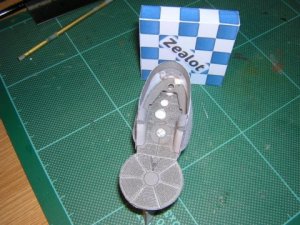
Along comes the next challenge.
The outside fairing gave me some grief. It comprises of a strip of paper that needs to be curved to fit the shape of the tower, but also curved in the opposite plane to flair out. There are a series of triangles and small rectangle strips to support the fairing but the instructions here were not overly clear.
So, I thought I'd be clever and fit the rectangles (this provide the gap between the tower skin and the fairing) & triangle supports first...
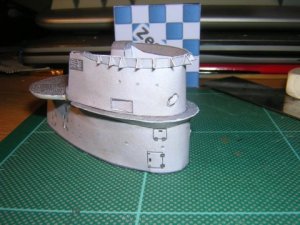
DON'T DO THIS!!
Because the fairing strip is curved in two planes, it doesn't want to conform to the shape dictated by triangle supports. All that happened was the fairing strip lost it's shape and the pressure used to try and get to conform caused it to start to show the underlying supports through to the outside surface.
Cursing, I ripped off the fairing strip and cut the triangle supports off. Grrrr...
Attempt 2.
This time I formed the fairing strip and glued the top edge to the rectangle strips attached to the conning tower. This then allowed the fairing strip to take the shape naturally and the support triangles could by slid underneath and adjusted as necessary to support without distorting.

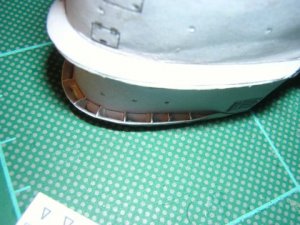
Fairing out of the way. I moved on to the box for the RF aerial
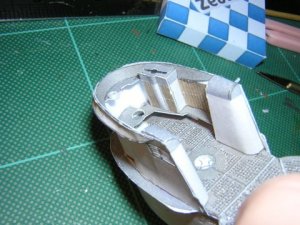
Now on to fitting handrails and other external parts before paint...


