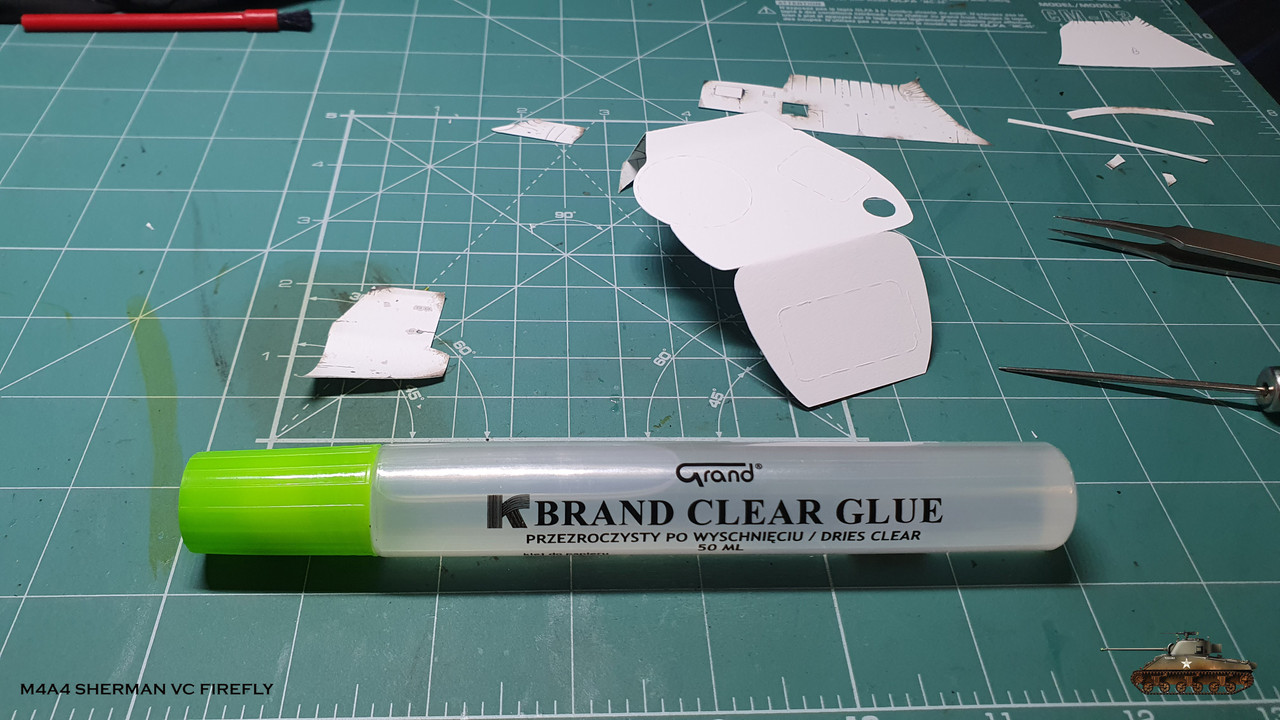
Took a little break between stages. The reason was that in instructions it's suggested to use BCG glue for gluing turret. So i ordered and waited for it to be delivered.
And I'm glad i did.
I was in need to glue a lot of petals and parts by edge and did it with ease with this glue. Compared to others that i have, BCG doesn't add layer between paper like super glue gel or white glue do. It glues faster than white glue, but you can reposition parts unlike with superglue. It doesn't leaves a lot of residues and hairs like UHU glue do. After drying the parts still remains flexible, unlike with superglue. And if you want to fix, you can easily take parts apart without damaging them.
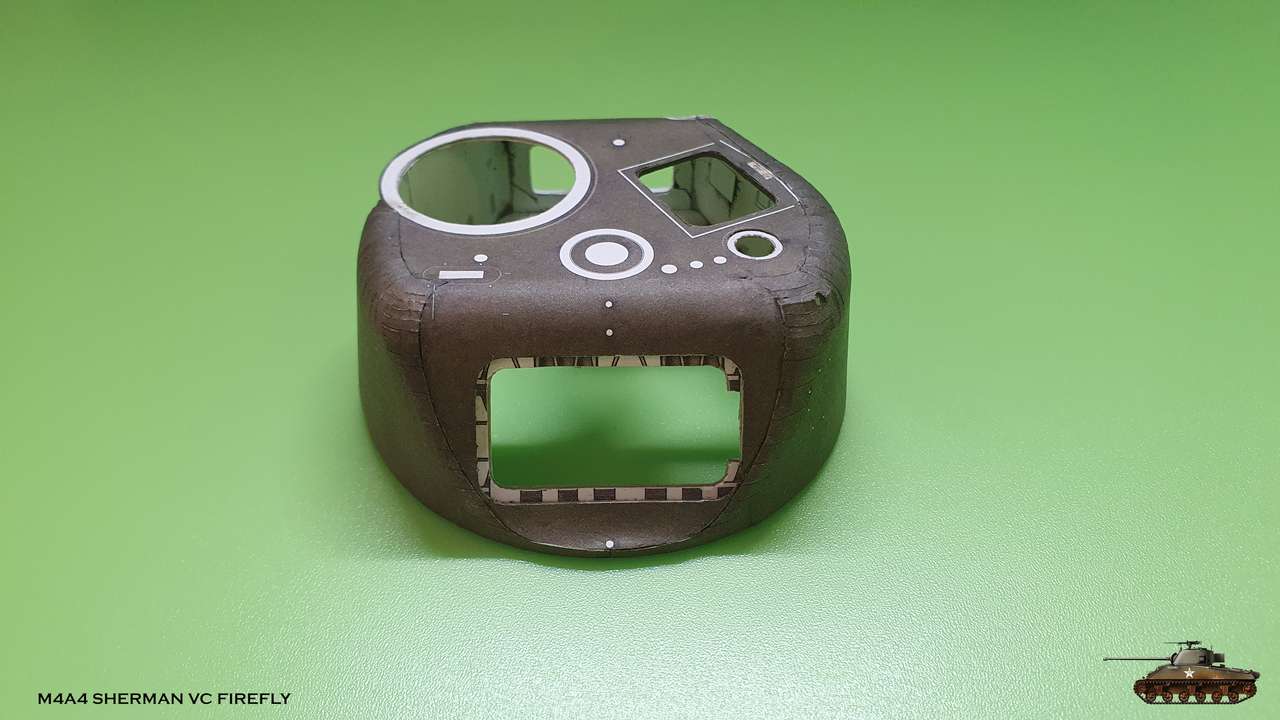
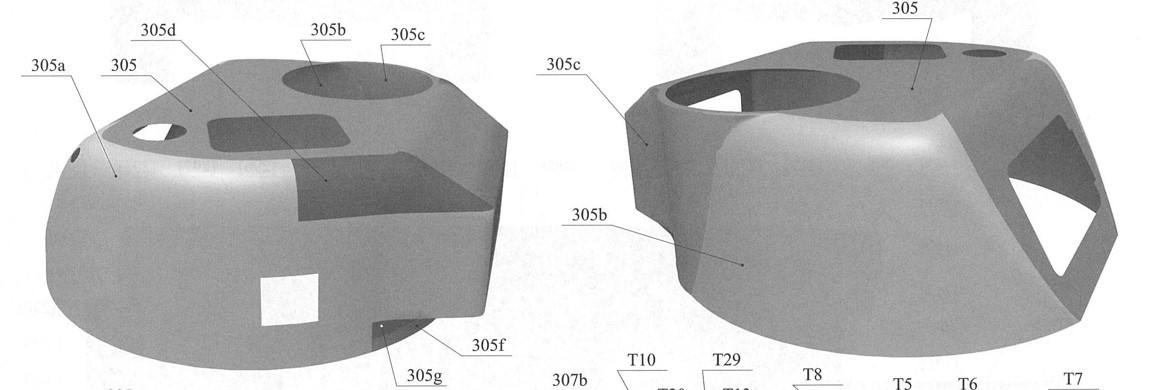
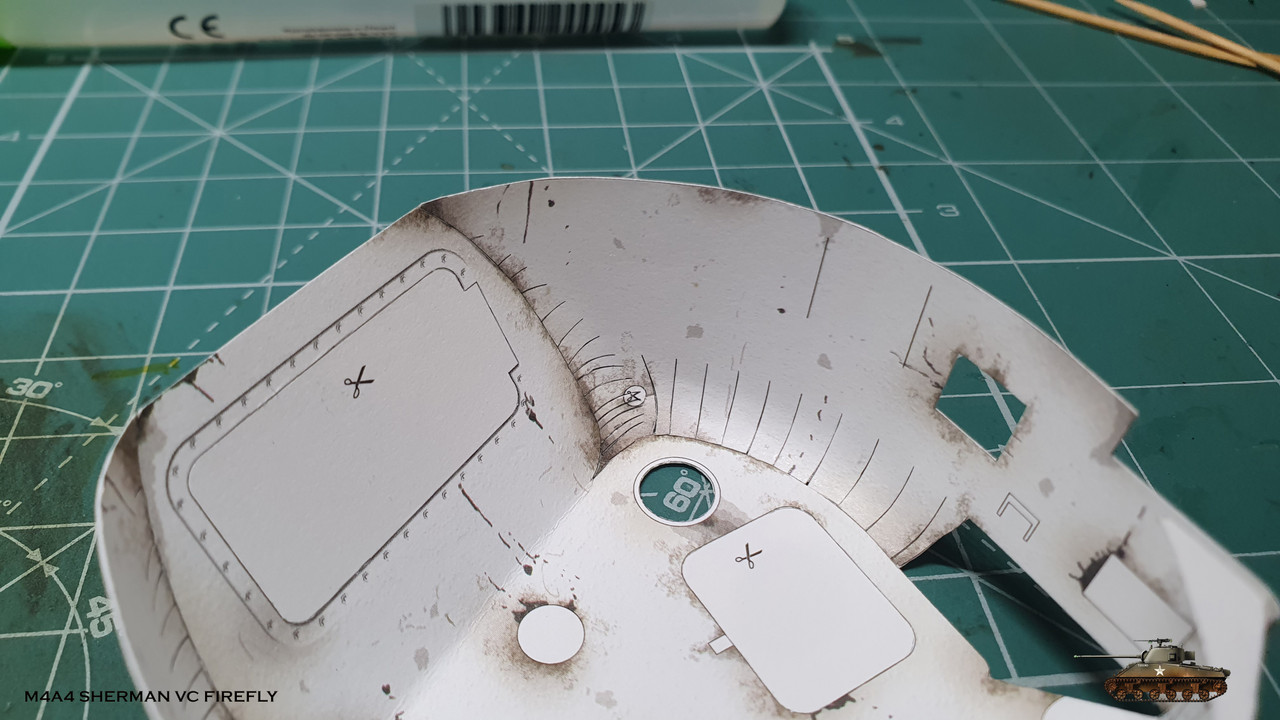
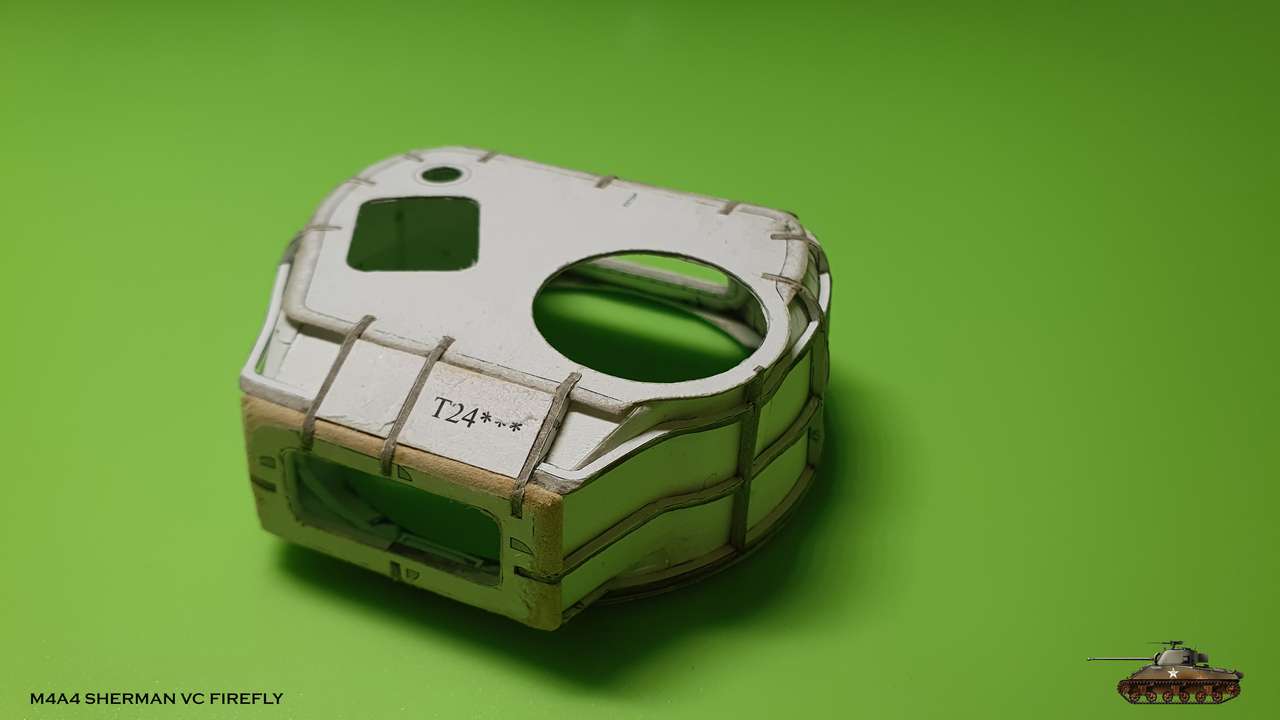
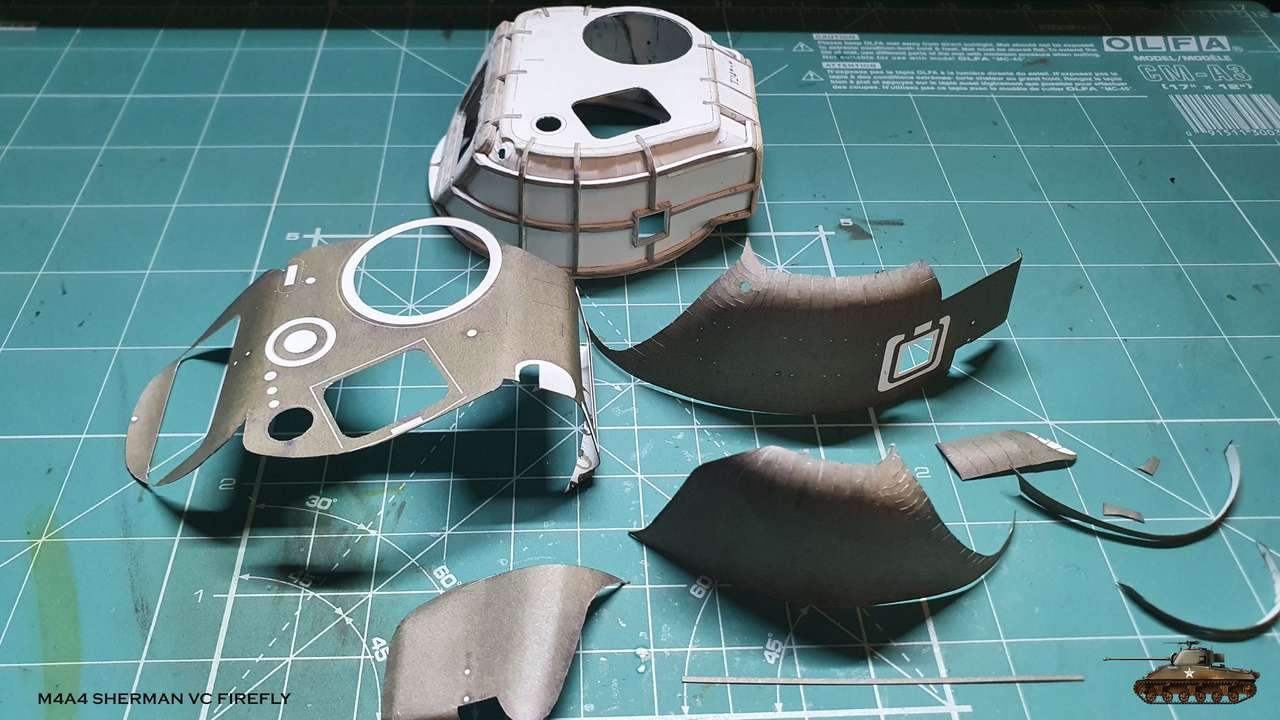
So back to assembling. I was dealing with parts that need to be assembled like curved shapes in three dimension. This can be achieved by curving and gluing petals. But whole inner casing must be glued without any support and you need to plan steps forward to glue it right.
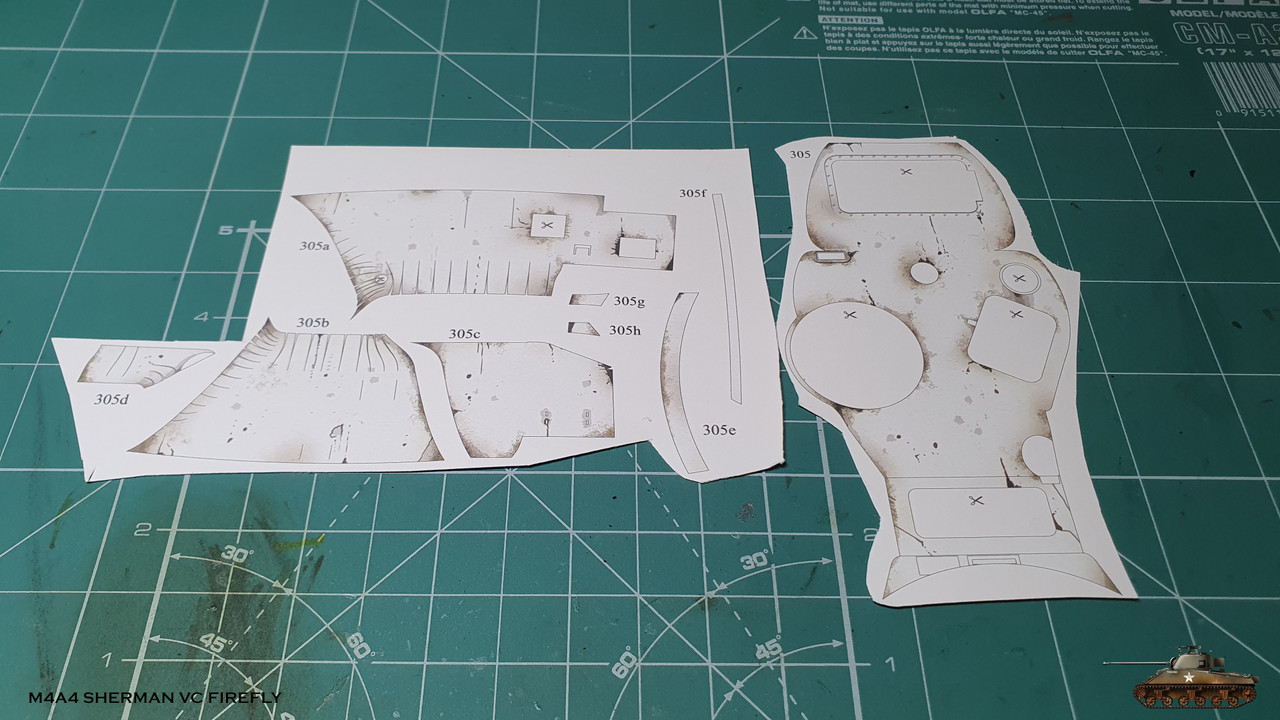
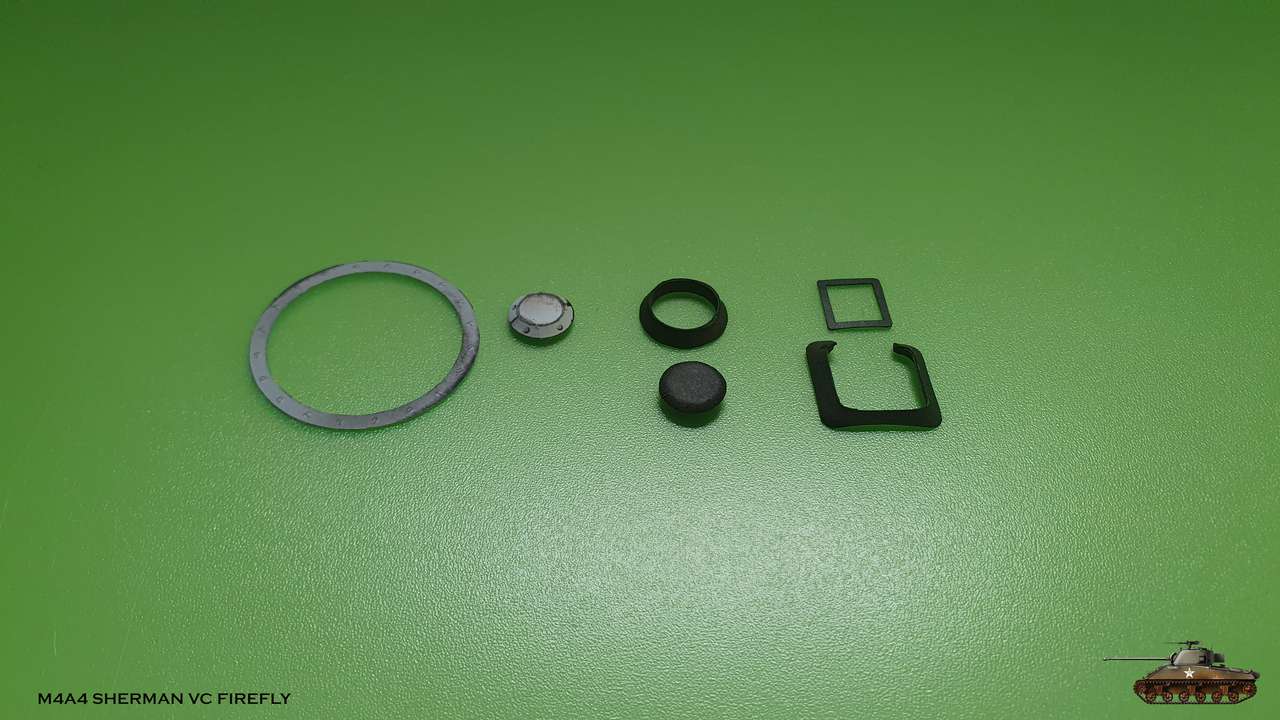
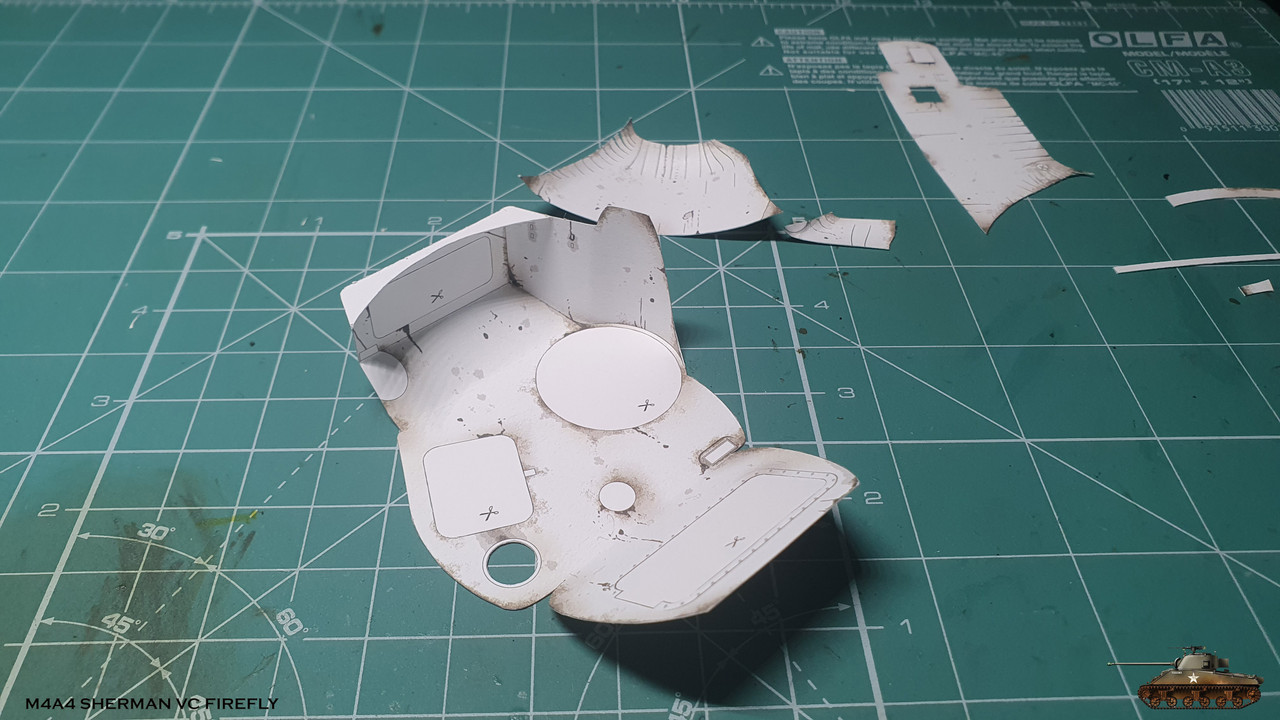
First of all i curved and glued all parts separately.
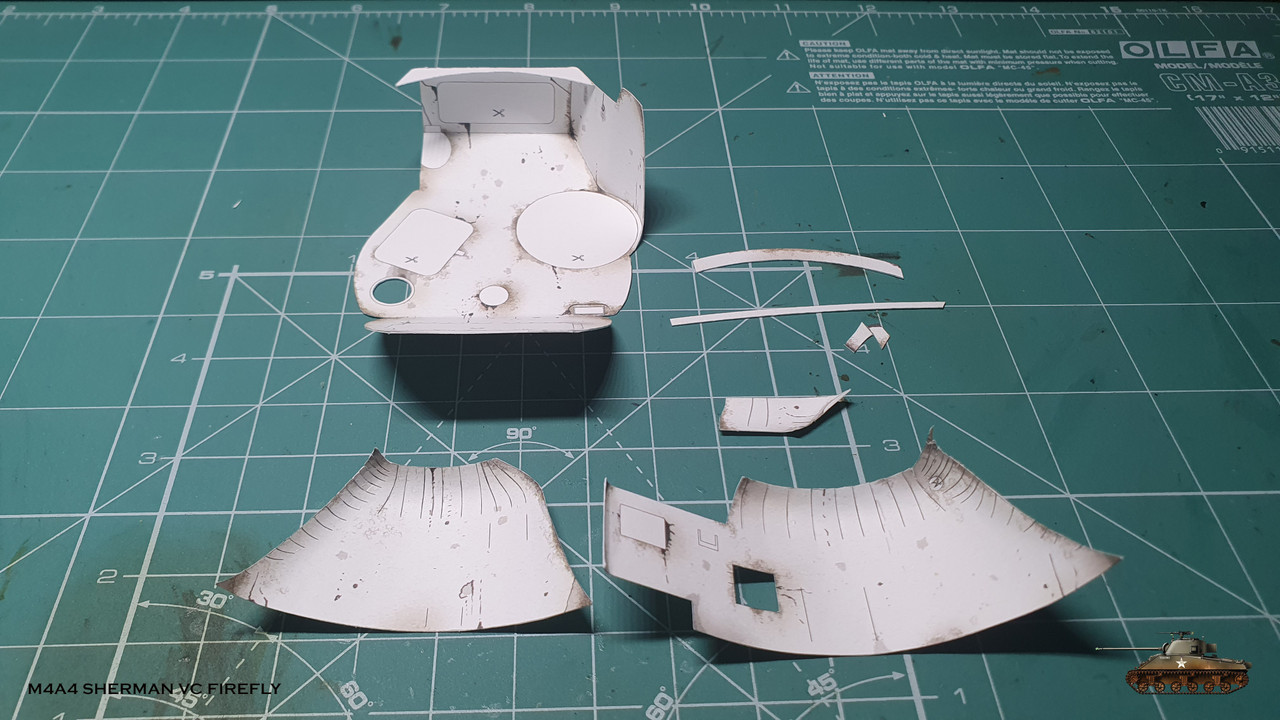
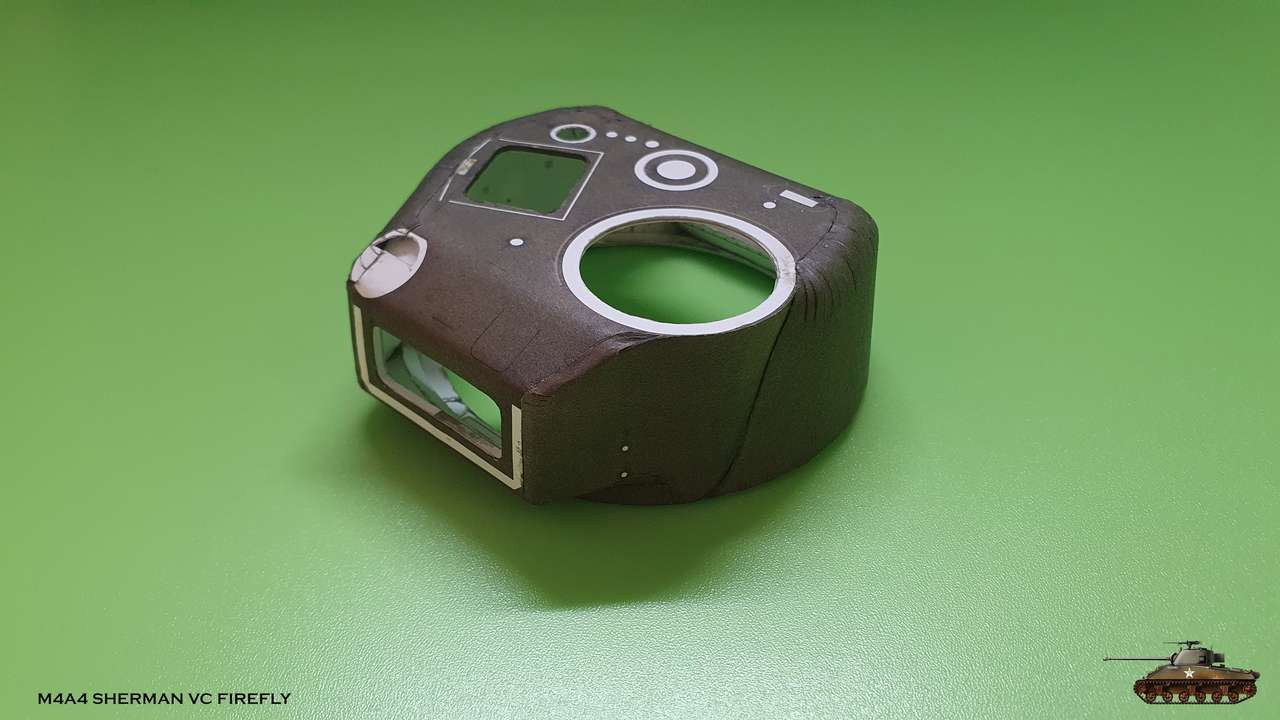
Then i started with simplest rear right part. This gave me starting point
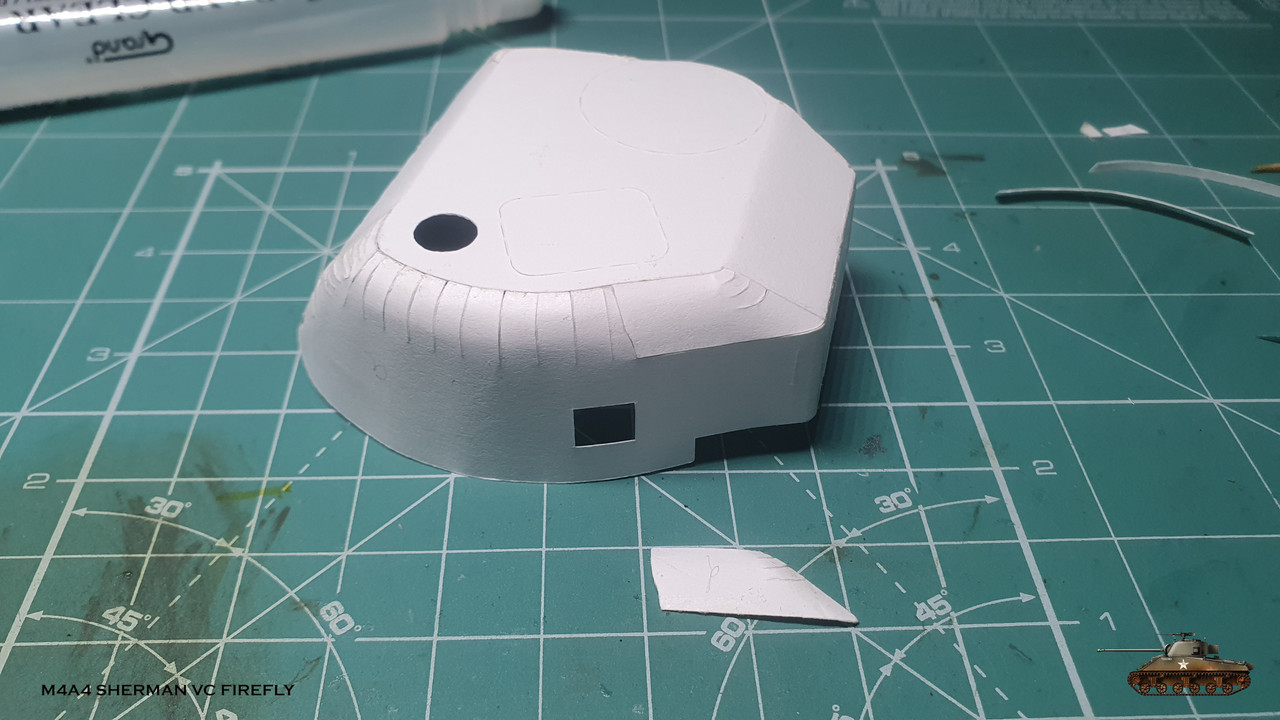
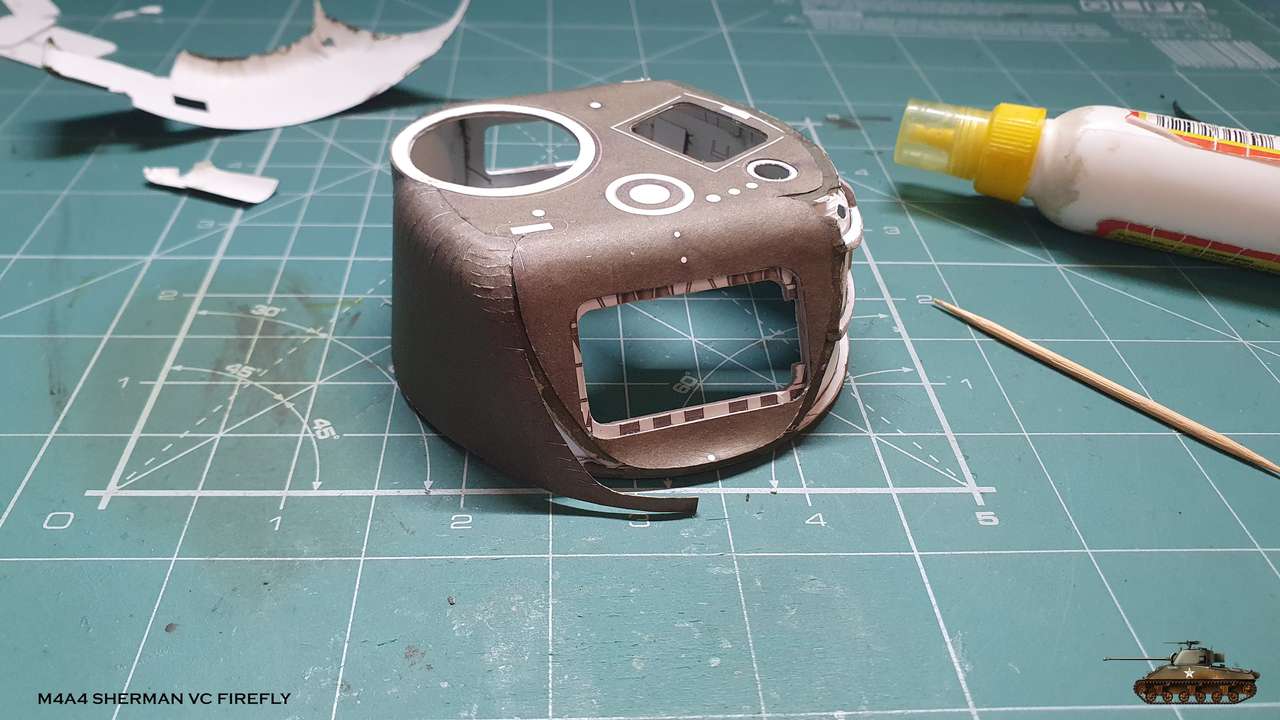
Next front right part was glued to the roof edge only
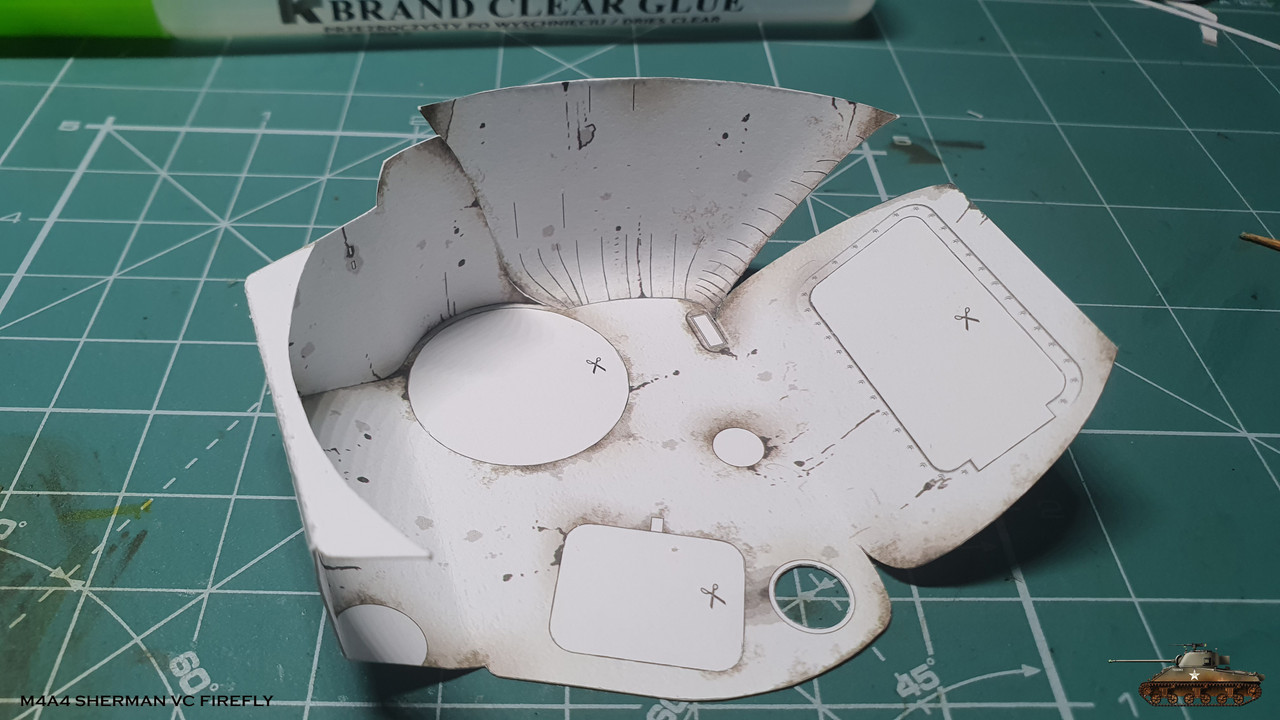
And then to front main part
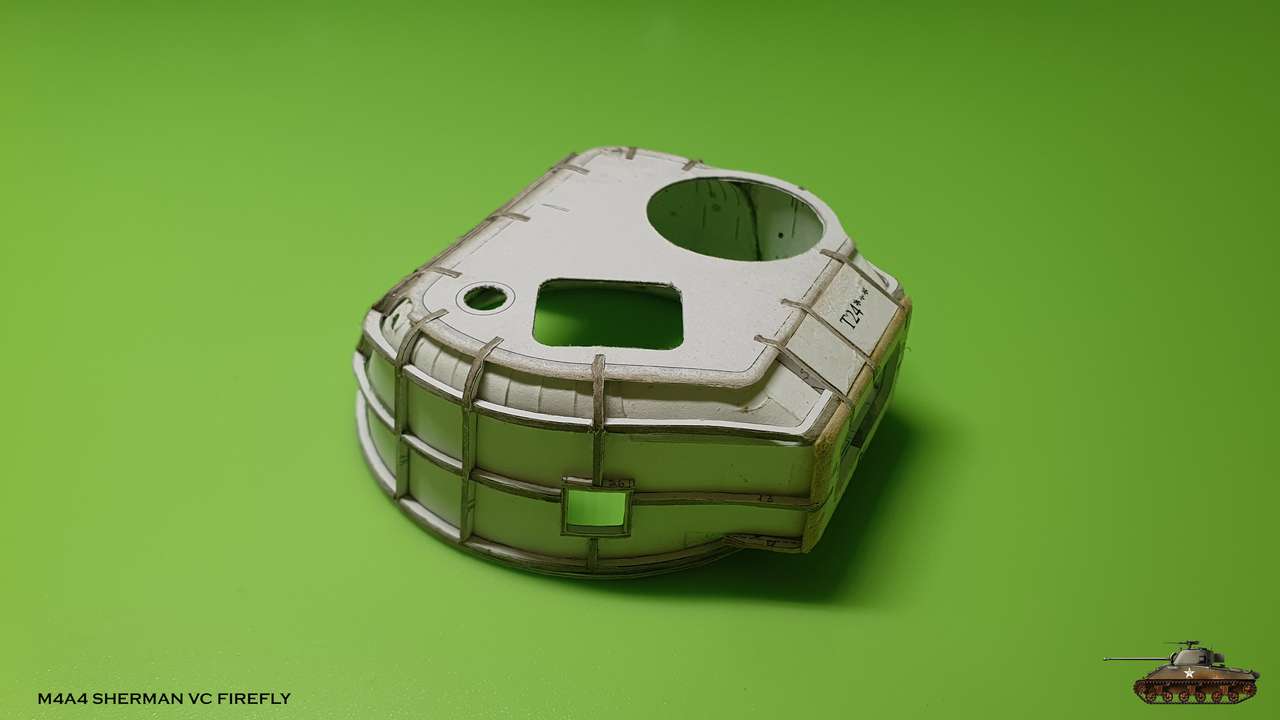
Last to rear right part and right side was done


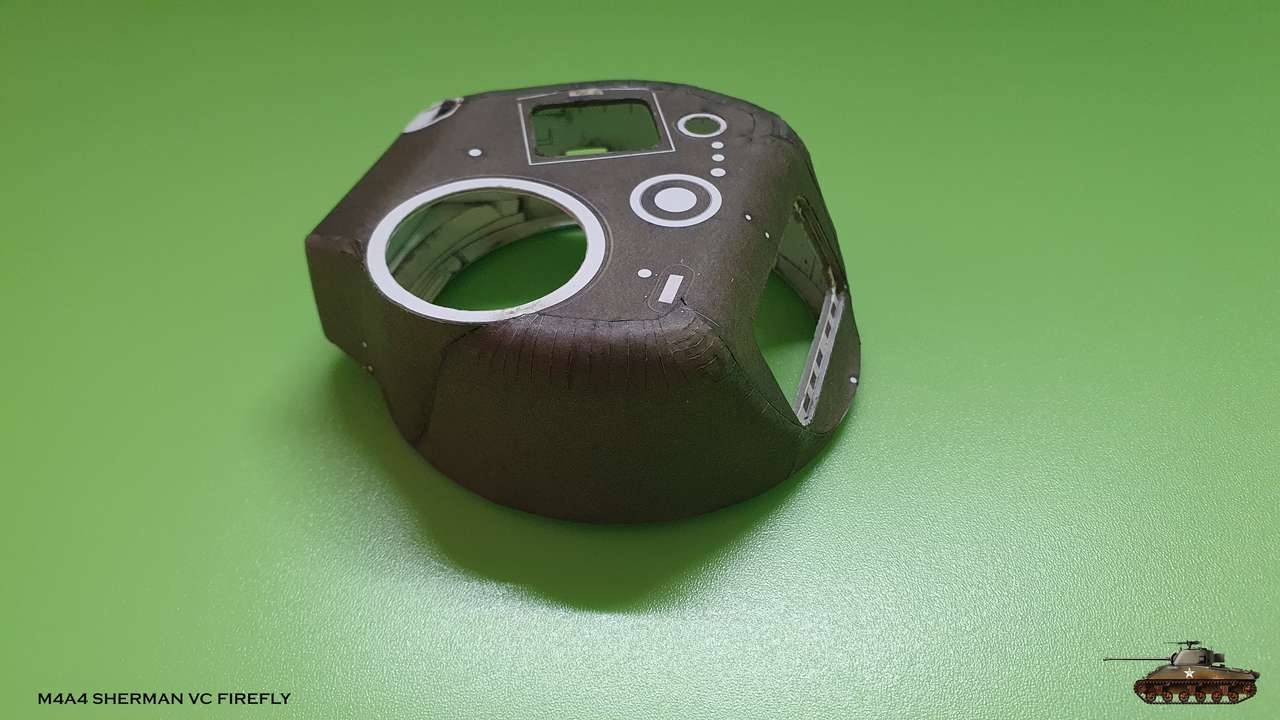
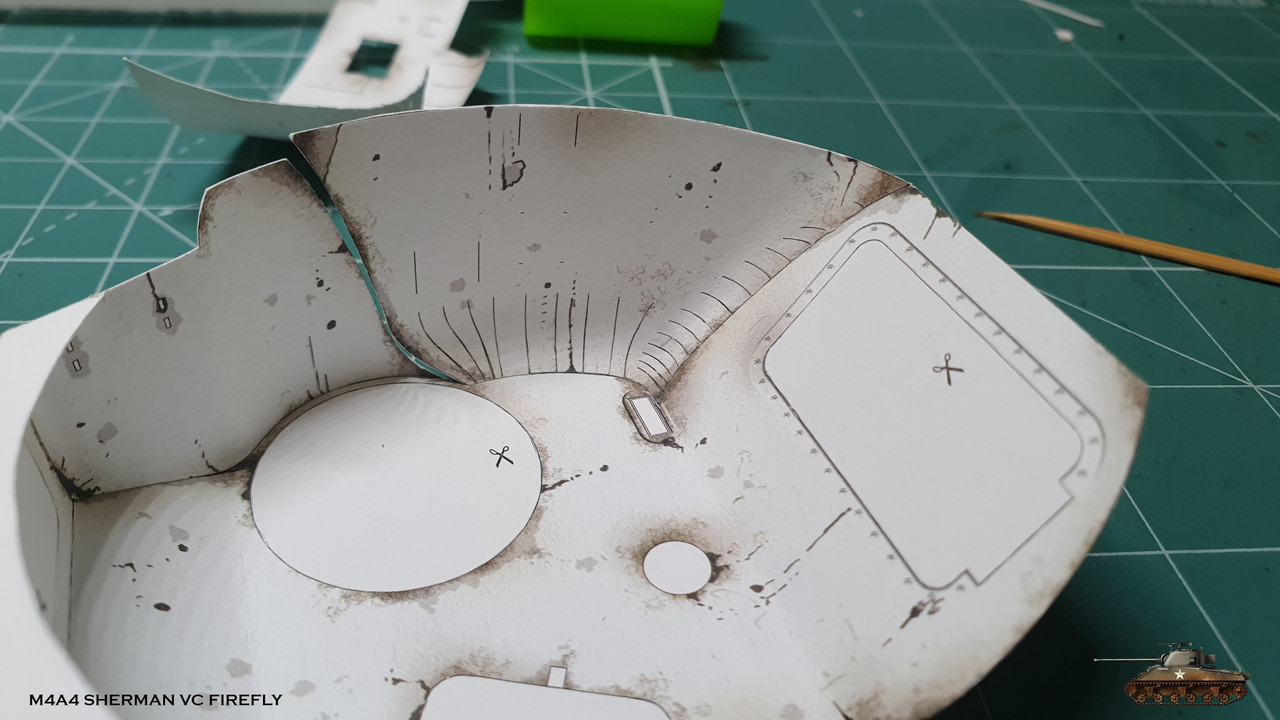
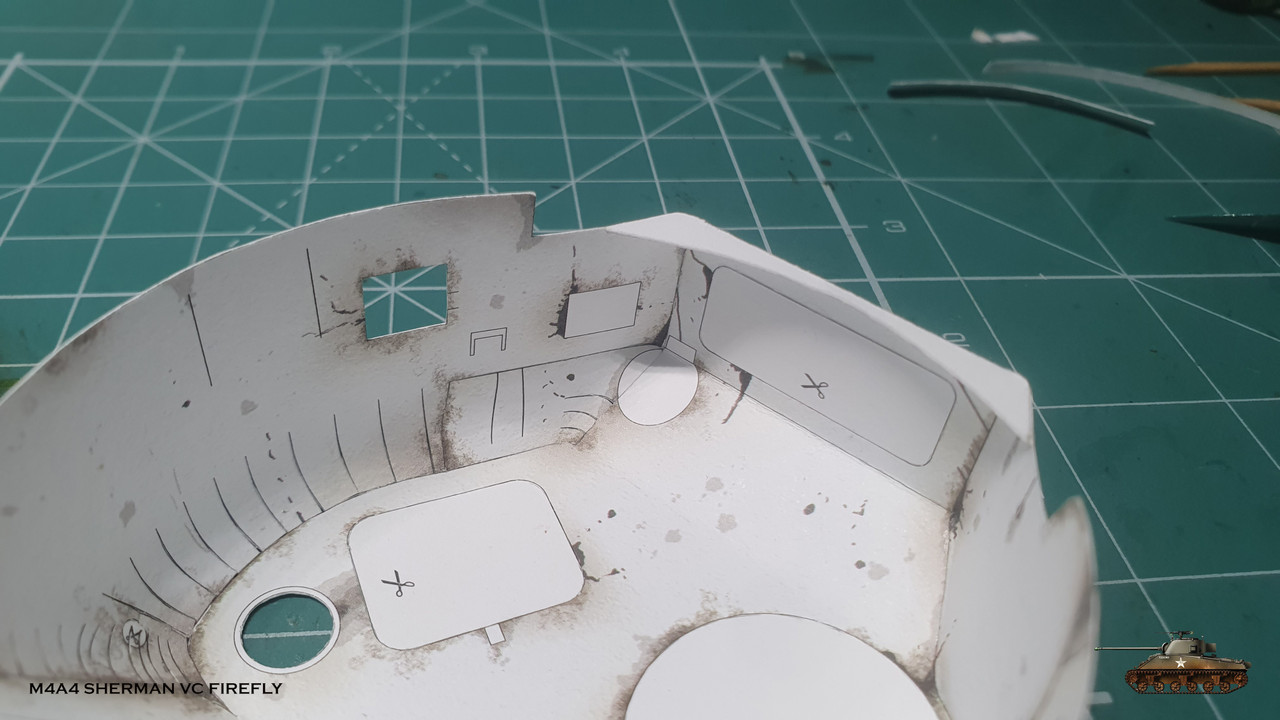
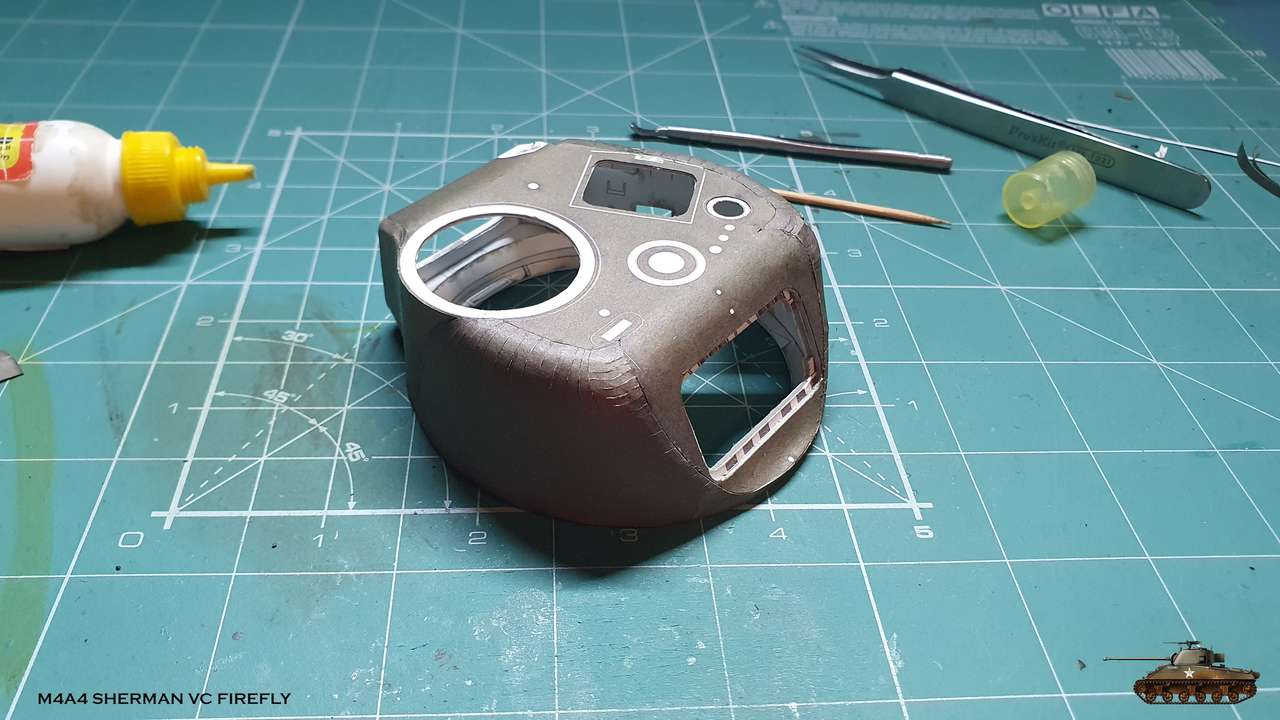
Left was more trickier and i made a mistake. I decided to glue front part first to front main part and than to add little upper rear part. But then i noticed that i'm trying to fit it by cutting and adjusting. This pointed on mistake in position of whole left side. Luckily there was a spare one, so i disassembled whole side and started to glue from little rear part that can be positioned by white mark for antenna from inside. And lastly i glued front part.
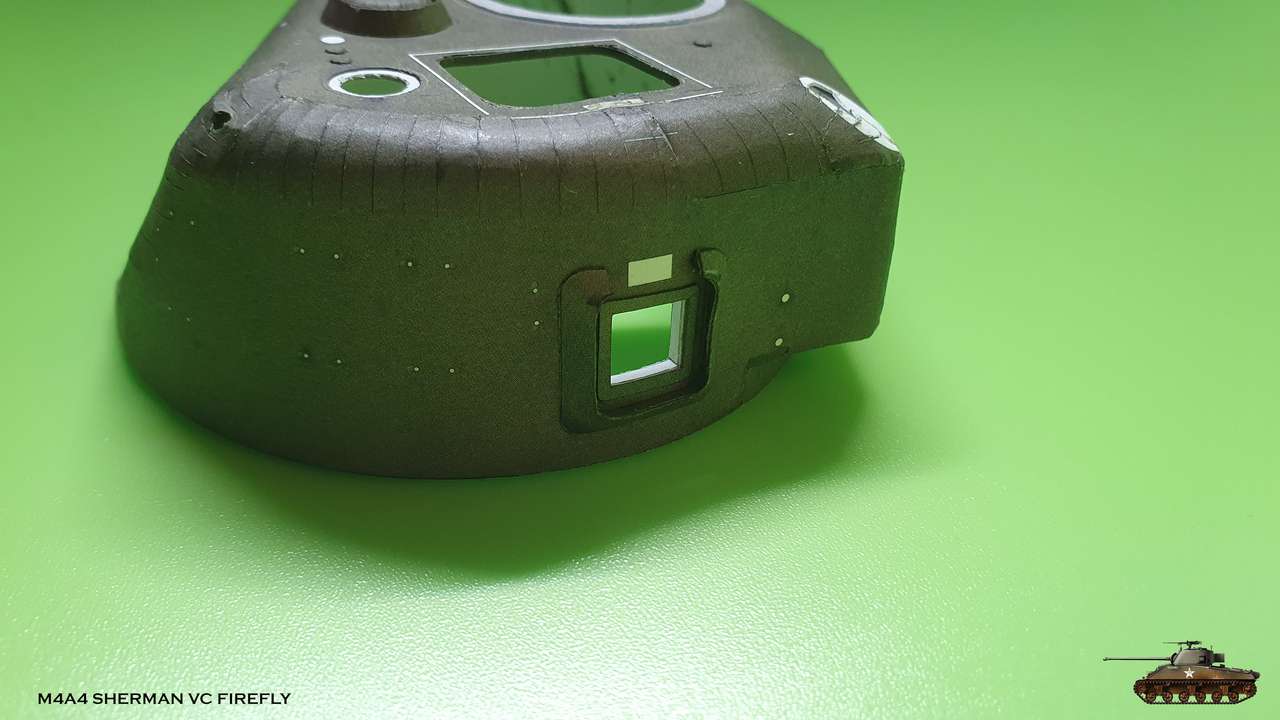
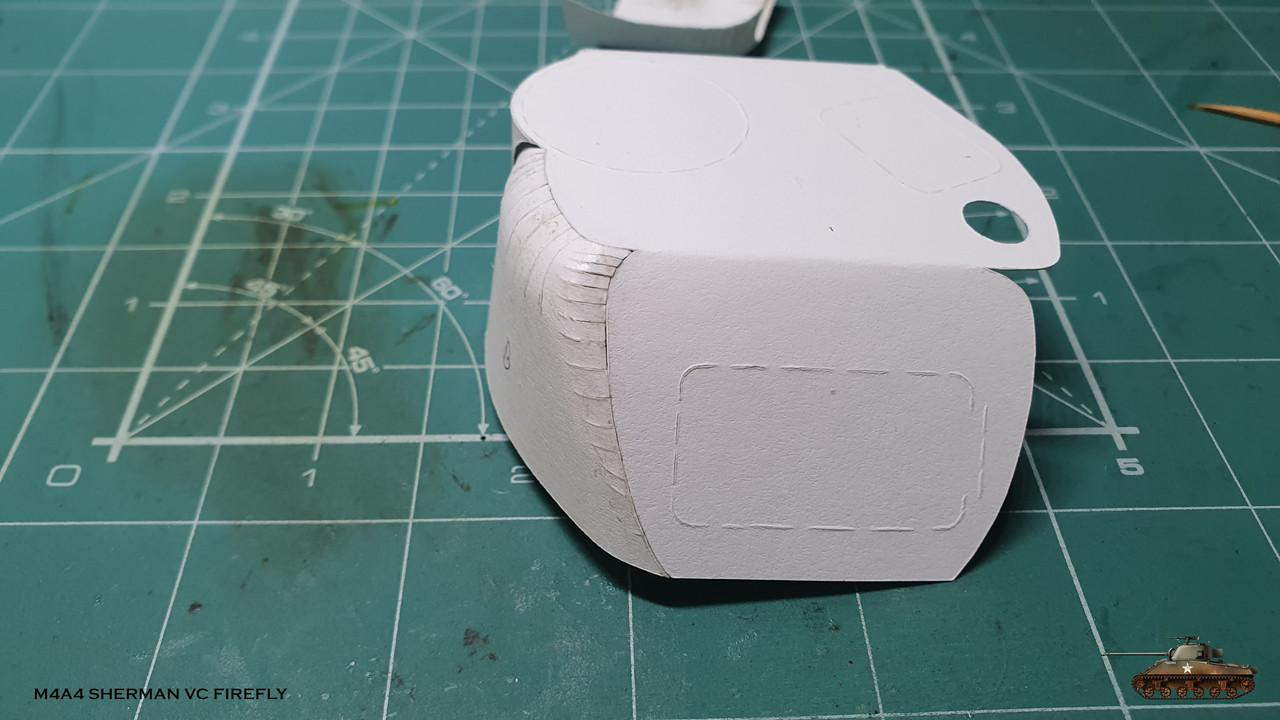
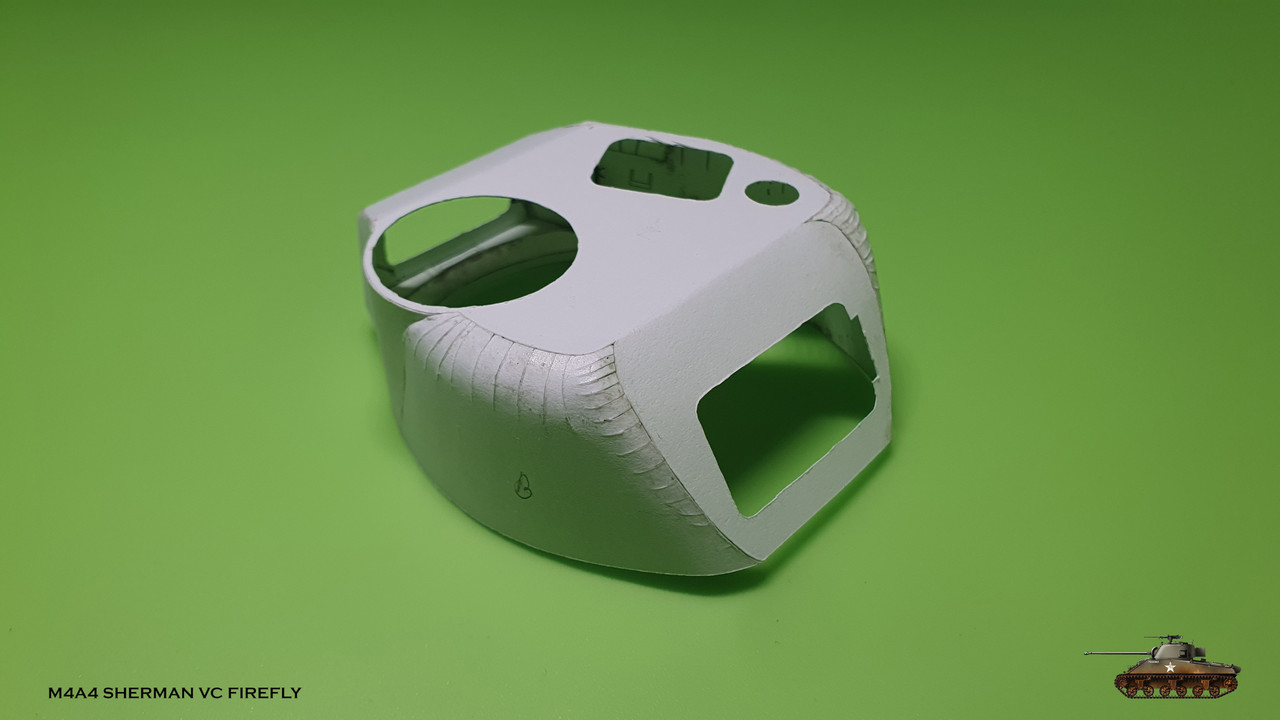
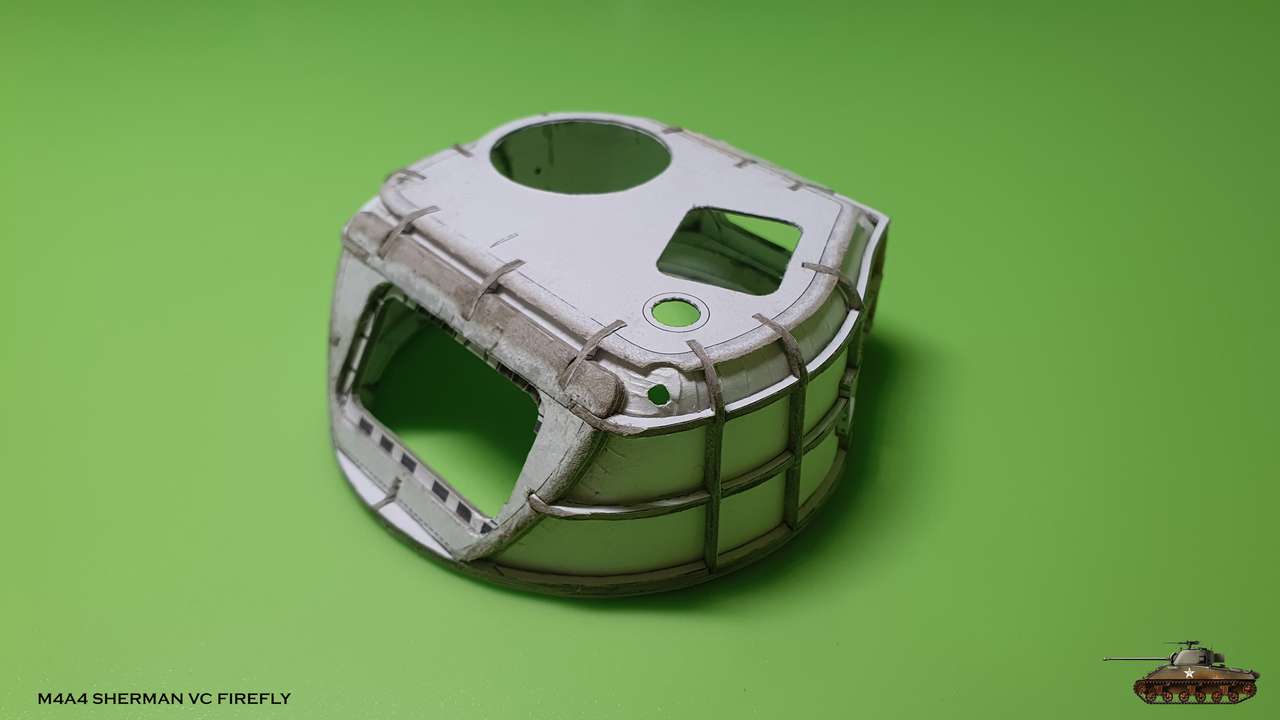
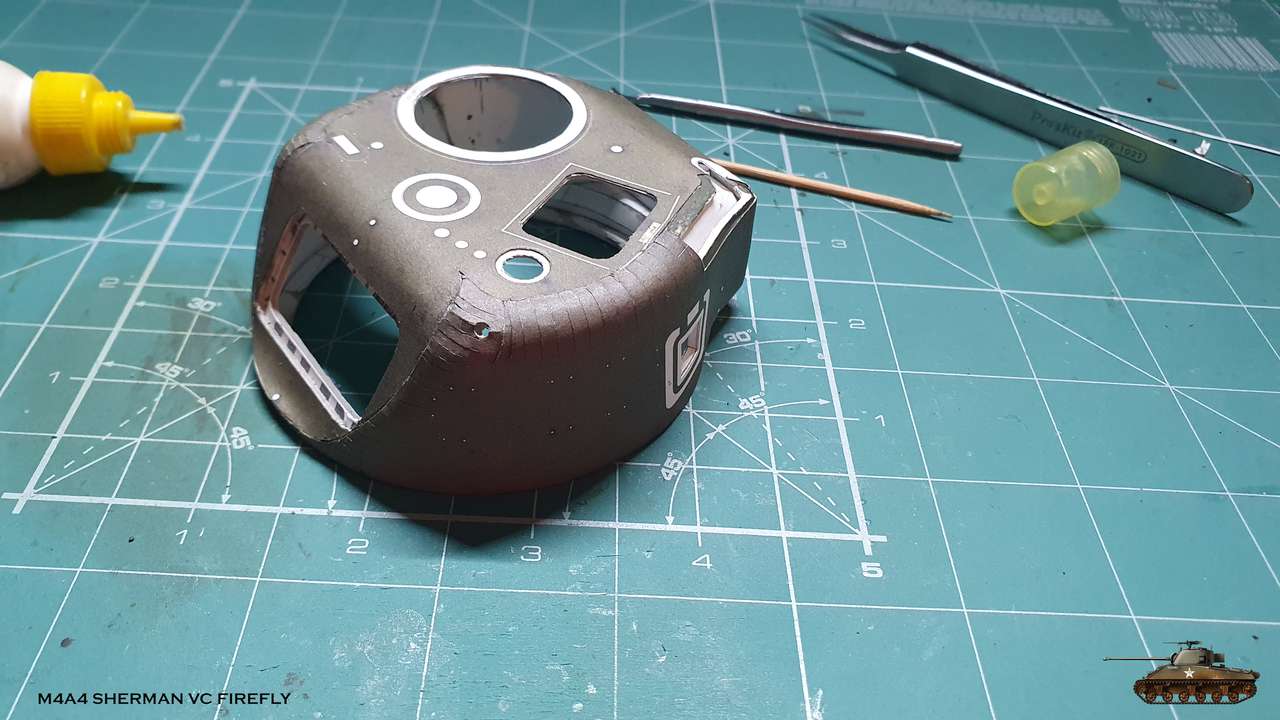
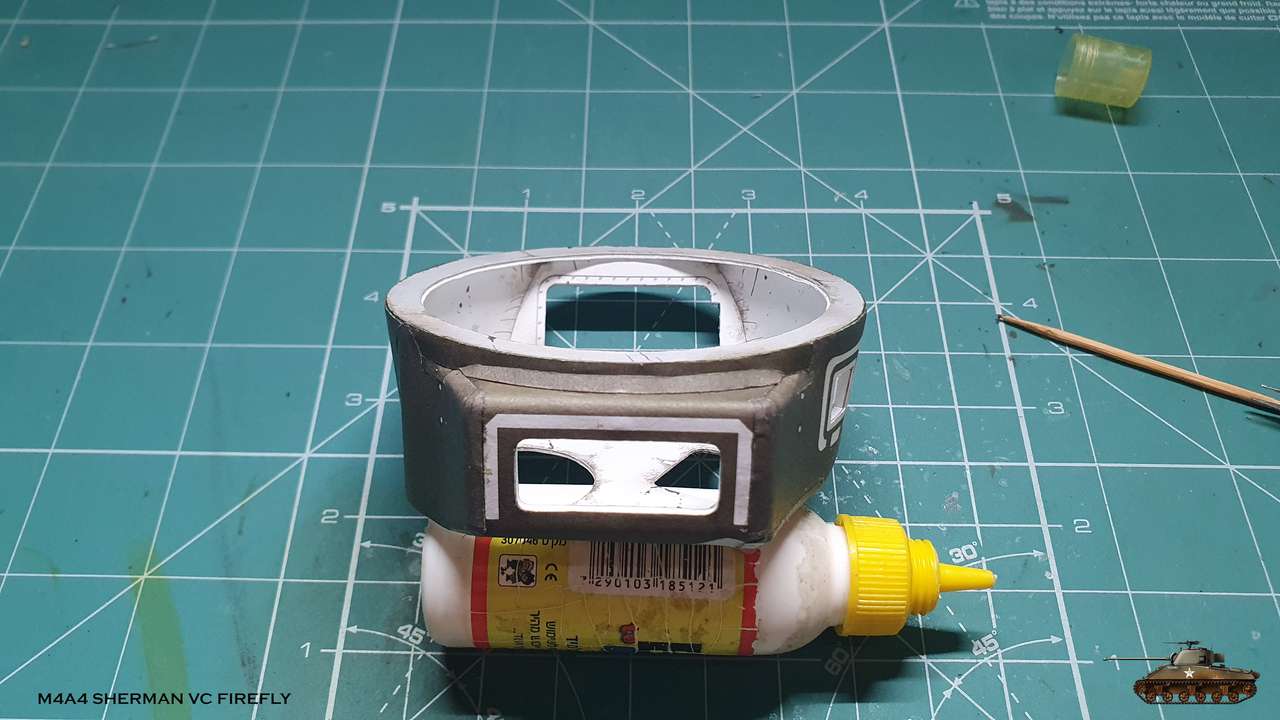
Final step was to glue rear bottom curve that consisted of four parts
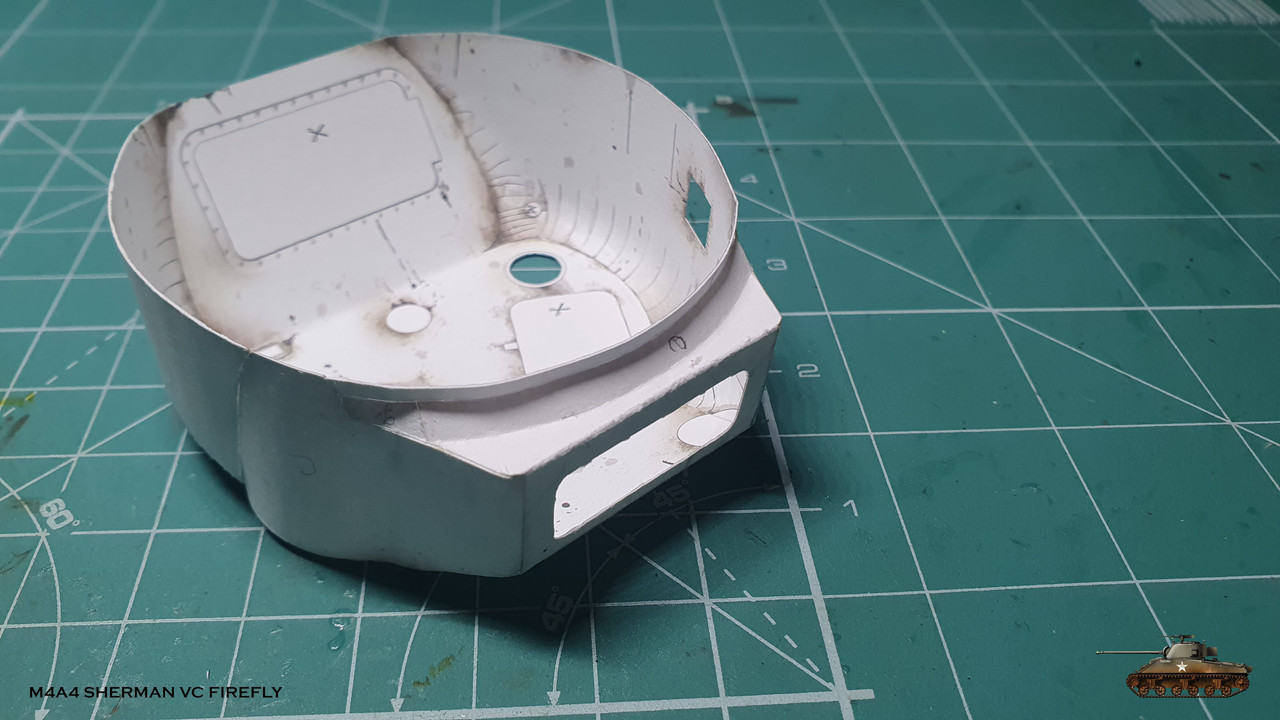
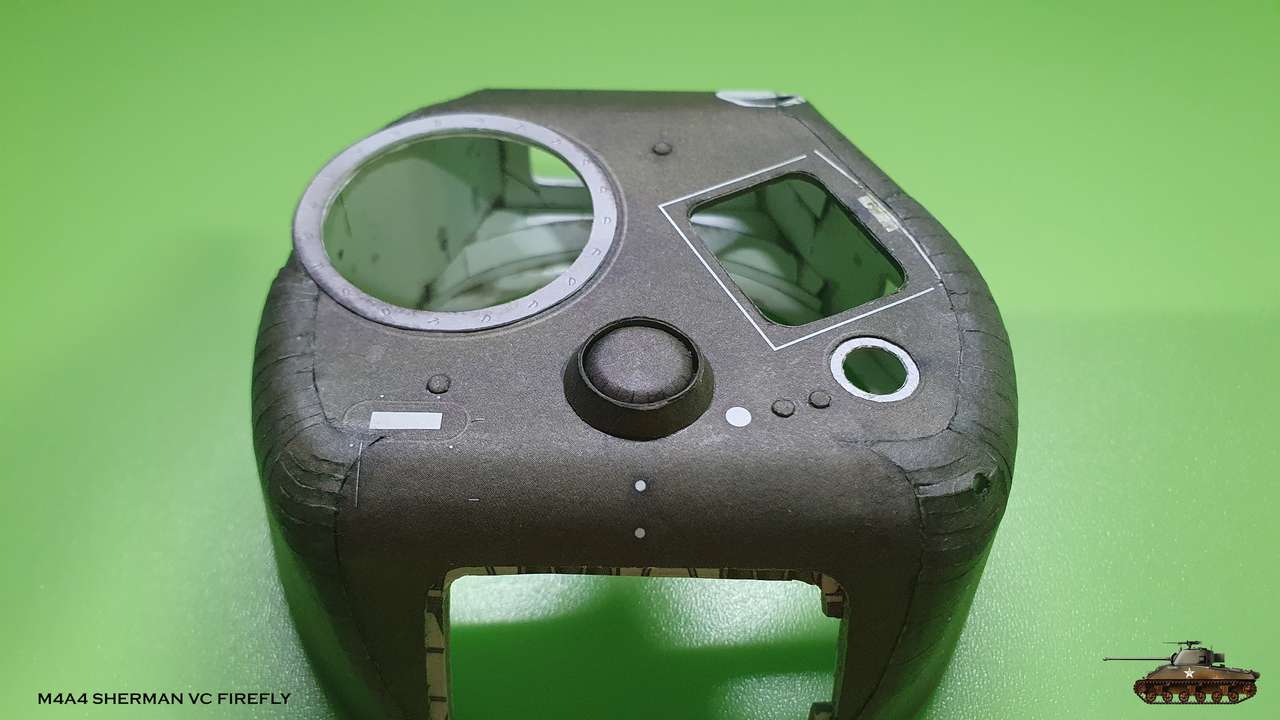
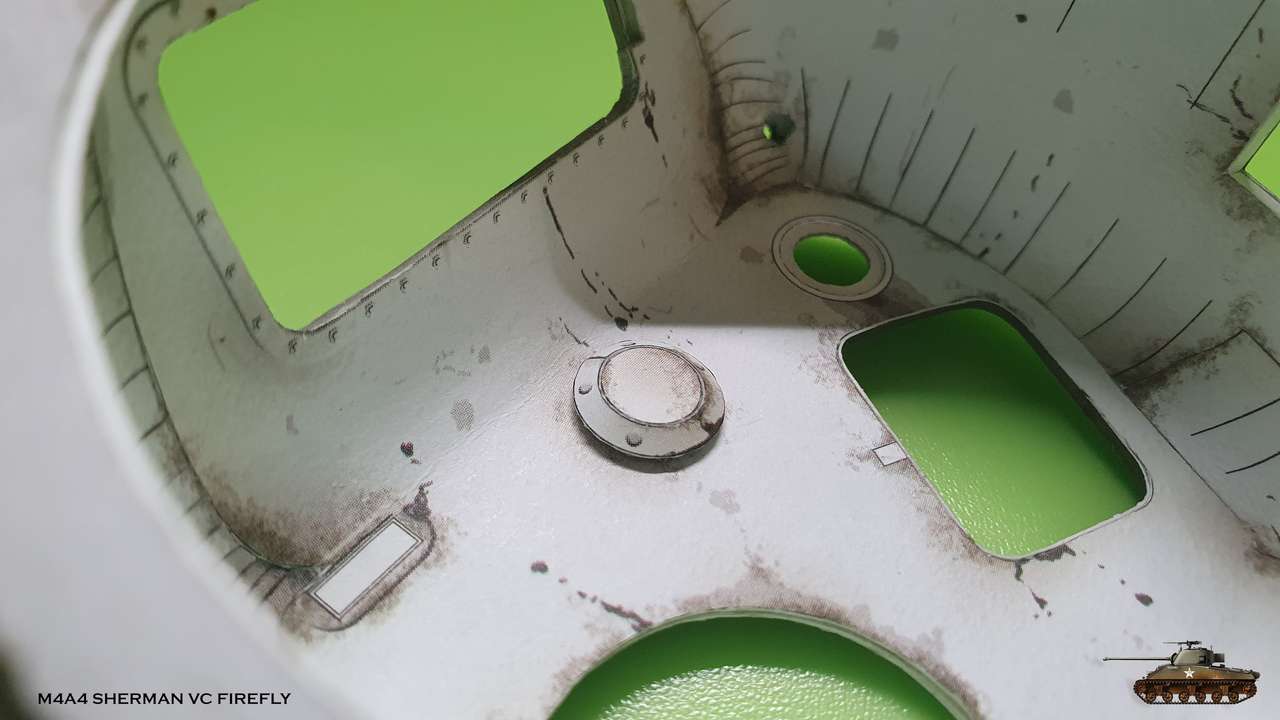
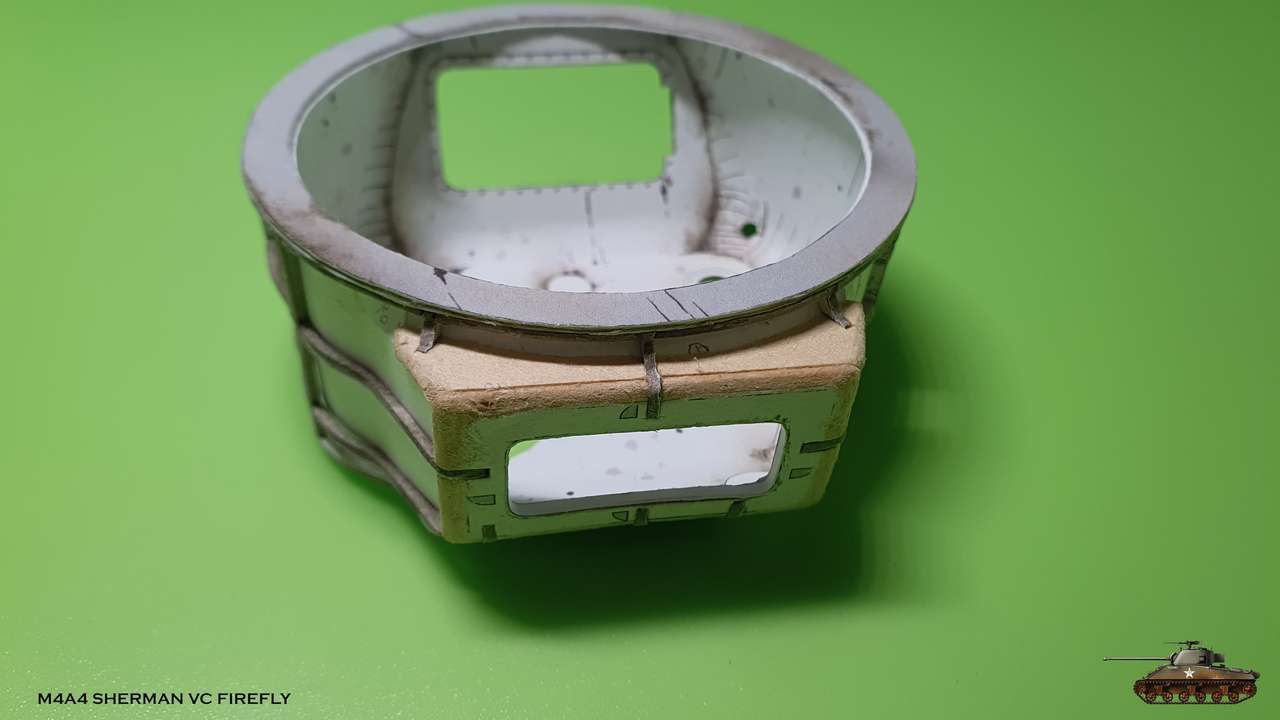
Inner casing is ready. Everything was glued by edges only. Still amazes me how plane paper can transform to any shape you want, with right design. You just hold this curved in all corners casing and realise that it is only paper.
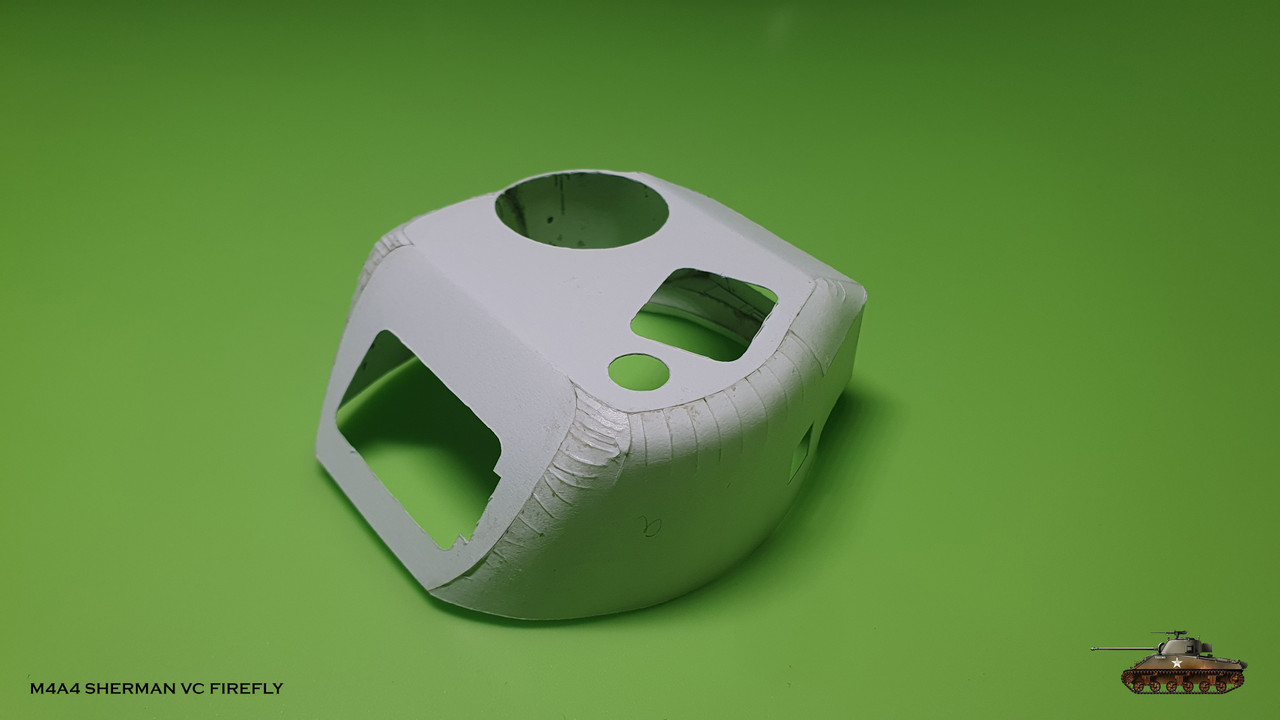
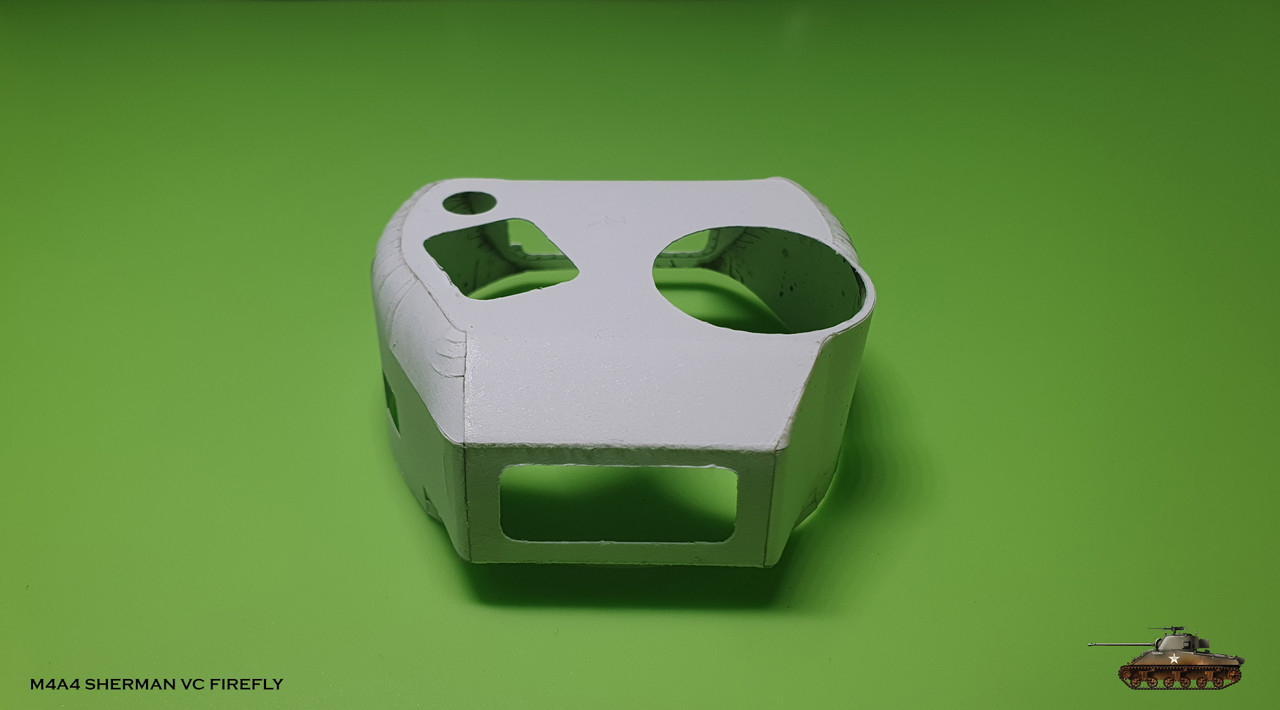

I must point out that you must be very prices and patient, because if you start to trim and adjust parts - it is a sign for mistake.
Also, i didn't mentioned it until now, but there are a lot of spare parts scattered all over the book to help you deal with hard steps like this. I've already used a lot of tiny spare parts instead of ones that were lost in process and for the first time fixed mistake with spare part. (There is a whole spare set of inner casing") )
)
And I'm glad i did.
I was in need to glue a lot of petals and parts by edge and did it with ease with this glue. Compared to others that i have, BCG doesn't add layer between paper like super glue gel or white glue do. It glues faster than white glue, but you can reposition parts unlike with superglue. It doesn't leaves a lot of residues and hairs like UHU glue do. After drying the parts still remains flexible, unlike with superglue. And if you want to fix, you can easily take parts apart without damaging them.
So back to assembling. I was dealing with parts that need to be assembled like curved shapes in three dimension. This can be achieved by curving and gluing petals. But whole inner casing must be glued without any support and you need to plan steps forward to glue it right.
First of all i curved and glued all parts separately.
Then i started with simplest rear right part. This gave me starting point
Next front right part was glued to the roof edge only
And then to front main part
Last to rear right part and right side was done
Left was more trickier and i made a mistake. I decided to glue front part first to front main part and than to add little upper rear part. But then i noticed that i'm trying to fit it by cutting and adjusting. This pointed on mistake in position of whole left side. Luckily there was a spare one, so i disassembled whole side and started to glue from little rear part that can be positioned by white mark for antenna from inside. And lastly i glued front part.
Final step was to glue rear bottom curve that consisted of four parts
Inner casing is ready. Everything was glued by edges only. Still amazes me how plane paper can transform to any shape you want, with right design. You just hold this curved in all corners casing and realise that it is only paper.
I must point out that you must be very prices and patient, because if you start to trim and adjust parts - it is a sign for mistake.
Also, i didn't mentioned it until now, but there are a lot of spare parts scattered all over the book to help you deal with hard steps like this. I've already used a lot of tiny spare parts instead of ones that were lost in process and for the first time fixed mistake with spare part. (There is a whole spare set of inner casing
)


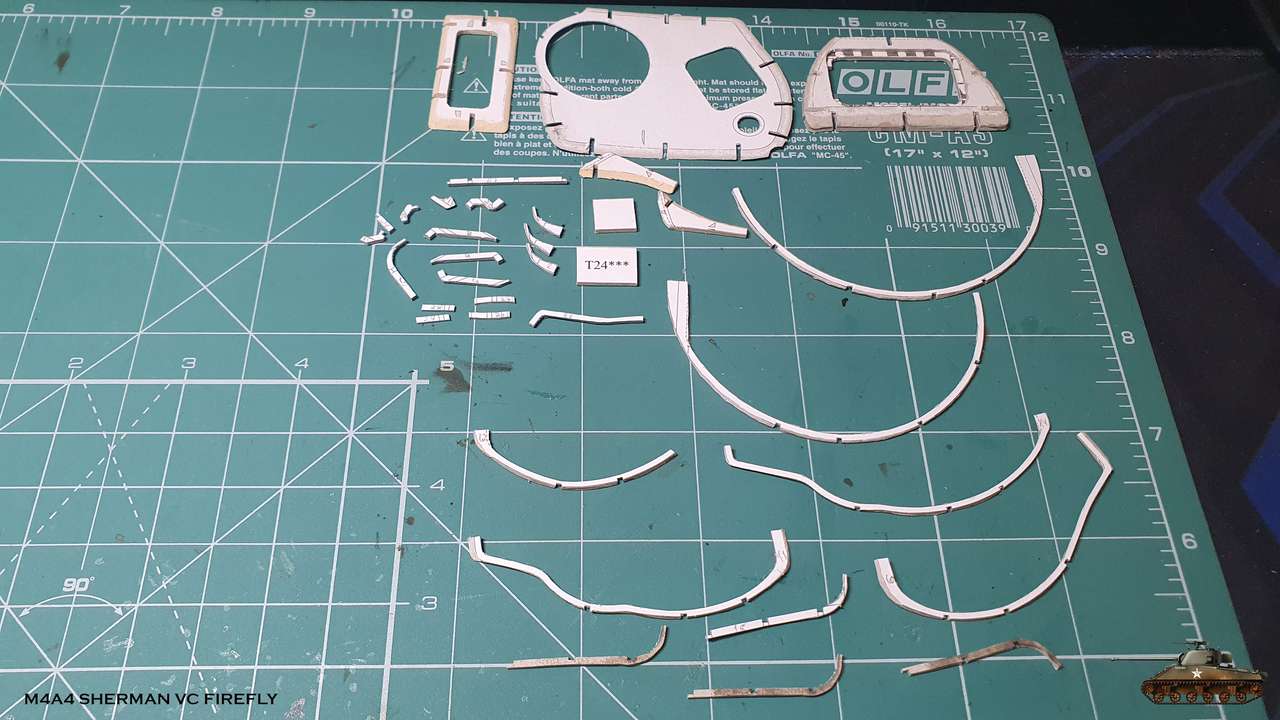


") Well, i decided to assemble polish version, so i stick to all parts that marked with it and they had clean turret with no numbers on it.
Well, i decided to assemble polish version, so i stick to all parts that marked with it and they had clean turret with no numbers on it.