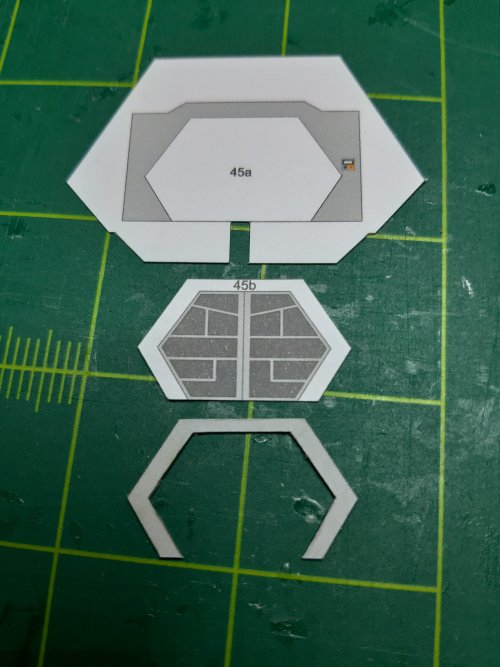
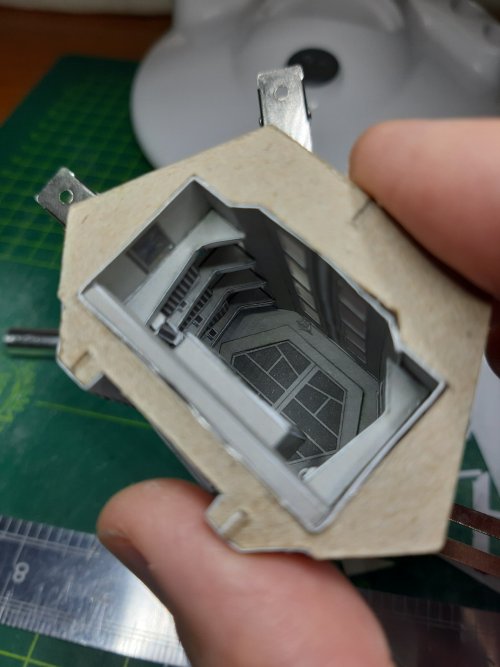
Imperial Lambda-class T-4a shuttle TYDIRIUM
- Thread starter mijob
- Start date
You are using an out of date browser. It may not display this or other websites correctly.
You should upgrade or use an alternative browser.
You should upgrade or use an alternative browser.
Thank you for your kind words. Its difficult to find the next step, I need to wait on my light kit 7 till 10 daysThis is turning out pretty amazing!
 . When I have it I can build more parts.
I'm the same, I used to get all my lighting from Micro-Mark, but thier selection has drooped off.Thank you for your kind words. Its difficult to find the next step, I need to wait on my light kit 7 till 10 days. When I have it I can build more parts.
I ordered some optic fibre at alixpress and the electronuc at mouser. I found scematics to flash the wing tip lights at 1Hz. I only have to find a way to get the wires to the wings and get enough room to install 3mm LED'sI'm the same, I used to get all my lighting from Micro-Mark, but thier selection has drooped off.
Awesome progress! The interior looks GREAT!!!
Thank you both. I didn't expect that it was so much work. Its a big project to work on. But its a fun model to build. I hope the extra I put on it pays off.You are making great progress on this project!
Its so nice to have a weekend with lots of rain and wind. I worked on the fuselage.
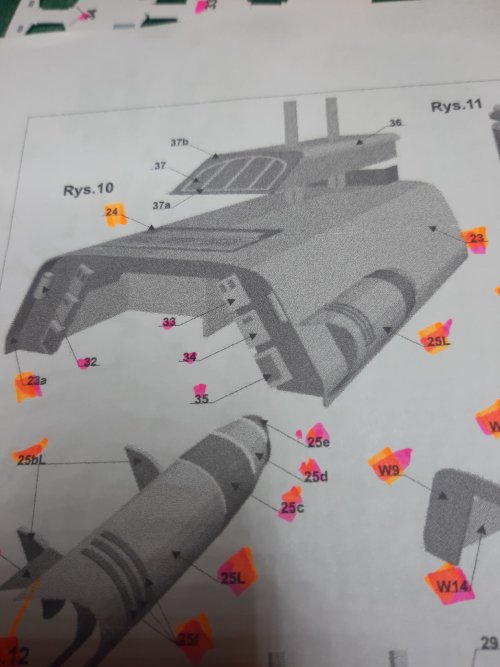
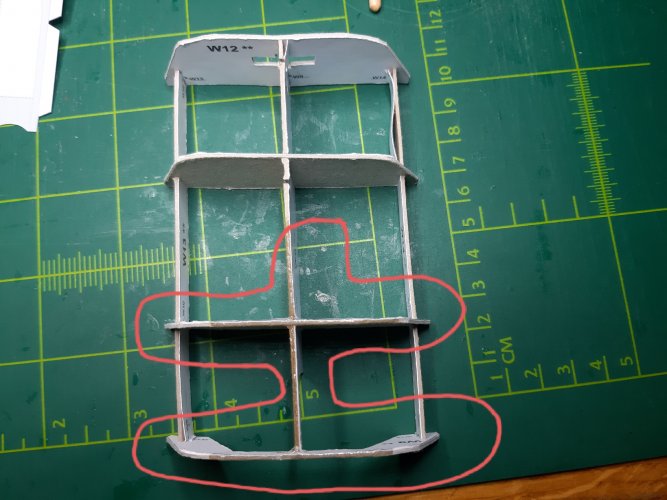
Parts cut and use the top wing frame to allign the toplayer on the fuselage frame. Put some glue on the half part of the frame (red area). Then remove the top wing frame and glue the top half.
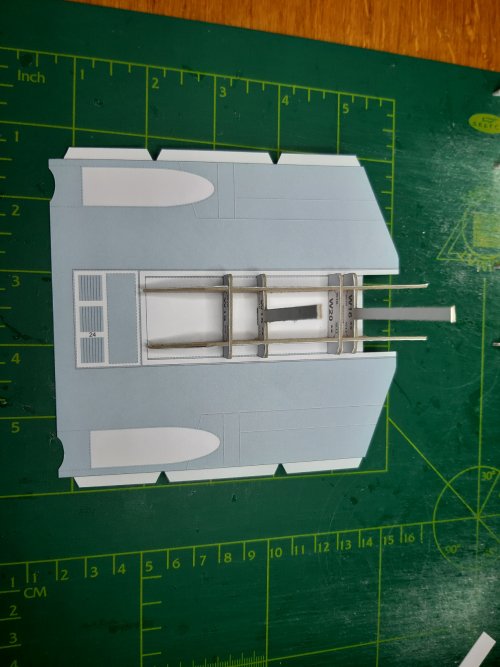
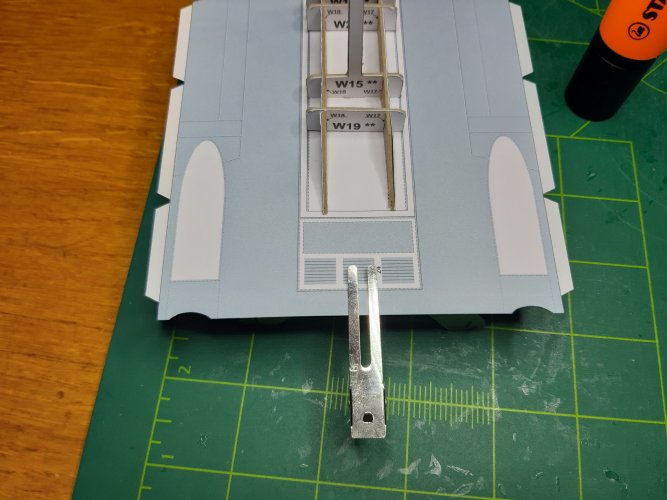
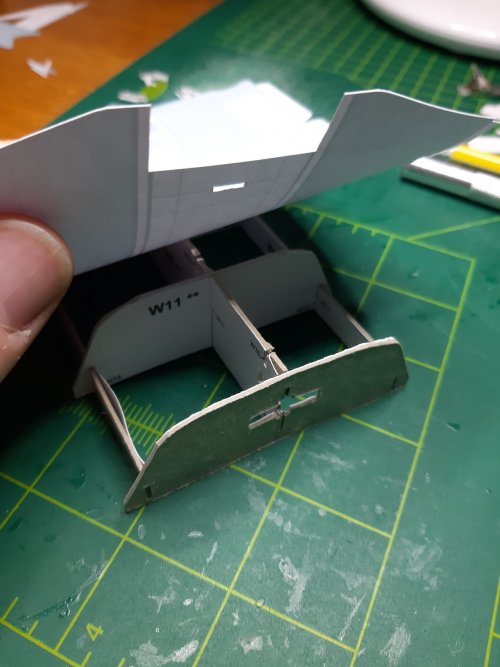
Now you can glue the sides. Use anything to get some pressure on the side.
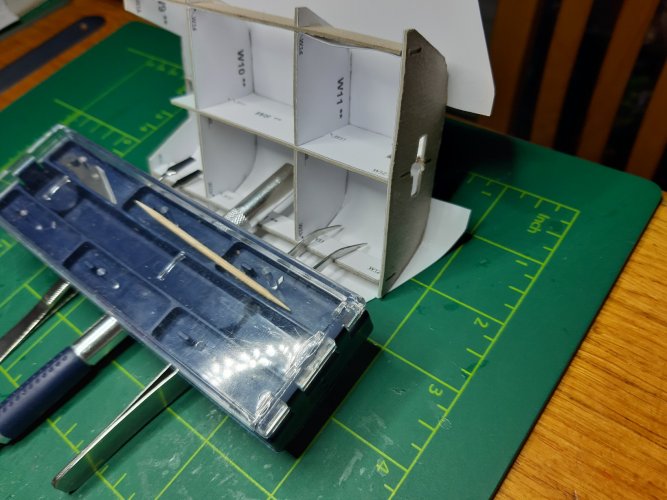
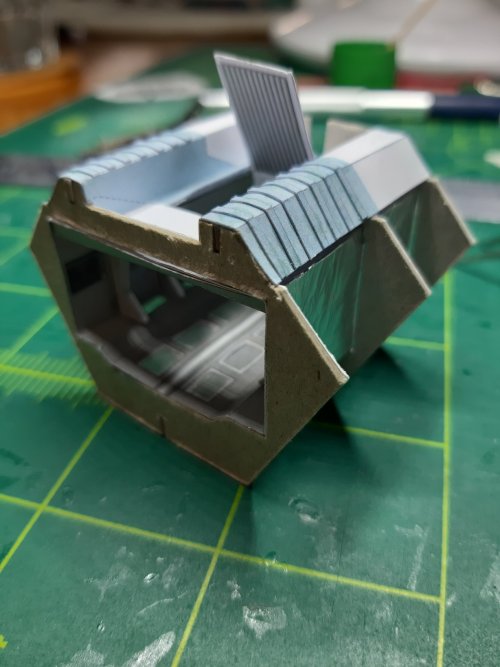
Top details.
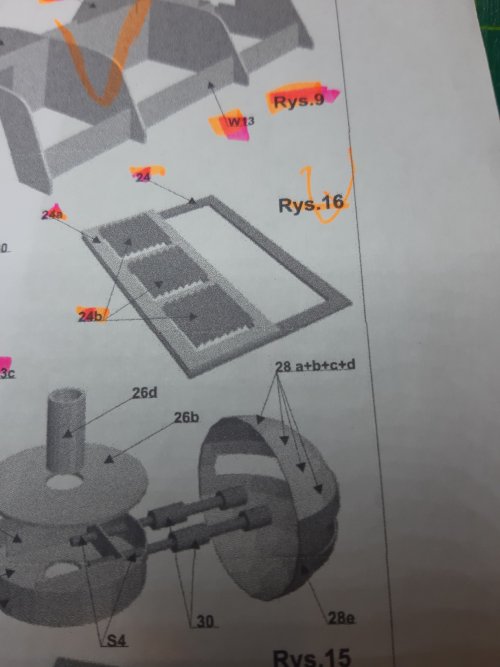
Cut and glue on cardboard.
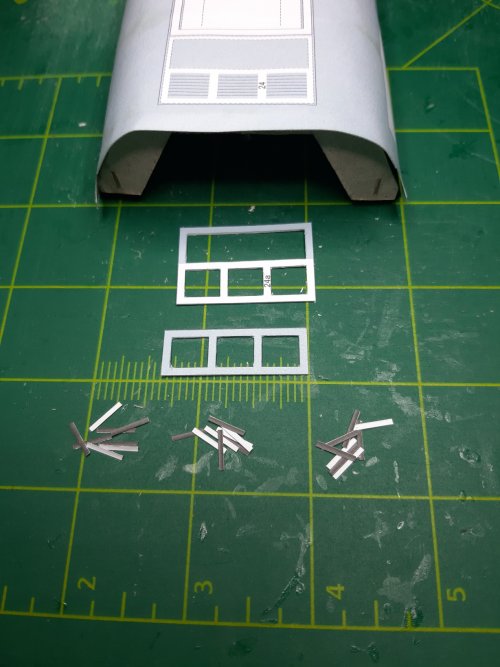
The small parts are placed under a angle.
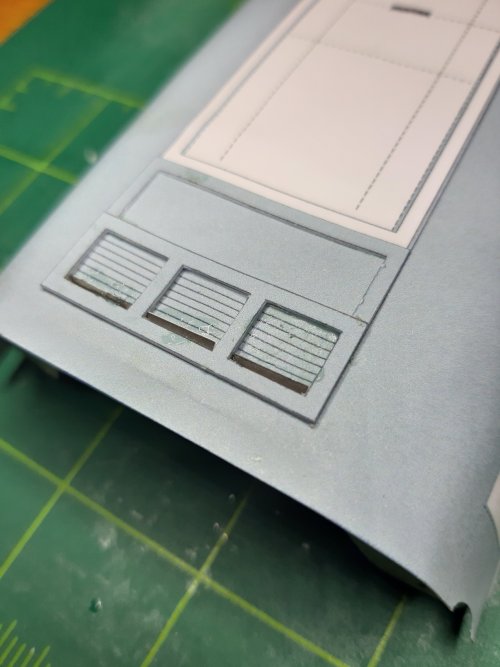
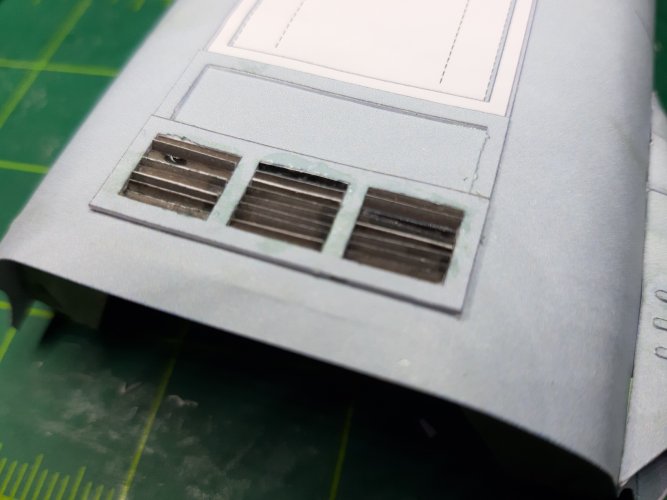
Side details
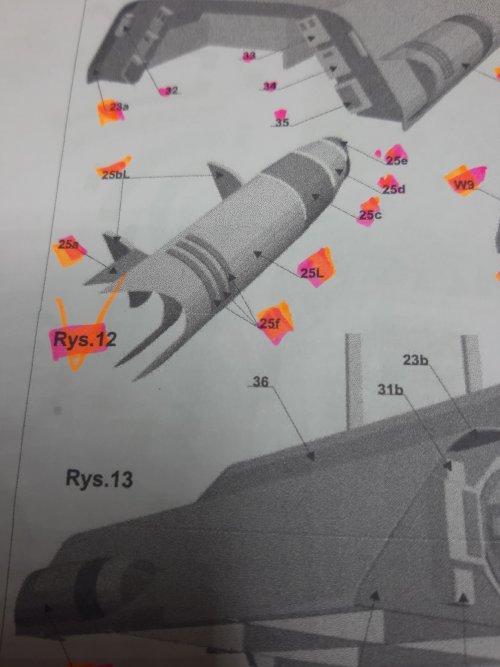
All parts cut and preformed. Use glue tabs from scrap paper.
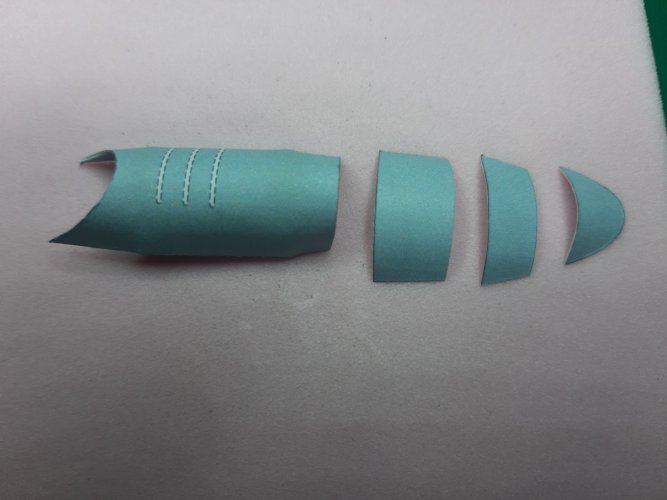
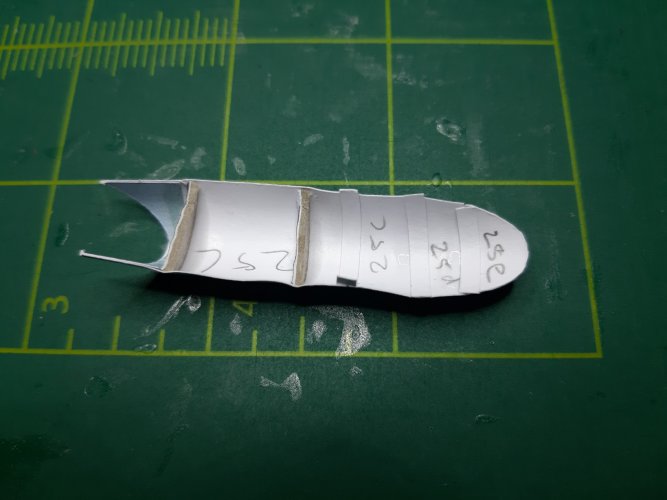
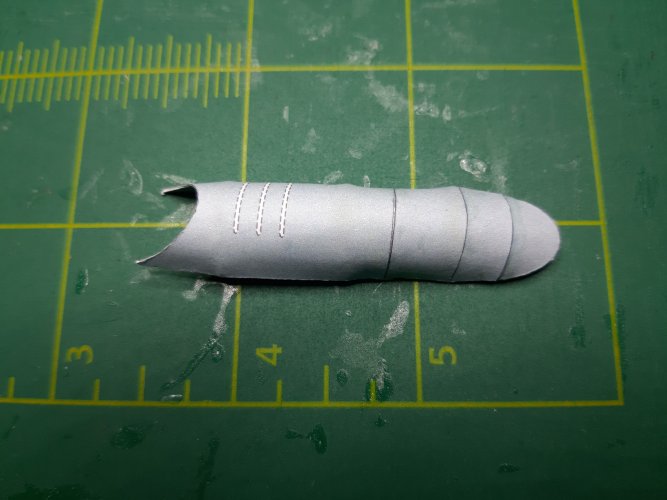
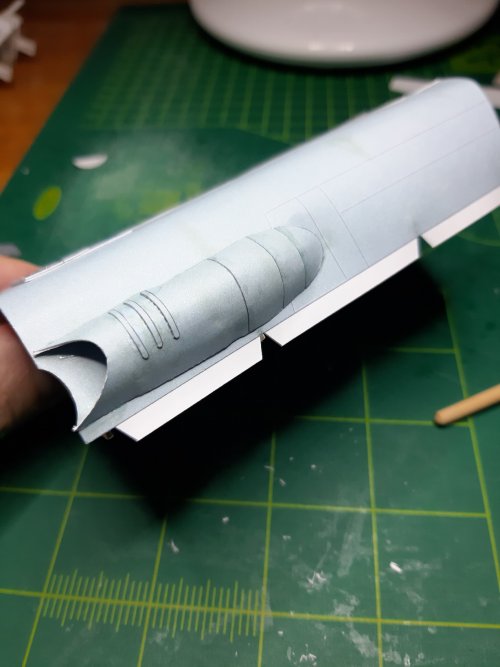
NIext couple of days I will work on the front and rear part of the fuselage.

Parts cut and use the top wing frame to allign the toplayer on the fuselage frame. Put some glue on the half part of the frame (red area). Then remove the top wing frame and glue the top half.


Now you can glue the sides. Use anything to get some pressure on the side.

Top details.

Cut and glue on cardboard.

The small parts are placed under a angle.


Side details

All parts cut and preformed. Use glue tabs from scrap paper.


NIext couple of days I will work on the front and rear part of the fuselage.
Top notch!!! 

I suppose the price will not be small..!please sell me your shrink ray.......

if these are the results it would be worth it !Top notch!!!
I suppose the price will not be small..!
 amazing work
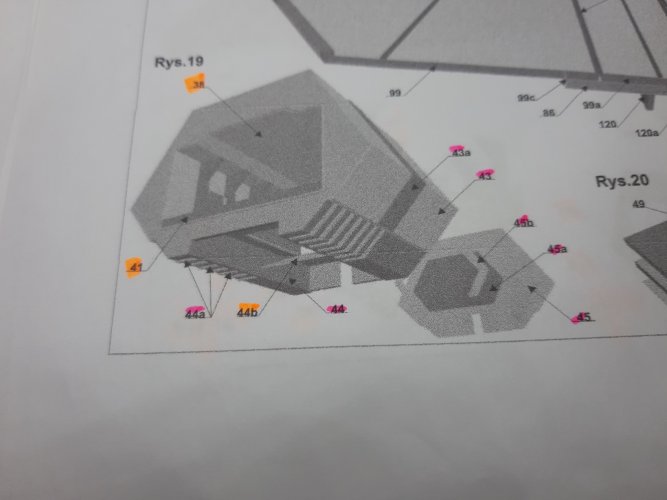
And we continue with the front of the fuselage.
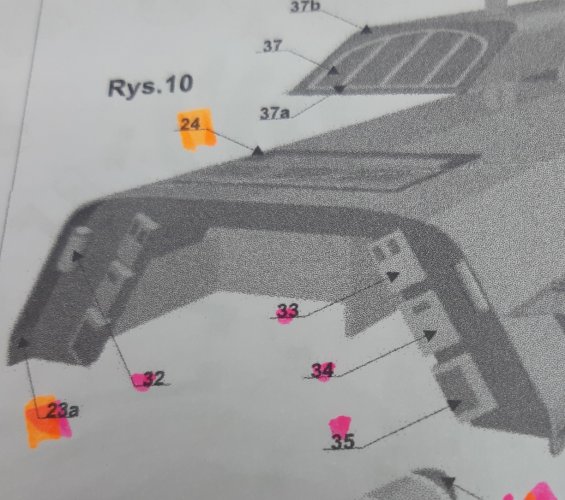
All parts cut and assembled.
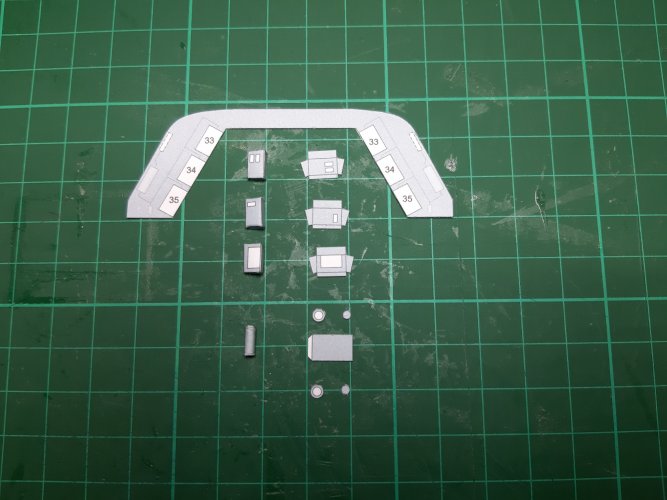
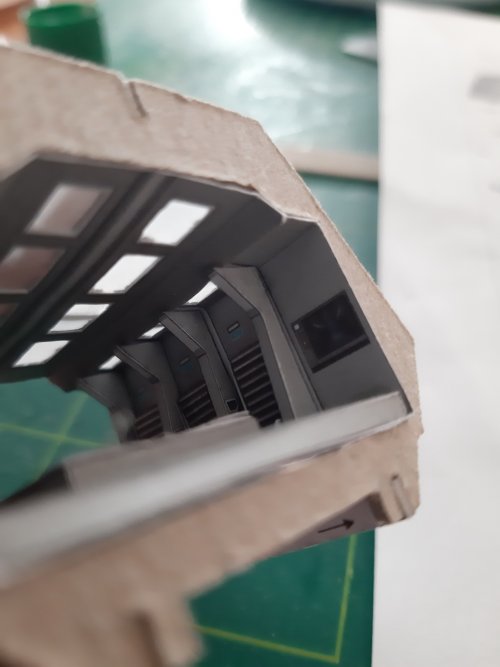
And there is a problem. My framework is not streight so I have a gap to fill.

I used some pieces of thin cardboard to fill the gap.
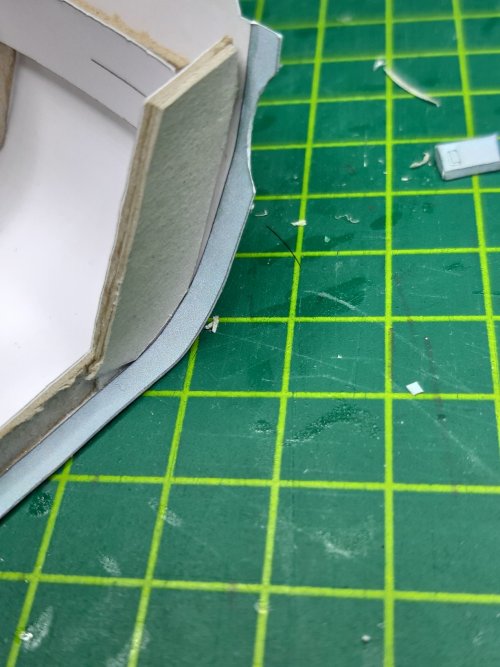
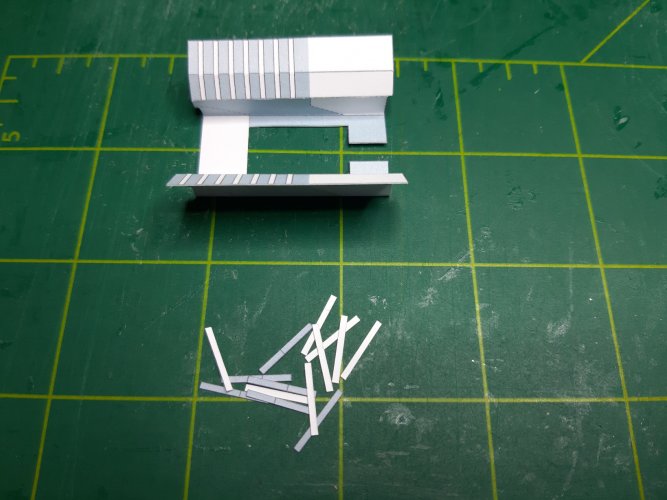
Then its time to glue the front and all the tiny pieces.

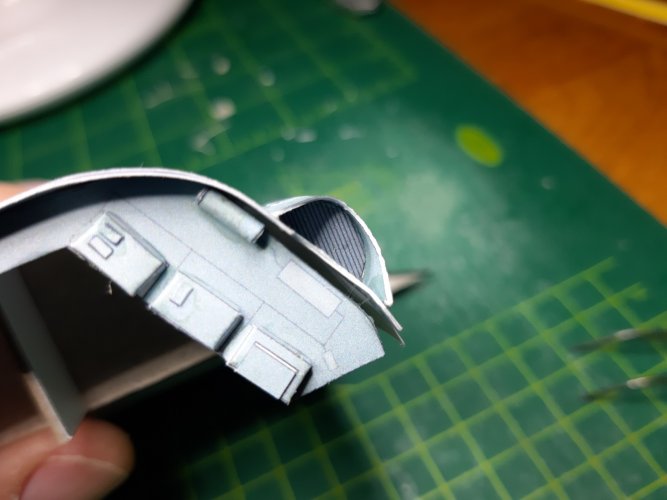
Now Im working on the rear part so more to come.

All parts cut and assembled.

And there is a problem. My framework is not streight so I have a gap to fill.

I used some pieces of thin cardboard to fill the gap.

Then its time to glue the front and all the tiny pieces.


Now Im working on the rear part so more to come.
Lets do some work on the rear part of the fuselage. Starting with the laser canon.
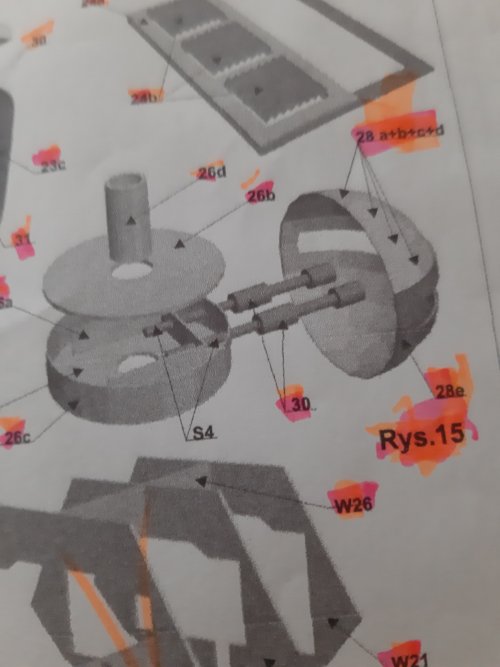
Parts cut, I have removed the tabs.

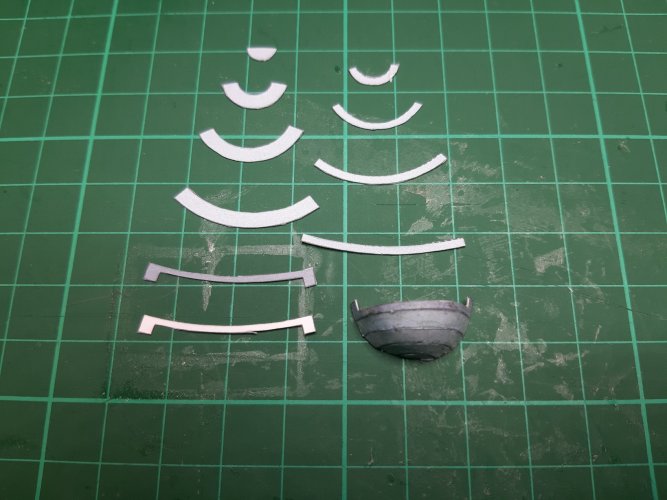
To connect the halfs I used a glue tab.
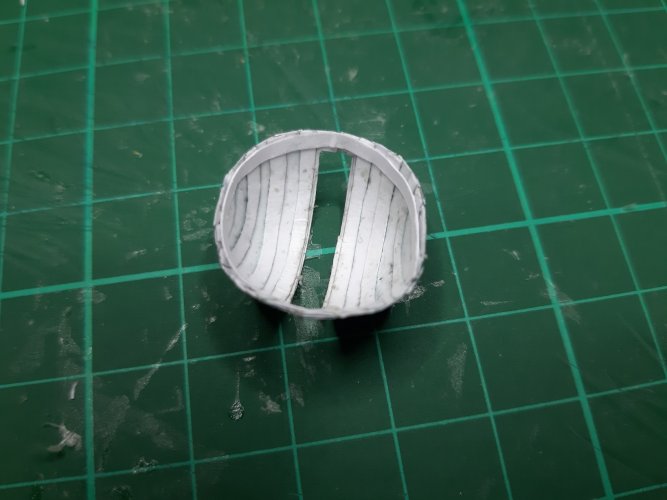
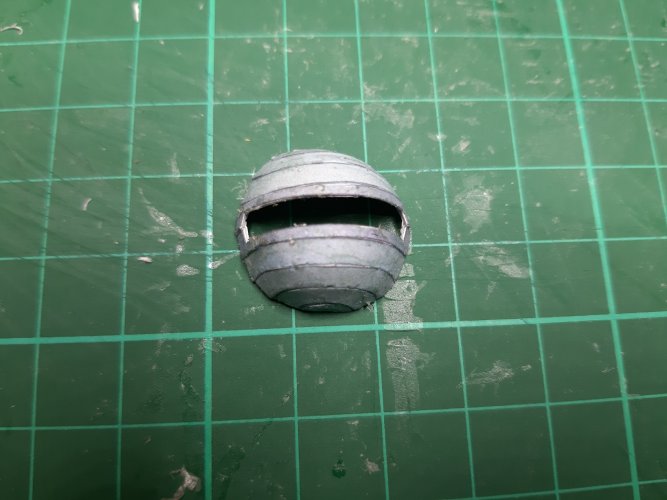
Next the turrent. When you make the tube for the laser canon from paper the size will be a bit bigger. If so you will end up with some white in the red circle.
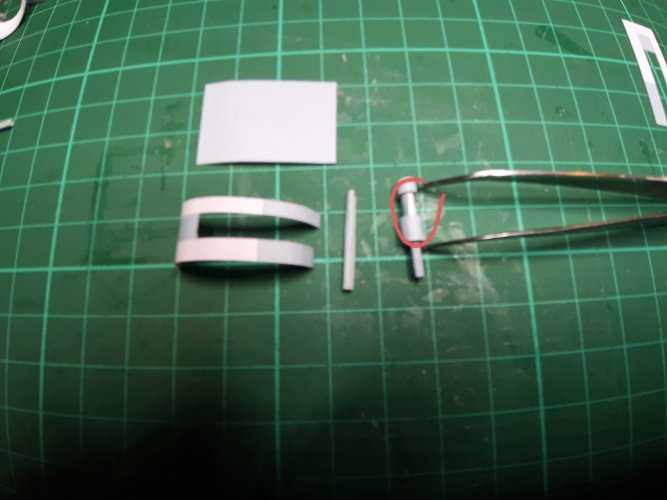
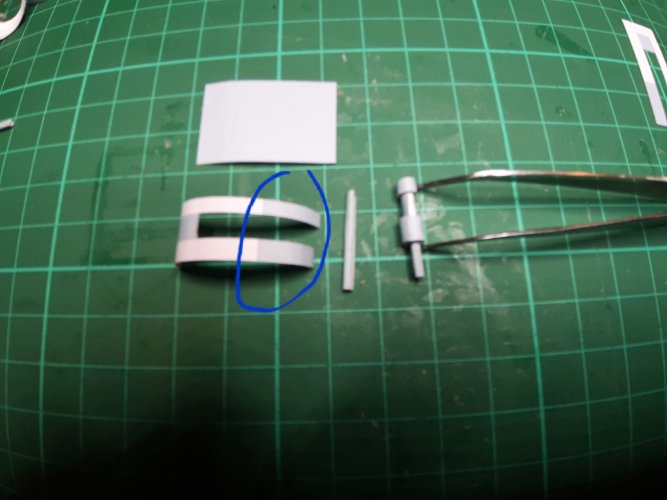
I have cut the blue circled part in 15 mm strips.and glued it around the laser barrel.
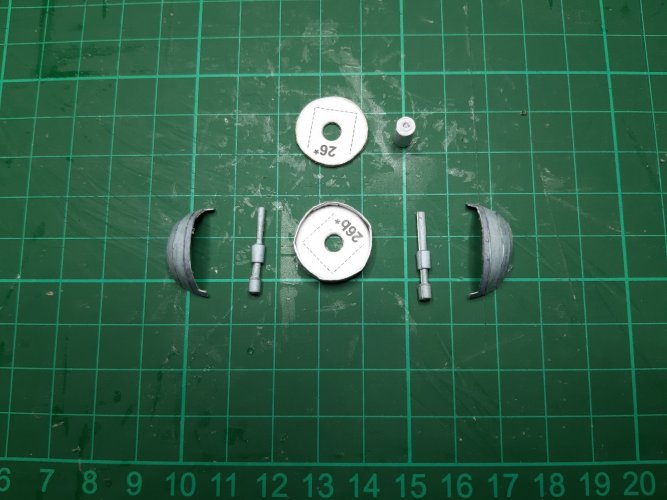
Then glue the bottom plate of the turrent and drill two holes for the laser barrels.
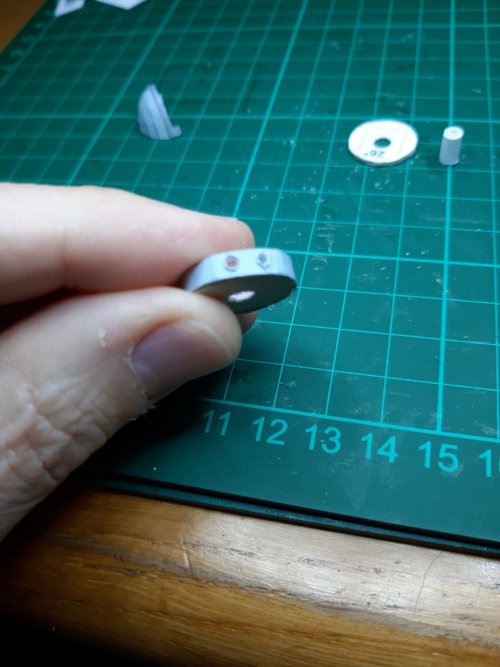
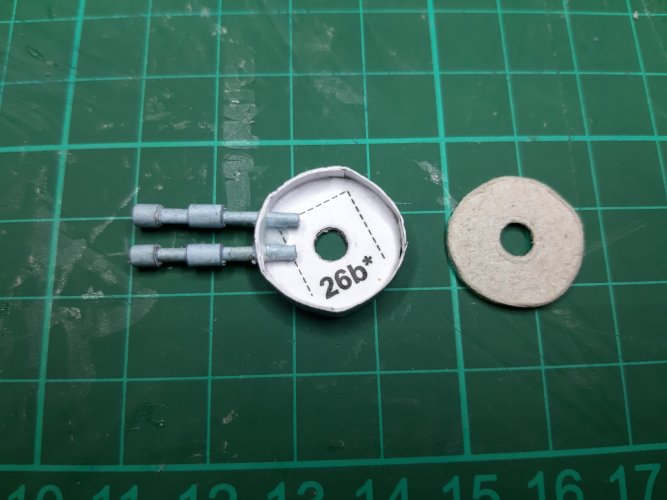
Glue the top of the turrent.

Parts cut, I have removed the tabs.


To connect the halfs I used a glue tab.


Next the turrent. When you make the tube for the laser canon from paper the size will be a bit bigger. If so you will end up with some white in the red circle.

I have cut the blue circled part in 15 mm strips.and glued it around the laser barrel.


Then glue the bottom plate of the turrent and drill two holes for the laser barrels.


Glue the top of the turrent.
Last edited:
Next step is assembling the rear parts on the fuselage.
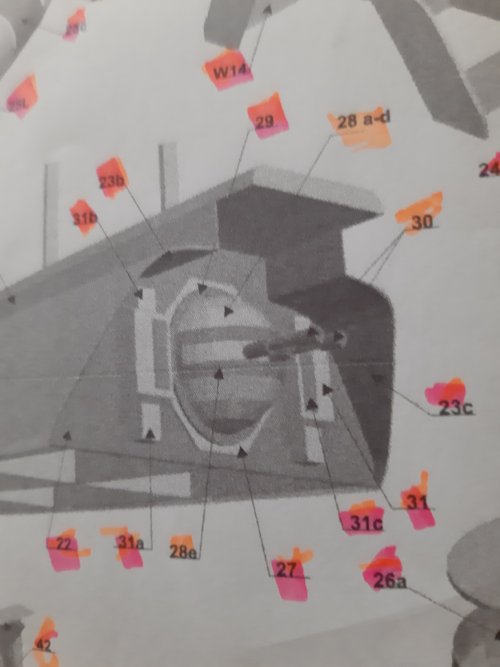
Parts cut.
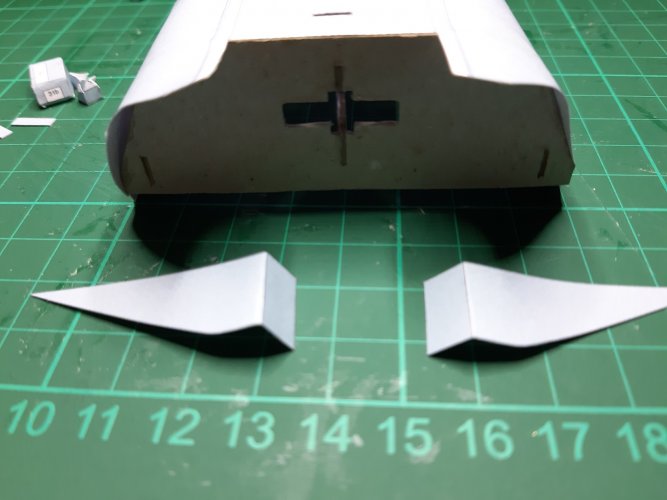
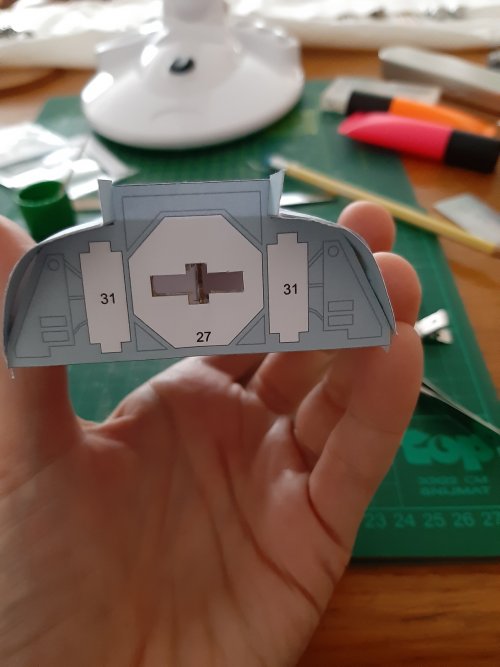
Carefully instal the turrent keep in mind that you can rotate it after gluing.
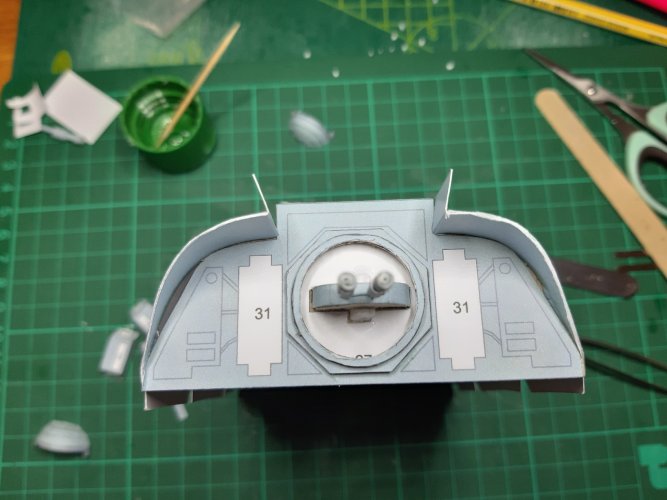
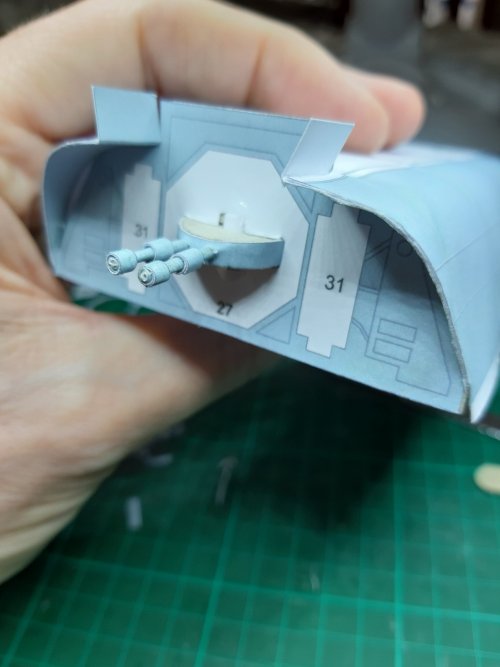
Next cut and glue the rear detailing.
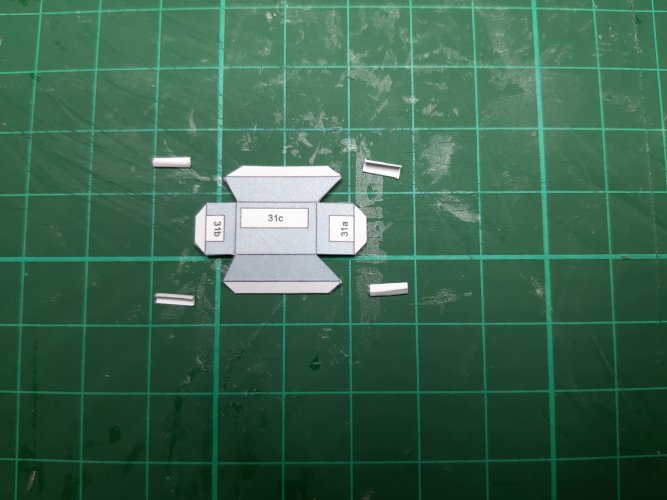
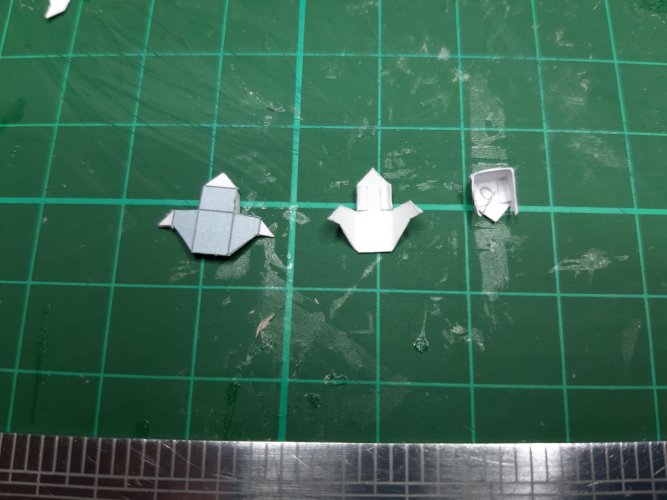
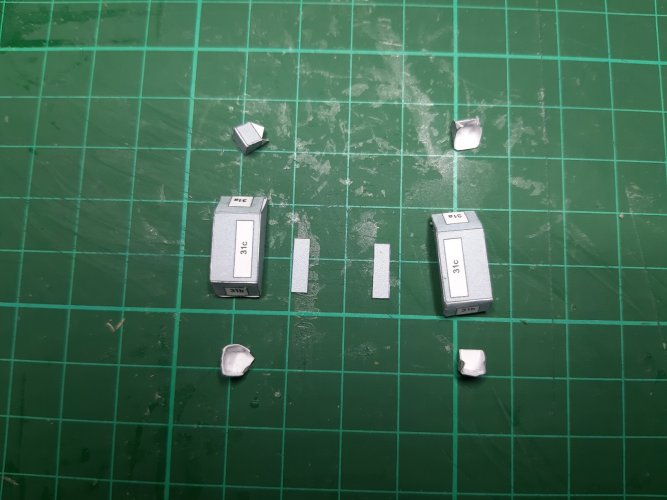
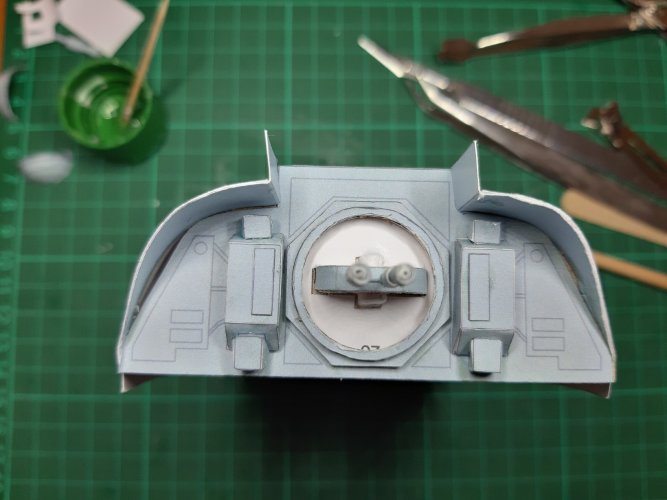
Add the last part from the turrent and the rear part of the fudelage is done.
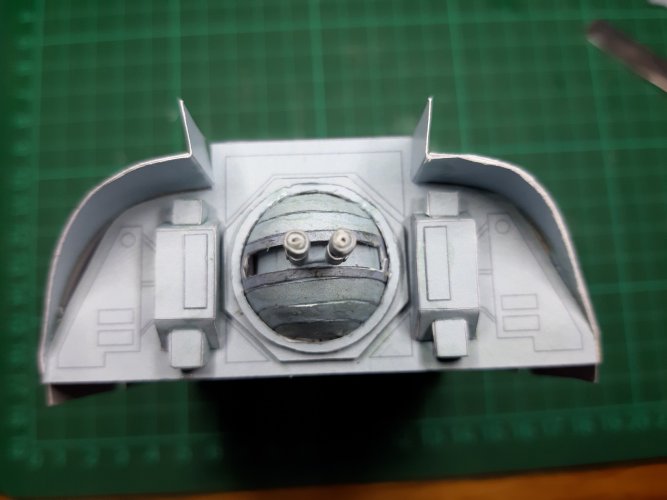
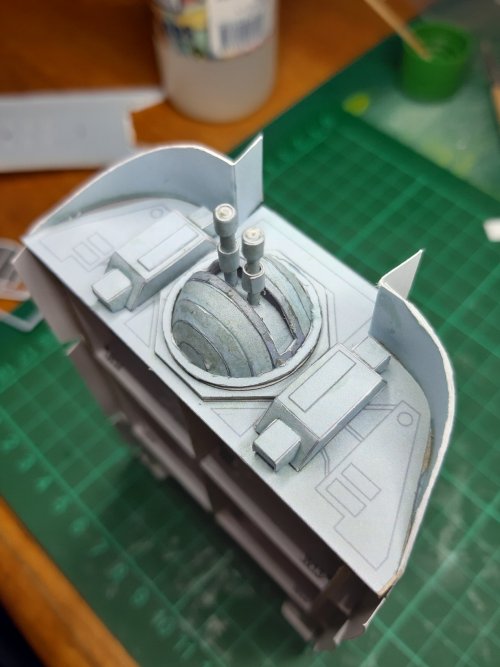
Next update will be the top wing frame.

Parts cut.


Carefully instal the turrent keep in mind that you can rotate it after gluing.


Next cut and glue the rear detailing.


Add the last part from the turrent and the rear part of the fudelage is done.


Next update will be the top wing frame.
Last edited:


