Imperial Lambda-class T-4a shuttle TYDIRIUM
- Thread starter mijob
- Start date
You are using an out of date browser. It may not display this or other websites correctly.
You should upgrade or use an alternative browser.
You should upgrade or use an alternative browser.
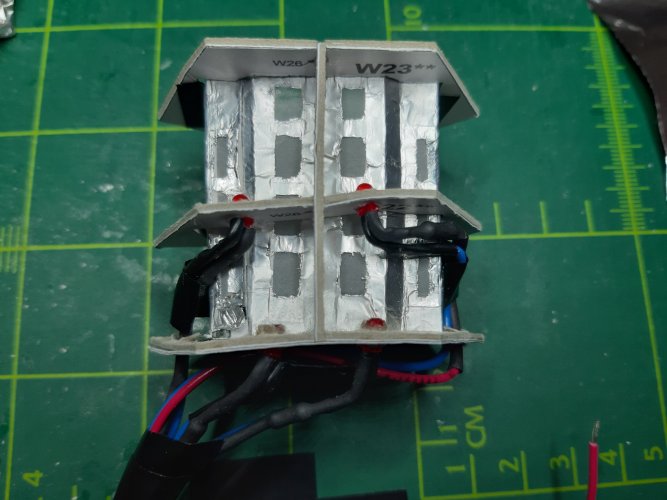
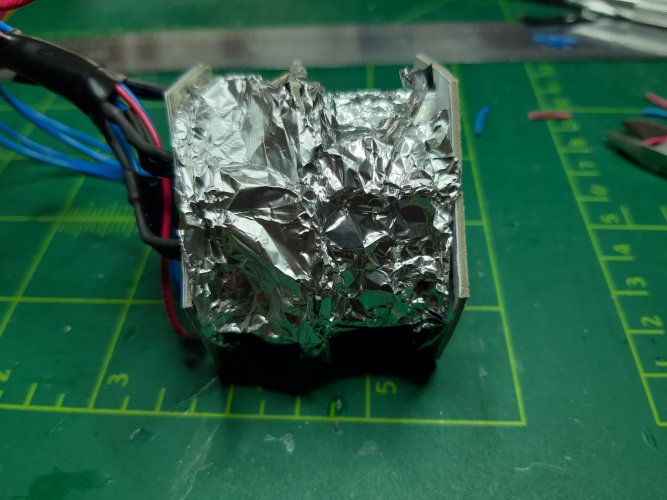
AWESOME! I was already thinking about what it might be. A Blurrg? A rathtar? A Wookie commando? A rehab center for zombified Stormtroopers? So many possibilities... But no, it was TIN FOIL! AND IT LOOKS GREAT!Thank you, I have a suprice Im working on the gargo bay. I will show it this weekend.
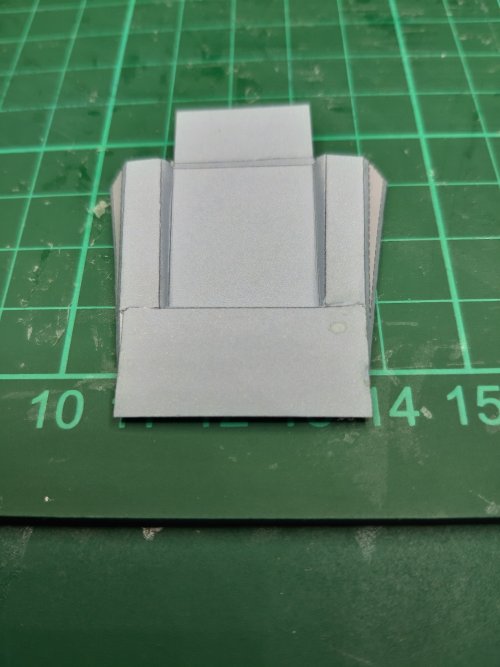
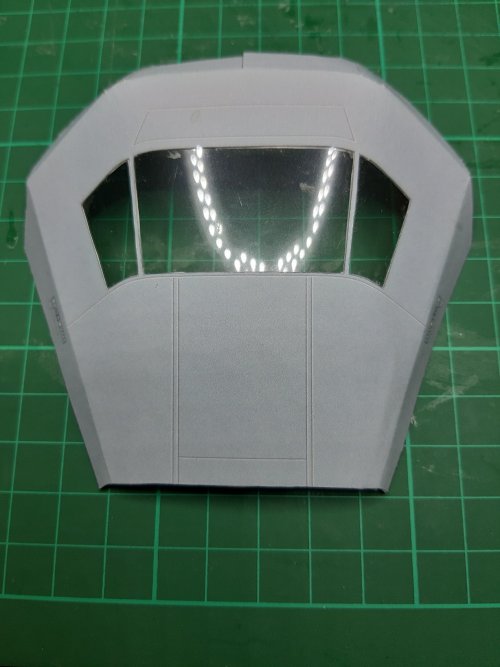
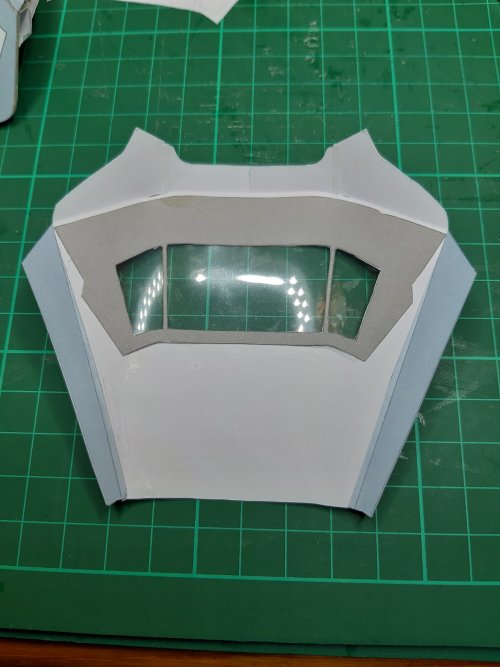
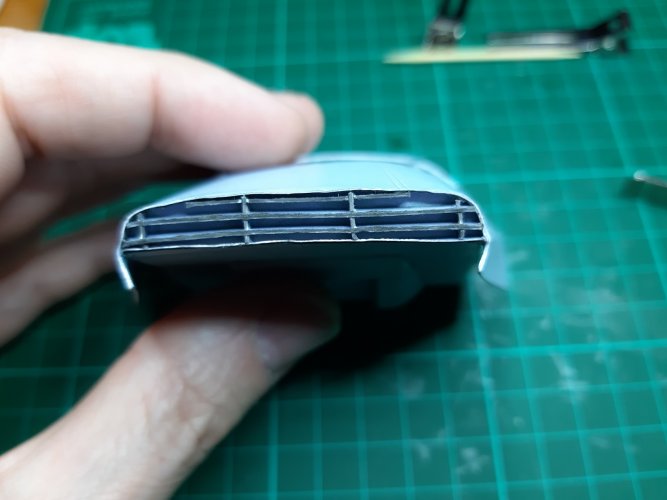
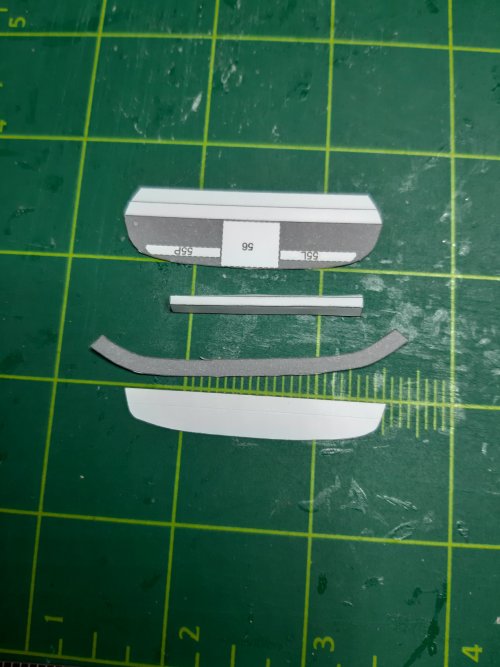
Now I want to finish the cockpit. I started with the main dash.
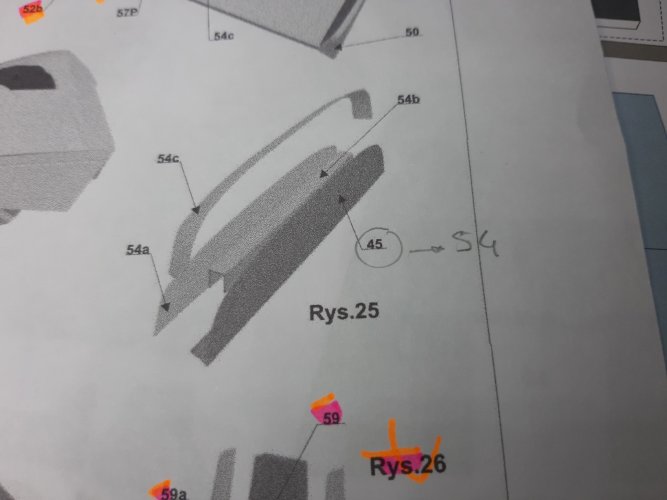
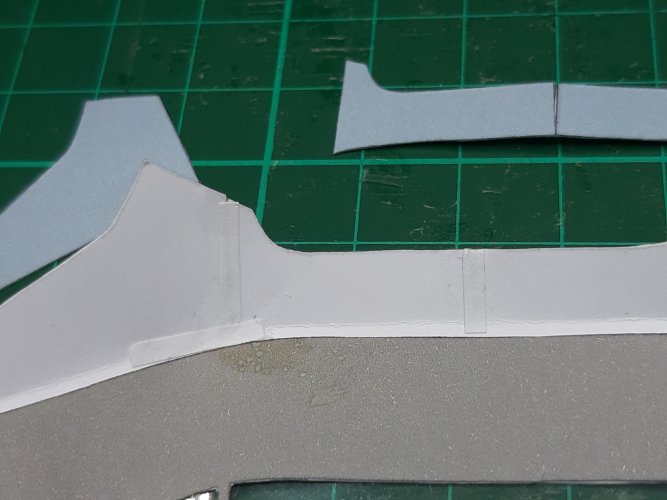
Parts cut, scored and pre folded.
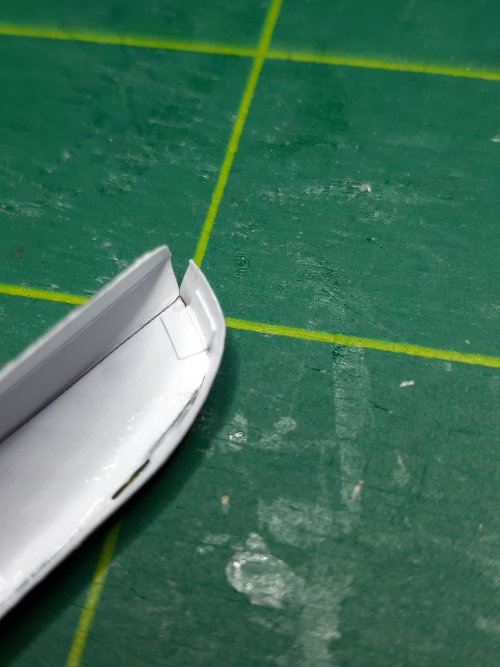
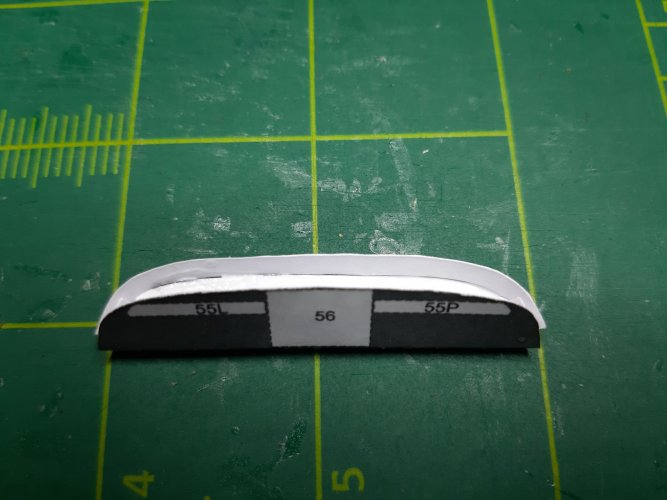
I have used a glue tab from left overs.
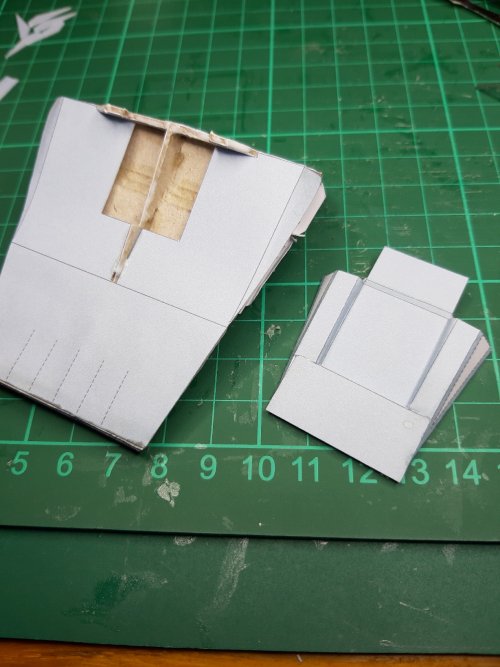
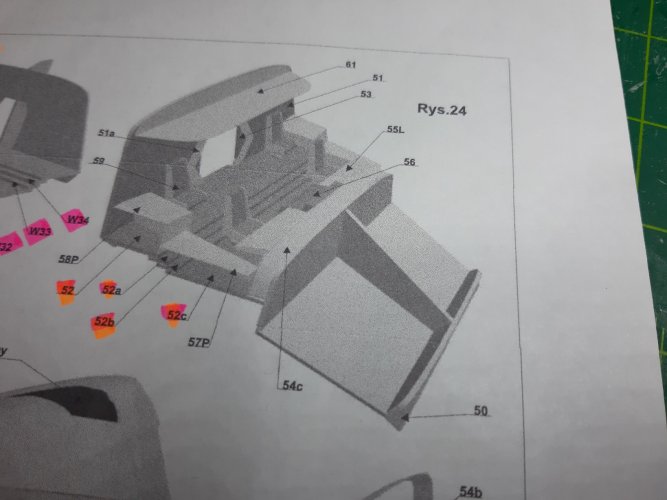
Next are the floor plates and the cockpit rear wall.
And a found a small error.
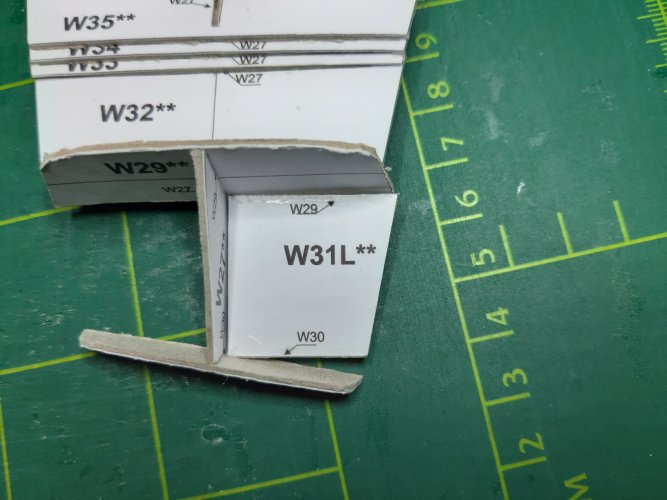
I removed some small slises and it fits like a glove.
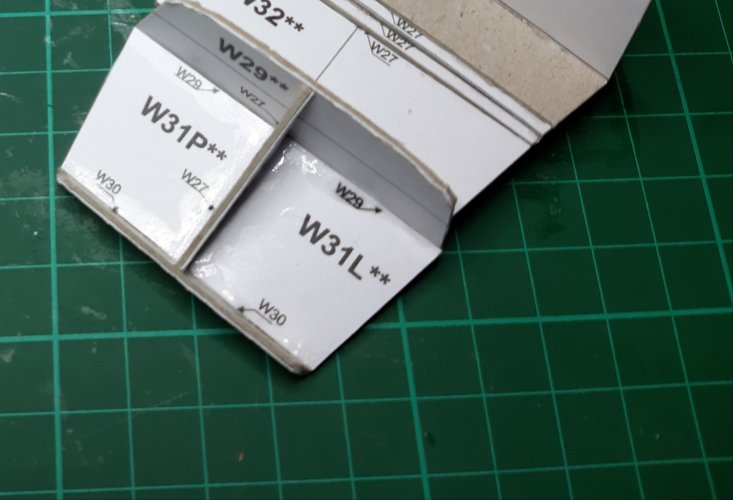
All parts cut, scored and pre formed.
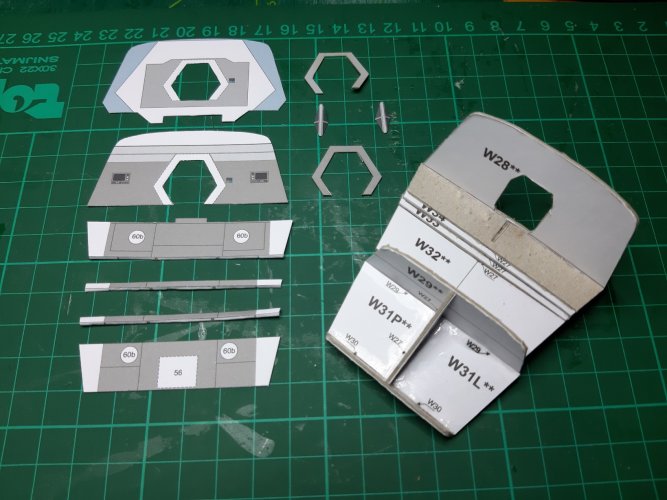
All parts in place.
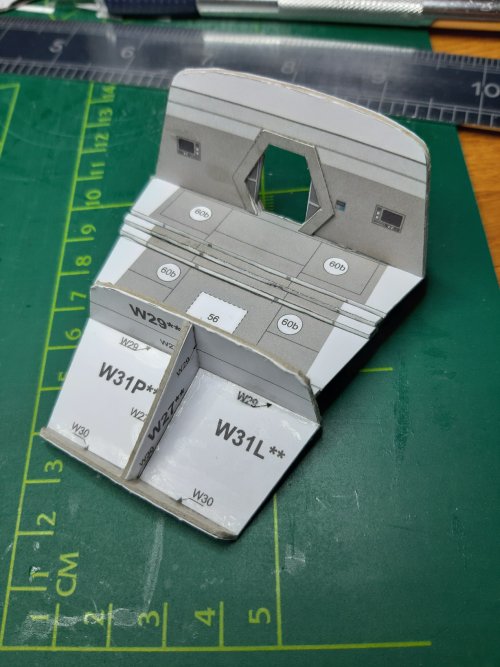
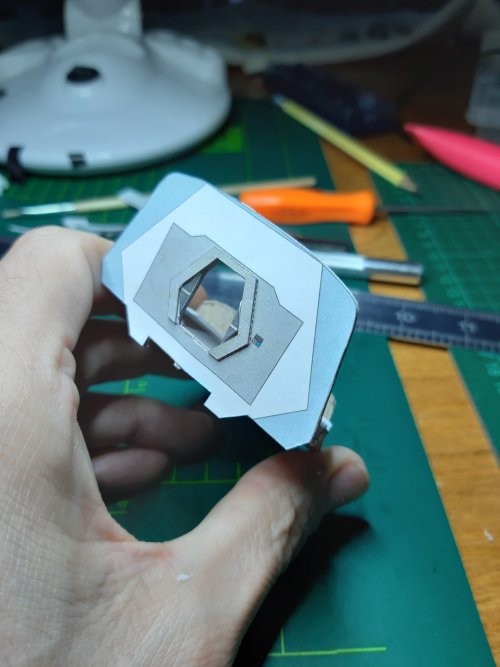
Last part for today the instrument dash.
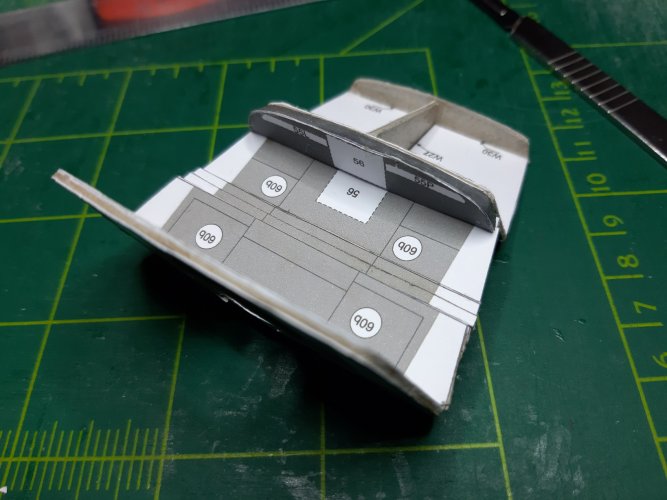
Tomorow its time to assemble all the instruments and seats.

Parts cut, scored and pre folded.

I have used a glue tab from left overs.


Next are the floor plates and the cockpit rear wall.

And a found a small error.

I removed some small slises and it fits like a glove.

All parts cut, scored and pre formed.


All parts in place.


Last part for today the instrument dash.

Tomorow its time to assemble all the instruments and seats.
- Apr 5, 2013
- 13,876
- 10,215
- 228
The seats really each look just like each other. They look mass-produced. That's a great achievement!!! You're going to end up with a model that you can be proud of for decades to come. 
I have to say it felt like a mass production during the assembly of it. Tofay I hope to finish the inside of the cockpit.The seats really each look just like each other. They look mass-produced. That's a great achievement!!! You're going to end up with a model that you can be proud of for decades to come.
I continued with the instrumentpanels.
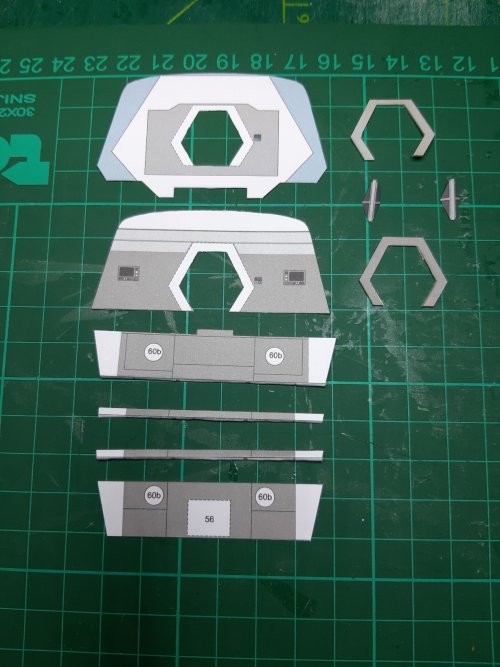
Parts cut, scored and formed.
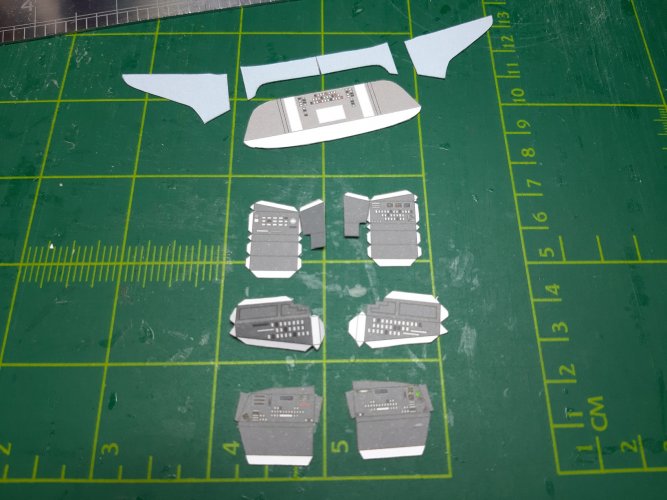
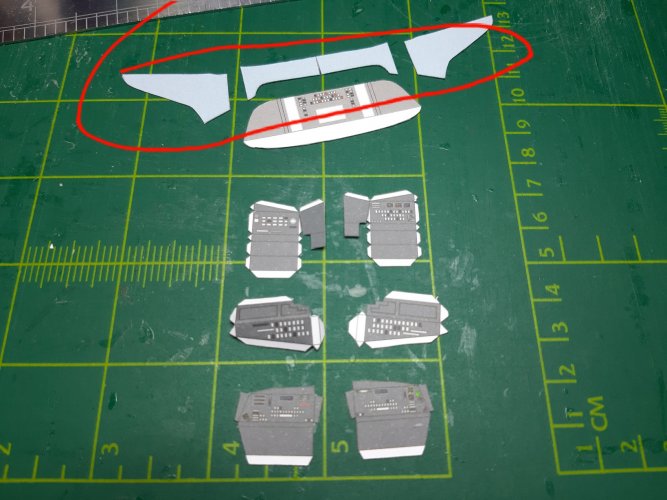
Not sure if I need to use the red curcled parts. Cant find them in the instructions.
Update 2024 02 23 these parts are needed for joining the back of the cockpit to the fuselage.
Here some pictures of assembling the instruments.
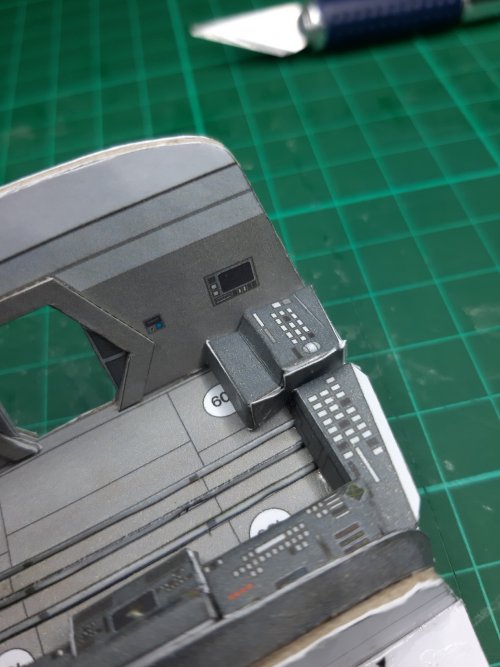
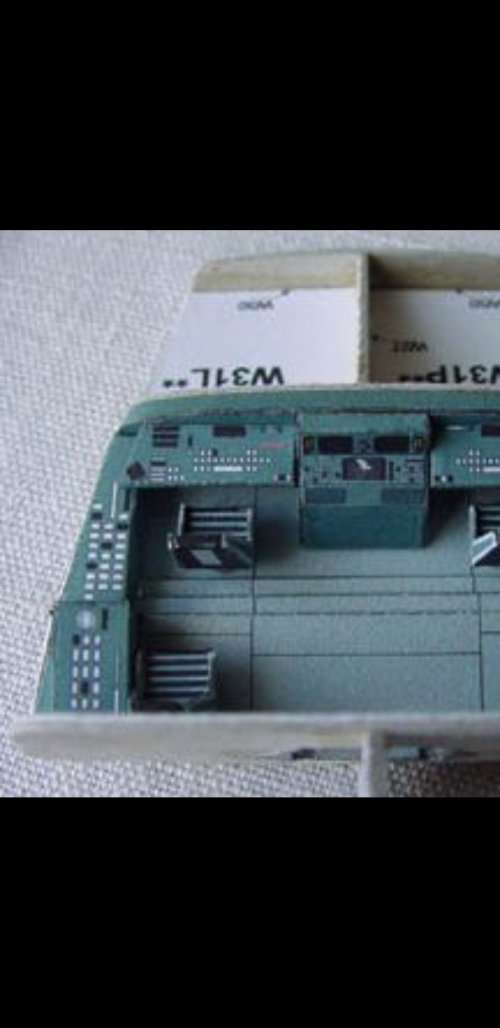
As you can see the panel at the rear wall is wrong. When I checked the desugnersbuild it has to look like this.
No problem we will modify this part by cutting the sude open.
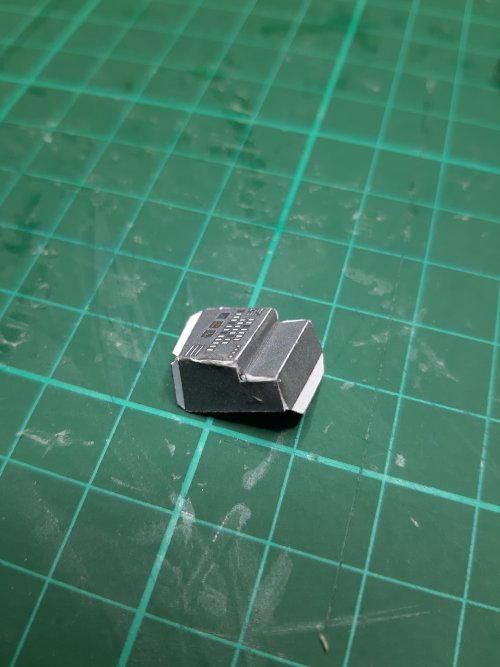
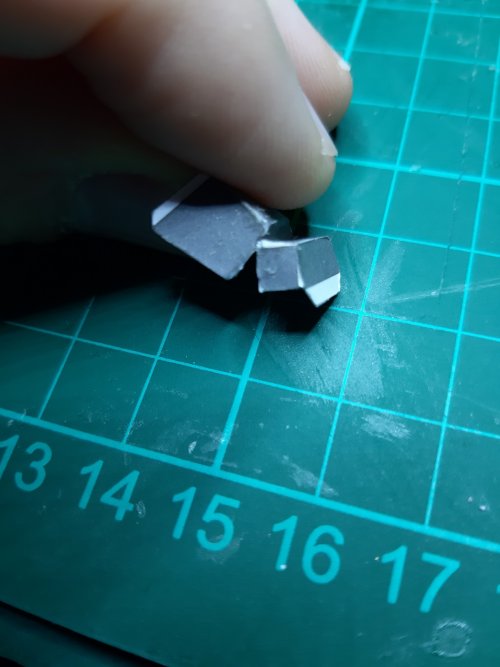
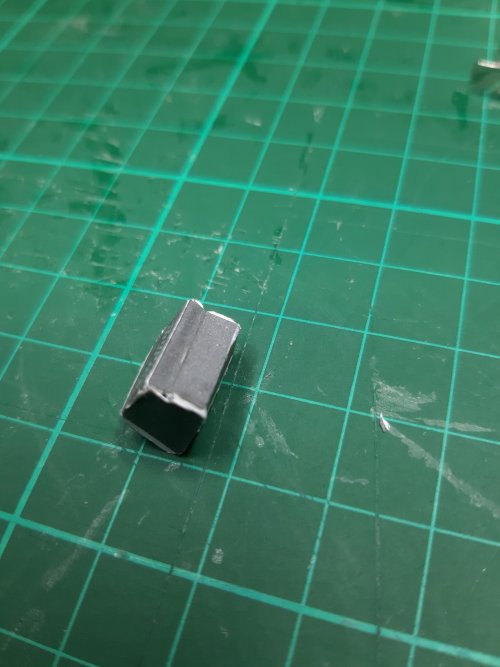
And now it fits correctly.
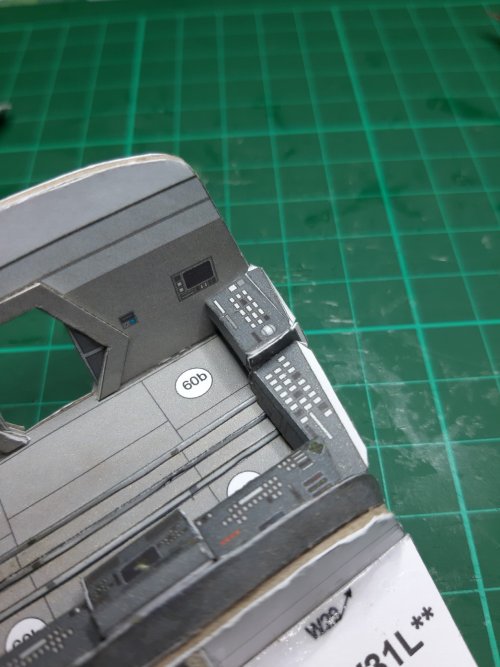
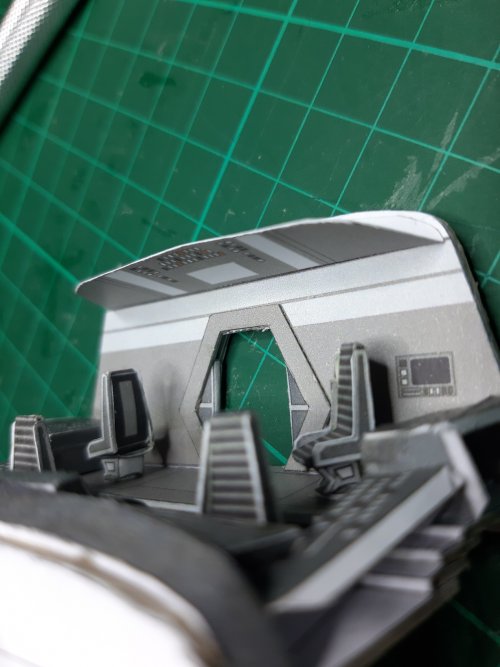
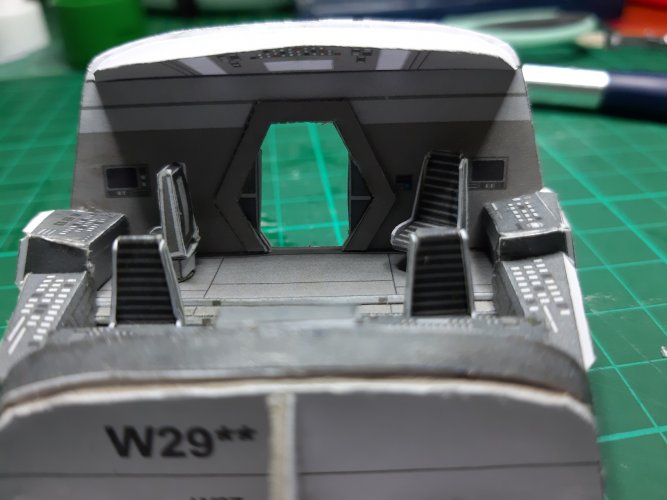
Next up the seats. I didnt like the standard seat orientation so I changed it to get more live in the cockpit.
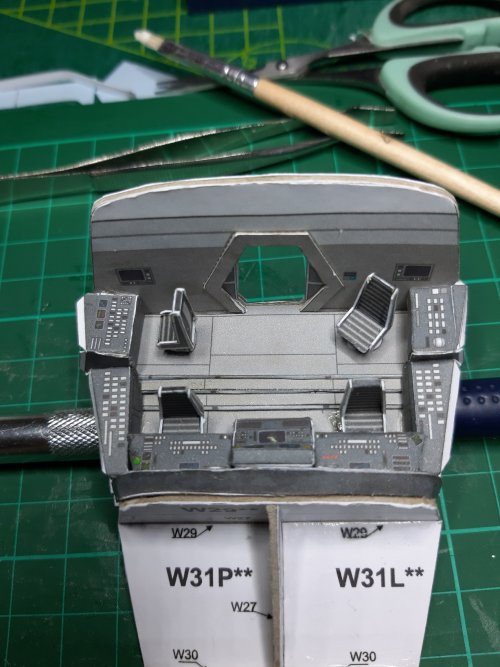
And some extra shots.
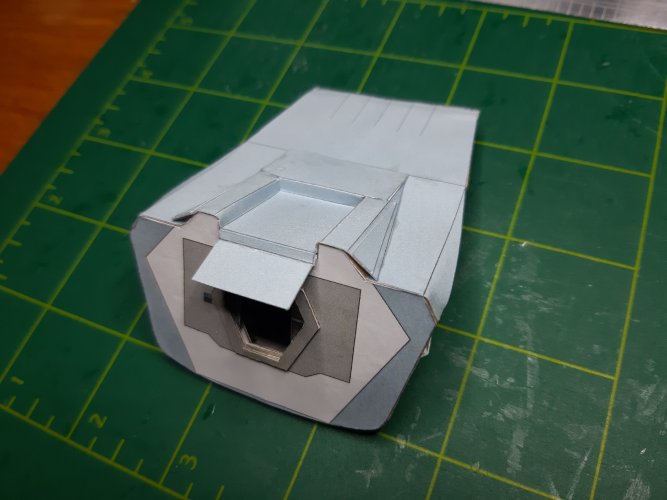
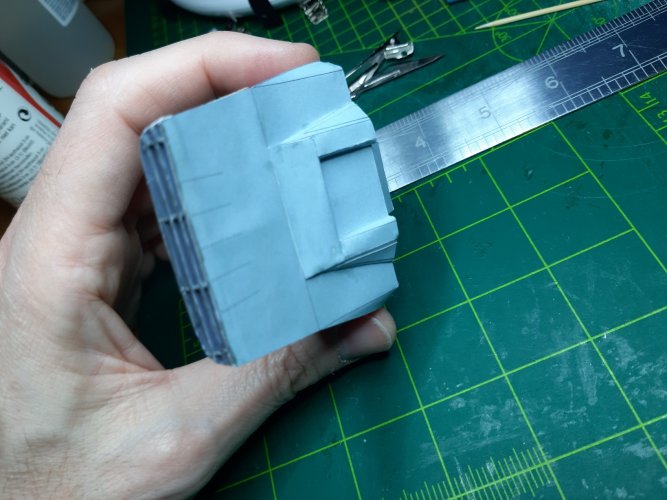
Nect I will work on the nose section.
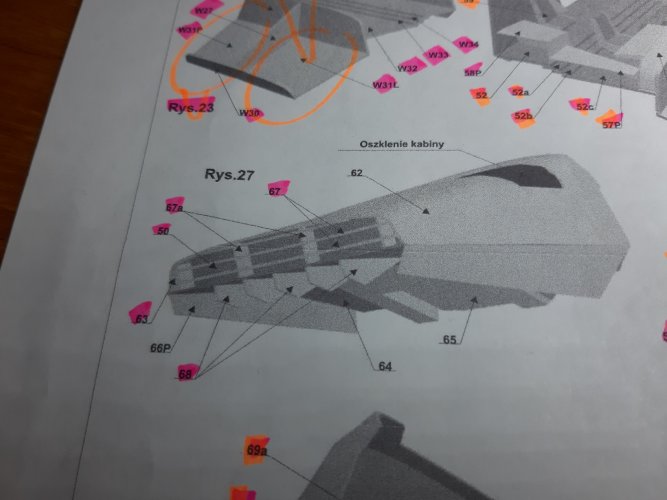
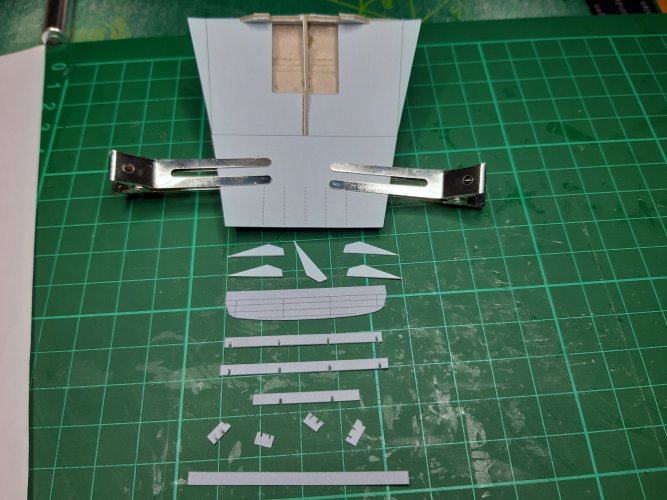
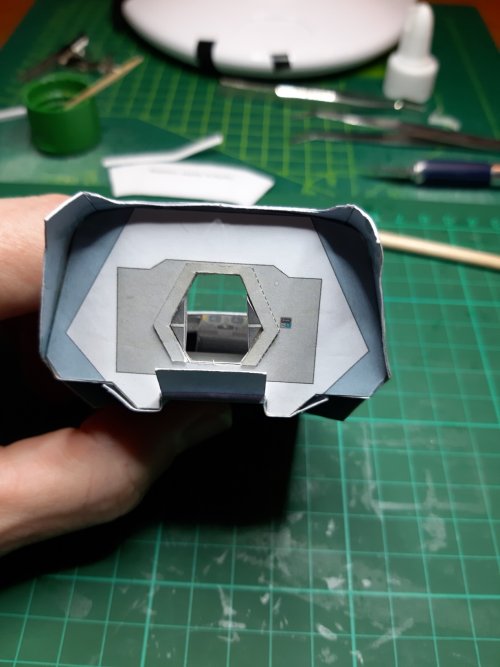
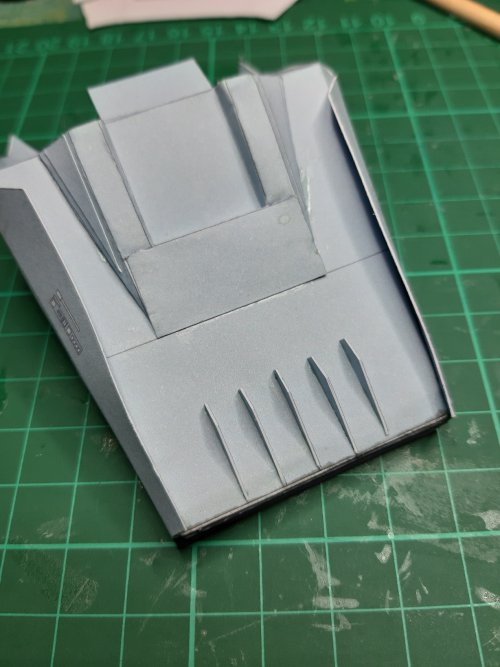
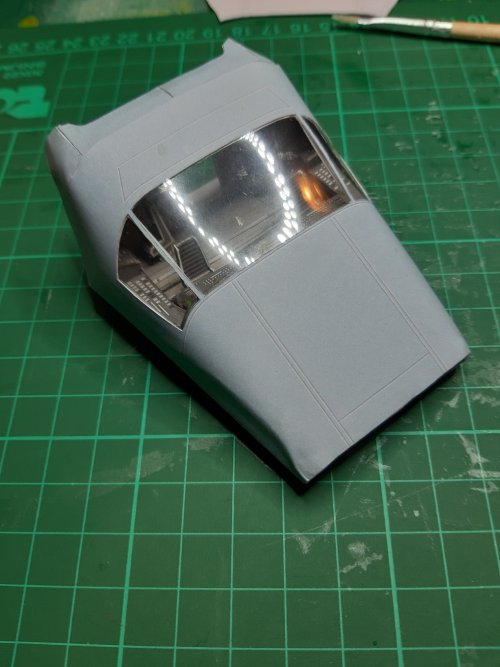
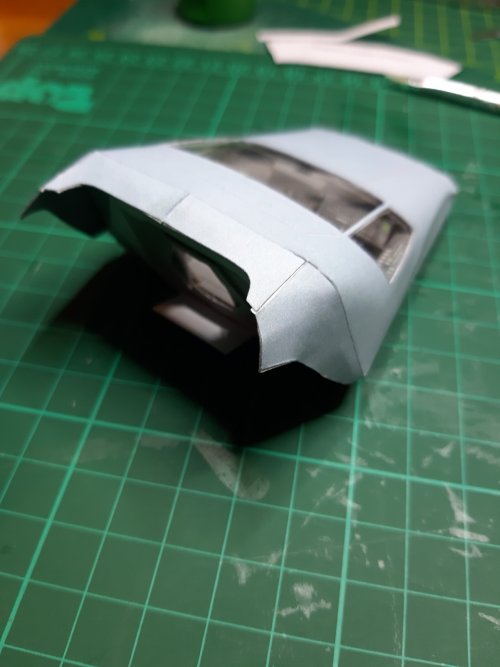
Parts cut, scored and formed.

Not sure if I need to use the red curcled parts. Cant find them in the instructions.
Update 2024 02 23 these parts are needed for joining the back of the cockpit to the fuselage.

Here some pictures of assembling the instruments.

As you can see the panel at the rear wall is wrong. When I checked the desugnersbuild it has to look like this.

No problem we will modify this part by cutting the sude open.


And now it fits correctly.

Next up the seats. I didnt like the standard seat orientation so I changed it to get more live in the cockpit.

And some extra shots.


Nect I will work on the nose section.
Last edited:
Yep thats a good sugestion.I would paint the edges of the interior pieces as long as you can still access them. A light grey marker with a pointy tip should do. It's worth the effort.
You are doing a FANTASTIC JOB on this project!
If I may suggest; after cutting out the part, I have found that painting the edges prior to assembling the part, works the best.
If I may suggest; after cutting out the part, I have found that painting the edges prior to assembling the part, works the best.
Thank you and a great sugestion.You are doing a FANTASTIC JOB on this project!
If I may suggest; after cutting out the part, I have found that painting the edges prior to assembling the part, works the best.
It was a pain in the ...to make it all fit. There are a few bumps gone look if I can fix them.That looks really good!
Yeah I realy love this ship. Its a lovely challenge to build it but it pays off.Beautiful!!
im really starting to worry that you are in fact the current emperor and are building your own imperial fleet.......


