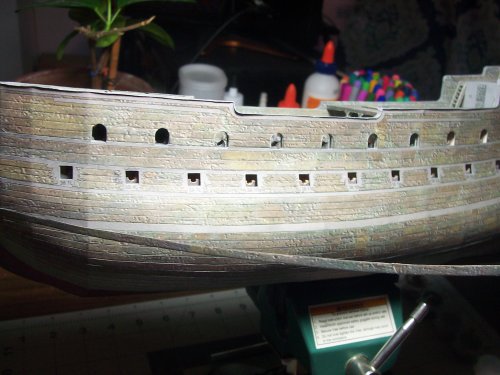
"Flying Dutchman" - Ghost Ship - OREL Russian Paper Model Build

mtrappett

Well-Known Member
Mar 3, 2013
373
812
75
Santa Clarita, California
I just unloaded my camera and thought I would upload a few more until the next time I sail this way again! :Viper: <--- The closest I could get to a ship!

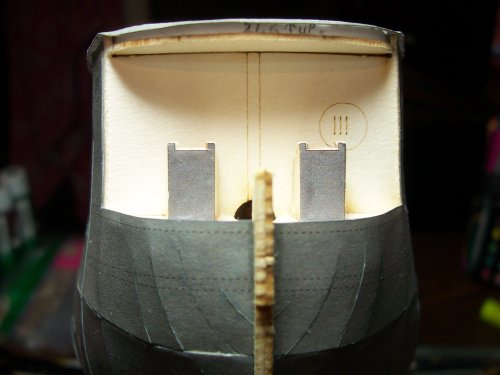
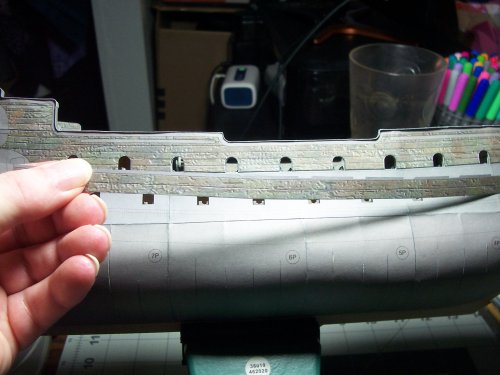
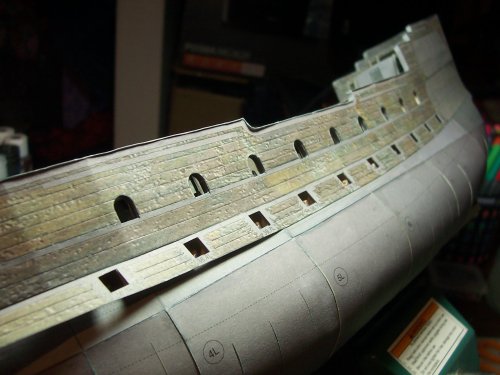
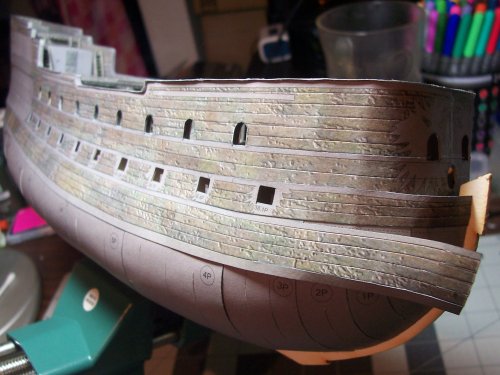
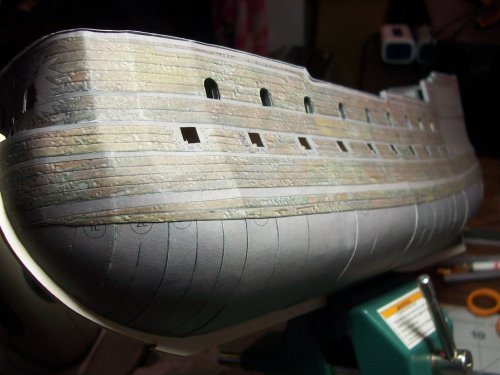
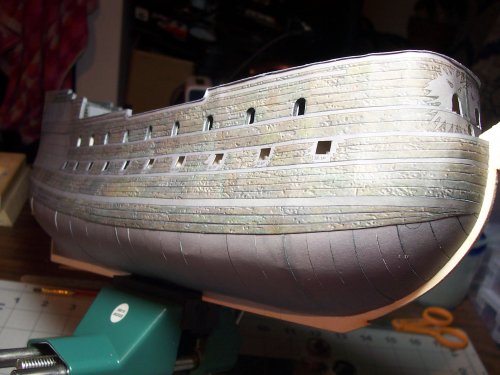
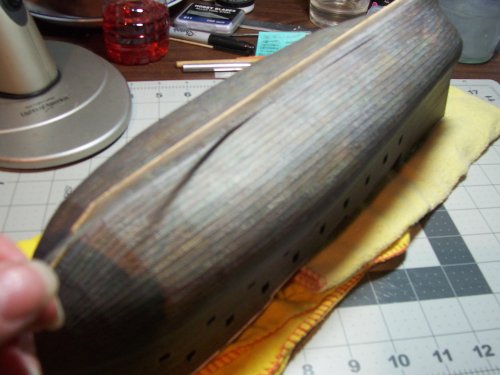
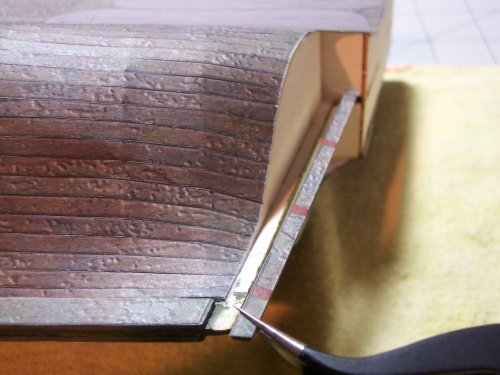
I'm quite surprised at the detail my old Kodak camera is showing. This is pretty well-zoomed in. This is showing more of the draft paneling under construction. As I may have mentioned before, this is just the foundation for the final paneling that will be coming round the corner pretty soon.
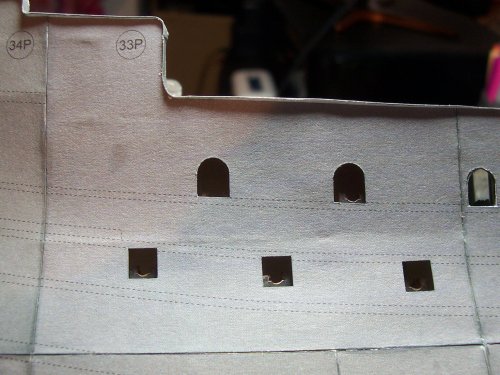
Flying Dutchman 001.JPG

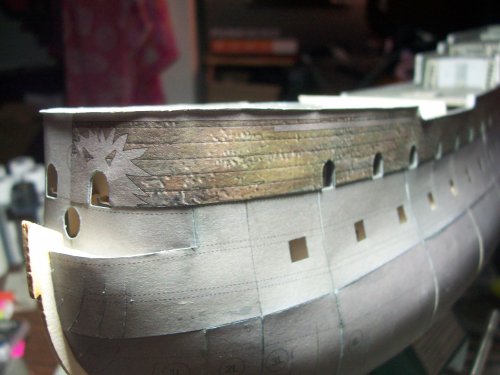
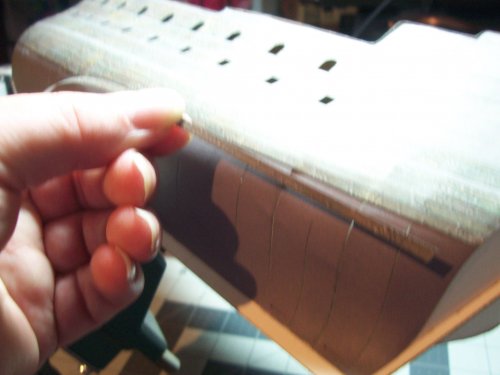
I like to paint a thin layer of white glue thinned 50/50 over the joins in the panels and then smooth them with my finger-tip to get a nicer transition. The upper-rail of the bulwarks are a bit vulnerable to getting damaged or buckled/bent during the build but, they will have another final layer over the top eventually. just be careful not to squeeze the sides during working on the model :headbange:
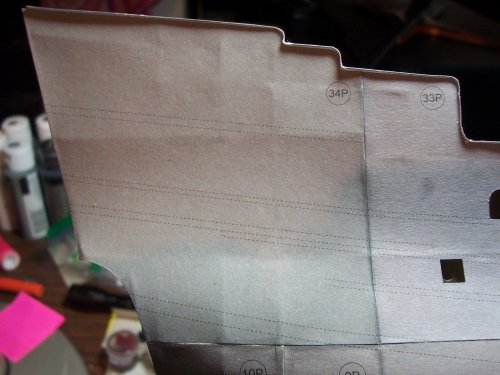
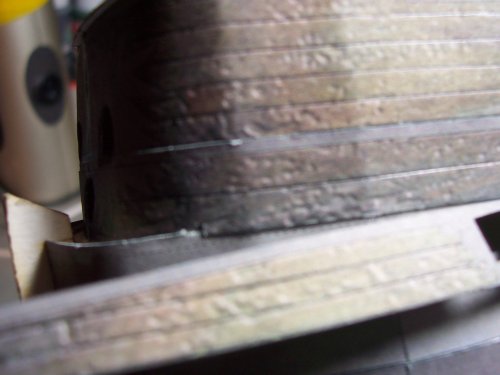
Flying Dutchman 002.JPG

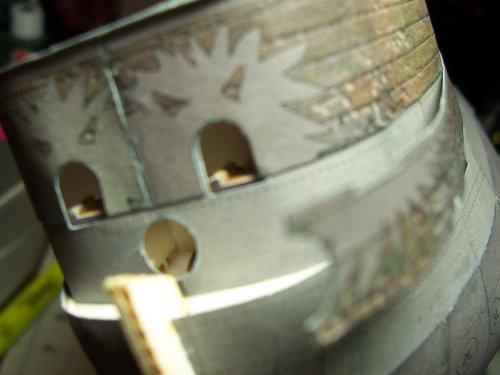
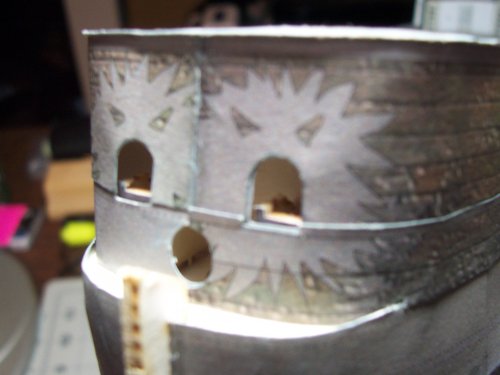
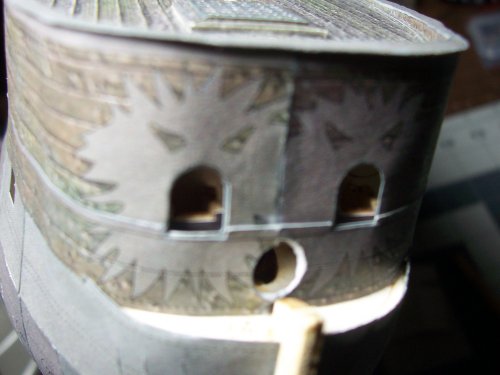
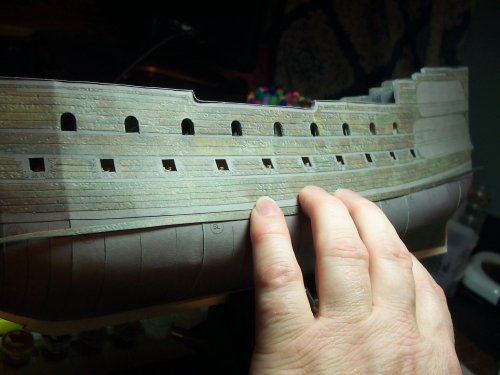
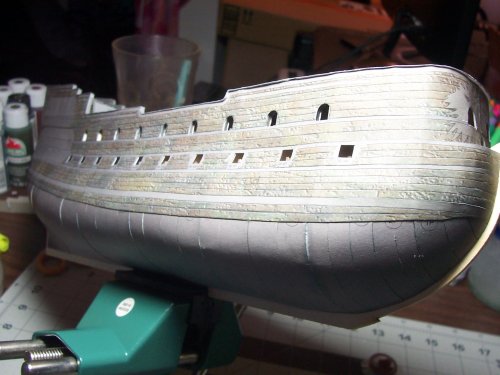
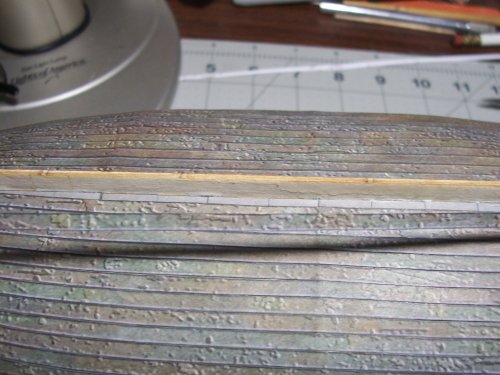
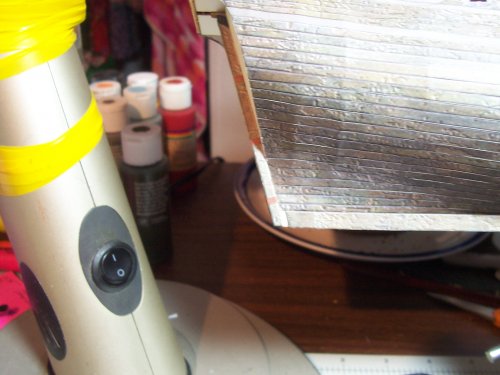
Ah yes, this is the last piece of the draft paneling for the bow area. The window ports are where the chaser cannons will protrude through... "Ah Matey!!"
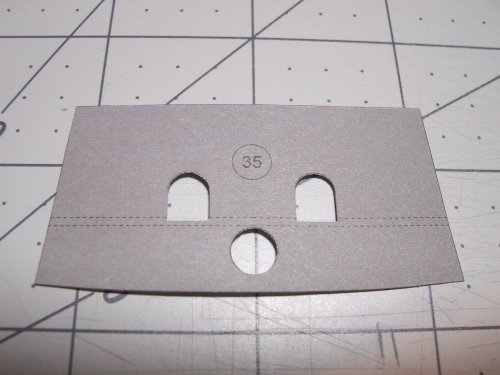
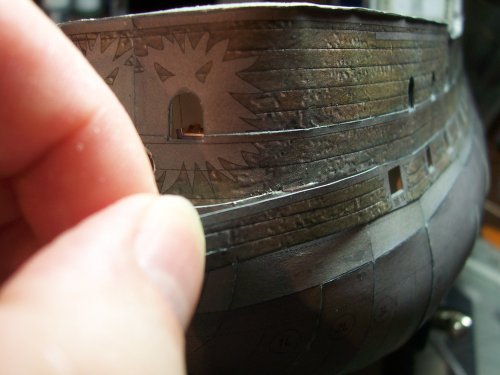
Flying Dutchman 003.JPG

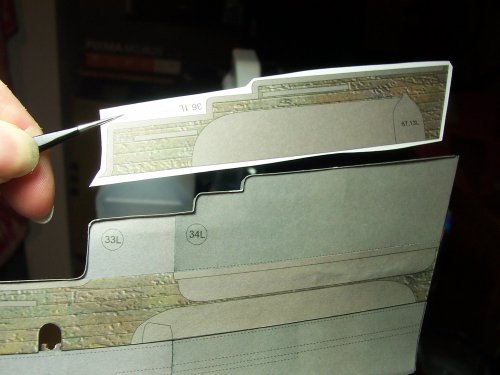
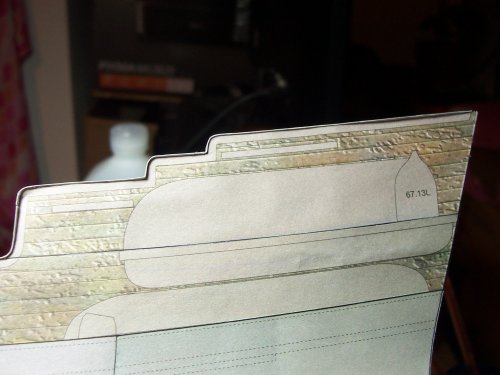
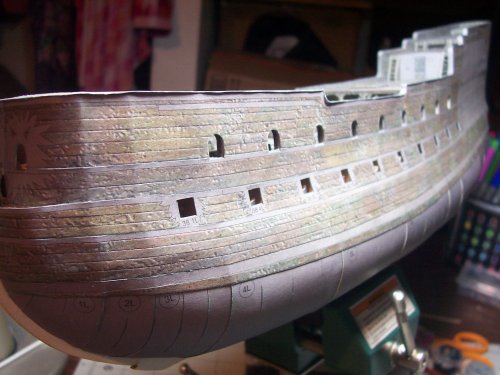
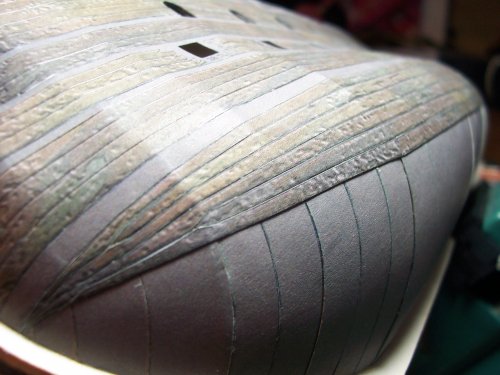
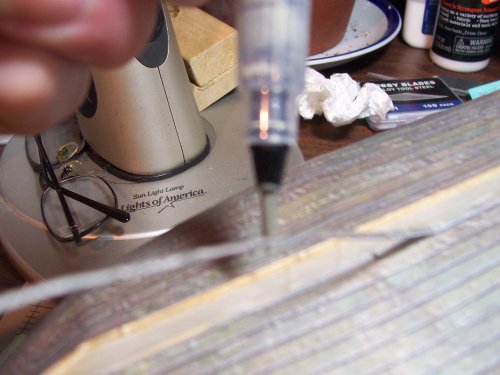
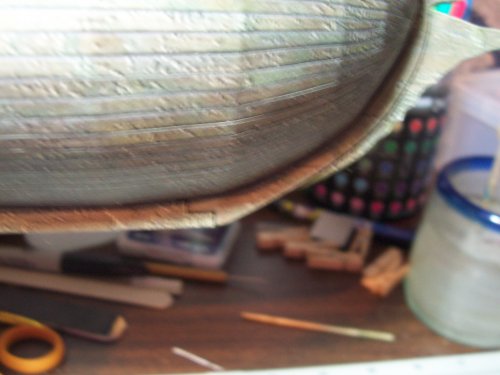
You can see that even a tiny amount of glue can cause the lip of the gunwale to tilt down, that's why I recommend using the mallest amount of white glue needed to affix the parts... you can always add a little here and there later if needed but not so easy to remove too much glue :sadno:. Wow, look at the zoomed in laser cut keel! It actually looks okay normally but pretty bumpy in the image below :eek:

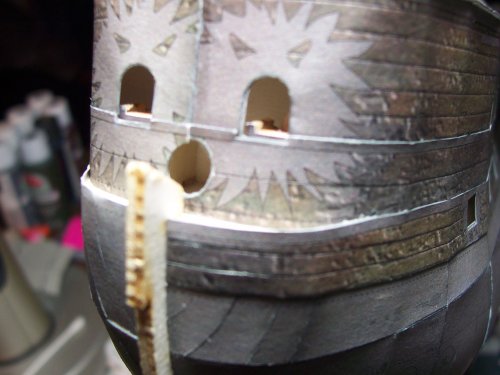
Flying Dutchman 004.JPG

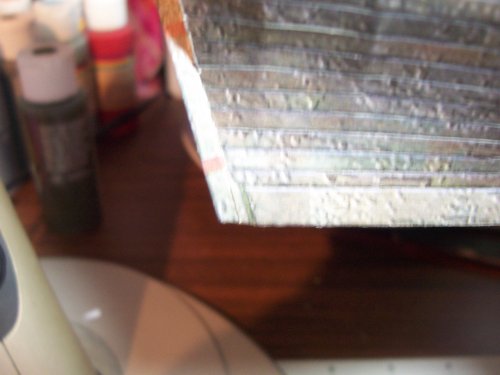
I applied a little glue to the base of the part #35 before installing it. I then used a pointer to move the base around into the correct position. The front mast will also pass through this piece eventually.
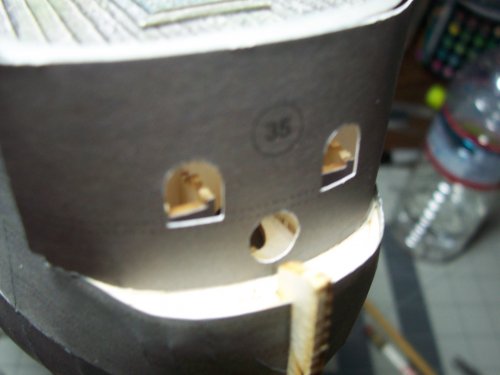
Flying Dutchman 005.JPG

A minor imperfection in the shape of the part #35 where it joins the side panels. Easy to make a small cutout as can been seen below.
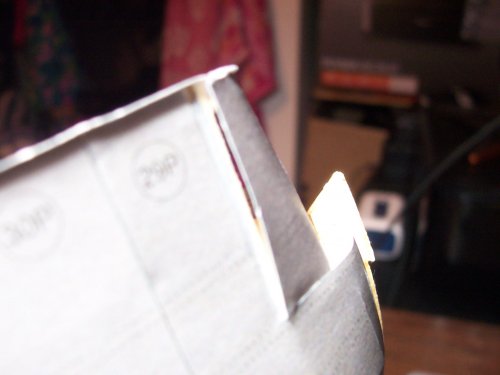
Flying Dutchman 006.JPG

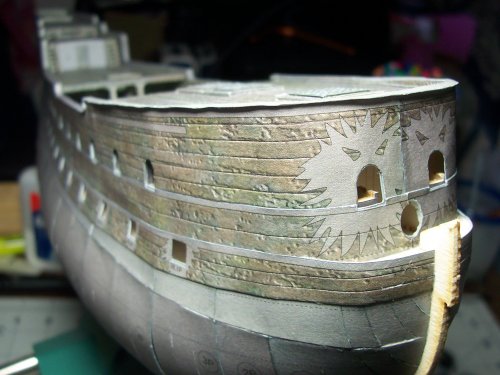
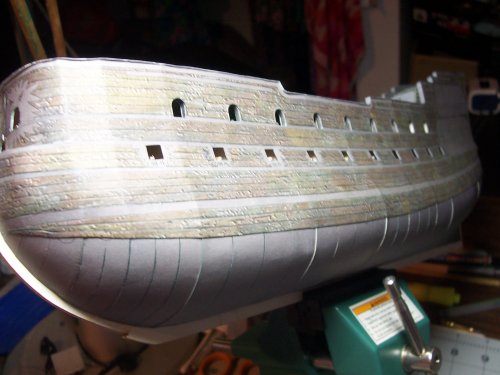
The finished draft panel work!! This is a milestone!

The shape of the hull is quite intricate with curves giving it a pleasing shape I feel. :biggrin:
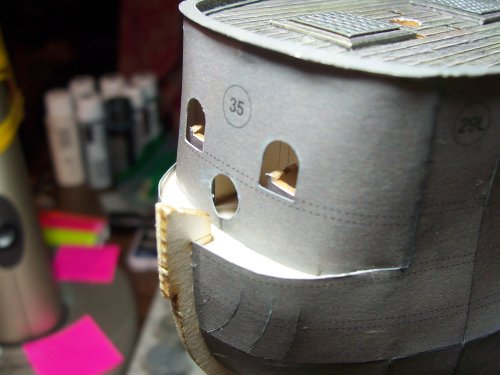
Flying Dutchman 007.JPG

Okay, moving on to PNC (pic) 11 below. This starts the final panel work.
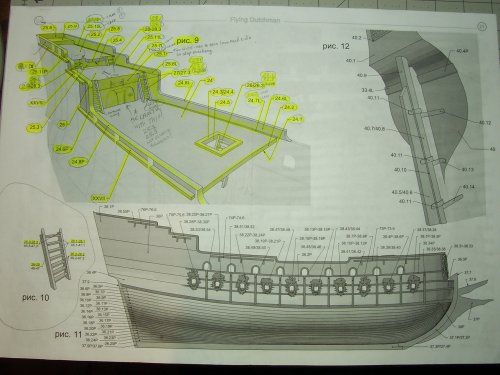
Flying Dutchman 008.JPG

This is one of the sides of the final panels. There are 2 of these of curse, one for left and one for right hand sides of the ship.
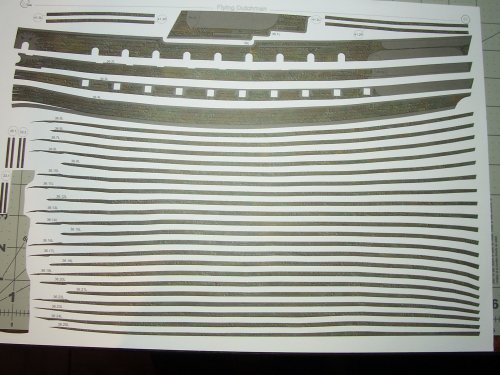
Flying Dutchman 009.JPG

The first piece ready to be installed.
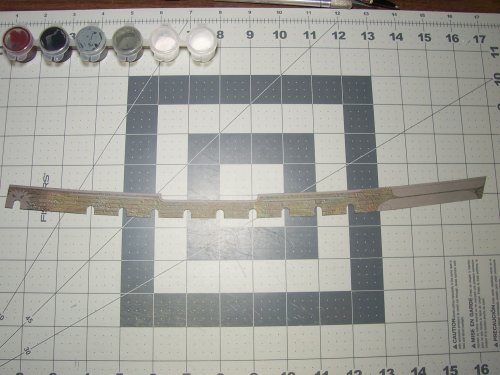
Flying Dutchman 010.JPG

I found it best to start in the middle of the part and then do the rear and then the front gluing. This enables the best alignment of the window ports.
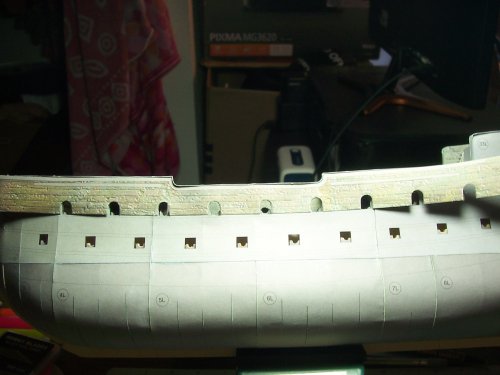
Flying Dutchman 011.JPG

Oh, and there are the upper deck gangways on each side parts #28. Just an FYI.
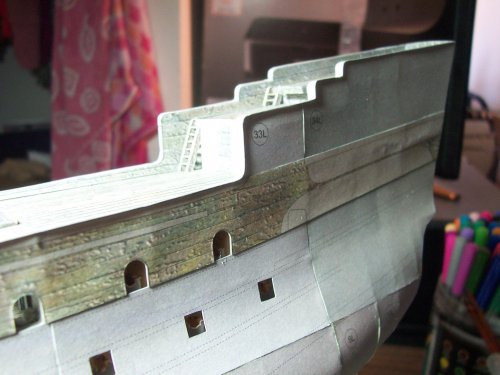
Flying Dutchman 012.JPG

the front of the piece is now getting the treatment.
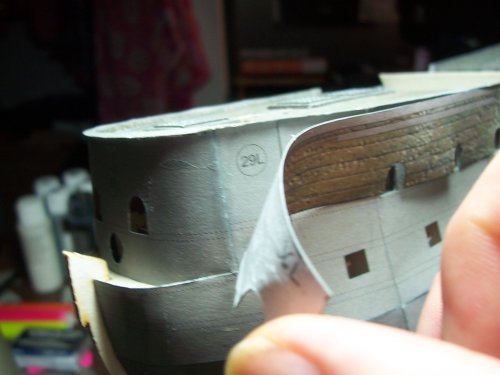
Flying Dutchman 013.JPG

And there we have it!

Flying Dutchman 014.JPG

This is for the other side so you can get a feel for the number of pieces :eek:
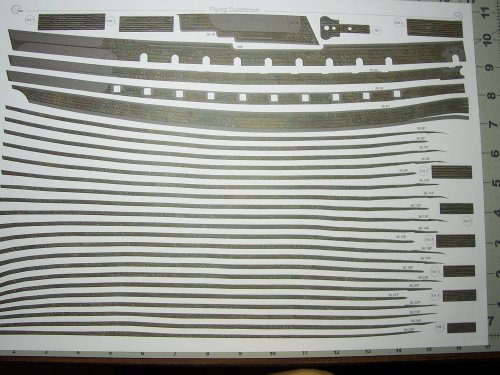
Flying Dutchman 015.JPG

Yep, the right side ready to be fitted.
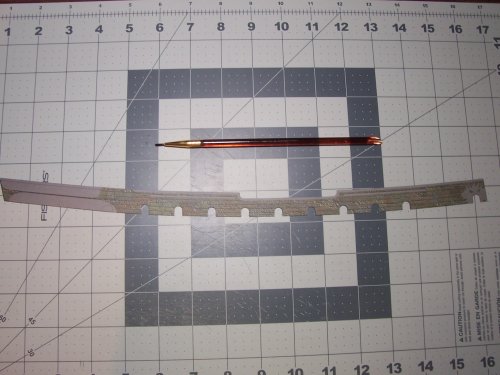
Flying Dutchman 016.JPG

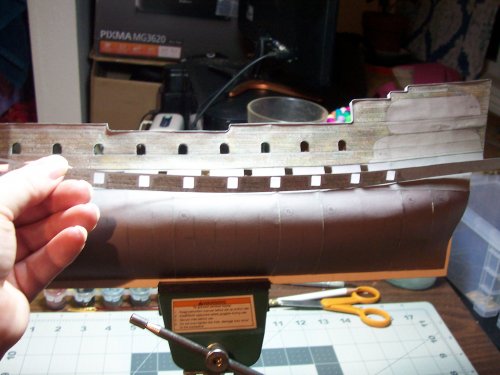
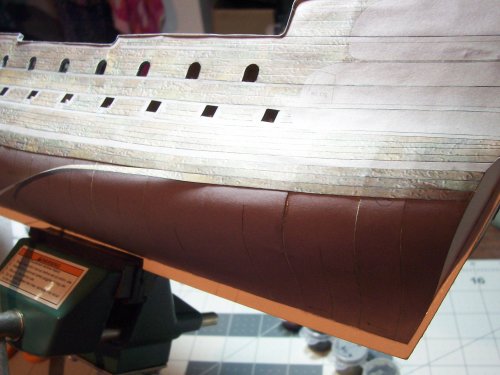
Are you ready ship's right side:? Oh and, I'm not sure why, but there are different shades of gray for the final panel pieces? A bit strange?
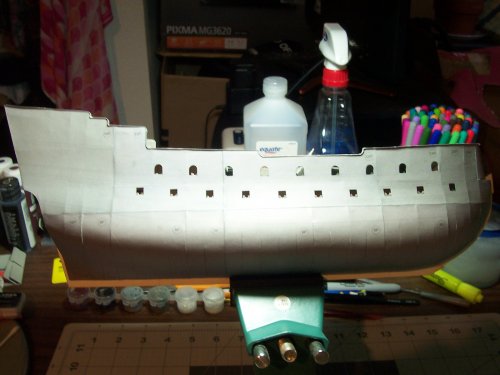
Flying Dutchman 017.JPG

Minor surgery required for the join in the middle of the 2 pieces at the bow to get a really nice, close joint.
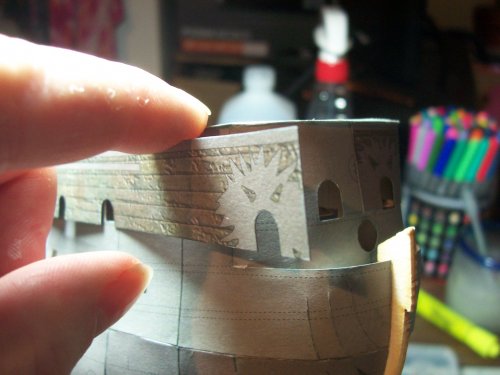

Flying Dutchman 018.JPG

Just manipulating the right side a bit with the tweezers to get a nice fit.
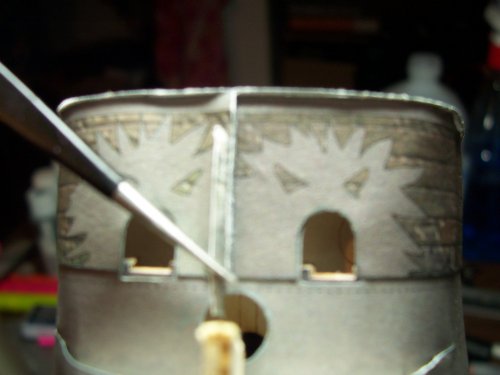
Flying Dutchman 019.JPG

The first final panel pieces complete!
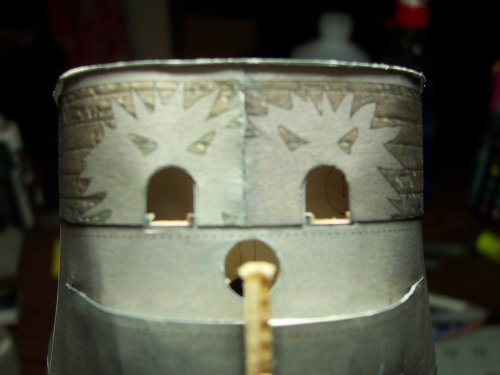
Flying Dutchman 020.JPG
 

mtrappett

Well-Known Member
Mar 3, 2013
373
812
75
Santa Clarita, California
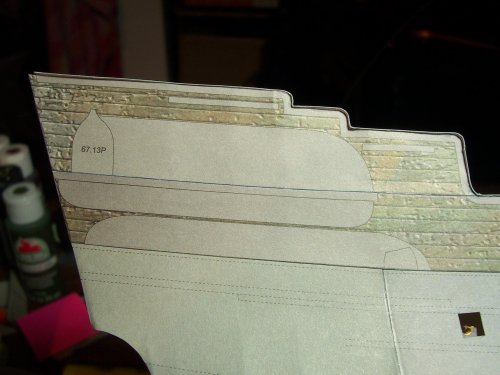
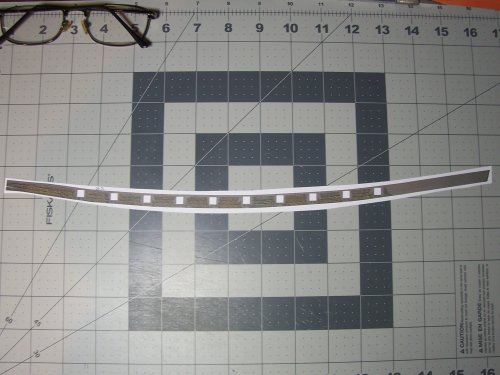
Okay, next we have the upper pieces, #36.1 L and #36.1 P accordingly. These are pretty straightforward.

Flying Dutchman 021.JPG

All present and correct! Note the top edge is flexible still to allow further manipulation for further layers.

Flying Dutchman 022.JPG

... and the 'tother side matey!

Flying Dutchman 023.JPG

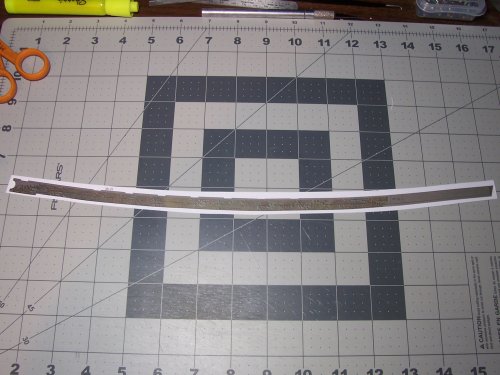
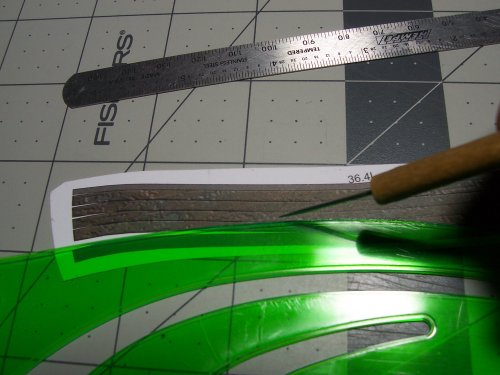
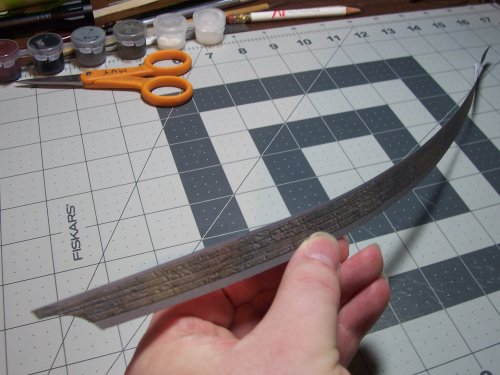
I found using a small pair of sharp scissors work the best for cutting these long narrow parts. Just cutting about 1/4" at a time super-close up, cutting "on-the-line". Take your time, and keep it nice and accurate! Also I painted all the edges, and don't forget to score the lines on the parts for the plank simulations!

Flying Dutchman 024.JPG

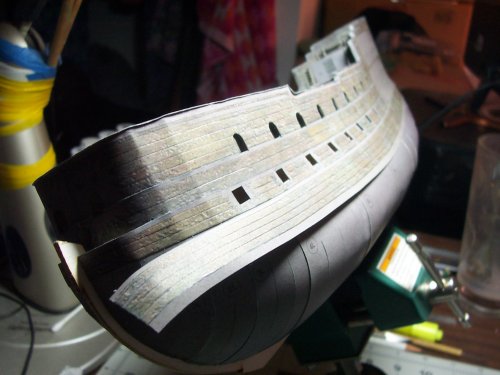
Next layer down!

Flying Dutchman 025.JPG

Its starting to get some really cool color on it! Its amazing how strong the hull is now becoming too :drinksmile:

Flying Dutchman 027.JPG

I have gathered a few tips that hopefully could be useful if you are building this model as follows:

- Be aware that most edges of the panels are not straight! and will need to be cut "free-hand" using scissors most probably.

- Photo-copy any parts that may be of risk of ruin before you start on them.

- Test-fit as many times as needed to ensure accurate fit... no really! I usually test the part about 5 -20 times as needed, and don't think it will all just work itself out eventually... believe me, it won't :triplets:

- Use packing materials for shelves of card/paper to avoid unsupported edges! Believe me, you don't want to accidentally push in one of the panels when its all finished and done :hammerhead:

- Sand until all the faces you are working with are nice and smooth for the panels which includes window frames for the cannon ports.

- Make sure you know exactly how pieces will flow together from one part to another! And how one part may affect another in the future!

- Along the same lines (forgive the pun) make sure that if there are dotted lines, that they match across multiple parts, or if they don't, you must account for that in your build work!

Thin Elmer's glue by adding drops of water to make it flow better on a brush. I use 25, 50+ percent water to glue ratio.

Glue each panel in stages, at least 2 stages starting usually at the top first, then the bottom, or even vice versa :laughrolling:

Flying Dutchman 028.JPG


Flying Dutchman 029.JPG


Flying Dutchman 030.JPG

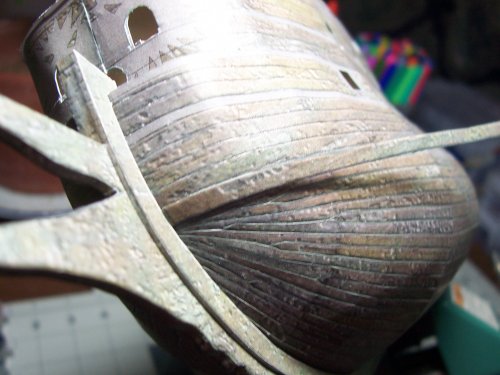
Just keep moving down the hull per the plan.

Flying Dutchman 031.JPG

Hey, it's starting to look like a ghost ship!!

Flying Dutchman 032.JPG

Another slight cutout needed... just a minor deal!

Flying Dutchman 033.JPG

I think that the extra work of scoring for the planks of wood on the sides is worth it! Do it prior to fitting the parts if possible.

Flying Dutchman 034.JPG

It's amazing how accurate these parts fit! These were exactly right!

Flying Dutchman 035.JPG


Flying Dutchman 036.JPG

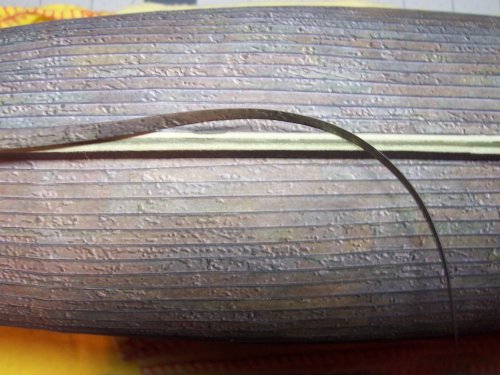
I use a French Curve to scribe the panel lines.

Flying Dutchman 037.JPG

Ready to be installed! Remember... scribe the panel lines, paint the edges of the paper, and cut the part accurately for best results! :blueface:

Flying Dutchman 038.JPG

The front of this layer is also shaped in a contour. Its easier to do this before fitting the panel to the ship.

Flying Dutchman 039.JPG

Do both the right and left versions of the same panel before moving on to the next one.

Flying Dutchman 040.JPG

How would you do this work without a build stand? I love that thing! :smoker:

Flying Dutchman 041.JPG
 

zathros

*****SENIOR ADMINISTRATOR*****
Staff member
Administrator
Moderator
Apr 5, 2013
13,499
9,551
228
Great job skinning the hull. I would have thought that bulk head went behind a cut out opening, as those doors were set up so they could be pushed against the wall with Oakum to seal them in a crazy storm. I gather you have seen what builds up in the instructions. It will be interesting how to see that area build up and out. Your craftsmanship speaks for itself. :yesyes:
 

Revell-Fan

Co-Administrator
Staff member
Administrator
Moderator
Aug 1, 2009
11,595
12,338
228
Vreden
I like to paint a thin layer of white glue thinned 50/50 over the joins in the panels and then smooth them with my finger-tip to get a nicer transition. The upper-rail of the bulwarks are a bit vulnerable to getting damaged or buckled/bent during the build but, they will have another final layer over the top eventually. just be careful not to squeeze the sides during working on the model :headbange:
If you do, it's time for a Kraken attack dio. ;)

1631639414398.png
 

mtrappett

Well-Known Member
Mar 3, 2013
373
812
75
Santa Clarita, California
Great job skinning the hull. I would have thought that bulk head went behind a cut out opening, as those doors were set up so they could be pushed against the wall with Oakum to seal them in a crazy storm. I gather you have seen what builds up in the instructions. It will be interesting how to see that area build up and out. Your craftsmanship speaks for itself. :yesyes:
Thank you and yeah, it threw me off a bit... it wasn't clear in the instructions, at least not for me :laughrolling:
 

mtrappett

Well-Known Member
Mar 3, 2013
373
812
75
Santa Clarita, California
Okay, I'm back on board ship maties! Ready for another installment of the Ghost Ship build.... aaah!

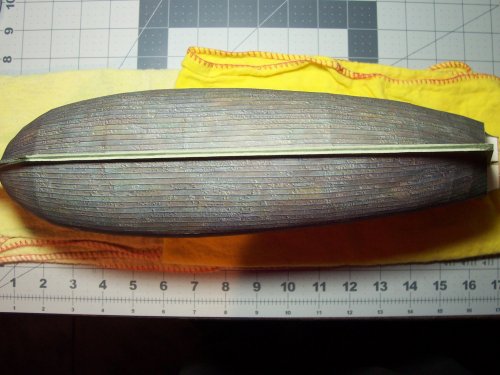
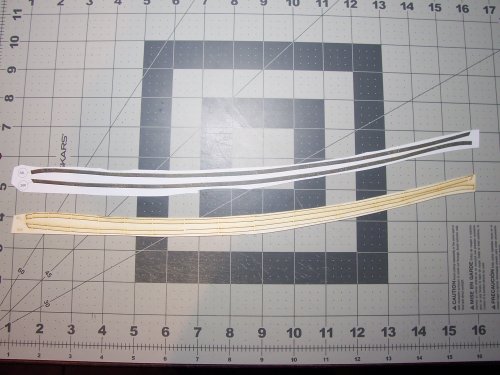
Now, we start the task of adding all the planks to the hull. First of all, there's a lot of these :eek: Were talking 50 in total for both sides combined. Here's the first below.

Flying Dutchman 042.JPG

I started from the rear of the ship. They are extremely accurate, and fit perfectly.

Flying Dutchman 043.JPG

Yay, the first plank is in place on the left side of the ship! :noteeth:

Flying Dutchman 044.JPG

I found that the cutting of the planks is best done with a nice small sharp pair of scissors. Cutting about 1/8" to 1/4" at a time. I personally preferred to add the left side plank and then the right side all the way through the planks. That way I could ensure they line up nicely when looking from the bow cus' hey, it could finish looking like a dog's breakfast if not careful and all :yesyes::bulgeeye:

Flying Dutchman 045.JPG

Each plank is different in shape so just be aware of that.

Flying Dutchman 046.JPG


Flying Dutchman 047.JPG

Moving right along... 2 planks per side done! This process will test the dexterity for sure! The best thing to do is to try to forget how long its taking, and concentrate on getting them looking nice. Make sure not to get them mixed up because that will surely ruin your day! :sadno:
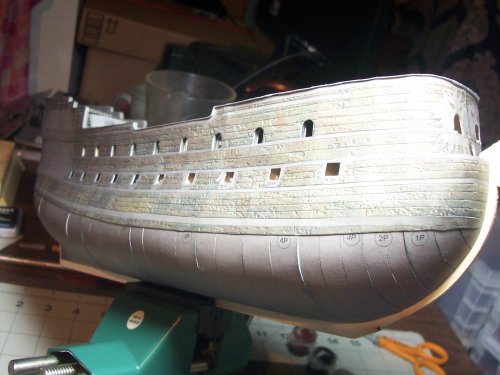
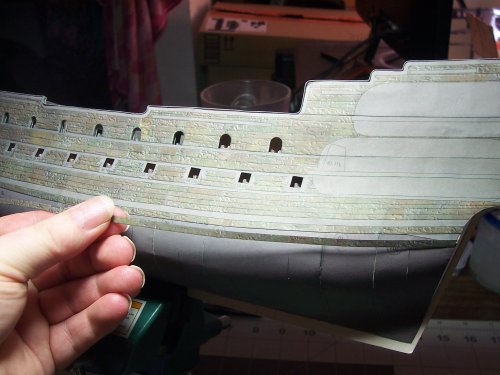
Flying Dutchman 048.JPG

I also painted all the edges of the plans with Pewter Gray matte paint to make the edges hidden as much as necessary.

Flying Dutchman 049.JPG

Okay, three planks and all's well!

Flying Dutchman 050.JPG

I'm not going to show every plank being fitted as that would be pretty pointless. You get the general idea!

Flying Dutchman 051.JPG

I used 25% water to glue ratio with Elmer's Glue-All. Don't attempt to apply glue to a full plank and then try sticking that thing on! That is going to finish up in a total disaster! Just do an inch at a time.

Flying Dutchman 001.JPG

So cool the shaping of the ends of the planks I think.

Flying Dutchman 002.JPG

I used the angled end of my paintbrush as a smoothing tool for the planks edges.

Flying Dutchman 003.JPG

Half-way there! I used some paper and a pen to keep a track of the current plank under installation.

Flying Dutchman 004.JPG


Flying Dutchman 005.JPG

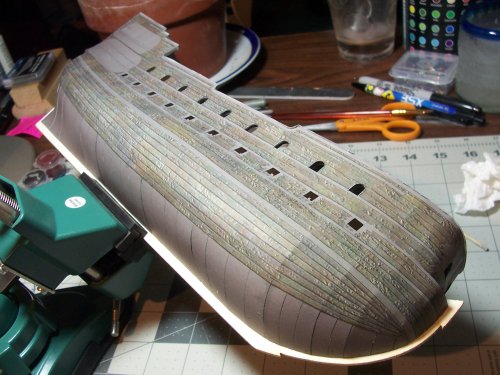
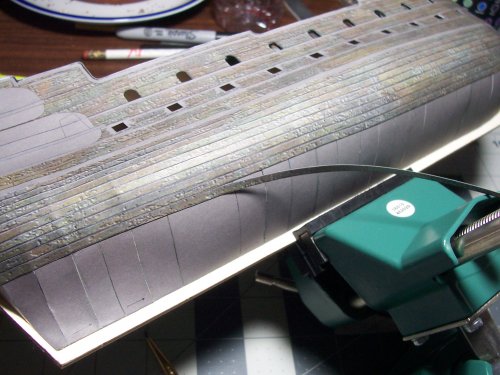
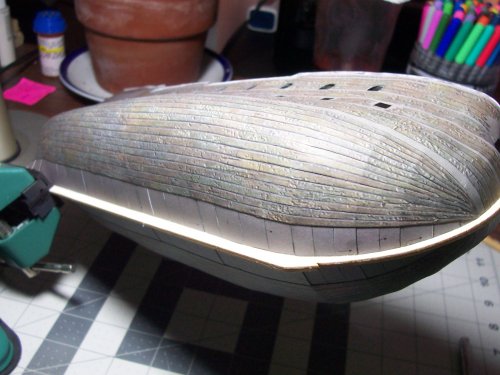
Getting close to done with the planking. Make sure to push the planks together too! As close as possible!

Flying Dutchman 006.JPG


Flying Dutchman 007.JPG

Getting to the last plank, which will be a little more challenging trying to make a nice fit.

Flying Dutchman 008.JPG

Here we go! Last plank in process!

Flying Dutchman 009.JPG

I use a Aqua-Flo brush filled with Pewter Gray paint for all the edges. It works really good for the job.

Flying Dutchman 010.JPG
 

mtrappett

Well-Known Member
Mar 3, 2013
373
812
75
Santa Clarita, California
I am pretty sure you could probably use these instructions in general for other models from the same manufacturer.

Time to work on the ship's prow! This is the bit that sticks out from the front :biggrin:

Flying Dutchman 011.JPG

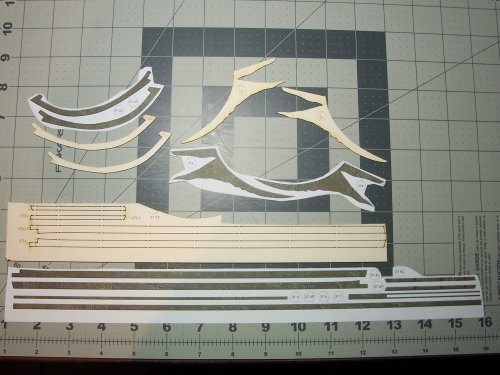
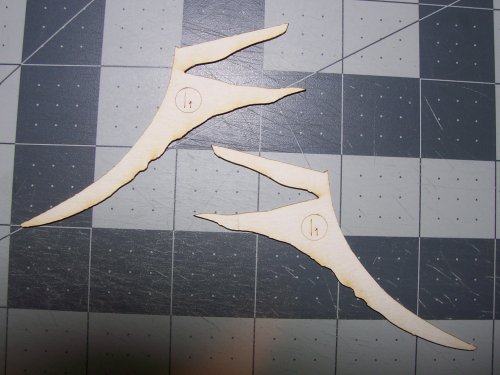
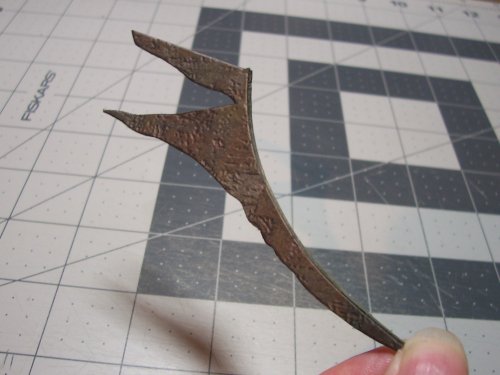
These are the card pieces that will need to be glued together.

Flying Dutchman 012.JPG

Card pieces have been attached to one-another. Now the color veneers will need to be cut-out and attached.

Flying Dutchman 013.JPG

I had to do some extra cleanup here on the card base piece. It did not follow the color veneer parts unfortunately as can be seen in the image below.

Flying Dutchman 014.JPG

Not a huge problem, but did take some work with a scalpel and needle files to get a nice match for the edges. I also painted the parts in case there were any small exposed edges.

Flying Dutchman 015.JPG

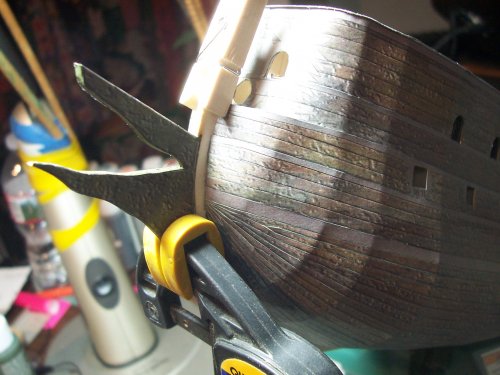
Looks okay to me now! Ready to be fitted to the ship.

Flying Dutchman 016.JPG

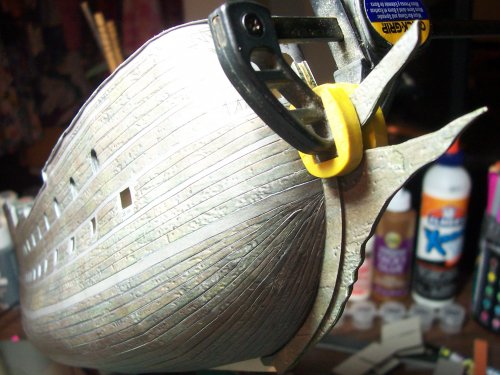
Clamped in place for the glue to dry nicely. Make sure it looks true as far as the angle is concerned by looking along the model from various angles.

Flying Dutchman 017.JPG

Next, there are the reinforcement side pieces for the prow.

Flying Dutchman 018.JPG

As can be seen, there is a little work to do to make the parts it accurately.

Flying Dutchman 019.JPG

Clamp them suckers till they are dry.

Flying Dutchman 020.JPG

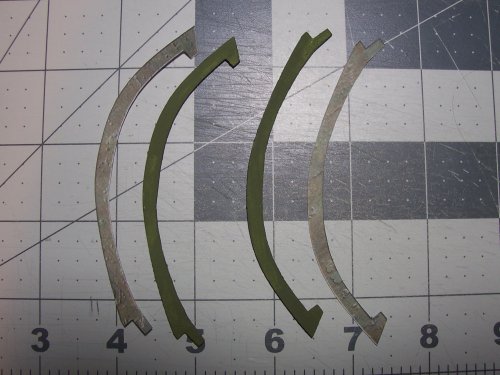
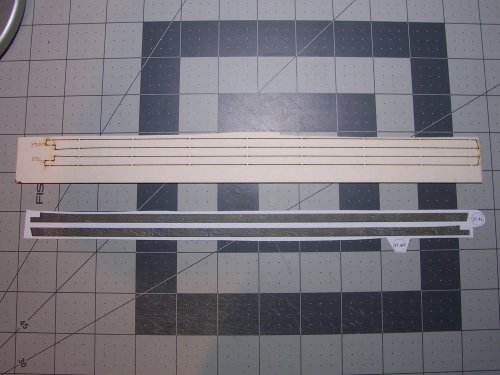
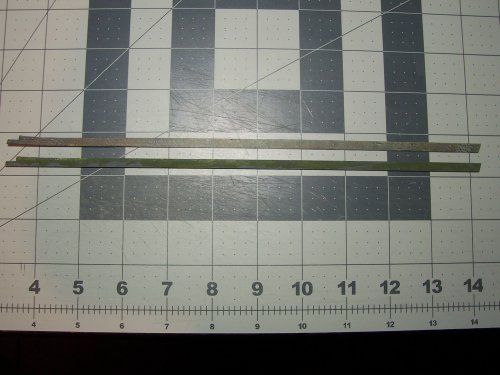
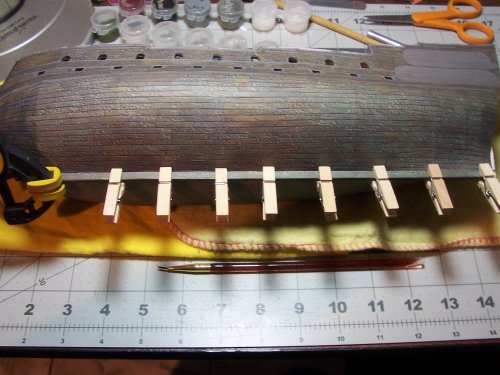
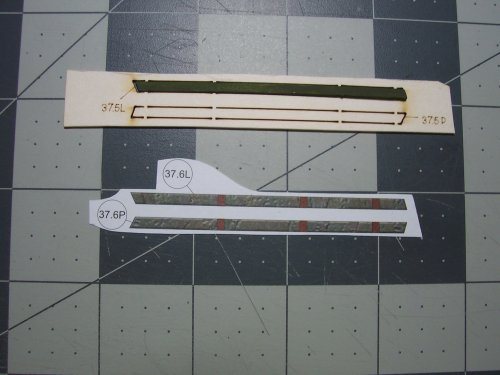
Next is the keel sides reinforcement.

Flying Dutchman 021.JPG

I painted these too which also allows for repositioning of the veneer pieces if needed.

Flying Dutchman 022.JPG

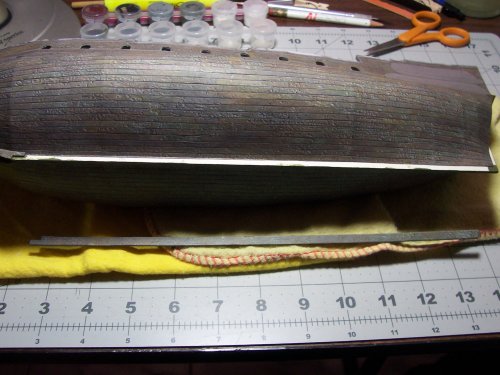
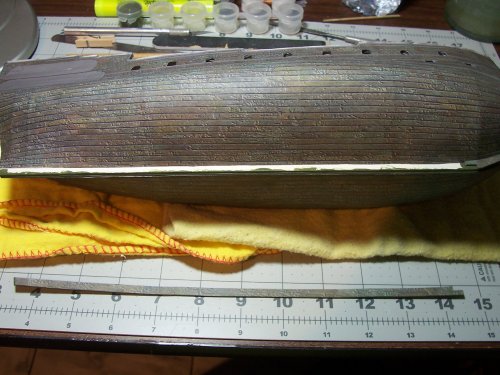
The hull ready to receive the keel reinforcements. I did have to carve a little for a nice fit for these.

Flying Dutchman 023.JPG

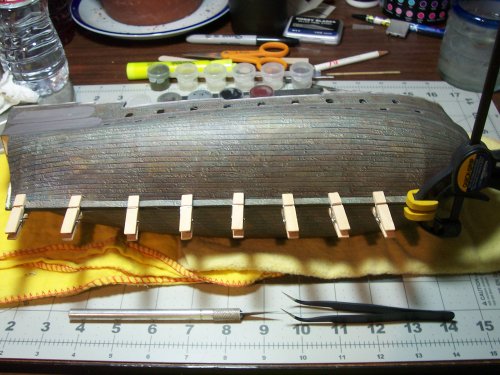
Left side done okay.

Flying Dutchman 024.JPG

Right side prepped and ready to receive the keel thickening piece.

Flying Dutchman 025.JPG

This will need to be glued all at once to ensure a good fit. Eyeball it well to make sure it presses against the planked area of the hull.

Flying Dutchman 026.JPG

The rear of the keel is next for its thickening parts to be added to each side of the ship.

Flying Dutchman 027.JPG

Make sure to install it accurately as regards the hinge markings in red. As can be seen, here was a slight gap where the keel longerons were not quite long enough. Later on, I added some small packing pieces to make it look nicer

Flying Dutchman 028.JPG

Packing pieces in place and they are also painted and covered with a scrap of leftover colored paper to match the ship.

Flying Dutchman 029.JPG

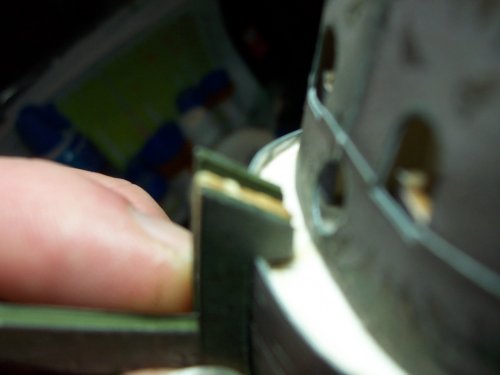
Although it doesn't mention anywhere in the instructions, I think that this "joggle" in the parts is there to allow for wiggle-room if the length is too short?

Flying Dutchman 030.JPG
 

mtrappett

Well-Known Member
Mar 3, 2013
373
812
75
Santa Clarita, California
A close-up of the patch for the length of the keel reinforcement parts deviation.

Flying Dutchman 031.JPG

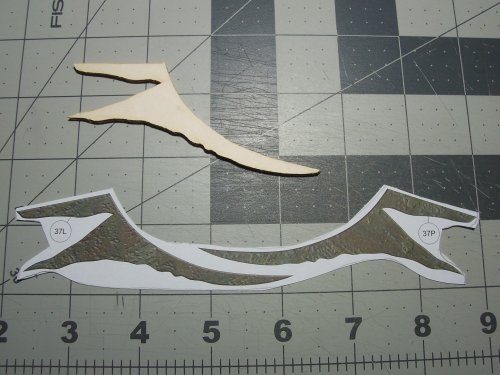
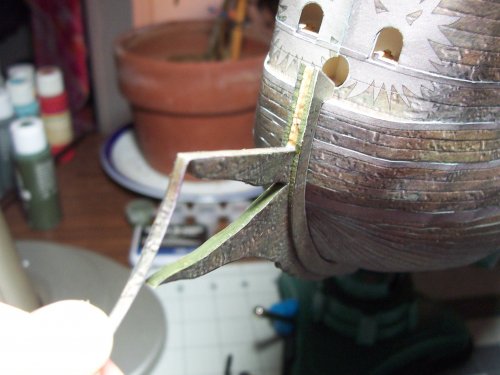
Another color veneer piece that will be attached to the bow area to hide the sandwiched joint area. Again, I just used scissors to cut the whole piece out to avoid the scalpel railroading off the straight path needed.

Flying Dutchman 032.JPG

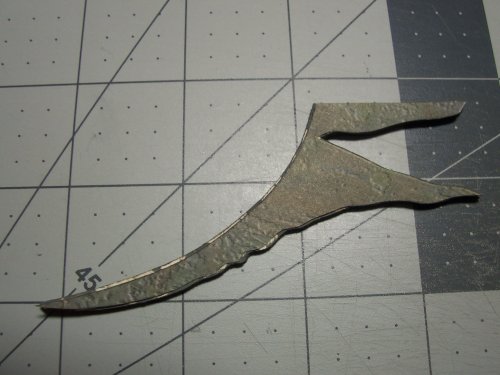
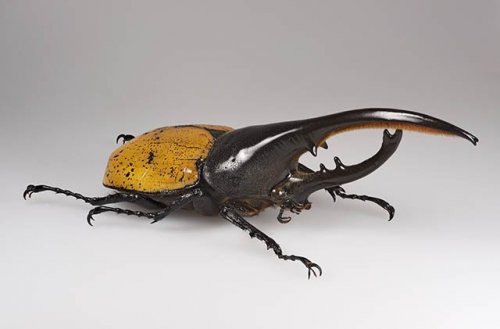
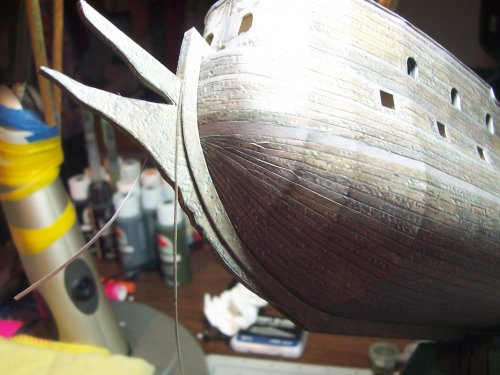
This color veneer will cover the prow's edge. The prow kind of looks like "Rhinoceros" beetles protrusion at the front... maybe?

Dynastes-hercules-ecuatorianus.jpg


Flying Dutchman 033.JPG

The color veneer being installed on the edge of the prow.

Flying Dutchman 034.JPG


Flying Dutchman 035.JPG

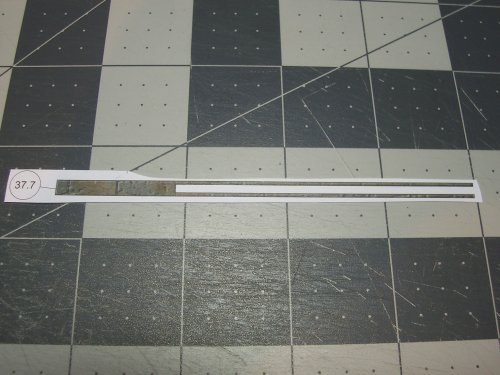
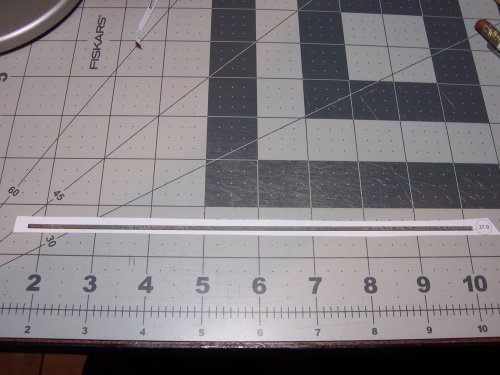
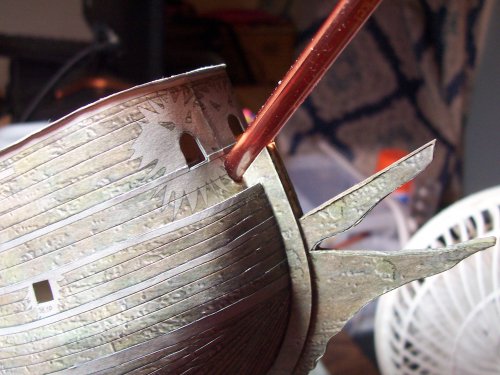
Part #37.7 is not a great fit. You will need to re-bend the creases and trim the end to fit the mast-support area.

Flying Dutchman 036.JPG

I used my paintbrush which just so happened to be the right diameter to test for the mast installation. I did have to trim the angled supporting area a little bit before I added the part #37.7 over the top of it.

Flying Dutchman 037.JPG

There are some thin side edges that need to be glued in place on the side pieces to hide the raw card edges.

Flying Dutchman 038.JPG

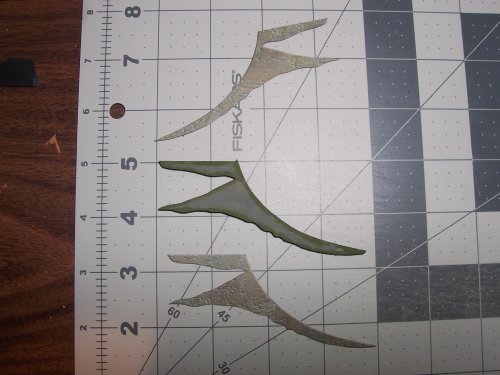
Now this is the color veneer layer that will hide the joint of all the keel parts.

Flying Dutchman 039.JPG

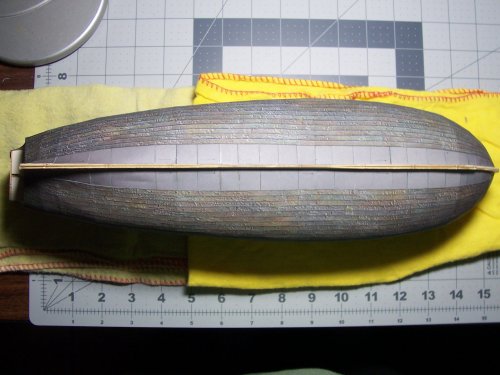
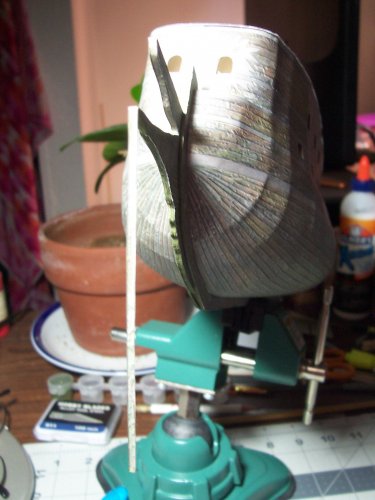
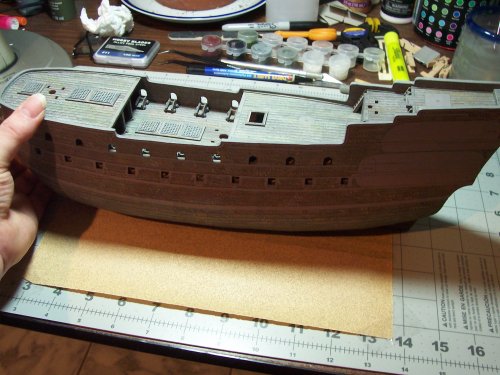
I attached a sheet of 200 Grade sandpaper to my build table. I then held both ends of the hull "carefully" and ground the keel nice and flat. Got rid of any irregularities.

Flying Dutchman 040.JPG

There, now that looks much better!

Flying Dutchman 041.JPG

Time to attach the color veneer to the keel.

Flying Dutchman 042.JPG

Moving on to parts #38 which is a whole bunch of parts!

Flying Dutchman 043.JPG


Flying Dutchman 044.JPG


Flying Dutchman 045.JPG
 

zathros

*****SENIOR ADMINISTRATOR*****
Staff member
Administrator
Moderator
Apr 5, 2013
13,499
9,551
228
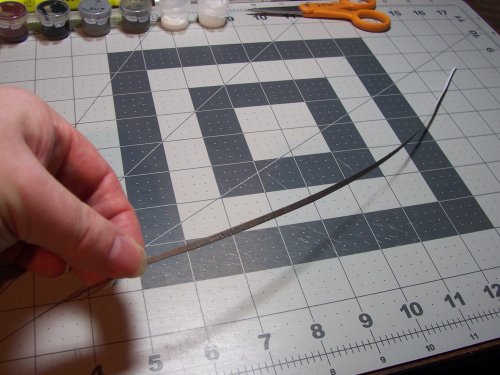
Very well done. WHen I skin a ship, I use a thin strip of plastic, to "fair" the hull. This shows you what will stick out and give the skeleton effect. The original ships, right up to the clipper ships, had diagonal strips of wood running along the hull, first one direction, then skinned the other direction. They were then faired by guys using 20' foot thing strips of wood to make sure the hulls were smooth and were sanded where needed. Then the final planing was put on. This made for a very thck hull. Most people how now idea how thick the hulls onn wooden ships like this were. This is a very difficult nmodel, with many compound curves. I can't stand Elmers Glue, I use "Zip Dry", it's matrix allowss for movement for a long time, but still adheres to the part. You can glue a piece of glass to leather to paper with it. Elmers Glue has no matrix and penetrates the paper. This is why I don't do it. You've apparently mastered it. I too fill joints with glue to prevent the skeleton effect. Great lessons you posted, this is a fantastic build thread!! :)
 
Last edited:

mtrappett

Well-Known Member
Mar 3, 2013
373
812
75
Santa Clarita, California
Very well done. WHen I skin a ship, I use a thin strip of plastic, to "fair" the hull. This shows you what will stick out and give the skeleton effect. The original ships, right up to the clipper ships, had diagonal strips of wood running along the hull, first one direction, then skinned the other direction. They were then faired by guys using 20' foot thing strips of wood to make sure the hulls were smooth and were sanded where needed. Then the final planing was put on. This made for a very thck hull. Most people how now idea how thick the hulls onn wooden ships like this were. This is a very difficult nmodel, with many compound curves. I can't stand Elmers Glue, I use "Zip Dry", it's matrix allowss for movement for a long time, but still adheres to the part. You can glue a piece of glass to leather to paper with it. Elmers Glue has no matricx anenetrates the paper. This is why I don't do it. You've apparently mastered it. I too fill joints with glue to prevent the skeleton effect. Great lessons you posted, this is a fantastic build thread!! :)
Thanks Zathros for your comments. That's interesting what you mentioned about the skinning process. Especially the use of thin strips to fair the hull, I really like that idea! It was quite an art to build these ships back then for sure.

The "Zip Dry" sounds really good! I will get some and give it a try. Anything that can improve the process of the build, and there's tons of work left yet to do.