BSG TOS Viper Mk 1 1/48 by Revell-Fan
- Thread starter micahrogers
- Start date
You are using an out of date browser. It may not display this or other websites correctly.
You should upgrade or use an alternative browser.
You should upgrade or use an alternative browser.
Quit lying. Everyone can see it's all wobble cotted, and not even straight.It looks good to me!!!
Ohh I know that, I'm getting better, my Zealot scale cube is almost square. and some of the lines on my Viper match... and I haven't lit it on fire yet 
You are doing a great job on this project! Everything is coming together nicely!
Yes it is progressing nicely, and I haven't been tempted to toss it in the bin yetYou are doing a great job on this project! Everything is coming together nicely!
I know this one looks better than my Thunderfighter did...
Which begs a question for the tech savey ones here...
Can one of you take the Thunderfighter and reduce it to 1/48th and share it?
I fully understand. When I first started building kits, the Thunder Fighter was my first. It turned out to look like a dog's dinner. I was not at all happy with it. It took me several attempts before I got it right. Then I focused on improving my skills and techniques of greebling. Once I started working with @Revell-Fan, things got even better. Now I am making very screen accurate models of the Thunder Fighter. With that being said, I would like to encourage you to check out the "Detail Thunder Fighter Project" thread. There, you will find everything that both @Revell-Fan and I have done with the Thunder Fighter. It is one of the most comprehensive build threads on the Thunder Fighter available.Yes it is progressing nicely, and I haven't been tempted to toss it in the bin yet
I know this one looks better than my Thunderfighter did...
Which begs a question for the tech savey ones here...
Can one of you take the Thunderfighter and reduce it to 1/48th and share it?
The Cannons are wonky, but it's the best my sausages can do.
thumbsup

I could post another pic from the Apogee archives..!The Cannons are wonky, but it's the best my sausages can do.
Not quite the same technique that @Rhaven Blaack uses, but hopefully a good outcome.
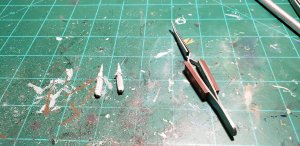
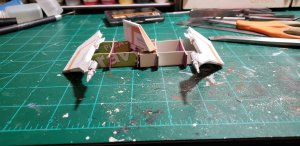
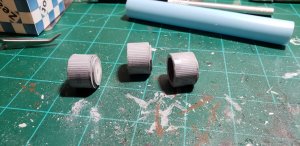 I used my hobby colors and painted the edges of the thrusters, and the cardboard spacers.
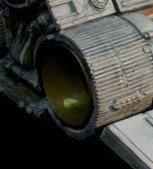
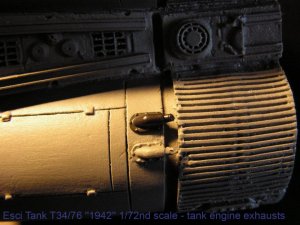
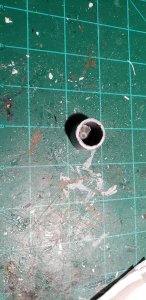
And I started rolling the engine tubes.
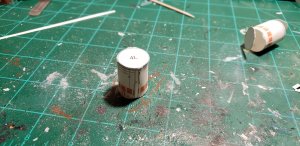
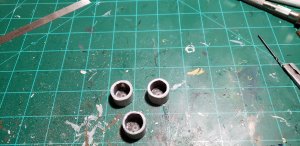
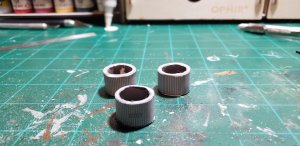
All three engine tubes glued.
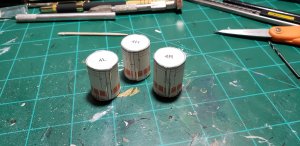
And the engine tubes glued to the thrusters, and the front cones.
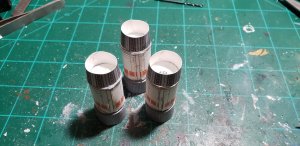
Next I get to tackle the intakes, wish me luck.
 I used my hobby colors and painted the edges of the thrusters, and the cardboard spacers.
And I started rolling the engine tubes.

All three engine tubes glued.

And the engine tubes glued to the thrusters, and the front cones.

Next I get to tackle the intakes, wish me luck.
You are doing a great job on this project. Everything looks good!
As for (using) not using any techniques (I made plenty of mistakes in my initial beta build); the best ones to use, are the ones that best work for YOU!
As for (using) not using any techniques (I made plenty of mistakes in my initial beta build); the best ones to use, are the ones that best work for YOU!
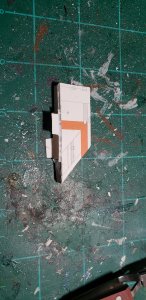
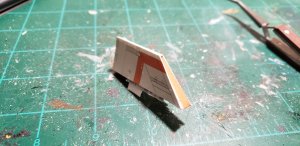
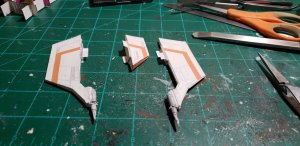
I spent the whole morning and most of the afternoon doing "Honey Do's" but I got the intakes made, and attached to the engine tubes...
Hi intake
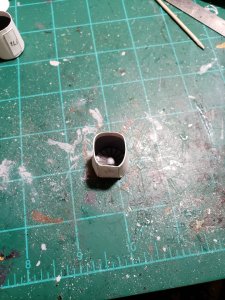
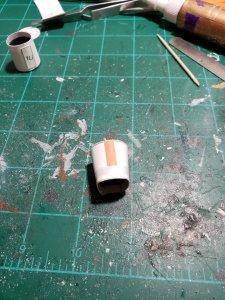
All three in thier "Places"
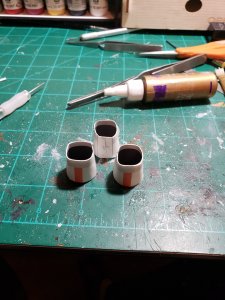
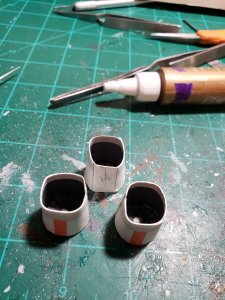
The High on the engine tube.
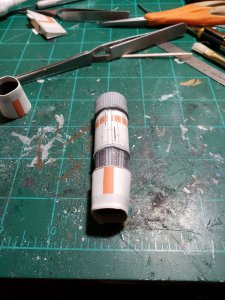
And all three together in thier "places"
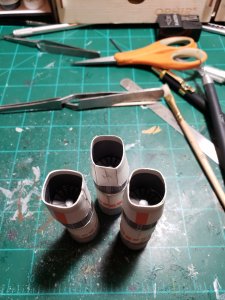
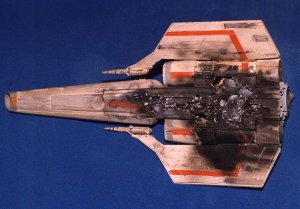
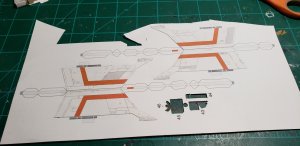
This must have the revised textures, cause the seam on these are not in the middle of the red stripe.
Hi intake


All three in thier "Places"


The High on the engine tube.

And all three together in thier "places"

This must have the revised textures, cause the seam on these are not in the middle of the red stripe.


