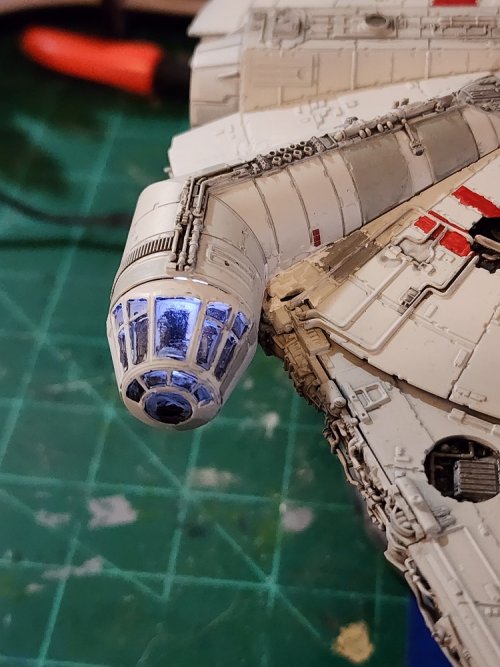
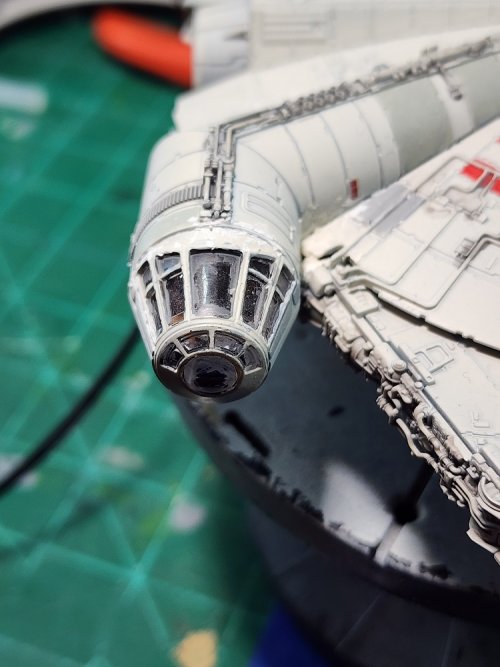
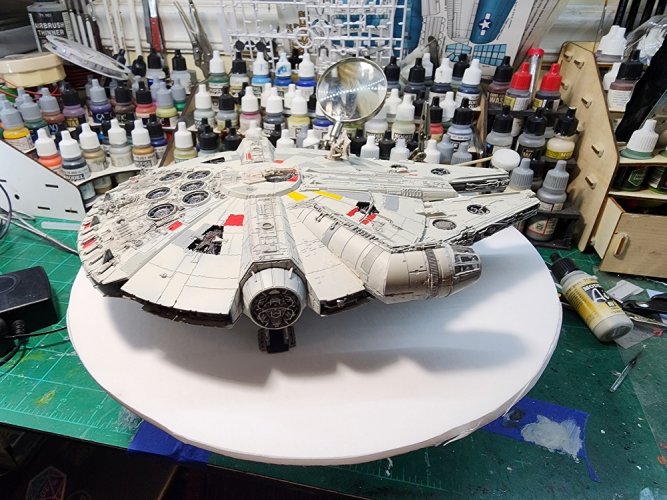
Bandai 1/144th Millennium Falcon from SW, TFA
- Thread starter micahrogers
- Start date
You are using an out of date browser. It may not display this or other websites correctly.
You should upgrade or use an alternative browser.
You should upgrade or use an alternative browser.
Sure, we just have to wait our turn at the shrink ray....Will you let us take her for a spin?
It's around here somewhere... I think @Revell-Fan has it.Sure, we just have to wait our turn at the shrink ray....
What's wrong with your Jedi powers?Please can someone put me on the waiting list.
Getting back to work on the falcon, first an "upgrade" to the work bench...
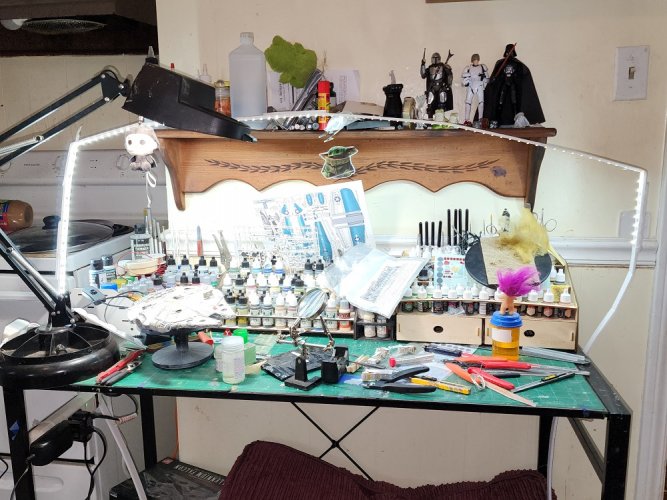
I made a cheap Daylight LED strip light. The LEDs can be found here, https://www.amazon.com/dp/B09W4R52SB?ref=ppx_yo2ov_dt_b_product_details&th=1
I used foamcore as my structure. Strip aluminum would be best, but I'll see how the foamcore does.

I made a cheap Daylight LED strip light. The LEDs can be found here, https://www.amazon.com/dp/B09W4R52SB?ref=ppx_yo2ov_dt_b_product_details&th=1
I used foamcore as my structure. Strip aluminum would be best, but I'll see how the foamcore does.
I really like the LED lights. My current magnifier light is fluorescent, and will burn out eventually. When it does, a cheap ring light from Amazon will get taped on. I have two other lamps with them now. They are sold as ‘selfie’ lights. LOL
That looks AMAZING! You have done a FANTASTIC JOB on this project!
Thank you.That looks AMAZING! You have done a FANTASTIC JOB on this project!
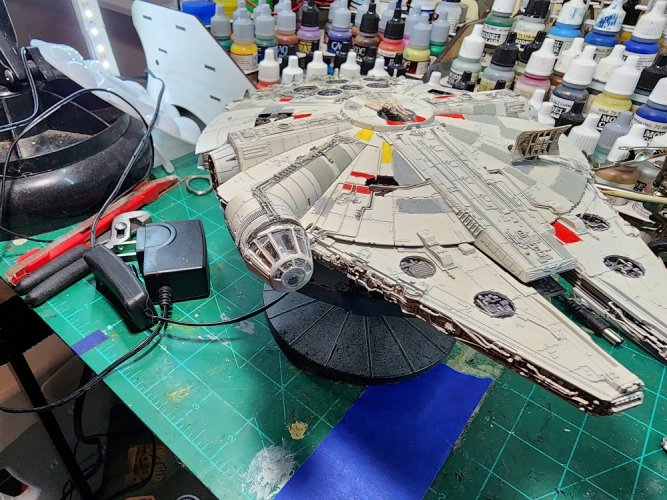
next update, I got the black added to the light patch.
and the hull color re-applied.
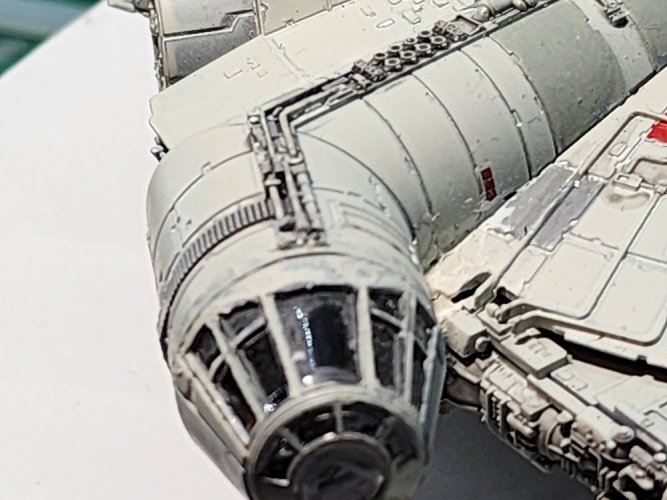
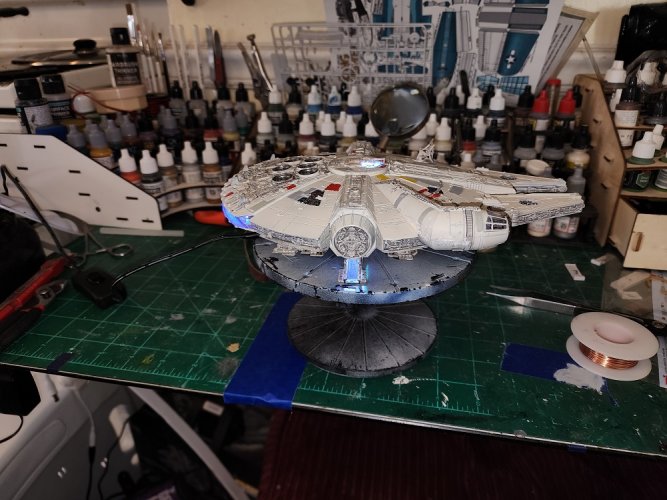
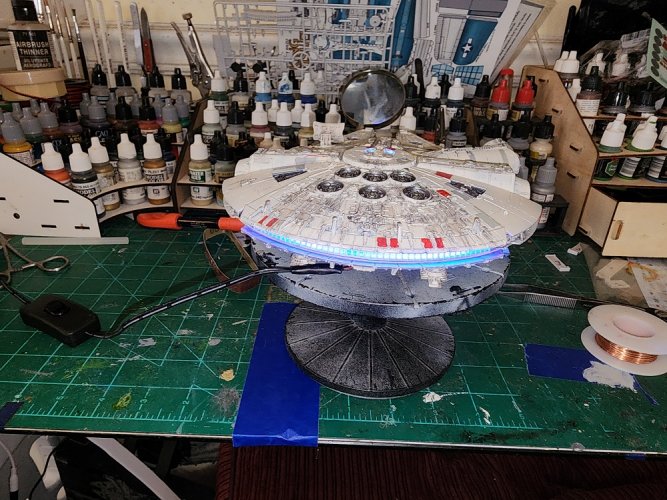
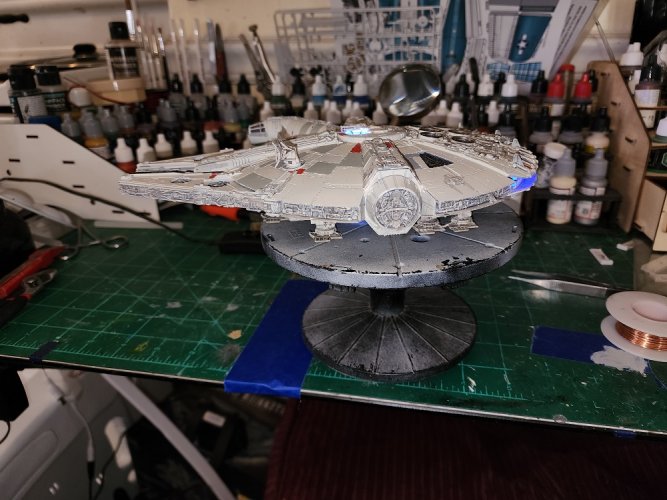
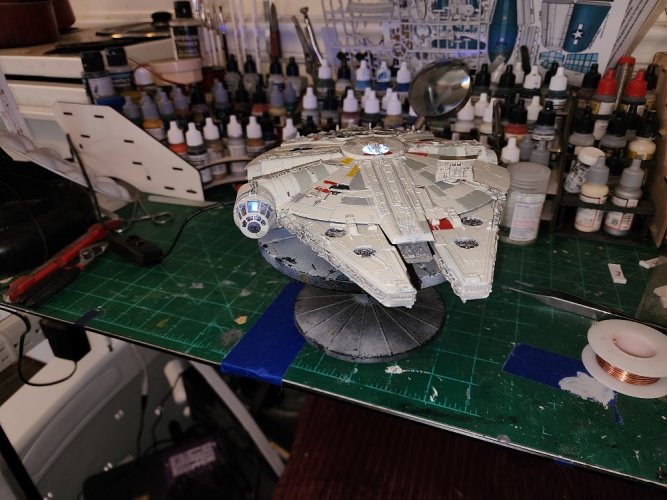
Now I am working on a landed display, 10 1/4 inch disk of foamcore cut out with the Falcon sitting on it
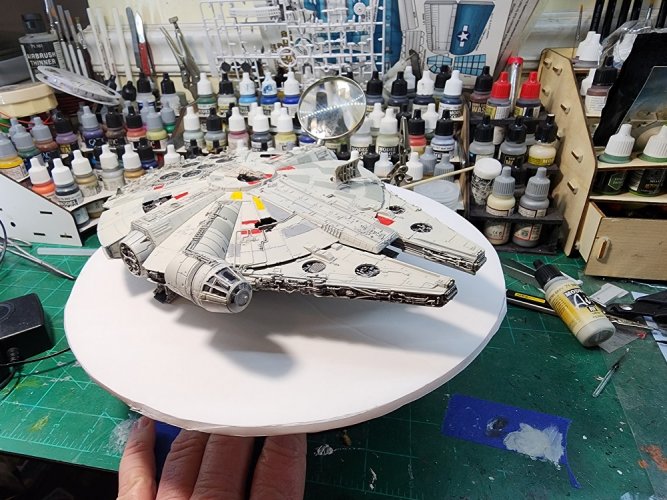
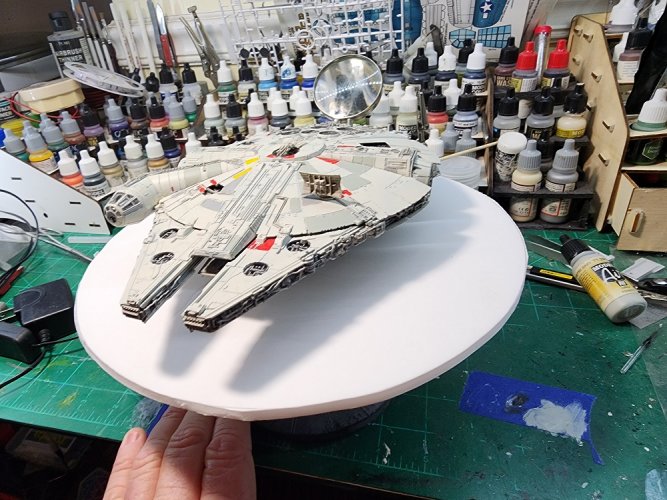
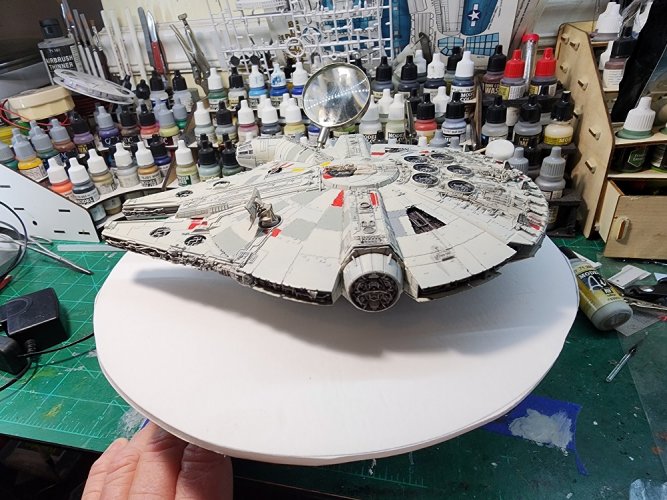
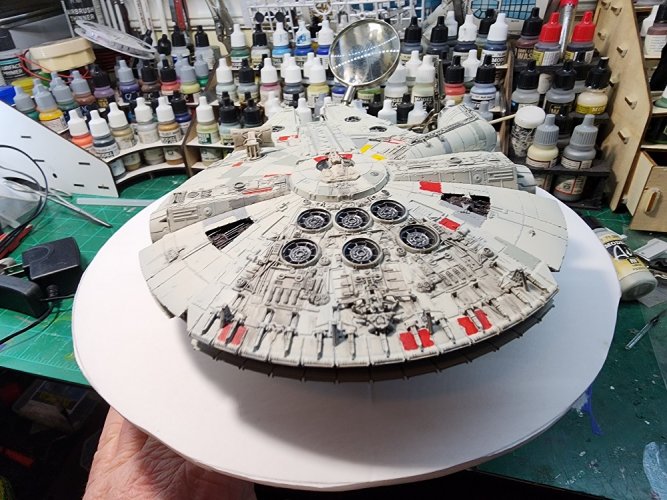
I've traced the landing pads on the foamcore, and will start building up the base. I plan on replicating the scene in TFA where we first see the Falcon sitting there.
Attachments
Thank you.
next update, I got the black added to the light patch.
View attachment 210347
and the hull color re-applied.
View attachment 210353
Now I am working on a landed display, 10 1/4 inch disk of foamcore cut out with the Falcon sitting on it
View attachment 210349View attachment 210350View attachment 210351View attachment 210352
I've traced the landing pads on the foamcore, and will start building up the base. I plan on replicating the scene in TFA where we first see the Falcon sitting there.
Again, thanks.That looks FANTASTIC!!!
I got the landing pads traced onto the disk
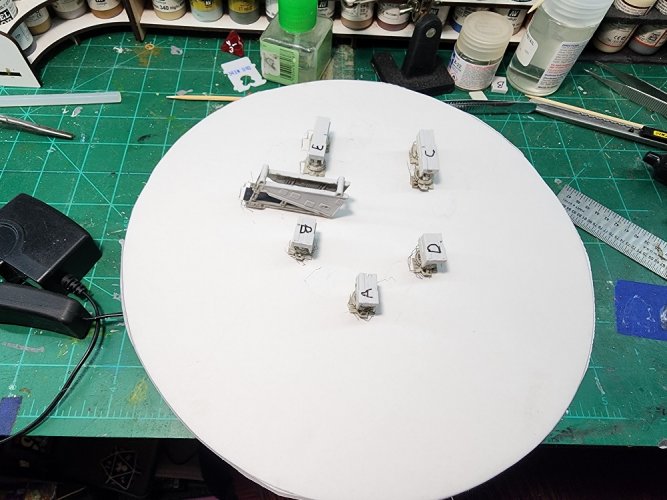
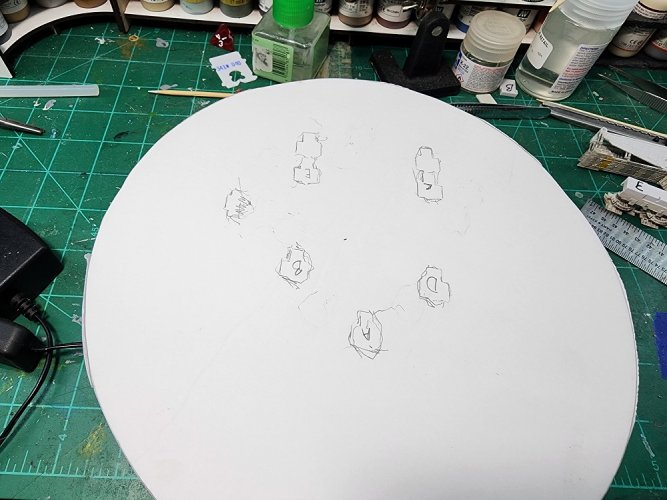
I'm goung to cover the foamcore in a light coat of plastic putty to add a surface texture, but I'm going to leave the pad trace smooth. I'll also cut a channel for the power wire in and cover it with the texture.
I got the power wire in, and a texture coat applied. I doubled the foam core, and it still warped.... Arghhh.
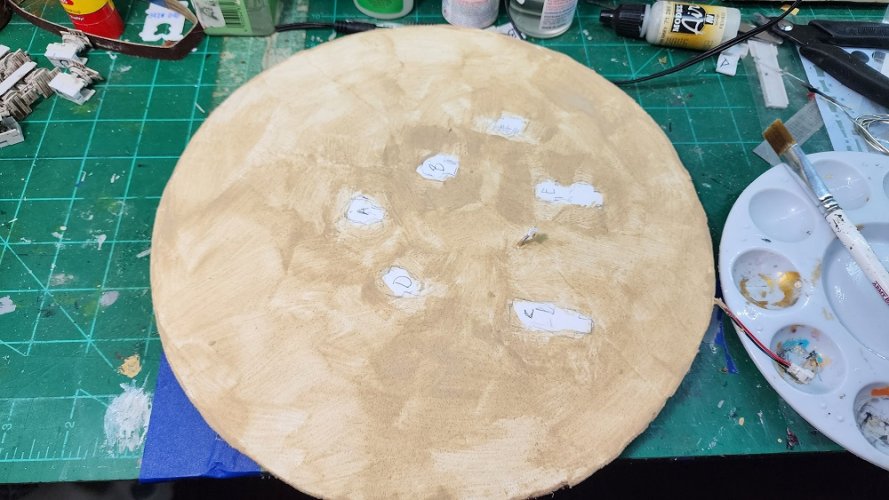
Last night I put the landing feet on and applied a drop of glue to each and sat it on the base, I forgot to take a pic of that, but this morning I was able to remove the Falcon itself and leave the landing feet adhered to the base.
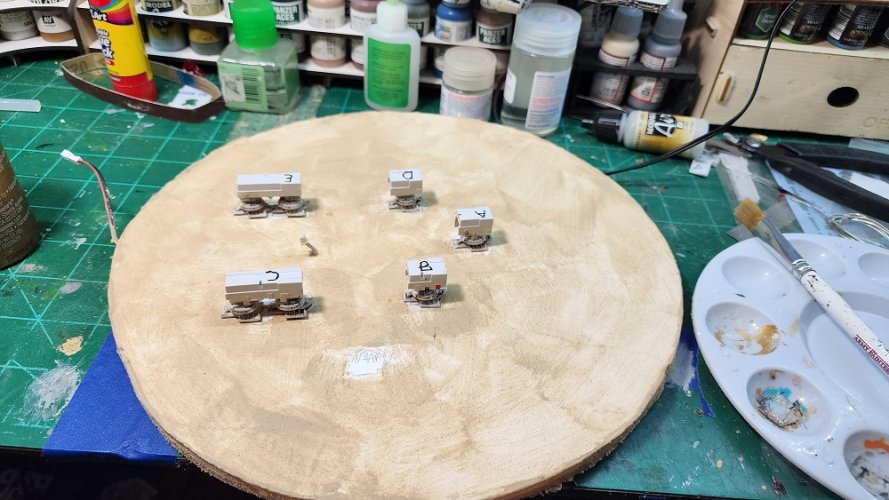
Today I'll start painting the base coat, and maybe apply the first sand effect.

Last night I put the landing feet on and applied a drop of glue to each and sat it on the base, I forgot to take a pic of that, but this morning I was able to remove the Falcon itself and leave the landing feet adhered to the base.

Today I'll start painting the base coat, and maybe apply the first sand effect.
Looking great! Please explain your ‘sand effect’ when you post the pics of that. I have some to do.
Base coat with a dark brown, then apply a thin coat of white glue and sprinkle on "Coarse Sand" terrain sand. AKA Play sand. Then when the glue dries, tap the excess off. Apply paint to darken the "Coarse sand" , and apply thin white glue. sprinkle on "Fine Sand" terrain sand, usually found in model train dept. repeat the pat off of excesss, and drybrush a lighter color. I'll try to remember to take lots of photos, but here is the same thing done to the flight base that came with the kit.Looking great! Please explain your ‘sand effect’ when you post the pics of that. I have some to do.
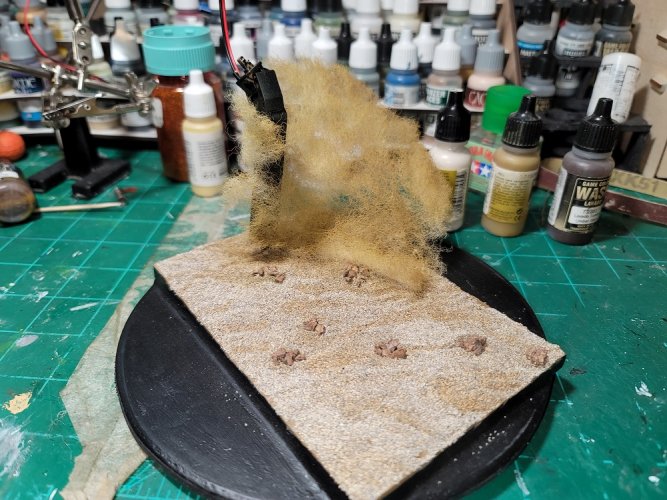
I added some darker patches, and "rocks" using train "ballast". The "Dust cloud" effect is just pulled out Polyfill, painted the colors of the sand.


