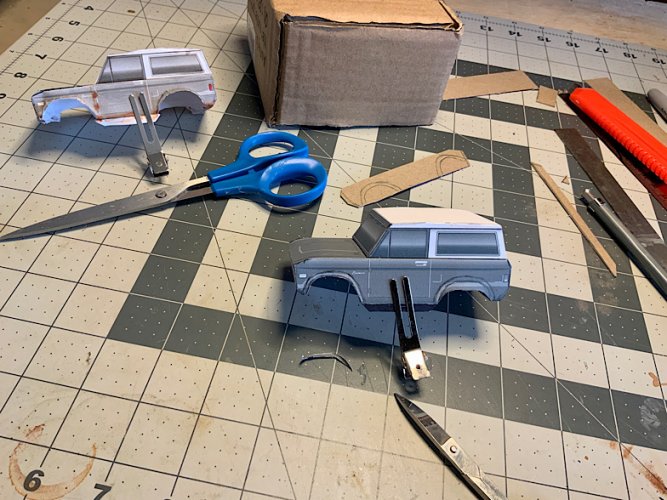
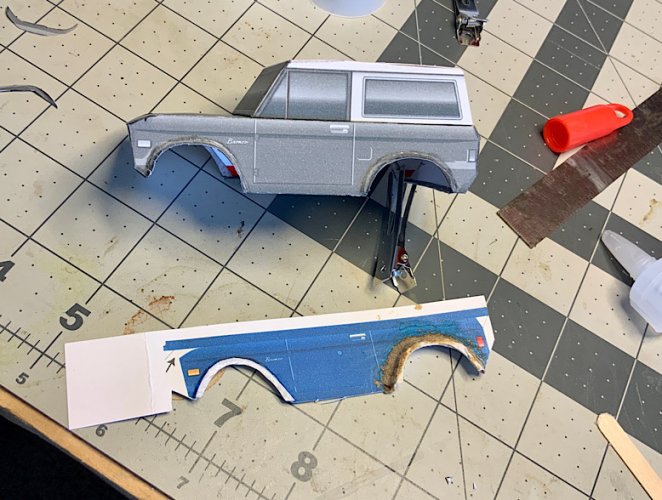
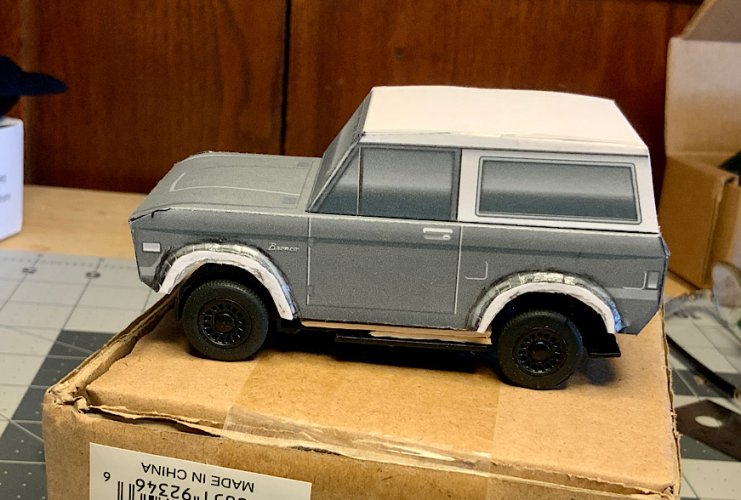
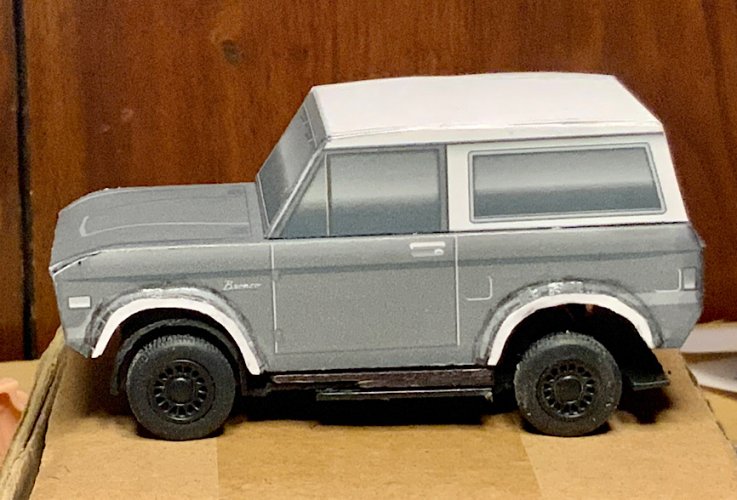
I decided to work on the prototype fender flare. Using the little specialty clamps, I glued the reinforcing strip to the tabs in the fender. I bit the bullet and used superglue, to stiffen the card stock. My UV glue isn’t here yet. Then I traced the shape and made the rest of the flare.
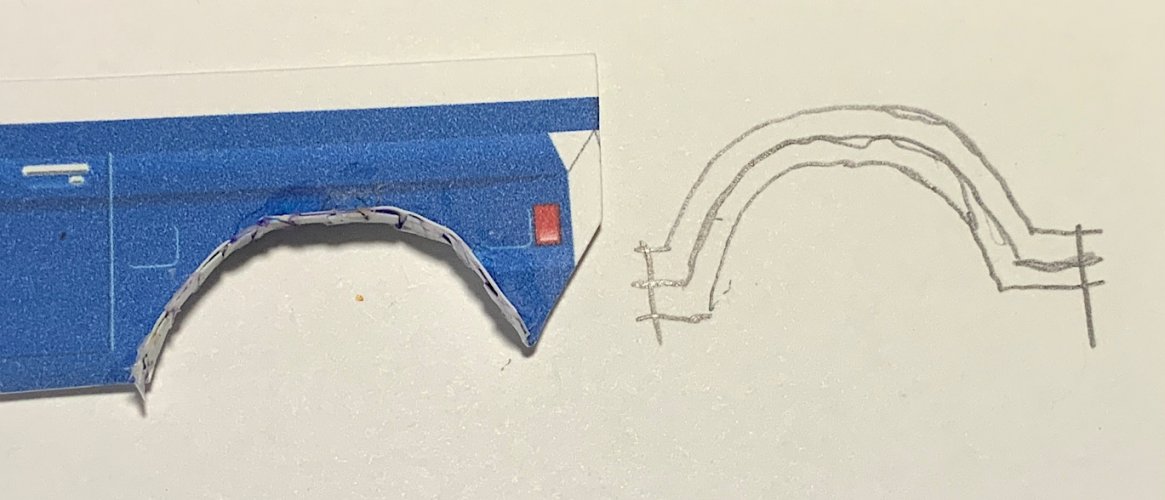
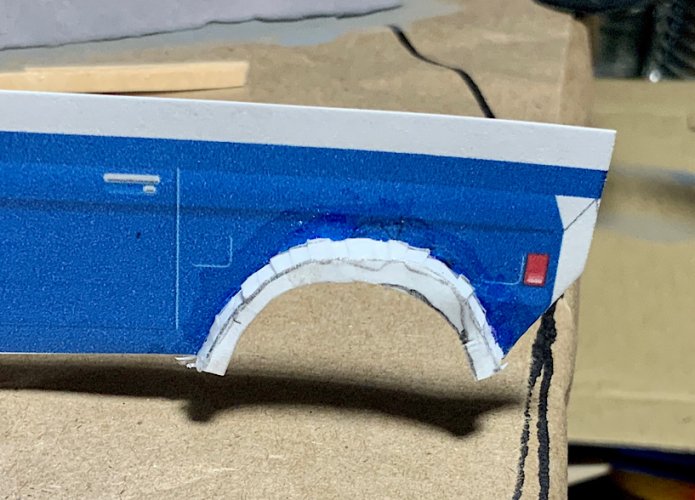
This too was attached with superglue. Very tedious. I made several more specialty clamps to get it done.
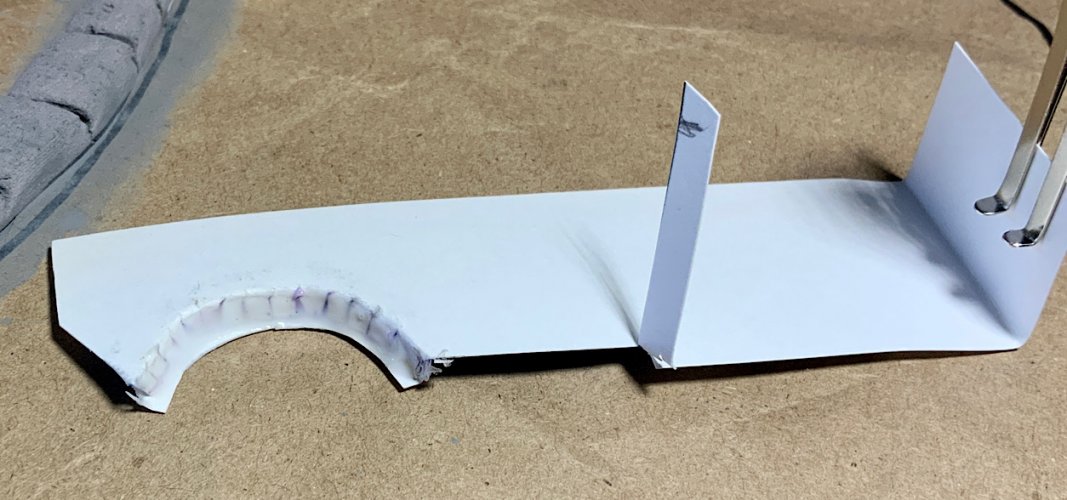
I lined the inside of the flare with PVA to give it more strength.
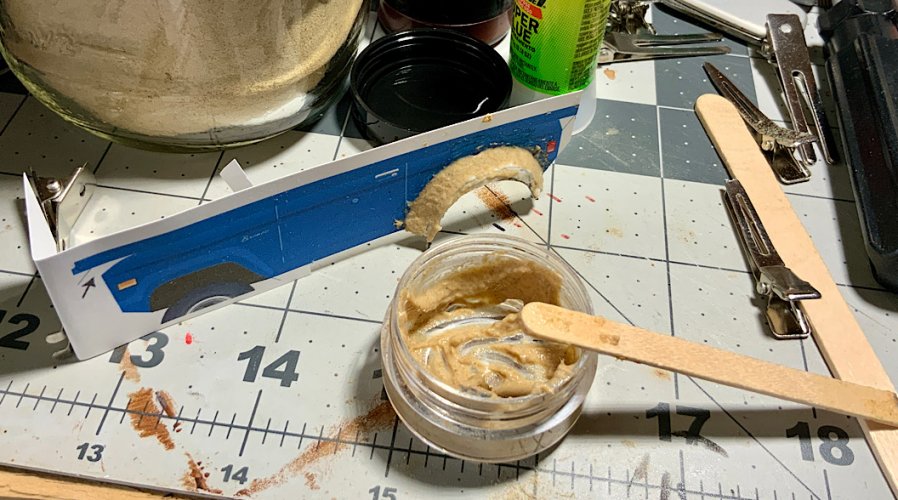
Then I mixed some body filler. This is actually wood dust and PVA. My wife was smart enough to save the sanding dust from the little hand sander this summer. Thanks to her, I hope I have a lifetime supply of wood flour. This stuff was smeared onto the flare and smoothed with a wet finger.
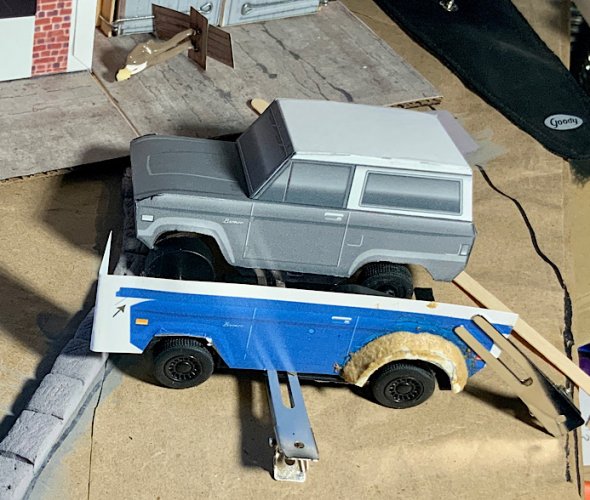
I had to pull the body off of the chassis. It needs to be reinforced inside. It would never hold up to the handling needed to put the flares in place without it. Plus, the wheelbase was a tad short, so I split the chassis AGAIN and will not glue it together until the body is ready to go back on. I’ll wait until tomorrow to see how the filler sands. This was almost impossible to do on that flat/floppy bit of card. I should have glued a stir stick to the back before starting, but didn’t think of it.
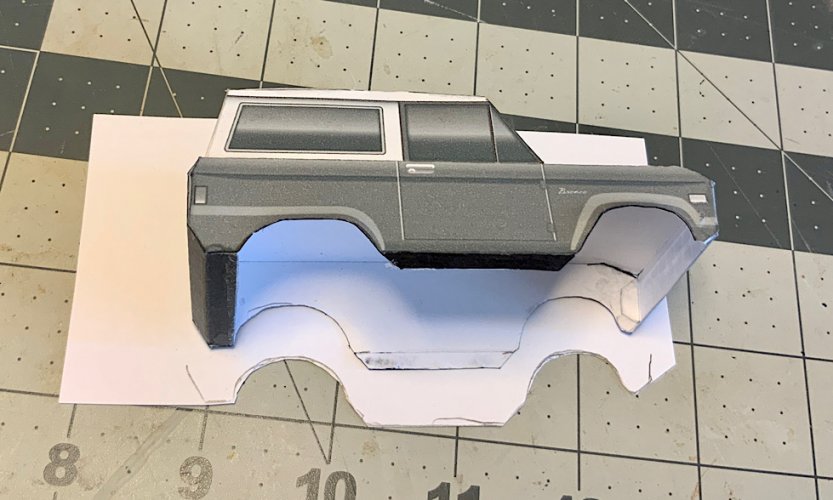
That flare may be too wide. That’s why I made a prototype. I can make the actual ones a bit more narrow. I did end up gluing the outside part of the flare OVER the flange on the body and wanted it inside the flange. It wouldn’t work well that way, so the part ended up wider than planned. The flange on the real ones can be smaller.


This too was attached with superglue. Very tedious. I made several more specialty clamps to get it done.

I lined the inside of the flare with PVA to give it more strength.

Then I mixed some body filler. This is actually wood dust and PVA. My wife was smart enough to save the sanding dust from the little hand sander this summer. Thanks to her, I hope I have a lifetime supply of wood flour. This stuff was smeared onto the flare and smoothed with a wet finger.

I had to pull the body off of the chassis. It needs to be reinforced inside. It would never hold up to the handling needed to put the flares in place without it. Plus, the wheelbase was a tad short, so I split the chassis AGAIN and will not glue it together until the body is ready to go back on. I’ll wait until tomorrow to see how the filler sands. This was almost impossible to do on that flat/floppy bit of card. I should have glued a stir stick to the back before starting, but didn’t think of it.
That flare may be too wide. That’s why I made a prototype. I can make the actual ones a bit more narrow. I did end up gluing the outside part of the flare OVER the flange on the body and wanted it inside the flange. It wouldn’t work well that way, so the part ended up wider than planned. The flange on the real ones can be smaller.


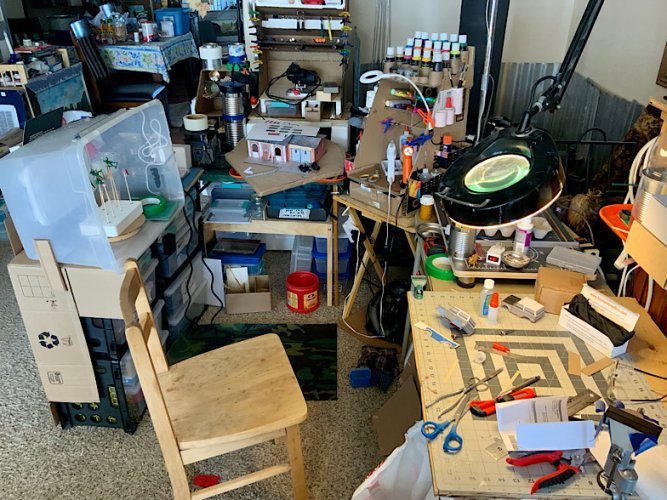
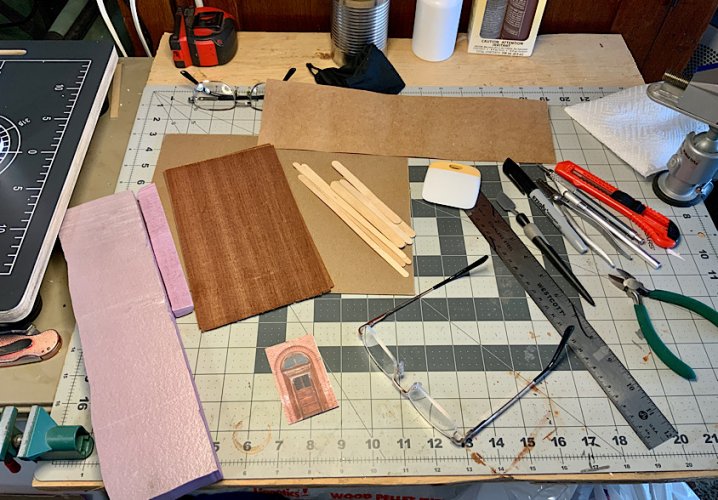
 My son understands. It will be finished when it is finished. I have my ‘shop’ (the corner of the living room) complete enough to allow me to work on the model again also. It sure is fun to have the place to work and the blessing of my wife to just take over the living room corner.