A little Diorama for Christmas
- Thread starter OldMiner
- Start date
You are using an out of date browser. It may not display this or other websites correctly.
You should upgrade or use an alternative browser.
You should upgrade or use an alternative browser.
This door is tiny. I have glued the threshold to the brick structure. I think I will build and assemble the wooden structure that holds the actual door before I put it in the brick archway. I have started the door and am experimenting with the tyvek hinge.
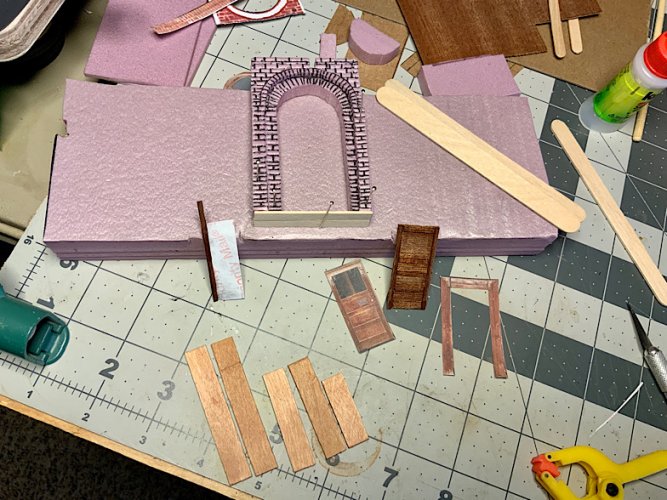
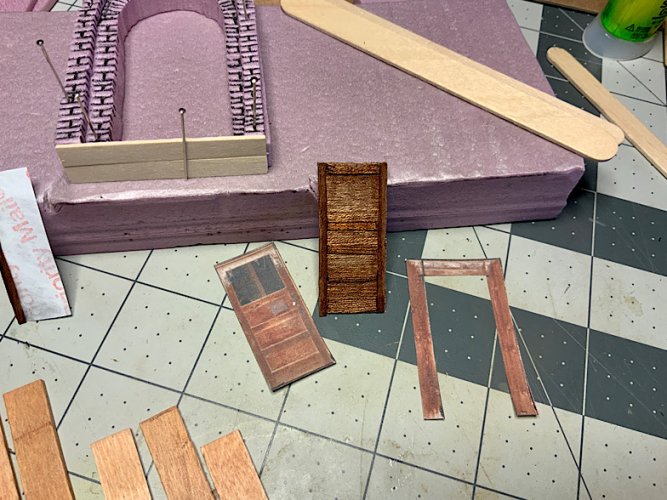
I have some clear ‘glass’ that I hope to incorporate in the laminations on the back of the door, after I cut out that little window. Looks like it needs a vertical mullion in the center too.


I have some clear ‘glass’ that I hope to incorporate in the laminations on the back of the door, after I cut out that little window. Looks like it needs a vertical mullion in the center too.
Some progress. I glued the hinge on the door backwards, but managed to make it work by changing the design of the back of the door. I had to add a layer to hide the hinge. I will probably just dye the hinge the same color as the wood and then just touch the ‘hinge’ places with black.
I really like these alcohol based (I think) markers. They paint really well. I managed to color the wood and the brickwork with the 4 markers lying in front of the parts.
The window is in the door now. Still a few horizontal parts to add to the back of the door and then it can be mounted in the frame.
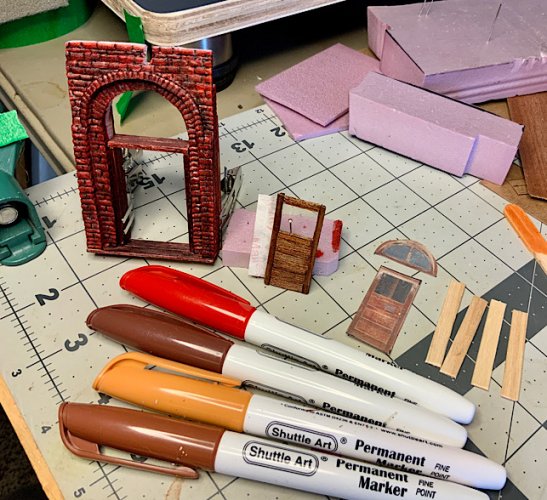
The door is leaning on the straight pin behind it, against the ‘glass’.
I really like these alcohol based (I think) markers. They paint really well. I managed to color the wood and the brickwork with the 4 markers lying in front of the parts.
The window is in the door now. Still a few horizontal parts to add to the back of the door and then it can be mounted in the frame.

The door is leaning on the straight pin behind it, against the ‘glass’.

The homeowner came to inspect the construction progress. He wants to move in, I told him ‘tough’, it ain’t done.
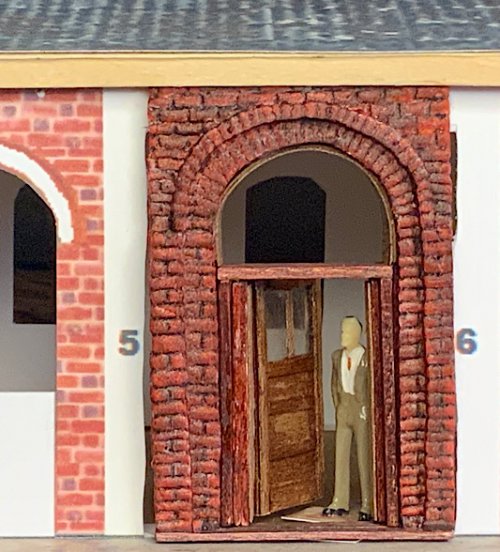
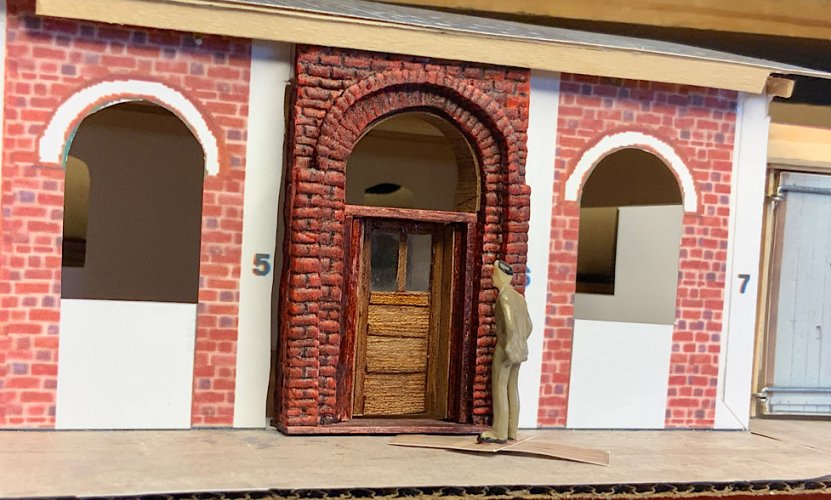
I have two layers of veneer in the top of the archway. I think one more layer and then I can build the window and fit it in place. I’m considering what to do with the rest of the brickwork on the front wall. I think I will experiment with washes on some extra pieces of printout and see if I can match the door bricks. Otherwise, I may replace the entire front facade with foam brickwork.


I have two layers of veneer in the top of the archway. I think one more layer and then I can build the window and fit it in place. I’m considering what to do with the rest of the brickwork on the front wall. I think I will experiment with washes on some extra pieces of printout and see if I can match the door bricks. Otherwise, I may replace the entire front facade with foam brickwork.
The home owner can't move in yet, as he's got a cardboard box stuck to his feet!The homeowner came to inspect the construction progress. He wants to move in, I told him ‘tough’, it ain’t done.
View attachment 209783
View attachment 209782
I have two layers of veneer in the top of the archway. I think one more layer and then I can build the window and fit it in place. I’m considering what to do with the rest of the brickwork on the front wall. I think I will experiment with washes on some extra pieces of printout and see if I can match the door bricks. Otherwise, I may replace the entire front facade with foam brickwork.
Lick a few of those pens, if you get drunk, then you'll know if they contain alcohol (safety disclaimer - DON'T!)
I think the homeowner licked the pens, he can’t stand up without his feet being stuck down. 
I’m considering making the front wall from a piece of thin foam I have. I’m going to test painting a scrap of it to see if I can do it.

I’m considering making the front wall from a piece of thin foam I have. I’m going to test painting a scrap of it to see if I can do it.
News from the western front…
The front door assembly is complete but not glued in yet. I have decided to ‘re-brick the entire structure.
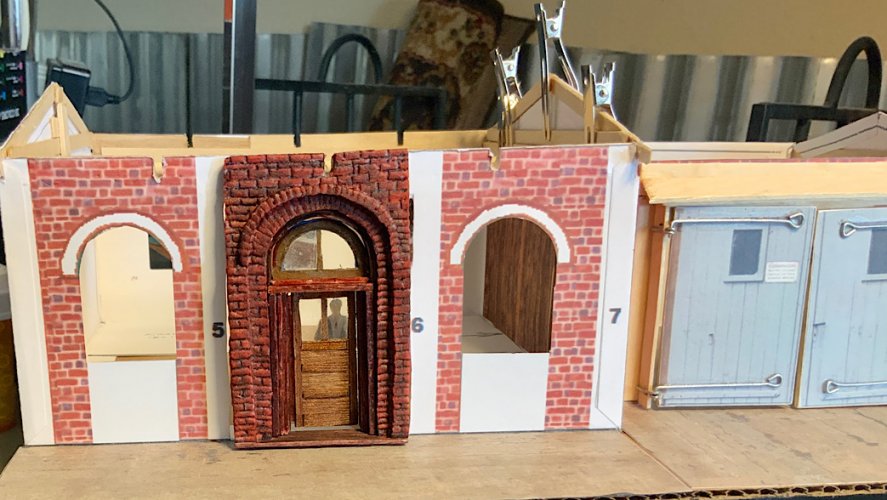
I need to get rid of some windows and think that simply covering the outside walls will be much easier that way, plus it will look better. There will also be more walls and wall coverings inside and those will be much easier to do before the front door and window frames are installed.
I did get the wall between the garage and the house built and installed.
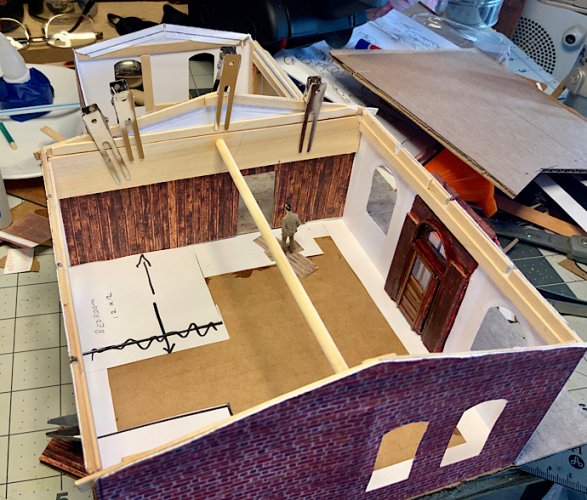
The paneling on the new wall is from Textures.com. If you haven’t been to that site, do so! A free membership allows a daily allotment of 15 ‘points’. Those points can be used to download all sorts of neat textures. Things like siding, roofing, windows and doors along with thousands of other items are available. I really do enjoy browsing the place too.
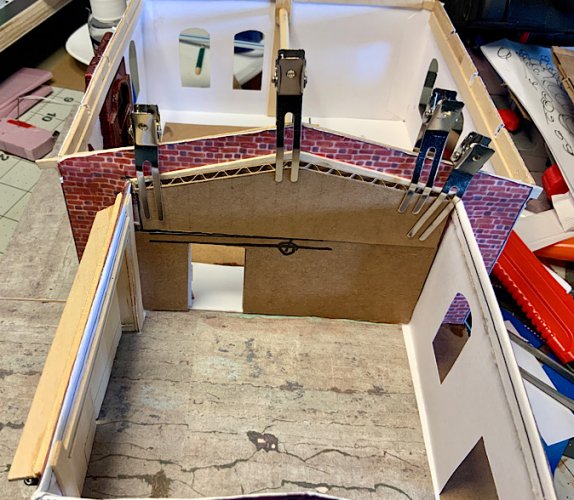
I really like those little hair clips. They can be bent and formed to grab all sorts of things. They work very well.
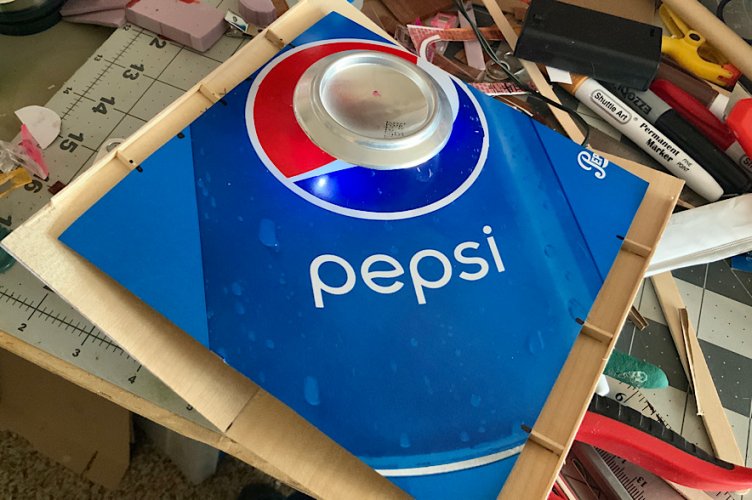
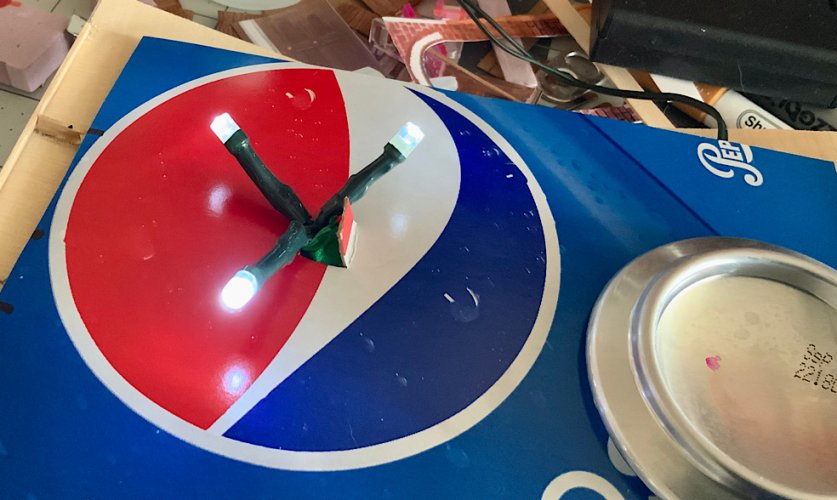
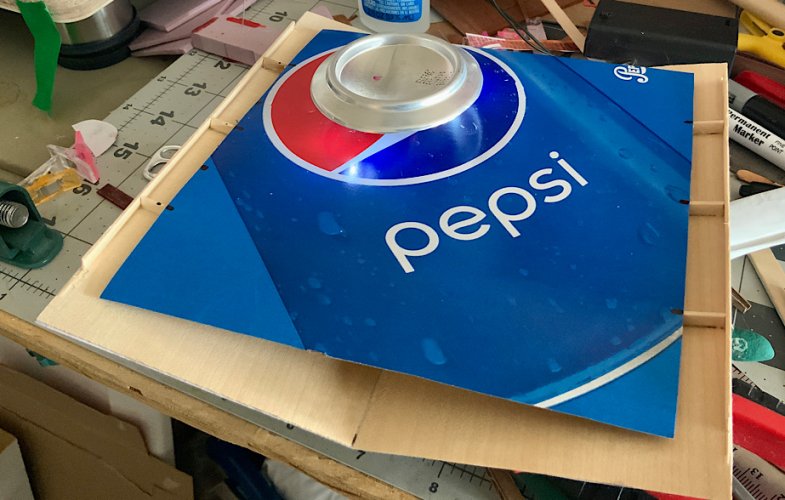
Mike is a Pepsi lover. So just for fun, I have installed a ‘Pepsi ceiling’ and light fixture in the house. It isn’t assembled yet, but you can see how it works. It is attached to the inside of the roof, glued to the trusses.
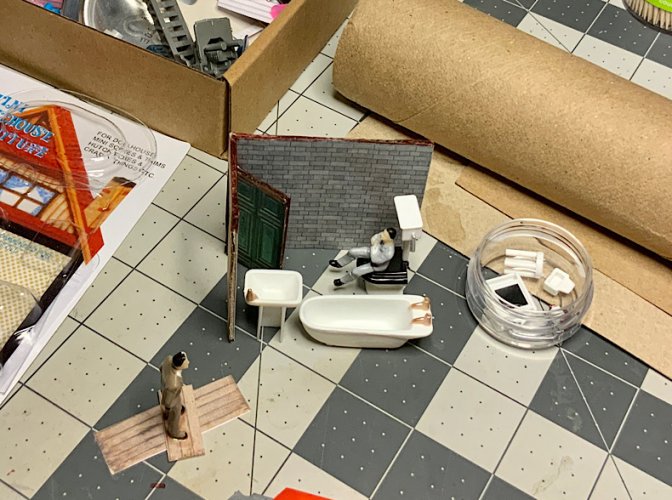
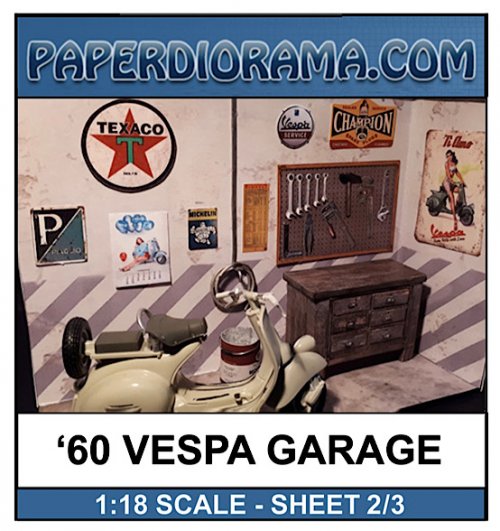
I found a scale paper model of an old Pepsi machine and a workbench and tools to put in the garage. Two of the garage windows will be gone to make room for wall hanging stuff. These came from Paperdiorama.com, free and I will have to rescale them. The horse is from an oil can image.

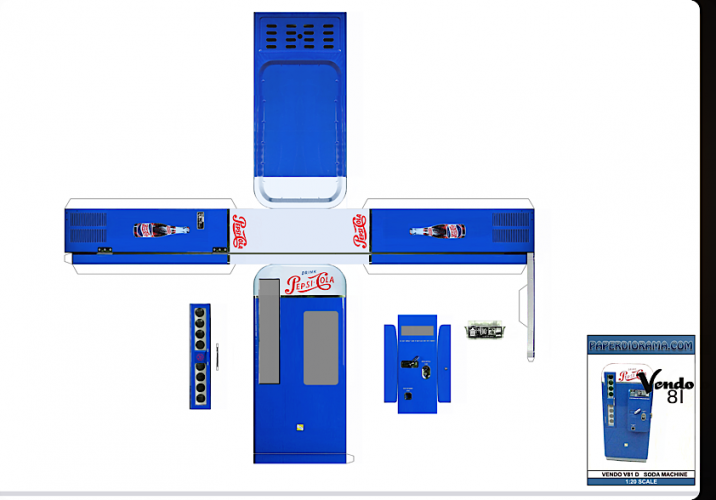
I want to use the tools, workbench and some wall hanging stuff from this one:
The front door assembly is complete but not glued in yet. I have decided to ‘re-brick the entire structure.

I need to get rid of some windows and think that simply covering the outside walls will be much easier that way, plus it will look better. There will also be more walls and wall coverings inside and those will be much easier to do before the front door and window frames are installed.
I did get the wall between the garage and the house built and installed.

The paneling on the new wall is from Textures.com. If you haven’t been to that site, do so! A free membership allows a daily allotment of 15 ‘points’. Those points can be used to download all sorts of neat textures. Things like siding, roofing, windows and doors along with thousands of other items are available. I really do enjoy browsing the place too.

I really like those little hair clips. They can be bent and formed to grab all sorts of things. They work very well.
Mike is a Pepsi lover. So just for fun, I have installed a ‘Pepsi ceiling’ and light fixture in the house. It isn’t assembled yet, but you can see how it works. It is attached to the inside of the roof, glued to the trusses.


I found a scale paper model of an old Pepsi machine and a workbench and tools to put in the garage. Two of the garage windows will be gone to make room for wall hanging stuff. These came from Paperdiorama.com, free and I will have to rescale them. The horse is from an oil can image.


I want to use the tools, workbench and some wall hanging stuff from this one:

Last edited:
My wife (the artist in the family) mixed up some paint for me today. A mix of black paint and PVA for priming (and the Bronco), a gray and a rust color. So, I test painted the test Bronco. All was well so the ‘real’ one got painted and attached to the chassis. I cut out those offending front inner fenders while I was at it. There is still a lot of work to do to it. Headlights/grill, tail and turn signals, front and rear bumpers, spare tire, etc. Plus, I need to paint the door and hood gaps and highlights on the hood. But, it sits happily in the garage now.
Here it is, posing for the pic.
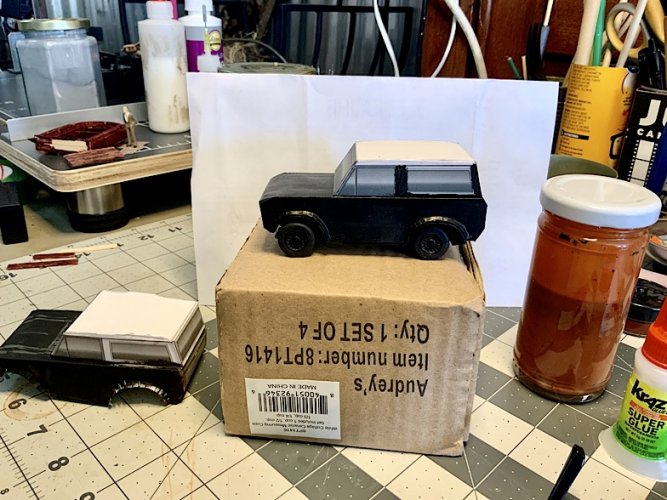
I also downloaded textures for the floors and printed those. Maybe tomorrow…
Here it is, posing for the pic.

I also downloaded textures for the floors and printed those. Maybe tomorrow…
I practiced with some white markers and paint on making the door and hood lines on the Bronco. Still not ready to commit. At this point, I think I will be using a straight pin as a ‘brush’ and painting with that. Not sure…
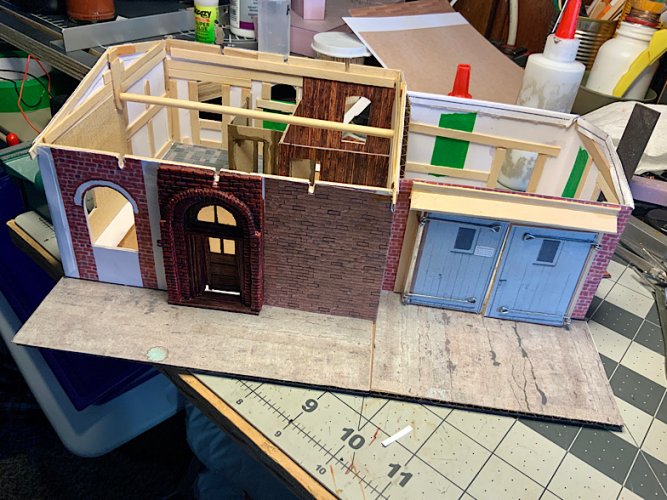
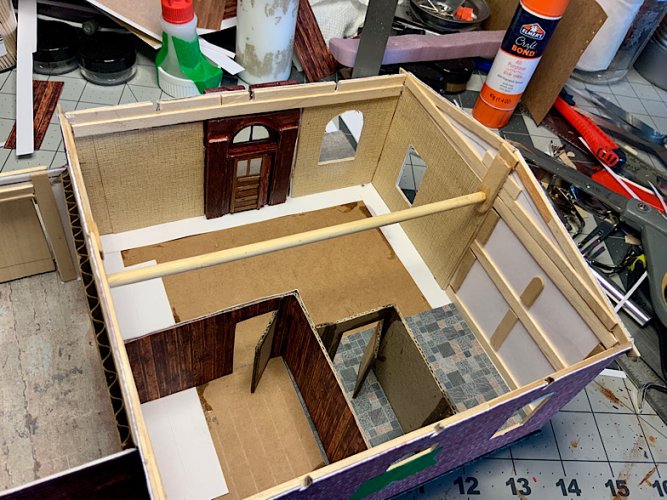
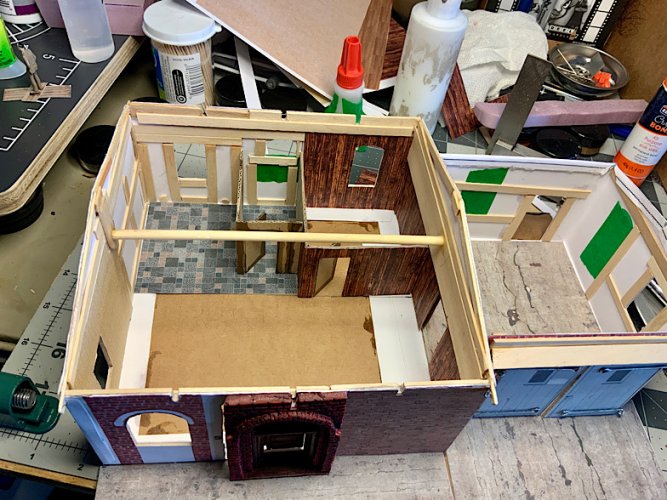
The walls for the bedroom and bathroom have been formed. They are just sitting in there now. I plan to do the wall finishes and windows before installing those walls. The green tape is covering the windows that will be ‘bricked up’. The front wall has a section of new brick in place now. I tested a reddish wash that will bring the front door casing and the walls closer in tone.
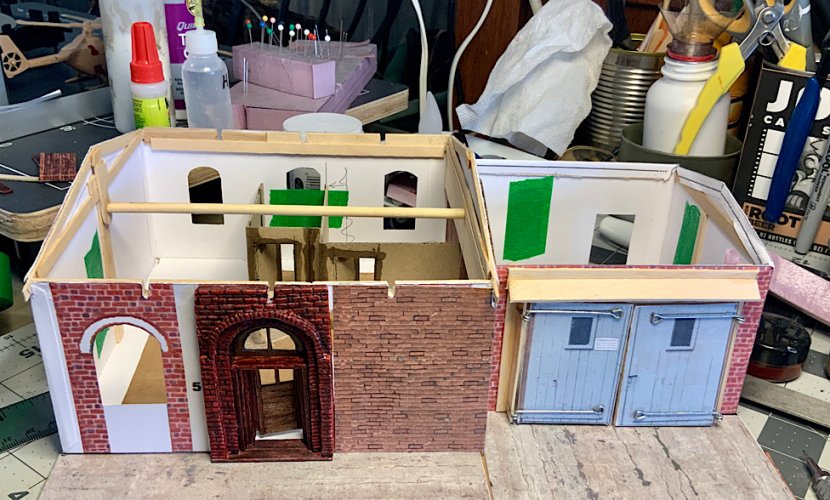
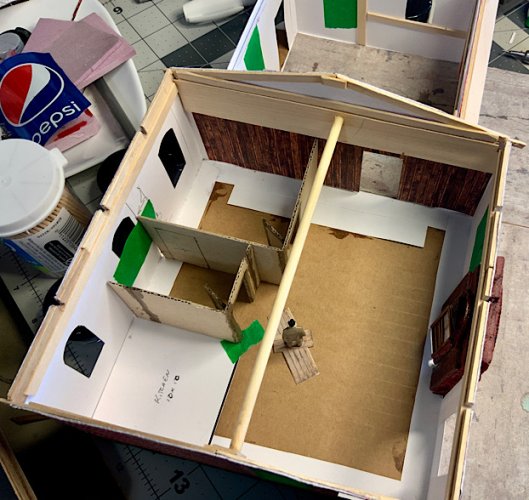
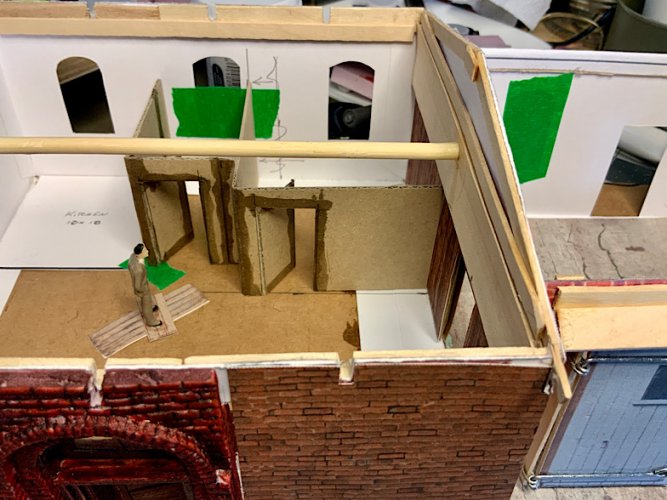
The walls for the bedroom and bathroom have been formed. They are just sitting in there now. I plan to do the wall finishes and windows before installing those walls. The green tape is covering the windows that will be ‘bricked up’. The front wall has a section of new brick in place now. I tested a reddish wash that will bring the front door casing and the walls closer in tone.


Not soon, there is no heat and it is still winter here.Awesome! When are you moving in?
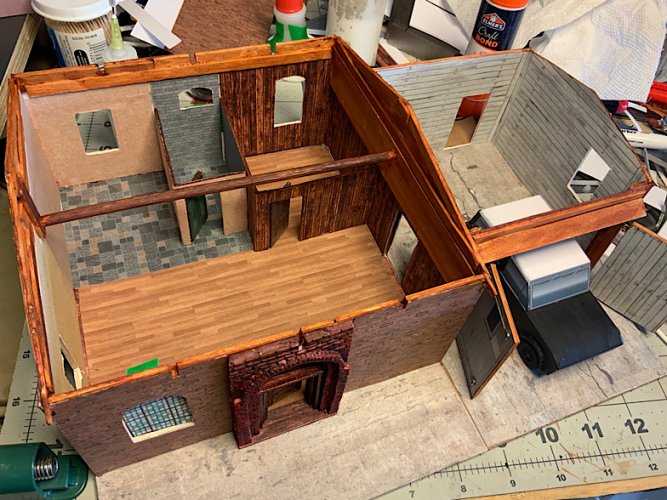
I took more pics, but it gets repetitive. This one was taken this morning after painting most of the trim. Floors and walls are complete with only the back door to go, others are ready. Interior walls won’t be glued in place until the back windows are in. (Makes it easier to install them)
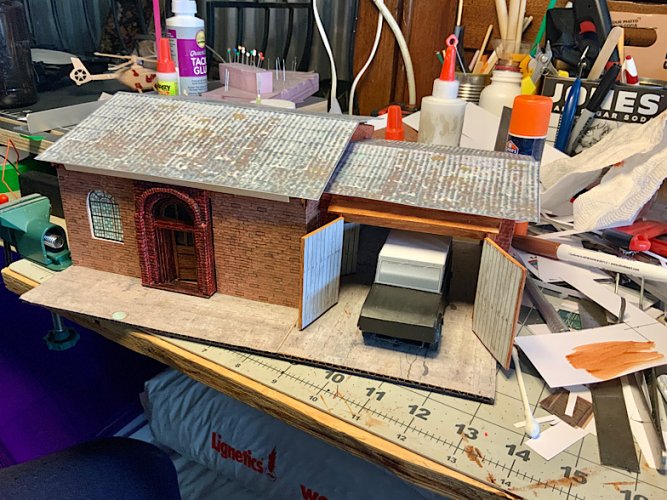
A shot with the roof on:
And one after the stained glass window was actually installed. It is just sitting there in the pic above.
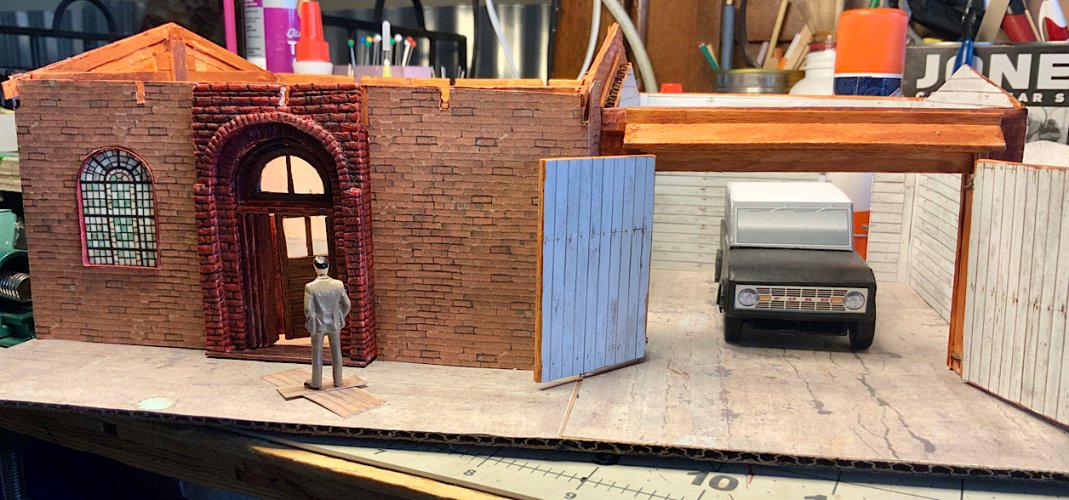
The window was an interesting process. It is two layers, one card and one printer paper. Both pieces were soaked with CA and allowed to dry. Then they were glued together, back to back. This made a nice stiff but still translucent window. Then I dyed a narrow strip of card stock and glued it around the window glass. After drying, that was glued into the wall. The front door is also now glued in place.
I admit that this was originally going to be a quick little build. It has turned into a real project. I am having lots of fun with it, learning a lot along the way too. I decided today to set it on the base and put it on the shelf above my workspace and take a break from it. I don’t want it to become ‘work’, but to remain fun. I intend to furnish the interior and finish the exterior before putting it permanently on the base. Then that base will have to be landscaped.

A shot with the roof on:

And one after the stained glass window was actually installed. It is just sitting there in the pic above.

The window was an interesting process. It is two layers, one card and one printer paper. Both pieces were soaked with CA and allowed to dry. Then they were glued together, back to back. This made a nice stiff but still translucent window. Then I dyed a narrow strip of card stock and glued it around the window glass. After drying, that was glued into the wall. The front door is also now glued in place.
I admit that this was originally going to be a quick little build. It has turned into a real project. I am having lots of fun with it, learning a lot along the way too. I decided today to set it on the base and put it on the shelf above my workspace and take a break from it. I don’t want it to become ‘work’, but to remain fun. I intend to furnish the interior and finish the exterior before putting it permanently on the base. Then that base will have to be landscaped.


