This house us going to look awesome. I like the lifted roof.
A little Diorama for Christmas
- Thread starter OldMiner
- Start date
You are using an out of date browser. It may not display this or other websites correctly.
You should upgrade or use an alternative browser.
You should upgrade or use an alternative browser.
Time to sit and rest. I’ve been using the ‘roof razor’ to shave off the mountains of snow on the roof. I’m too old for that kind of thing. Usually when it snows here, it melts off. Not this year. COLD and snow just keep adding up.
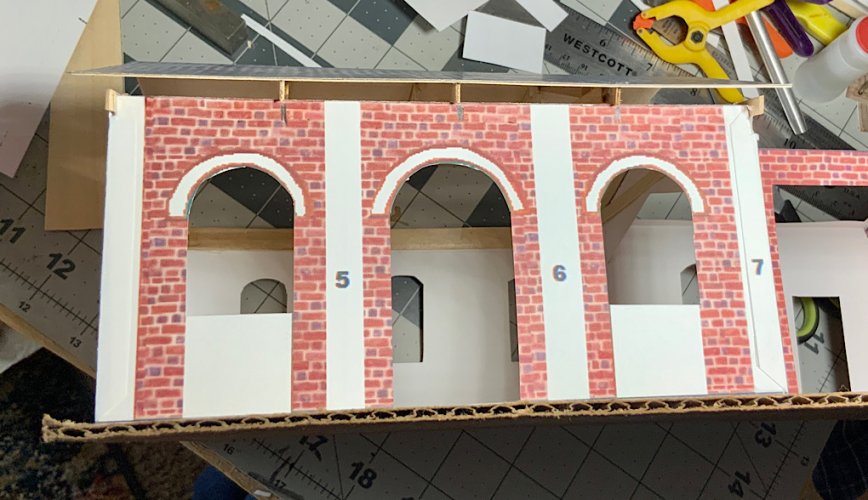
I did get the front and rear header beams notched and the roof fitted. Here are the marks for the notches.
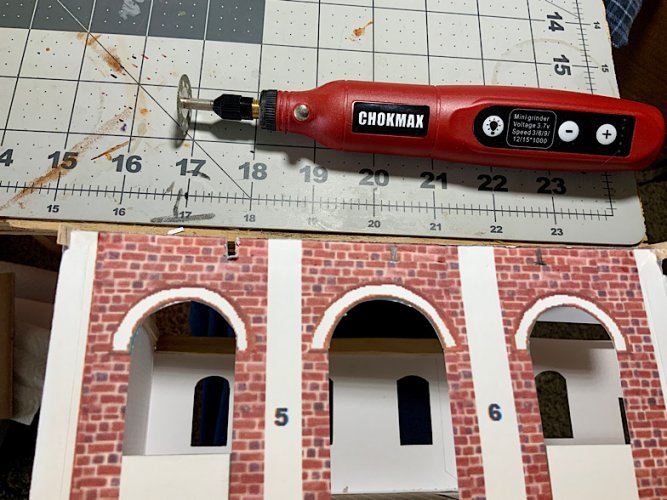
And the little oddly named ‘dremel thing’ that works just great. It is USB rechargeable and takes ordinary dremel type tools. It sports a diamond wheel which seems to work great for cutting and sanding on models.
And the roof fitted in place.

The tool even allowed me to trim and sand the rafter tail on the right. Seems I let it get above the roof line and it was sticking up too much.
I did get the front and rear header beams notched and the roof fitted. Here are the marks for the notches.

And the little oddly named ‘dremel thing’ that works just great. It is USB rechargeable and takes ordinary dremel type tools. It sports a diamond wheel which seems to work great for cutting and sanding on models.

And the roof fitted in place.

The tool even allowed me to trim and sand the rafter tail on the right. Seems I let it get above the roof line and it was sticking up too much.
I have the Dremel full size, mini, and Micro. I needed each one at one time for different projects at work, and the company paid for them. Since I included thier costs in the invoices, the boss said they were mine.
Then, of course, the engineer showed up. He proclaimed that the opening between the house and garage had to be reinforced. So, a custom glue-lam beam was built and installed. That will support the heavy brick arch left from removing the wall that was there. (And give me a place to put the horizontal beam that will go from end to end in the house and hold the wiring for lights as well as stiffen the end walls.)
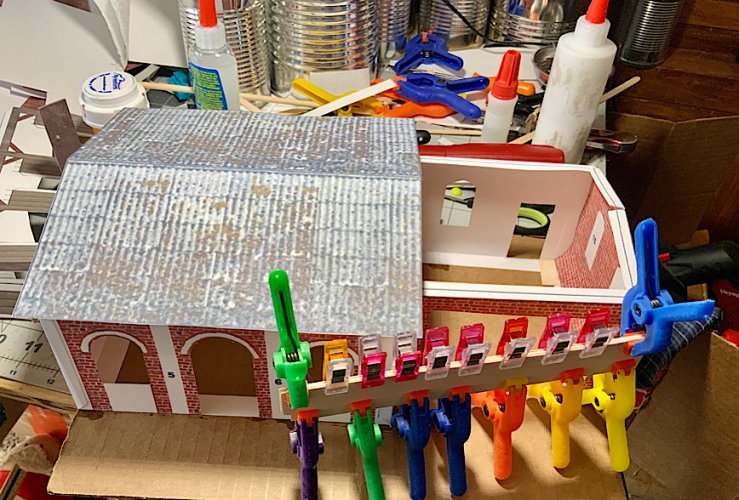
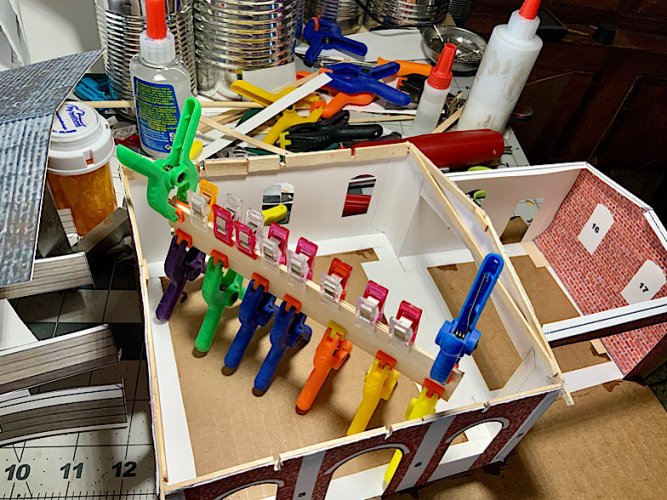
Built and installed.
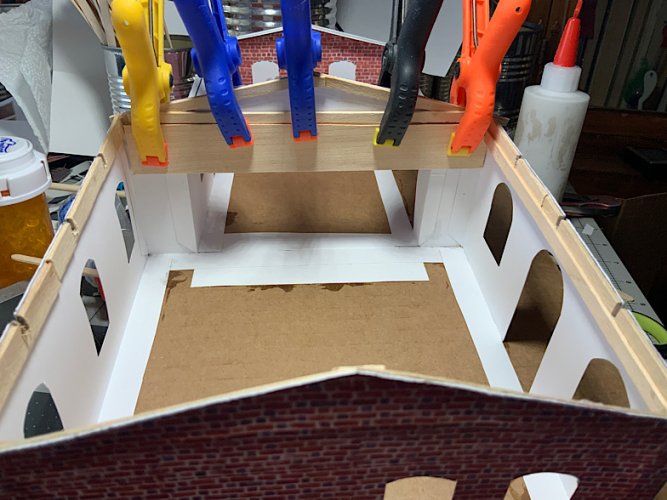


Built and installed.

I have a plug in Dremel and two Harbor Freight units (which have worked fine). Those just seem too clunky for model work to me. I also have a battery Dremel somewhere, but it is buried and the batteries just didn’t seem to last. It may be found some day, by an archaeologist hunting relics.I have the Dremel full size, mini, and Micro. I needed each one at one time for different projects at work, and the company paid for them. Since I included thier costs in the invoices, the boss said they were mine.

My full size is the 8220, 12V battery one, both the Mini, and Micro are internal battery powered, the micro is about the only one I use for models. But the 8220 has the finest speed control.I have a plug in Dremel and two Harbor Freight units (which have worked fine). Those just seem too clunky for model work to me. I also have a battery Dremel somewhere, but it is buried and the batteries just didn’t seem to last. It may be found some day, by an archaeologist hunting relics.
Thanks!
It was a bit cold today for pouring concrete, so we decided to pour old concrete. LOL, I think this will work.
Next to frame the garage door opening and make the roof for it. Then on to the Bronco, time is short. Interior decorating may have to wait.
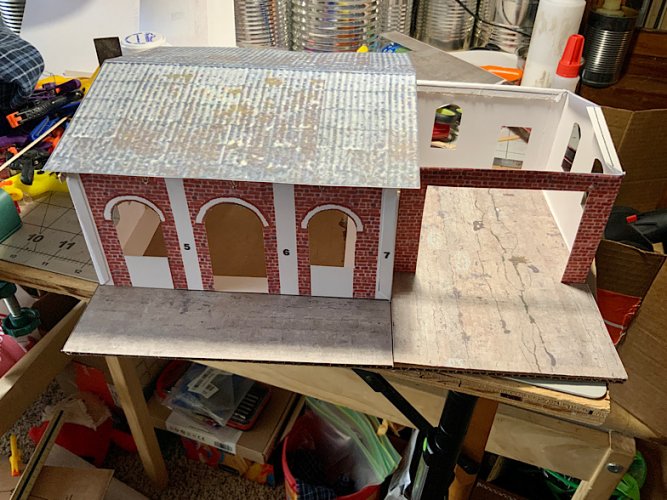
I also found a suitable front door, and printed a test copy. It works… Textures.com has awesome stuff.

It was a bit cold today for pouring concrete, so we decided to pour old concrete. LOL, I think this will work.
Next to frame the garage door opening and make the roof for it. Then on to the Bronco, time is short. Interior decorating may have to wait.

I also found a suitable front door, and printed a test copy. It works… Textures.com has awesome stuff.

Some progress, no pics. The garage walls are reinforced and the roof is complete. I have framed the garage door opening and made the doors. They are DIY plywood, using the printed door facing and 3 layers of the veneer. They will get another printout on the inside I think. Also, the hinges are pretty much ready to install. Gotta build the Bronco!
LOL, great work. Fun anyway. Here’s some news:
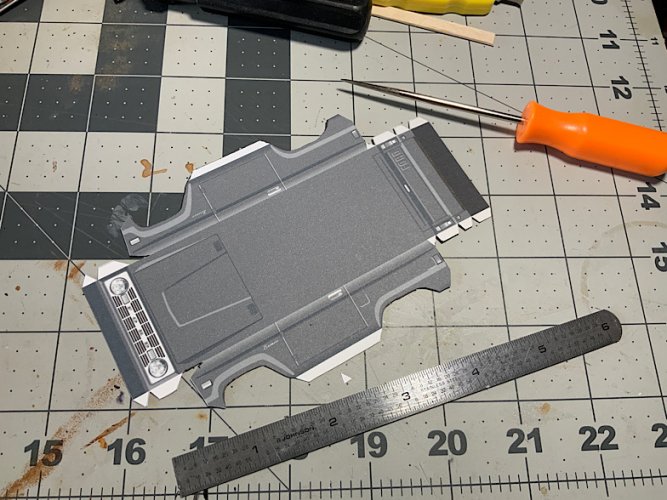
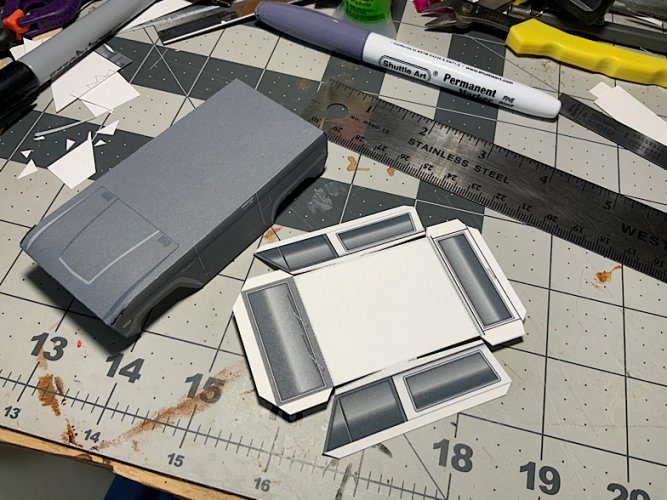
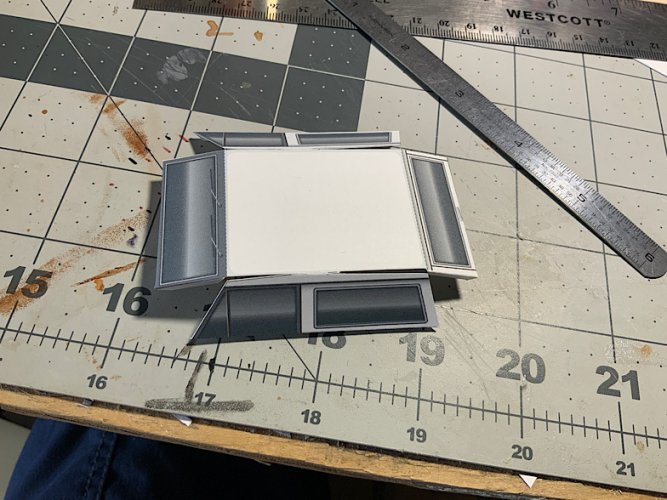
The body of the Bronco, cut out and creased for folding.
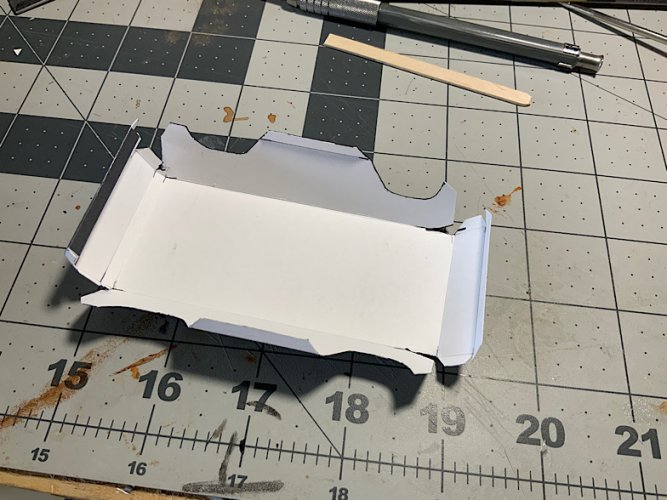
And, folded.
Next, the roof.
Here are the garage doors and hinges ready to install.
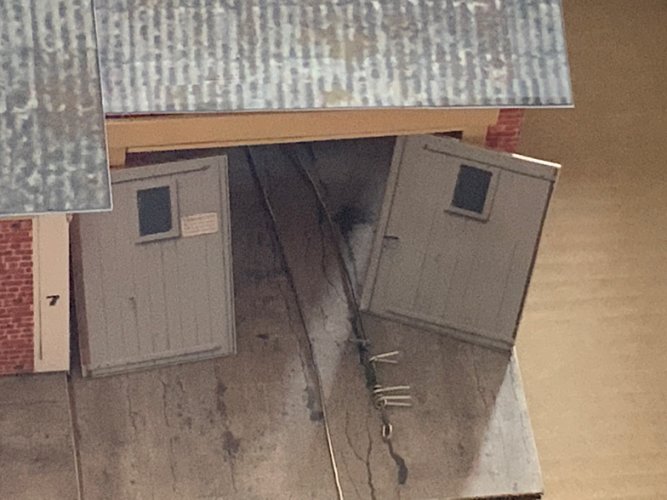
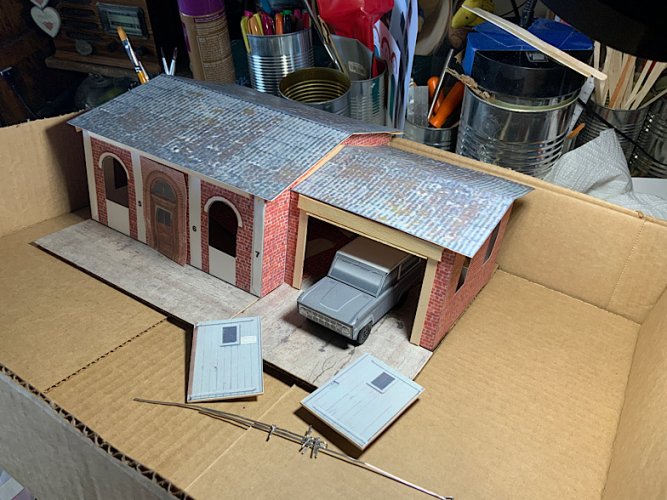
And the Bronco sitting in the doorway. (The roof is out of place, I just tossed it on there to get it out of the way.
The Bronco isn’t as good as I hoped, but it will be OK. It will probably never move out of the place it gets put when the diorama is finished.

The body of the Bronco, cut out and creased for folding.
And, folded.

Next, the roof.


Here are the garage doors and hinges ready to install.

And the Bronco sitting in the doorway. (The roof is out of place, I just tossed it on there to get it out of the way.
The Bronco isn’t as good as I hoped, but it will be OK. It will probably never move out of the place it gets put when the diorama is finished.

I’m not going to complete this before Christmas, but Mike will understand. I will give it to him as a work in progress. The Bronco will be in the garage.
I found my foam cutter and some slabs of fine grained pink foam. As an experiment, I made the transition from the driveway to the slab the house sits on and made some curb stones. Next will be a pile of little box shapes that will be covered with packaging materials and be piled in front of the house by the UPS driver, with his van in the driveway.
The garage doors work now and the house is ready to mount on the baseboard. the base is a slab of foam that will be landscaped.
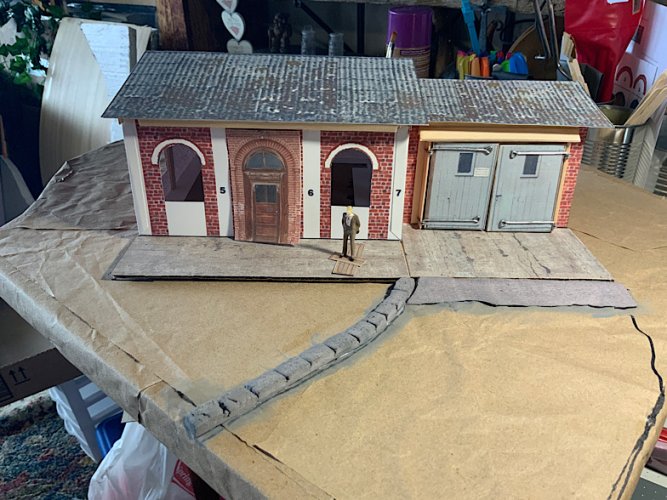
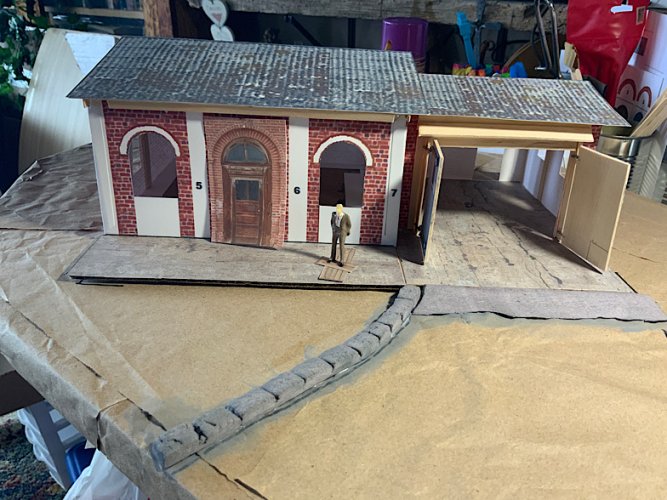


As one famous Dark Lord would say... "Impressive... Most Impressive."
A fine looking piece, a fitting gift full of nostalgia for someone who gave it his all
Thanks for the compliments guys. It is much appreciated. I hope to finish this properly. I’ll keep at it.
I’m not well today and at this point, I think it was the CA glue I used on the door assembly. I had two sneezing fits followed by coughing and then coughed miserably all night. I just finished a session with the nebulizer and feel much better now. I’m going to avoid the CA for now and see if that is the issue. Arrggg!
I have some ‘quick dry’ glues that aren’t CA, so work can continue.
The front door is begging to be built as is the front trim. Most of that trim will be hidden by the porch but it needs to be done, the thing looks pitiful now.
I have all but stopped using CA, I use UV resin now. it lets you move things into the right position, then hit it with UV light, and lock 'em in place.Thanks for the compliments guys. It is much appreciated. I hope to finish this properly. I’ll keep at it.
I’m not well today and at this point, I think it was the CA glue I used on the door assembly. I had two sneezing fits followed by coughing and then coughed miserably all night. I just finished a session with the nebulizer and feel much better now. I’m going to avoid the CA for now and see if that is the issue. Arrggg!
I have some ‘quick dry’ glues that aren’t CA, so work can continue.
The front door is begging to be built as is the front trim. Most of that trim will be hidden by the porch but it needs to be done, the thing looks pitiful now.

