1/12 Apollo Command Module

Kolokolnikov

Well-Known Member
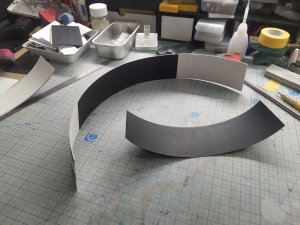
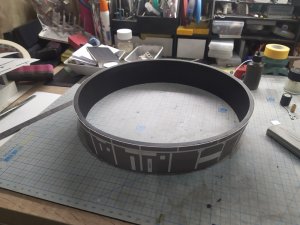
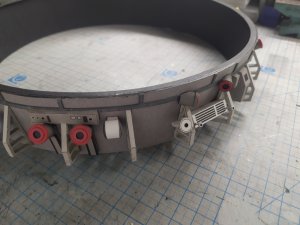
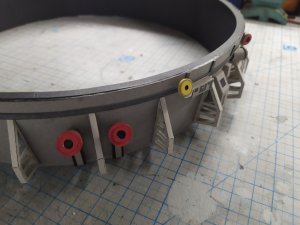
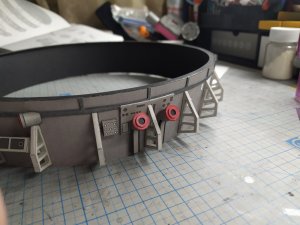
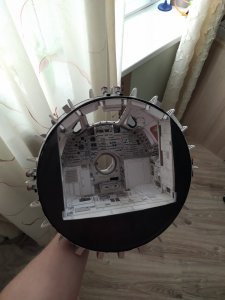
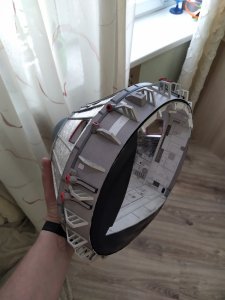
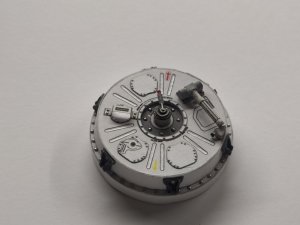
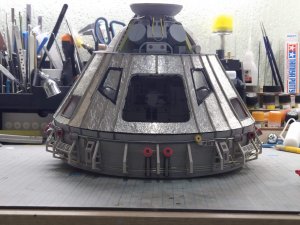
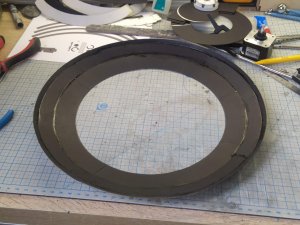
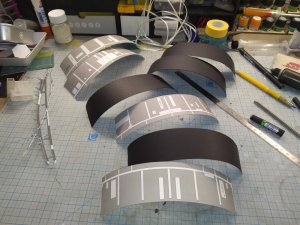
Began assembling the bottom of the module. All elements are reinforced with cardboard. The main part was glued with thick black paper from the inside. Ken suggested making the upper forming ring from 4 parts, I decided to cut this part out of 2 layers of black paper and with only one part, this made it possible to more accurately assemble the entire structure.
IMG_20210527_235827.jpg
IMG_20210525_233544.jpg
IMG_20210526_004955.jpg
IMG_20210518_004858.jpg
IMG_20210517_234444.jpg

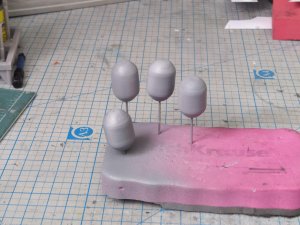
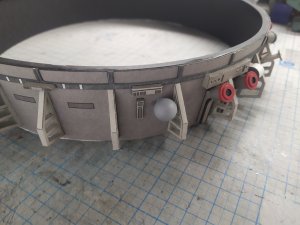
I decided not to make spherical tanks out of paper, and made them from metal balls from a bearing. (Sorry for not paper, but I want the model to look good).
1622793015744.jpg1622793015734.jpg1622793015724.jpg
IMG_20210601_005908.jpg
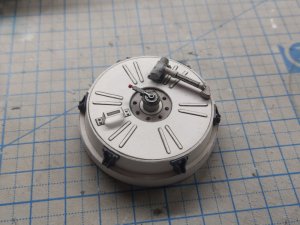
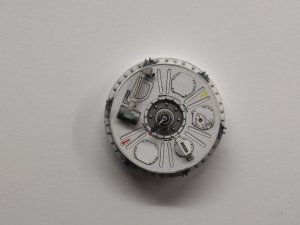
While I have not yet decided where this part will be glued, perhaps I will glue it to the module case, and not to the thermal shield as indicated in the instructions.
IMG_20210602_121618.jpgIMG_20210602_121746.jpgIMG_20210602_121810.jpgIMG_20210602_121548.jpg
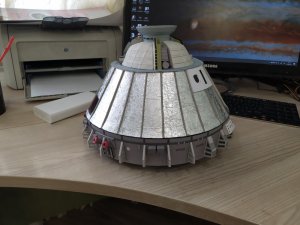
This part has not yet been completed, it is necessary to collect the remaining tanks, and most importantly, the pipelines. But with this there were problems until I can find photos and any information or drawings. If I don’t find anything, I’ll do it not so reliably, but in my own way, focusing on my feelings of how these pipelines should be.
 

Revell-Fan

Co-Administrator
Staff member
Administrator
Moderator
What a beast!!! :Bravo: :Bravo: :Bravo:

But why do you want to make it look "good"? It's already AMAZING!!!thumbsupthumbsupthumbsup
 

zathros

*****SENIOR ADMINISTRATOR*****
Staff member
Administrator
Moderator
Very clean and neat looking. I would offer one bit of advice, either cut on the part line, or inside, or outside of the line. If you cut right on the line, there should be virtually nothing of it left. Of course you could always just touch those parts off, but whenyou have such an excellent build going, it's time to take it up a notch, because you really already there. Everything looks true and plumb. Excellent job!! :)
 

cgutzmer

Well-Known Member
I purchased it back when Ken first released it at Ecards.... But they have crashed and rebuilt twice since then.... and I can't find it on any of my drives.
I'll have to check the old DvD disks that I used to store information on. What I remember from his design and build thread... It was very detailed.

Feel free to reach out and I can help you get the kit replaced.
 

zathros

*****SENIOR ADMINISTRATOR*****
Staff member
Administrator
Moderator
I forgot how huge that model is. The foil looks excellent on theree, as does the interior, and all the fittings. Big models are kind of harder as mistakes are glaring. This model of yours is really tight, round and squared off. ;)
 

Kolokolnikov

Well-Known Member
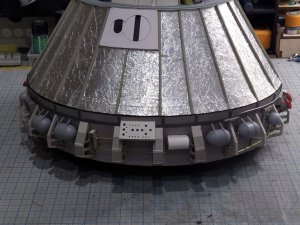
I continue to build the lower part of the module.

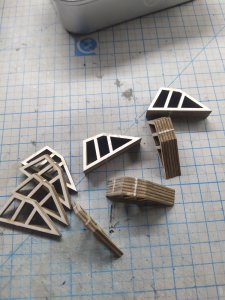
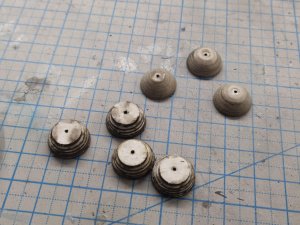
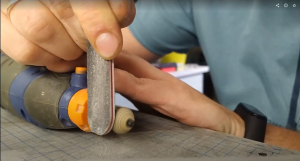
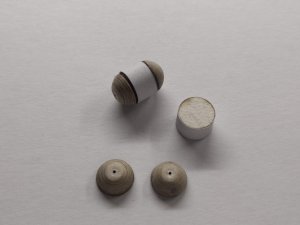
I decided to make fuel tanks according to the principle of wheels for aviation. Assembled a sandwich from round parts and grinded them on an engraver, soaked everything with superglue, grinded again and paint it.

IMG_20210615_195327.jpgСнимок экрана 2021-06-25 114332.png
IMG_20210616_221301.jpgIMG_20210617_121705_1.jpg


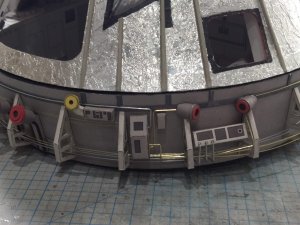
Installed pipelines.
IMG_20210622_004634.jpg
IMG_20210622_004423.jpg
IMG_20210622_004610.jpg
 
Last edited:

zathros

*****SENIOR ADMINISTRATOR*****
Staff member
Administrator
Moderator
That is really superb!! You work using your drill press as a lathe came out flawlessly, each tank looks the same. Fantastic craftsmanship. I hope the outer skin can just pop off so you can show the work you've done inside. The really took that hatch to another level. What method did you use to do those Rivets, they look great!! :)
 

Kolokolnikov

Well-Known Member
That is really superb!! You work using your drill press as a lathe came out flawlessly, each tank looks the same. Fantastic craftsmanship. I hope the outer skin can just pop off so you can show the work you've done inside. The really took that hatch to another level. What method did you use to do those Rivets, they look great!! :)

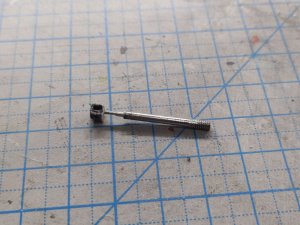
A wheel holder I made myself many years ago. This is a regular bicycle spoke. Which I turned on a conventional drill in the same way, reduced the diameter with sandpaper and cut the M1 thread. I took the fixing nut for this thread from old glasses, this is that piece of the nose pad attachment.
IMG_20210625_200416_197.jpg
 

Rhaven Blaack

!!!THE MAN BEHIND THE CURTAIN!!!
Staff member
Administrator
Moderator
Your craftsmanship is EXTRAORDINARY! I look forward to seeing your build thread photos to see what you come up with to achieve the desired look!
 

zathros

*****SENIOR ADMINISTRATOR*****
Staff member
Administrator
Moderator
Takes talent to do what you do. I have a lathe, but there was a time that I used to do the same thing, and it is amazing what you can make if you think out of the box. ;)
 

Kolokolnikov

Well-Known Member
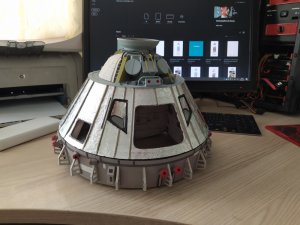
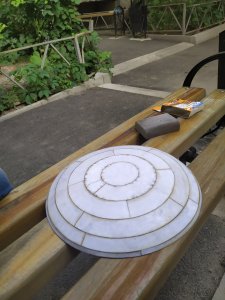
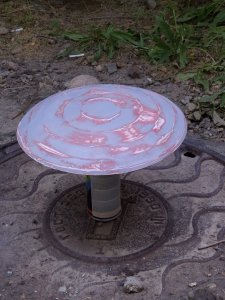
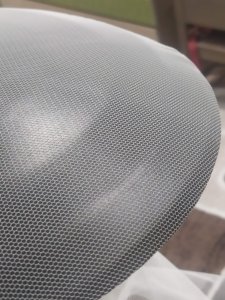
In parallel with the rest of the parts, I slowly assemble the thermal shield. All parts were cut with a laser from 2 types of paper, the paper was selected according to the thickness so that the desired thickness was according to Ken's instructions. I sand and paint on the street because of the huge amount of dirt and the smell of paint. At the moment, the shield is prepared for a mosquito net mask. Using this mask, I will try to recreate the texture of the cells of the thermal coating.

IMG_20210622_155813.jpgIMG_20210622_174122 (1).jpg

But it seemed to me that I was not building a thermal shield, but a strange mushroom.
IMG_20210622_193918.jpg
IMG_20210701_220240.jpg
 
Top