"Flying Dutchman" - Ghost Ship - OREL Russian Paper Model Build
- Thread starter mtrappett
- Start date
You are using an out of date browser. It may not display this or other websites correctly.
You should upgrade or use an alternative browser.
You should upgrade or use an alternative browser.
I really like how this is coming to life! You are doing a FANTASTIC JOB on this project!
Thank you Rhaven!I really like how this is coming to life! You are doing a FANTASTIC JOB on this project!

- Apr 5, 2013
- 13,876
- 10,216
- 228
The canons on these ships were held in place by rops. Using scale rope string, you could tie the guns dow with string which would enable you to aim and have some in gor reloading. I believe these canons had no breach.
This thread is so chock full of information, all I can comment is with a big Wow!!!!!
This thread is so chock full of information, all I can comment is with a big Wow!!!!!
Thanks Zathros! I hope that it will be useful. I like the idea with the ropes for the cannons! I will keep that in mind when I come to fit the remainder of them. All the best for the New Year 2022 to you and everybody too!The canons on these ships were held in place by rops. Using scale rope string, you could tie the guns dow with string which would enable you to aim and have some in gor reloading. I believe these canons had no breach.
This thread is so chock full of information, all I can comment is with a big Wow!!!!!
You guys are very kind, and your words actually do provide some great support, and I really appreciate that! I truly feel that this is a great model to build, and I would recommend it. I would hope too that this build information would help you, and you could add your own ideas to make a better example in the future.
Here are some more details of the gangways. They are kind of small so just keep that in mind. It reminds of if you were building doll-house furniture.
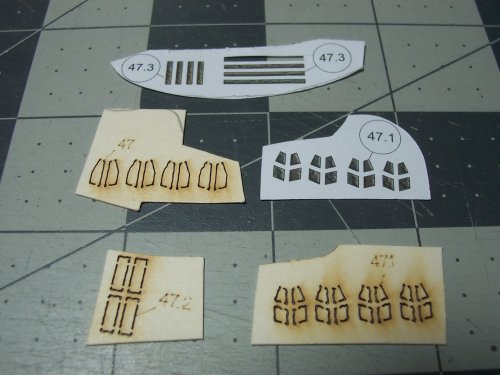
I lay the matching pairs of the gangway stairs side by side to allow for more accurate alignment. Otherwise, the stairs will look all crooked and all
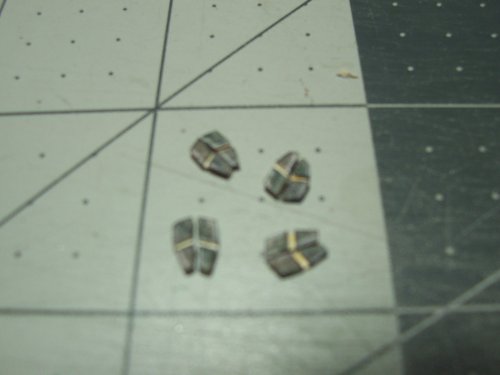
These are the steps pre-assembled. Luckily, there's only one step on these! Thank God!

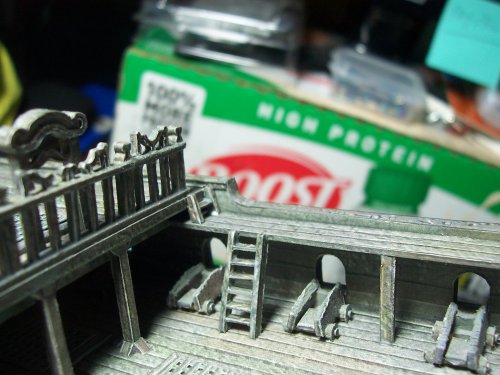
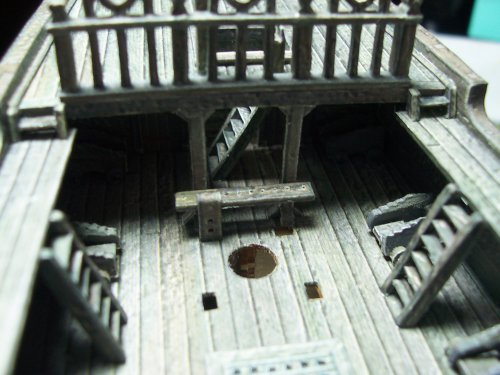
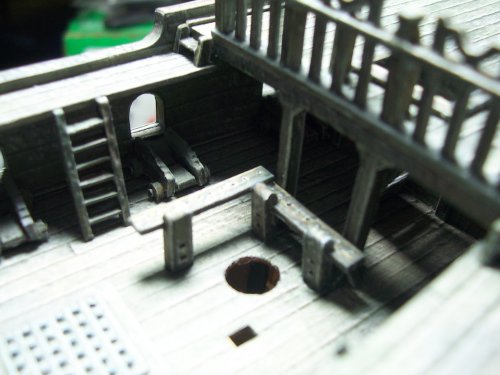
You can see from this picture where they go which is to the right and left sides of the fence. Just a nice little step to make things easier for the dudes to move around the ship.

There's not much detail shown on the plan, so these pictures will help!
Okay, moving on to these! Honestly, I don't know the proper name for these? It's not mentioned on the plans either? I just know there must be a special name? They are deck tie-down for various rigging lines that go up to the sails, and masts.
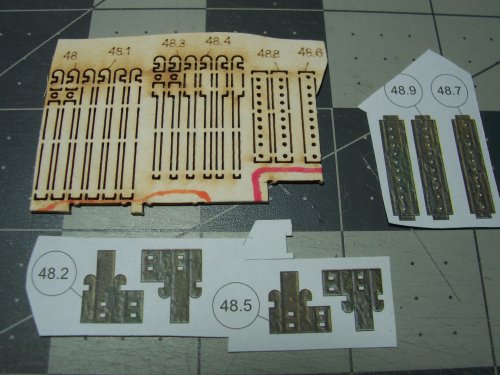
This is the plan detail for this one, but there are multiple assemblies on other parts of the ship that are similar.
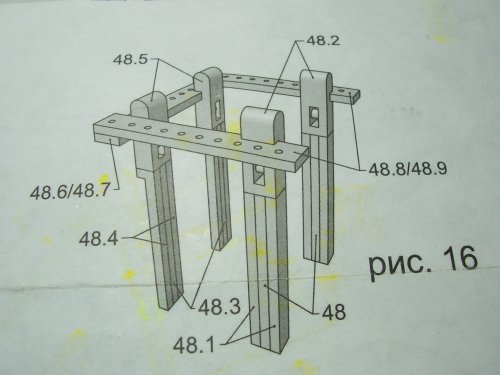
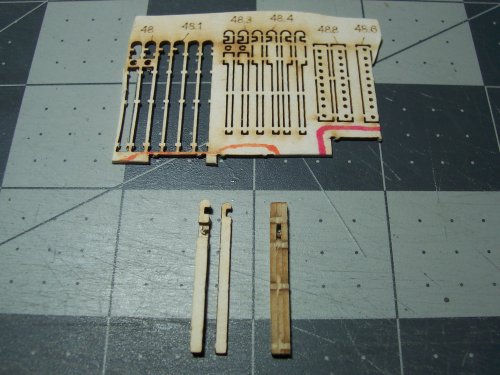
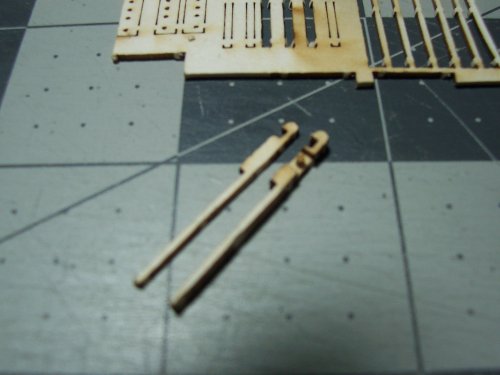
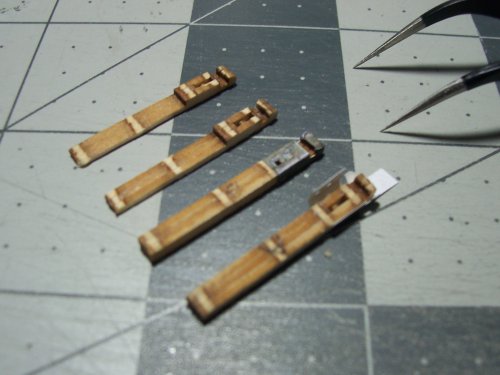
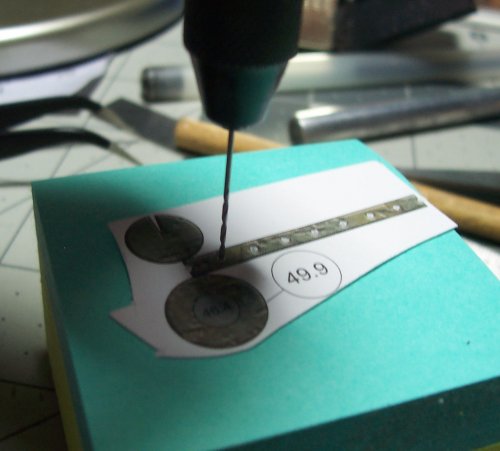
I used a hair drill to go through the paper veneers, and to clean the hole through ready for the rigging lines in the future.
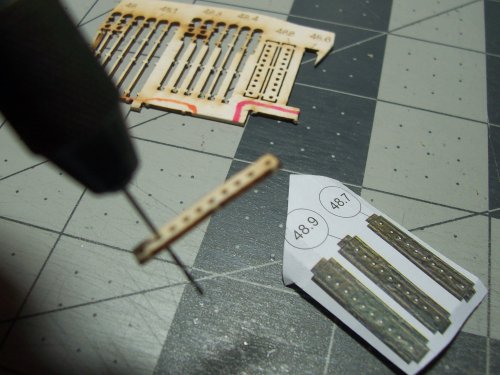
I can see that these are going to be VERY difficult to access without knocking parts around! But, we shall see I guess?
More than half built. They extend downwards far enough to contact the lower deck. Make sure to glue these securely, and to keep the holes fully open for the thread.
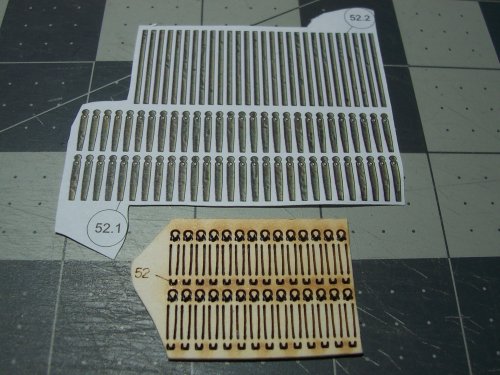
Oh, goodness me! LOL. Lots, and lots of railings to build! Each one has a hole for the thread to go through too! Each railing consists of 4 separate parts so, yes, this is another intricate section to build.
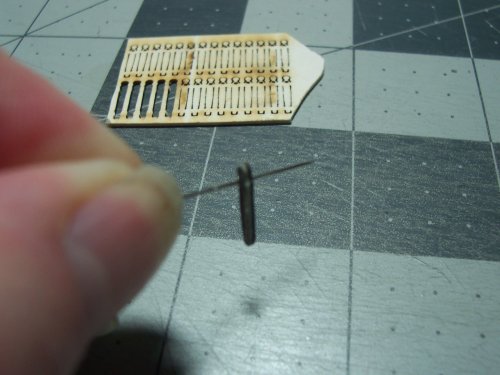
Just use a finger hold on the drill to avoid any accidental damage to the railings as they are built. There are NO spares either, so make sure to avoid cobbling one up!
These are the first railings that go around the gangway to the lower deck. I used a straight pin to make tiny holes for the glue to get a better hold for each post.
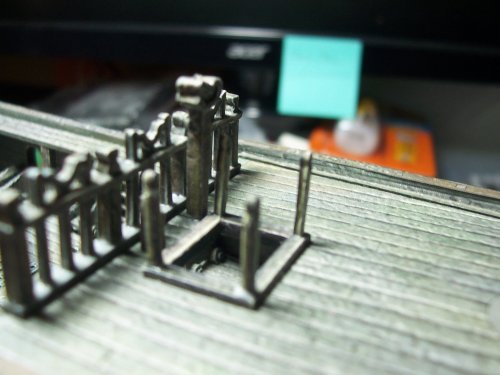
The Ship's Capstan Construction
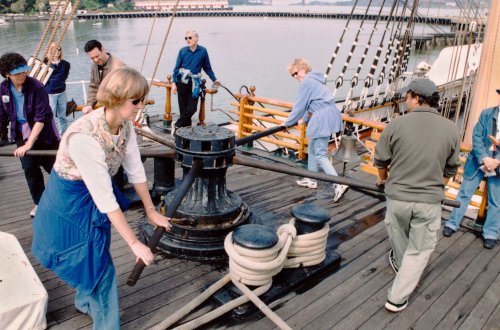
Sailors would coordinate the rhythm of their movements by singing a particular type of sea shanty as they walked around the capstan. The tensioned portion of the rope would hoist a foresail and could also be used to lift a heavy spar into position on the mast or to transfer cargo to or from a dock or lighter.
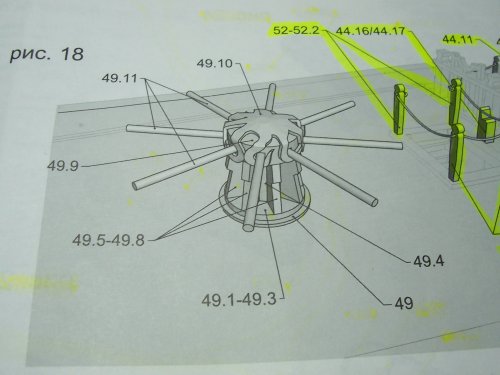
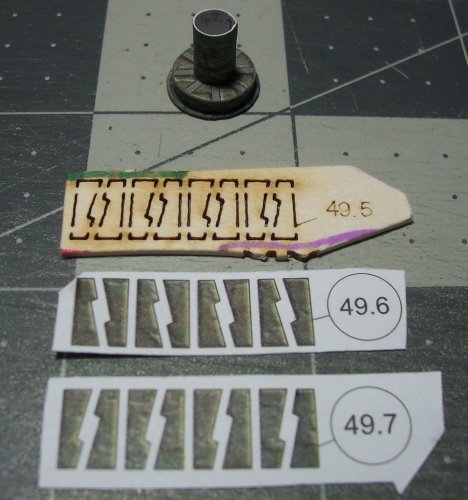
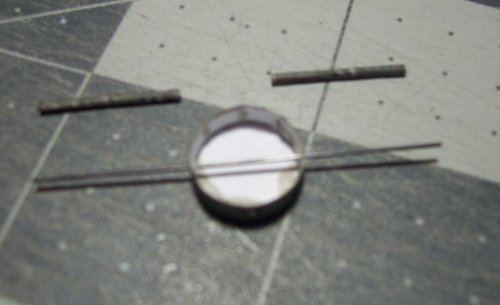
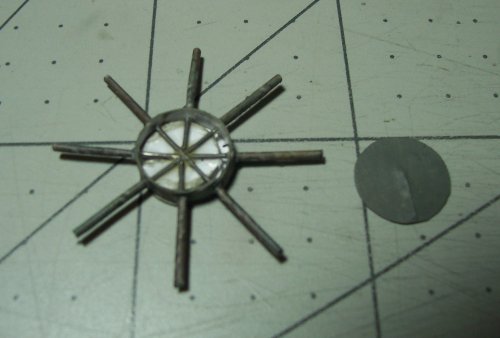
I really enjoyed building this, although there were a few issues I found that required some re-work. These are all of the parts to make the Capstan.
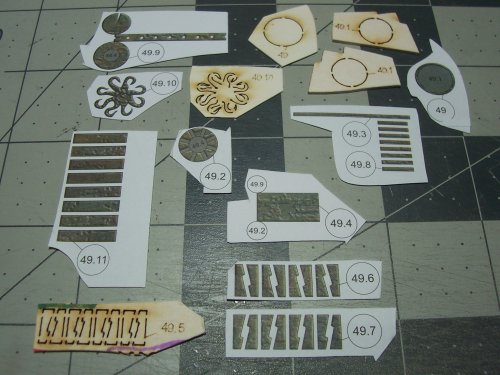
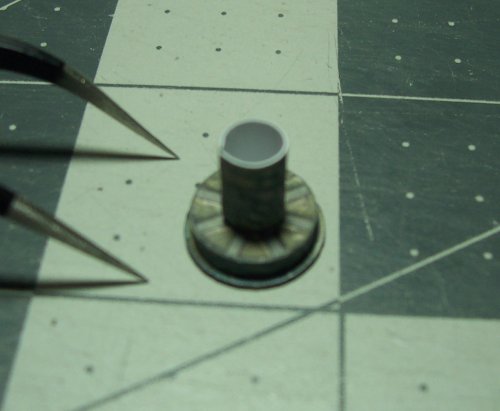
I will show the steps required to build the Capstan.
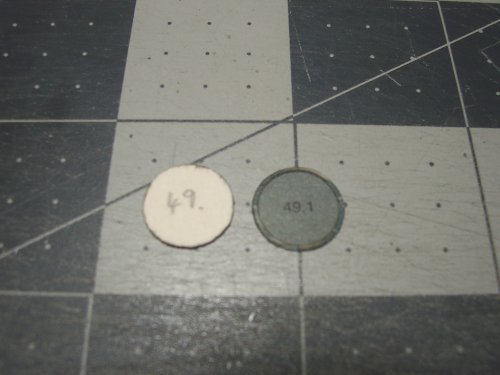
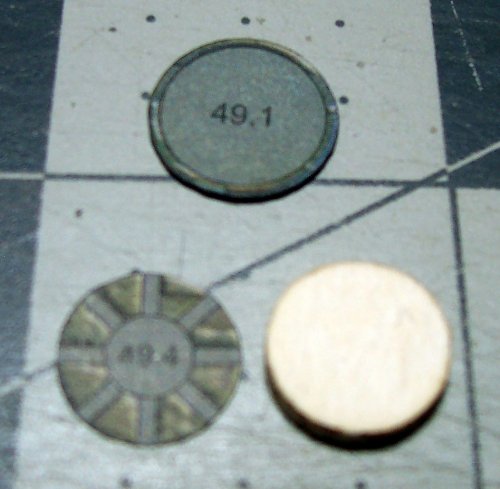
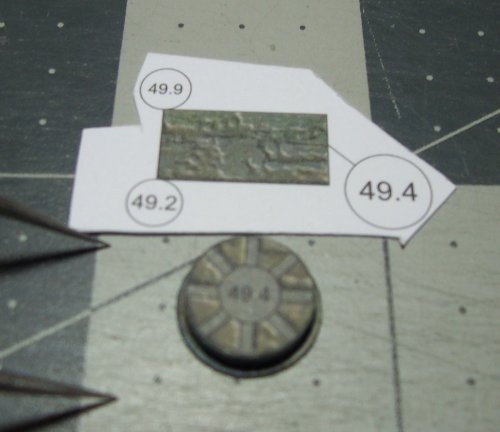
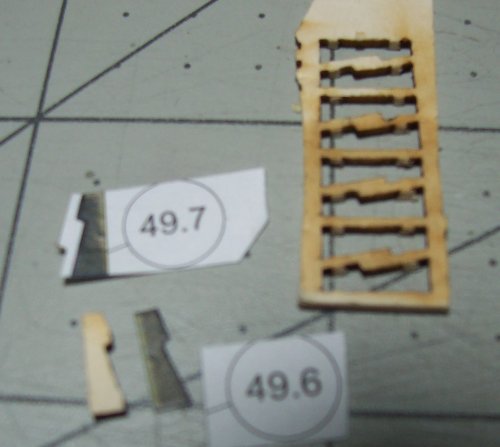
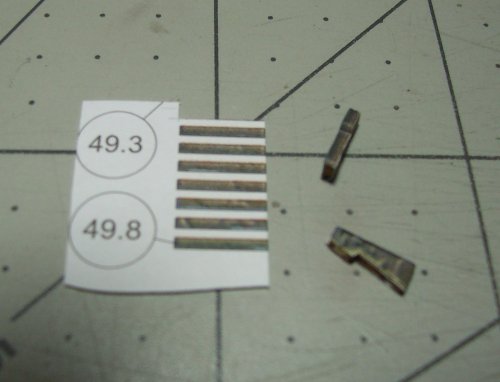
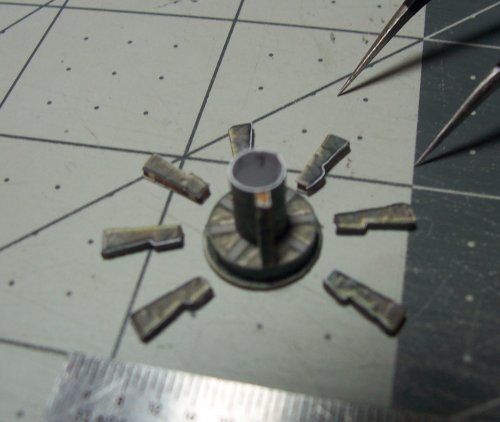
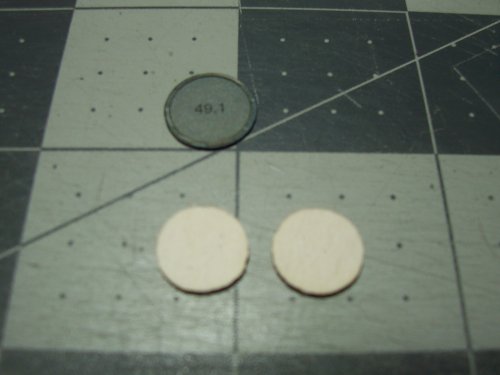
These plates are layered on top of one-another to provide stepping.
Here are some more details of the gangways. They are kind of small so just keep that in mind. It reminds of if you were building doll-house furniture.

I lay the matching pairs of the gangway stairs side by side to allow for more accurate alignment. Otherwise, the stairs will look all crooked and all


These are the steps pre-assembled. Luckily, there's only one step on these! Thank God!

You can see from this picture where they go which is to the right and left sides of the fence. Just a nice little step to make things easier for the dudes to move around the ship.

There's not much detail shown on the plan, so these pictures will help!

Okay, moving on to these! Honestly, I don't know the proper name for these? It's not mentioned on the plans either? I just know there must be a special name? They are deck tie-down for various rigging lines that go up to the sails, and masts.

This is the plan detail for this one, but there are multiple assemblies on other parts of the ship that are similar.


I used a hair drill to go through the paper veneers, and to clean the hole through ready for the rigging lines in the future.

I can see that these are going to be VERY difficult to access without knocking parts around! But, we shall see I guess?

More than half built. They extend downwards far enough to contact the lower deck. Make sure to glue these securely, and to keep the holes fully open for the thread.

Oh, goodness me! LOL. Lots, and lots of railings to build! Each one has a hole for the thread to go through too! Each railing consists of 4 separate parts so, yes, this is another intricate section to build.

Just use a finger hold on the drill to avoid any accidental damage to the railings as they are built. There are NO spares either, so make sure to avoid cobbling one up!

These are the first railings that go around the gangway to the lower deck. I used a straight pin to make tiny holes for the glue to get a better hold for each post.

The Ship's Capstan Construction
Sailors would coordinate the rhythm of their movements by singing a particular type of sea shanty as they walked around the capstan. The tensioned portion of the rope would hoist a foresail and could also be used to lift a heavy spar into position on the mast or to transfer cargo to or from a dock or lighter.

I really enjoyed building this, although there were a few issues I found that required some re-work. These are all of the parts to make the Capstan.

I will show the steps required to build the Capstan.

These plates are layered on top of one-another to provide stepping.

- Apr 5, 2013
- 13,876
- 10,216
- 228
Please pardon my horrid spelling. My fat fingers don't work well with phones. My computer blew up and I am waiting for my new Ryzen 5800x CPU and ASUS. TUF B550 3rd gen mobo to come in. Till then it's fat fingers vs. small letter phone keyboard. I had to go back and correct around 5 mistakes in this post!!
This will be a museum-quality piece when finished. I think all those intricate parts make it pretty strong.
Thank you all for the nice comments! Much appreciated!
In this build text, I have included detail of the additional "Brass Etch Kit". I bought this as an optional add-on because mainly the lamps need to be bent into crazy shapes and need to stay-put.
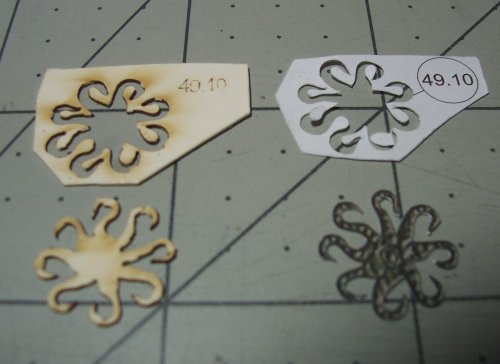
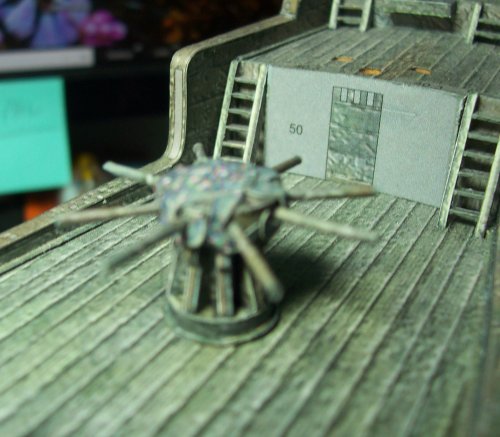
Okay, so as mentioned, I had to make a larger version of the octopus. If anyone wants the modified parts that I have mentioned in the build, just let me know, and I will upload them to the Resources section of the site.
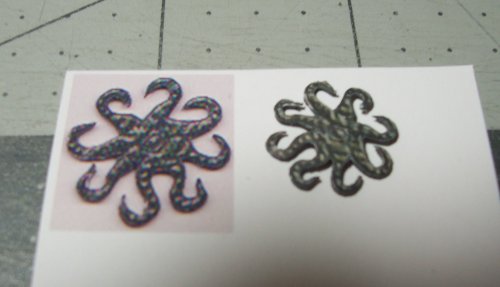
The finished top of the Capstan with updated octopus figure.
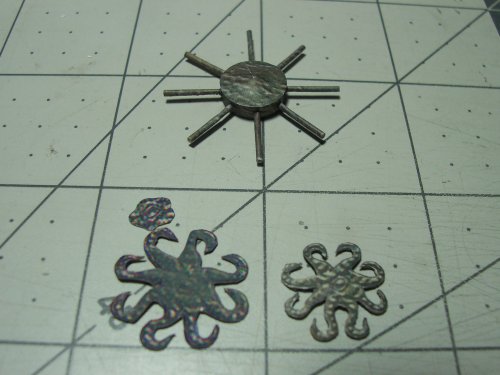
Capstan finished and ready to glue to the ship!
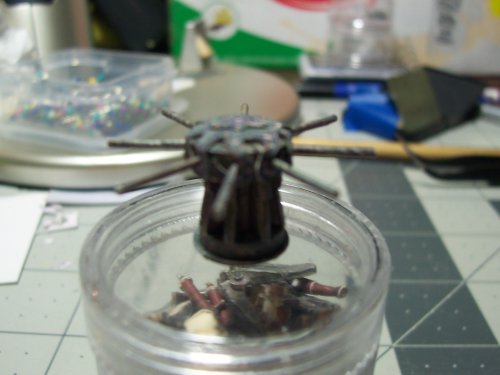
There it is! Another milestone! Capstan made and fitted!
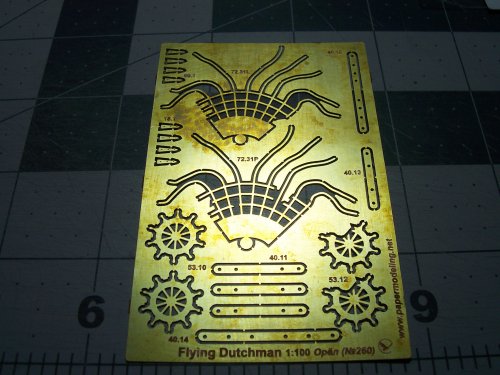
Flying Dutchman Ghost Ship - Photo Etch Parts Kit
You don't have to use this kit, but I wanted to try and make the best version I could of this ship.
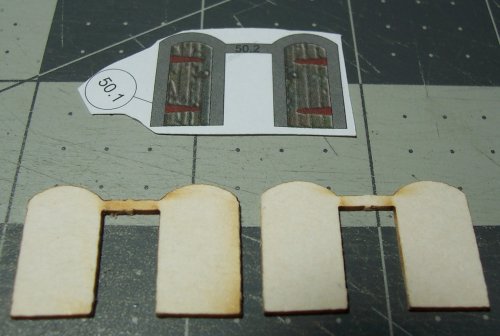
The doors for the main deck.
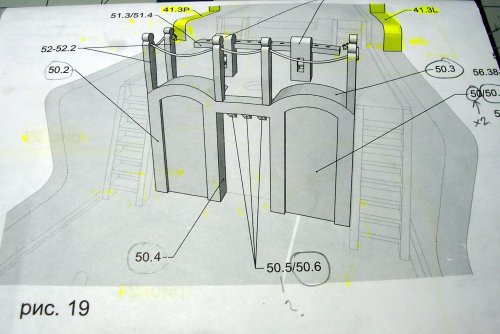
All of the parts needed for adding the doors to the ship.
I used a needle file with a small piece of "Blue Tack" stuff added to the tip. This seemed to work good for manipulating the tiny brass hinges.
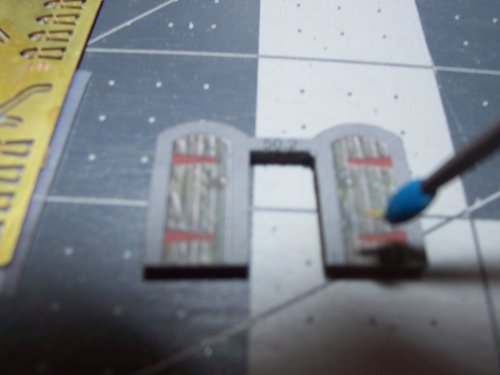
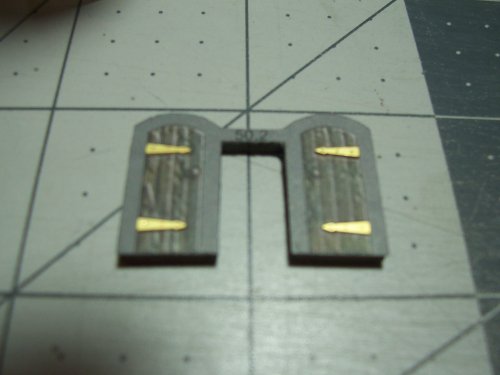
You can use super-glue to affix these brass hinges but I just used some Elmer's Extreme glue. It's not like anyone is going to swing open the doors!
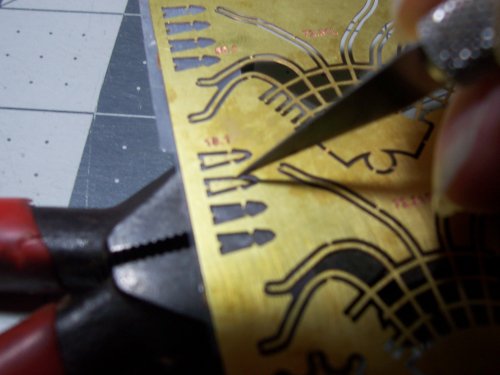
I used a new blade cutting on a hard metal surface (pair of heavy pliers). Just cut vertically down on the part from both sides. It cuts them free nice and clean and no filing is needed.
You might prefer to add these when its easier to get to the lower doors? I just used the technique with the needle file and Blue Tack to fit them. Not too difficult
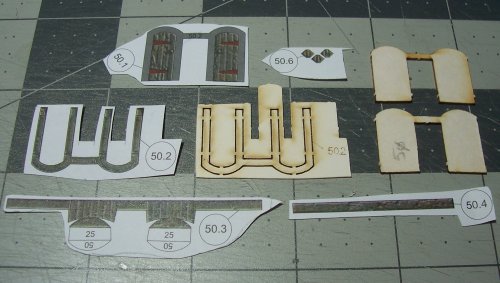
The door frame pieces.
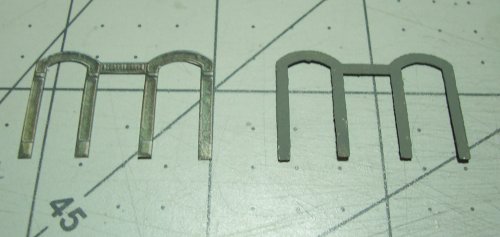
Kind of nice to look at , the door assembly as is!
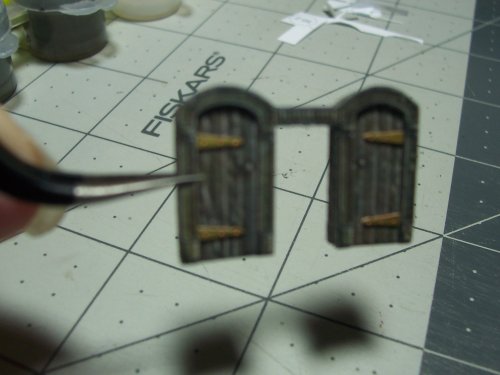
This is the upper door molding.
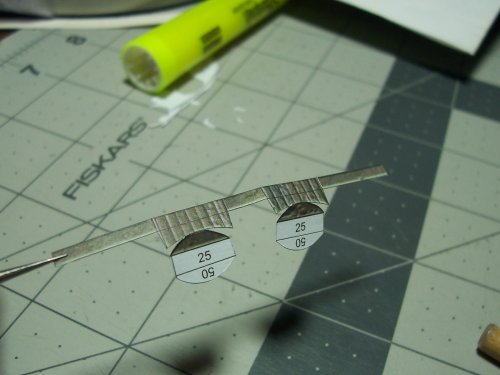
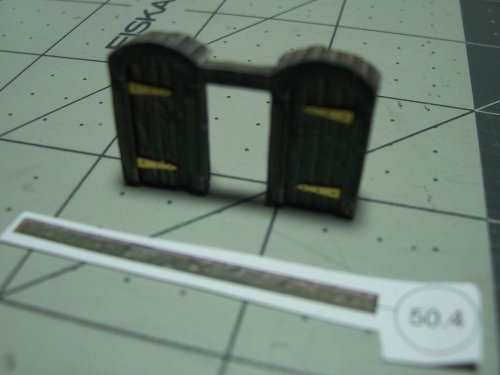
Now with the upper door molding in place! Also, the part # 50.4 that goes around the inside of the door frame.
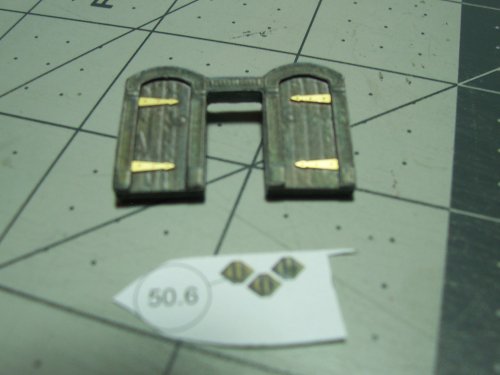
Almost finished, and ready to install to the vessel. Parts # 50.6 these are the tiny shaped pieces that decorate the upper inside frame of the doors.
These are super-tiny details!
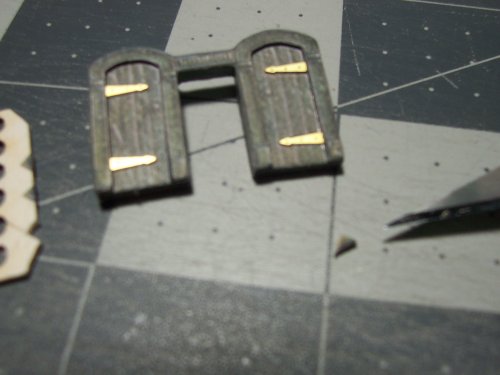
They add a little extra to the looks!

Doors assembly completed and installed to the ship! They look pretty good! Again, this model is built using the parts notation X.YY where in this case, the doors are part # 50, and each of the accompanying parts are 50.1 - 50.YY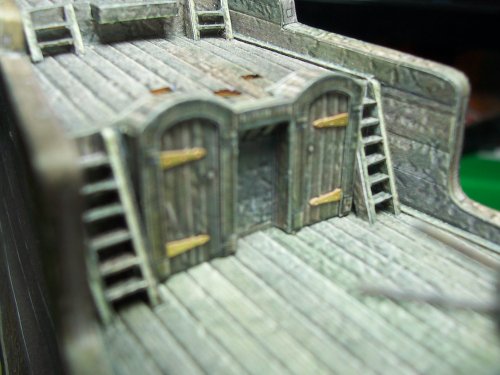
In this build text, I have included detail of the additional "Brass Etch Kit". I bought this as an optional add-on because mainly the lamps need to be bent into crazy shapes and need to stay-put.
Okay, so as mentioned, I had to make a larger version of the octopus. If anyone wants the modified parts that I have mentioned in the build, just let me know, and I will upload them to the Resources section of the site.

The finished top of the Capstan with updated octopus figure.

Capstan finished and ready to glue to the ship!

There it is! Another milestone! Capstan made and fitted!

Flying Dutchman Ghost Ship - Photo Etch Parts Kit
You don't have to use this kit, but I wanted to try and make the best version I could of this ship.

The doors for the main deck.

All of the parts needed for adding the doors to the ship.


I used a needle file with a small piece of "Blue Tack" stuff added to the tip. This seemed to work good for manipulating the tiny brass hinges.

You can use super-glue to affix these brass hinges but I just used some Elmer's Extreme glue. It's not like anyone is going to swing open the doors!


I used a new blade cutting on a hard metal surface (pair of heavy pliers). Just cut vertically down on the part from both sides. It cuts them free nice and clean and no filing is needed.

You might prefer to add these when its easier to get to the lower doors? I just used the technique with the needle file and Blue Tack to fit them. Not too difficult

The door frame pieces.

Kind of nice to look at , the door assembly as is!

This is the upper door molding.

Now with the upper door molding in place! Also, the part # 50.4 that goes around the inside of the door frame.

Almost finished, and ready to install to the vessel. Parts # 50.6 these are the tiny shaped pieces that decorate the upper inside frame of the doors.

These are super-tiny details!

They add a little extra to the looks!

Doors assembly completed and installed to the ship! They look pretty good! Again, this model is built using the parts notation X.YY where in this case, the doors are part # 50, and each of the accompanying parts are 50.1 - 50.YY

Okay, onwards, and upwards! Here is another one of the deck rigging hold-downs.
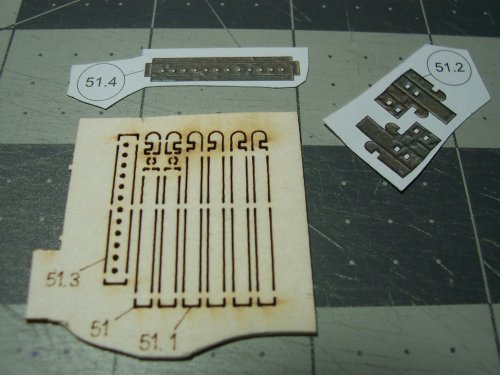
These parts fit together really well! No mods needed at all. I just used a little white glue in the end of a needle to run through each of the rigging holes to make it easier to thread the cord through.
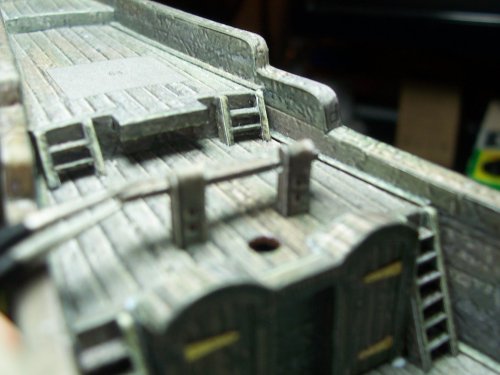
Another Milestone! Rigging and Roping for the Railings
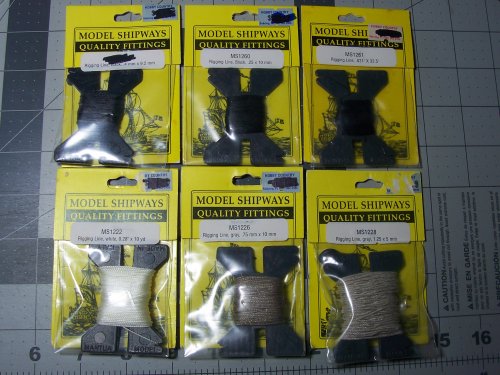
I decided to order a bunch of different size rigging threads according to the plans. I bought them as a set off eBay.
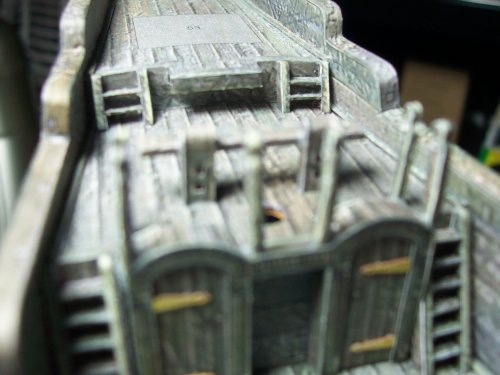
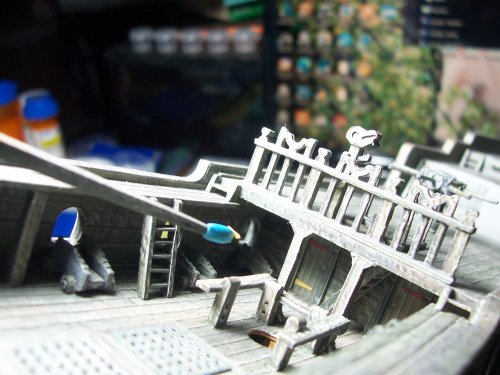
Here are the railings that go around the upper deck level around the tops of the doors.
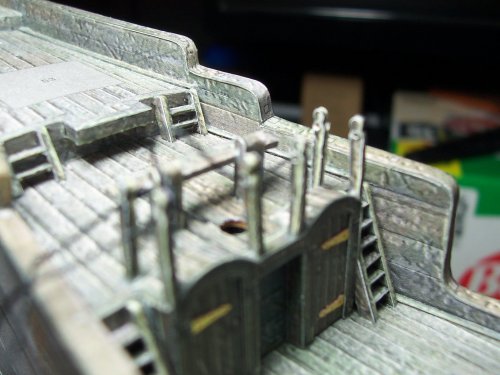
I used the thickest rigging thread I could feed through the holes in the railings. That was 0.4MM, black. I tied the ends as detailed on the plan. This is delicate work and take care not to destroy anything in the process :exploding_head:
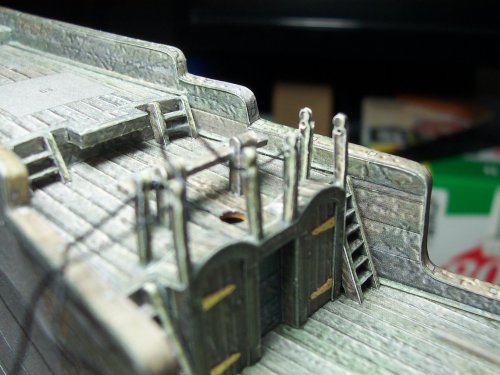
The thicker thread looks better, and hangs better too. I did knock a couple of the railings off, but they were simple to glue back again. Hey poop happens! :kick-ass:
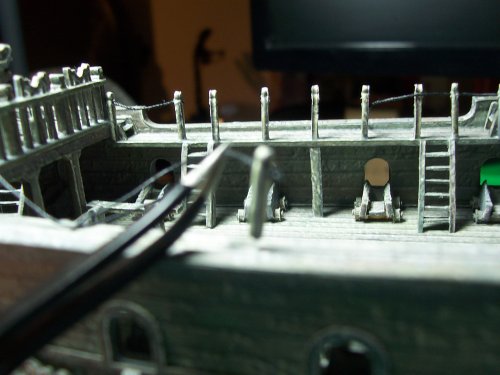
I painted the ropes same color as the rest of the ship. If the ship goes under the water, how long would the ropes stay nice and black? They would get all soggy with sea-creatures and plankton and all that good yucky stuff! I mean really, I guess the rigging would just deteriorate? But that would be no fun
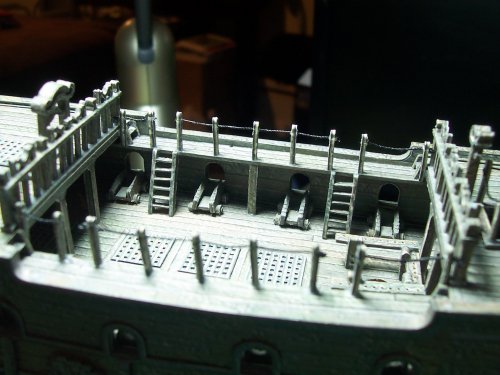
Milestone - Ships Wheel
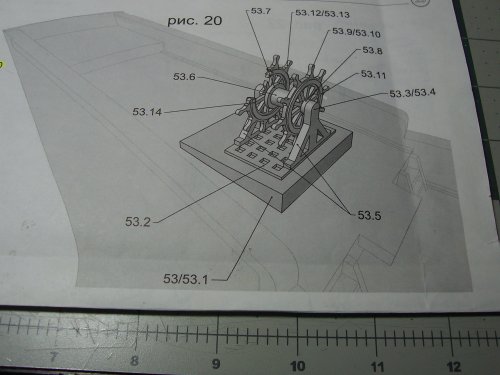
I've been looking forward to building this! Part # 53 and all it's smaller bits, 53.yy thru 53.zz
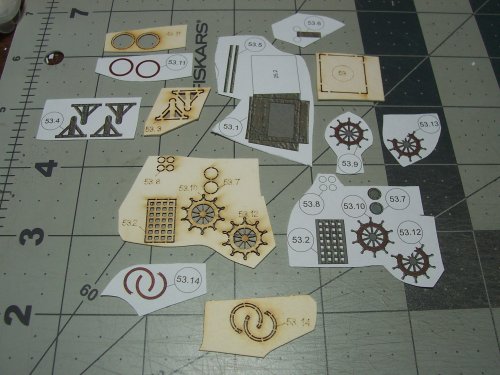
These are all the parts that are needed to build the ship's wheel.
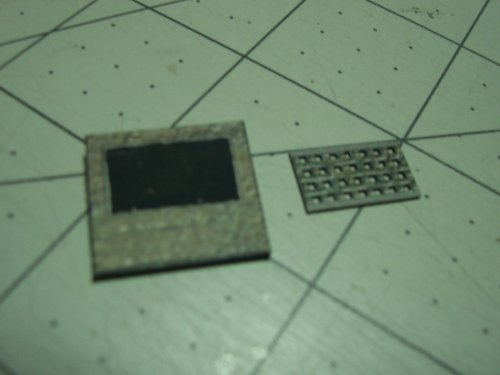
This is the base for the wheel.

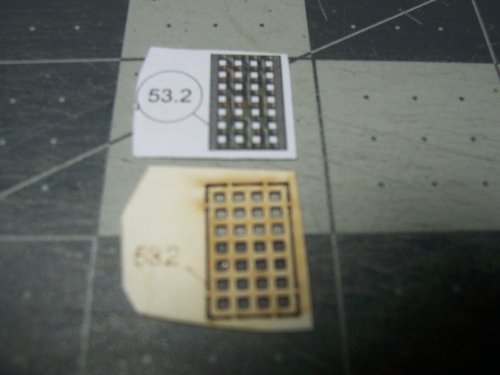
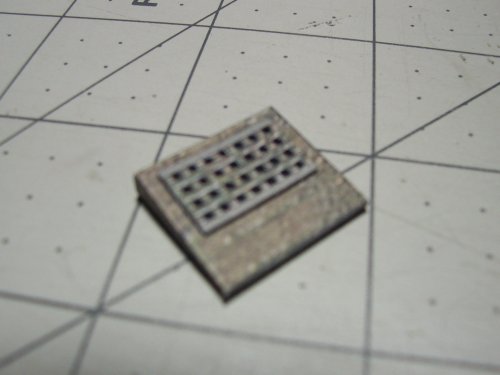
The grate that the wheel assembly sits on.
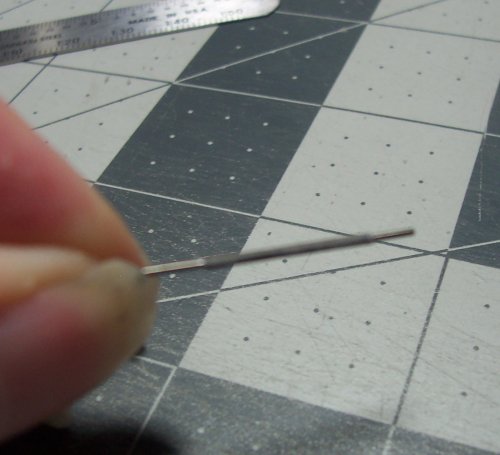
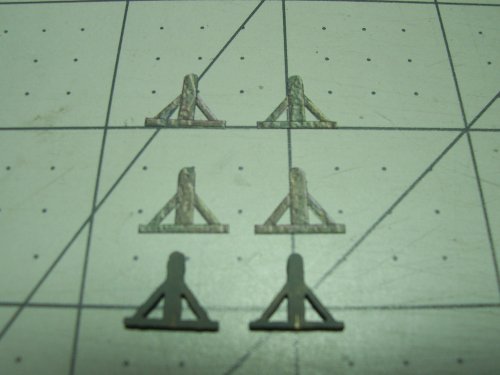
The side support brackets.
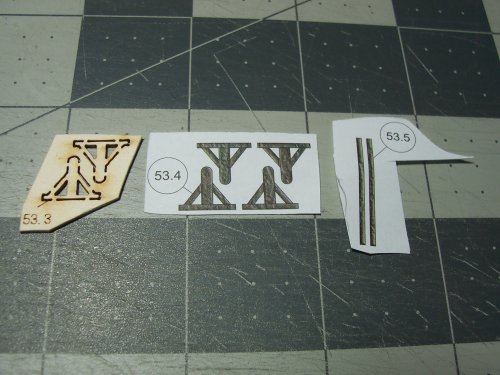
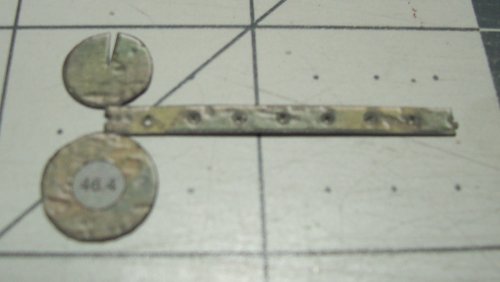
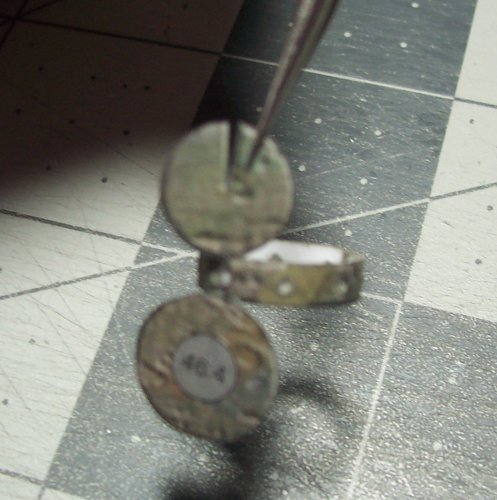
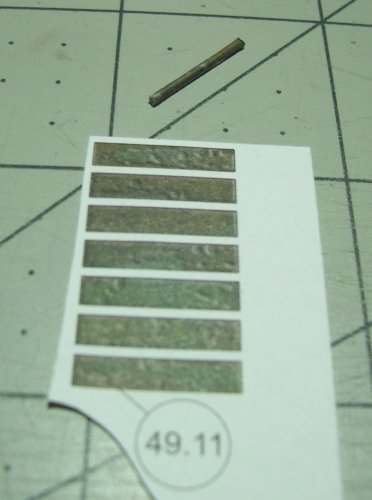
The card pieces for the wheel, and the color veneers.
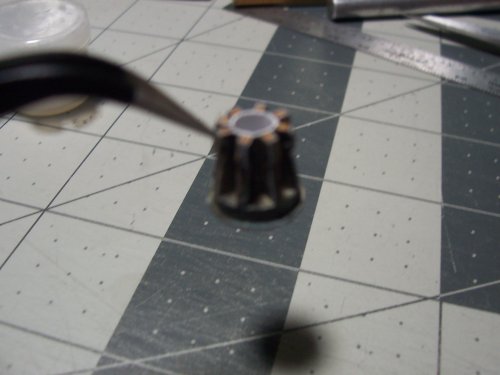
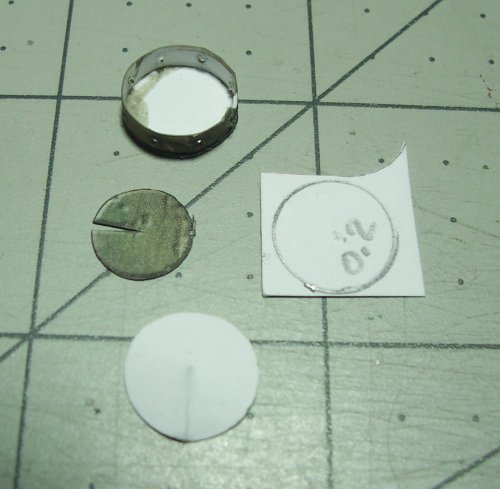
The center boss.
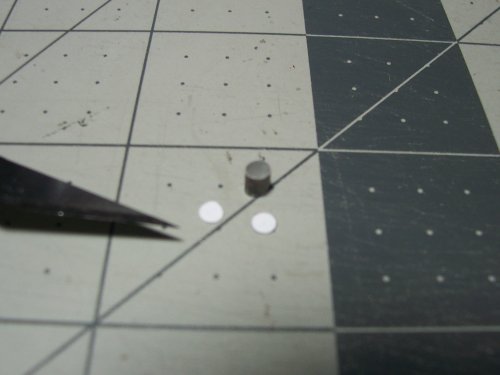
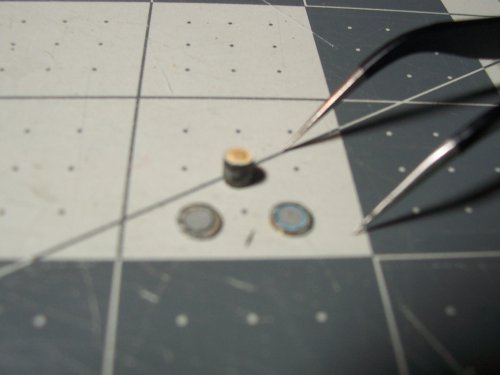
The boss end caps.
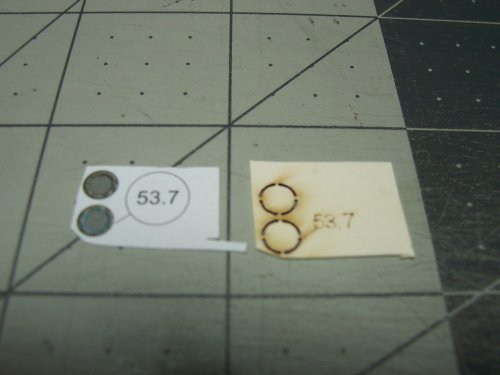
Pretty small again!
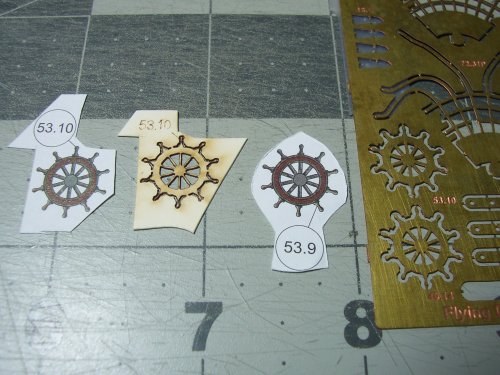
I used the brass etched parts 40.14 for the wheel assembly to give more strength for the tiny handles for the wheel. It's nice that the detail includes part of the one side of the wheel that is missing. This could be like from a cannon-ball that gave a hit.

These parts fit together really well! No mods needed at all. I just used a little white glue in the end of a needle to run through each of the rigging holes to make it easier to thread the cord through.

Another Milestone! Rigging and Roping for the Railings
I decided to order a bunch of different size rigging threads according to the plans. I bought them as a set off eBay.


Here are the railings that go around the upper deck level around the tops of the doors.

I used the thickest rigging thread I could feed through the holes in the railings. That was 0.4MM, black. I tied the ends as detailed on the plan. This is delicate work and take care not to destroy anything in the process :exploding_head:

The thicker thread looks better, and hangs better too. I did knock a couple of the railings off, but they were simple to glue back again. Hey poop happens! :kick-ass:

I painted the ropes same color as the rest of the ship. If the ship goes under the water, how long would the ropes stay nice and black? They would get all soggy with sea-creatures and plankton and all that good yucky stuff! I mean really, I guess the rigging would just deteriorate? But that would be no fun

Milestone - Ships Wheel
I've been looking forward to building this! Part # 53 and all it's smaller bits, 53.yy thru 53.zz

These are all the parts that are needed to build the ship's wheel.

This is the base for the wheel.

The grate that the wheel assembly sits on.


The side support brackets.

The card pieces for the wheel, and the color veneers.


The center boss.

The boss end caps.

Pretty small again!

I used the brass etched parts 40.14 for the wheel assembly to give more strength for the tiny handles for the wheel. It's nice that the detail includes part of the one side of the wheel that is missing. This could be like from a cannon-ball that gave a hit.

Thank you kind sir!Looking Awesome so far! Great work!


 Ooo my this looks realy great

