"Flying Dutchman" - Ghost Ship - OREL Russian Paper Model Build
- Thread starter mtrappett
- Start date
You are using an out of date browser. It may not display this or other websites correctly.
You should upgrade or use an alternative browser.
You should upgrade or use an alternative browser.
Thank you Micah! It does add some nice details like the hinges for the doors, and the ship's wheel. I bought it mainly though for the lamps at the back of the ship so they will keep their shape.OMG... You're even using photoetch? Last time I used photoetch, I had more pieces scattered around the room, than on the model.
Looking incredible.
Hope your new year is going well my friend?
I have been working on this Flying Dutchman project constantly. I would say that this is going to be pretty epic when finished. I have learned such a lot so far, and it has helped sharpen some of the required skills needed for paper/card modelling. This would definitely not be a good model to start you modelling adventures with! That is for SURE!! I would say build some simple models first, like 1 or 2 page models. Then eventually, build several of UHU02s models. This model would possibly put you off building for life! 

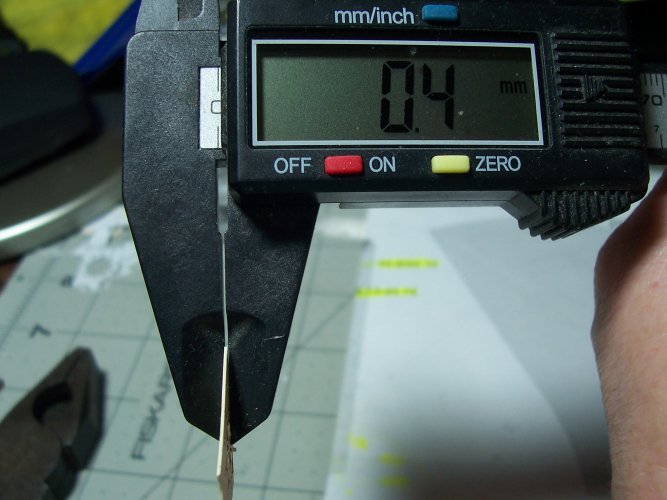
That being said, the model is a super-challenge! I feel that its providing me a mountain of opportunities and I really love the design of the real ship. Below, the thickness of the card for the optional laser-cut parts for the main wheel, is 0.4mm.
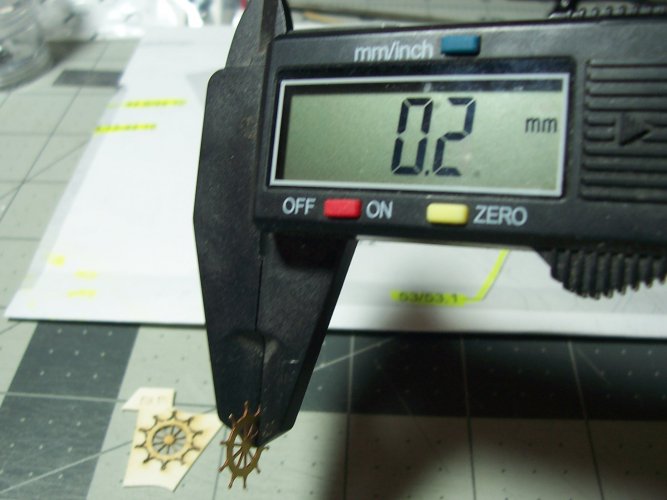
This is the thickness of the photo-etched version of the ship's wheel, 0.2mm. They have supplied 2 pieces for the etched version, so I guess the idea is to join them together, even though there are no instructions provided to tell you what to do with them? I just joined them with Elmer's Extreme glue... super-glue seems a bit over the top for this, but its up to you
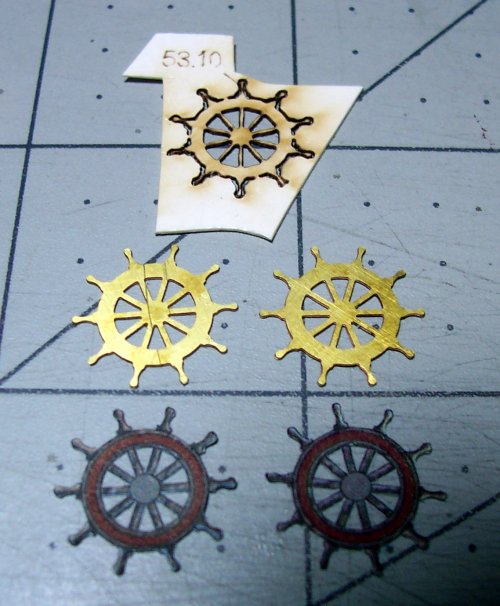
Bothe version of the wheel... the card and brass. My money is on the photo-etched brass! The card version is way too weak on the grabbing-handles.
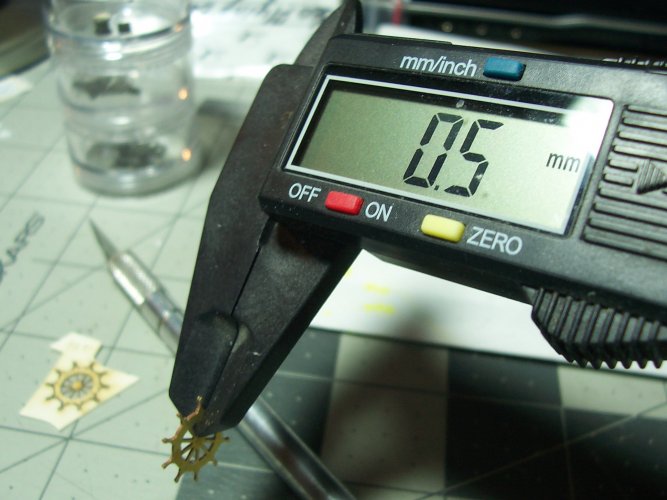
Both of the brass parts glued together makes it a little thicker at 0.5mm because of the glue thickness, but +0.1mm is not too much of a tolerance, and will be acceptable.
Refer to PNC 20 to see all of the parts for the wheel. Cut out these small parts.
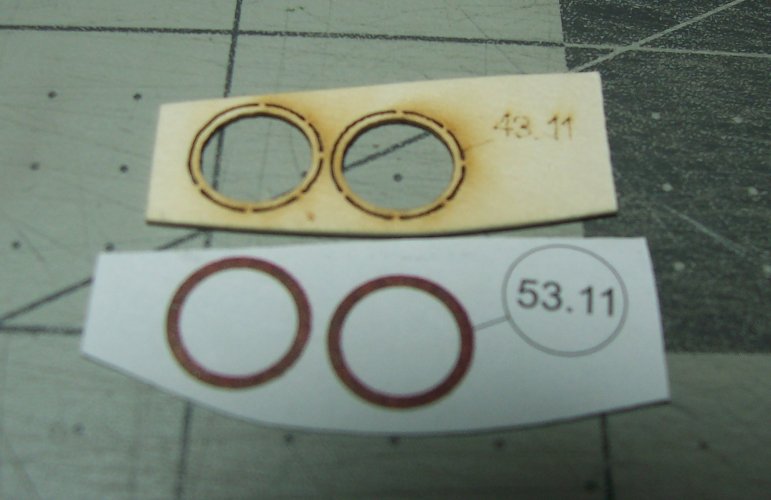
Delicate cutting needed again for these.
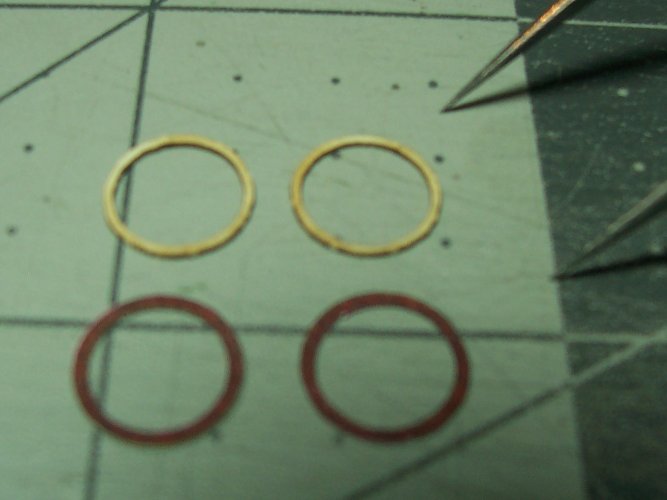
The "wooden" rings in place. Adds some nice detail!
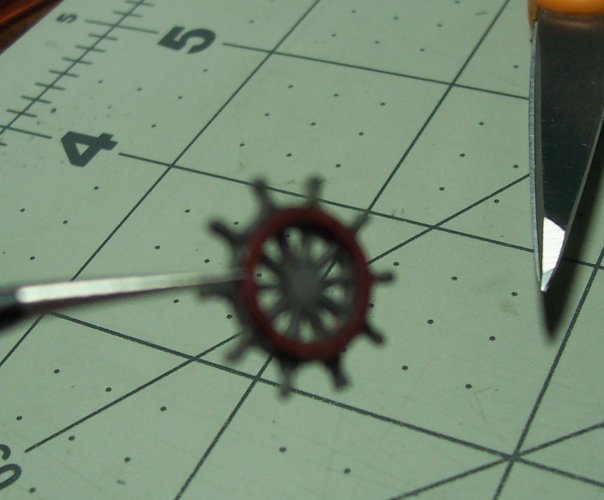
The other side of the wheel is handled in the same way. Brass, 15.12, & 15.13 are glued together. This is cut away to mimic damage to the ship's wheel.
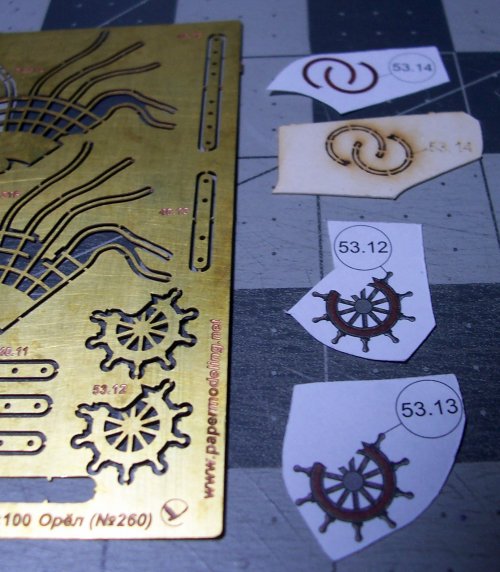
The color veneer's or skins, are very intricate and you will need new blades for cutting these out.
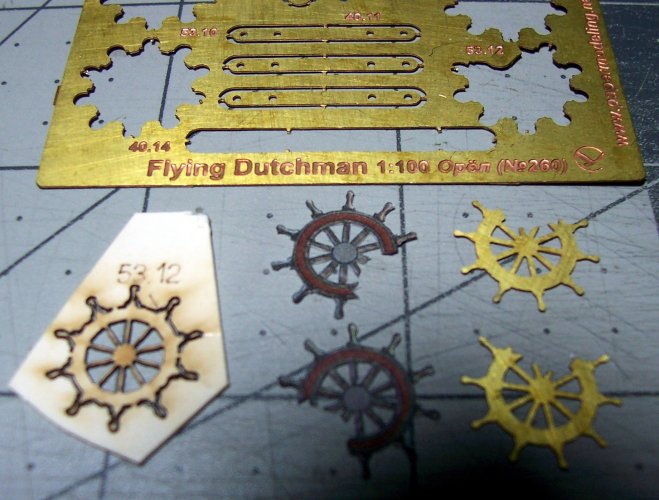
Here, I'm gluing the color skins to the wheel.
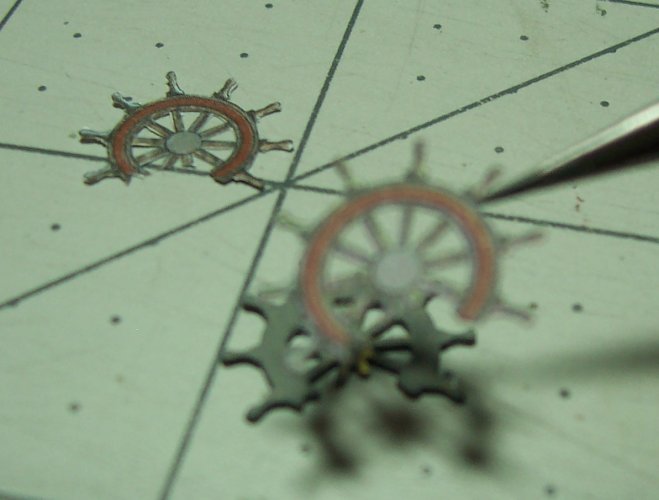
The center, wooden rings to match the other side.
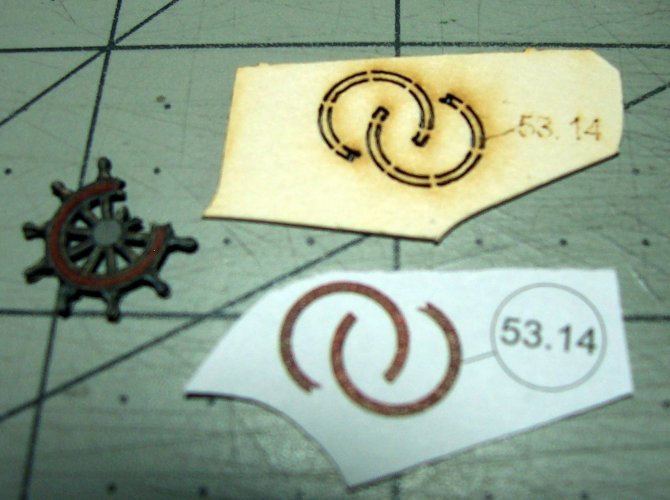
Here the rings are ready to be glued.
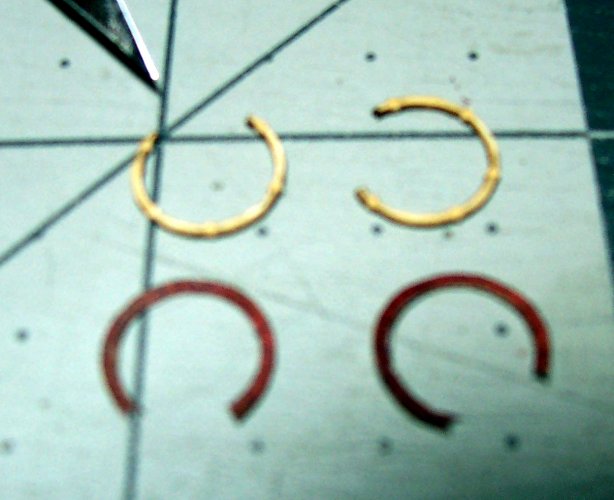
The center boss for the wheel.
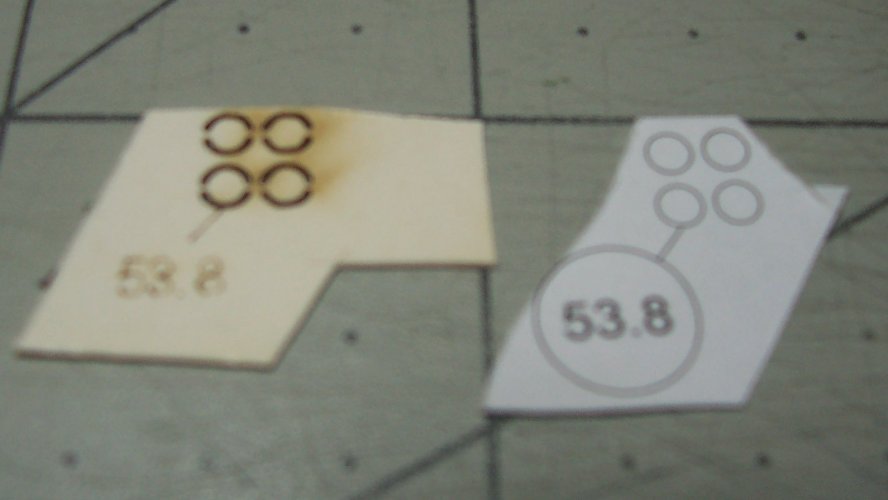
The main parts for the ship's wheel. The 2 sides, and the center boss.
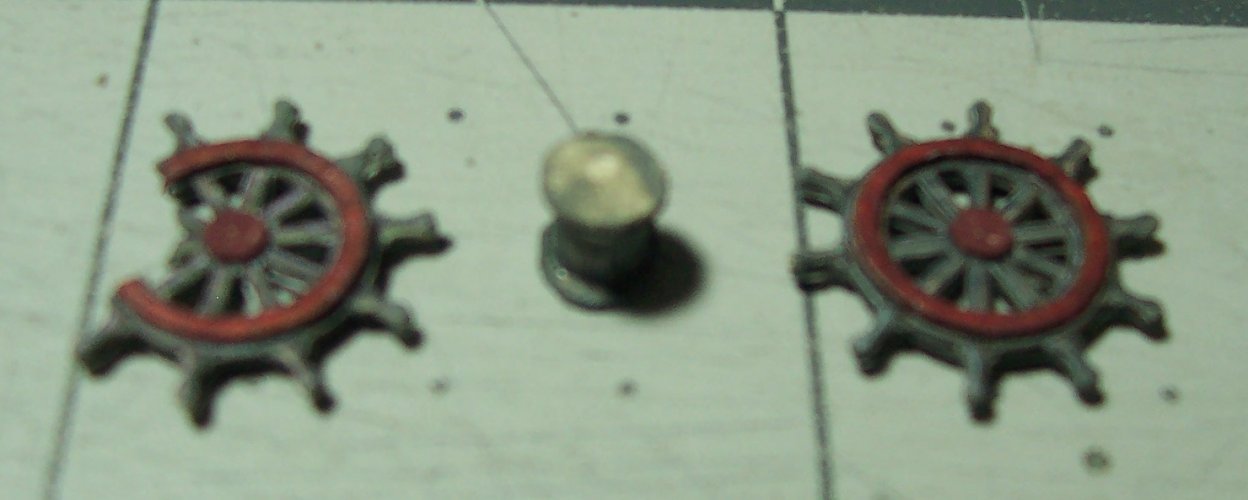
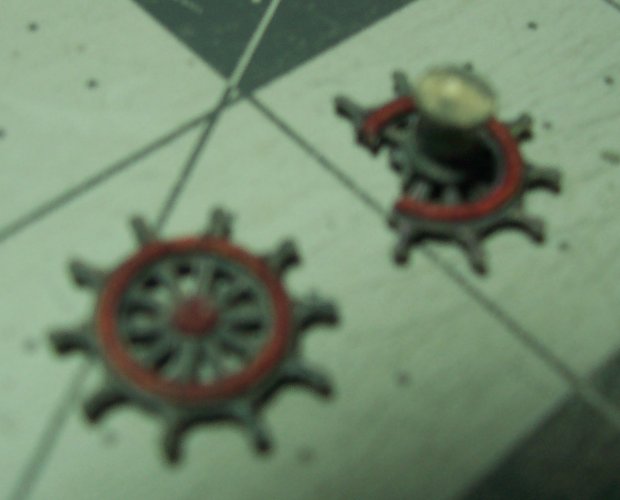
First, glue the center in place on one of the sides.
This is the bracket that will hold the complete wheel.
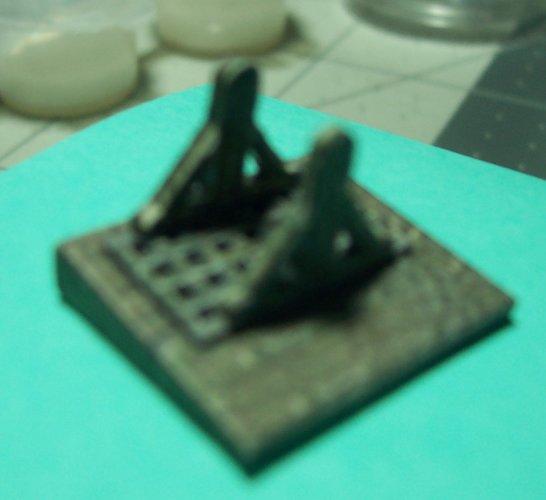
The brackets sit atop the grating. Note the angle when you glue these in place, and don't get them the wrong way around!
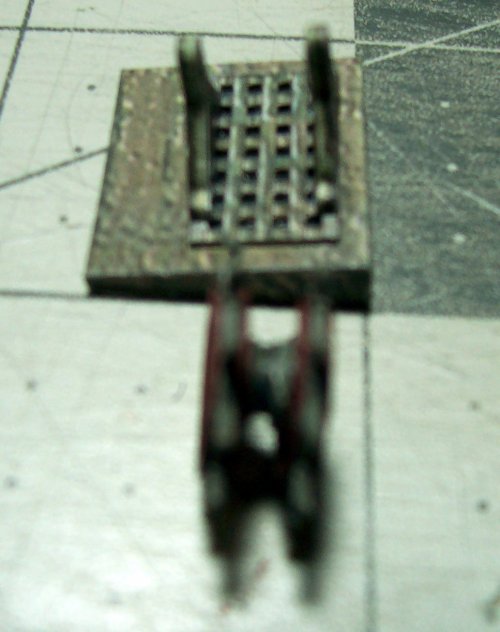
I decided to add the "rope" that is would around the center. It looked like it should be there to me? This is what would reach down into the ship for operating the steering blade (rudder).
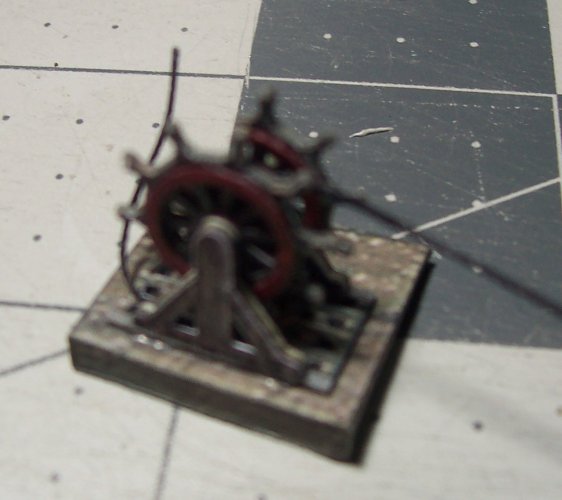
The completed ship's wheel glued into place! I'm pretty happy with it! There's a lot of work, but worth the effort I think!

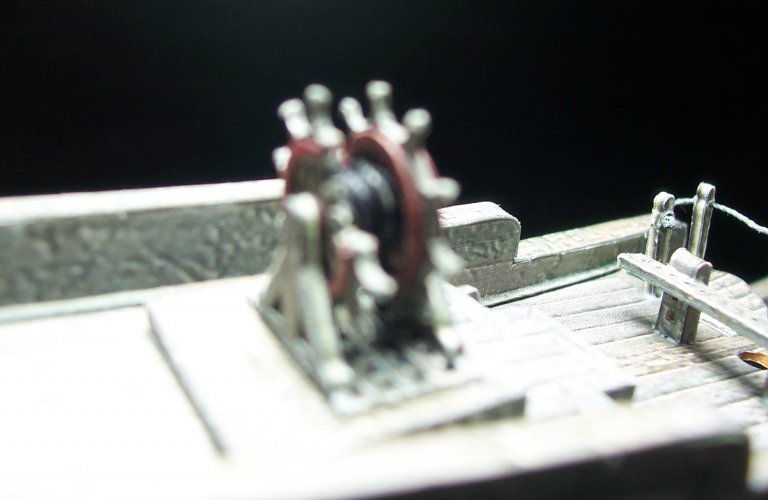
Another view of the wheel. You can make out the wound thread and I just drilled 2 tiny holes for the two sides of the rope to go down below decks.


That being said, the model is a super-challenge! I feel that its providing me a mountain of opportunities and I really love the design of the real ship. Below, the thickness of the card for the optional laser-cut parts for the main wheel, is 0.4mm.

This is the thickness of the photo-etched version of the ship's wheel, 0.2mm. They have supplied 2 pieces for the etched version, so I guess the idea is to join them together, even though there are no instructions provided to tell you what to do with them? I just joined them with Elmer's Extreme glue... super-glue seems a bit over the top for this, but its up to you


Bothe version of the wheel... the card and brass. My money is on the photo-etched brass! The card version is way too weak on the grabbing-handles.

Both of the brass parts glued together makes it a little thicker at 0.5mm because of the glue thickness, but +0.1mm is not too much of a tolerance, and will be acceptable.

Refer to PNC 20 to see all of the parts for the wheel. Cut out these small parts.

Delicate cutting needed again for these.

The "wooden" rings in place. Adds some nice detail!

The other side of the wheel is handled in the same way. Brass, 15.12, & 15.13 are glued together. This is cut away to mimic damage to the ship's wheel.

The color veneer's or skins, are very intricate and you will need new blades for cutting these out.

Here, I'm gluing the color skins to the wheel.

The center, wooden rings to match the other side.

Here the rings are ready to be glued.

The center boss for the wheel.

The main parts for the ship's wheel. The 2 sides, and the center boss.

First, glue the center in place on one of the sides.

This is the bracket that will hold the complete wheel.

The brackets sit atop the grating. Note the angle when you glue these in place, and don't get them the wrong way around!


I decided to add the "rope" that is would around the center. It looked like it should be there to me? This is what would reach down into the ship for operating the steering blade (rudder).

The completed ship's wheel glued into place! I'm pretty happy with it! There's a lot of work, but worth the effort I think!

Another view of the wheel. You can make out the wound thread and I just drilled 2 tiny holes for the two sides of the rope to go down below decks.

The plans are starting to look "very" well worn! I have to use a highlighter to mark of the progress as I go along otherwise it gets almost impossible to keep a track on it all! I would say that this is a great time to use every available organizing skill that you have learned to build this ship.
Front Deck Installation - Part # 54.xy
This is, for better words, the small front deck that goes around the area by the chaser cannons. I sure wouldn't want to be standing there when the cannons were fired :exploding_head:
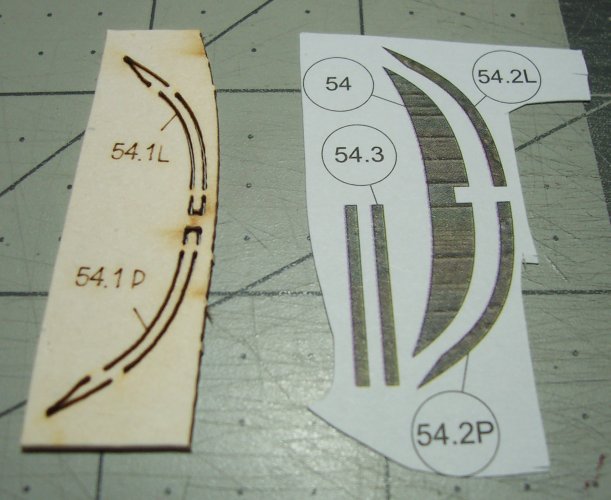
This is where the deck parts need to go. It is tight to get in there! I did have to trim the deck to fit properly.
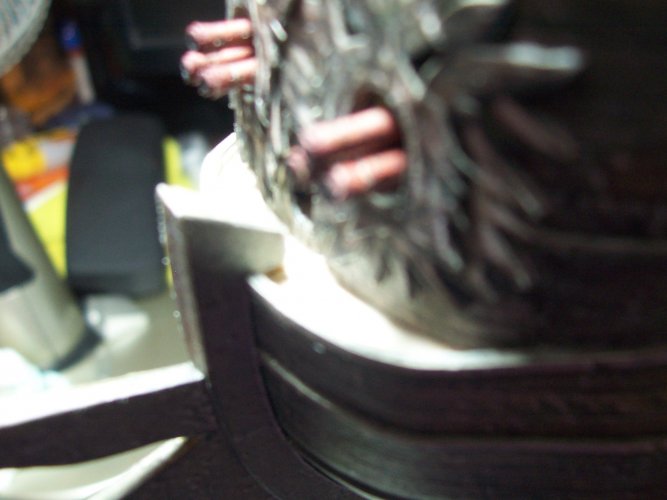
I was thinking the deck could be fitted earlier, but I just followed the instructions.
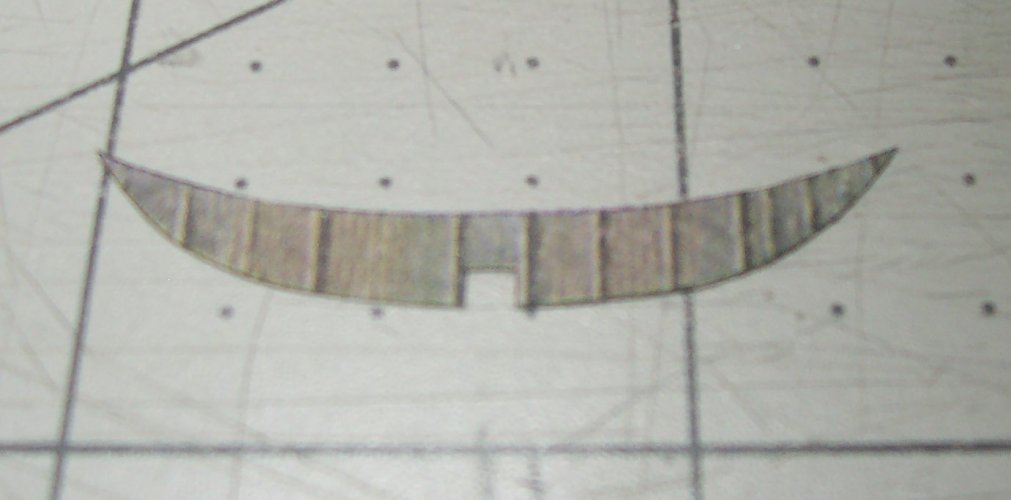
Using my trusty tweezers to install the deck. Make sure to test fit, trim, repeat until it fits nicely.
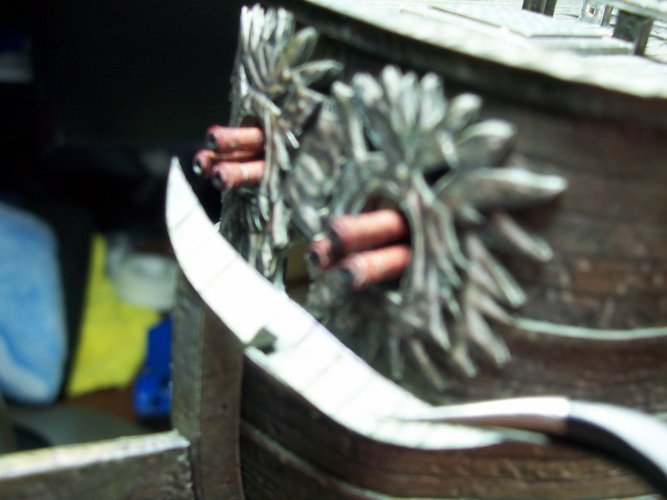
Parts # 54.1L and 54.1P go around the upper-edge of the deck area. They finish it off the nicely!
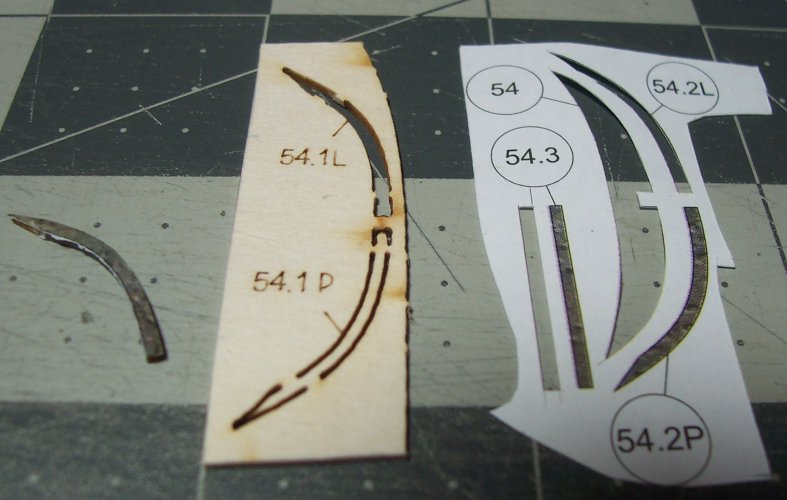
Take your time with these. Mine didn't need any modifications.
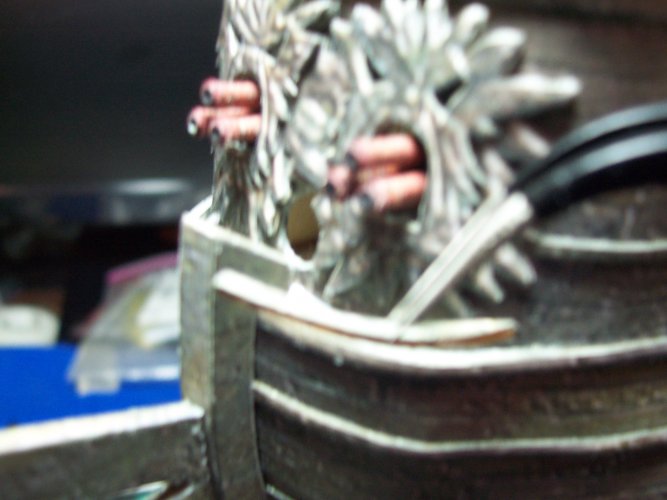
The fully installed front deck parts #54. By the way, there are no diagrams that show these parts being installed. These pictures should help immensely!
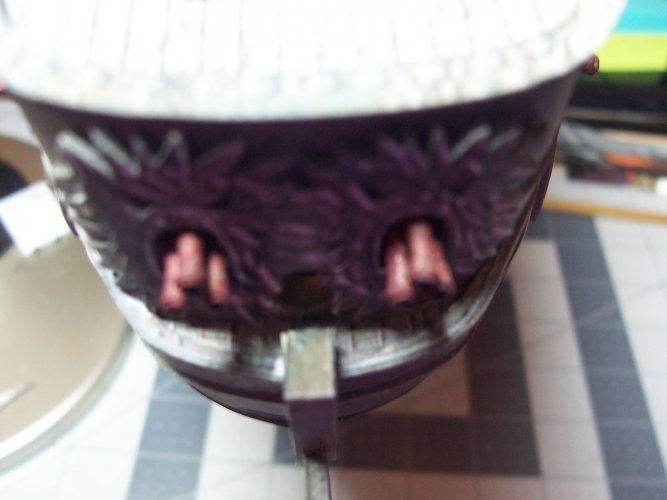
Dropping Davits - Parts 56.xy
These dropping davits part numbers in the range of 56, are quite nicely detailed although as yet, I'm not sure of their purpose? I think they may be used to drop and raise the anchors?

Here are all the parts for both dropping davits.
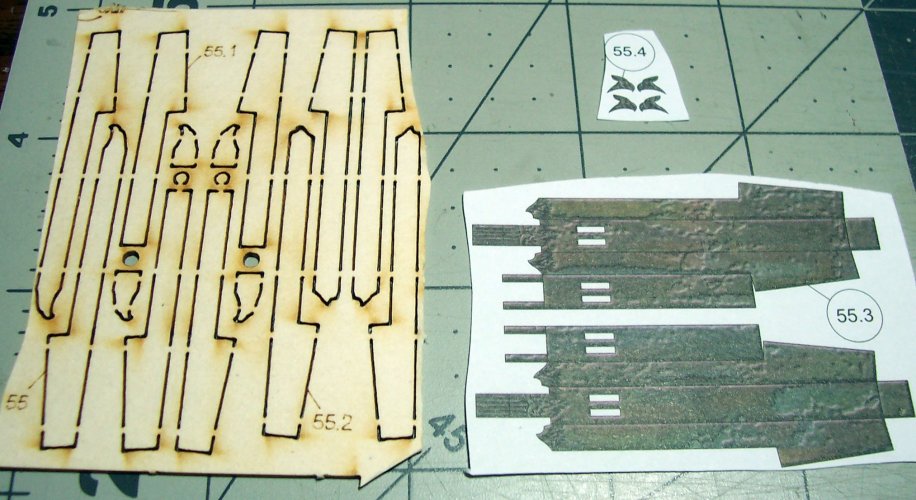
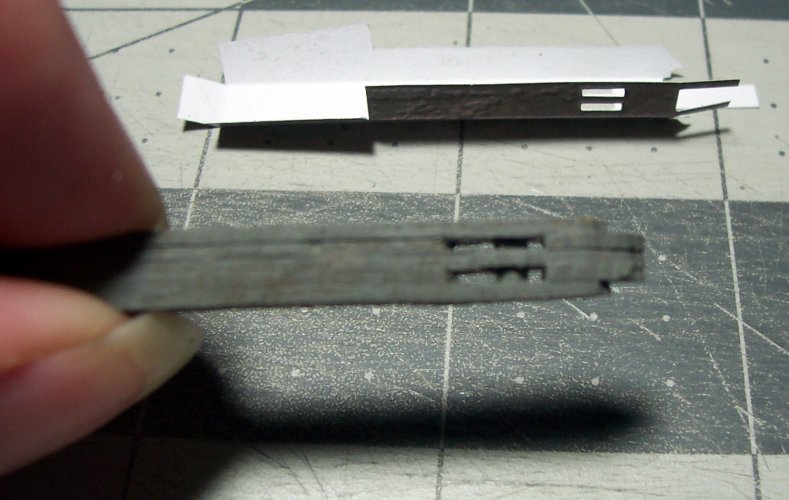
I found it a good idea to mark the pieces once they were removed. The diagrams do not show how these are laminated together, and they are different to other similar parts on the ship. Look at the photos carefully to avoid anger issues if assembled incorrectly

Score the lines where needed and remove the square pieces from the parts before removing them for the paper.
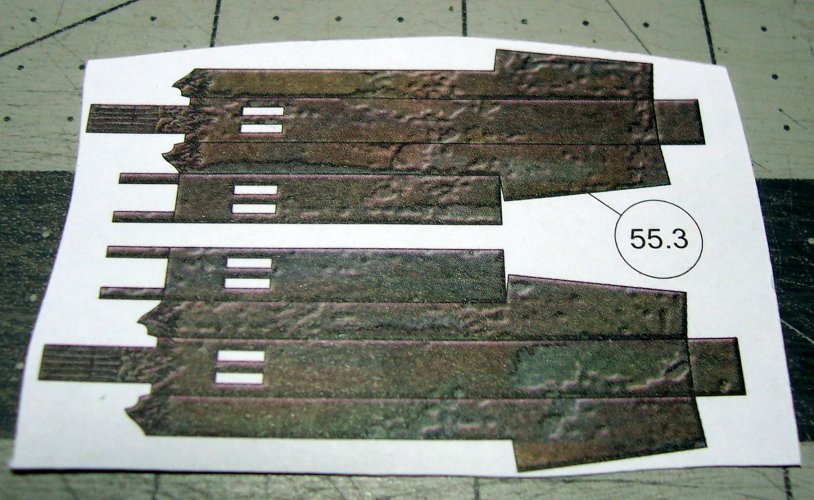
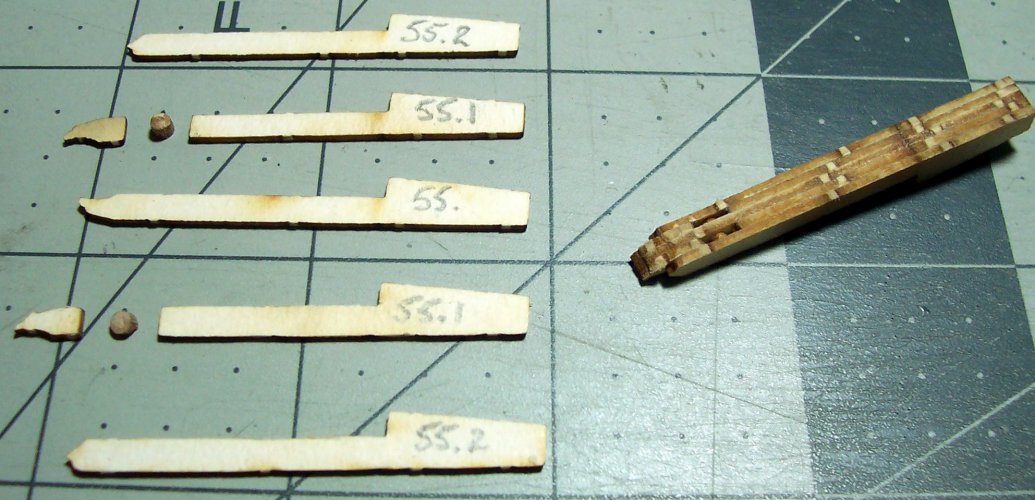
The laminating order is not intuitive, so test fit the parts first of all before gluing anything! These are all the card parts needed and cut out ready!
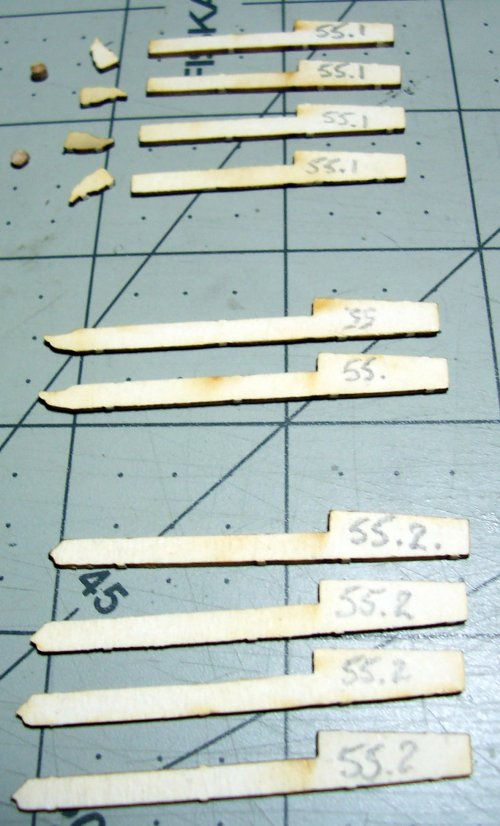
Step 1.

Step 2.

Step 3. The one on the right has been successfully pieced together.
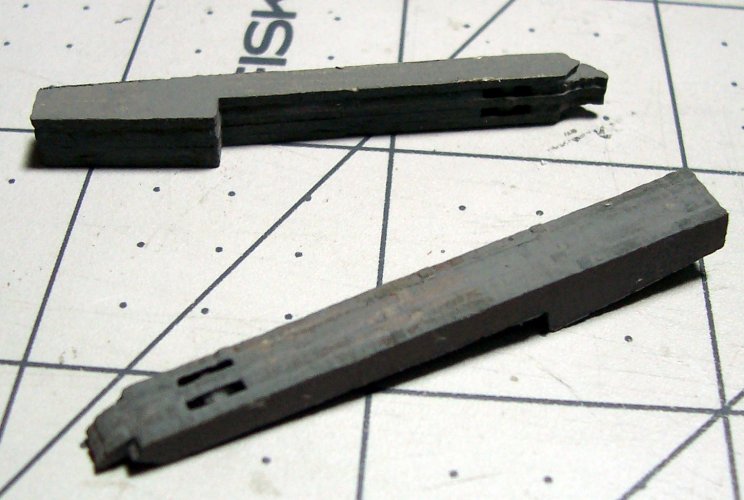
I usually paint the pieces prior to skinning them. This helps seal the card, and stops the glue from soaking in to the material to quickly. It also offers a little extra strength and stop de-lamination when working on the parts.
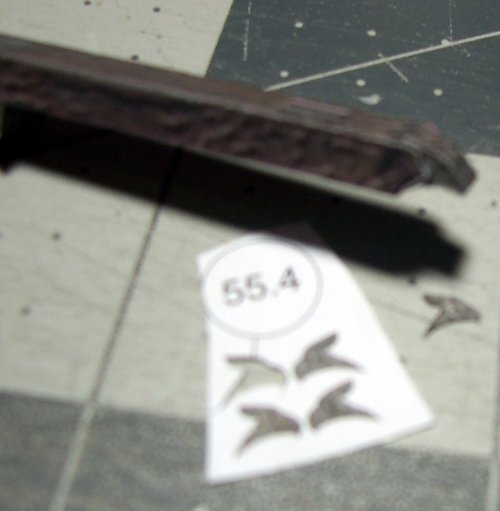
Each of the ends of the dropping davits have a crow or raven head. I really like this attention to detail even though it makes it all so very intricate. Parts 55.4 are the bird's heads.
Skinning of the main bodies. The slots allow for the ropes to pass, or thread in our case.
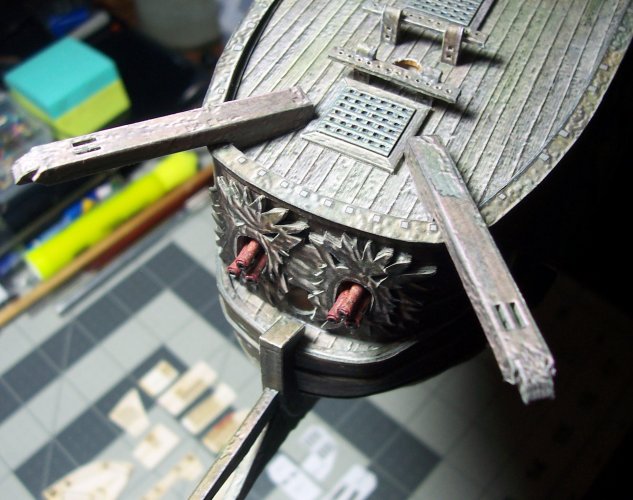
Both of the dropping-davits installed on the ship. There are no positional guides, so check the diagrams carefully and test, test, test fit before using any glue! You can see the front deck parts fitted in the picture better too!
Ships Railings
These are the parts you have all been waiting for... the ship's main deck railings These are super-intricate and you will need many new blades, and eye-balls! I worked on the these and found it takes about 2-weeks per-side. I just take my time, and be very methodical and organized because, well, these are pretty complicated!
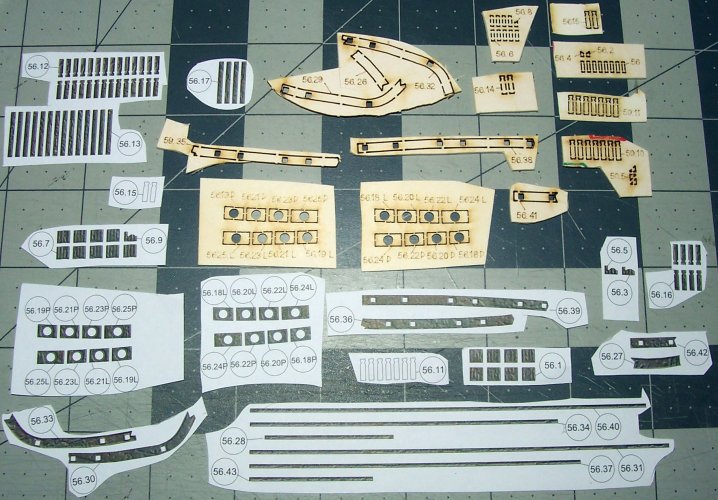
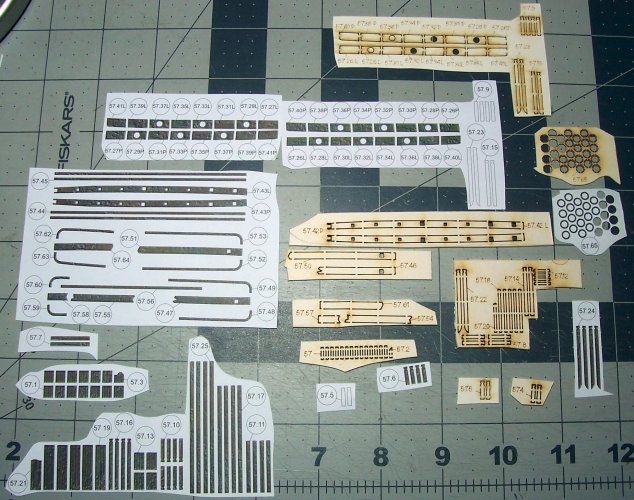
Here's are the parts for the side railings. They are scattered across many of the sheets of parts. That is another initial part of the assembly process... locating the parts! This takes a lot of patience, and believe me, they are all there, unless I make any special mention of something otherwise. Good luck on your mission!
Front Deck Installation - Part # 54.xy
This is, for better words, the small front deck that goes around the area by the chaser cannons. I sure wouldn't want to be standing there when the cannons were fired :exploding_head:

This is where the deck parts need to go. It is tight to get in there! I did have to trim the deck to fit properly.

I was thinking the deck could be fitted earlier, but I just followed the instructions.

Using my trusty tweezers to install the deck. Make sure to test fit, trim, repeat until it fits nicely.

Parts # 54.1L and 54.1P go around the upper-edge of the deck area. They finish it off the nicely!

Take your time with these. Mine didn't need any modifications.

The fully installed front deck parts #54. By the way, there are no diagrams that show these parts being installed. These pictures should help immensely!

Dropping Davits - Parts 56.xy
These dropping davits part numbers in the range of 56, are quite nicely detailed although as yet, I'm not sure of their purpose? I think they may be used to drop and raise the anchors?

Here are all the parts for both dropping davits.

I found it a good idea to mark the pieces once they were removed. The diagrams do not show how these are laminated together, and they are different to other similar parts on the ship. Look at the photos carefully to avoid anger issues if assembled incorrectly


Score the lines where needed and remove the square pieces from the parts before removing them for the paper.

The laminating order is not intuitive, so test fit the parts first of all before gluing anything! These are all the card parts needed and cut out ready!

Step 1.

Step 2.

Step 3. The one on the right has been successfully pieced together.

I usually paint the pieces prior to skinning them. This helps seal the card, and stops the glue from soaking in to the material to quickly. It also offers a little extra strength and stop de-lamination when working on the parts.

Each of the ends of the dropping davits have a crow or raven head. I really like this attention to detail even though it makes it all so very intricate. Parts 55.4 are the bird's heads.

Skinning of the main bodies. The slots allow for the ropes to pass, or thread in our case.

Both of the dropping-davits installed on the ship. There are no positional guides, so check the diagrams carefully and test, test, test fit before using any glue! You can see the front deck parts fitted in the picture better too!

Ships Railings
These are the parts you have all been waiting for... the ship's main deck railings
 These are super-intricate and you will need many new blades, and eye-balls! I worked on the these and found it takes about 2-weeks per-side. I just take my time, and be very methodical and organized because, well, these are pretty complicated!
 Here's are the parts for the side railings. They are scattered across many of the sheets of parts. That is another initial part of the assembly process... locating the parts! This takes a lot of patience, and believe me, they are all there, unless I make any special mention of something otherwise. Good luck on your mission!


Glad you like the details! I honestly have never worked on a model with this much amount of detail.It lloks verry nice all those details.
Thanks again!
Mark
You are always very kind Micah! I tend to get lost working on this model. I think it's devouring me bit-by-bitGreat work, that ships wheel looks AWESOME!!!
 My wife says that I must be certifiable when she looks at the tiny parts, in this case, the wheel
 Ship's Railings Continued
Here is the diagram for some of the ship's railings at the bow.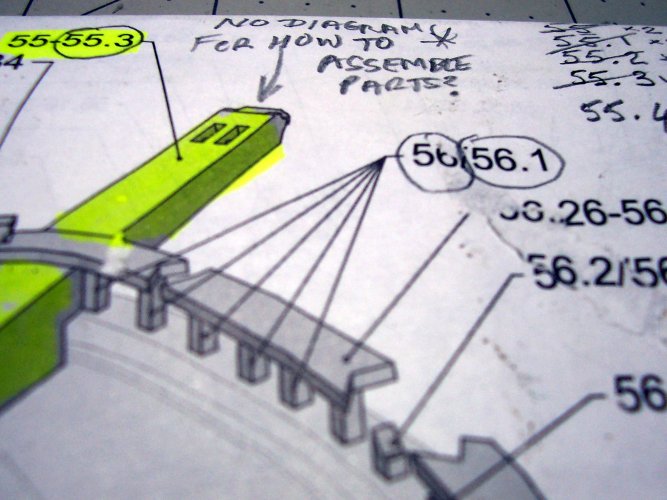
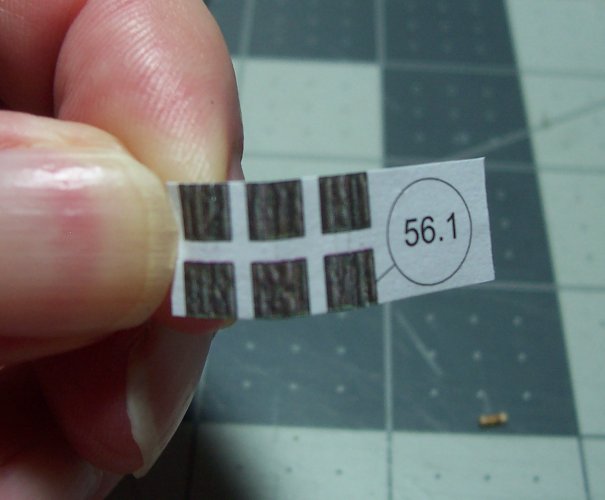
The actual railings themselves are VERY small. They are encapsulated in a paper skin that provides strength, and color.

You can see tiny these are. One of the railings is laying on the cutting board.
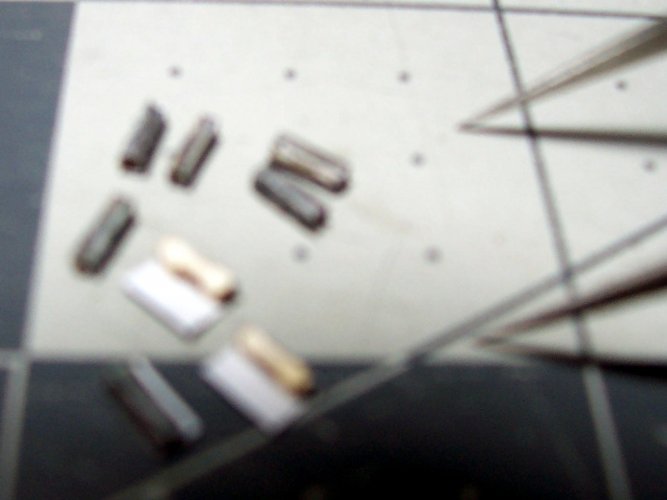
The front railings under construction. You will find your own technique for these but it will likely consist of using a needle to apply the glue. The glue also needs to be thinned a bit also.
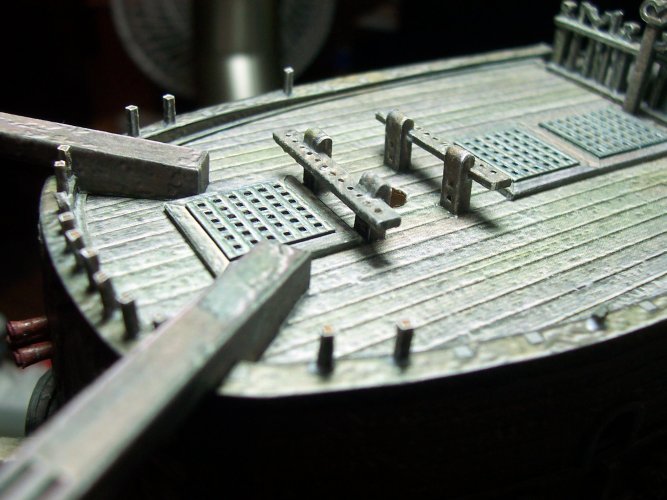
Intricate. The vertical railings go around the bow. I used tweezers to place them and ran a glue-gusset around each of the bases for strength. There are a couple of "broken" railings provided too. One can be seen on the left side of the ship. I like to keep the seams of the paper on the side furthest away.
There are a LOT of these railings. Each railing consists of 4 pieces. It adds some additional size to the part too! You can see a completed and raw part below side-by-side.
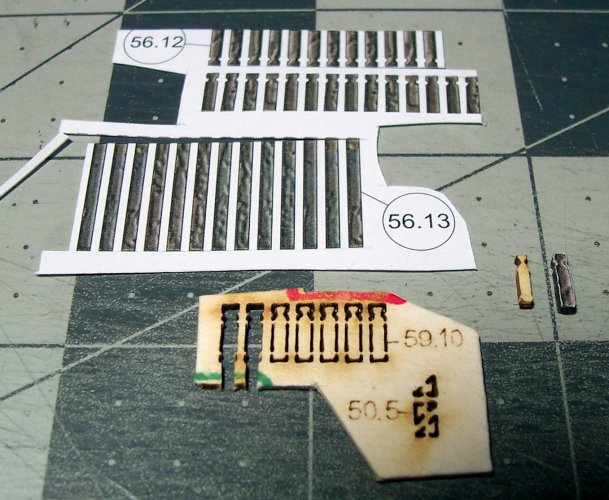
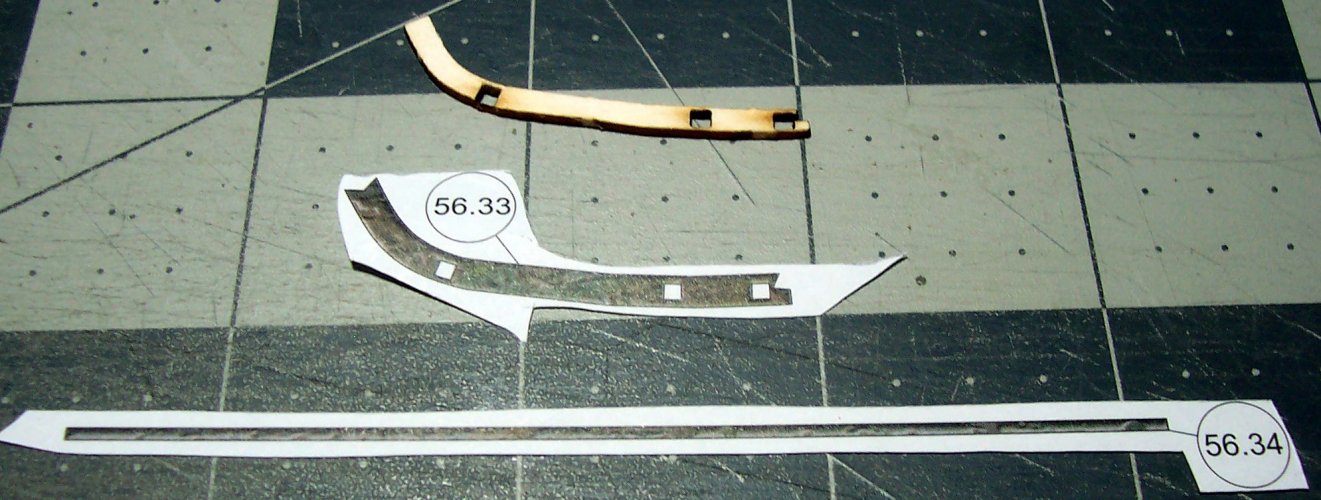
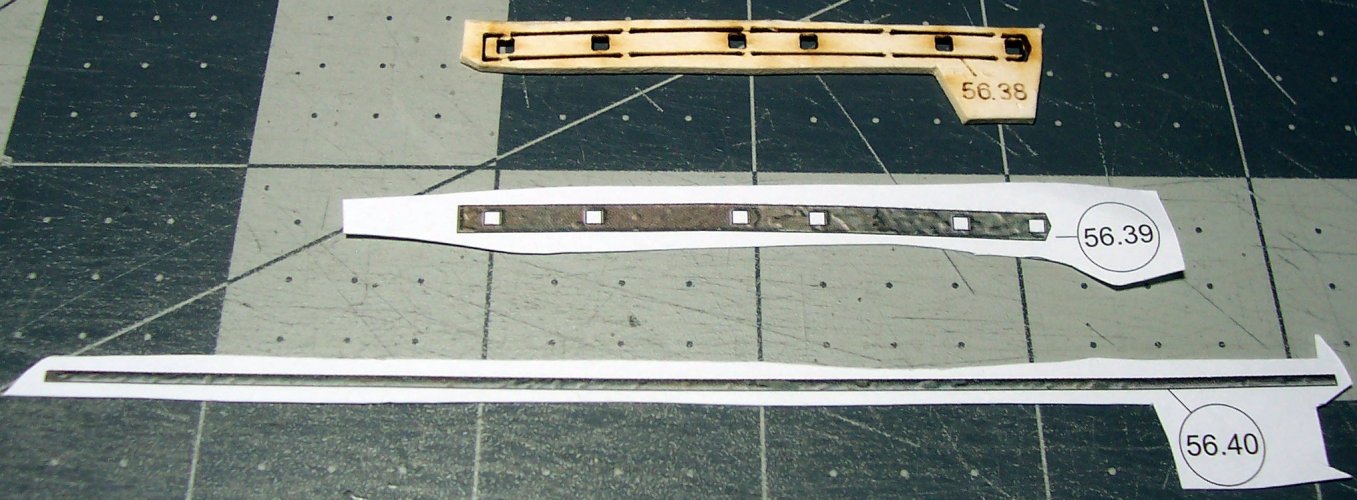
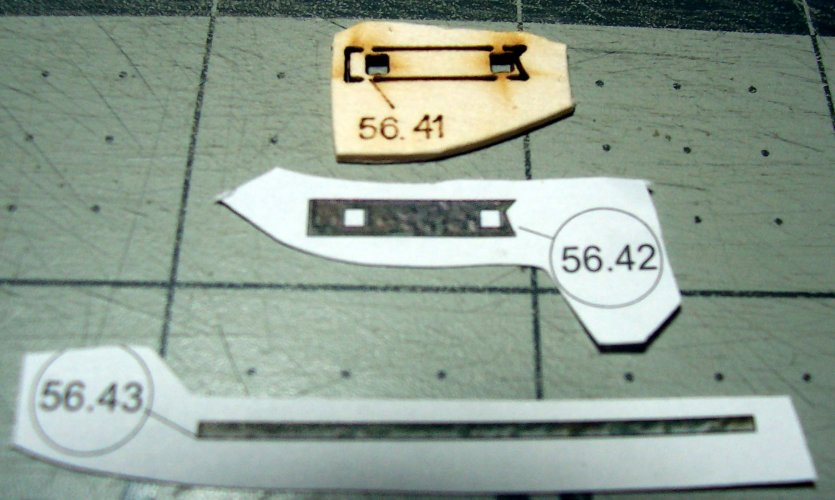
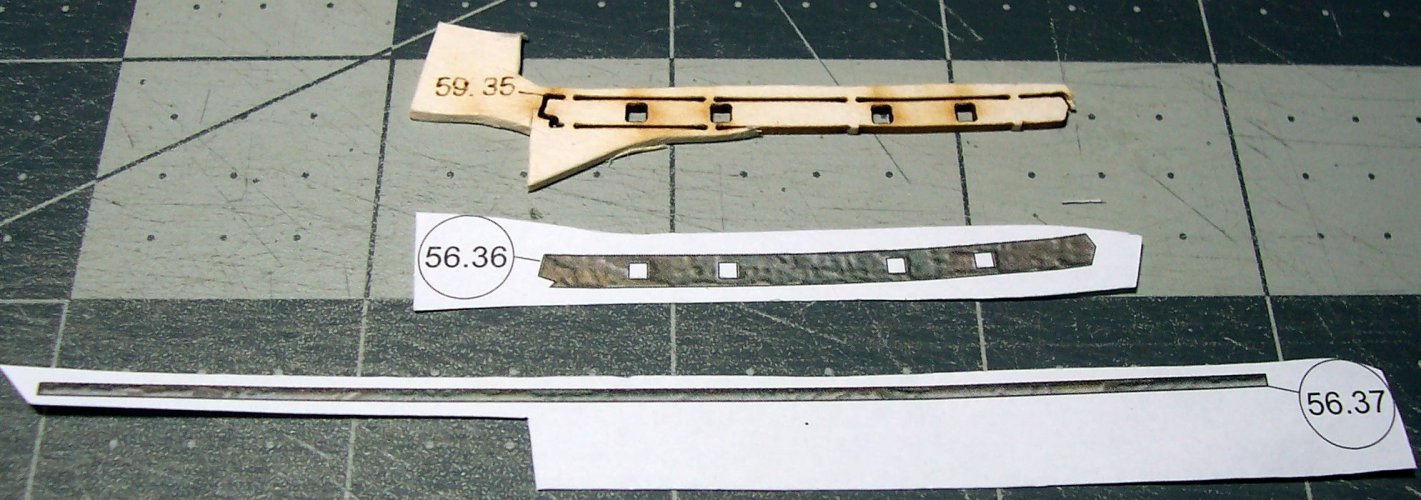
Typically, I will show the parts that make up the piece like this railing top plank.
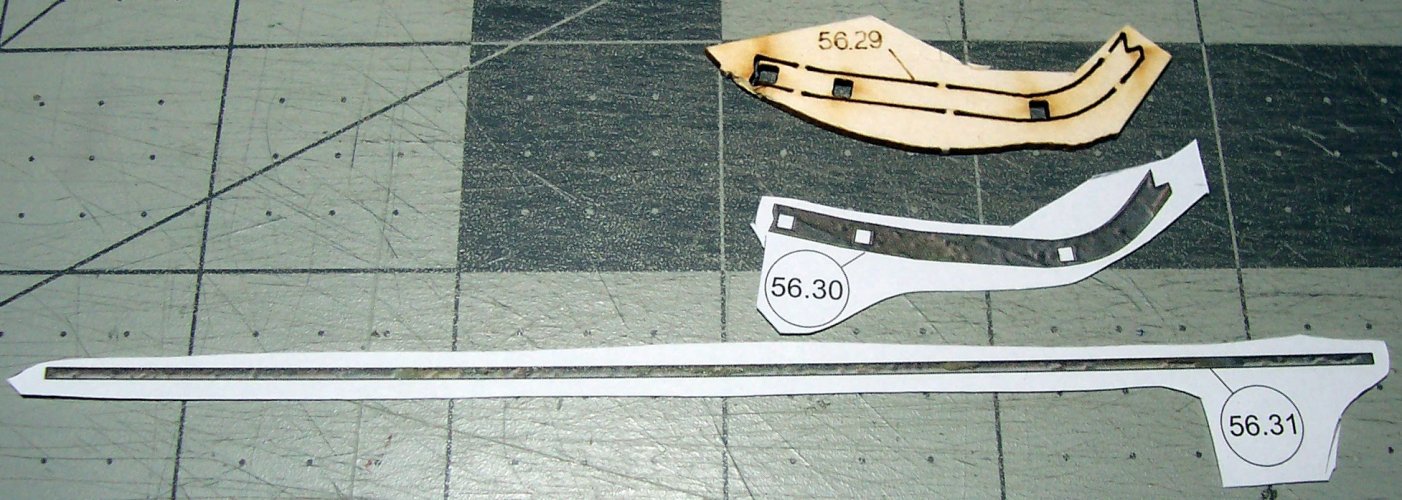
A close up on the card part. It will be necessary to open up the square holes to allow the railing to pass through without any pressure. This is "DIFFICULT"! I used a square needle file but avoid too much pressure as you WILL destroy the part! I also used a blade to help the process along. The sides for where the railing passes through, is extremely thin!
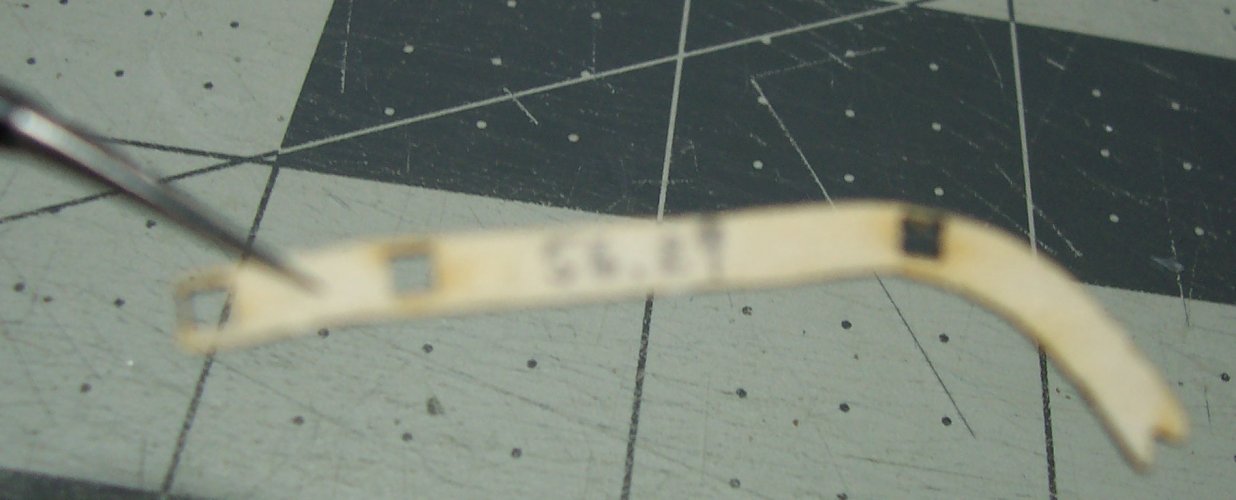
Once the paper veneer is applied to the part, it strengthens it a bit. I also paint them first to help keep it from de-laminating.

Here's a wonderful opportunity to practice the art of cutting tiny circles from the paper. There are 3 parts to each plate, and a left and right side, so again, organize them well! I also found it much better to tackle one piece at a time rather than trying some technique of doing all of one process at once. In other words, just build one part at a time! Keep it simple!
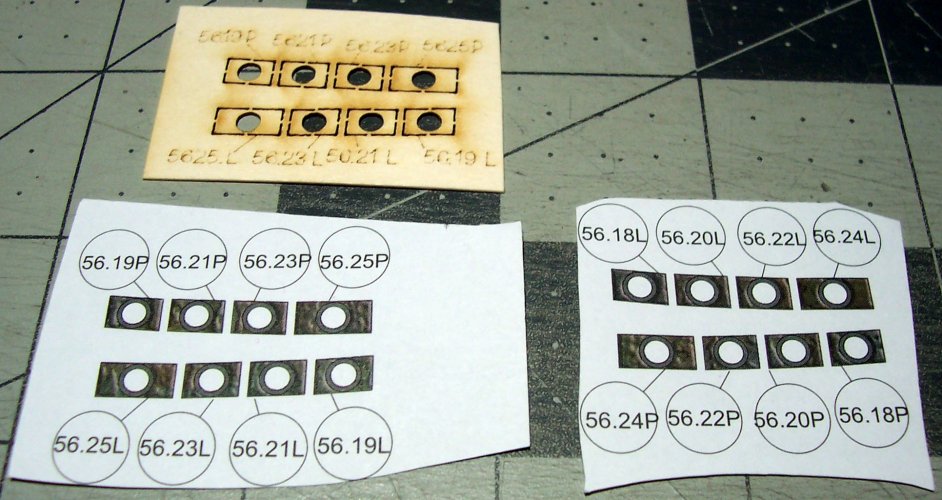
These are a challenge too! They go around the cannon ports on the main deck. There is also a railing assembly here. Avoid gluing until it is essential.
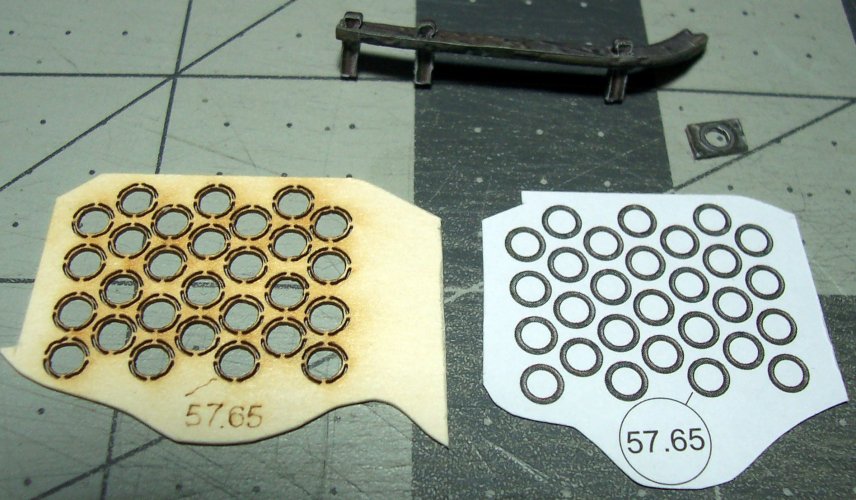
Another railing top plank for the other side of the ship.
Both side rails in place with the cannon ports.
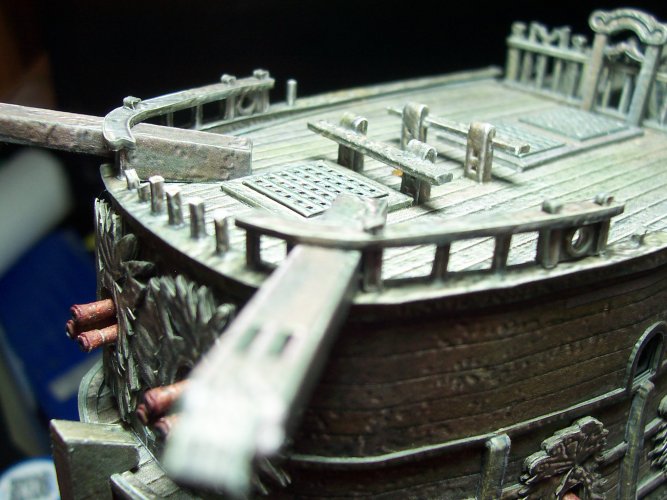
Some of the rail tops are purposely shown as "broken" which adds to the authenticity. I could imagine a cannon-ball smashing through the wooden planks in a nasty skirmish!
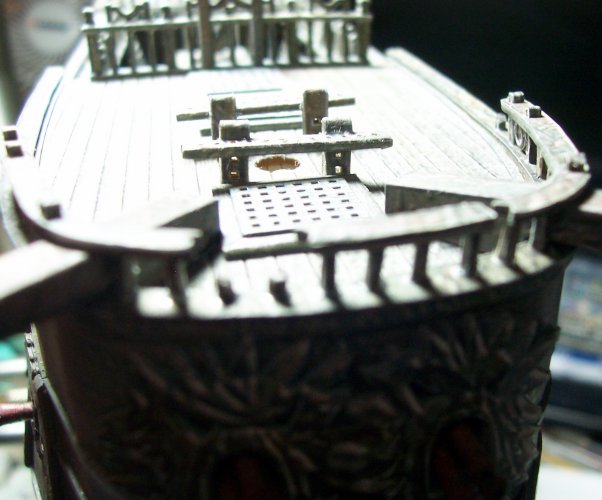
The piece that goes around the front of the bow. It's very surprising how much this strengthens the model!
This is one of the long sections that runs along the side of the main deck.
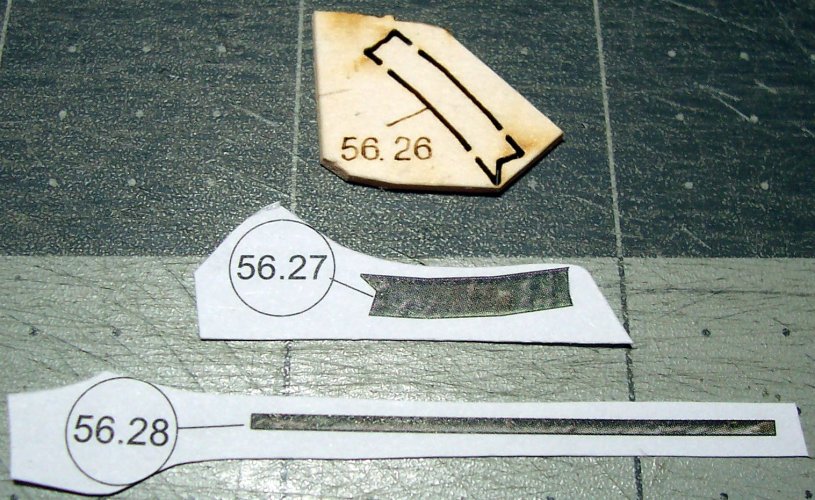
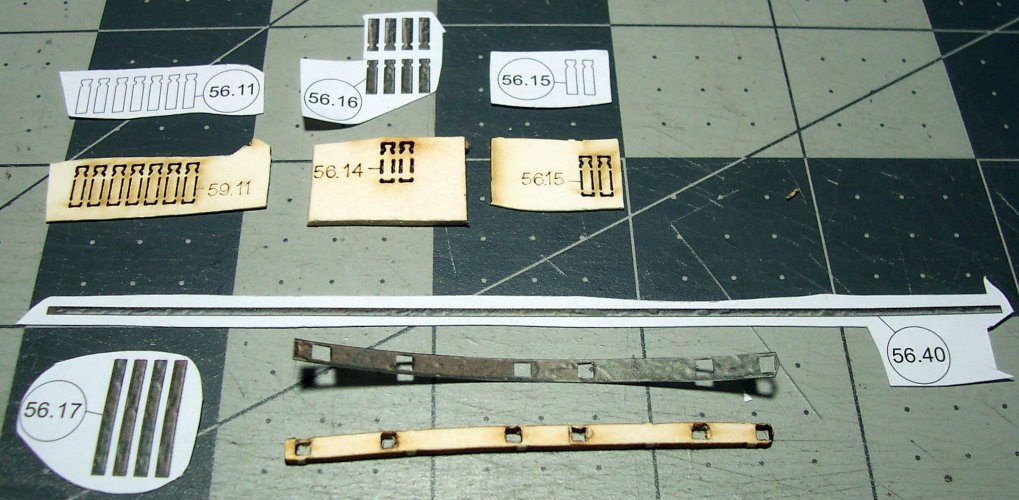
The parts 56.11 and 56.15 are also used to strengthen the railings, although they do add some additional width to them. This causes more work opening the square holes for them to slide into. I can't stress how delicate you must be when opening up those holes.
The side rail semi-complete. I also like to paint the edges of the paper to disguise any possible suggestion of paper.
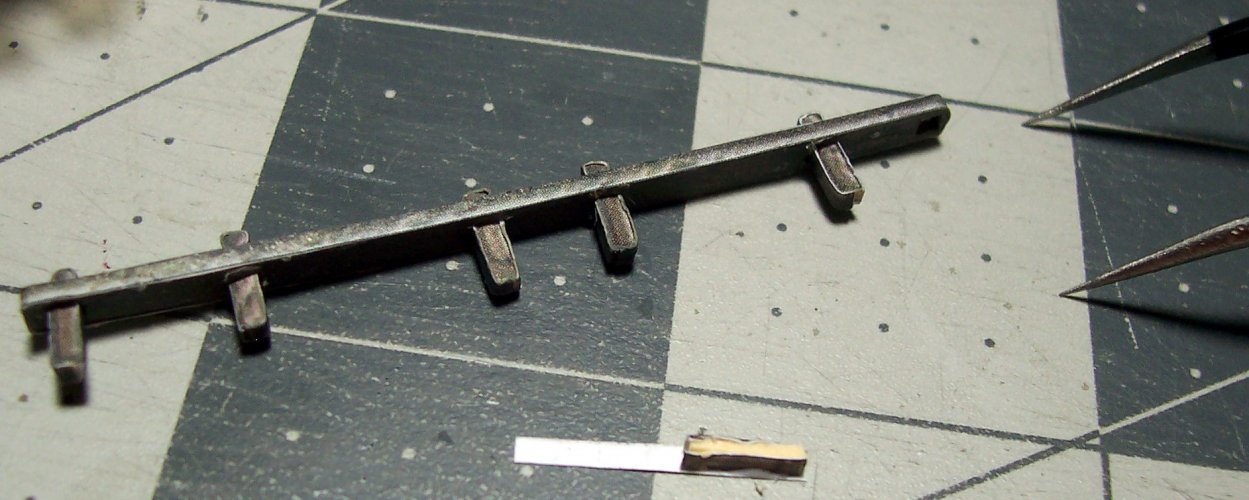
Time to cut some more of these. Just cut them and use them as needed to avoid getting into trouble. There are NO spares! If one of these falls on the floor, it will be hard to find!
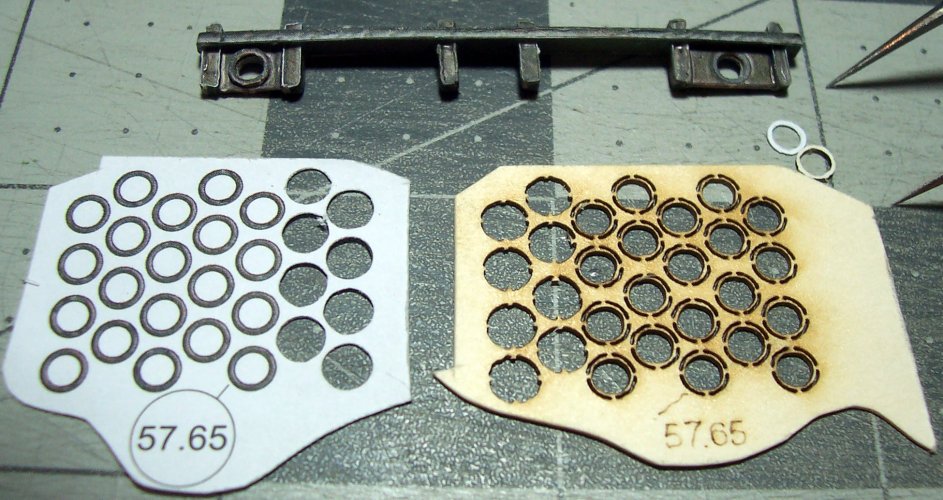
There we go! Installed and looking cool! I completely assembled the different sections of railings and then fitted those to the ship. Don't attempt to construct them ON the ship! NO, NO, NO
 There's no way you can get them all nicely lined up that way. As mentioned before, avoid permanently gluing anything until you are sure that they are all nicely aligned and in the right place! Put the glue around the joints from the bottom too to avoid any signs of it.
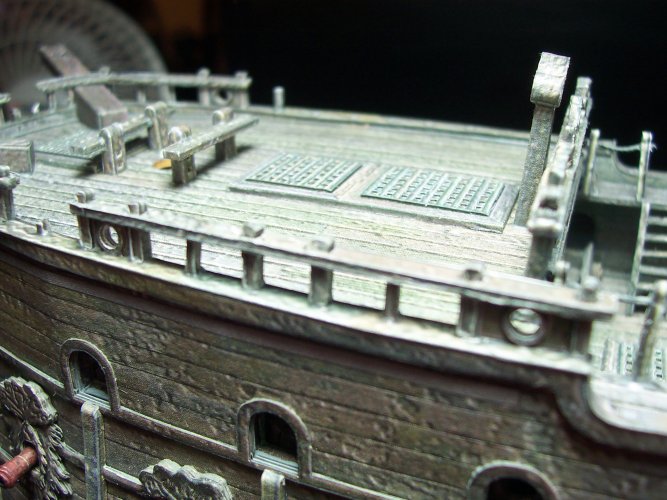
I sure wish I'd have these pictures when I was building this model! Man, it would have made life so much easier.
This is another of the broken planks on one of the side railings.
Trying to get in nice and close on this, but you get the idea.
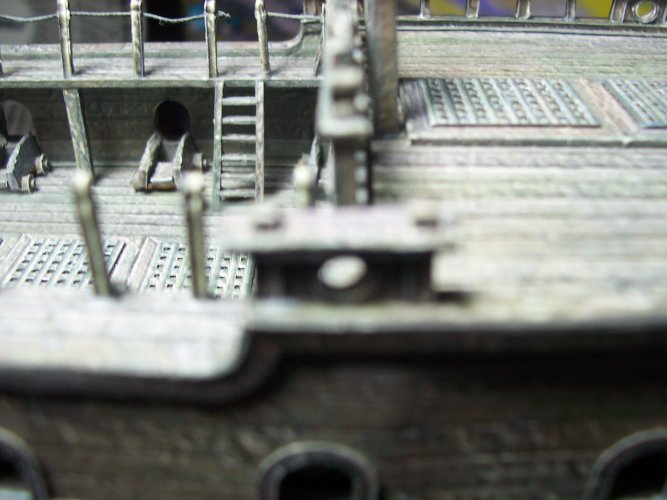
Some of these pictures allow good finished views of some of the other details too!
Each one of these is different. Be very careful on the subtle curve on the long side of the parts. Make sure to align them nicely... take your time for Gad sakes LOL.
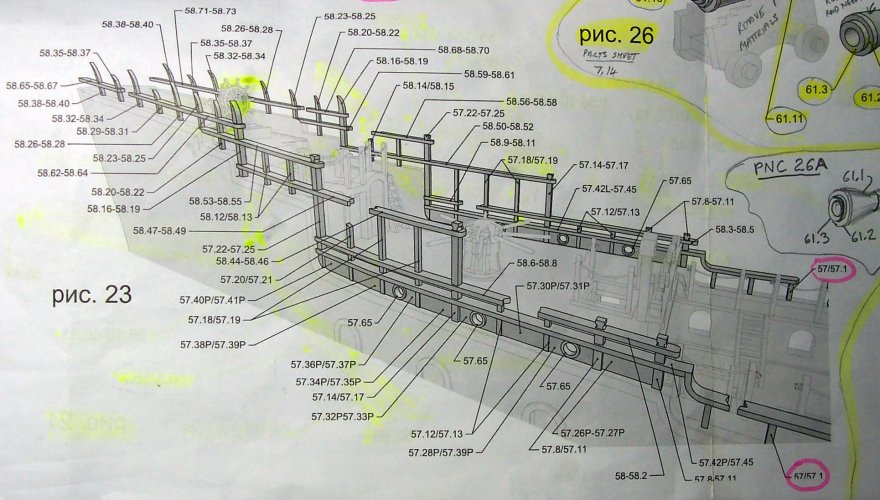
A plan of the work ahead of us. These are a challenge. 2 weeks a side.
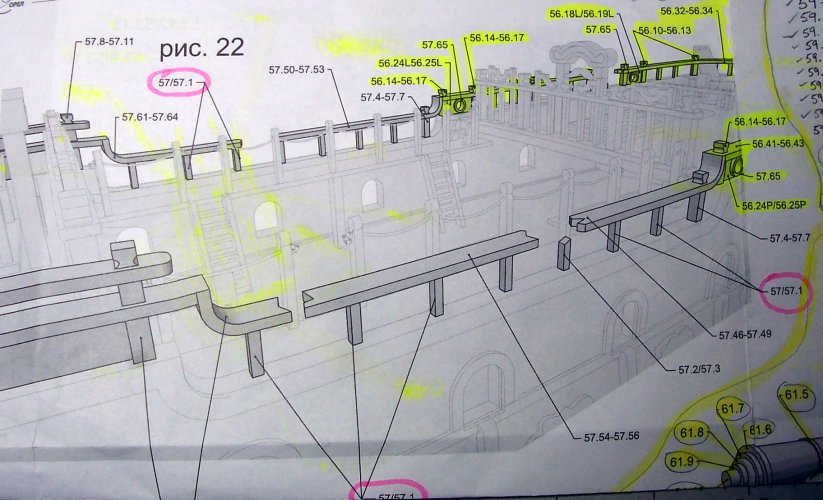
Here are more of the railings in the center of the ship. 57.61 needs to be curved to fit. I used a modelling knife to score the back of the part in several places. This allows it to bend easier with distortion.
Similar thing needed for the other side of the ship.
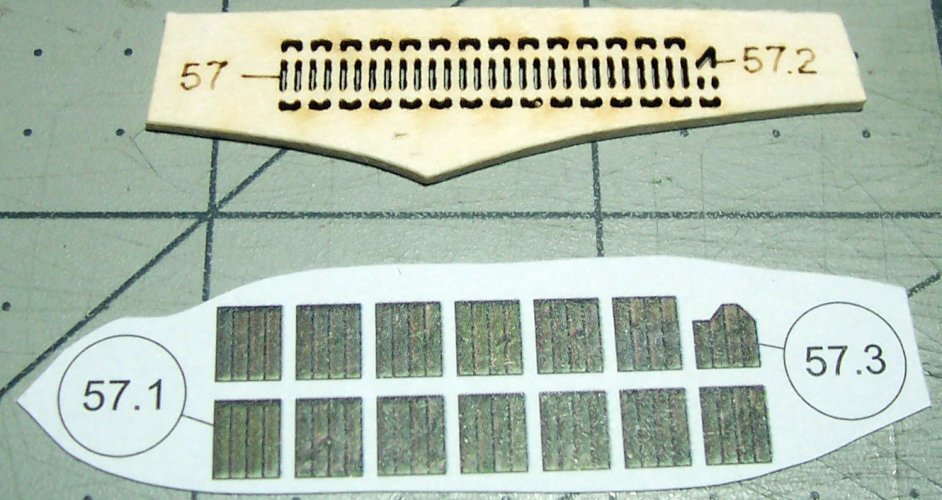
Many of these railings. Make sure to score the folds on parts 57.1, and 57.3
More completed railings along the right side. Try to make them as vertical as possible. I used a needle/pin to dot several small holes around the base of the railings. This helps the glue form a nice strong support.
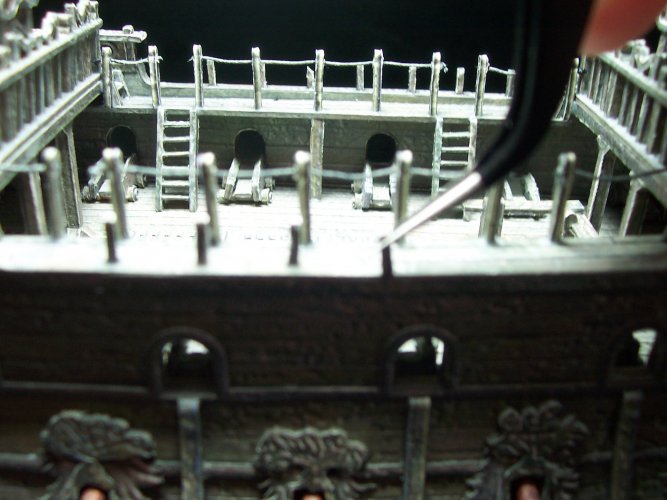
I like this picture. Lots of useful visual information.
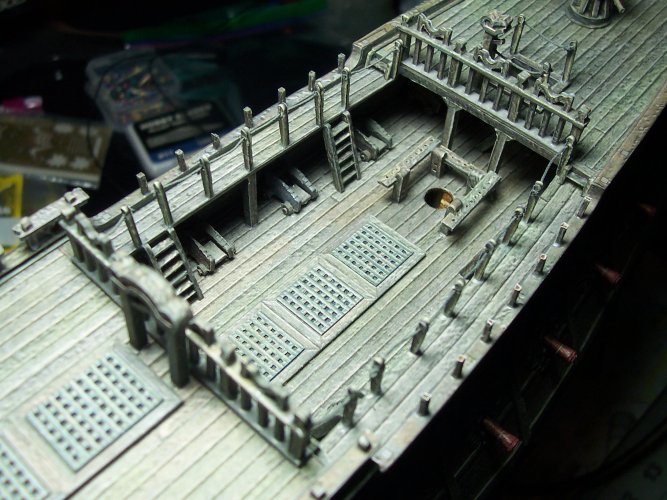
Back to more railings.
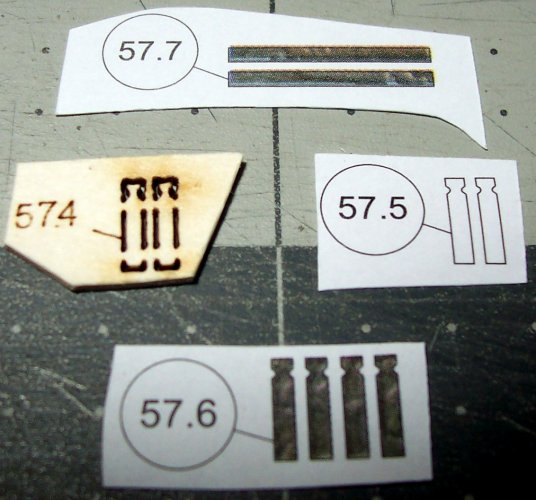
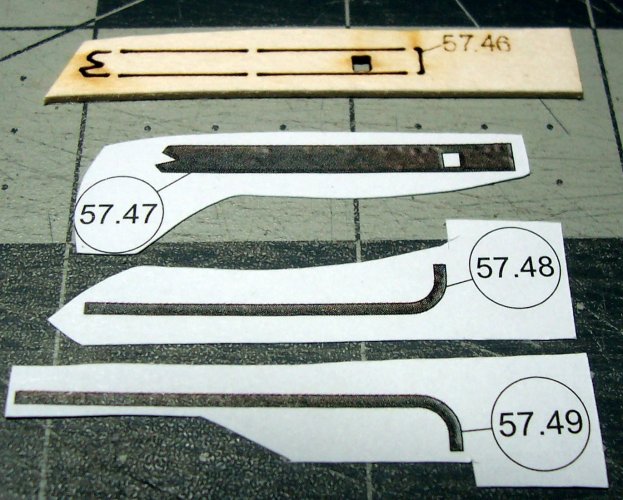
Another top plank part. These are a bit different because of the curved sides on 57.48 and 57.49. These force the shape of the top plank.
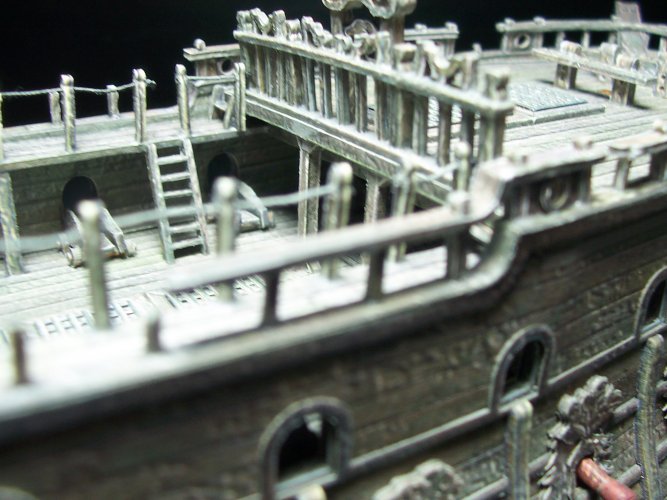
The curve matched the one below on the ships side.
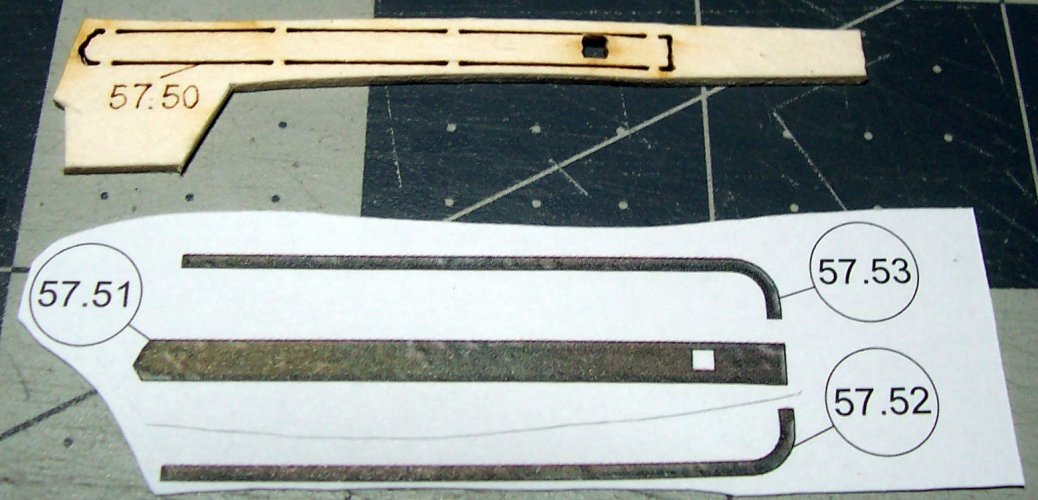
Here's the left side.
And the railings to suit.

This is the longest top of the railings. Look at the square hole in the middle! There is almost no material on the sides.
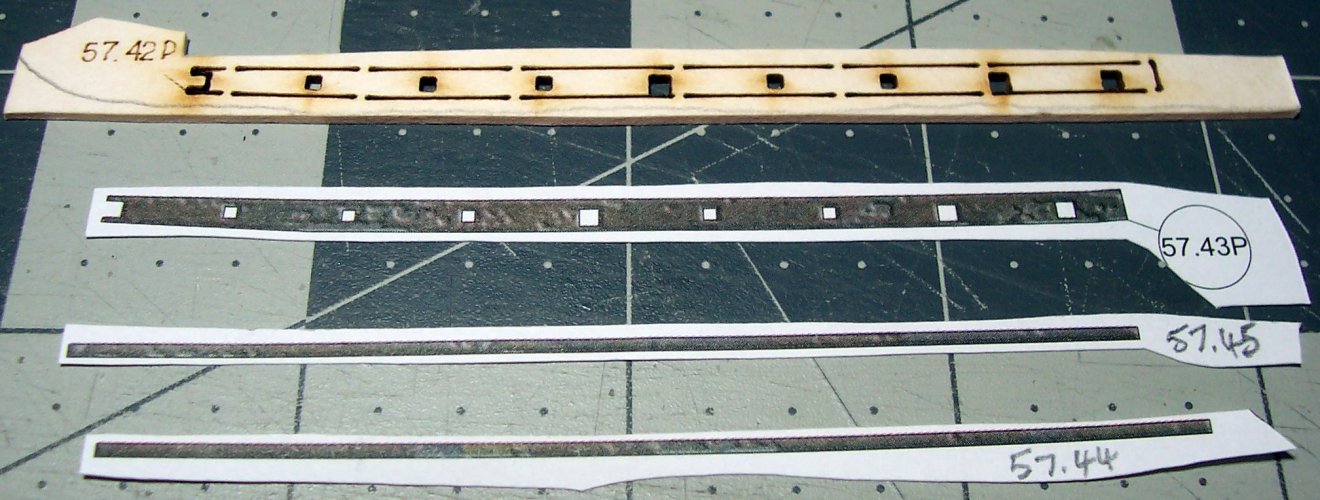
A couple of the railings slid into place.
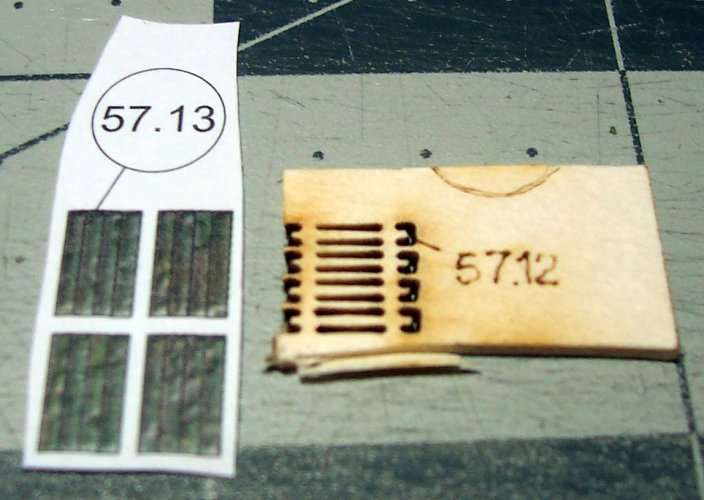
More railings. Refer to he figure above for correct locations.
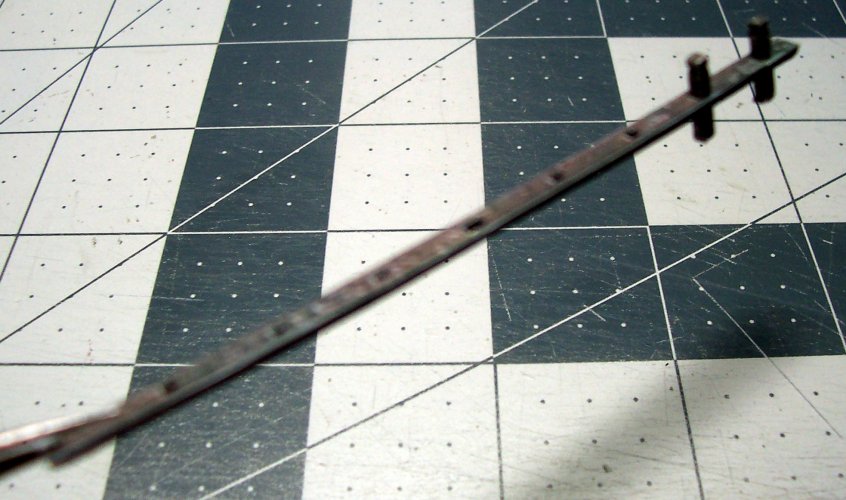
This is another of the broken planks on one of the side railings.

Trying to get in nice and close on this, but you get the idea.

Some of these pictures allow good finished views of some of the other details too!

Each one of these is different. Be very careful on the subtle curve on the long side of the parts. Make sure to align them nicely... take your time for Gad sakes LOL.

A plan of the work ahead of us. These are a challenge. 2 weeks a side.

Here are more of the railings in the center of the ship. 57.61 needs to be curved to fit. I used a modelling knife to score the back of the part in several places. This allows it to bend easier with distortion.

Similar thing needed for the other side of the ship.

Many of these railings. Make sure to score the folds on parts 57.1, and 57.3

More completed railings along the right side. Try to make them as vertical as possible. I used a needle/pin to dot several small holes around the base of the railings. This helps the glue form a nice strong support.

I like this picture. Lots of useful visual information.

Back to more railings.

Another top plank part. These are a bit different because of the curved sides on 57.48 and 57.49. These force the shape of the top plank.

The curve matched the one below on the ships side.

Here's the left side.

And the railings to suit.

This is the longest top of the railings. Look at the square hole in the middle! There is almost no material on the sides.

A couple of the railings slid into place.

More railings. Refer to he figure above for correct locations.

I got lost on that mid section picture there is so much to see. Everytime I looked at it my eye catches a new detail. I have to say mark you are realy nailing this model. your skills are beyond
Truly amazing work, the level of detail here is museum quality... Heck, I've seen museum models that didn't look this good.
Thank you so much for the nice comments! Your words always inspire me to push myself harder to get a better model.I got lost on that mid section picture there is so much to see. Everytime I looked at it my eye catches a new detail. I have to say mark you are realy nailing this model. your skills are beyond
Thank you Micah! This model when I saw it, really "spoke to me". I know that you know what I mean? Its that feeling inside that tells you, I want to build this thing so bad! That's what I felt when I saw some pictures online. I was amazed to see it was a card / paper model at the time too, and also very please because I really love working in this medium. I have been so grateful to working on this, and it truly has gotten me through some really stressful times, and continues to do so. The thing that always makes me happy with this model is the level of detail. I always dread the idea of finishing a model. I think it must be I get so into it that I don't want to lose that feeling it provides? I would recommend this model.Truly amazing work, the level of detail here is museum quality... Heck, I've seen museum models that didn't look this good.
Thank you spaceagent-9! It always pleases me to see your comments! All the best!Very impressive!!!!!

