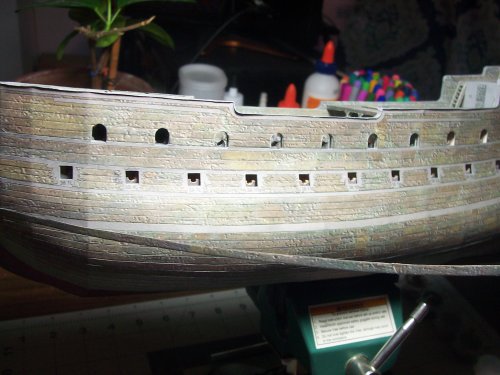
I just unloaded my camera and thought I would upload a few more until the next time I sail this way again! :Viper: <--- The closest I could get to a ship!
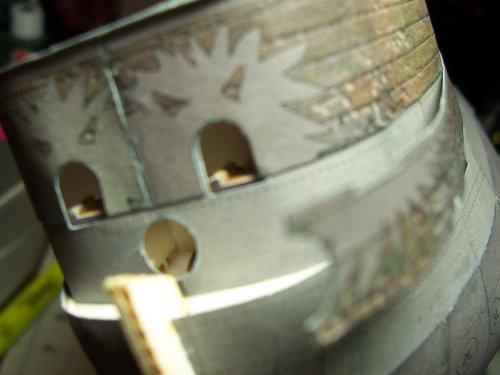
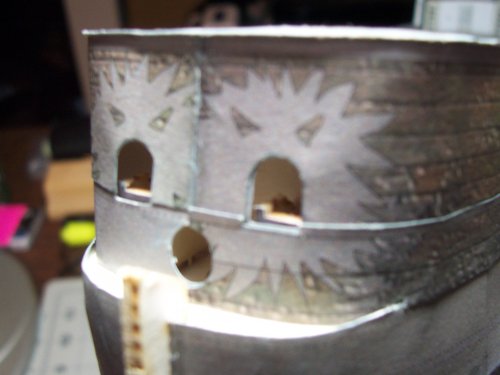
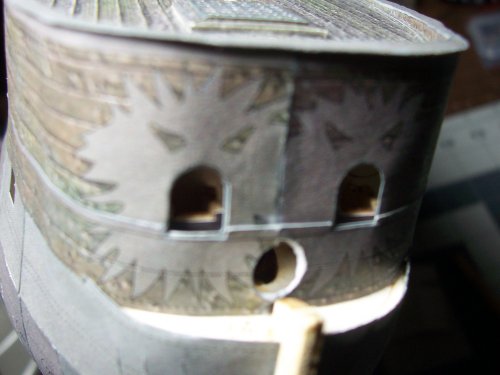
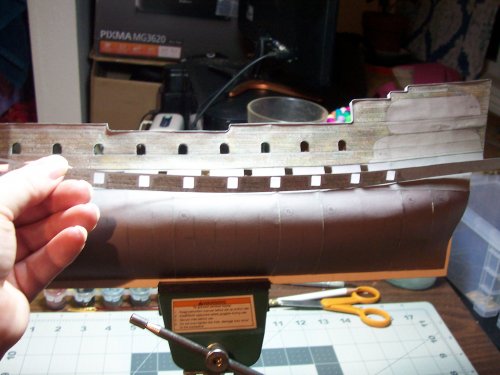
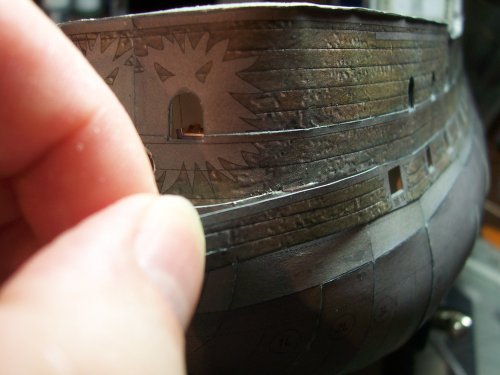
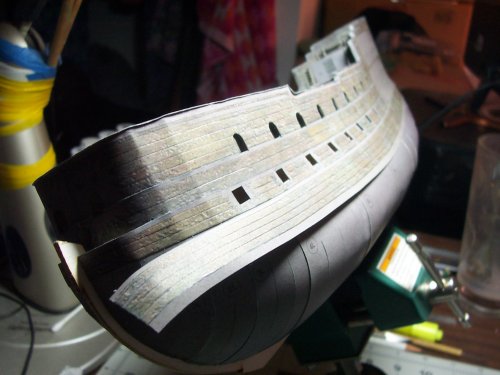
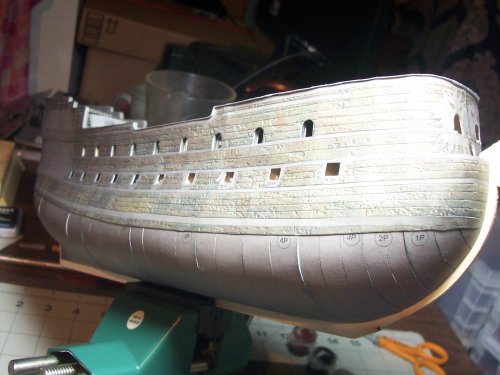
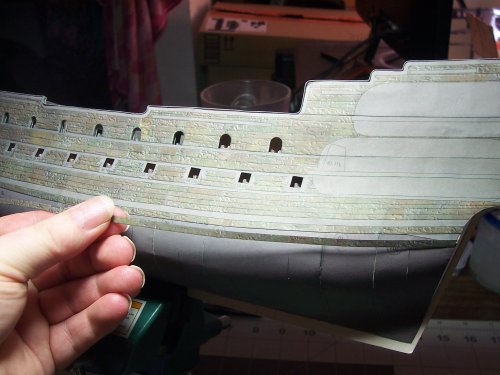
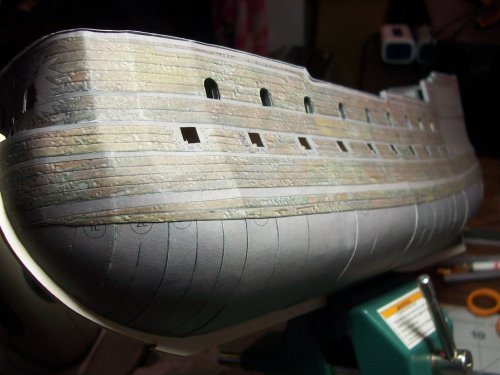
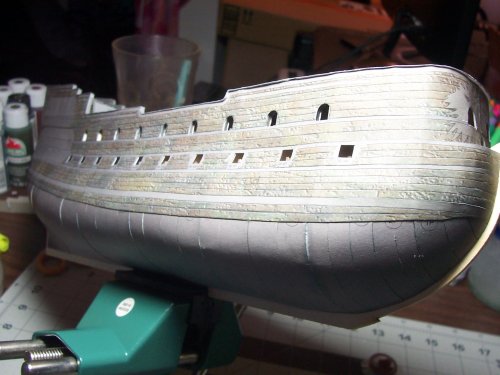
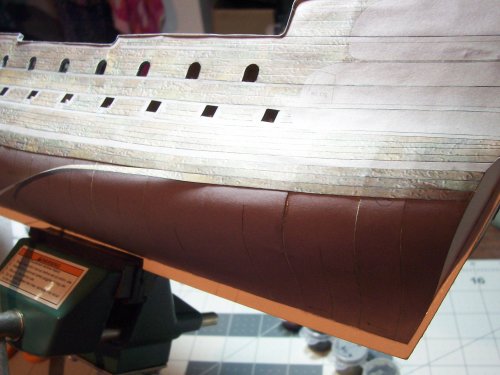
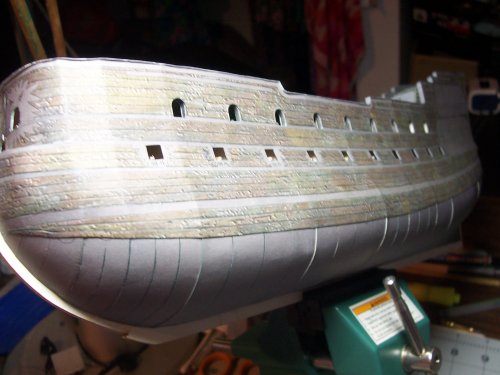
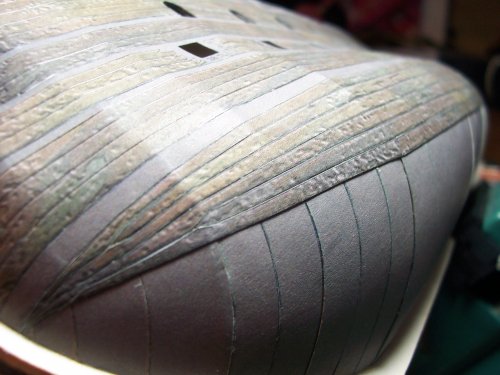
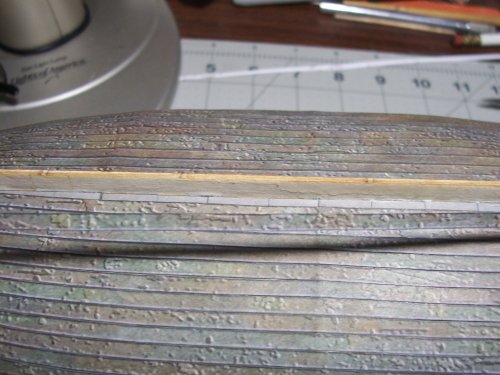
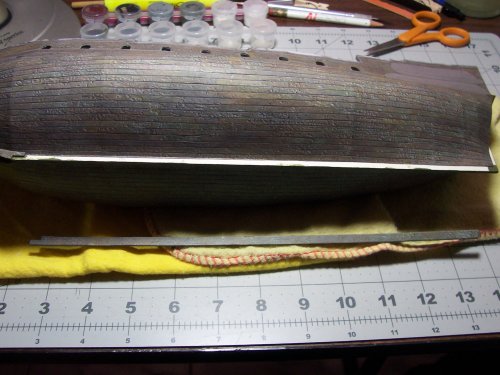
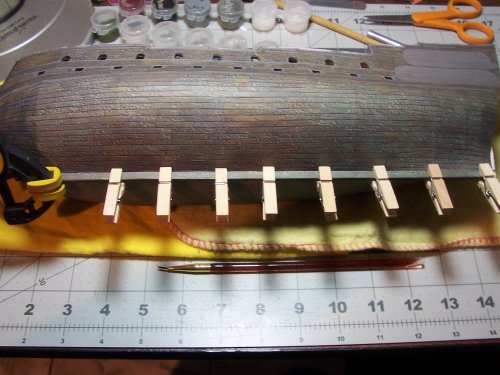
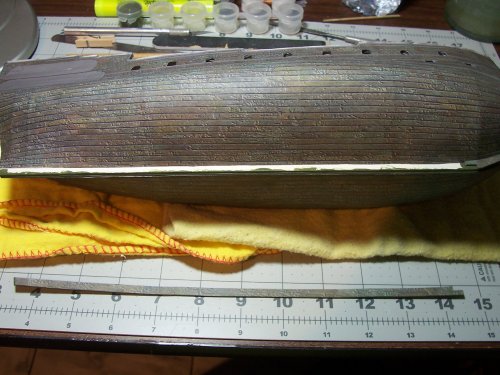
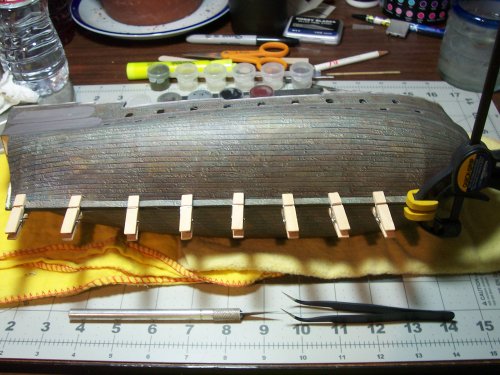
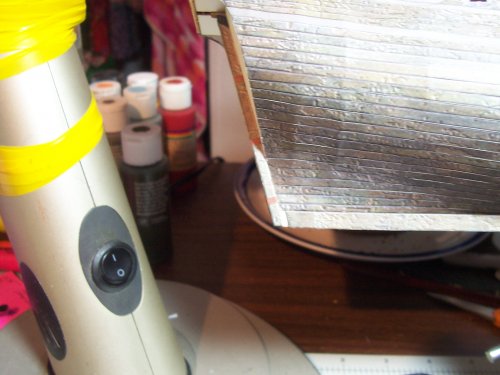
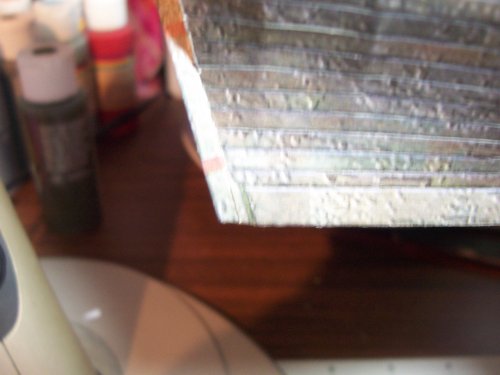
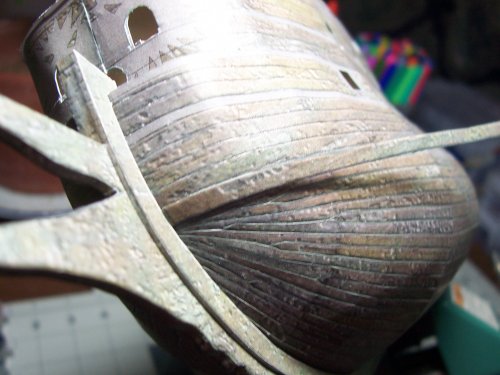
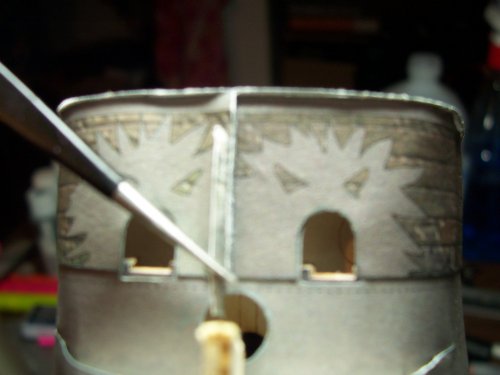
I'm quite surprised at the detail my old Kodak camera is showing. This is pretty well-zoomed in. This is showing more of the draft paneling under construction. As I may have mentioned before, this is just the foundation for the final paneling that will be coming round the corner pretty soon.
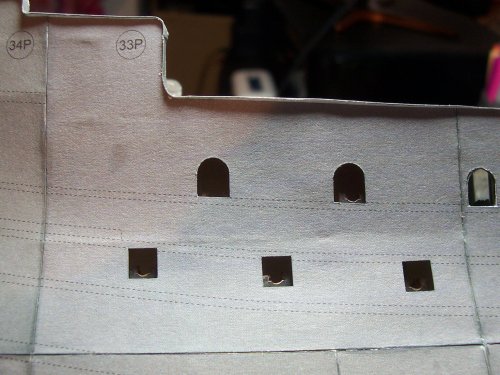
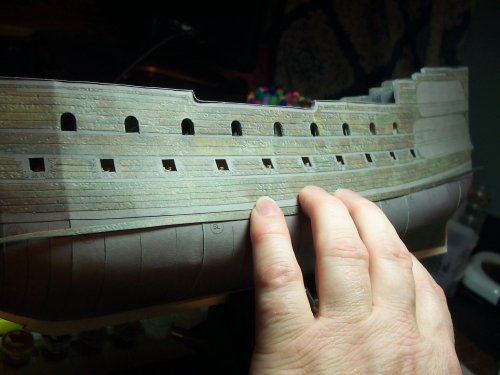
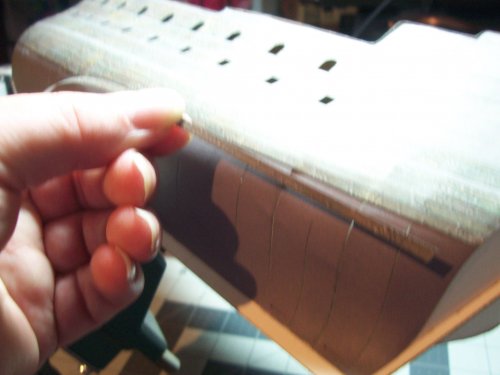
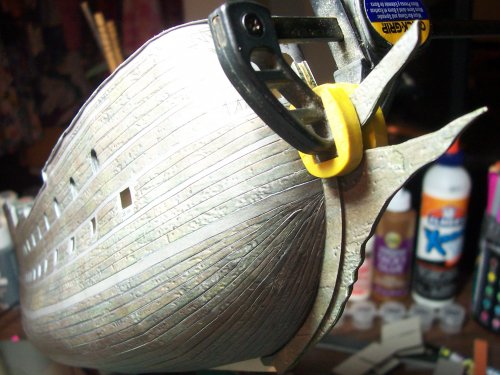
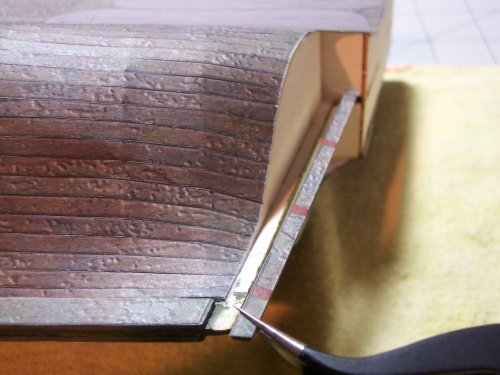
I like to paint a thin layer of white glue thinned 50/50 over the joins in the panels and then smooth them with my finger-tip to get a nicer transition. The upper-rail of the bulwarks are a bit vulnerable to getting damaged or buckled/bent during the build but, they will have another final layer over the top eventually. just be careful not to squeeze the sides during working on the model
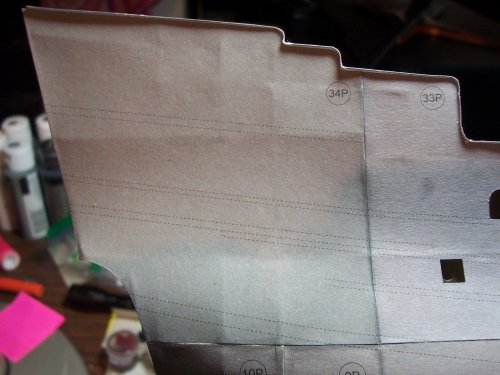
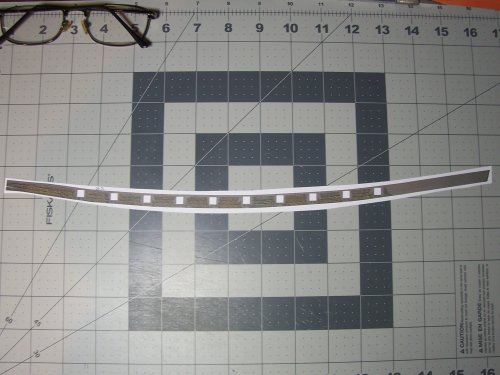
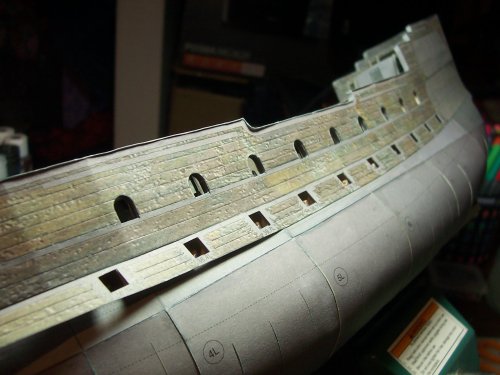
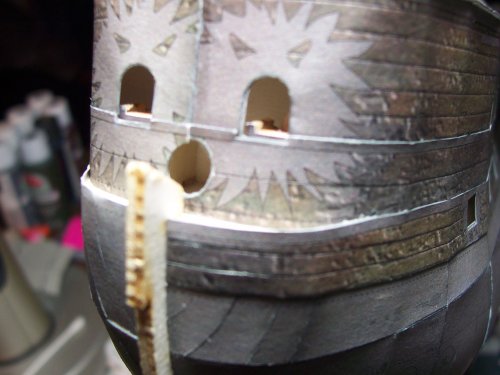
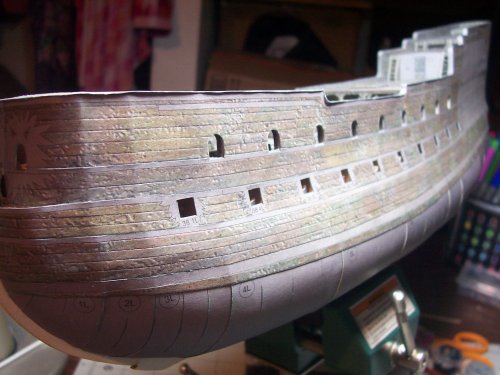
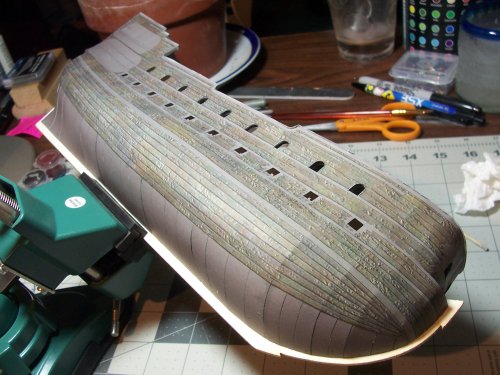
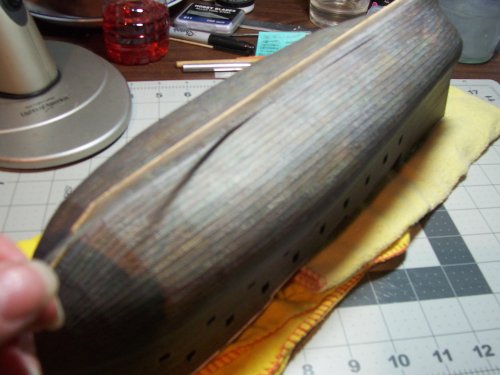
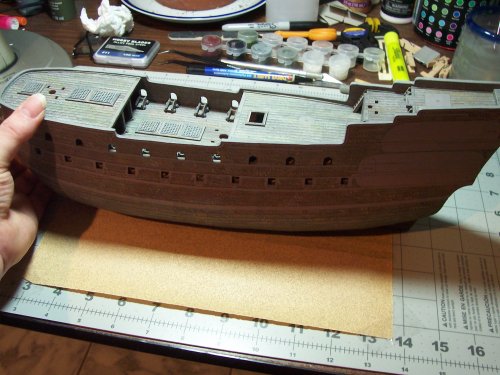
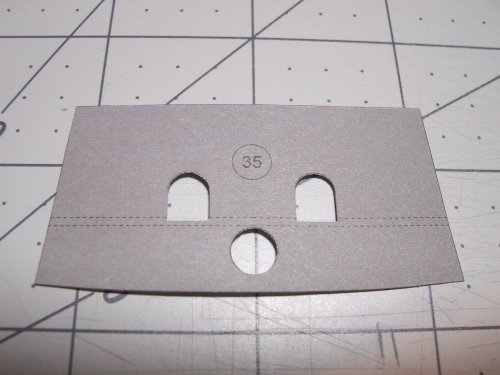
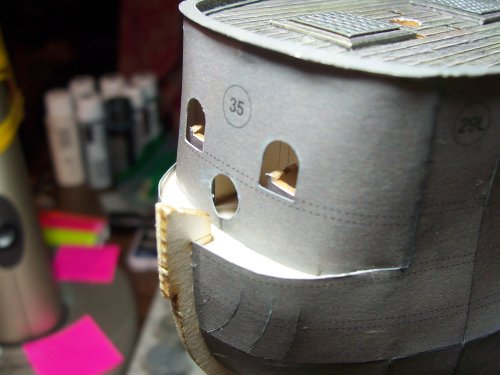
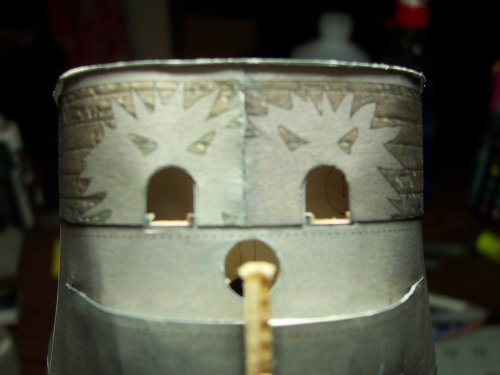
Ah yes, this is the last piece of the draft paneling for the bow area. The window ports are where the chaser cannons will protrude through... "Ah Matey!!"
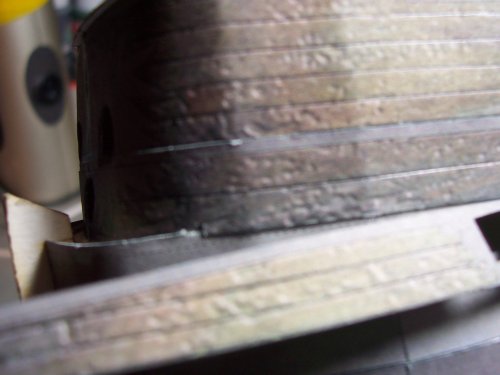
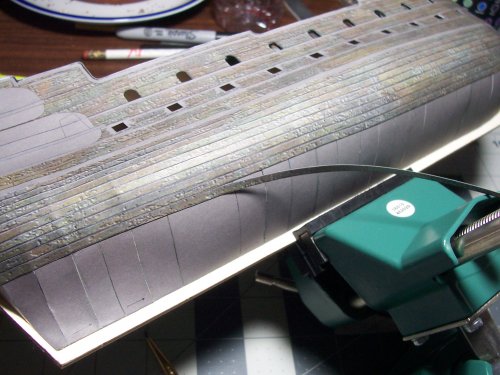
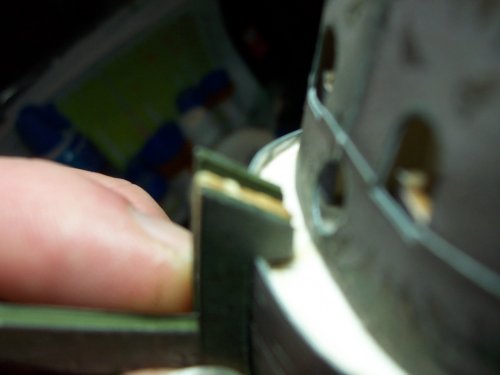
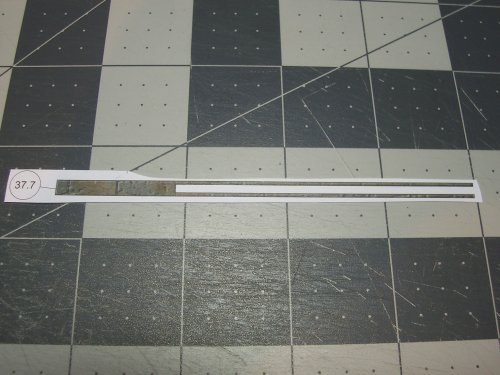
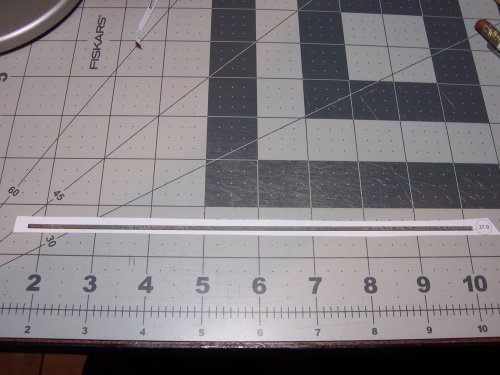
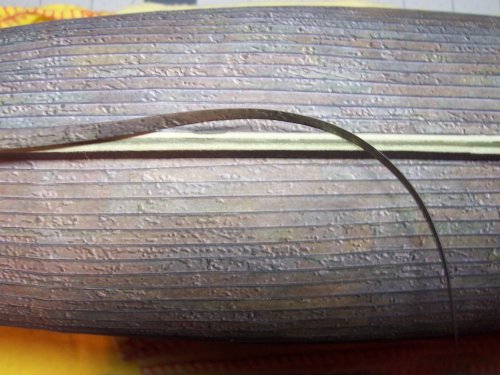
You can see that even a tiny amount of glue can cause the lip of the gunwale to tilt down, that's why I recommend using the mallest amount of white glue needed to affix the parts... you can always add a little here and there later if needed but not so easy to remove too much glue . Wow, look at the zoomed in laser cut keel! It actually looks okay normally but pretty bumpy in the image below
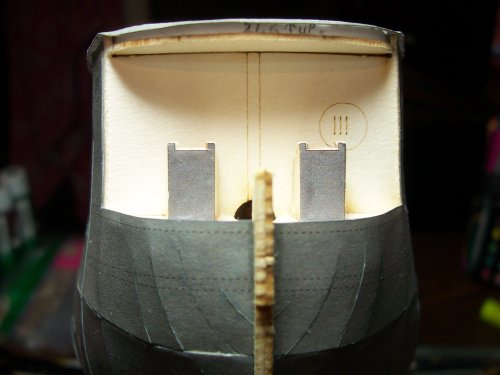
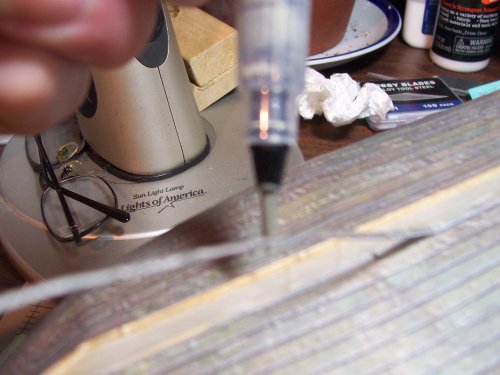
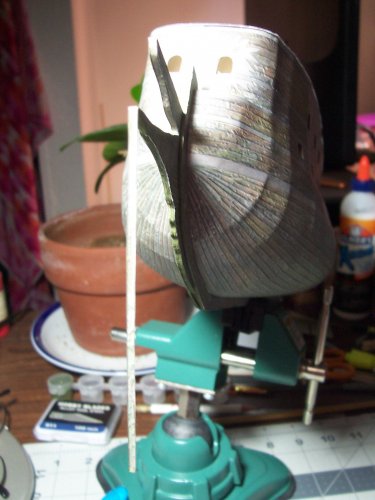
I applied a little glue to the base of the part #35 before installing it. I then used a pointer to move the base around into the correct position. The front mast will also pass through this piece eventually.
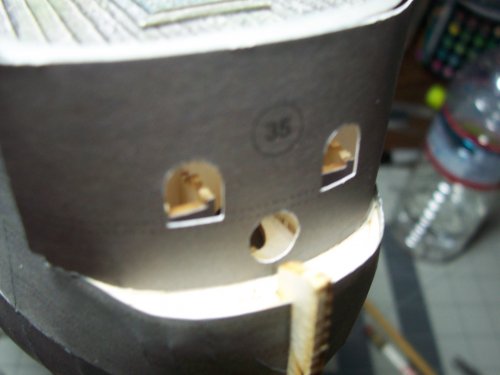
A minor imperfection in the shape of the part #35 where it joins the side panels. Easy to make a small cutout as can been seen below.
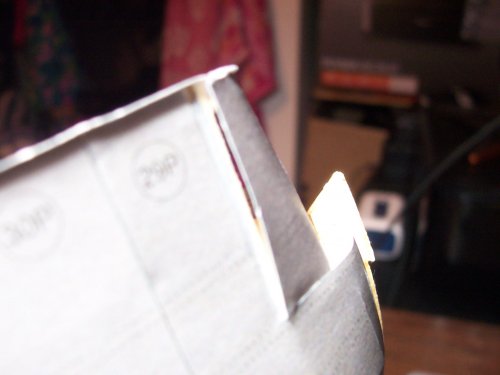
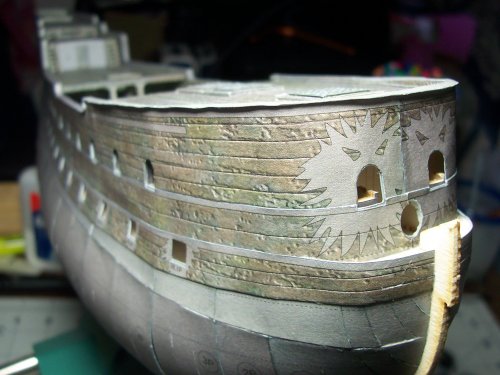
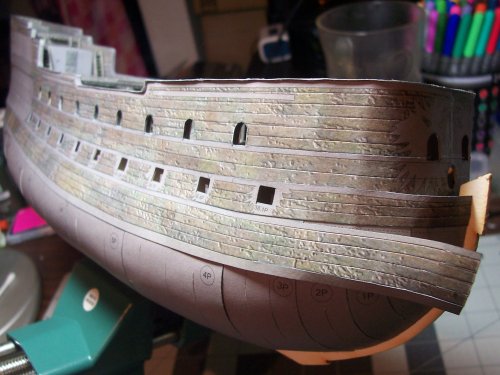
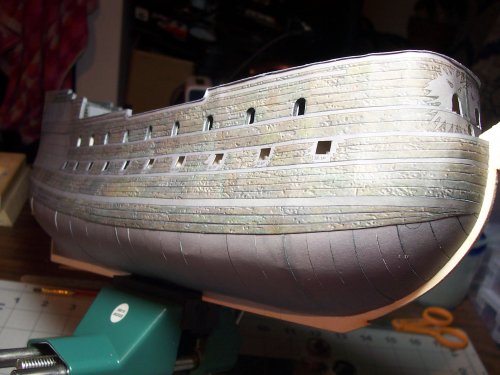
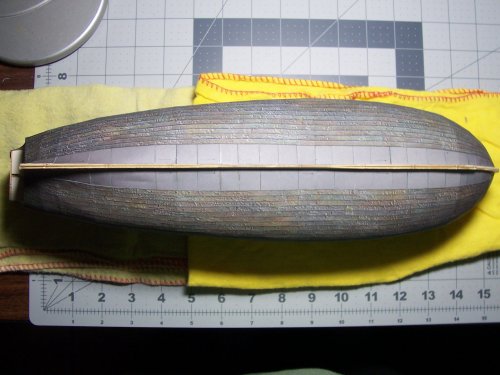
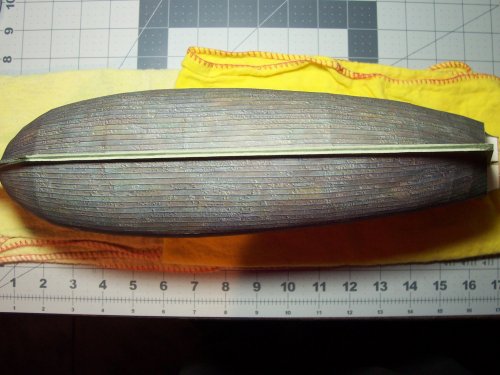
The finished draft panel work!! This is a milestone!
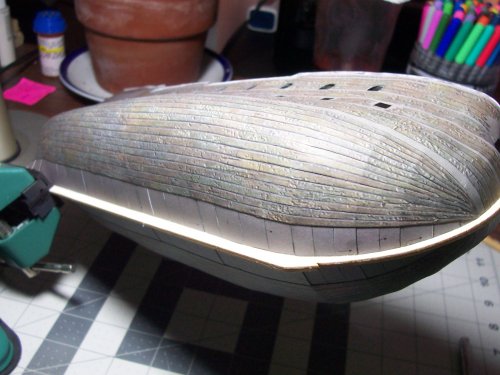
The shape of the hull is quite intricate with curves giving it a pleasing shape I feel.
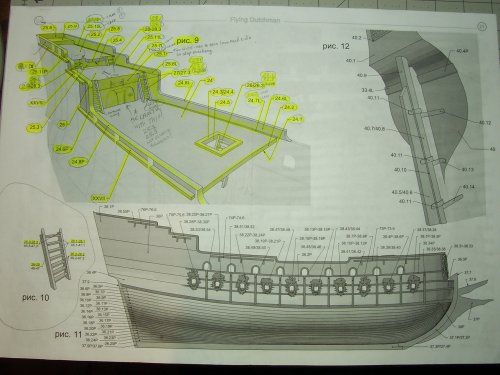
Okay, moving on to PNC (pic) 11 below. This starts the final panel work.
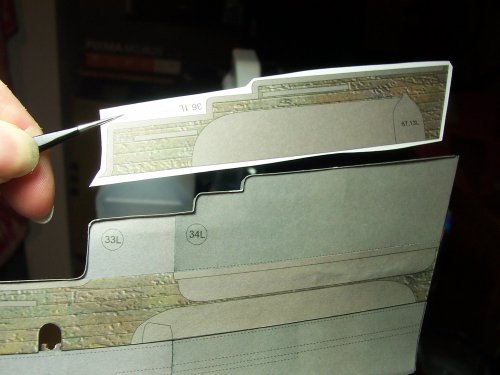
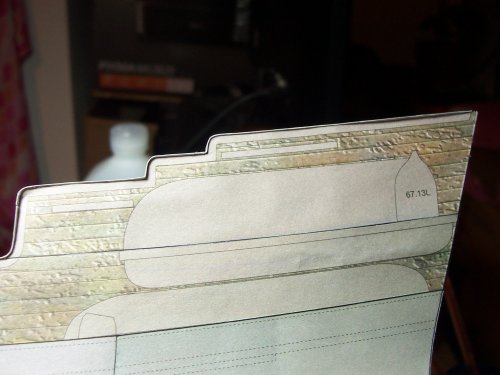
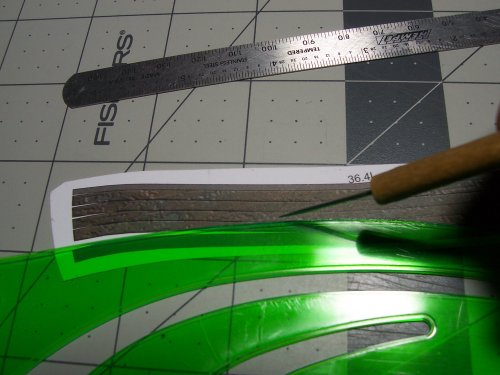
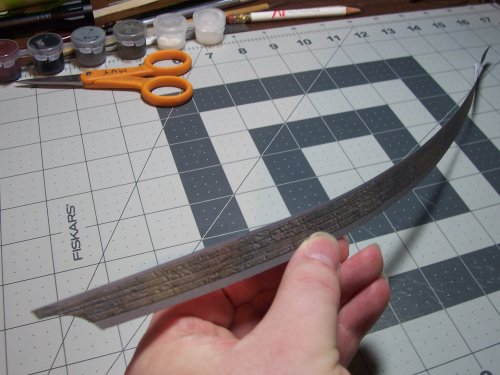
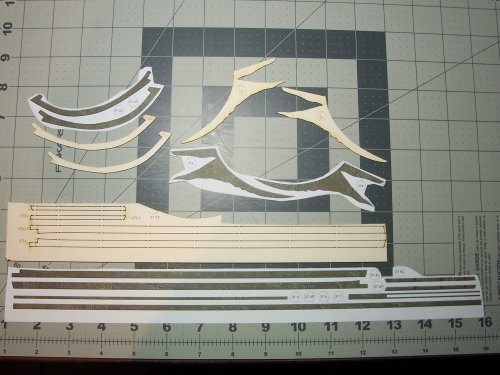
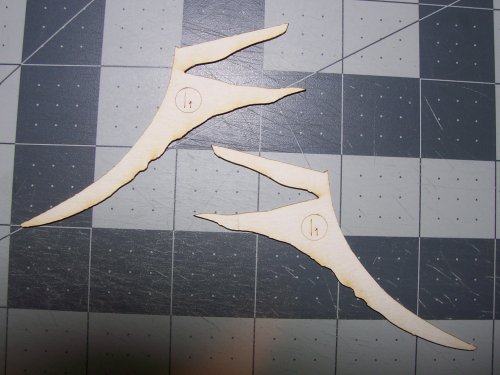
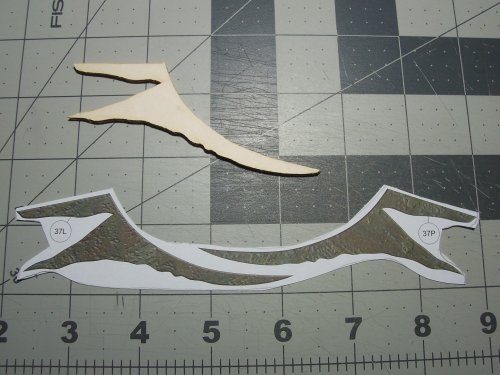
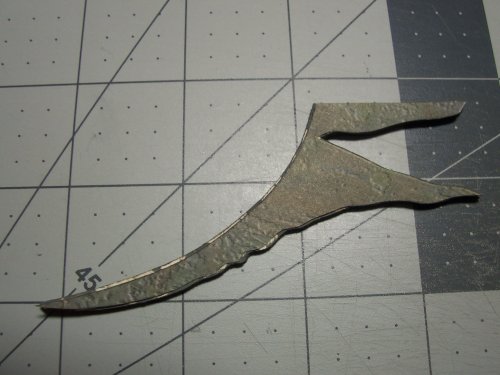
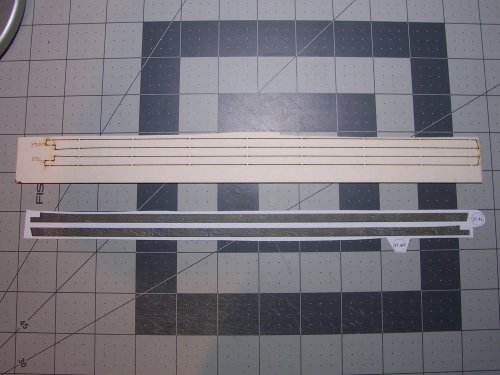
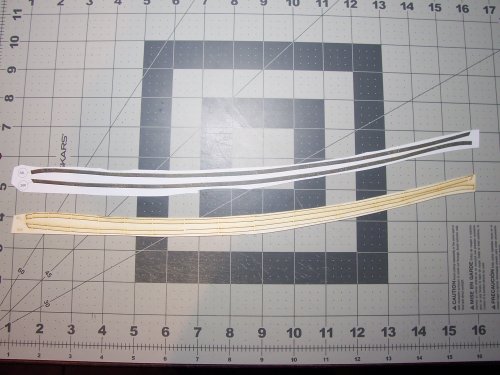
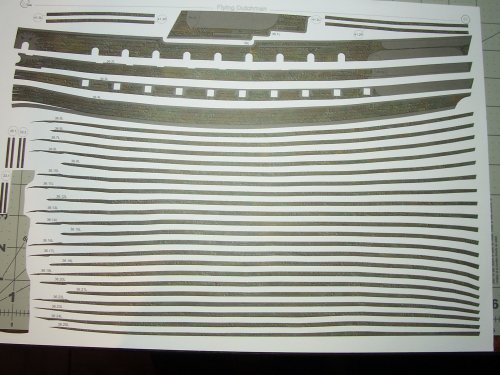
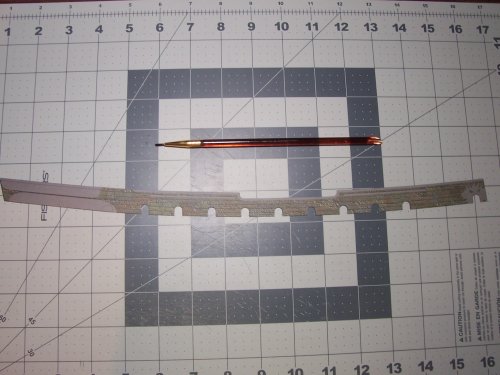
This is one of the sides of the final panels. There are 2 of these of curse, one for left and one for right hand sides of the ship.
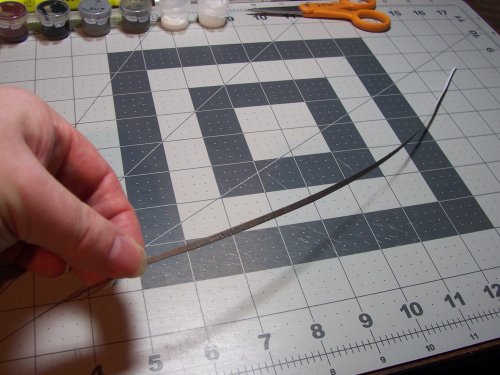
The first piece ready to be installed.
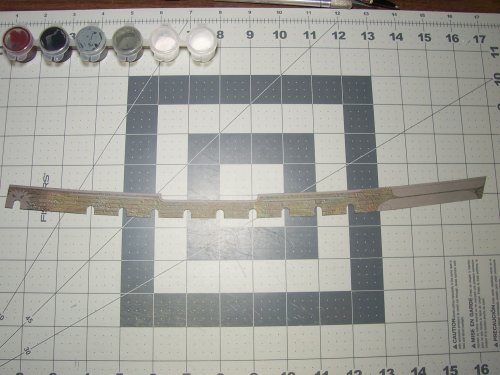
I found it best to start in the middle of the part and then do the rear and then the front gluing. This enables the best alignment of the window ports.
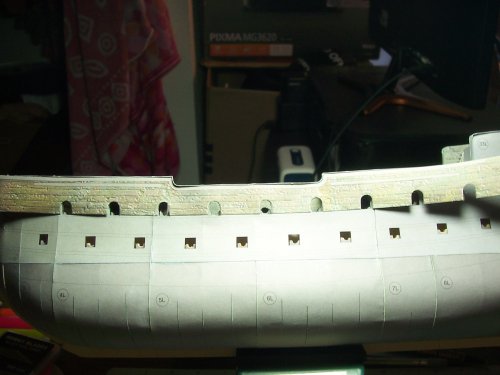
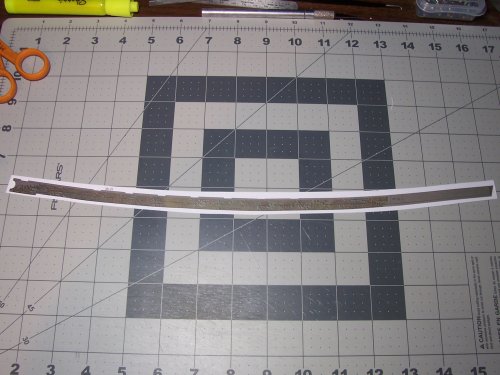
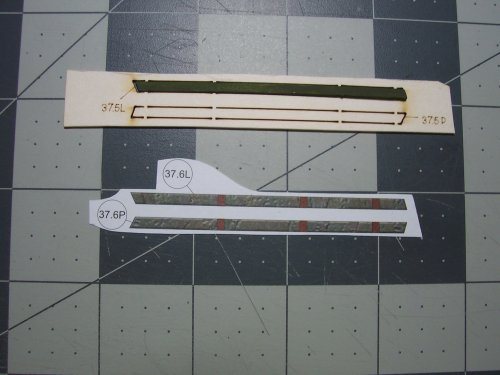
Oh, and there are the upper deck gangways on each side parts #28. Just an FYI.
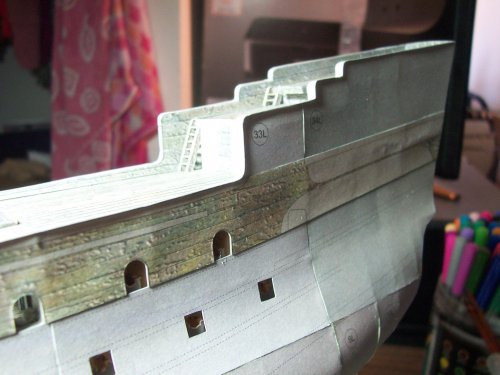
the front of the piece is now getting the treatment.
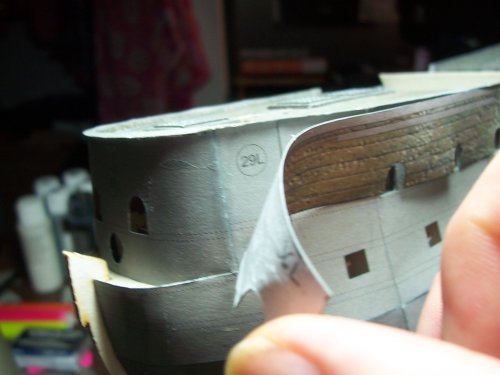
And there we have it!
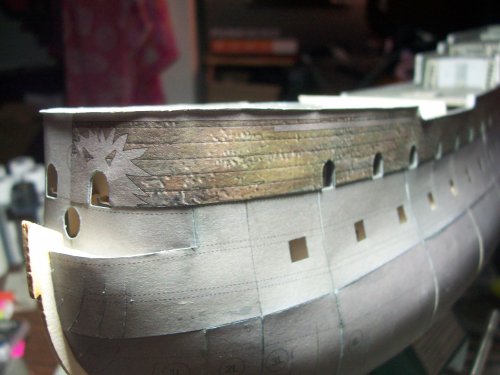
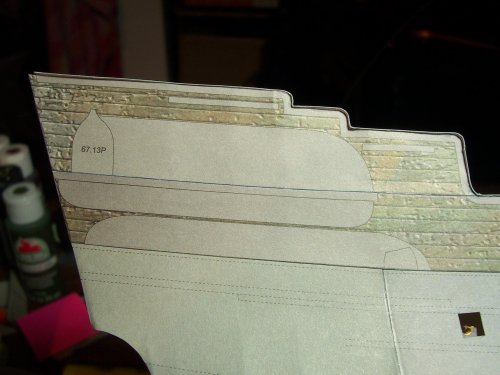
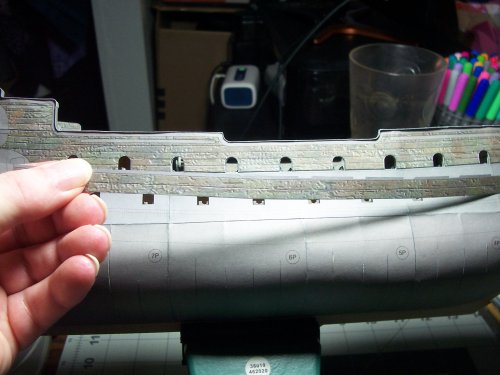
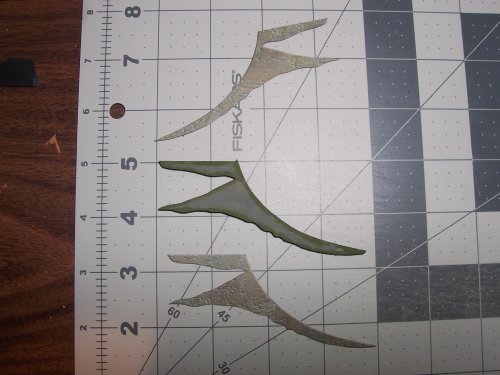
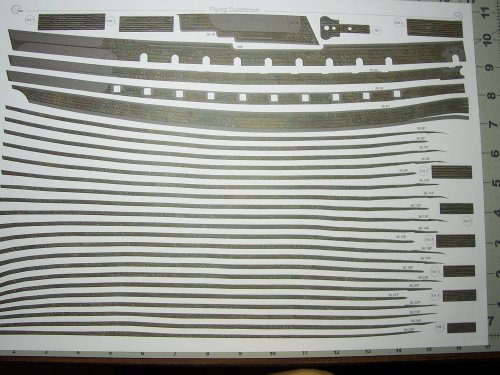
This is for the other side so you can get a feel for the number of pieces
Yep, the right side ready to be fitted.
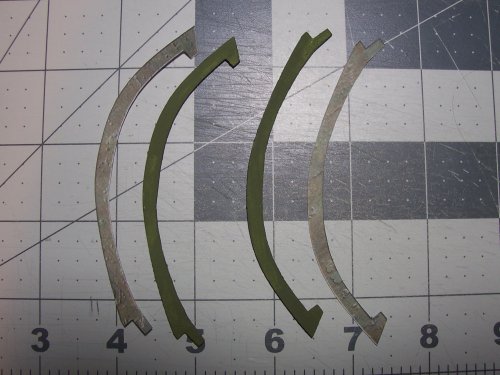
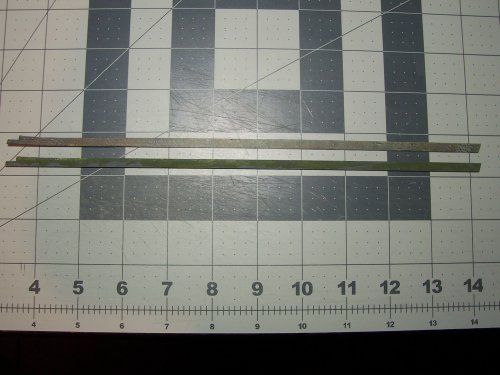
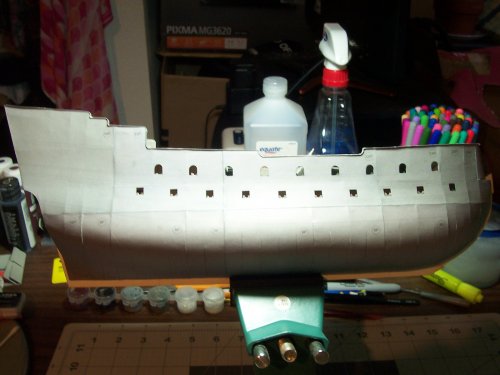
Are you ready ship's right side:? Oh and, I'm not sure why, but there are different shades of gray for the final panel pieces? A bit strange?
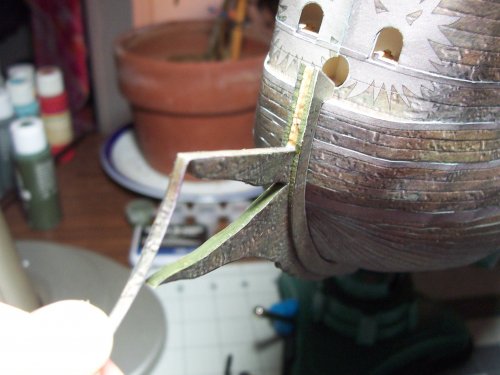
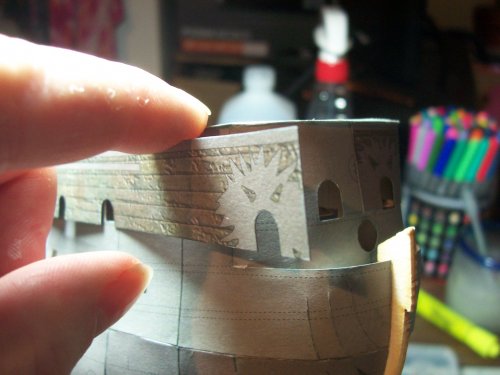
Minor surgery required for the join in the middle of the 2 pieces at the bow to get a really nice, close joint.
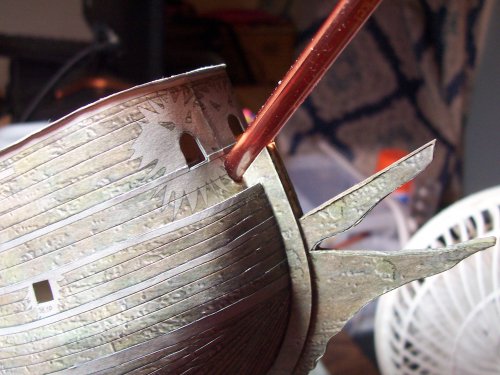
Just manipulating the right side a bit with the tweezers to get a nice fit.
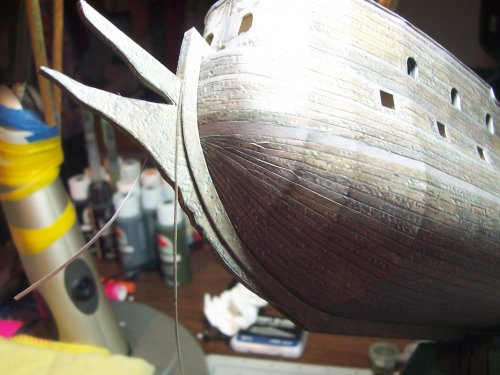
The first final panel pieces complete!
I'm quite surprised at the detail my old Kodak camera is showing. This is pretty well-zoomed in. This is showing more of the draft paneling under construction. As I may have mentioned before, this is just the foundation for the final paneling that will be coming round the corner pretty soon.

I like to paint a thin layer of white glue thinned 50/50 over the joins in the panels and then smooth them with my finger-tip to get a nicer transition. The upper-rail of the bulwarks are a bit vulnerable to getting damaged or buckled/bent during the build but, they will have another final layer over the top eventually. just be careful not to squeeze the sides during working on the model


Ah yes, this is the last piece of the draft paneling for the bow area. The window ports are where the chaser cannons will protrude through... "Ah Matey!!"

You can see that even a tiny amount of glue can cause the lip of the gunwale to tilt down, that's why I recommend using the mallest amount of white glue needed to affix the parts... you can always add a little here and there later if needed but not so easy to remove too much glue
 . Wow, look at the zoomed in laser cut keel! It actually looks okay normally but pretty bumpy in the image below
I applied a little glue to the base of the part #35 before installing it. I then used a pointer to move the base around into the correct position. The front mast will also pass through this piece eventually.

A minor imperfection in the shape of the part #35 where it joins the side panels. Easy to make a small cutout as can been seen below.

The finished draft panel work!! This is a milestone!
The shape of the hull is quite intricate with curves giving it a pleasing shape I feel.


Okay, moving on to PNC (pic) 11 below. This starts the final panel work.

This is one of the sides of the final panels. There are 2 of these of curse, one for left and one for right hand sides of the ship.

The first piece ready to be installed.

I found it best to start in the middle of the part and then do the rear and then the front gluing. This enables the best alignment of the window ports.

Oh, and there are the upper deck gangways on each side parts #28. Just an FYI.

the front of the piece is now getting the treatment.

And there we have it!

This is for the other side so you can get a feel for the number of pieces

Yep, the right side ready to be fitted.

Are you ready ship's right side:? Oh and, I'm not sure why, but there are different shades of gray for the final panel pieces? A bit strange?

Minor surgery required for the join in the middle of the 2 pieces at the bow to get a really nice, close joint.

Just manipulating the right side a bit with the tweezers to get a nice fit.

The first final panel pieces complete!


