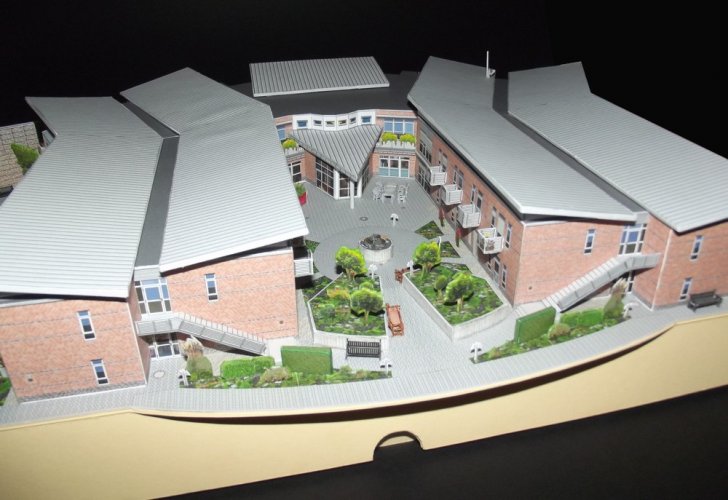
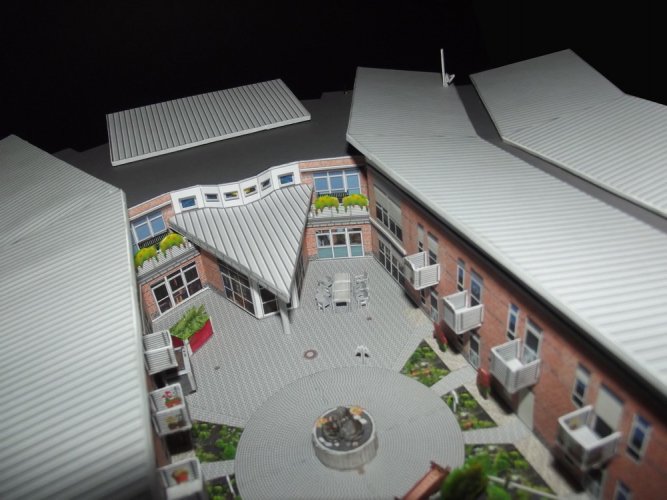
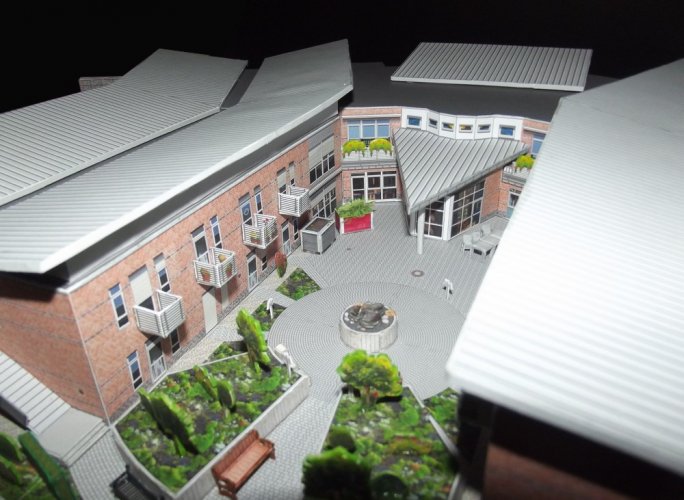
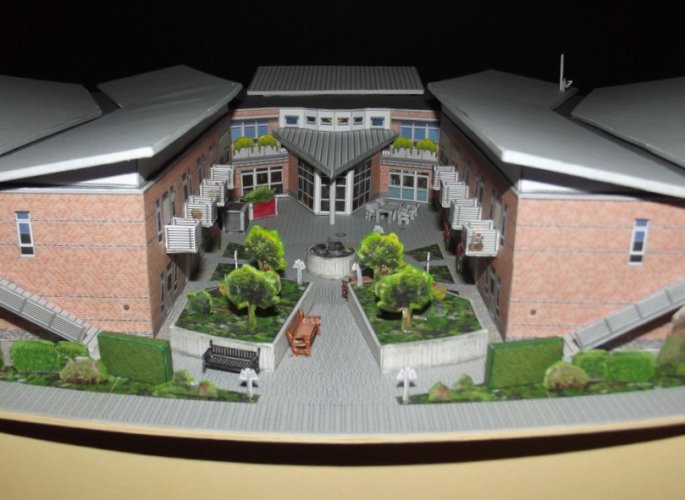
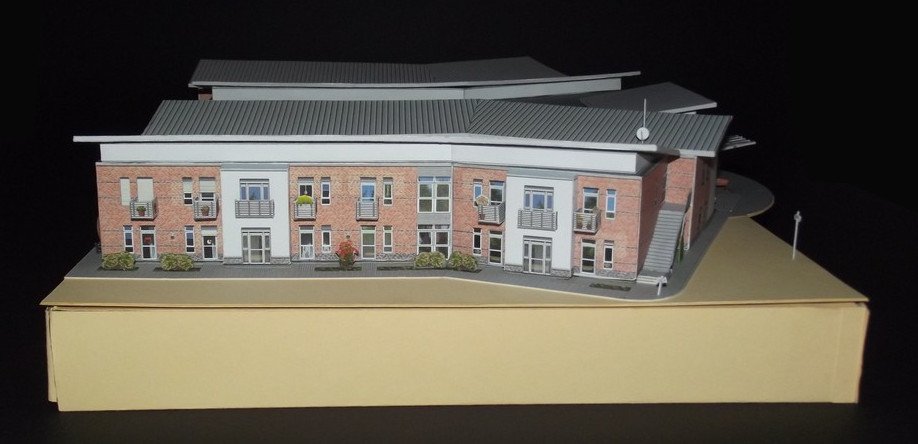
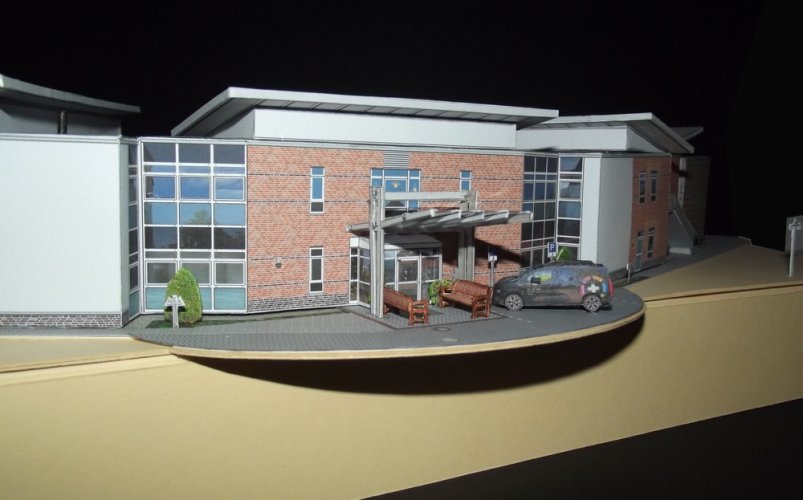
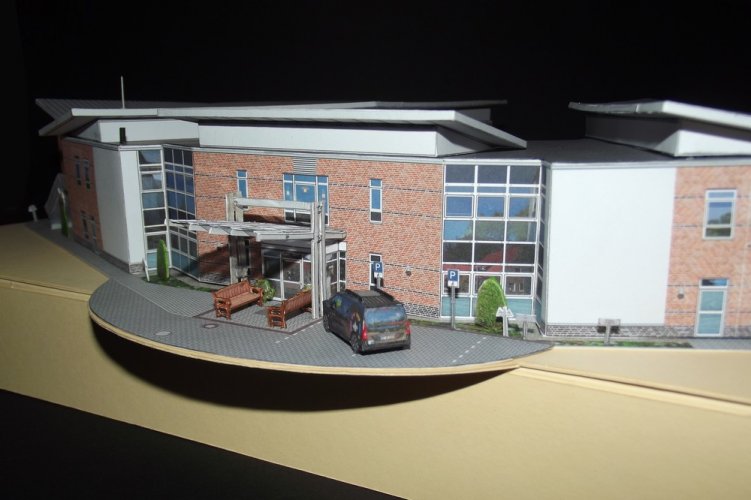
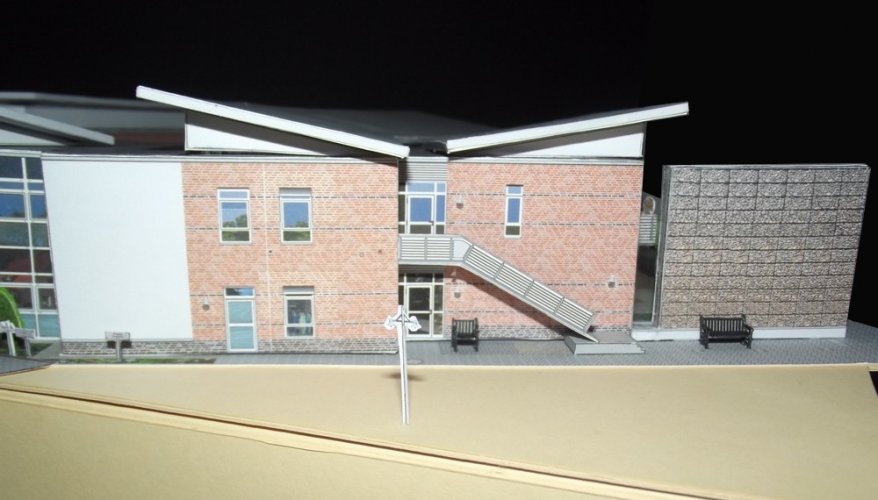
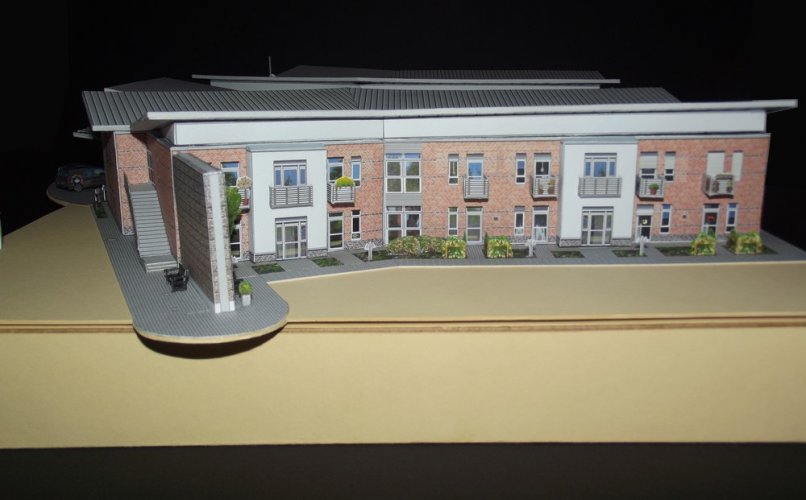
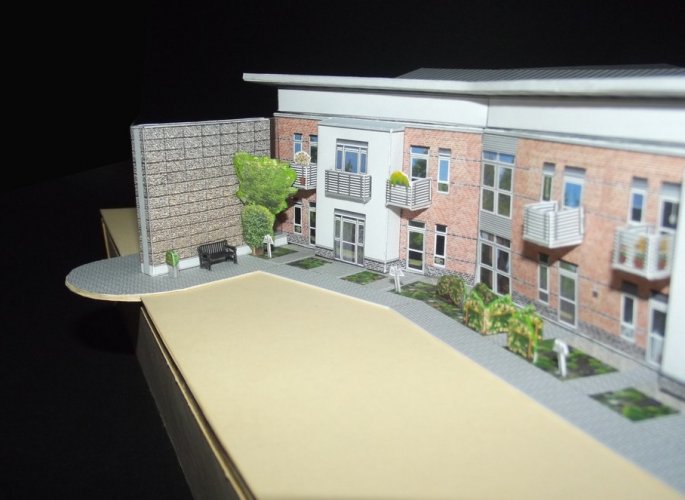
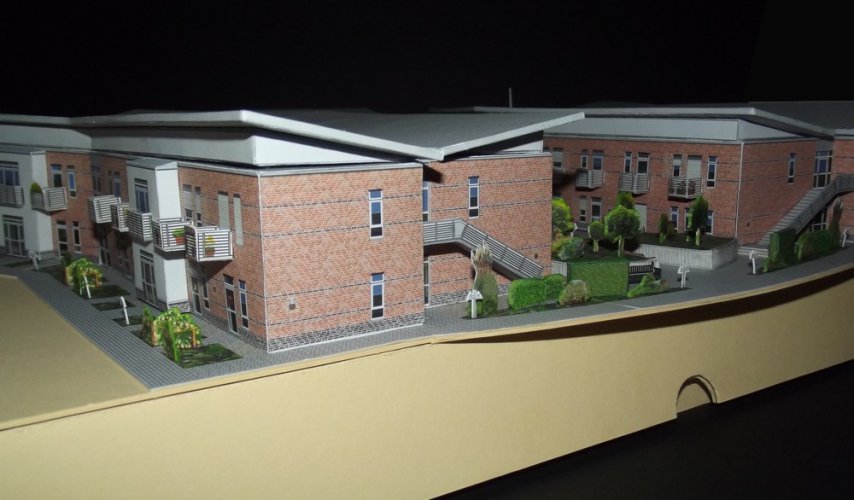
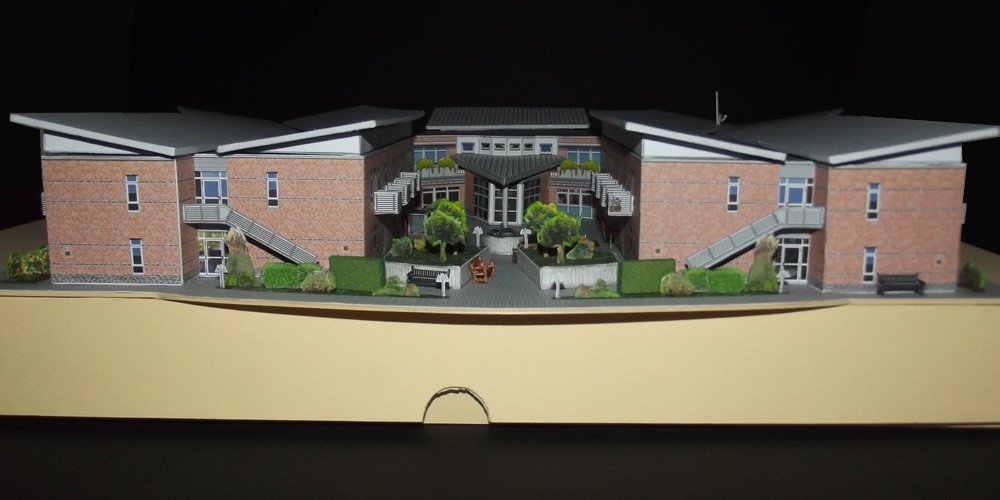
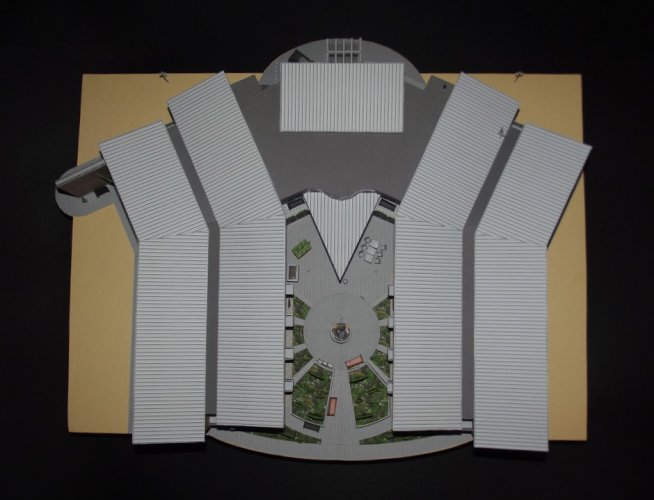
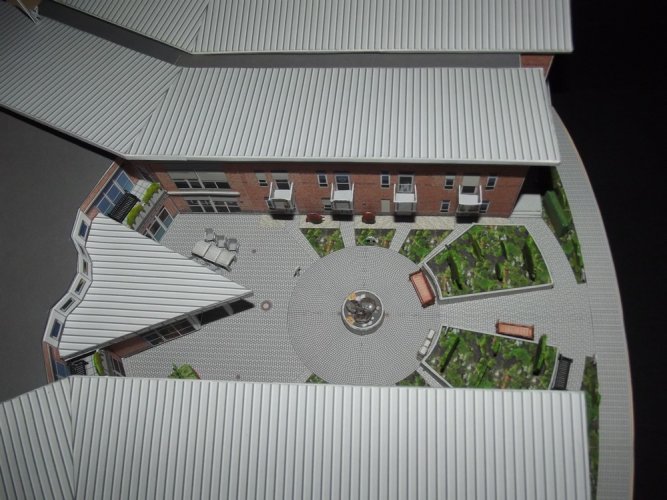
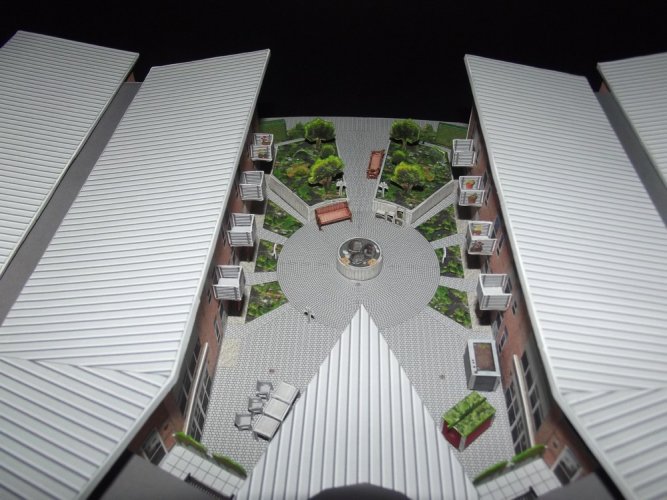
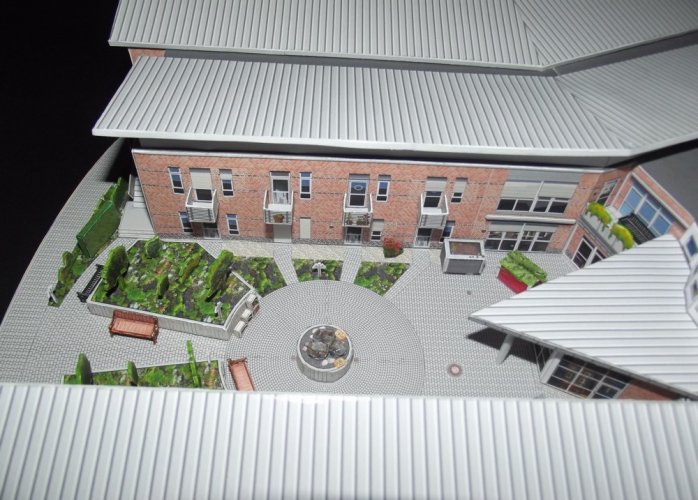
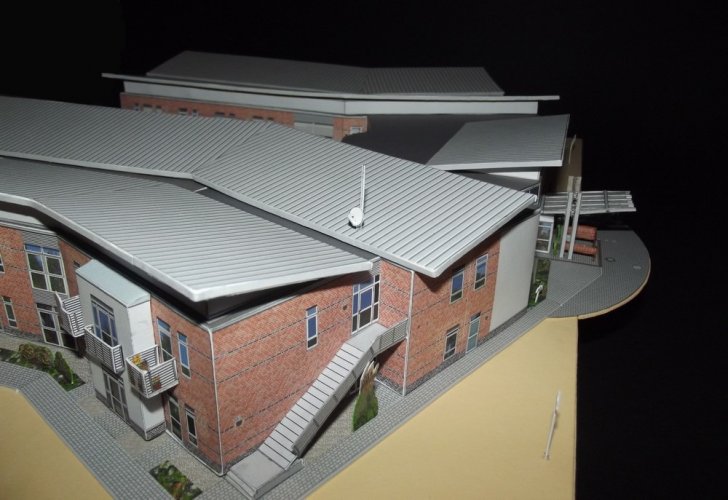
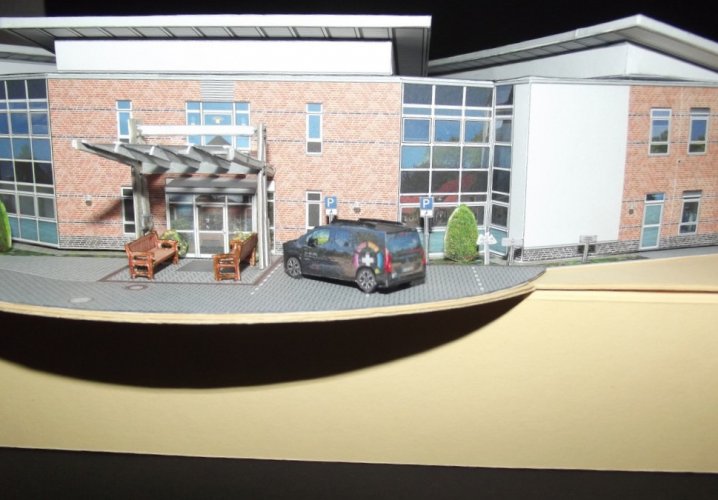
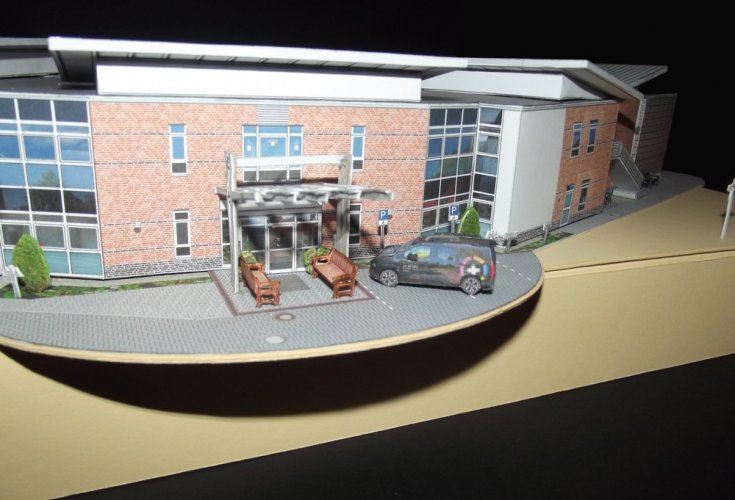
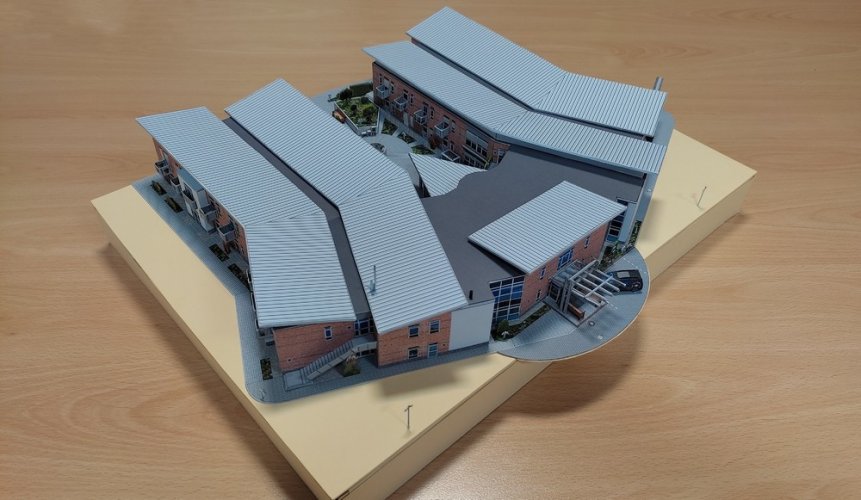
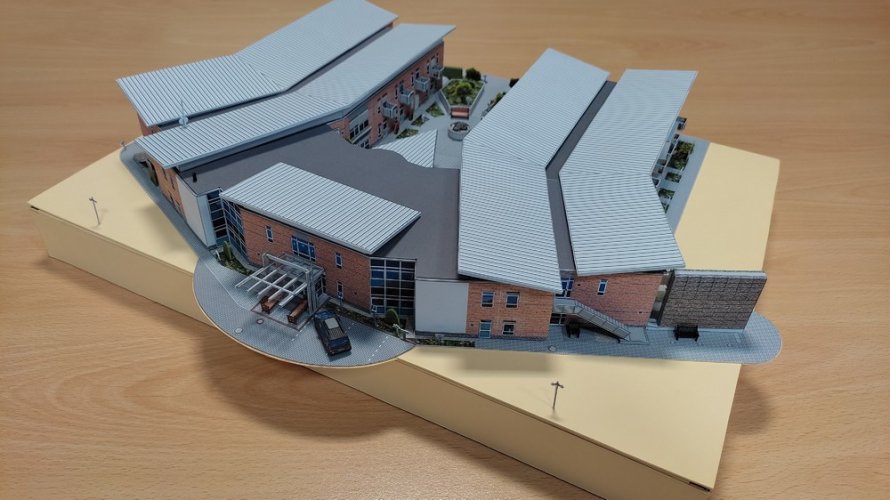
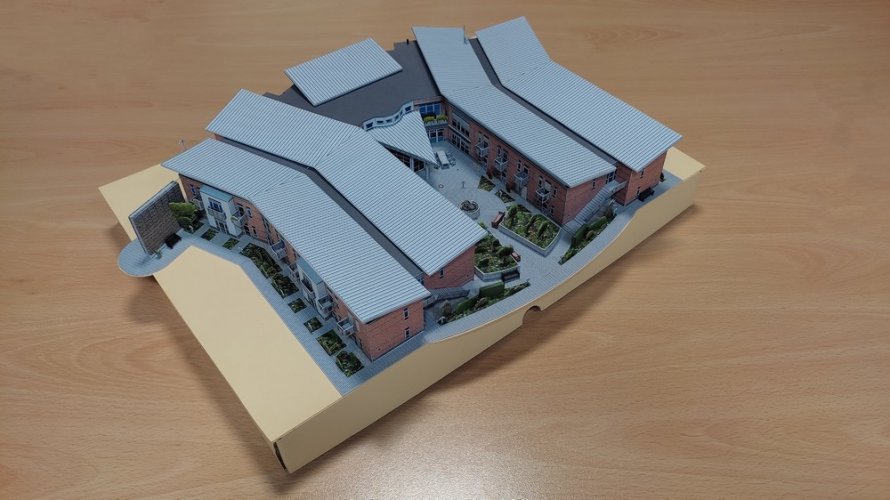
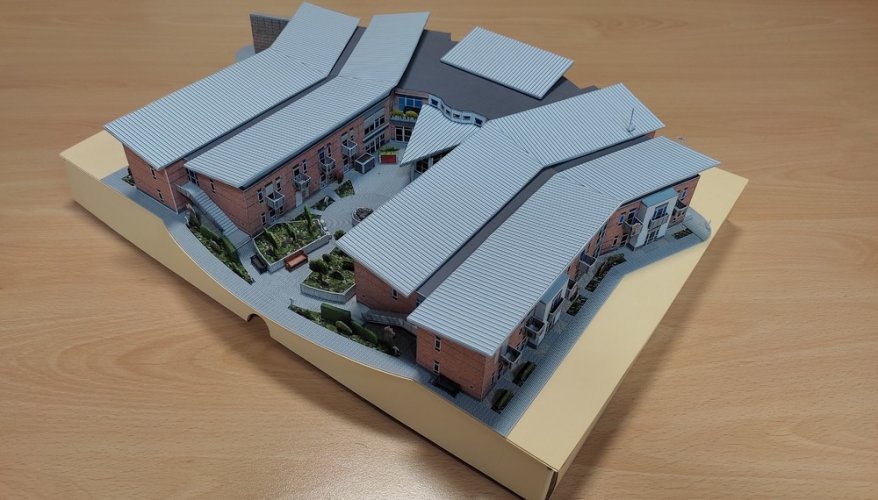
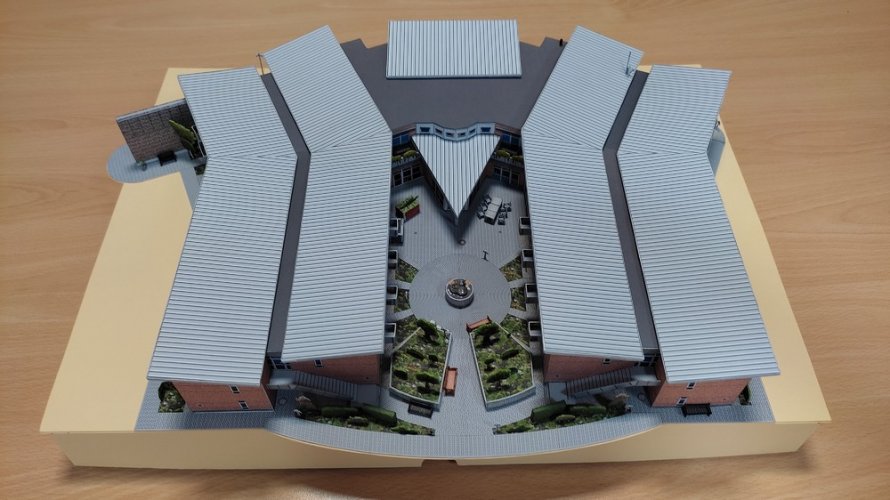
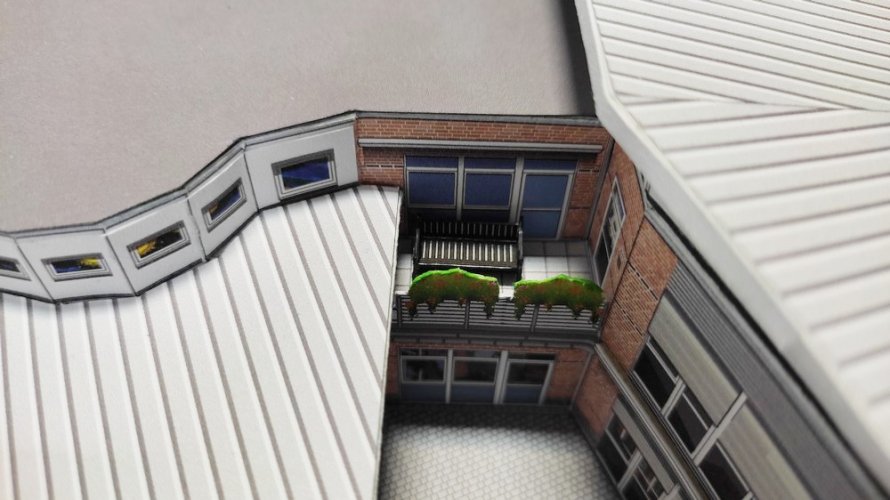
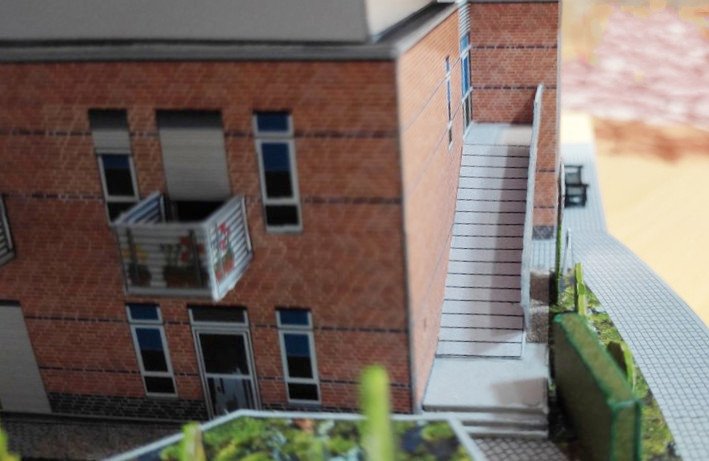
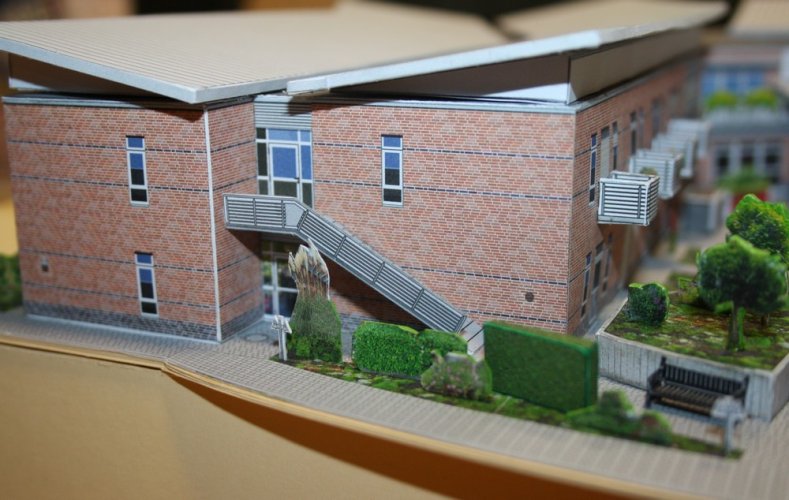
St. Georg Care Center, Vreden - A very special Home
- Thread starter Revell-Fan
- Start date
You are using an out of date browser. It may not display this or other websites correctly.
You should upgrade or use an alternative browser.
You should upgrade or use an alternative browser.
- Apr 5, 2013
- 13,498
- 9,549
- 228
Your boss is going to freak out when he gets this, and also be very sad to lose such a valued employee. 
Awesome there is a lot going on around the building. With every update you have amazed me
Well, she is still with us but has switched to another, less stressful position with fewer responsibilities and more leisure time which is always a good thing.Your boss is going to freak out when he gets this, and also be very sad to lose such a valued employee.
Update for October 29th: Nothing really happened here, my full energy went into the Halloween witches. My final holiday week of the year began which meant that I didn't have to interrupt my building time for work. That was in fact truly appreciated because October 30th saw the final steps before completion. Stay tuned! 
Thank you! I have refined the front and the back a bit and will release the van soon at a slightly larger scale:
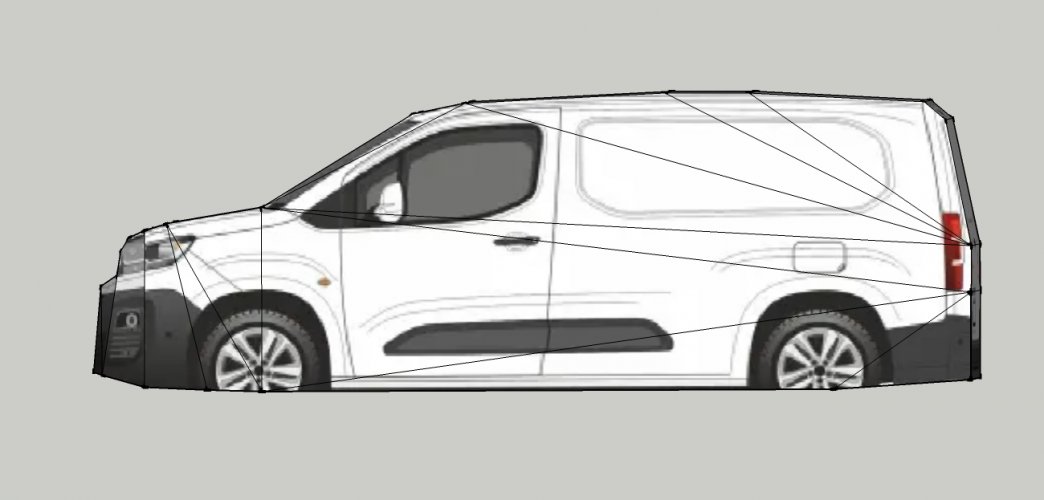
I'm still tweaking the texture to produce a generic van model which you may colour at will.
October 30th began early. There was only one day to complete the model and there was still a lot work to do. The first thing I did was to write down all elements which were still supposed to be added:
- lots of green stuff but not too much
- four short fences
- flower pot boxes
- some tables and chairs
- satellite dish
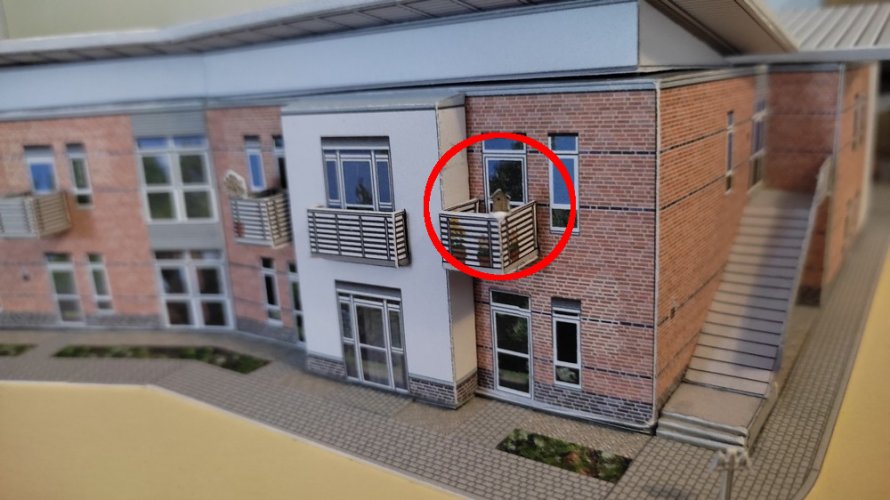
- birdhouse.
These elements are characteristics of the real thing and I wanted to add as many of them as possible. I determined to spend 25 minutes on each element. If something would not be done within that timeframe it would be skipped. I was fighting the clock.
I checked my picture archive and made the green stuff and the fences. I created a regular front and a mirrored back, copied and pasted them to create multiple versions, printed them, laminated them back to back and cut them out:
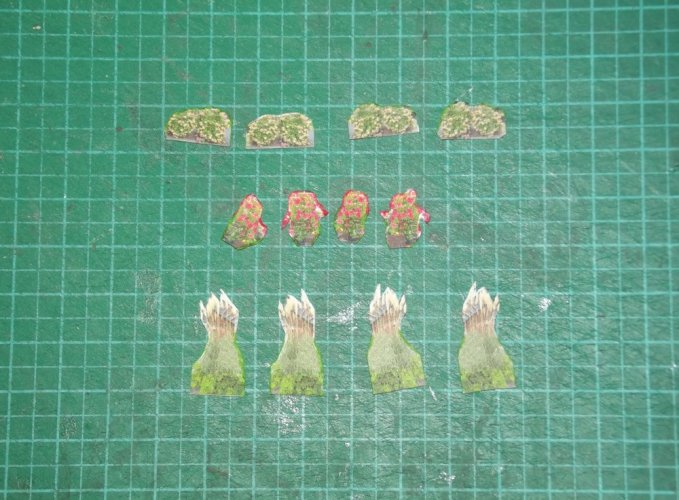
Green stuff.
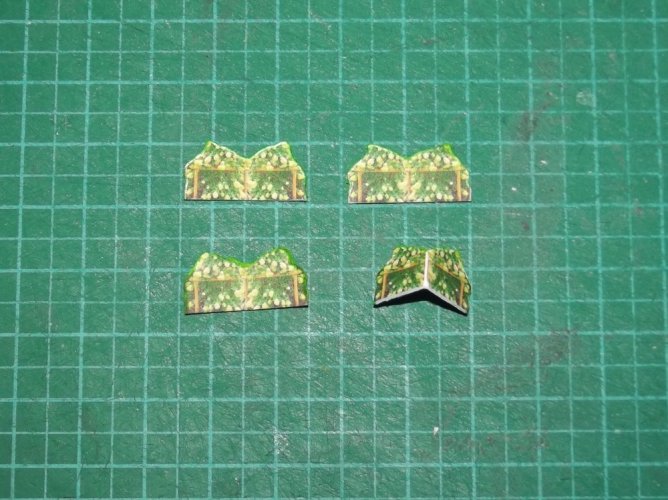
Fences.
Then it was time to go to work and distribute the witches:

Back from work I had lunch, watched the latest episode of "Gold Rush" and switched back to building right after the table was cleared.
Soon it became apparent that my 25-minutes-rule did not work because my laptop was suffering from electronic narcolepsy and decided to take a nap every five minutes. So everything was a draaaaaag and I decided to pull the plug.
Machine was restarted and was working much more reliable now.
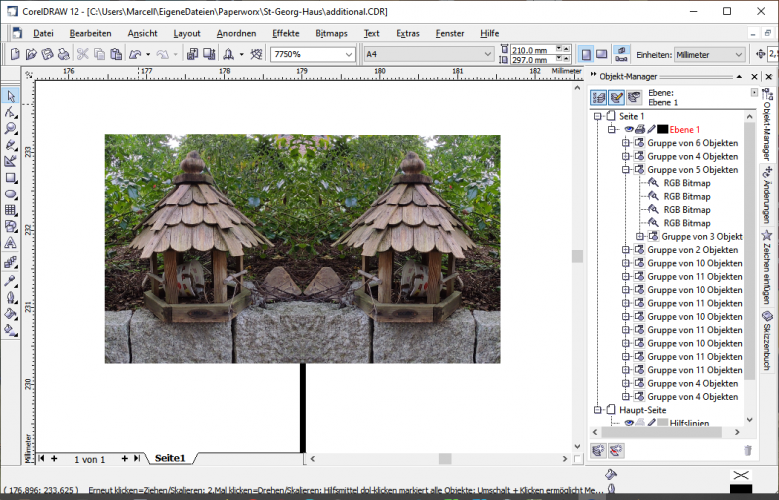
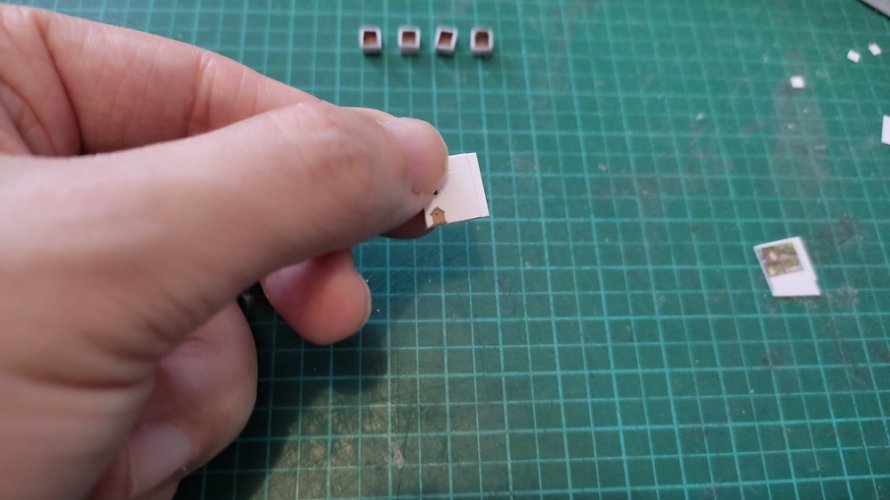
This little birdhouse lives on one edge of the high flower beds. It was the first small piece to be glued into place:
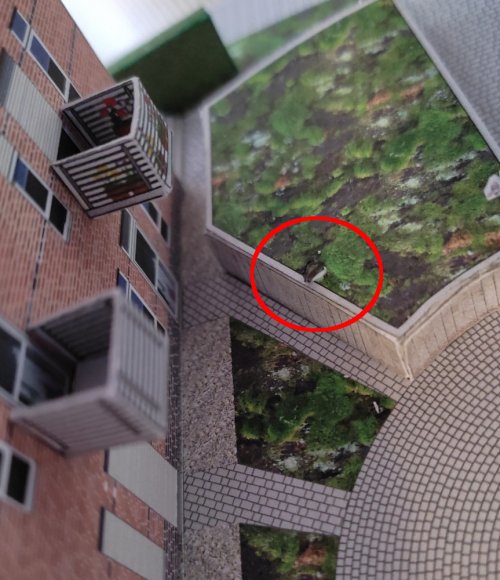
Overall size: 2x2mm. But this was not the birdhouse I mentioned in my list above; THIS is the one:

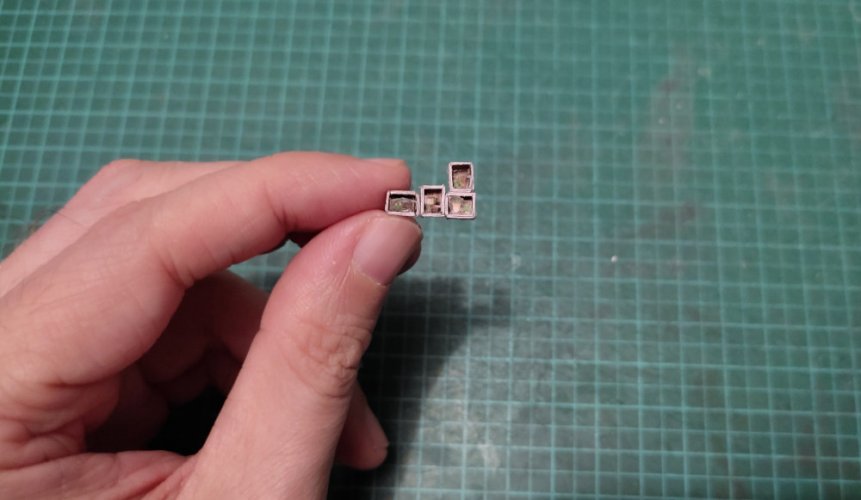
Then came the boxes with the flower pots:
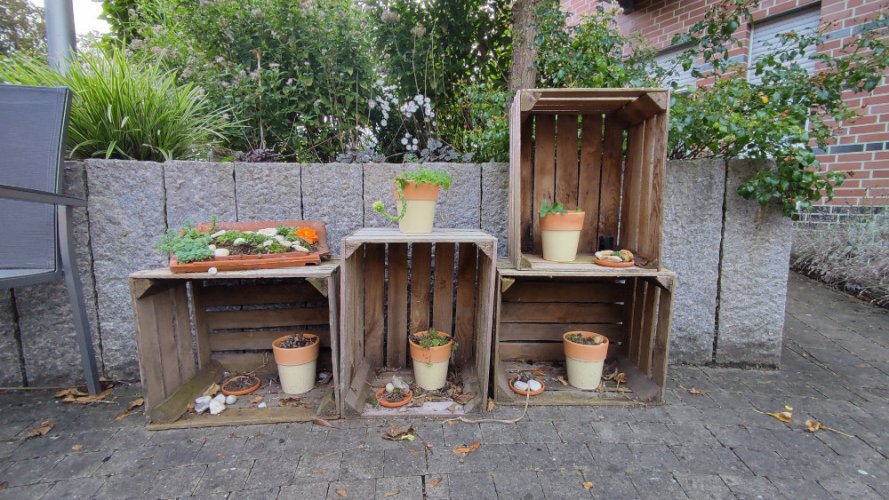
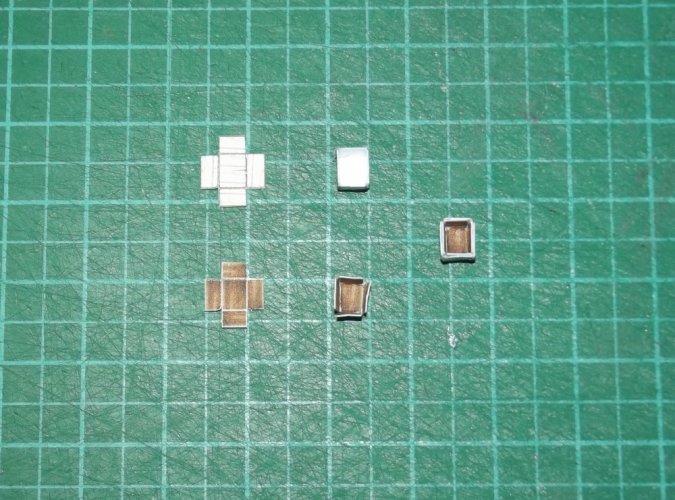
All boxes have an inner and an outer side.
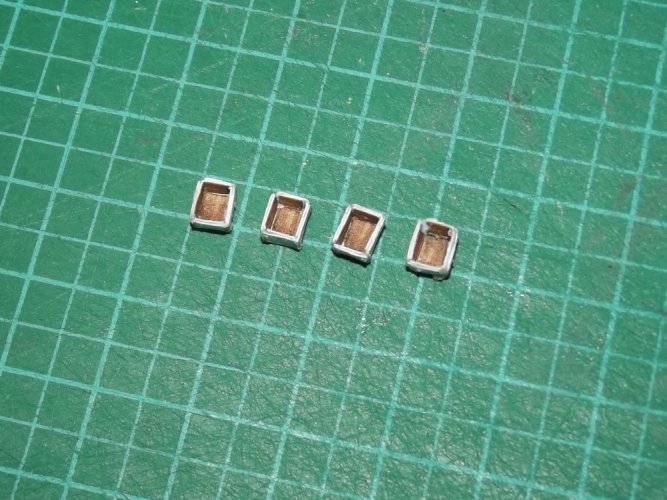
The pots were printed separately, cut out and inserted into the hollow boxes:
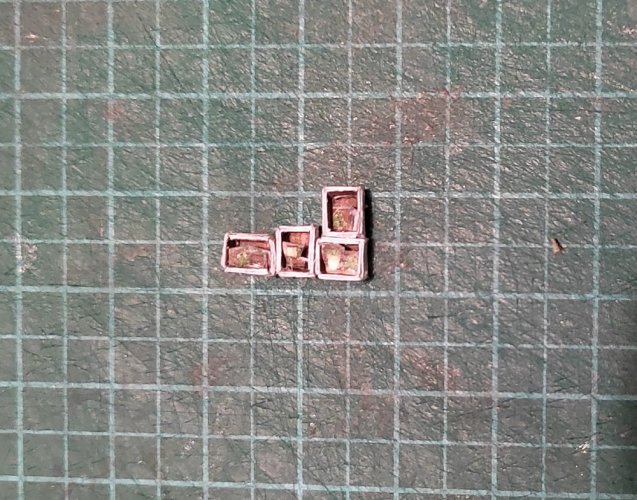
This was pretty fiddly but I was very pleased with the result:

I'm still tweaking the texture to produce a generic van model which you may colour at will.
October 30th began early. There was only one day to complete the model and there was still a lot work to do. The first thing I did was to write down all elements which were still supposed to be added:
- lots of green stuff but not too much
- four short fences
- flower pot boxes
- some tables and chairs
- satellite dish
- birdhouse.
These elements are characteristics of the real thing and I wanted to add as many of them as possible. I determined to spend 25 minutes on each element. If something would not be done within that timeframe it would be skipped. I was fighting the clock.
I checked my picture archive and made the green stuff and the fences. I created a regular front and a mirrored back, copied and pasted them to create multiple versions, printed them, laminated them back to back and cut them out:

Green stuff.

Fences.
Then it was time to go to work and distribute the witches:
Back from work I had lunch, watched the latest episode of "Gold Rush" and switched back to building right after the table was cleared.
Soon it became apparent that my 25-minutes-rule did not work because my laptop was suffering from electronic narcolepsy and decided to take a nap every five minutes. So everything was a draaaaaag and I decided to pull the plug.
Machine was restarted and was working much more reliable now.

This little birdhouse lives on one edge of the high flower beds. It was the first small piece to be glued into place:

Overall size: 2x2mm. But this was not the birdhouse I mentioned in my list above; THIS is the one:

Then came the boxes with the flower pots:


All boxes have an inner and an outer side.

The pots were printed separately, cut out and inserted into the hollow boxes:

This was pretty fiddly but I was very pleased with the result:

Last edited:
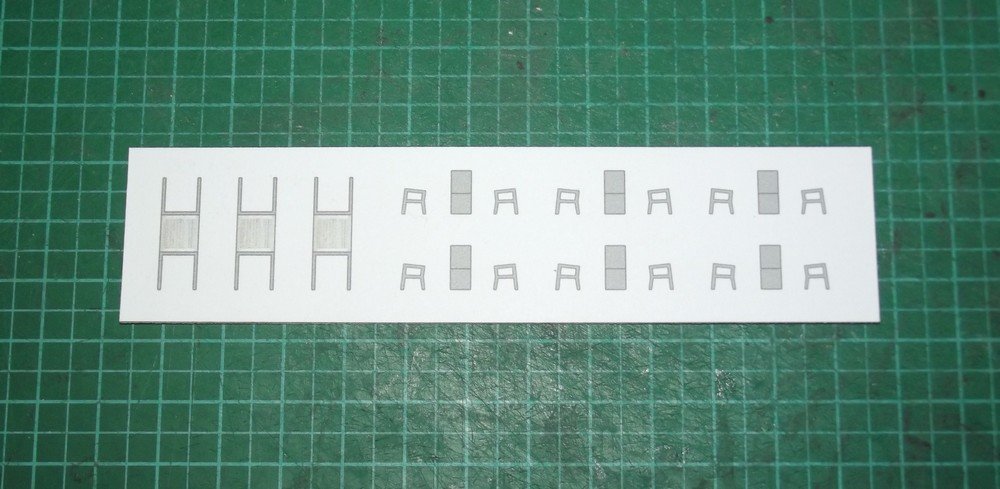
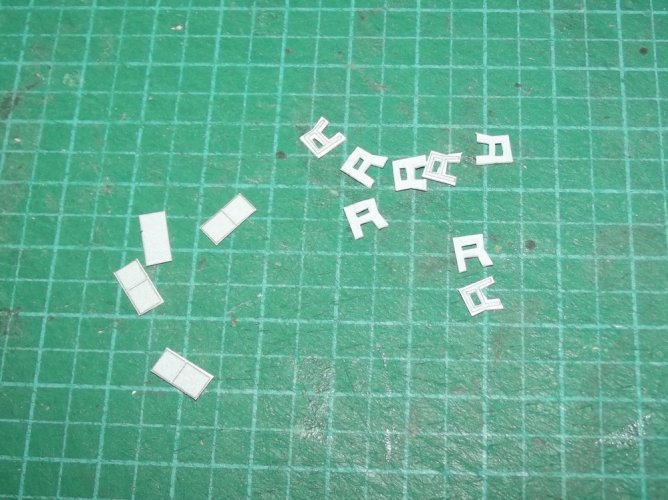
Next were the tables and chairs. They were constructed similarly like the benches but much to my surprise assembly was done in lightspeed.
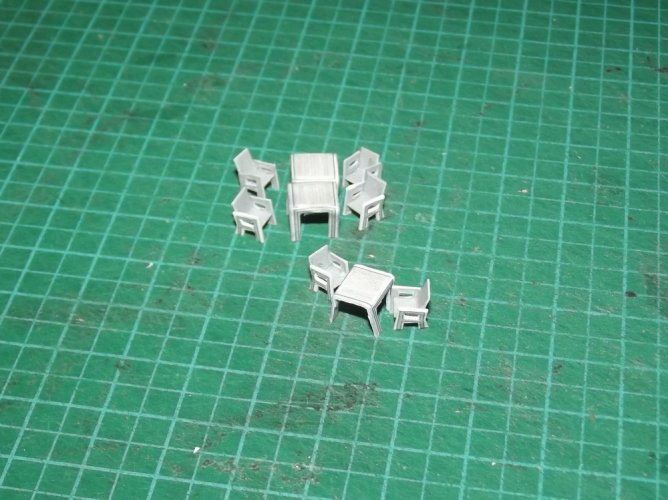
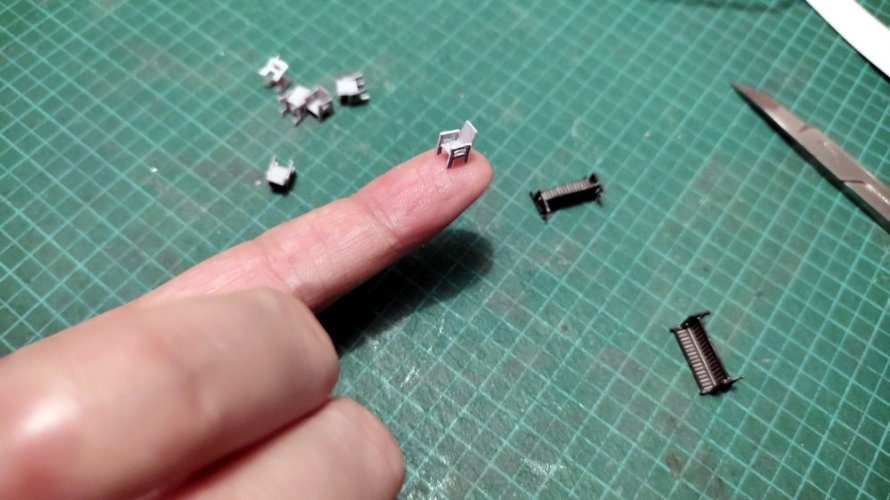
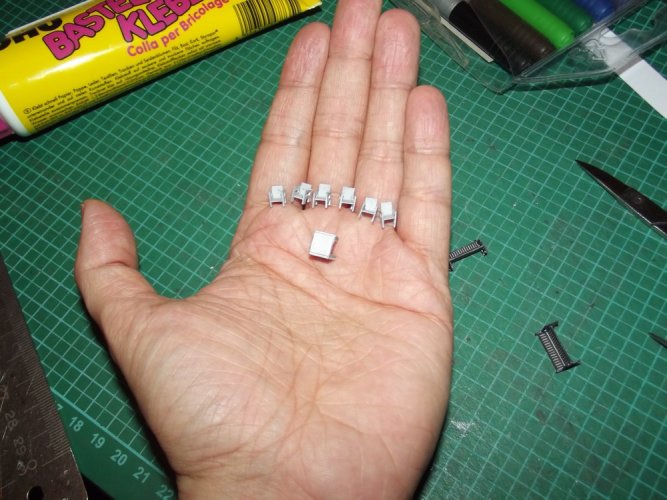
It took seven minutes to take this final picture: Originally I placed all three tables in my palm. However, just when I was about to pull the trigger at least one of them would fall over. After seven minutes of fruitless labour I skipped two of them and went with only one. That worked, FINALLY!
The satellite dish:
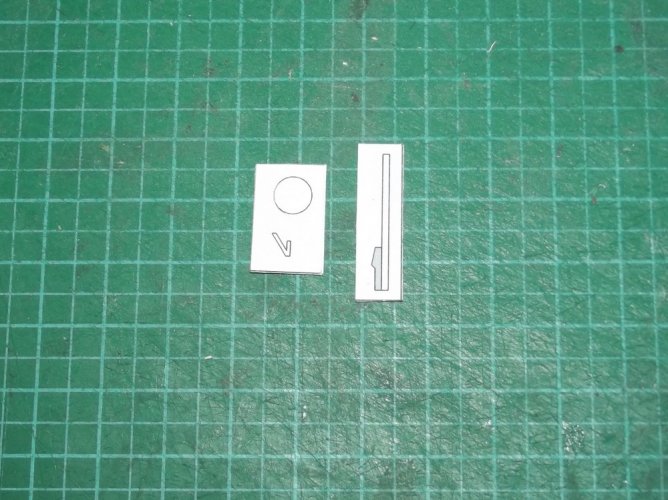
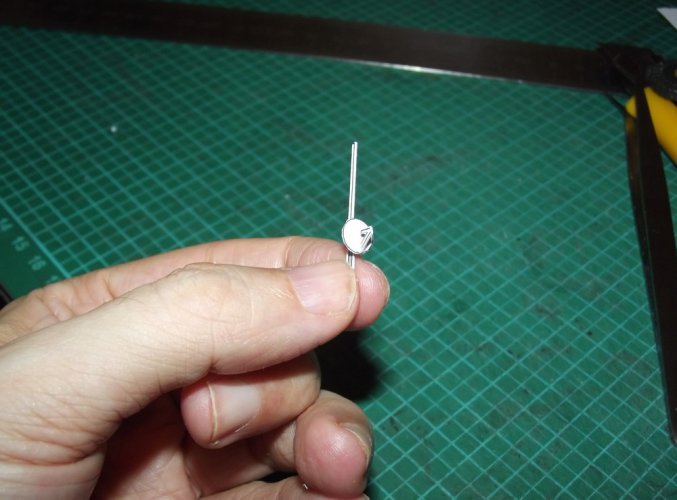
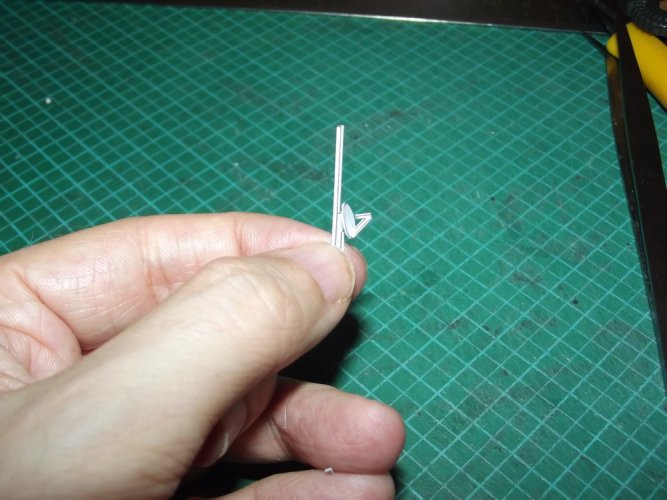
And now it was time for a break. I was working without pause for several hours and had to relax my eyes.


It took seven minutes to take this final picture: Originally I placed all three tables in my palm. However, just when I was about to pull the trigger at least one of them would fall over. After seven minutes of fruitless labour I skipped two of them and went with only one. That worked, FINALLY!

The satellite dish:


And now it was time for a break. I was working without pause for several hours and had to relax my eyes.
- Apr 5, 2013
- 13,498
- 9,549
- 228
After the break the final decoration began. I started with the lamps because they had fixed positions. If I had started with the plants I might have blocked a lamp mounting point.
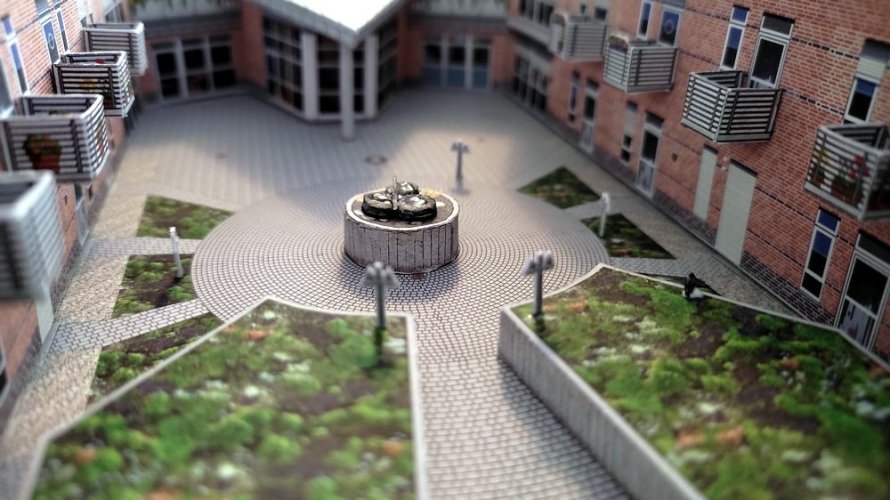
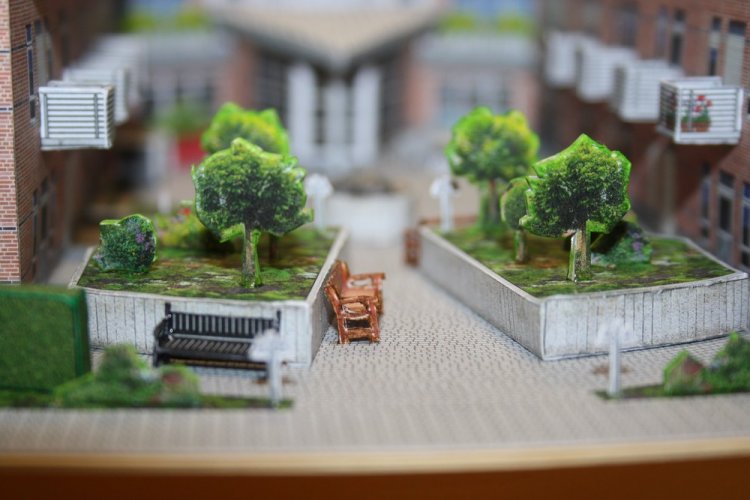
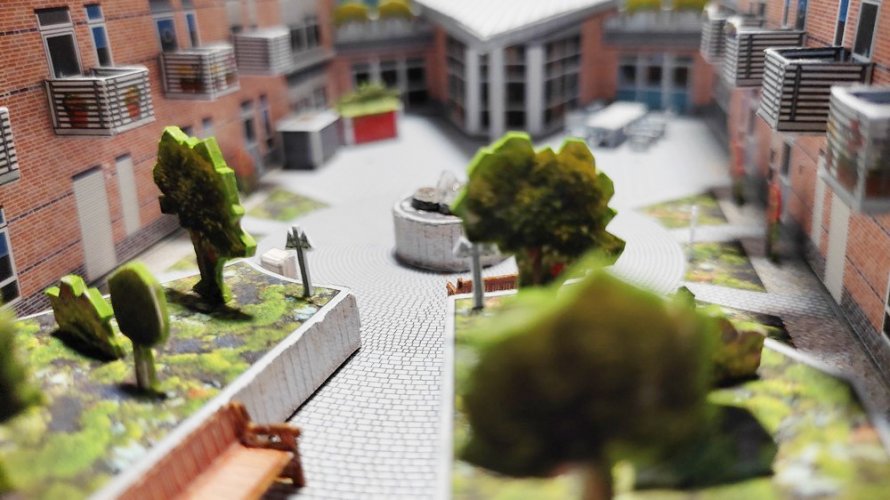
Boxes and benches:
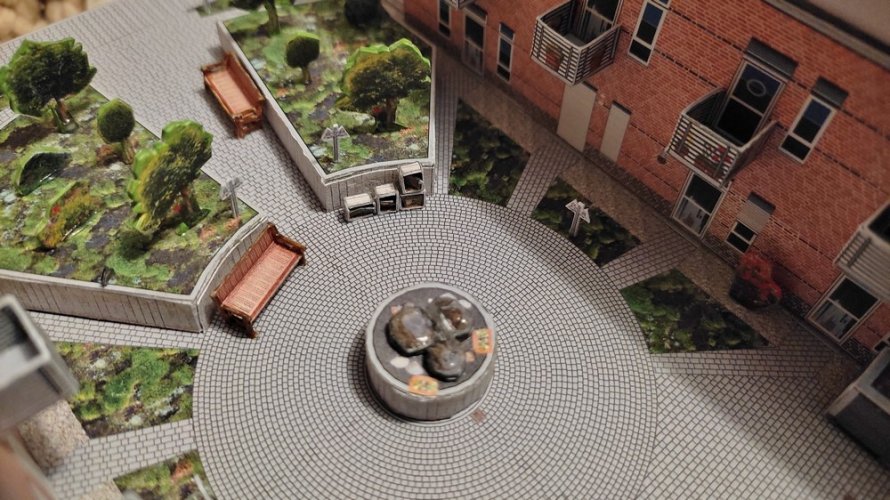
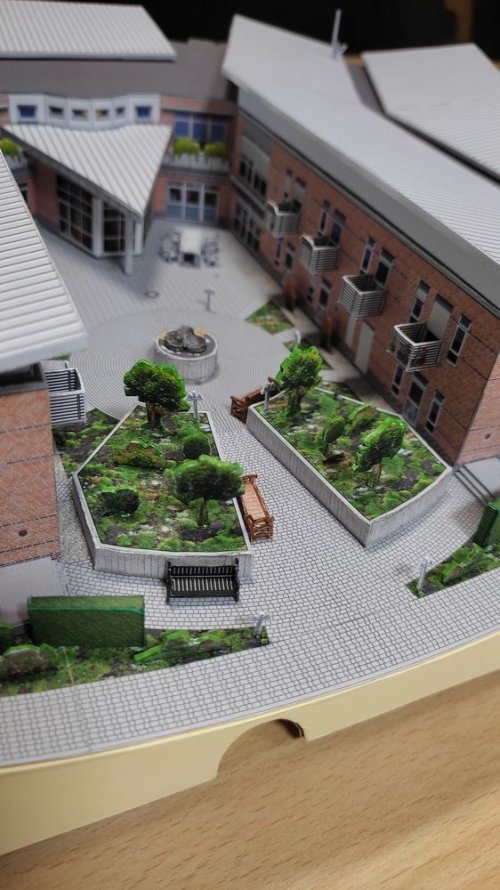
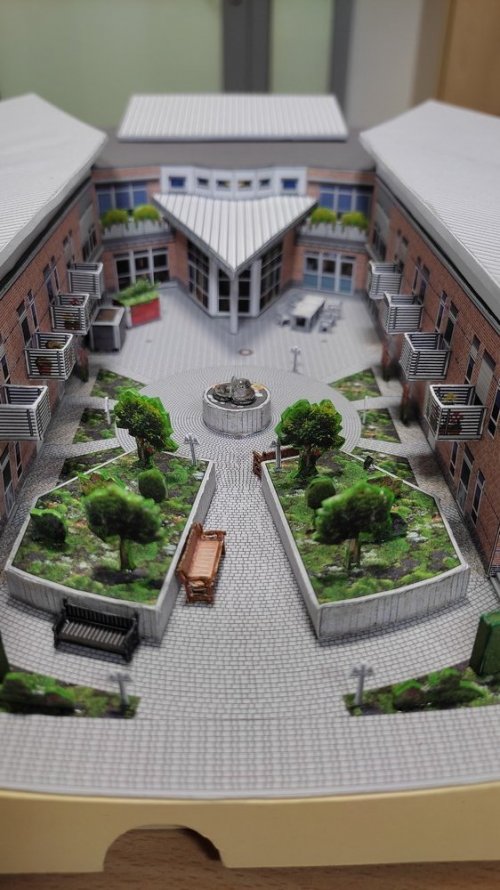
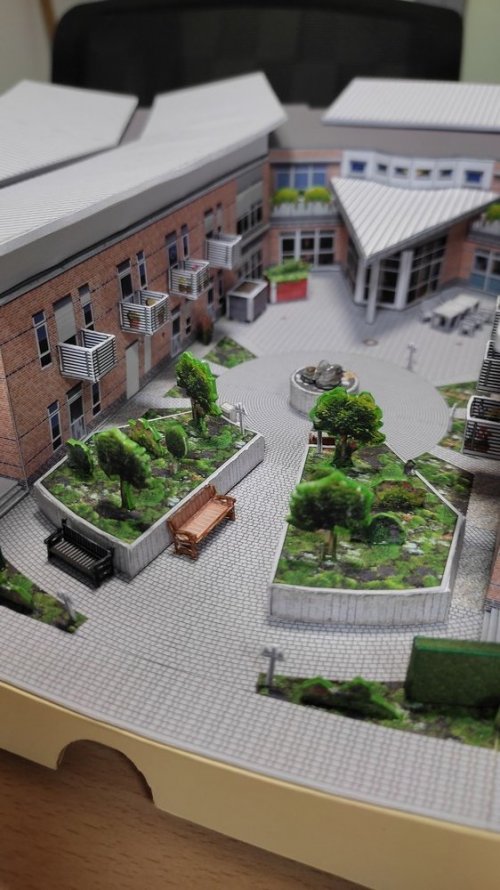
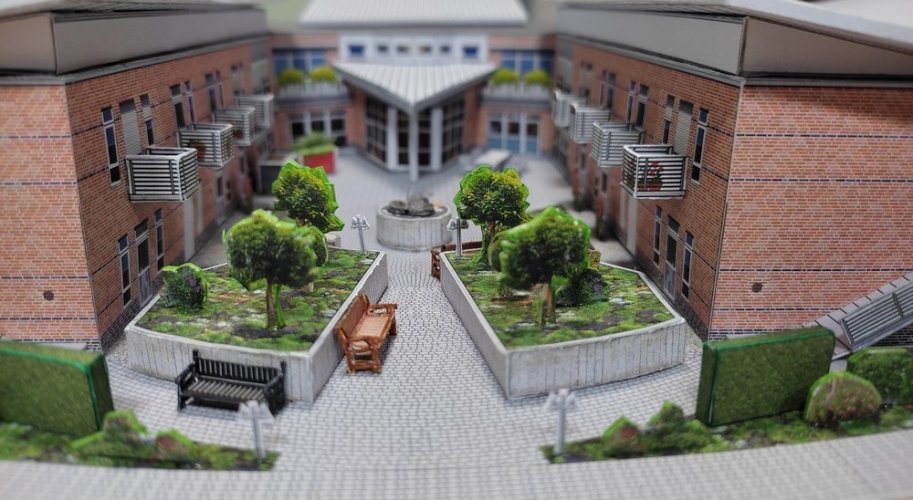
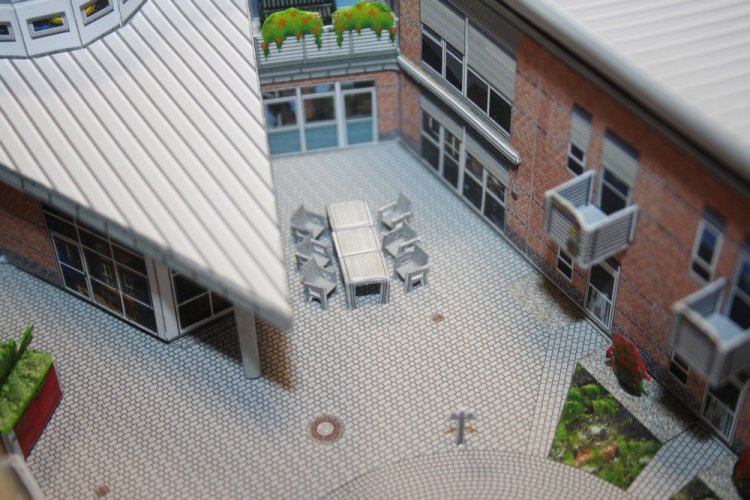
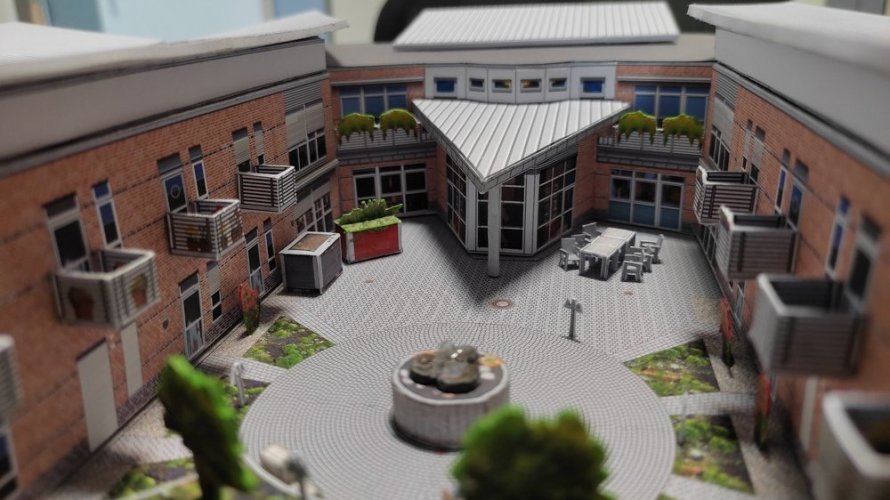
Flower beds went to the left, tables and chairs to the right:
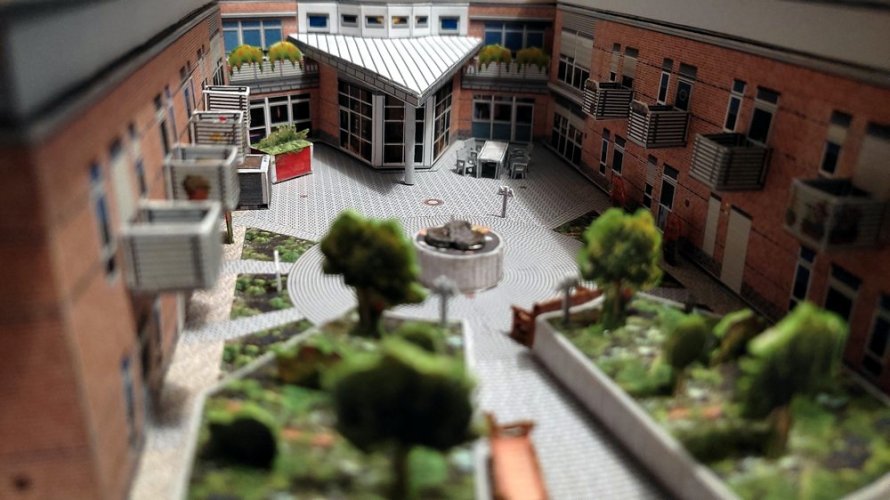
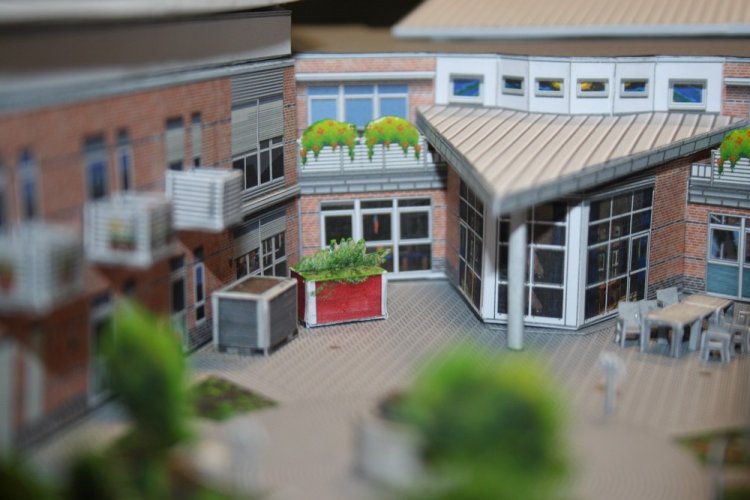
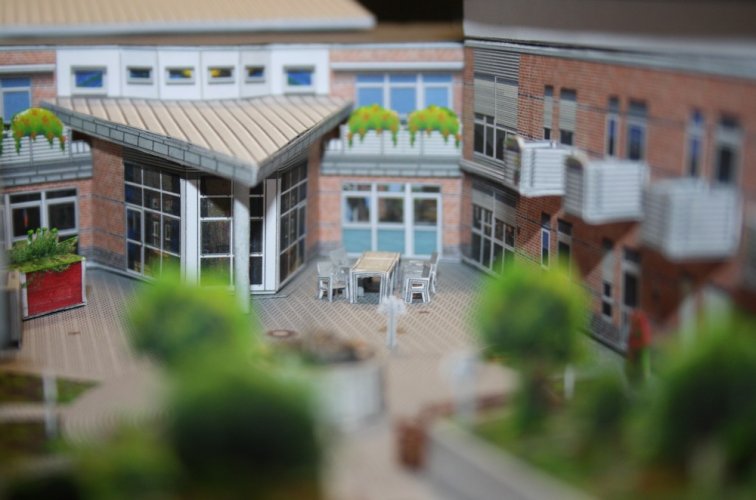
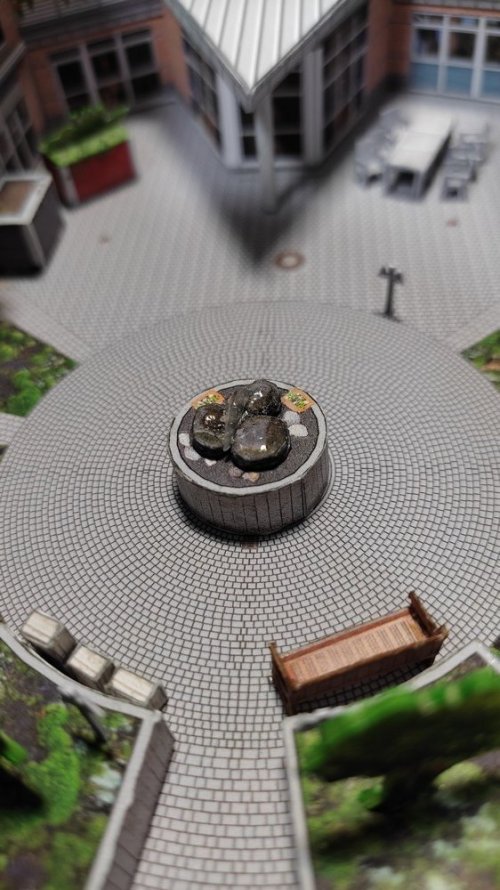
This way I put all important elements into the diorama without overcrowding the small space. The most prominent trees and plants were attached according to their real world locations. The smaller ones were spread out randomly wherever they fit.
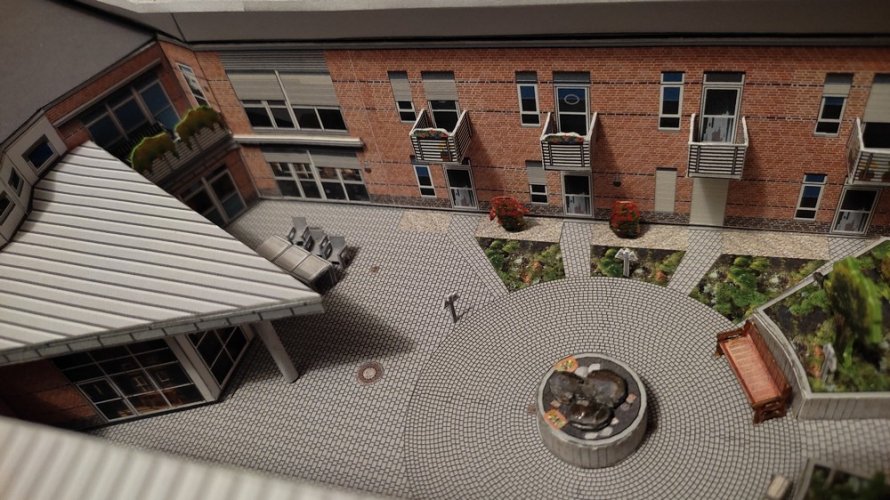
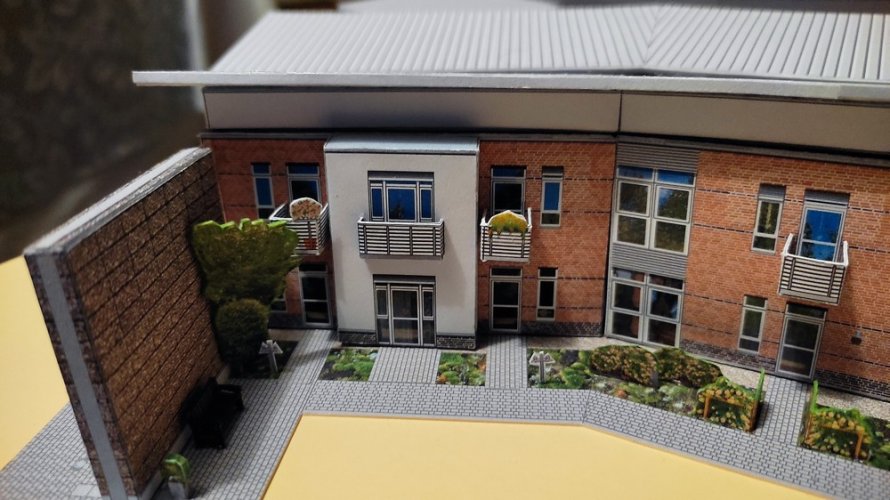
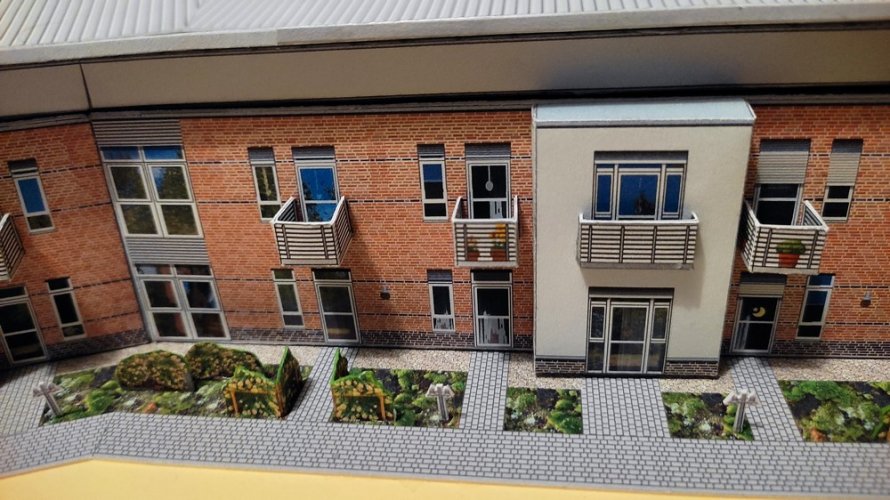
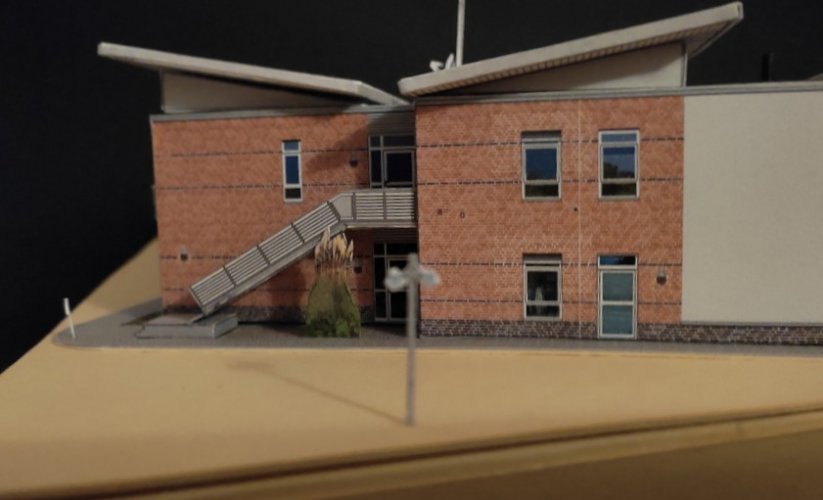
I noticed a stain on the tan cardboard. I added the big street lamp only to hide it. To keep the symmetry I added another one on the right side. Another lamp, of course, not another stain.
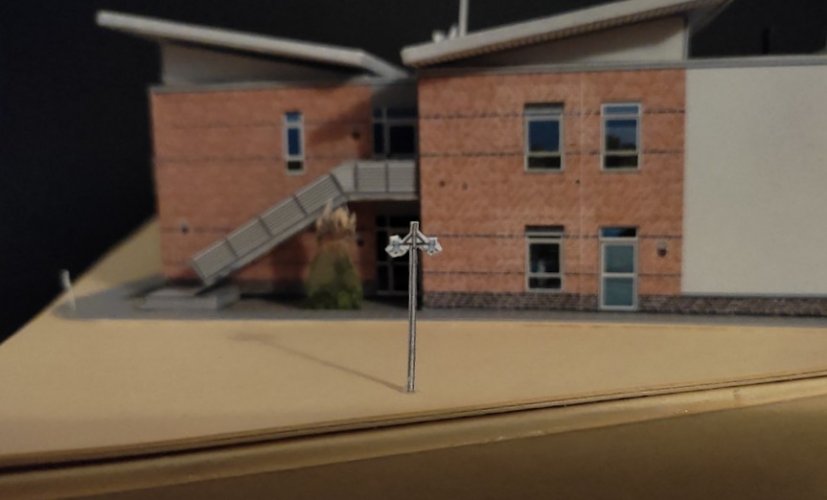
This added another layer to the model and made it even more interesting. Well, even a stain can be inspiring.
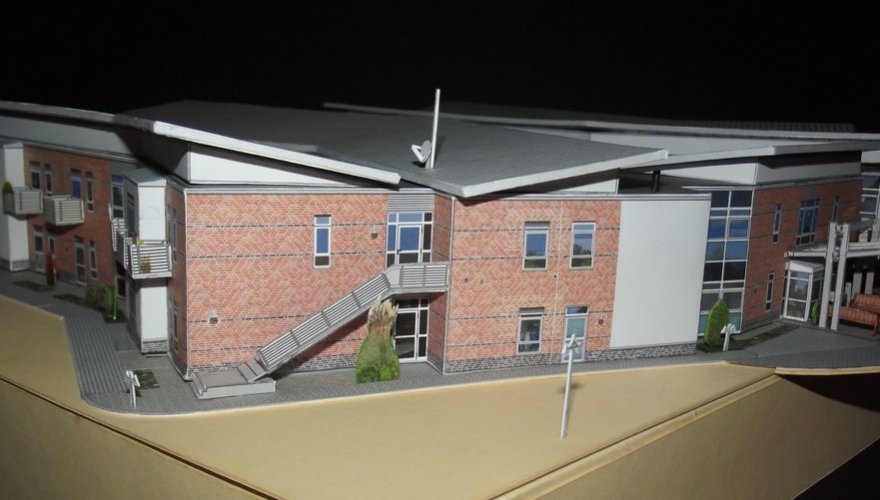
Power on the telly!
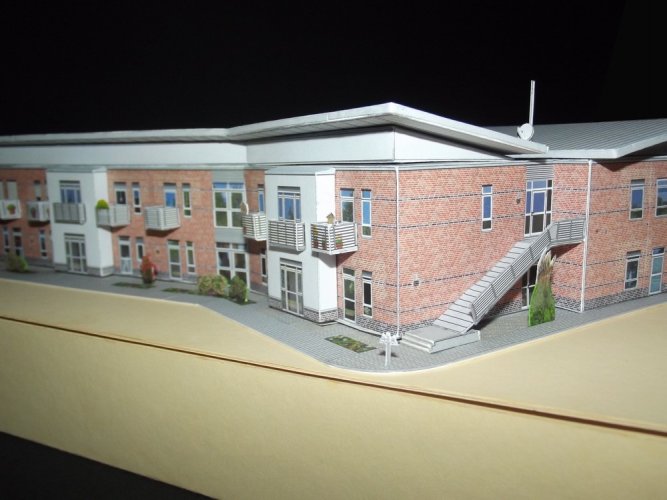
And last but not least the birdhouse found its place:
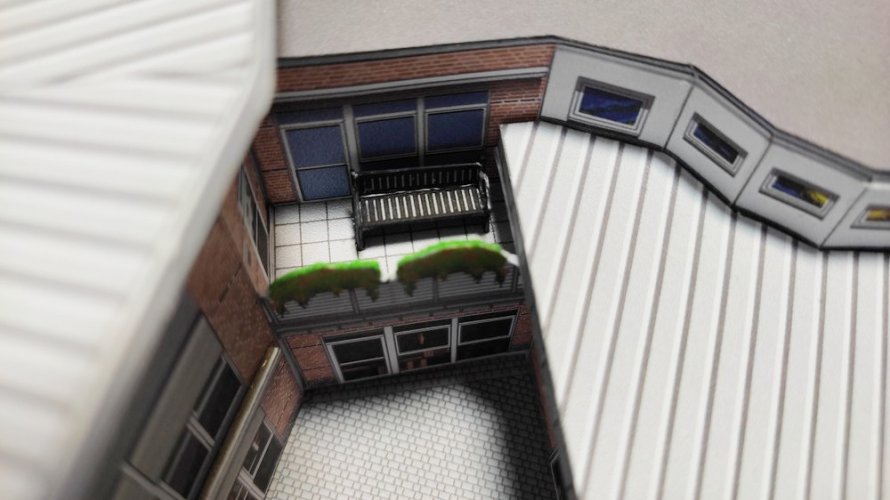
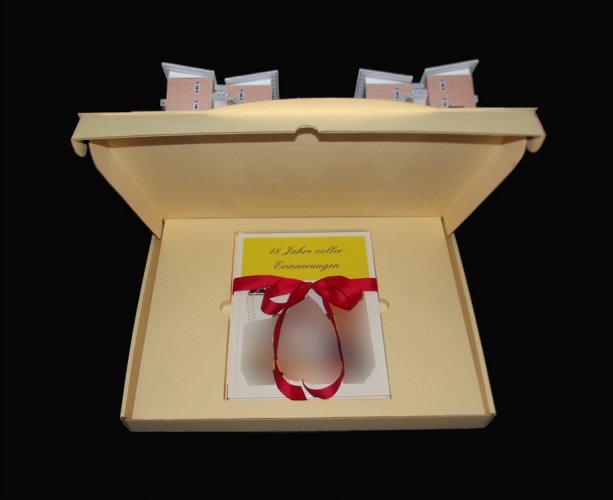
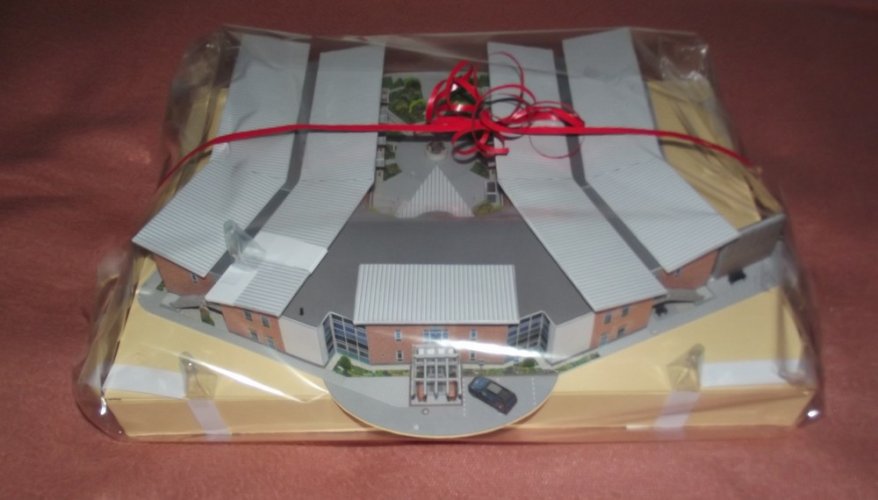
The book was inserted:
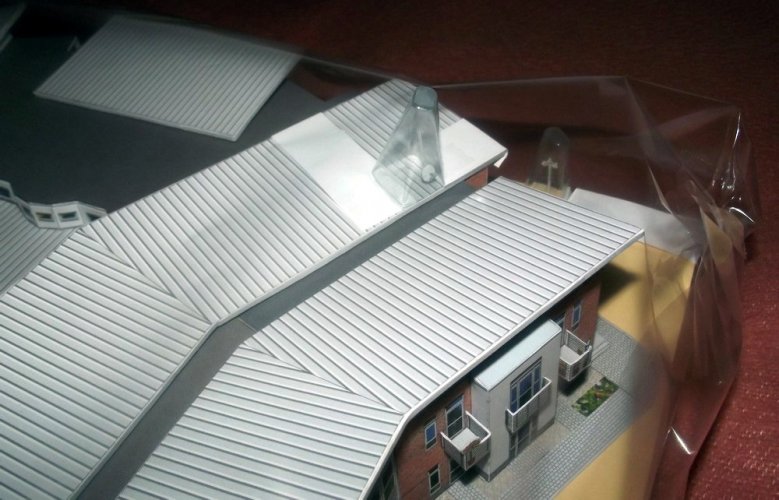
the delicate parts got a cover made from leftover packaging material for protection:
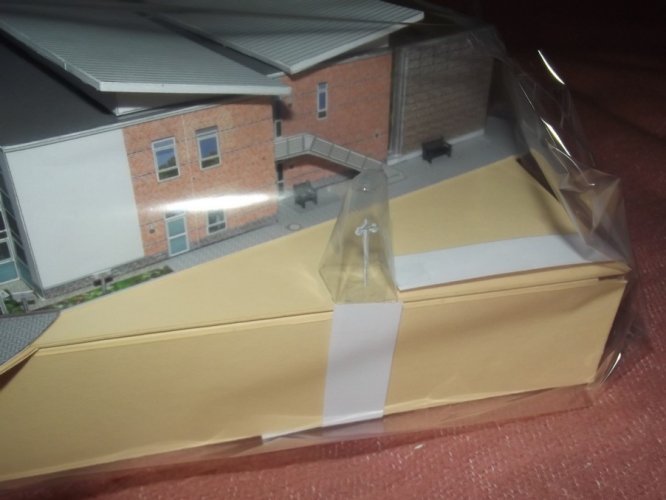
and everything was wrapped up nicely:


Boxes and benches:

Flower beds went to the left, tables and chairs to the right:

This way I put all important elements into the diorama without overcrowding the small space. The most prominent trees and plants were attached according to their real world locations. The smaller ones were spread out randomly wherever they fit.


I noticed a stain on the tan cardboard. I added the big street lamp only to hide it. To keep the symmetry I added another one on the right side. Another lamp, of course, not another stain.

This added another layer to the model and made it even more interesting. Well, even a stain can be inspiring.

Power on the telly!


And last but not least the birdhouse found its place:

The book was inserted:

the delicate parts got a cover made from leftover packaging material for protection:


and everything was wrapped up nicely:

Last edited:
- Apr 5, 2013
- 13,498
- 9,549
- 228
That is exactly what our division manager said when he saw it!Kind of loooks like a cake. Very nice!!

 WOW!!!
Impressive work Revell-Fan, very nicely done.
This gift will make somebody very happy.
Such a wonderful tribute to a wonderful boss and a wonderful place to work. Great craftsmanship!


