St. Georg Care Center, Vreden - A very special Home

Revell-Fan

Co-Administrator
Staff member
Administrator
Moderator
Aug 1, 2009
11,613
12,353
228
Vreden
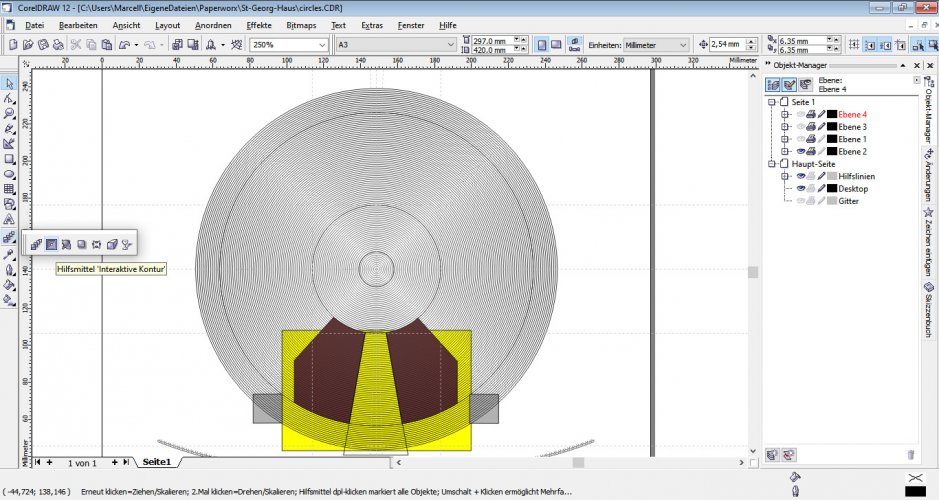
A quick explanation how the stones were made to follow the curves. When I found out that all lines met in the center of the yard which is the center of the fountain I created a series of circles using the interactive contour tool:
StGeorgHaus41.jpg

The number of circles matched the number of rows I counted in reality.

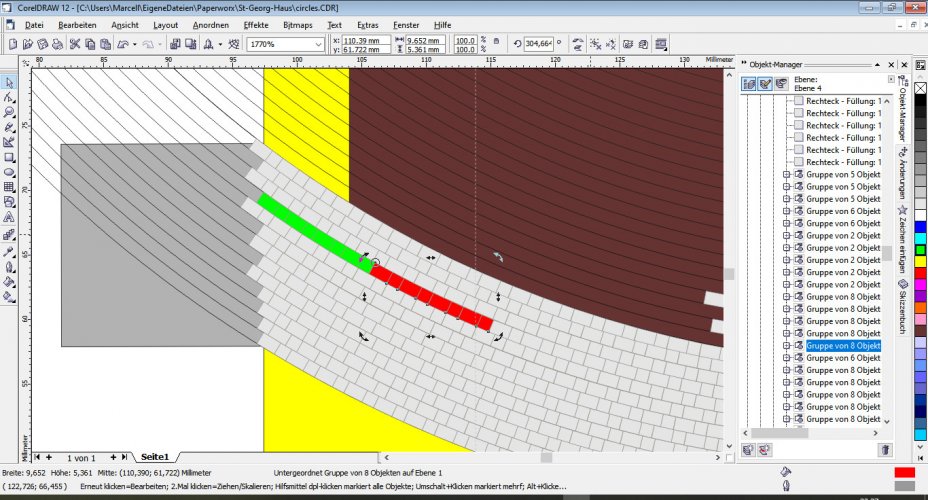
Then I marked the areas which had to be textured (yellow rectangle). This was put on a new layer. Editability of both circle and rectangle layers was toggled off. A new layer was created and filled with a series of stones (green). Using the curvature of the circles each stone was rotated slightly to follow the curvature. Since the bend of the curve was equal on each circle I grouped the series of stones, doubled it and moved and rotated it into place as seen.
StGeorgHaus43.jpg

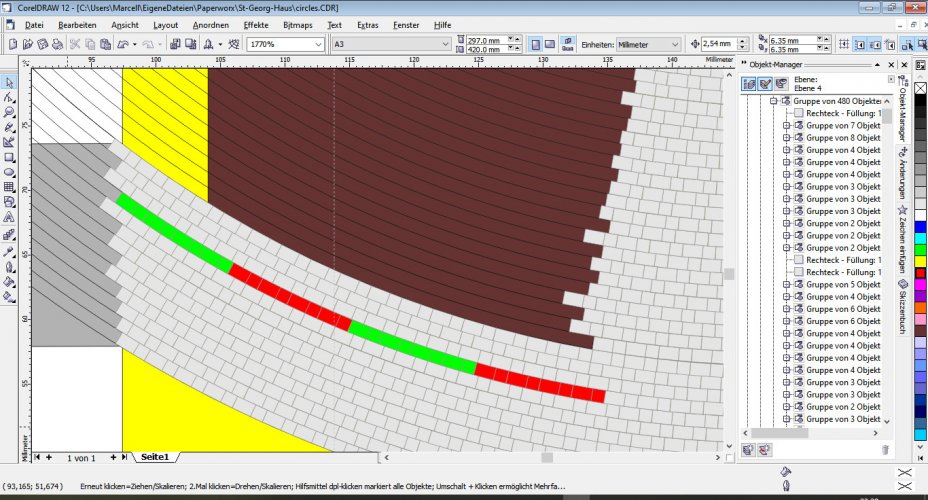
Red and green stone series were grouped, multiplied and arranged like the red series before.
StGeorgHaus44.jpg

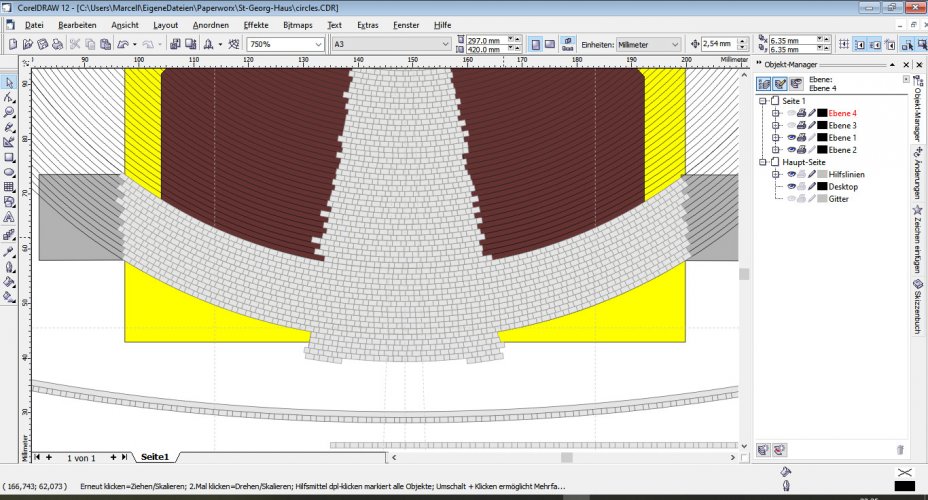
This was done over and over again till the whole circle was filled. With each multiplication the series of stones got longer and the circle was filled very quickly. Then I proceeded with the next circle and the next row of stones.
StGeorgHaus42.jpg

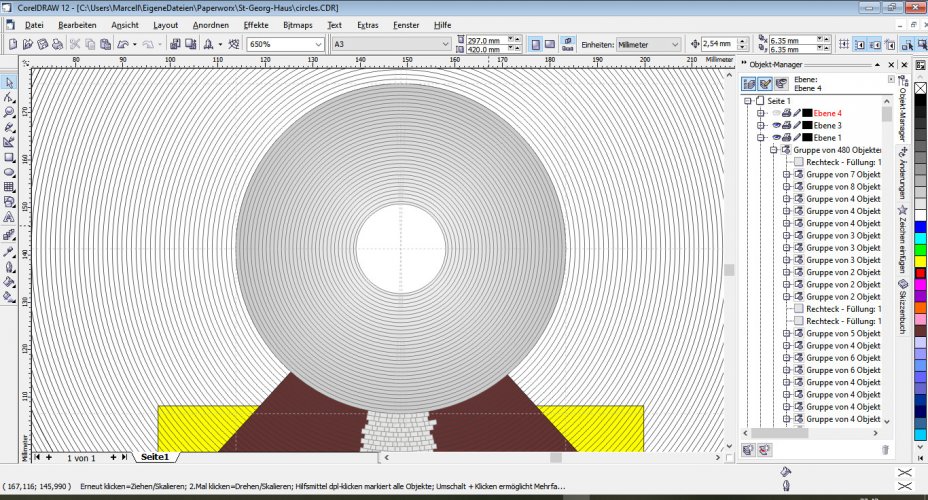
The cobblestones in the center circle were created a bit differently.
StGeorgHaus45.jpg

I created a square which was as big as the distance between two neighbouring circles. Then I drew two guide lines from the left and the right side of the square toward the center of the circle.
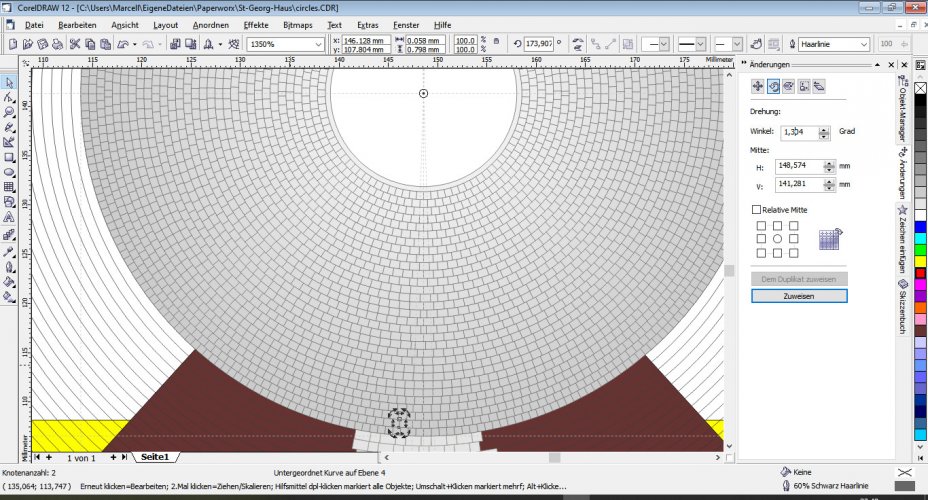
StGeorgHaus46.jpg

I determined the angle, wrote down the number, drew a line on one of the sides of the square, moved the rotation center of the line toward the center of the circle and used the rotate duplicate function to create a series of lines which went all around 1/4 of the circle. Then I moved up the square to the next circle and repeated the process.

After that I grouped the 1/4 circle lines, mirrored them, arranged them so that they filled 1/2 of a circle, grouped both, mirrored all lines again and arranged them to fill out the entire circles. The crossing points had to be slightly adapted to remove double lines or lines which were too close together.
 
Last edited:

Revell-Fan

Co-Administrator
Staff member
Administrator
Moderator
Aug 1, 2009
11,613
12,353
228
Vreden
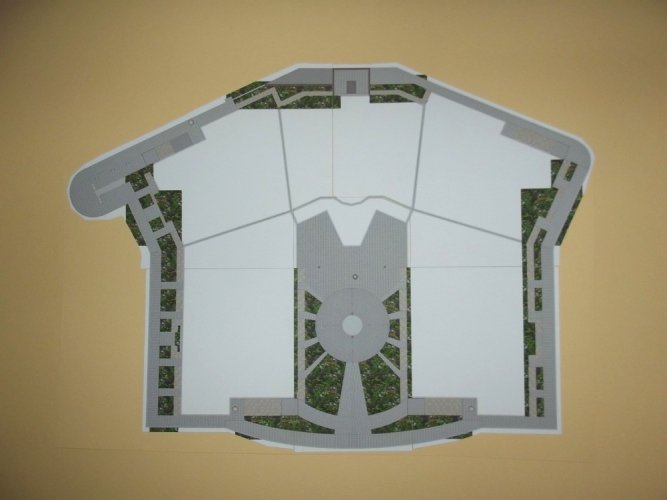
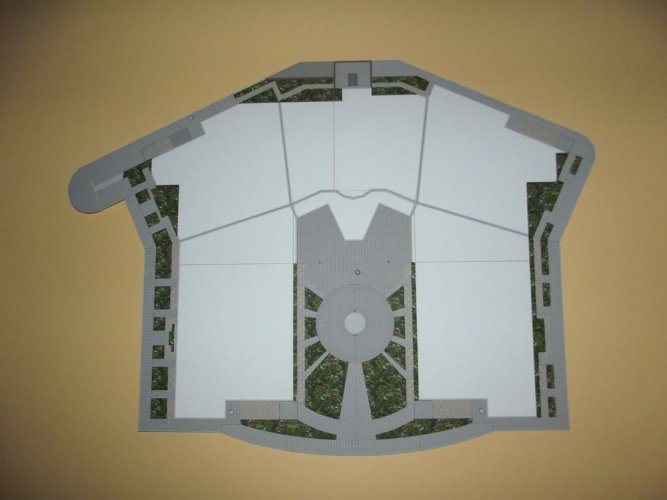
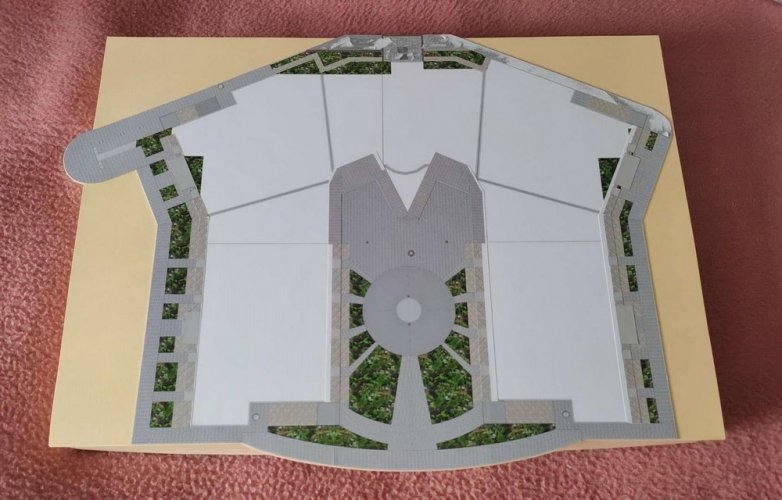
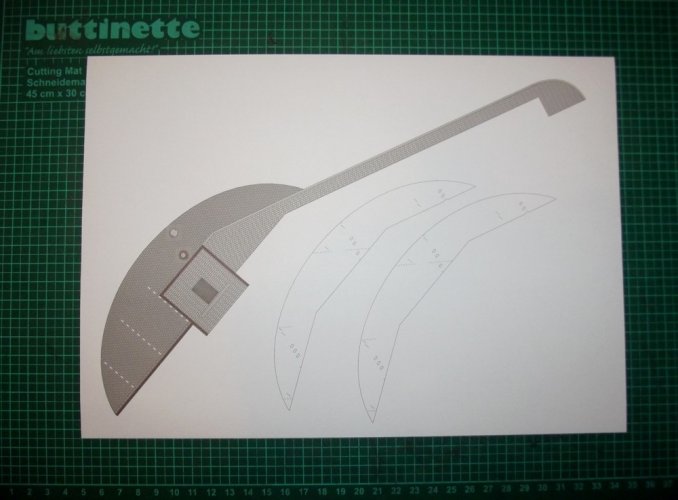
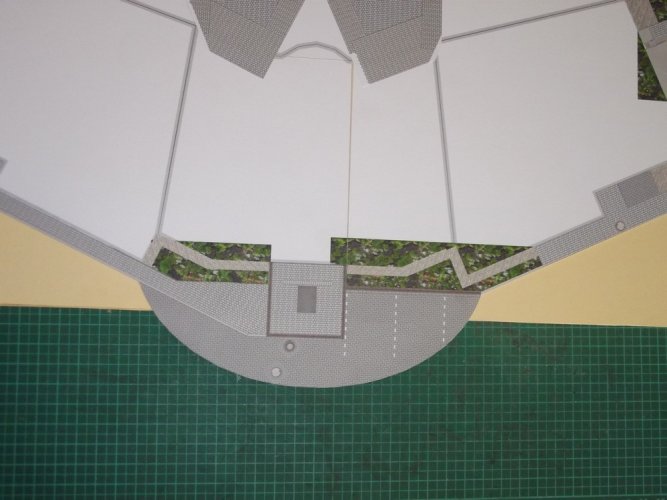
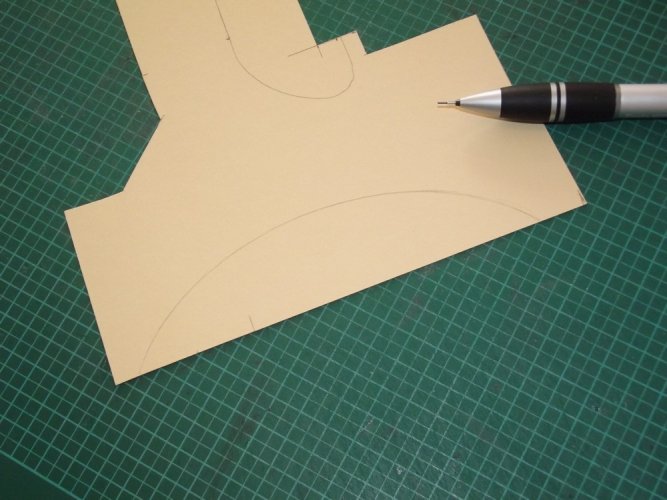
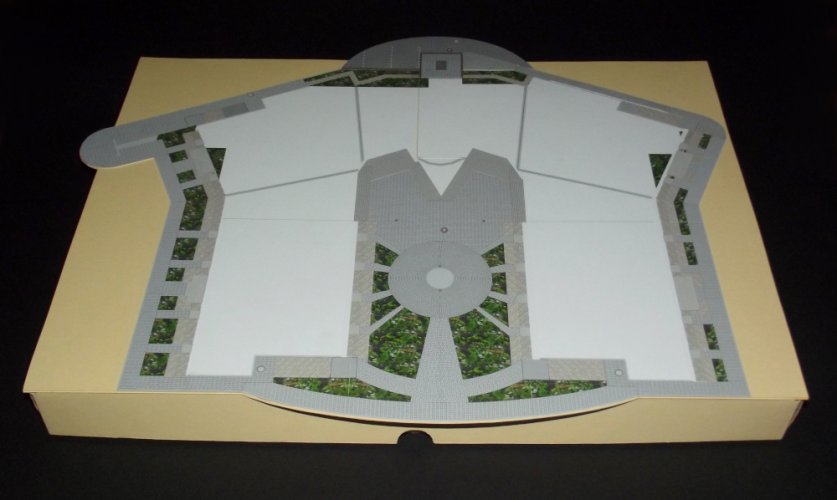
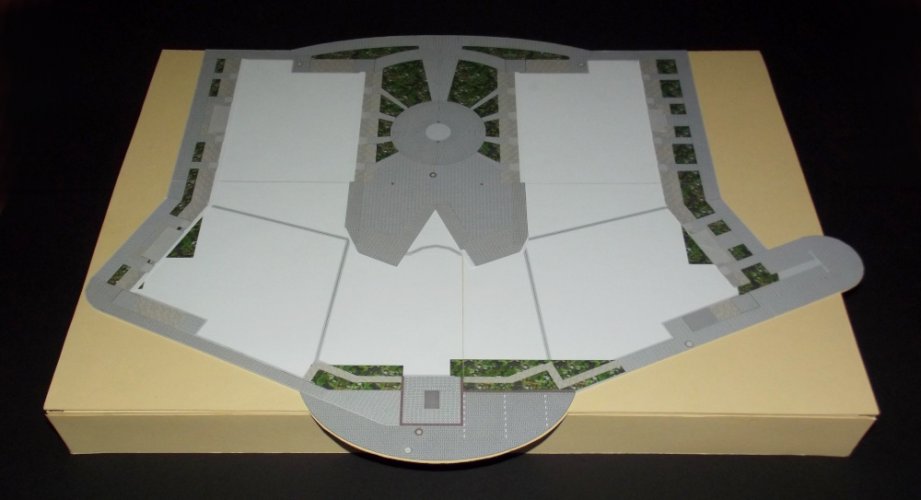
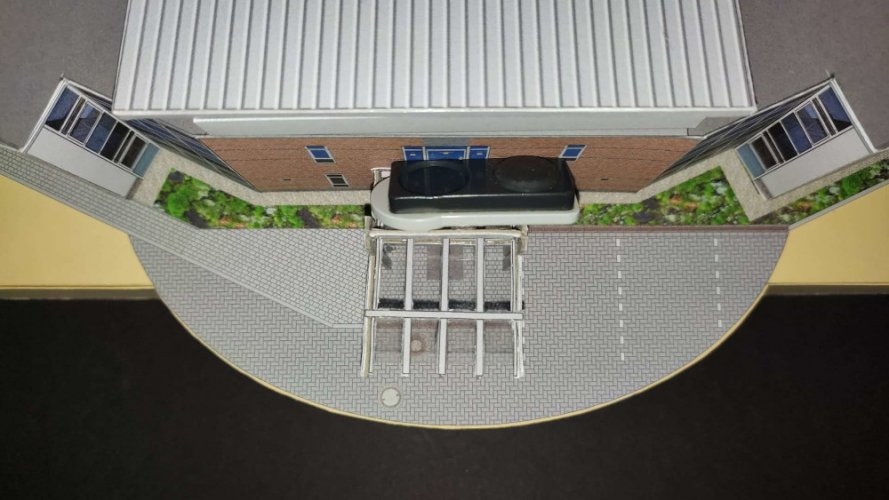
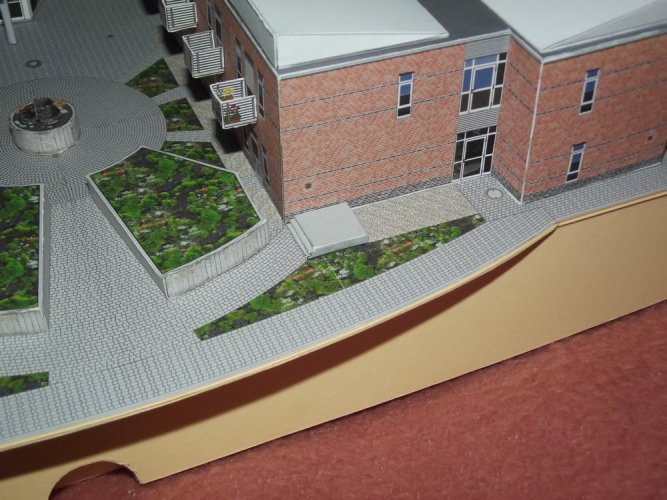
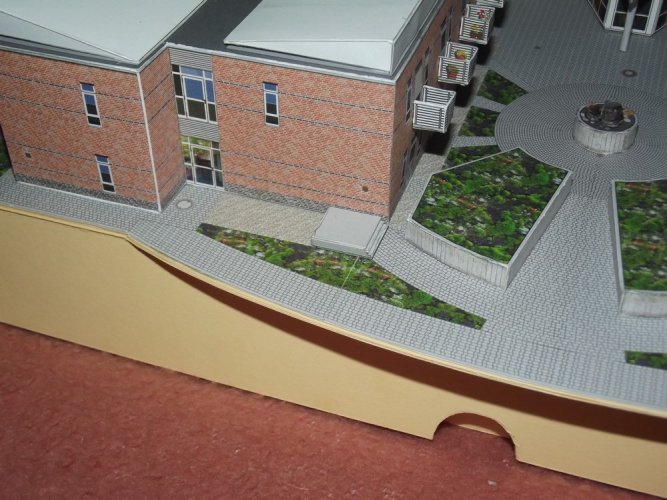
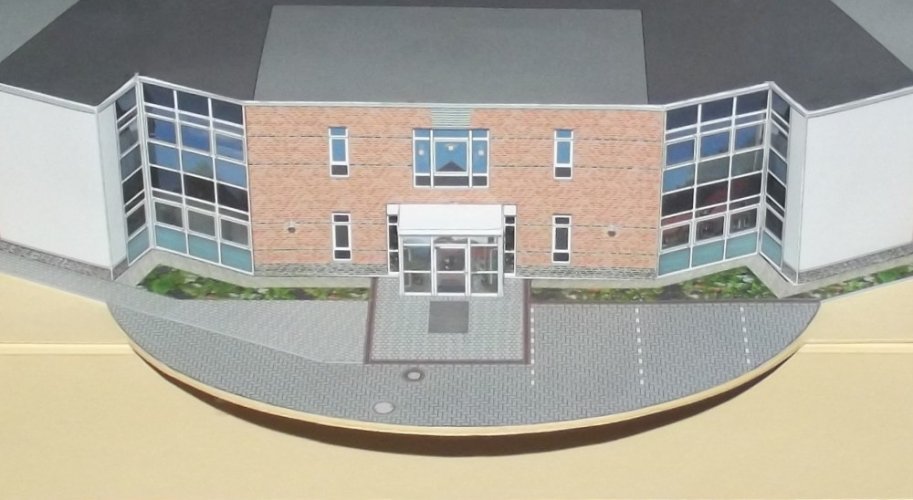
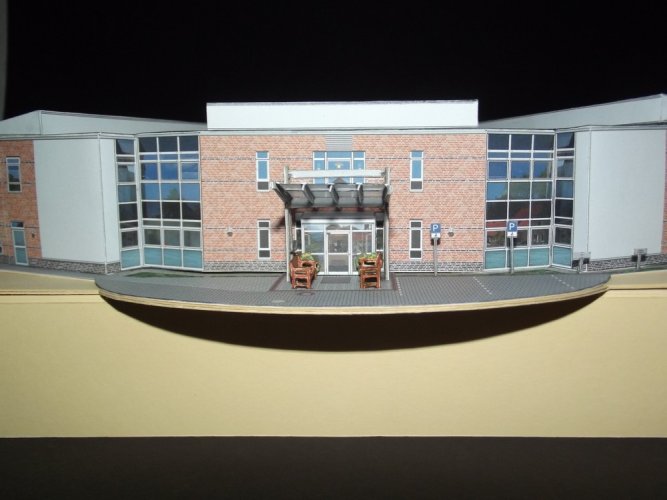
On October 11th I test-fit the base plate onto the box. I noticed that a few areas went beyond the dimensions of the "frame". That looked kinda cool and gave everything an additional semi-floating 3D effect. However, I had to take some creative liberties and shortened the entrance area to make it fit better.

DSCF2511.jpg

The base plate was laminated to three layers of heavy card.

DSCF2512.jpg

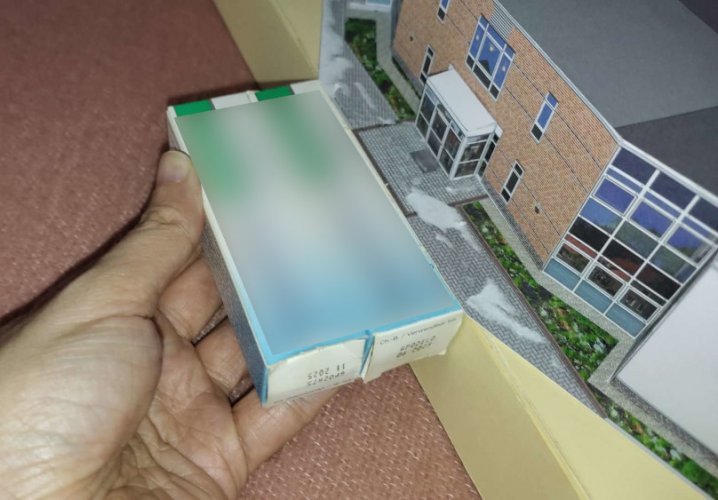
The plate was laminated to the top of the box.

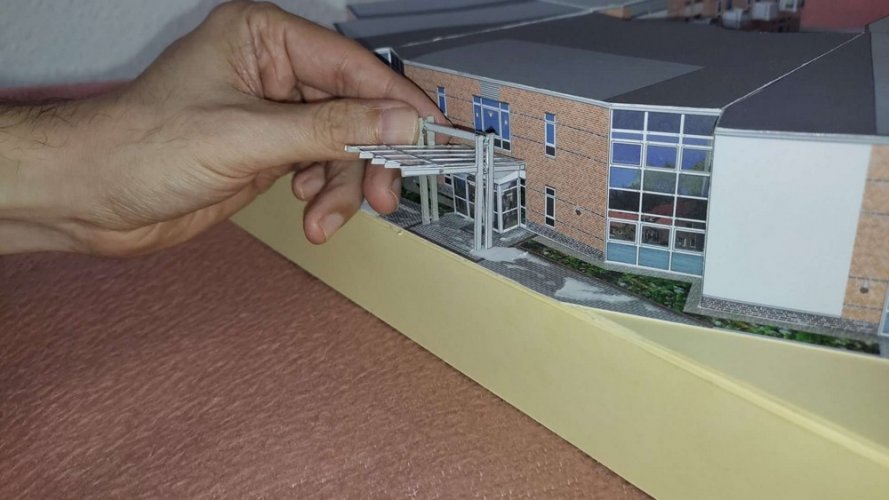
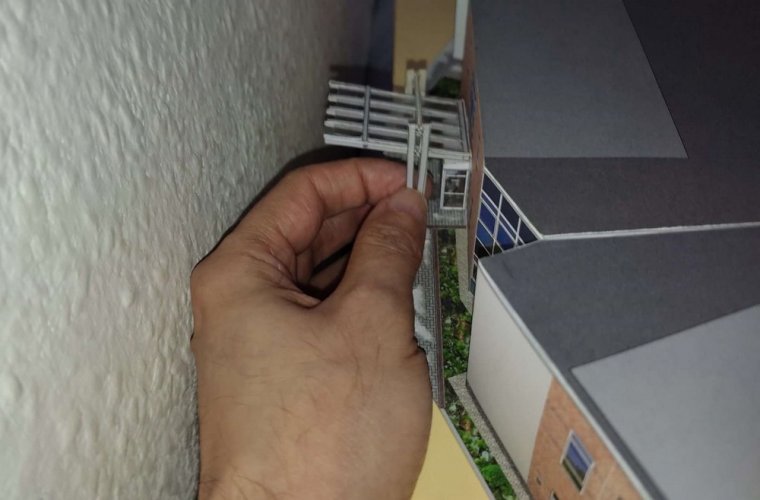
However, I soon realized that the front area was too short. The transparent roof would be floating in mid-air without any protection. This would be very dangerous because every ill-considered movement of the box could crush it. So I prolonged the front area:

1697199564670.jpg

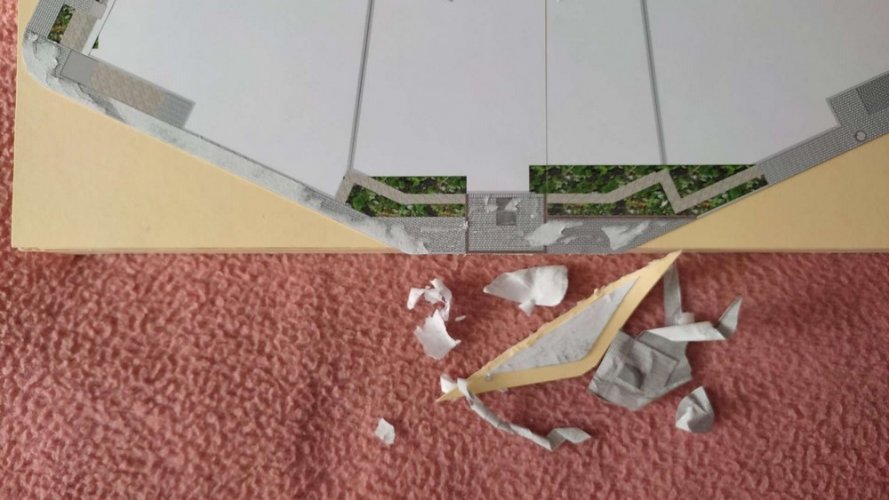
This would work fine, however, it did not look very good. Sooooo - the front piece was cut off again! :sticktongue:

1697200628670.jpg

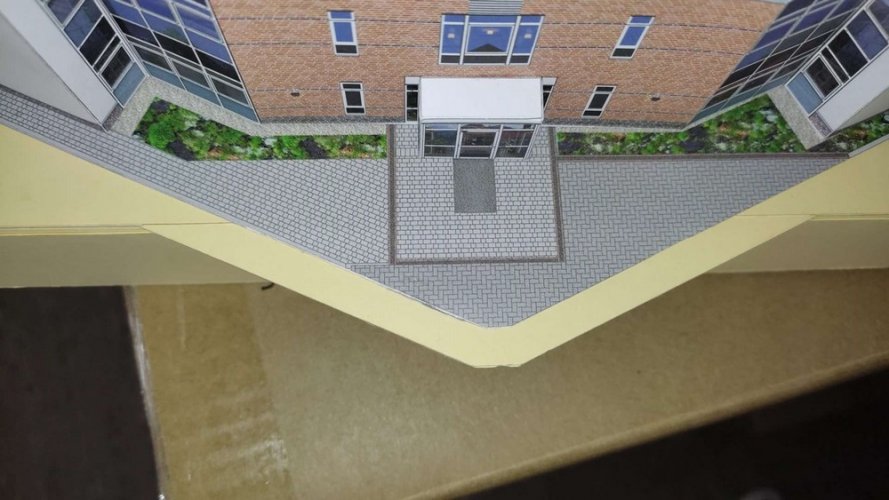
This illustrates the problem:

1697201346025.jpg

1697201507286.jpg

If someone moved the box too close to a wall or such the roof would get hit hard and break off.

1697201585442.JPEG

A prolongued platform was necessary to act as a shield.

1697200749395.jpg

Since there already were three rounded corners I chose to add a round corner to the front as well.

New approach printed on regular paper:

DSCF2516.jpg

This was laminated to the top:

DSCF2519.jpg

Two pieces of card were used to add thickness:

DSCF2517.jpg

DSCF2518.jpg

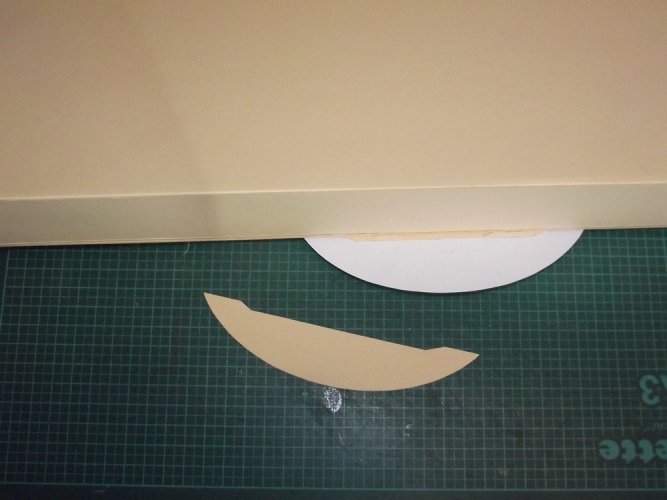
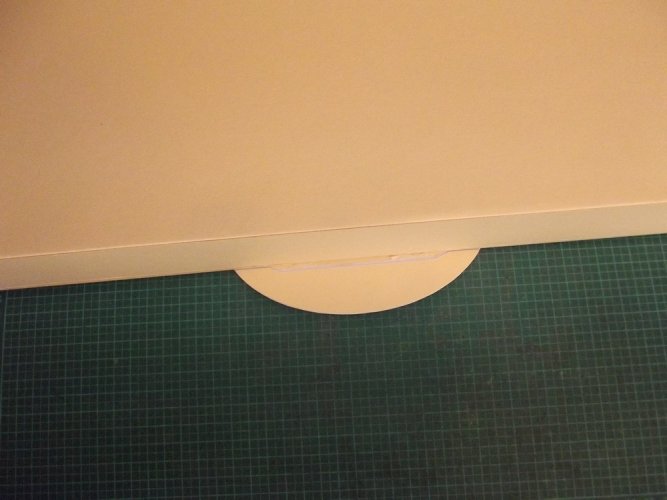
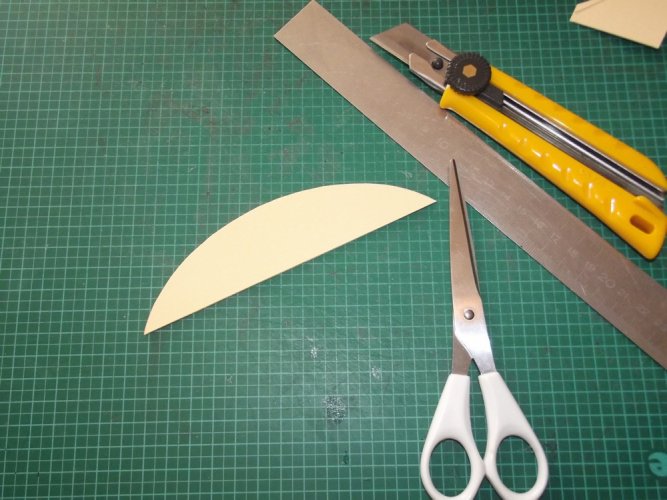
Another piece of card was used to clean everything up. This time I used the protruding area as a stencil to achieve a flush result.

DSCF2520.jpg

DSCF2521.jpg

DSCF2551.jpg

DSCF2552.jpg

Et voilá!

And finally the house could be attached.

IMG_20231023_234132.jpg

Due to some inaccuracies during sub assembly there was a small gap which prevented the model from being attached flush with the base plate. I added a patch which smoothed out the area:

IMG_20231023_234447.jpg

And done:

DSCF2562.jpg

DSCF2563.jpg

:)
 
Last edited:
Revell-Fan

Co-Administrator
Staff member
Administrator
Moderator
Aug 1, 2009
11,613
12,353
228
Vreden
1698164426835.JPEG

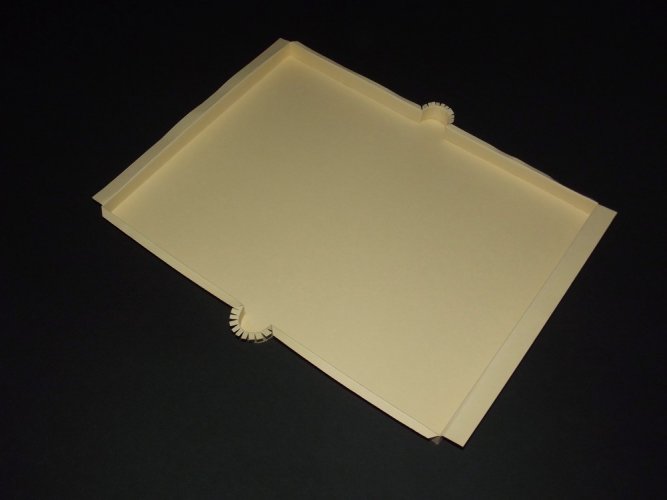
Collision check successful - the new protrusion was able to protect the front roof - and even provided space for the parking lot which was missing on the previous versions. ;)

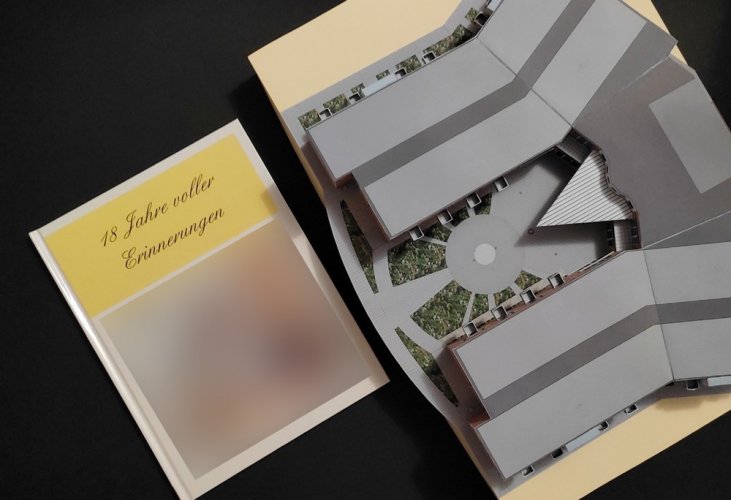
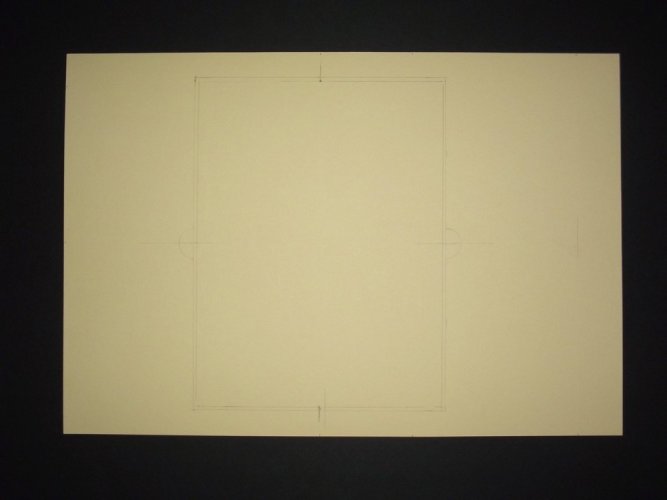
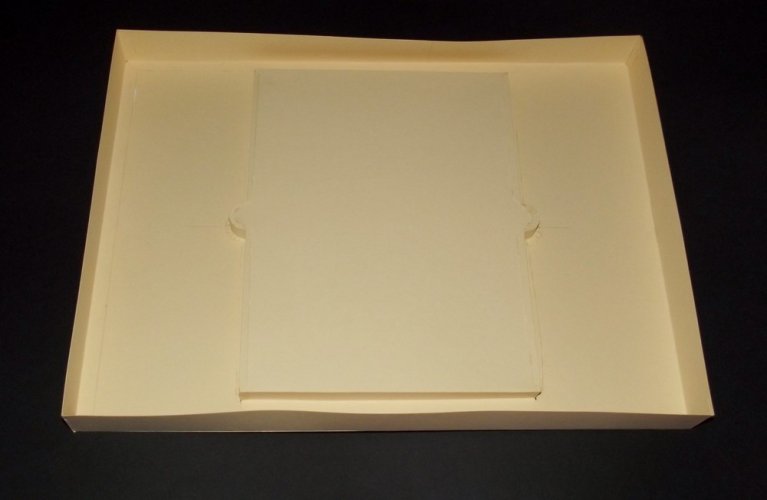
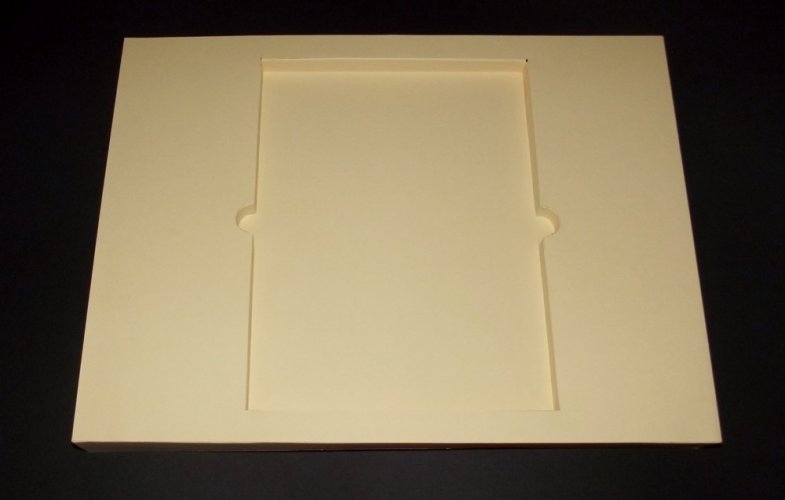
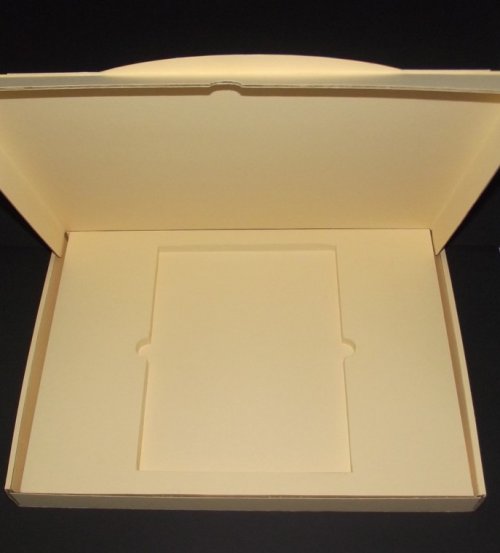
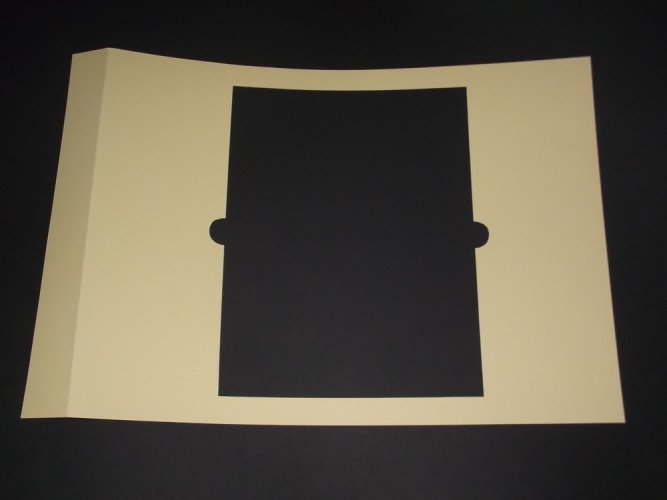
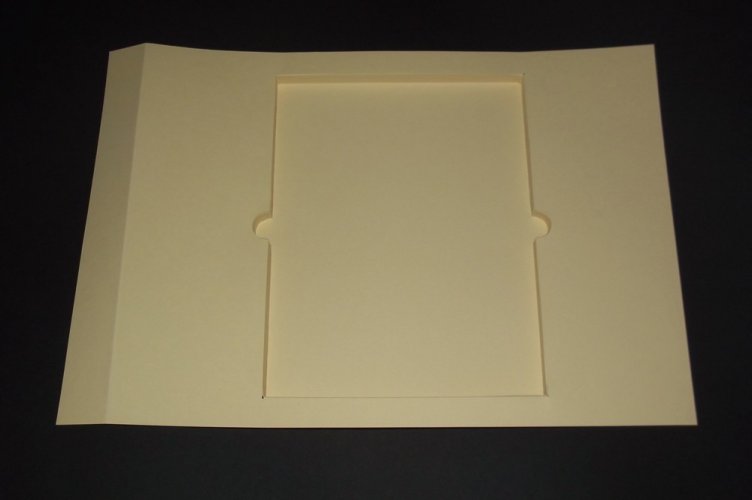
On October 12th the book arrived - YAY! Now the inlay could be made.

IMG_20231012_190148.jpg

DSCF2523.jpg

DSCF2524.jpg

DSCF2525.jpg

DSCF2526.jpg

QUICK TIP:

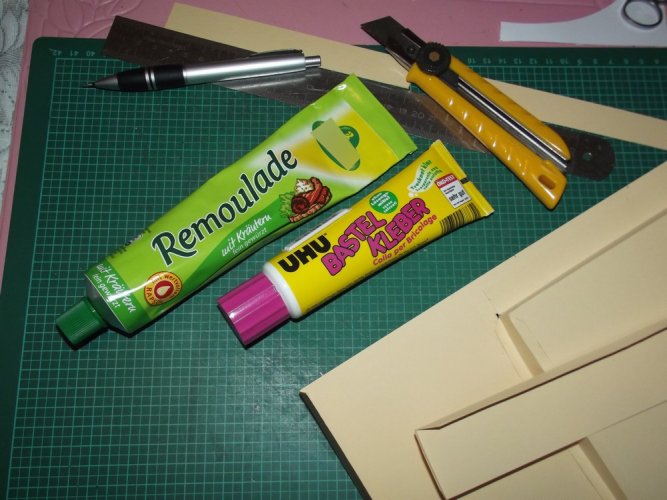
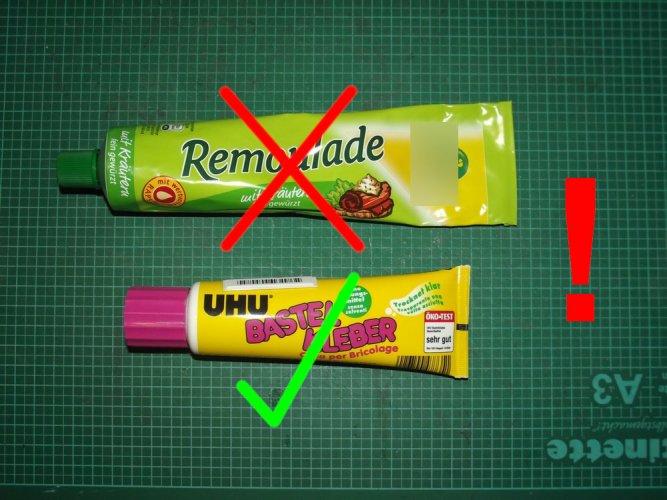
Building is fun but it also makes hungry. However, always make sure that you only consume food and not glue

DSCF2527.jpg

and never use food to glue something together. Sometimes both are very easily to confuse. Therefore I have attached the following diagram:

DSCF2528.jpg

:drinksmile:

DSCF2529.jpgDSCF2530.jpg

DSCF2531.jpg

IMG_20231015_183735.jpg

Test-fit successful!

DSCF2541.jpg

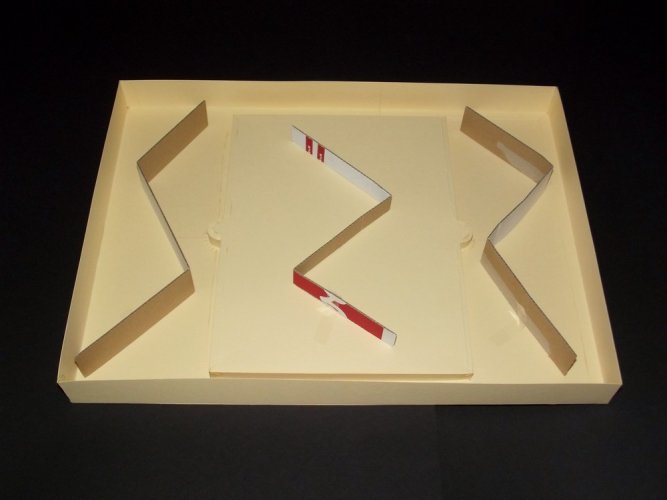
A few gaps were closed with some paper strips on the back side:

DSCF2542.jpg

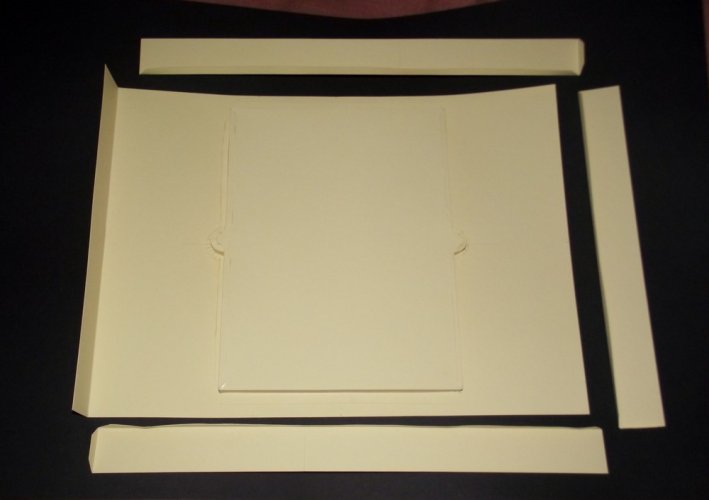
The reinforcement was made of the card from the envelope which came with the book. Never waste a piece of card and recycle everything whenever possible! :)

DSCF2544.jpg

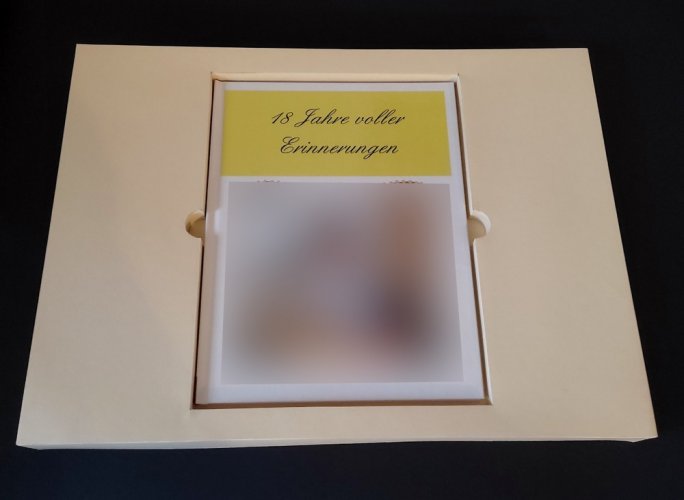
The inlay was inserted and the box was closed.

DSCF2545.jpg

Now the decoration of the top could continue.

However, the heavy laminations of the previous days took their toll: I started coughing without pause and had to stop building for one whole week!
 

Revell-Fan

Co-Administrator
Staff member
Administrator
Moderator
Aug 1, 2009
11,613
12,353
228
Vreden
Thank you very much! :)

Sorry for the lack of updates; I'm posting in "postponed real-time", in my thoughts I'm still coughing. :biggrin:

(Just kidding, my final holiday week of this year just ended and I am at work again which cuts down posting time. ;) Stay tuned! :) )
 
  • Like
Reactions: Rhaven Blaack

Revell-Fan

Co-Administrator
Staff member
Administrator
Moderator
Aug 1, 2009
11,613
12,353
228
Vreden
Well then. :)

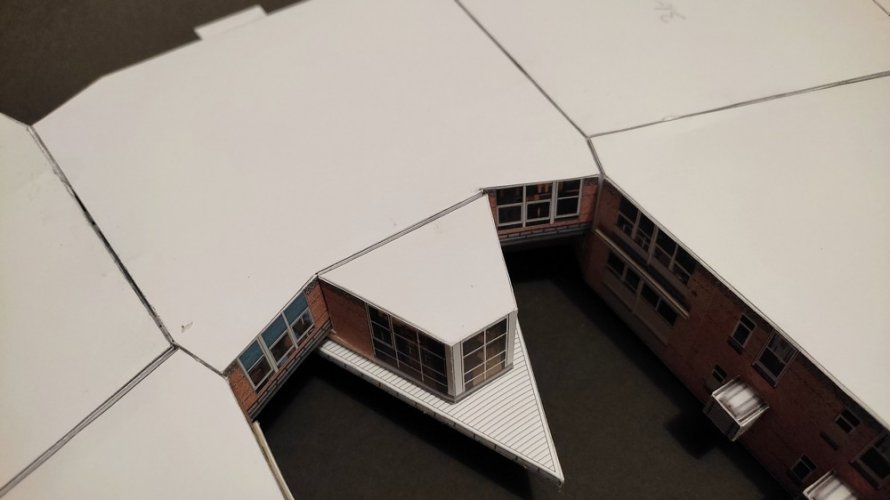
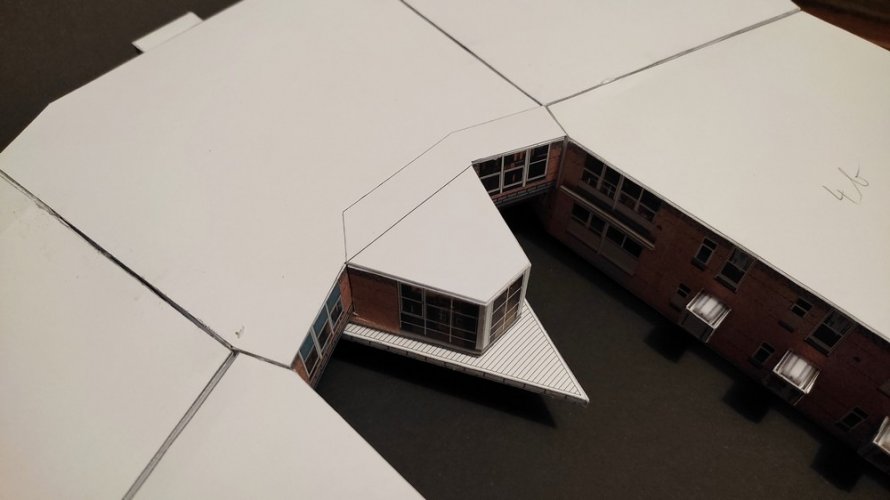
While I was unable to get to the details I chose to use every possible minute to prepare the model for further assembly as my health allowed. The first area to be dealt with was the roof. The division in several segments created two very prominent seamlines:

DSCF2564.jpg

I printed another part covering the whole section and thus hiding the seamlines:

DSCF2565.jpg

That alone elevated the look of the model tremendously and no-one would ever guess where one segment would begin and another would end.

Next I tackled something I was expecting since the project started. Because of the segmentation the ground plan would start to go out of alignment with the elements of the house. It was important to have the pathways and the doors align properly. I did not compensate for the paper thickness on the seamlines because I was not sure by how much the offset was supposed to be and a wrong guesstimation would have meant to create another offset in a different area. I would have had to start all over and create a new base. This would have been too time-consuming. So I left everything as is and decided to cover up all mismatching areas with patches later. You do know that I don't treat my alpha builds with kid gloves; if something does not fit I'll rip it off and replace it with an improved part. ;)

1698165798841.jpg

Much to my surprise the fit of both the base and the house was much better than I thought and I had only to deal with two areas which needed a patch.

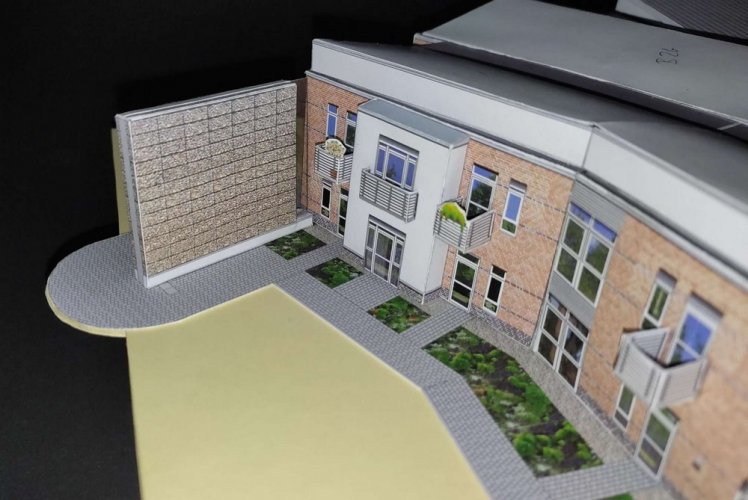
The sound barrier was glued into place.

1698165798858.jpg

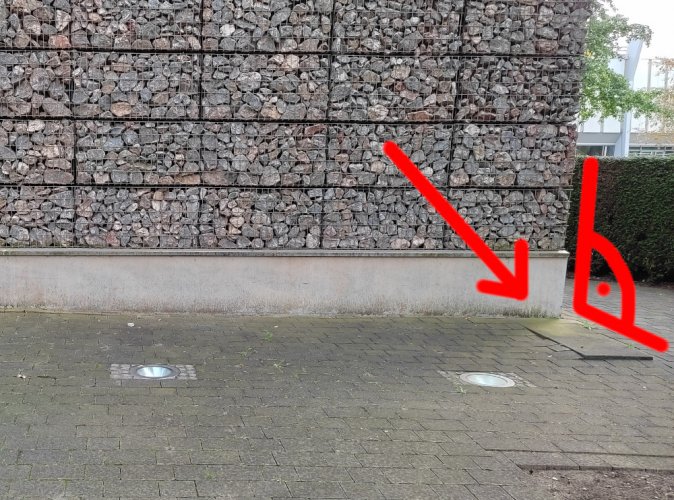
I was puzzled to see that the stones on the base did not align with it like they do on the real one:

1695934543776.jpg

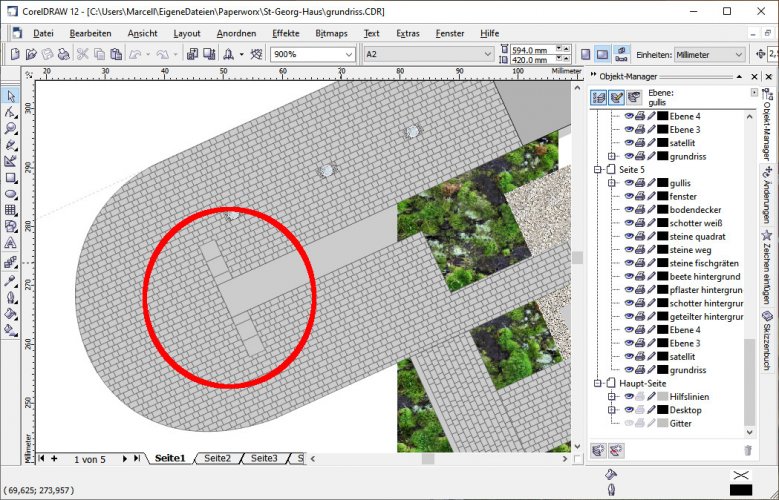
I checked my layout immediately, but I could not find anything wong with it:

StGeorgHaus47.jpg

The dimensions of the barrier were correct, too. Hmm... :OOPS:

In the end I found out that the cause was - of course - paper thickness. Due to the added flaps the base of the barrier got just 1.2mm (!) longer. The bad thing about small scales is that even tiny deviations have big effects. Ah well. I decided to leave the structure as is because a patch might have become visible which would be worse than leaving a small mistake. Nevertheless, the real house was not perfect either, and I would not see my boss tape-measuring anything on the model. ;)

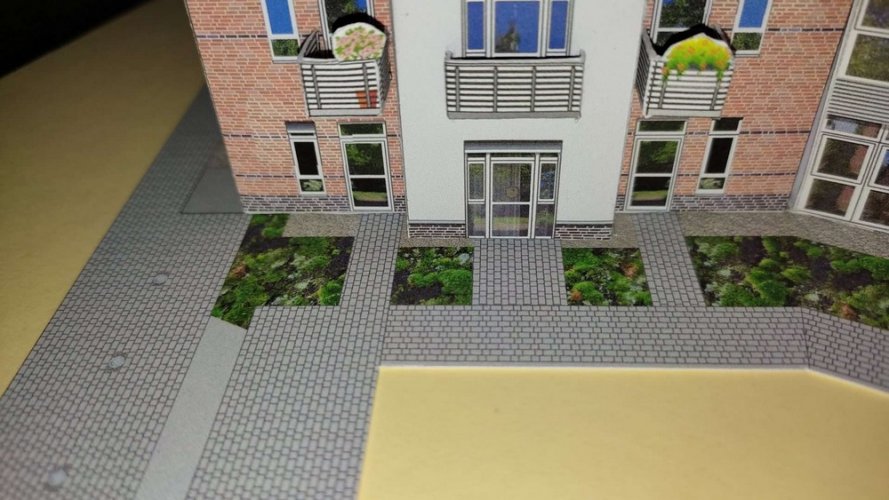
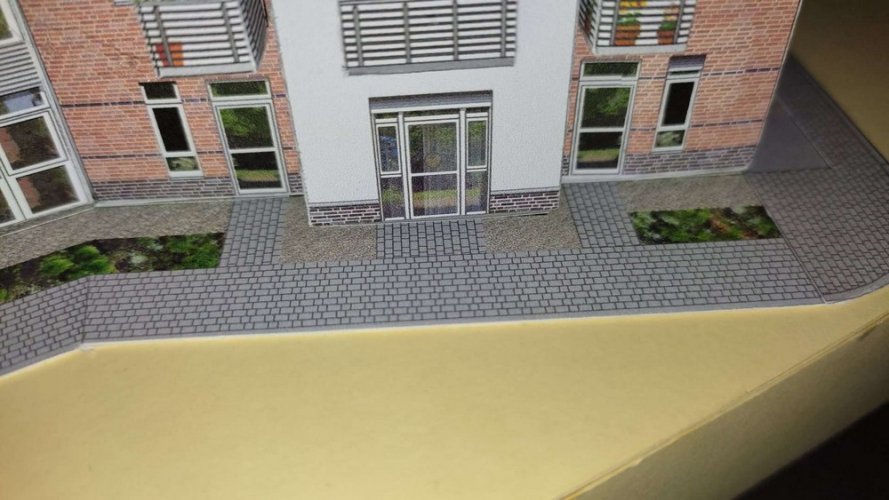
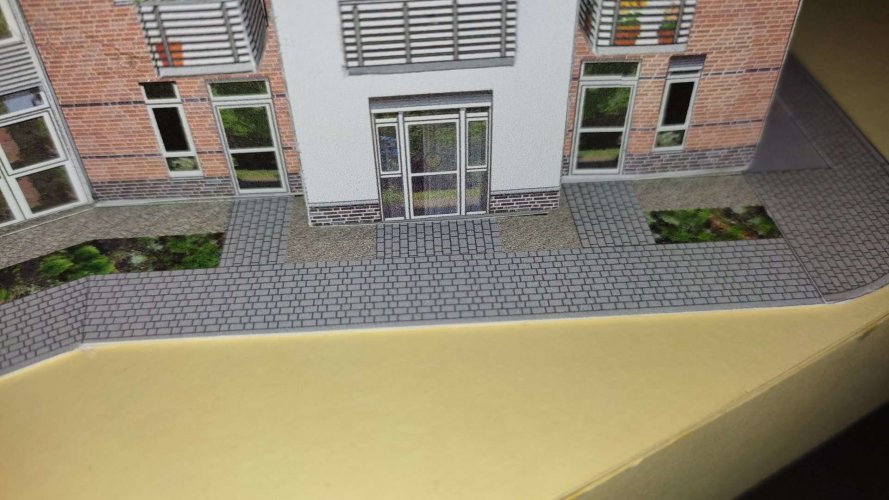
It was more important to correct the alignment of the pathways and doors. I printed out the respective areas on regular paper, cut out the pathways and laminated them to the base so that the doors got centered.

Before:

1698165798826.jpg

After:

1698165798826a.JPEG

The best thing about the patches is that in reality the pathways are a bit wider than the doors. So this additional row of stones on each edge of the pathways is even more accurate than the areas which did not need to be patched. And yes, the coverups blend in so seamlessly that you do not see any patch on the model. :cool:

giphy.gif
 
Last edited:
Revell-Fan

Co-Administrator
Staff member
Administrator
Moderator
Aug 1, 2009
11,613
12,353
228
Vreden
A few days later I started work on the candy witches. I was still coughing and absolutely not in the mood to start anything new but as you know the project came to a happy end. :)

Because my boss' retirement party was scheduled on October 31st I decided to bring the deadline for the witches forward to October 30th. It would not have been appropriate to mix the two occasions since we were expecting two special guests from the upper management (just imagine the look on their faces if 10 candy witches suddenly appeared on the table ;) ). In addition, October 31st was my boss' day and nothing should distract us from this special occasion.

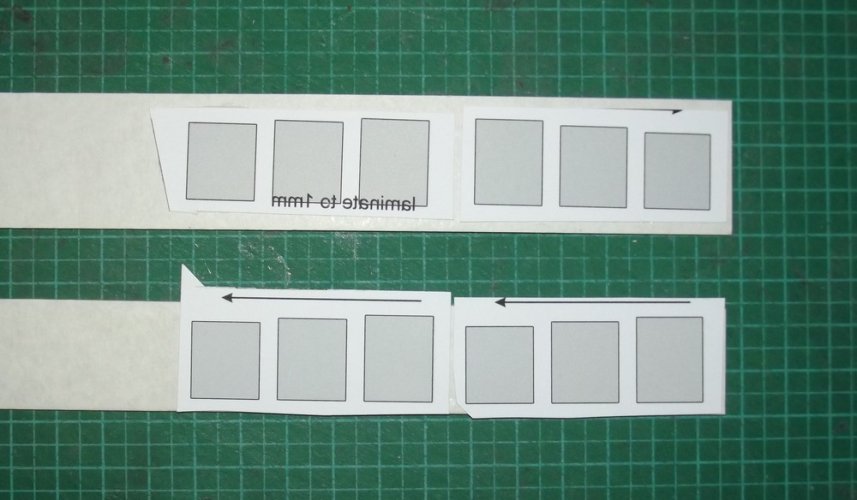
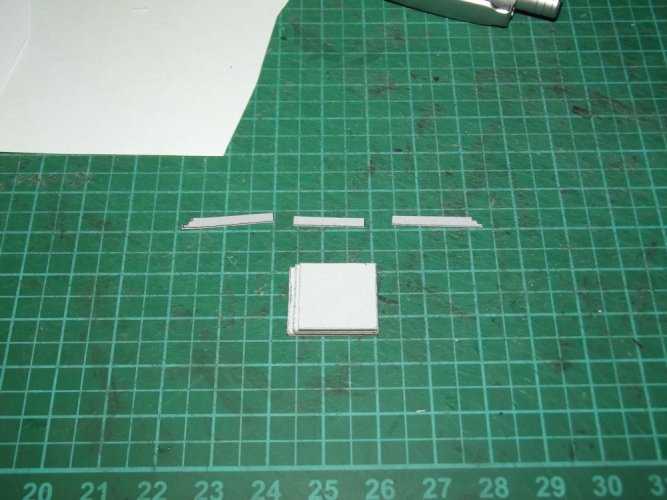
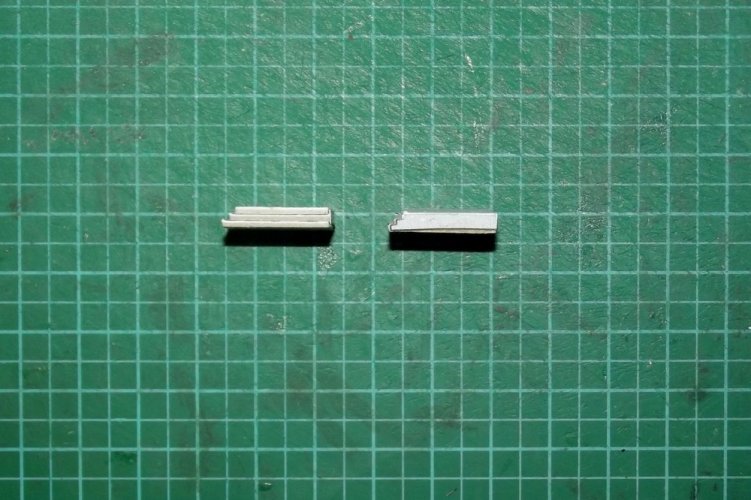
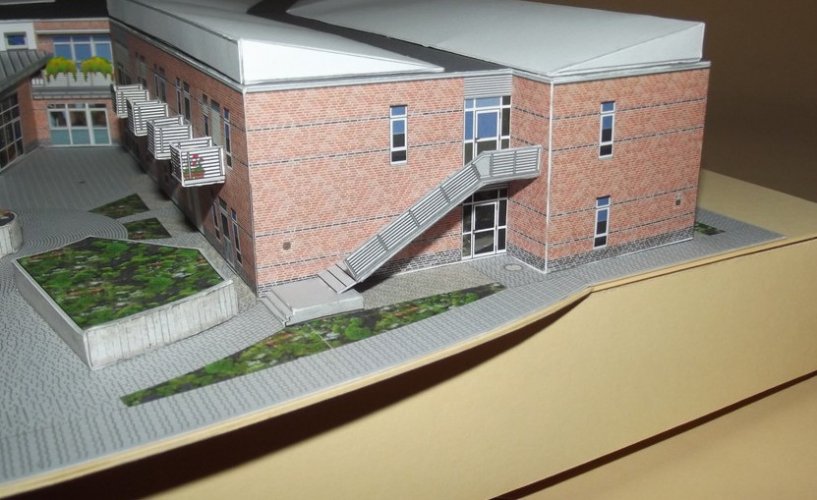
On October 24th I resumed work on the house. The roof parts were attached and it was time for the stairs. The base is a massive concrete block with three steps. To replicate it I laminated the steps to 1mm card and stacked them on top of each other.

DSCF2567.jpg

DSCF2609.jpg

Three pieces of grey paper were attached to the sides to clean up the base. Before and after:

DSCF2610.jpg

The bases were glued into place:

DSCF2611.jpg

DSCF2612.jpg

Then the stairs were attached:

DSCF2613.jpg
 
Last edited:
Revell-Fan

Co-Administrator
Staff member
Administrator
Moderator
Aug 1, 2009
11,613
12,353
228
Vreden
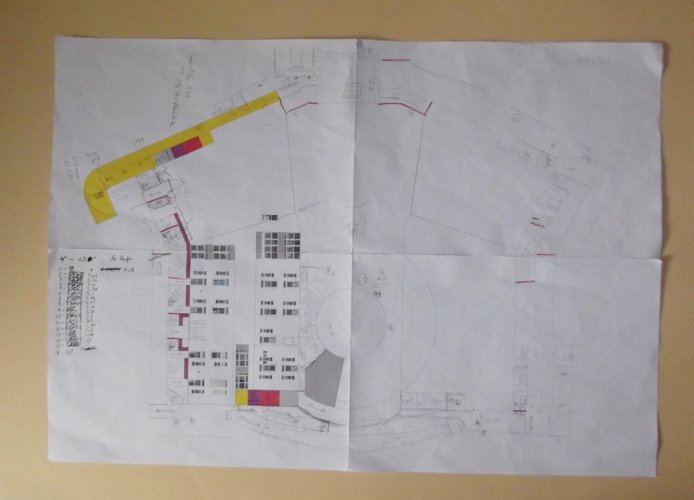
One day later I took my work sketch to work again and checked all details one last time.

DSCF2490.jpg

If there had been a mistake this would have been the last chance to fix it. I too wrote down the positions of the lamps illuminating the paths. BTW, the numbers on the left side of the sheet are the calculations of the rotation of the lines to fill out the stone circle. ;)

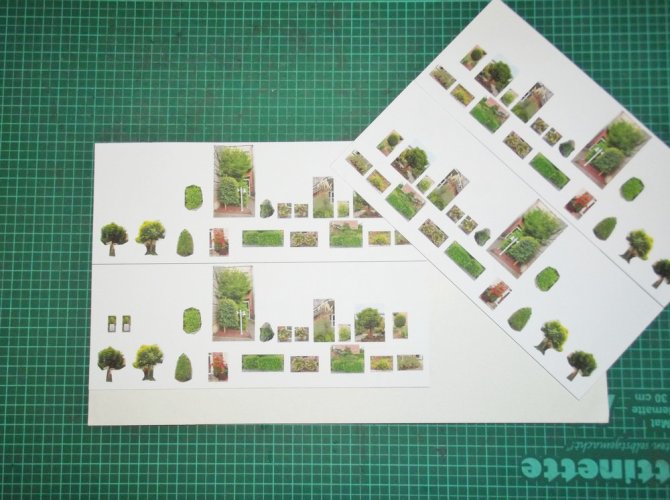
I also made up my mind of how to add life to the green areas. There was only one way to do so: Laminations.

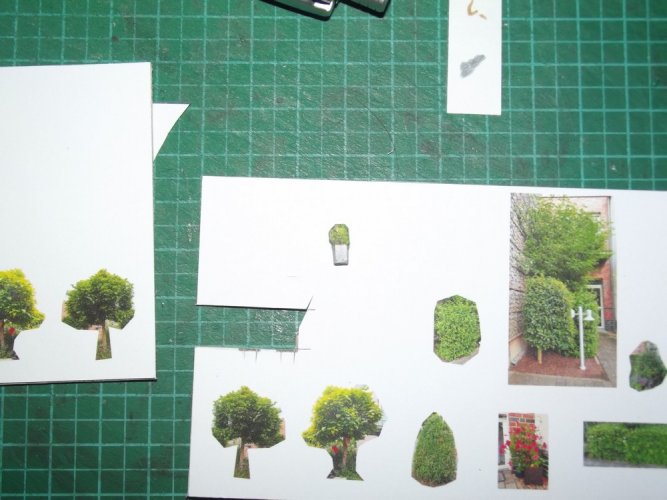
When I got home I isolated a few plants, bushes and trees from the images I had taken. They were laminated to 1mm card and got a mirrored back side.

DSCF2568.jpg

DSCF2608.jpg

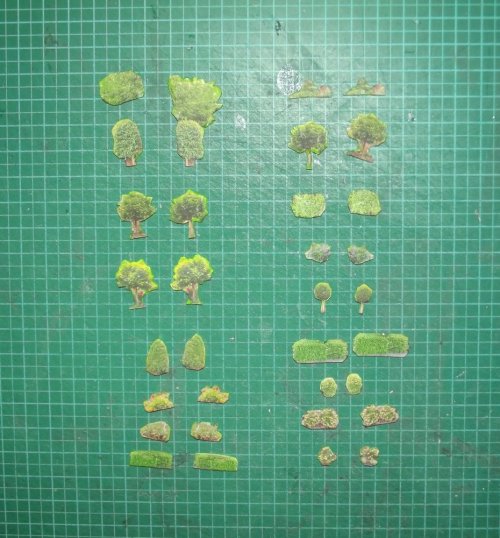
I cut them out and painted the edges light green.

DSCF2615.jpg

When I had several units of the same plant I cut them out differently to give them some variance.

And now the crazy stuff began. The model as of itself was fine and would theoretically be able to fulfill its purpose, to act as a fancy packaging. I considered each piece of deco as a bonus and the longer the model was in my possession the more detail pieces could be added. The best aspect of this strategy was that if an element did not work I would simply skip it and check out something else. They would be fine to have but there was no obligation to add them at all cost.

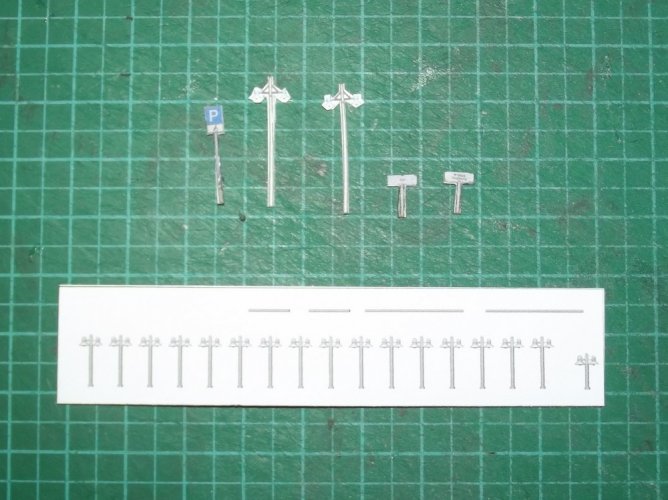
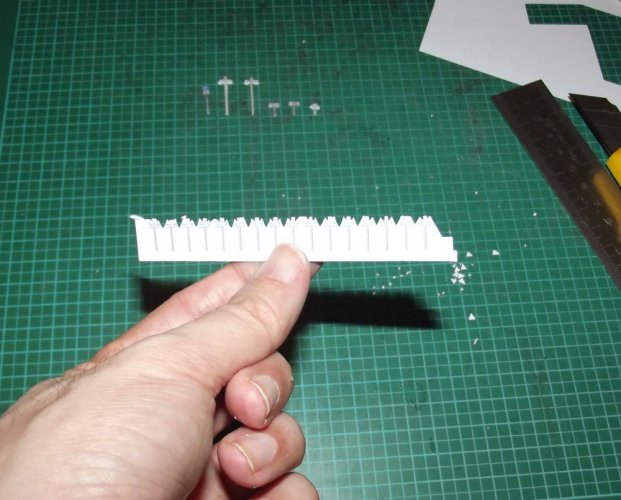
The first thing which fit under this label were the lamps and parking lot signs. They were pretty straight-forward to make: I drew a series of lamps and signs, laminated them to a mirrored back side and cut them out.

DSCF2572.jpg

(Before installing I replaced the parking lot sign with a cleaner image. ;) )

DSCF2573.jpg

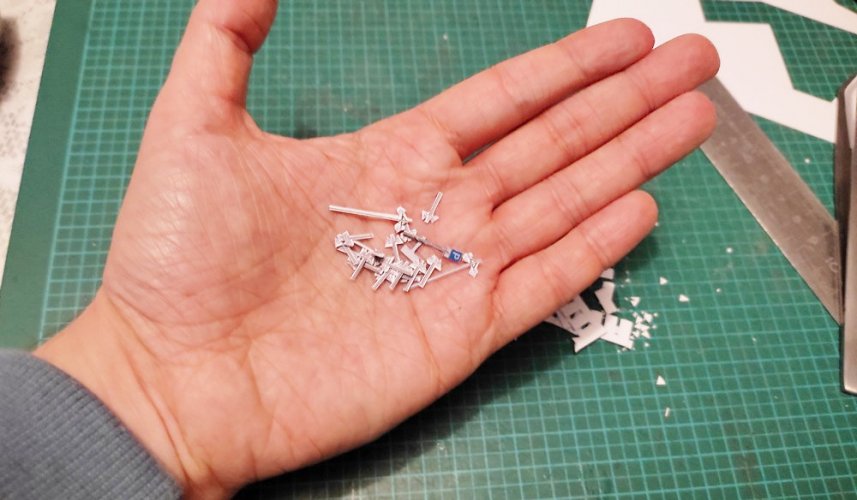
Since I was not working with magnifying glasses I had to rely on my eyes only. I cut as much "flesh" off as possible but had to leave something around the motif to make sure that I did not cut off anything from the element by accident. As a side effect there was enough material for the object to sustain itself. I did not want to cut the lamps so thin that they would collapse or deform. In addition, the lamps should still be recognizable with your own eyes. They are so tiny!

1698341954744.jpg

So this was the best I was able to produce atm. It would suffice. ;)

Lamps & parking lot signs: CHECK!

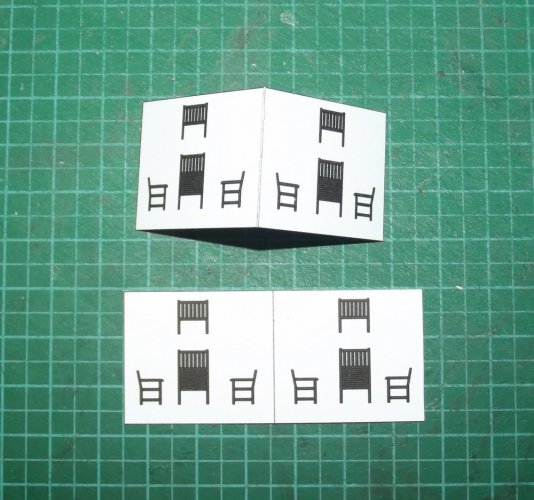
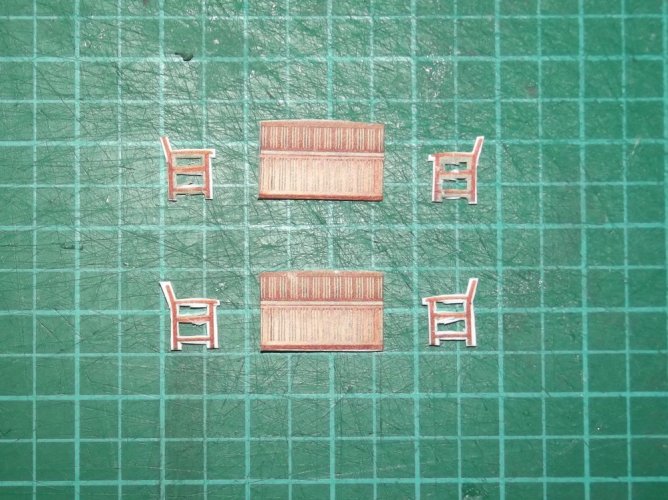
Next I tried to make some benches. The first attempt failed because I doubled up the back rest which was not necessary:

DSCF2555.jpg

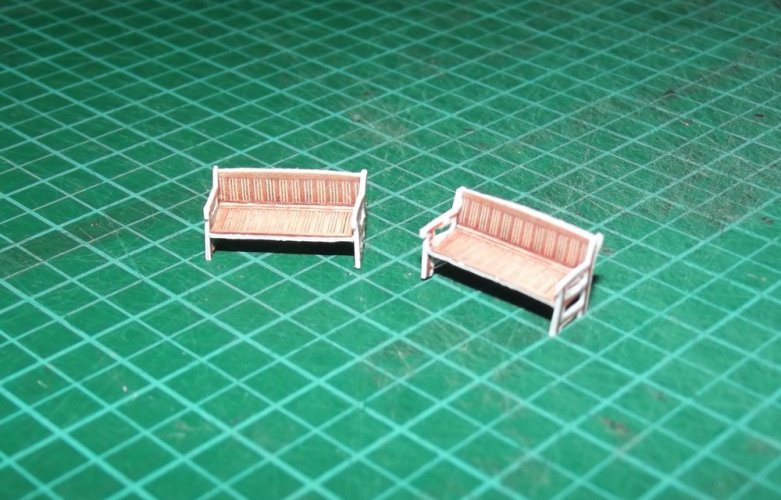
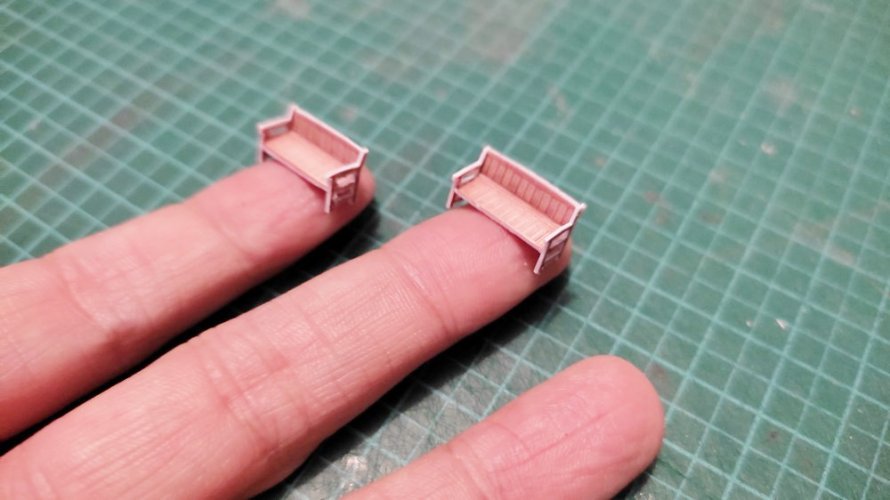
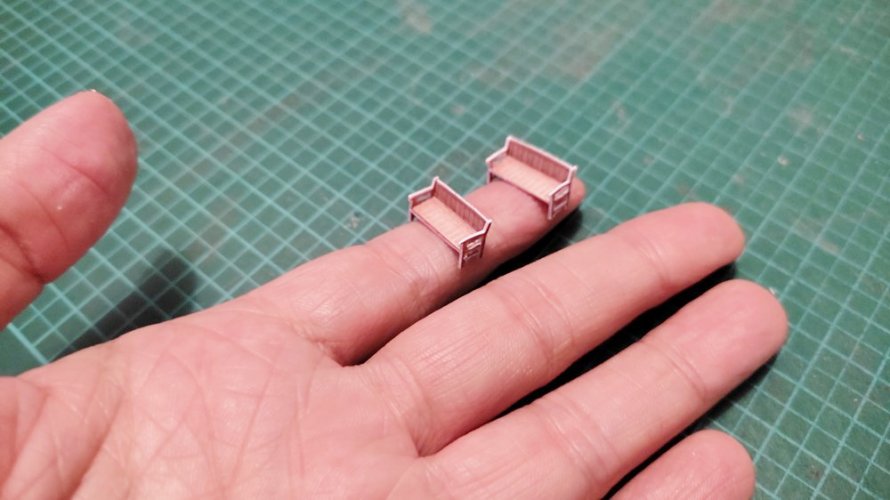
The following attempt was much easier, required fewer parts and looked like the real thing, just as it should:

DSCF2569.jpg

The texture was taken from the real thing. It was quite a challenge cutting out the areas between the struts. I had to be extremely careful not to cut through them. As you can see they were thinner than 1mm!

DSCF2571.jpg

1698341954789.jpg

1698341954803.jpg

The edges were painted light brown.

Benches: CHECK!

October 28th came and with it I completely lost my mind..! ;)
 
Last edited:
zathros

*****SENIOR ADMINISTRATOR*****
Staff member
Administrator
Moderator
Apr 5, 2013
13,498
9,549
228
Wow!! This is really awesome!! I've never had a job I loved so much I wanted to make a model of it. I've wanted to burn them down, but now make a model.

It is fantastic. What are your final plans for this, is it a gift or are you putting it on display at the Home?
 
  • Love
Reactions: Revell-Fan

Revell-Fan

Co-Administrator
Staff member
Administrator
Moderator
Aug 1, 2009
11,613
12,353
228
Vreden
Wow!! This is really awesome!! I've never had a job I loved so much I wanted to make a model of it. I've wanted to burn them down, but now make a model.

It is fantastic. What are your final plans for this, is it a gift or are you putting it on display at the Home?
Thank you very much! :)

This is going to be the Goodbye present for my boss. The plans will stay in my archive because it is a highly personalized model and I doubt that anyone would like to have the model of a care center from an unknown small German town in his / her collection. ;)

However, this project has spawned a neat "by-product" which I am going to share. I think you will most certainly like it because it is something on four wheels. :wink:

As I mentioned, each piece of deco was a bonus aside from two small things which were very important for me to add: The satellite dish on the roof (to ensure television reception within the house :biggrin: ) and a birdhouse. In the end there were actually two birdhouses but the first one is very hard to spot, even in reality. The second one is more of an Easter egg and would be installed in a somewhat elevated position.

It was October 28th, and the day began with a blank spot:

DSCF2563a.JPG

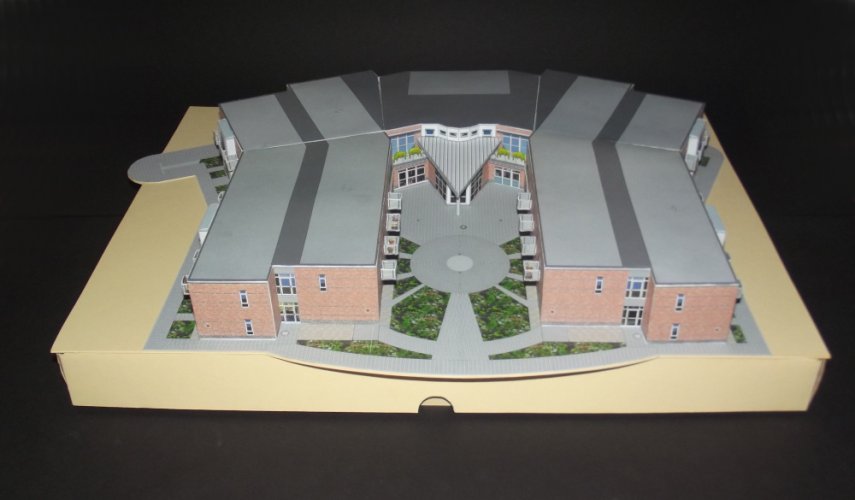
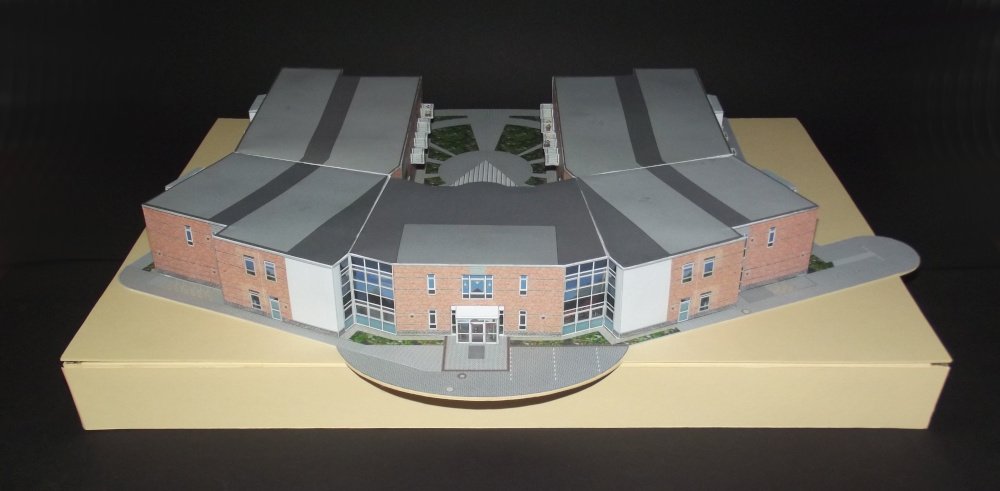
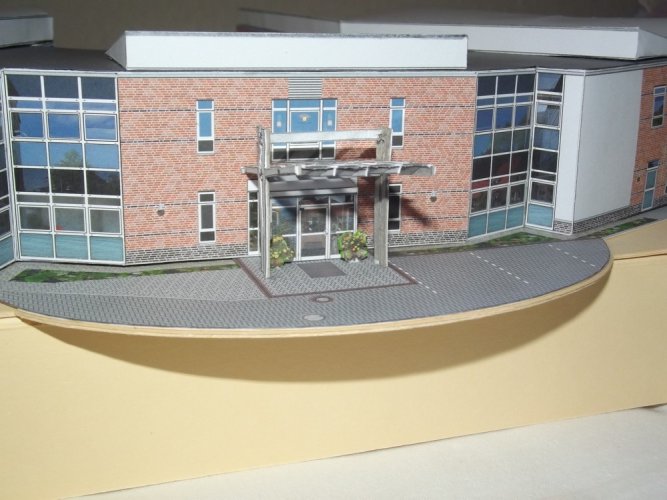
In the course of the project I preferred to display the model from the back because it allowed a view at the courtyard. This is where life takes place. Here we celebrate together, have parties and events, or just relax and enjoy nature. Today it was time to complete the front.

DSCF2560.jpg

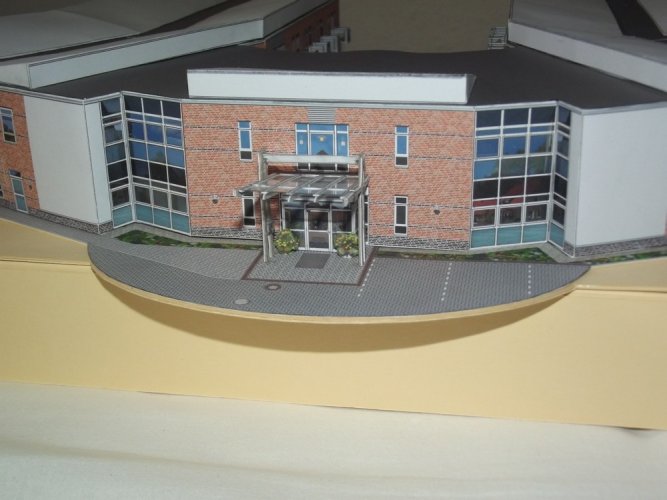
The letterbox and the intercom pillar.

DSCF2617.jpg

The letterbox was glued to the roof frame. The frame was glued to the front of the house and the base.

DSCF2618.jpg

DSCF2619.jpg

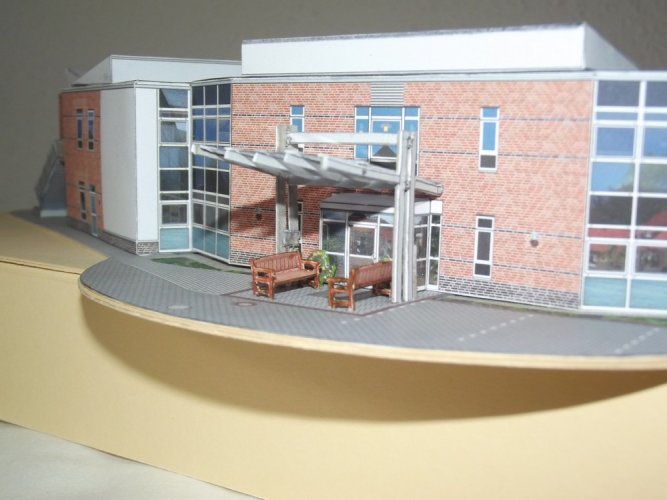
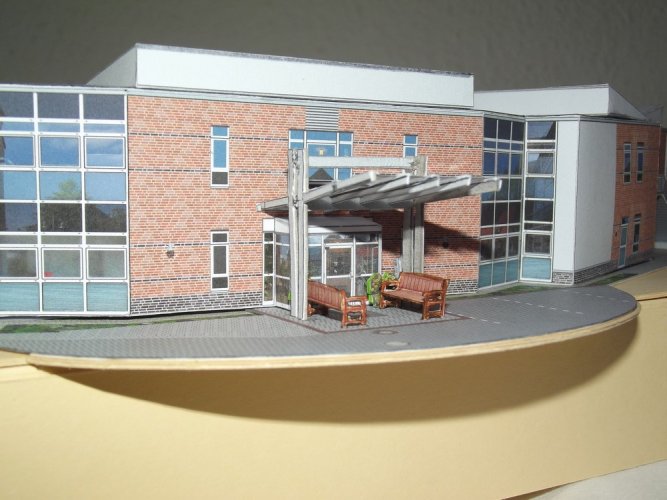
The benches and the pillar were added.

DSCF2623.jpg

DSCF2624.jpg

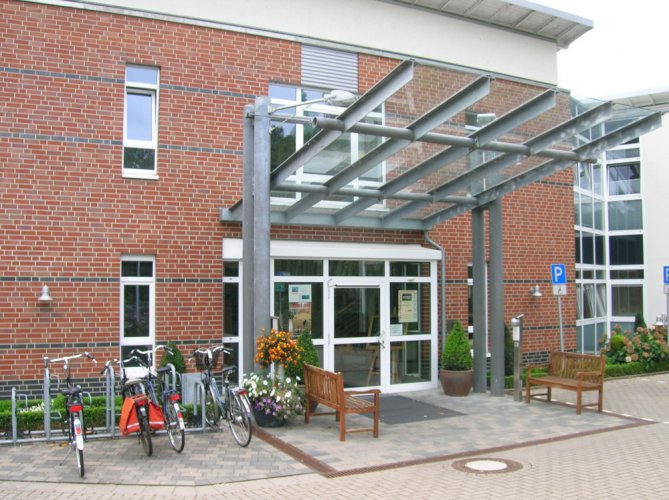
The real thing:

DSCN4916.JPG

Because I reduced the length of the front area in order not to go overboard with the spacer I had to attach the pillar in a different position. The real one is between roof frame and bench, here it is before the frame. The result is virtually sound though and I am sure that no-one will notice. ;)

DSCF2677.jpg

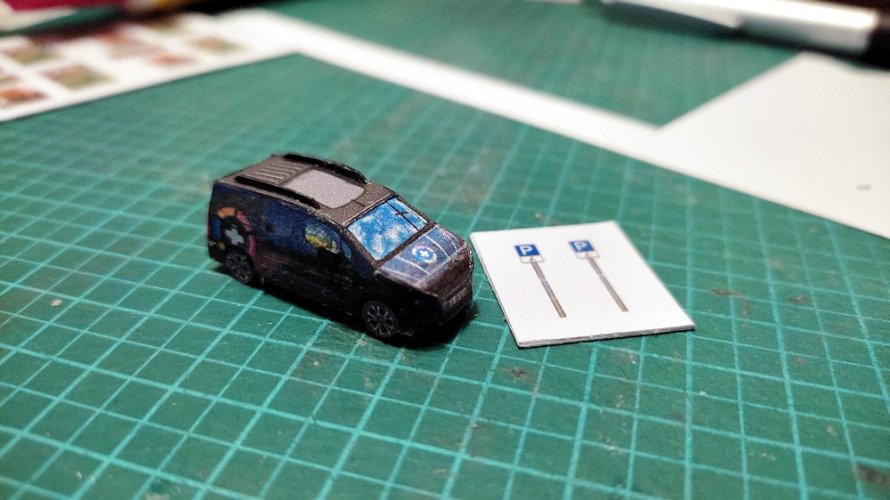
The parking lot sigs were re-printed with improved graphics and attached. So far so good.

BUUUT -

DSCF2676.jpg

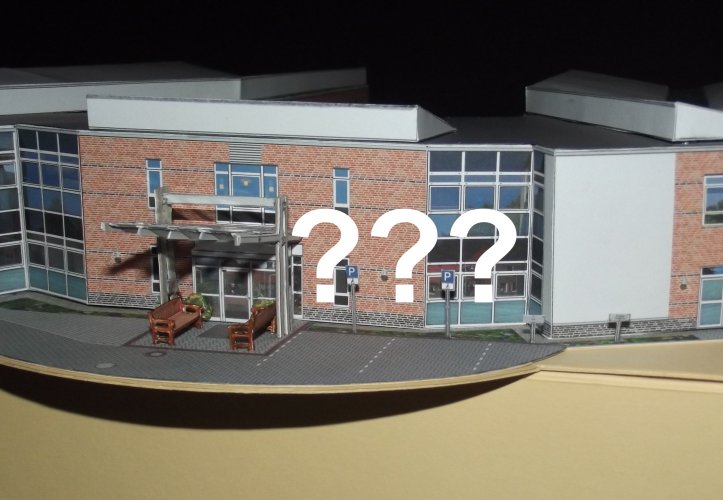
something was missing!
 
Last edited:
  • Like
Reactions: Chuffy70
Revell-Fan

Co-Administrator
Staff member
Administrator
Moderator
Aug 1, 2009
11,613
12,353
228
Vreden
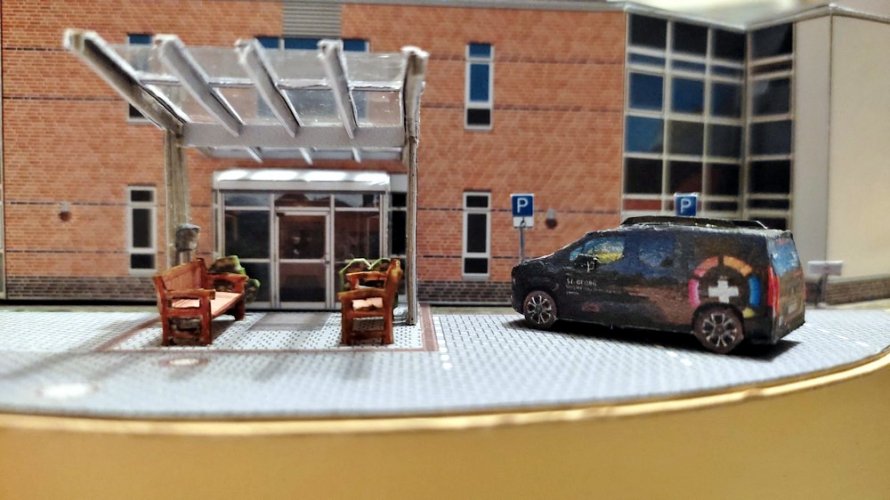
I had the parking lot, I had the signs. But I had nothing to fill the empty space.

A few weeks ago I joked about making our van as well. Throughout the entire project I was thinking about the possibility. I thought it was a neat idea but depending on the time and resources this was just an idea. However, the thought never let me go completely.

Three days ago I even started working on a CG model, and with two days remaining I decided to give this a boost.

wagen1.jpg

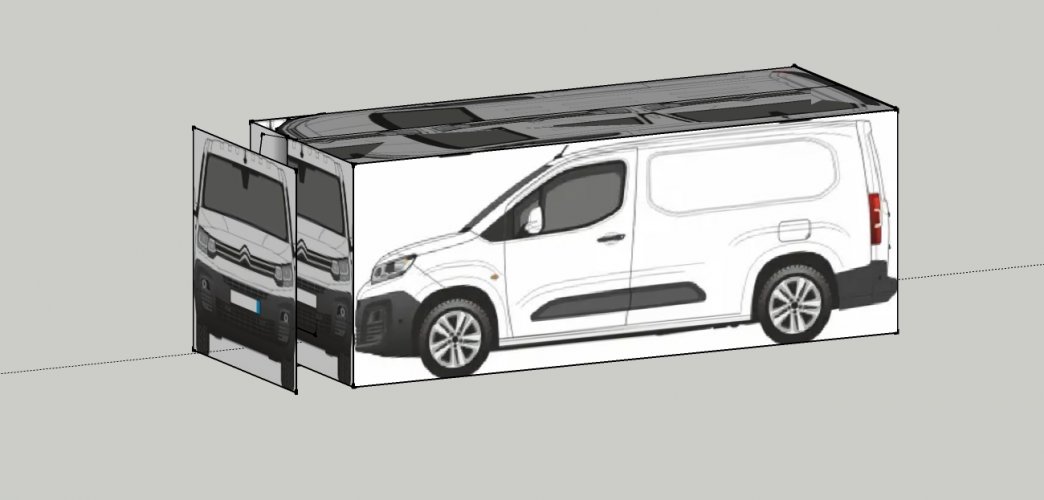
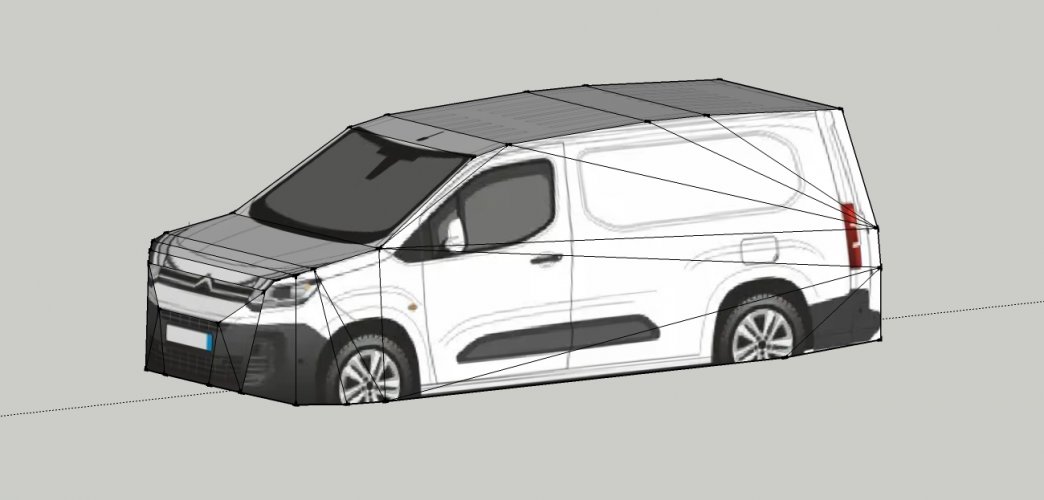
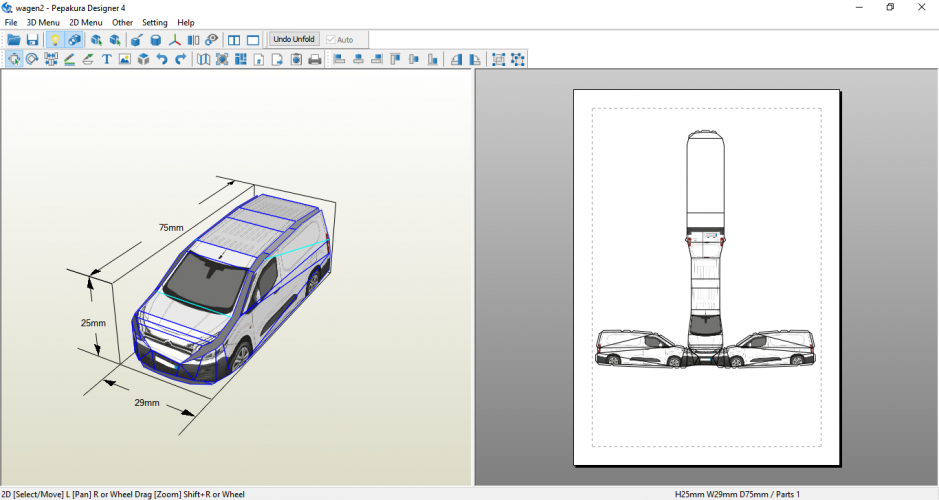
This is a Citroen Berlingo. In order to save time I was looking for a papercraft of the car. I found a very simplistic one which might have done the job but it was just a distorted image on a foreign Amazon site. It looked like an official paper model by Citroen but I could not verify it. Alternative sources were not available, so I had to make one which satisfied my needs.

wagen2.jpg

1699481569834.png

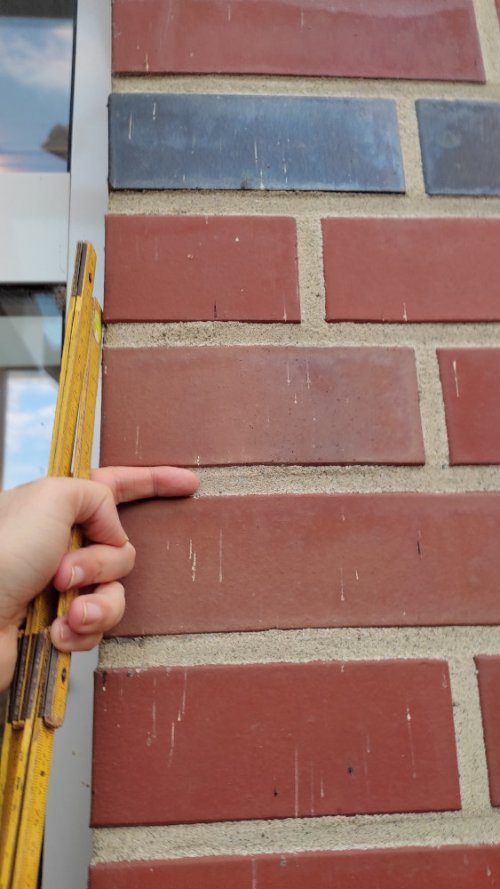
The pattern was imported in Corel and textured using a mix of vector and photoreal. Then the question was, how big was the car supposed to be? Again the bricks served me well:

IMG_20231026_172717.jpg

The roof of the van ended two rows below the blue line. That was everything I needed to know. A final calculation revealed the size of the model: 13.2mm. The real car is 187cm high, so the car (as well as the rest of the model) would match the guesstimated 1/144 fairly well. :)

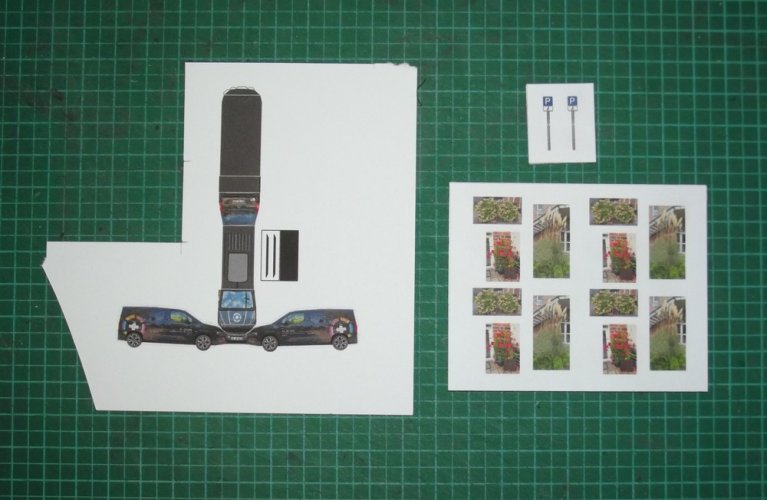
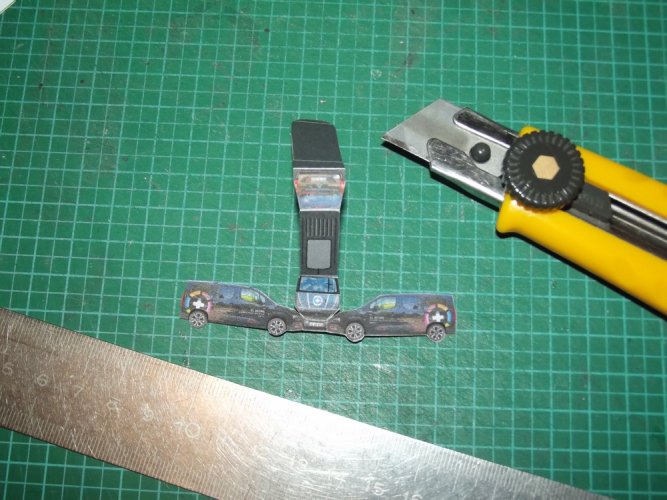
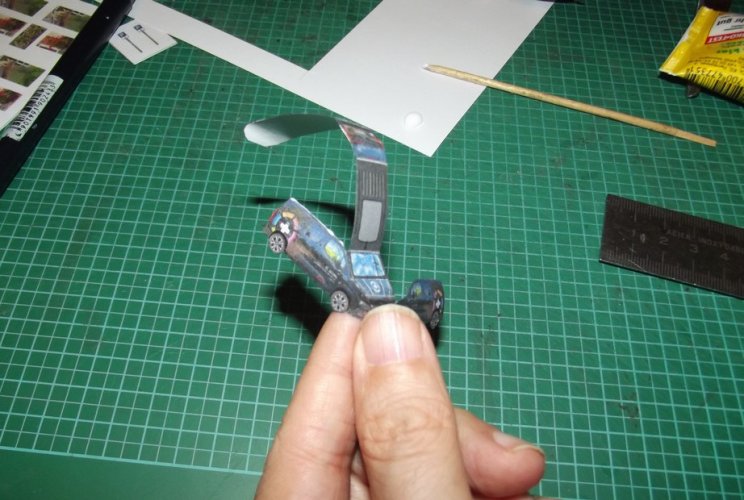
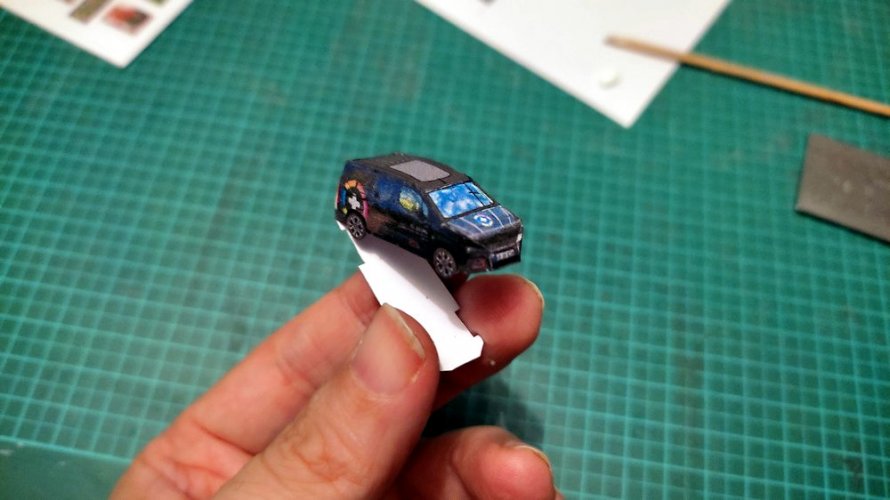
DSCF2634.jpg

DSCF2636.jpg

DSCF2640.jpg

IMG_20231029_181151.jpg

IMG_20231029_184507.jpg

IMG_20231029_192052.jpg

SWEET! :)
 
Last edited: