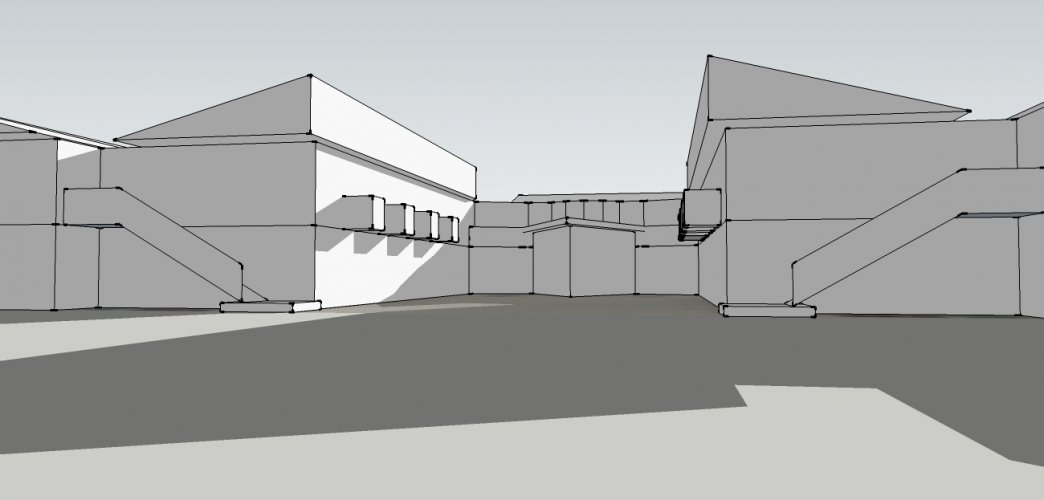
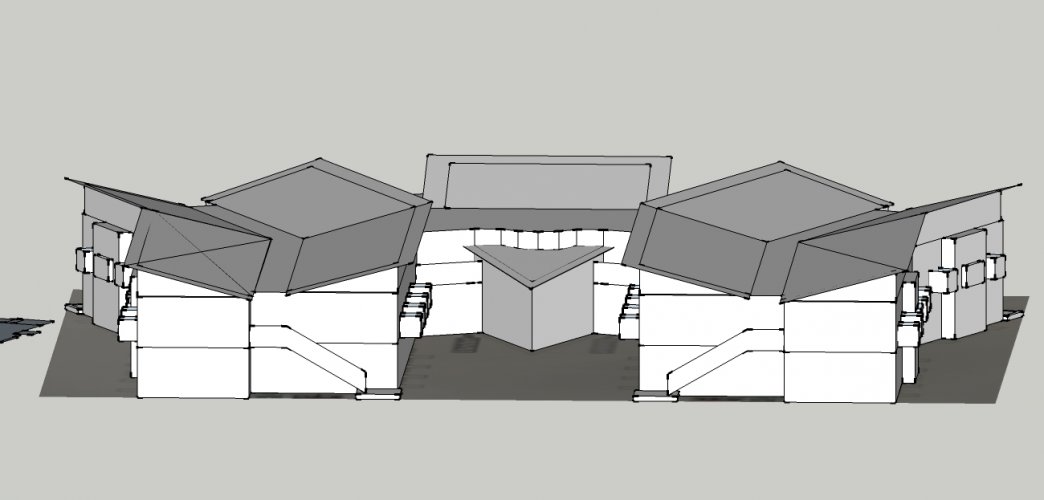
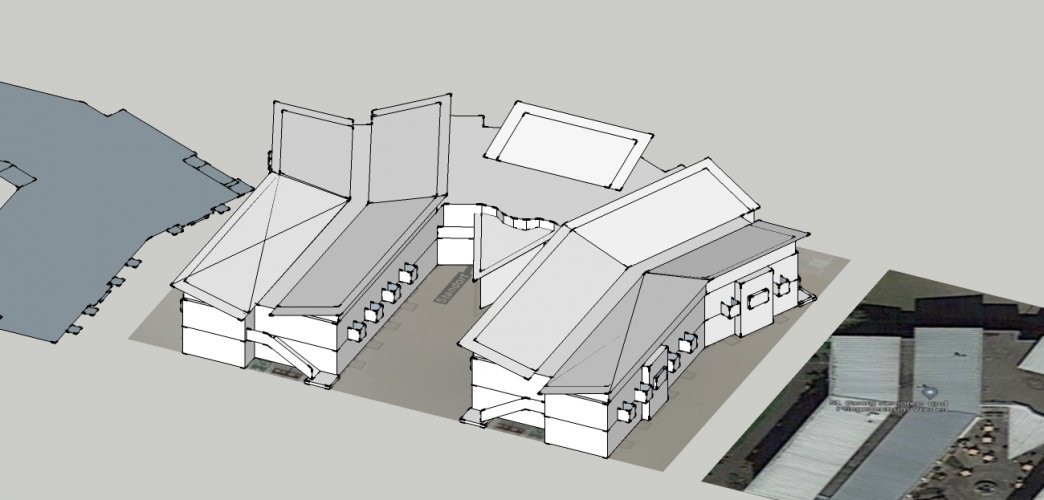
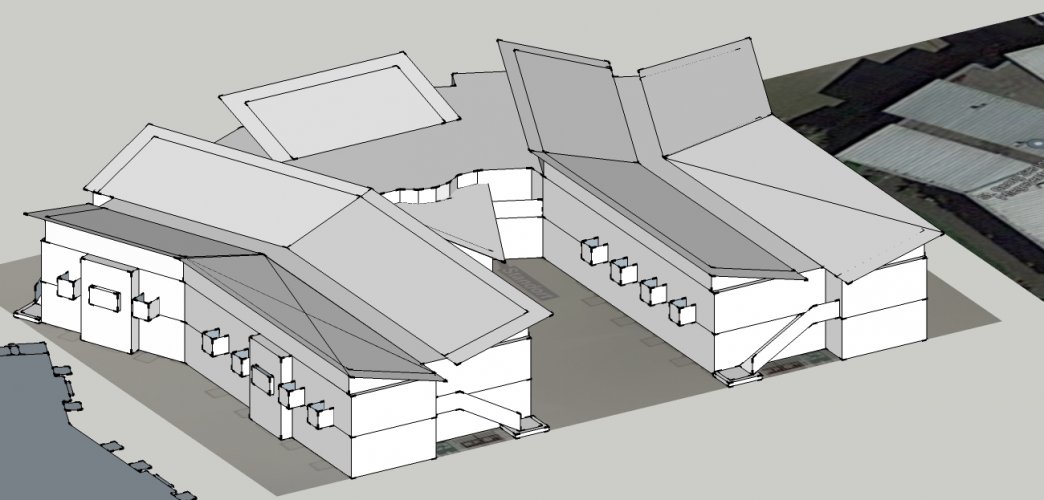
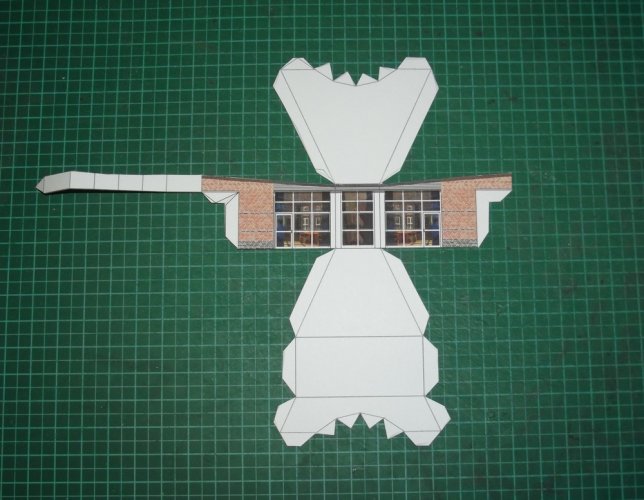
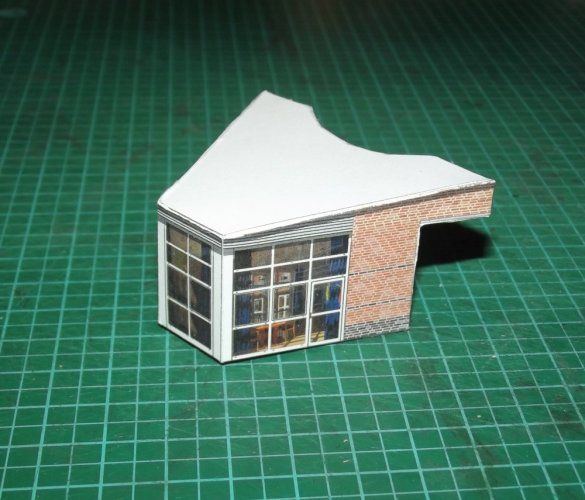
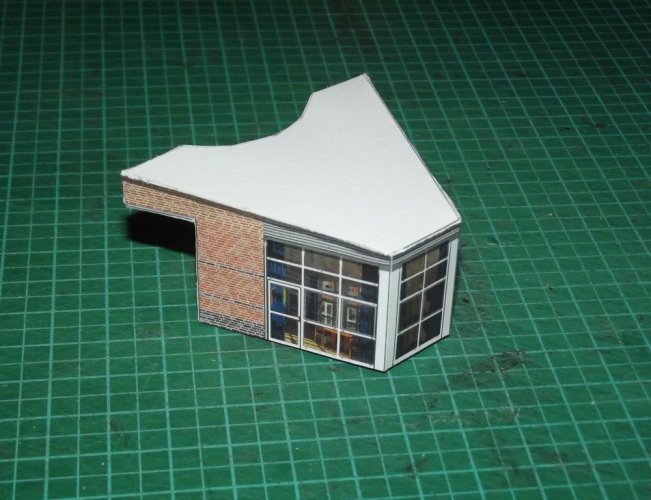
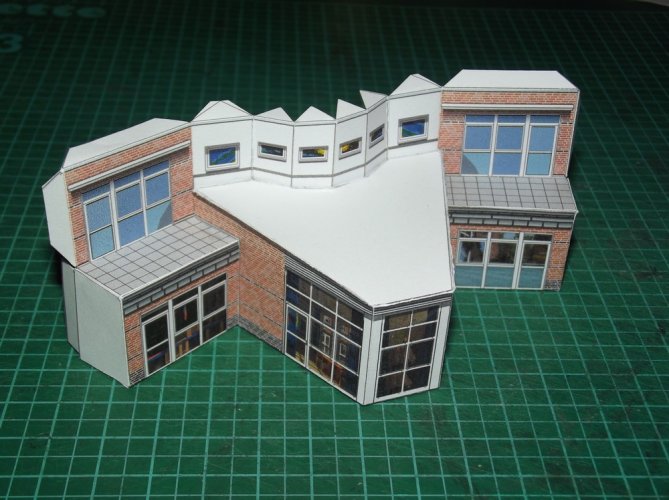
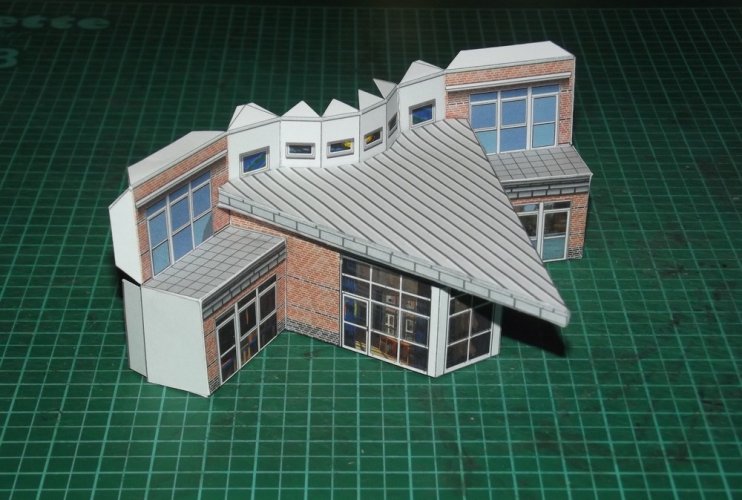
St. Georg Care Center, Vreden - A very special Home

Revell-Fan

Co-Administrator
Staff member
Administrator
Moderator
Aug 1, 2009
11,612
12,353
228
Vreden
Hello my friends,

in the past few months I was working on a project which turned out to become one of the most complex builds of my life. It involved some of the biggest parts I had to deal with as well as some of the smallest parts I ever had to assemble. In addition, it was a secret project, only a handful of people knew about it, and those who knew made sure that nothing was spoiled. However, today the secrecy obligation was released and I am able to share with you what ate up most of my leisure time since May.

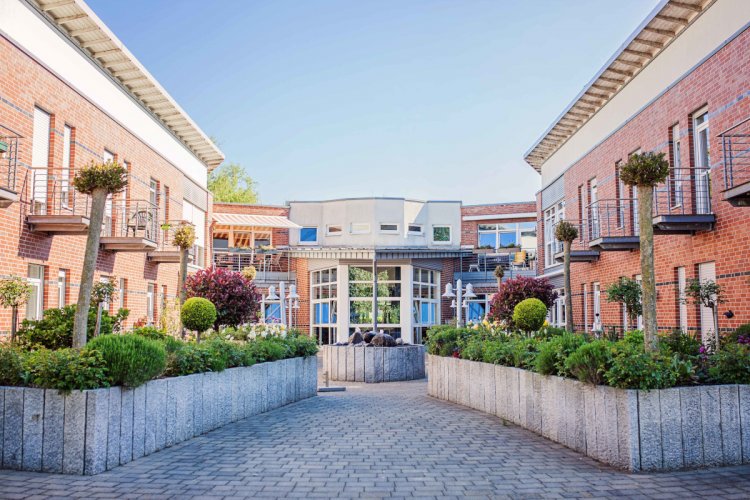
As some of you might know I work at a care center in my home town. The job is very demanding but even more rewarding and I love doing it. Last year the news was spread that my boss was going to retire on October 31st, 2023. We had already celebrated several retirements of other colleagues before. However, since she had been running the "business" for 18 years then her sendoff was a very special occasion. She was there from the beginning and she literally kept everything together. I have been working for 16 years at the St. Georg's now and have never known a more caring, thoughtful and just team leader. So it was clear to me that I would give her a very unique present.

One day I noticed a spade in a corner of her office. I thought it was just a tool, nothing out of the ordinary, and did not bother. However, I noticed that the spade was never in use. It was just there, in the corner. When we were talking about the upcoming retirement her successor (who happens to be no other than my Star Wars friend ;) ) told me that she used the spade to make the first ground-breaking. I was totally speechless. This and the fact that she still had kept it made it clear to me that there was a deep connection not only between her and the crew but also between her and the building itself. That was quite an eye-opener and I decided it was time to finally build a model of the care center.
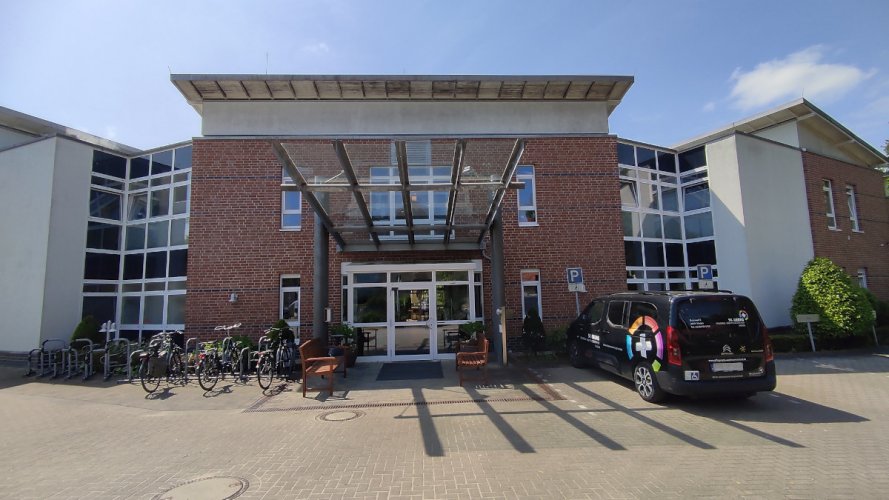
IMG_20230518_121651.jpg

Of course that was one year ago and happened during a casual brainstorming session. No-one (not even me) knew how and if a model would be a good idea and even feasible. However, I had wanted to build a model of the center for quite some time but I had no real reason to do so. Until now. Even if the idea was still in its infancy and more of a figment.
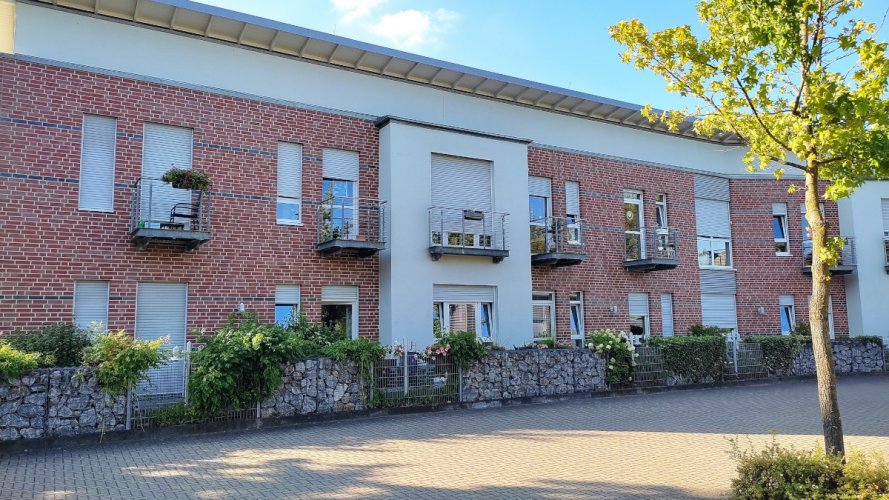
IMG_20230915_170405.jpg

There were several things to flesh out, mainly how this build could be turned into something meaningful and how it could even be achieved without sufficient data to work with. Of course, I could take pictures of the facades and furniture, but the building itself is so big and full of weird angles that I had no idea how to tackle this one. In addition, the most difficult aspect was how to make the roof because I only knew the building from the ground-level perspective. I had absolutely no idea how the roof looked like and as long as this mystery was unsolved I was unable to begin. So I scrapped the idea and continued with other things.
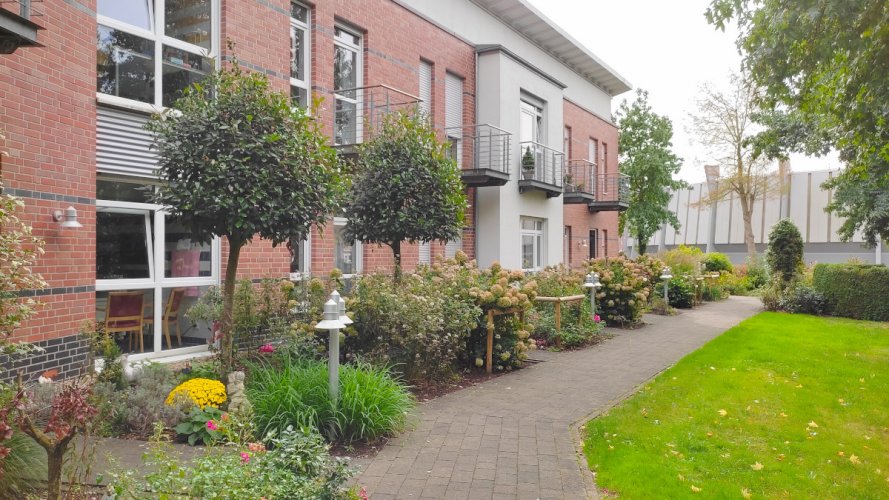
IMG_20231004_131129.jpg

However, the idea never let me go completely and one day I facepalmed big times. I was looking for a new walking route and followed a link to Google maps. Street view was on so I was able to see a photorealistic rendering of the route. It followed a path which went along my workplace, and this is what I found:
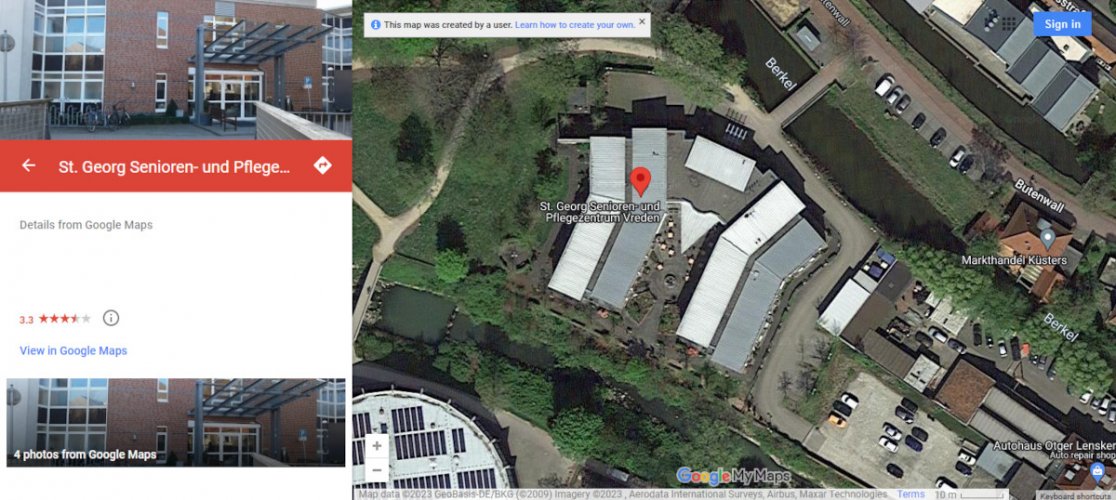
Unbenannt1a.JPG

A top view of the roof! The mystery was solved, finally! And Google knew the answer! :D

Now onto the main shape of the building. This was almost an impossible task because it meant to go around the house and tape-measure all walls and angles just like I did on the St. Georg's church (which happens to be right on the other side of the river Berkel, 100m away from the care center). However, sneaking around the walls would not be easy, considering every wall and corner was filled with flower beds and crushed stones. In additon, I would have been forced to invade the tenant's living units which might have caused some trouble. Not trouble in the sense of violating the privacy but trouble as in someone observing me and getting suspicious of the project. Since it was supposed to be a secret absolutely no-one was allowed to find out what I was doing. So the project was on hold again.


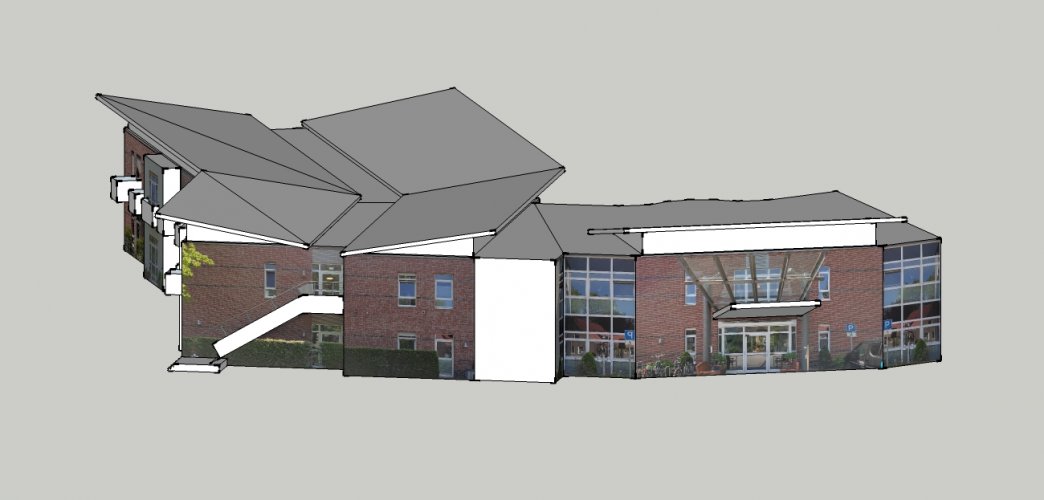
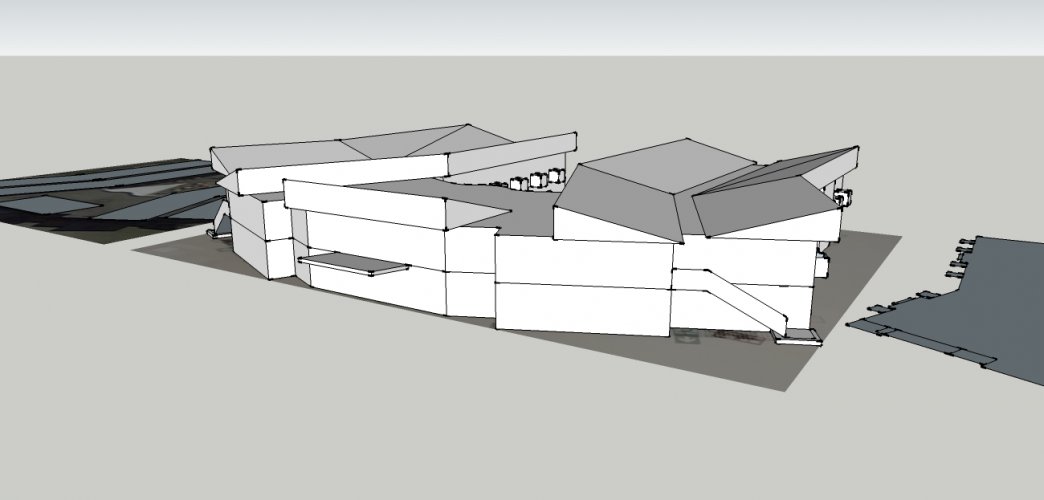
A few days later I took a closer look at our escape and rescue plans which were openly accessible on the main floors. They became so common to me that in all those years I did not recognize that they provided a detailed layout of the whole building, the first floor and the second floor which was slightly different. HEUREKA! That was exactly what I needed! I took some quick cell phone pictures and imported the data into SketchUp, just to see if the data was usable.
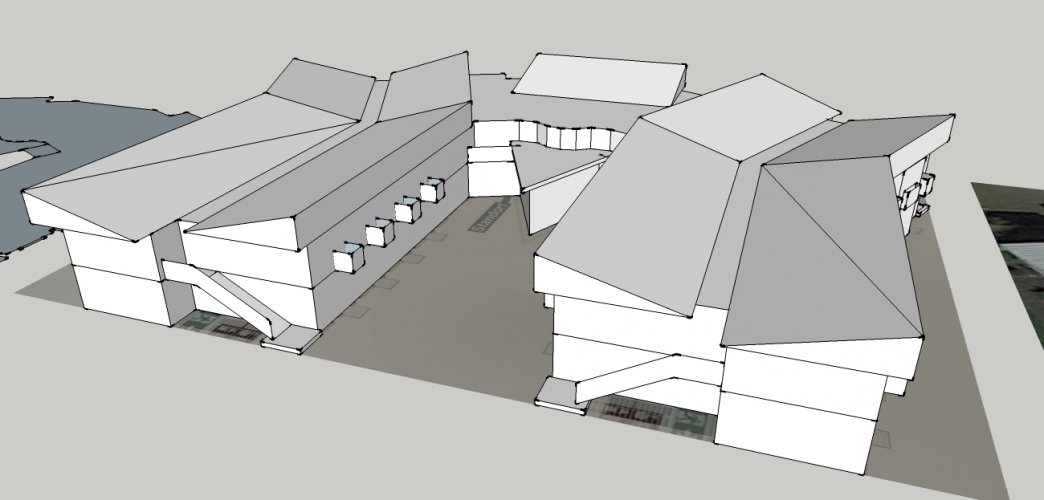
StGeorgHaus1.jpg

StGeorgHaus2.jpg

StGeorgHaus3.jpg

StGeorgHaus4.jpg

StGeorgHaus5.jpg

StGeorgHaus6.jpg

Apparently the answer was, YES, it was! :)
 
Last edited:

Revell-Fan

Co-Administrator
Staff member
Administrator
Moderator
Aug 1, 2009
11,612
12,353
228
Vreden
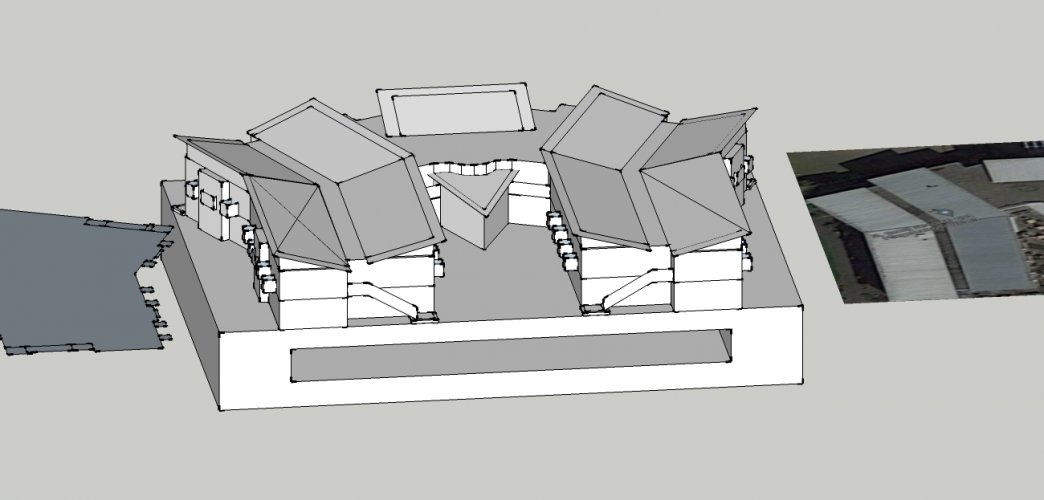
With the target set, one thing still remained unclear: Just giving away a model would not be that special. Without a higher purpose this would be just another dust catcher. Something had to be done to evelate it to something more meaningful. One of my colleagues had the idea to create a photo book containing the most memorable moments of my boss' career. That clicked something and I decided to turn the model into a fancy decoration of the photo book, similar to a steelbook or a special collector's edition of a BluRay. So I added a sturdy base with a cutout:

StGeorgHaus8.jpg

The book would be placed inside the base and would be pulled out by a ribbon which was attached to the inside. Pushing the book back into the base would simultaneously push the ribbon back in place as well. So far so good. :)

In the meantime I took dozens of pictures of the outer walls and surroundings and tape-measured strategic points of the building. I had to work quickly and carefully in order not to get caught in the act. A few colleagues spotted me and were wondering what I was doing. "Are we getting new deco?" they asked. I responded, "Maybe." ;)
 
Last edited:

mijob

Tie designer
Staff member
Moderator
Jul 5, 2020
3,180
5,380
95
54
Netherlands
Nice work and a good story. I like that you do so much research on this project. Looking forward to see the next episode.
 

zathros

*****SENIOR ADMINISTRATOR*****
Staff member
Administrator
Moderator
Apr 5, 2013
13,498
9,549
228
I know why you are doing this, but honestly, you should be compensated it with money. Sounds harsh, but unless this is a completely free, state or otherwise freely supported home, they are making money, and such a model will be a fantastic selling point.

Sometimes though, labors of love are just that, and in that case, enough said. you have a big heart. :)
 
  • Love
Reactions: Revell-Fan

Revell-Fan

Co-Administrator
Staff member
Administrator
Moderator
Aug 1, 2009
11,612
12,353
228
Vreden
INDEED! :)

The next weeks at work were dominated by a bucketload of work but I constantly managed to save some time for research. I waited till everyone was at the dining table so that no-one could see me sneaking around and taking measurements. Everything proceeded as planned - until one evening I ran into a tenant who was going for a walk on the floor. I was fully equipped with folding ruler, paper and pencil, and he asked me what I was doing here so late. For a moment I did not know what to say but told him that I was taking some measurements for the office (which from a certain point of view was indeed correct ;) ). Phew! That was close. :biggrin:

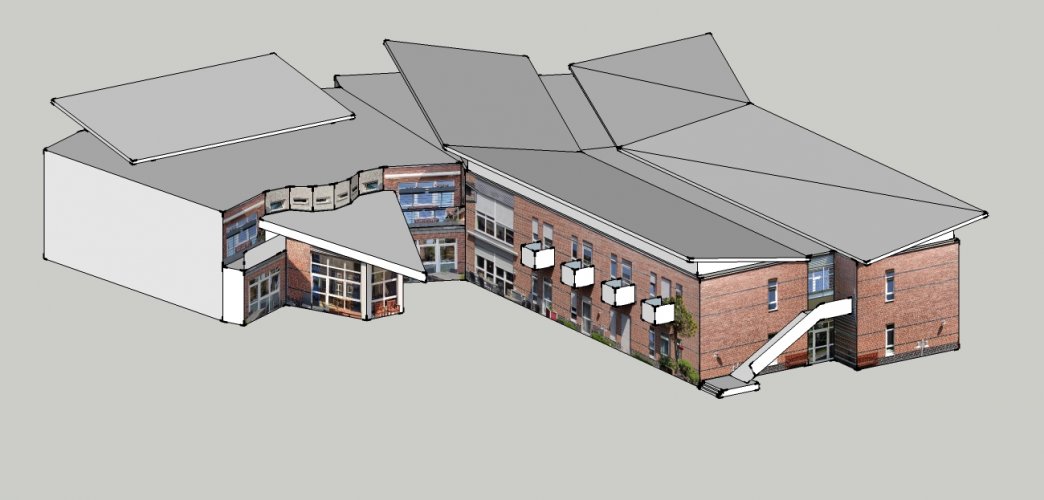
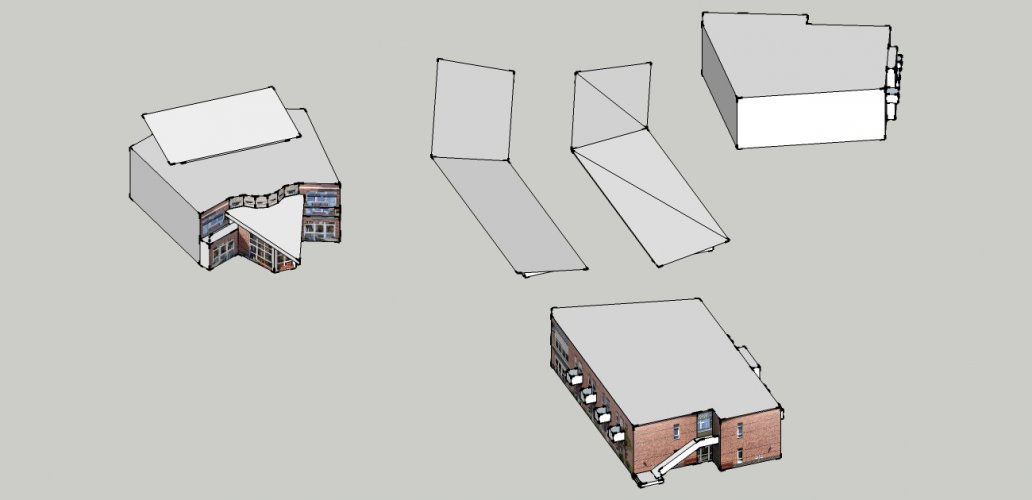
Now then. The additional data allowed me to extensively rework the first CG model and accurize it. I cut it into five sections. Two of them were mirrored so I had to deal with only three sections plus the roof parts. At that time I hadn't set the scale yet because it was supposed to be some fancy decoration and not a fully fleshed out model (soon afterwards it proved how wrong my assessment would be ;) ). Getting the proportions right was the main goal.

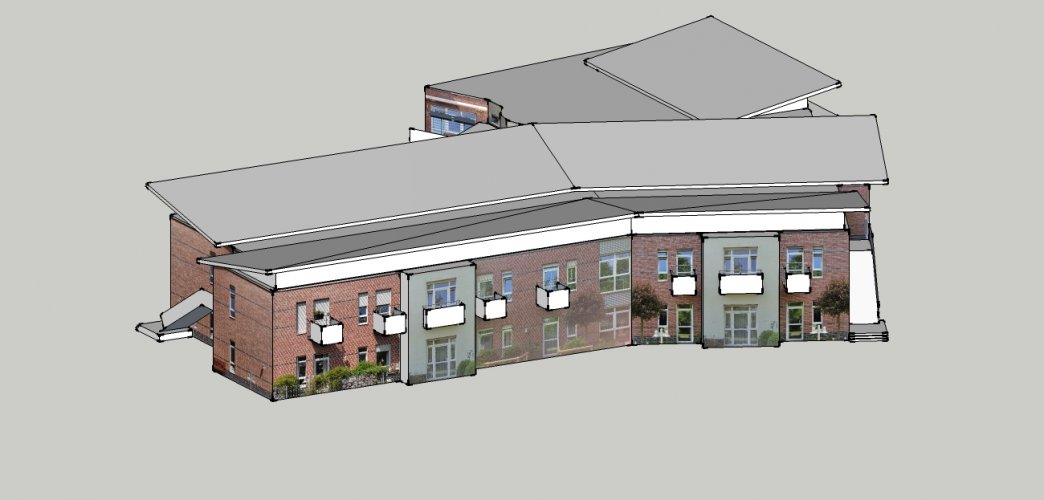
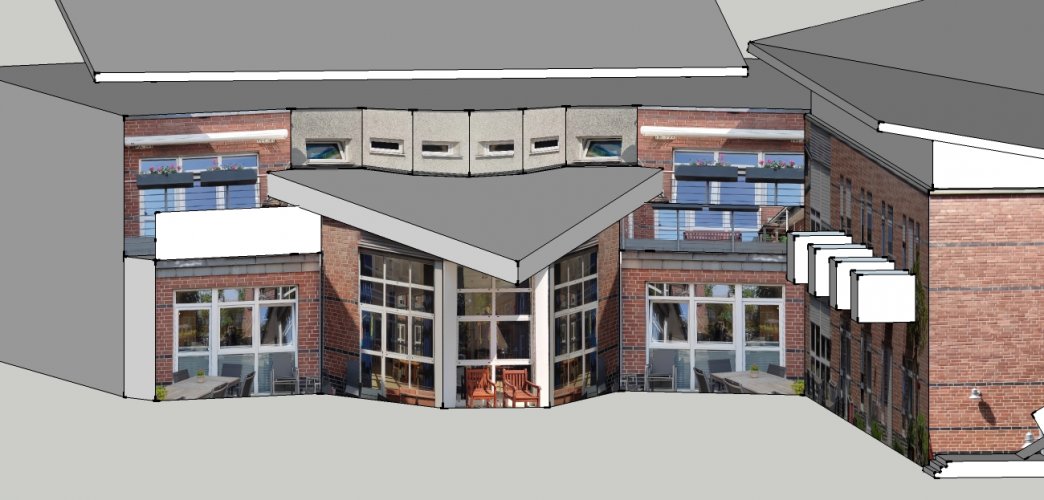
I too used the photos I took to apply a preliminary texture of the faces. This was done to see if I had covered all surfaces and showed me any area that had not been covered yet. As it turned out I was able to fill all faces without issues:

StGeorgHaus10.jpg

StGeorgHaus11.jpg

StGeorgHaus12.jpg

StGeorgHaus13.jpg

StGeorgHaus14.jpg

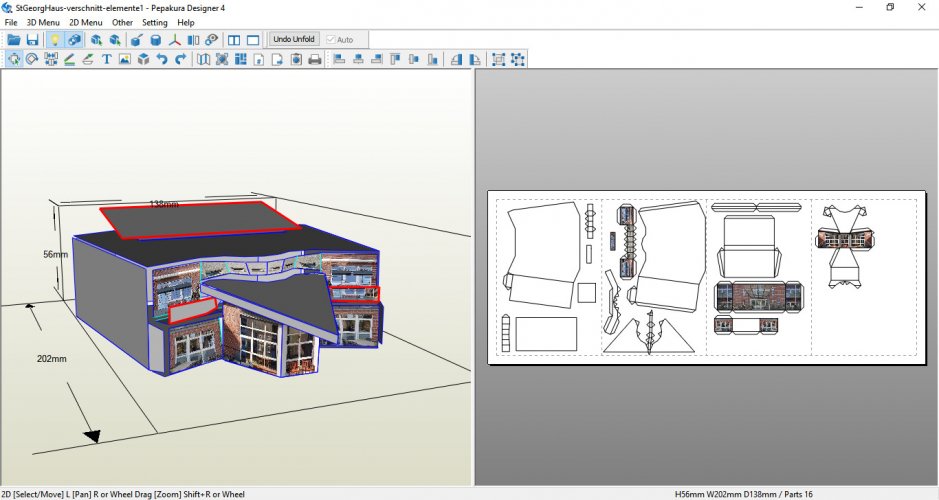
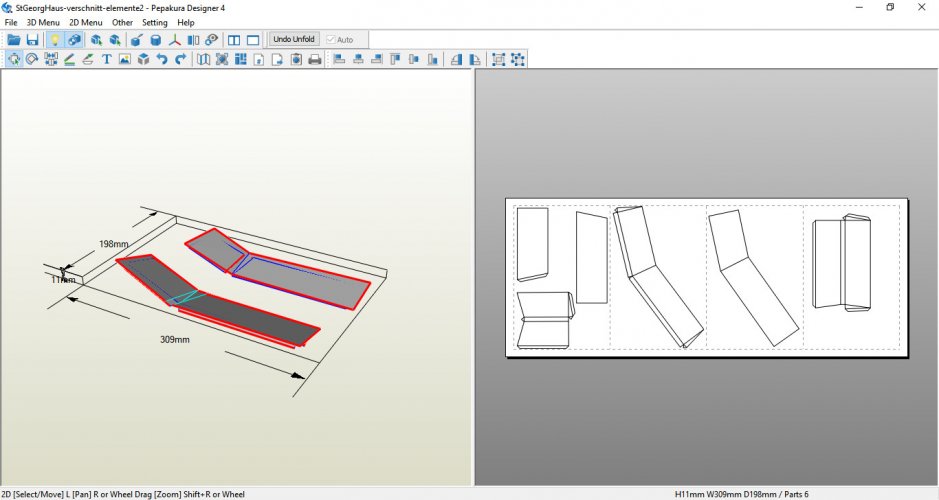
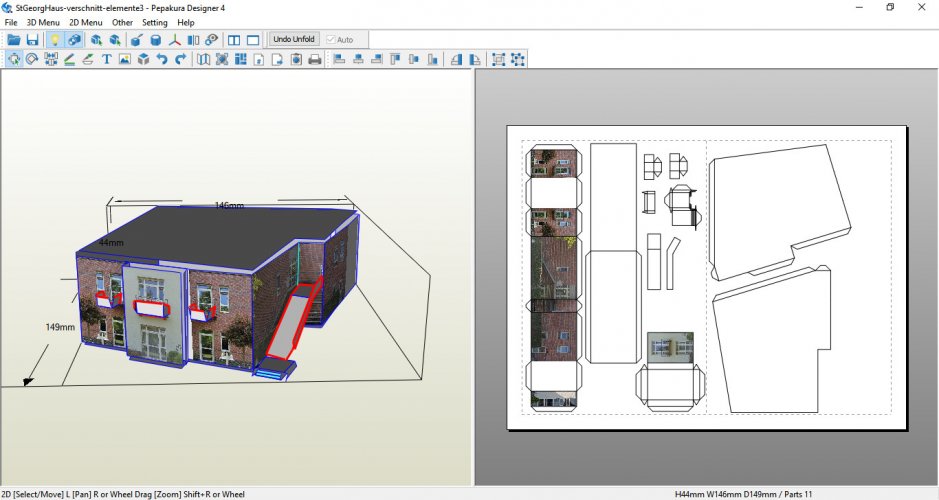
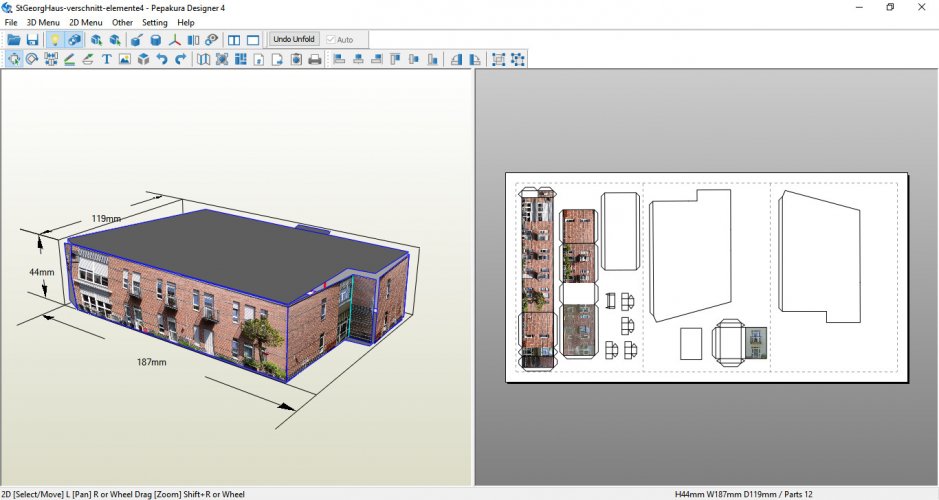
When I was content I imported the individual sections in Pepakura to keep the bitmap textures in the unfold and unfolded them.

StGeorgHaus15.jpg

StGeorgHaus16.jpg

StGeorgHaus17.jpg

StGeorgHaus18.jpg

If you look closely you may notice that the texture was far from perfect. The brightness differed from face to face and there were lots of shadows cast by the balconies and the building itself which had to be removed (all shadows you see in the SketchUp renderings were cast by the building, they were baked into the image, they were not simulated by the render engine). In addition, furniture and the plants and trees obscured the view at the walls so it was necessary to get rid of them as well. To do so I exported the pattern as a series of bitmaps and a series of SVG files.

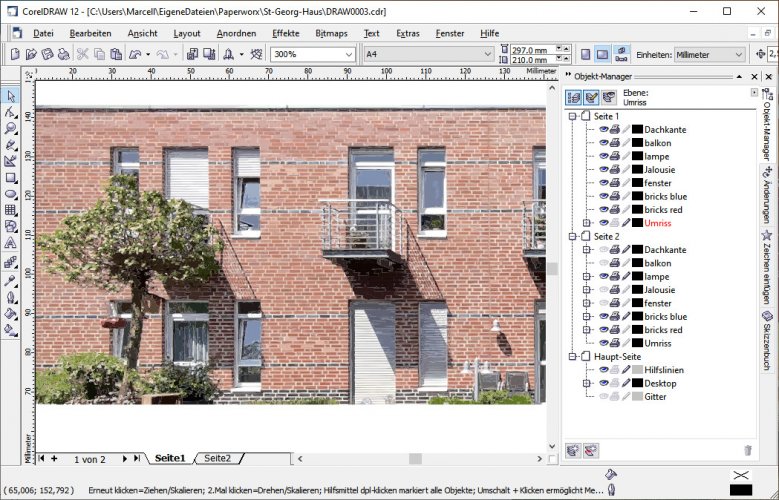
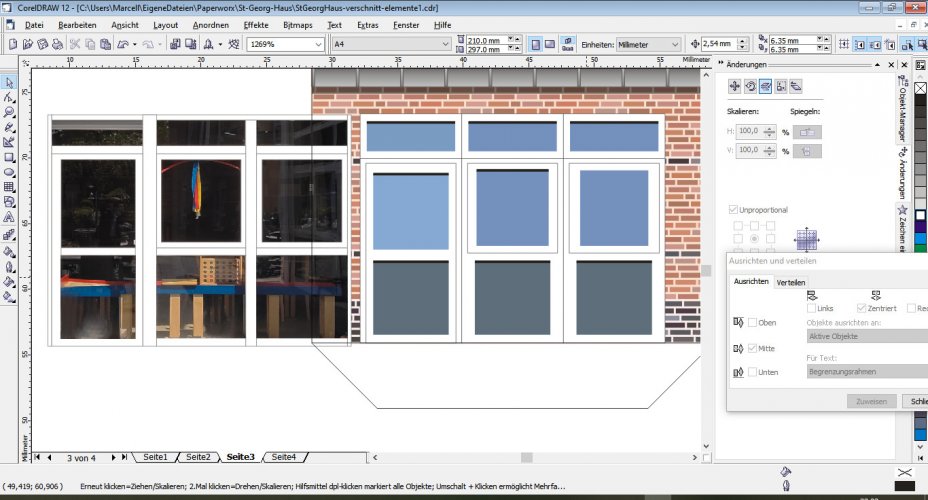
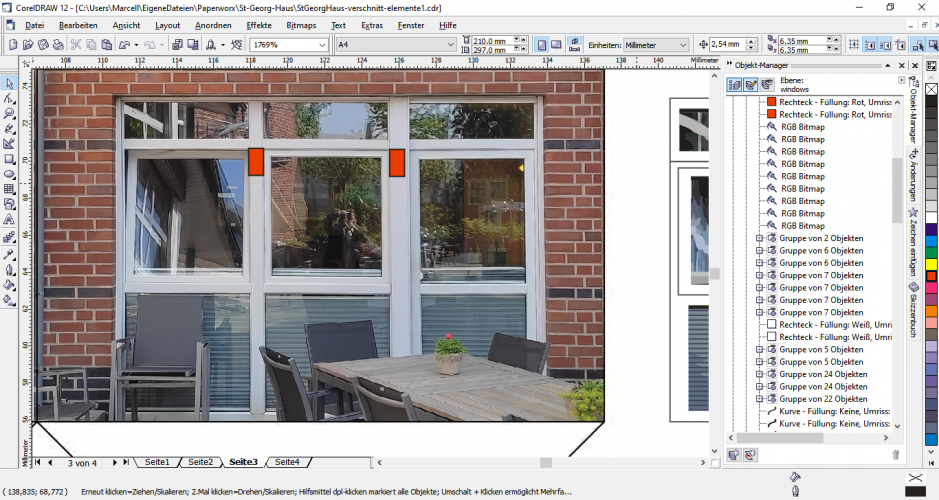
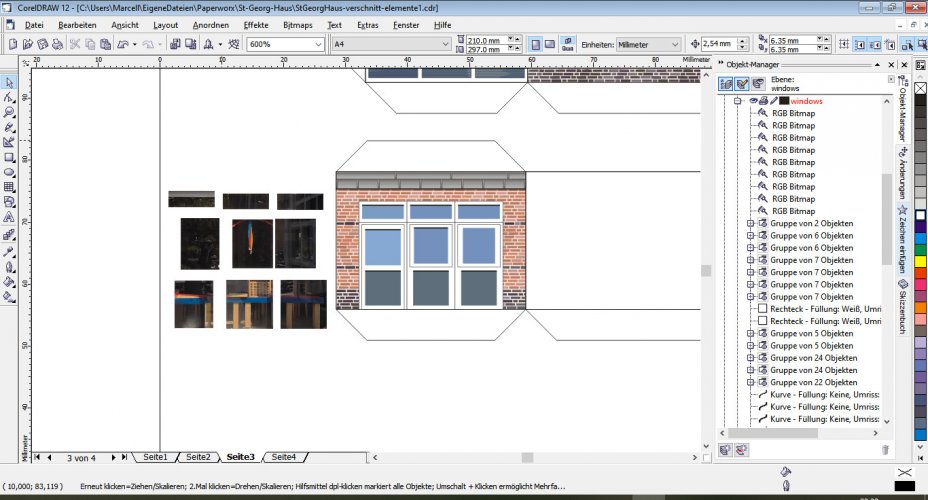
Both were imported in CorelDRAW and put on separate layers. The bitmap files were used for tracing and positioning the single elements (windows, balconies etc.), the SVGs were used to create the faces for vector texturing.

My plan was to use my big summer holidays for texturing and assembly. Three weeks would be more than enough considering many elements were simply copied and pasted. No big business. Little did I know how wrong I was because there was one factor which I hadn't considered - WEATHER!
 
Last edited:
Revell-Fan

Co-Administrator
Staff member
Administrator
Moderator
Aug 1, 2009
11,612
12,353
228
Vreden
A small recap of the timeline:

The idea of the project came in June 2022. Plan and orthos were collected in April 2023. The first pictures and measurements were taken in May during a special barbecue party to honour our deceased friend, the tenant I gave the Aston Martin to. The sendoff party for my boss was about to take place on October 31st. So there was still plenty of time to get it done. In theory.

Now then. The date was June 2023 and the first task to clean up the texture was to create a suitable clean brick texture. This was in fact the final obstacle. If this had not been successful the project would have been shelved. However, with a great idea in mind I swang into action.

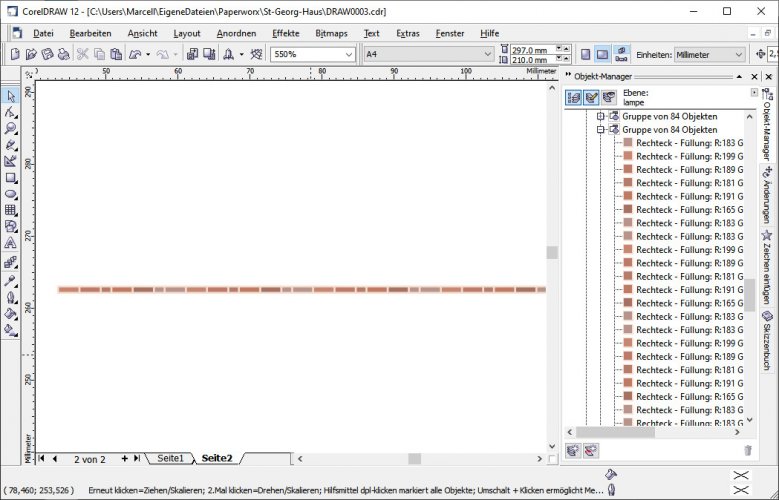
I took one of the best and most natural looking pictures of the unfolded pattern and vectorized it in Corel:

StGeorgHaus34.jpg

This allowed me to trace a series of bricks and to copy and paste the colour onto them. That gave them the most accurate look.

StGeorgHaus35.jpg

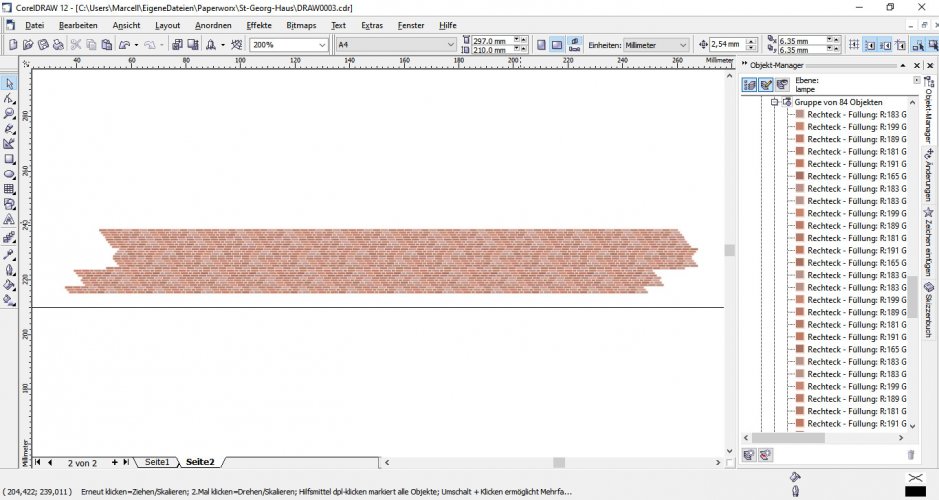
This single row was copied and pasted and arranged randomly several times until I got a pretty natural looking mix of different shades of orange-red:

StGeorgHaus36.jpg

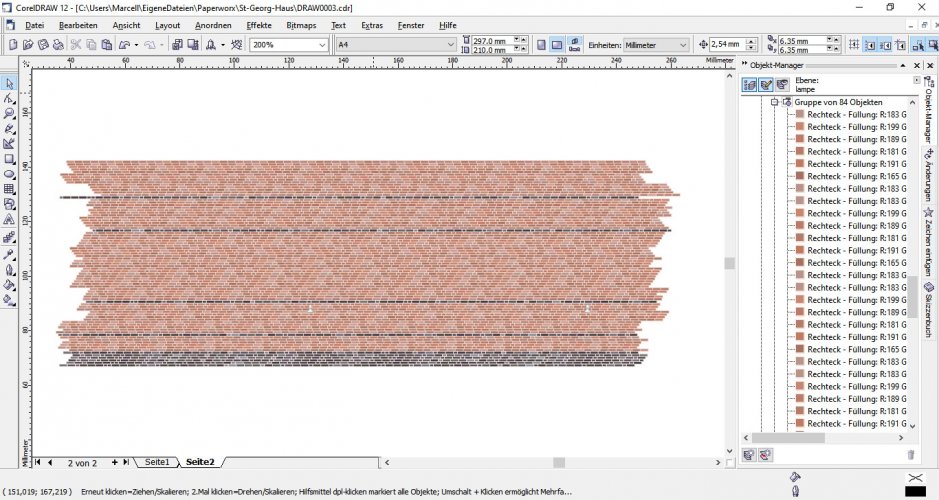
The same procedure was done to create the blue bricks. I used several other vectorized images to copy and paste the colour to other elements of the model, like the windows and mirror images inside the windows. Sometimes the files got so big that Corel crashed under the workload which required starting the hard work all over again. That reminded me to save the projects more often. ;) I also copied the development files to a separate folder to have a backup because in some cases the internal backup system would stop working if the file size got too big. Very annoying but in the end the result was very pleasing:

StGeorgHaus37.jpg

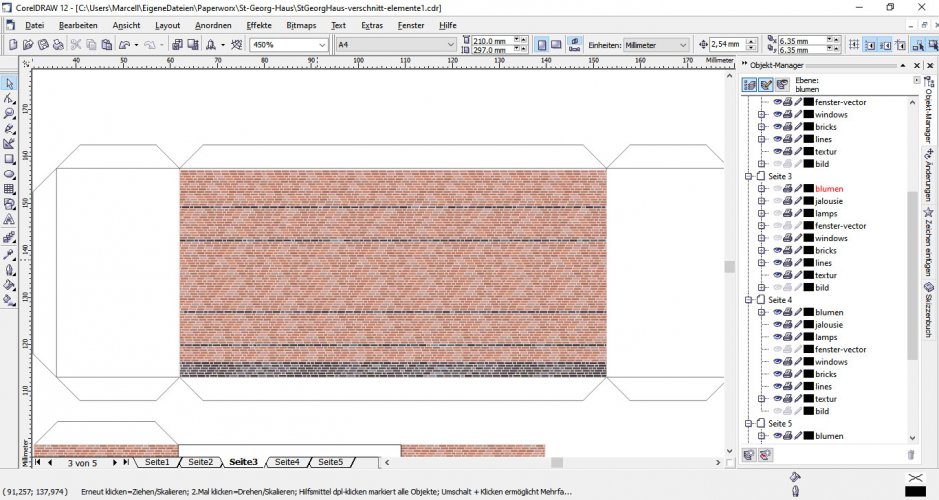
In a bright moment I decided to create separate layers for each element: red bricks, blue bricks, lamps, windows, doors and so on so that I could toggle them on and off if needed. The photo texture was put on the bottom and the SVG lines were put on top. I toggled the printing option of the bitmap texture off so that it remained invisible on any exported pattern to avoid any undesired side effects caused by smudged texture bits showing.

I mirrored the brick lines, pushed them around and changed the colour of random bits to create the most versatile and natural looking brick pattern. I filled one page and copied and pasted it onto every face which was supposed to be textured with bricks. Then I grouped everything and used the shape function to crop the texture. This created flawless edges and reduced the workload because it removed unneeded portions of the brick texture:

StGeorgHaus38.jpg

The results were better than I had hoped for and I proceeded with the other faces accordingly. Aside from the (many) crashes everything was working like a charm.

Then I proceeded with the rest of the elements. The texture had to be made first before any part could be printed and assembled. It was July, plenty of time left till October, what could possibly go wrong... :sticktongue:

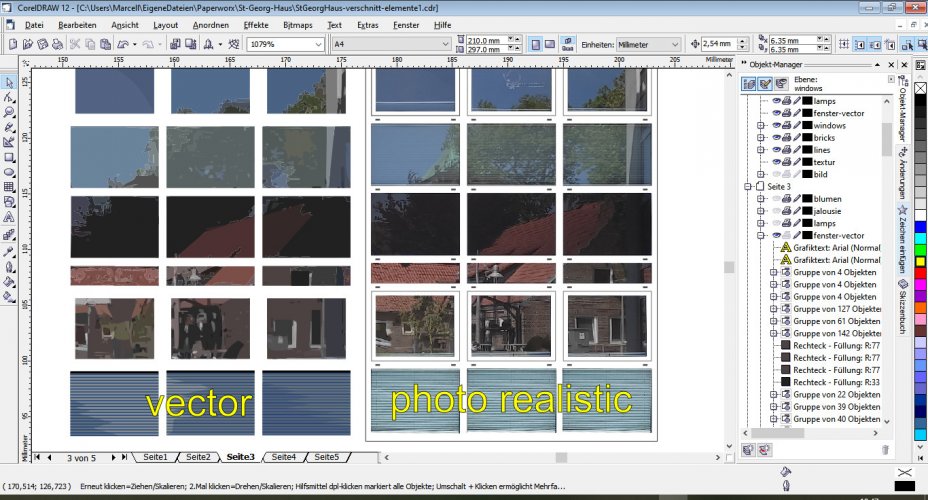
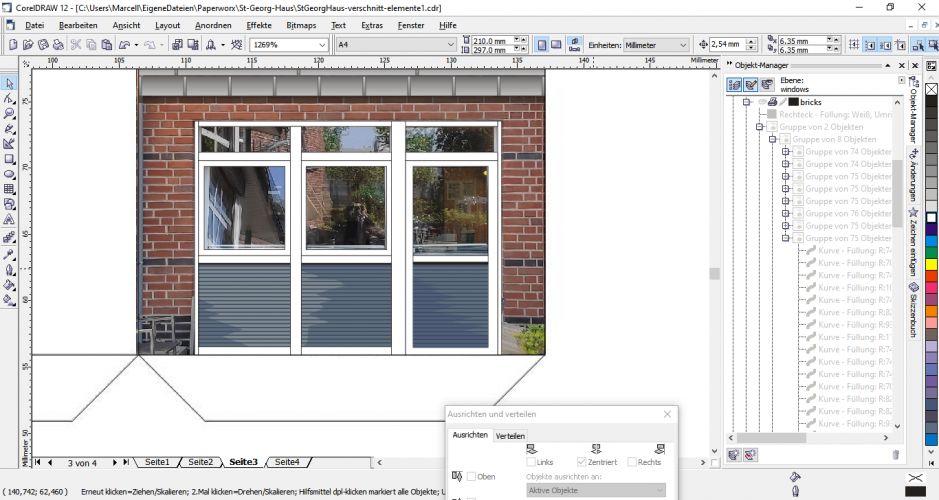
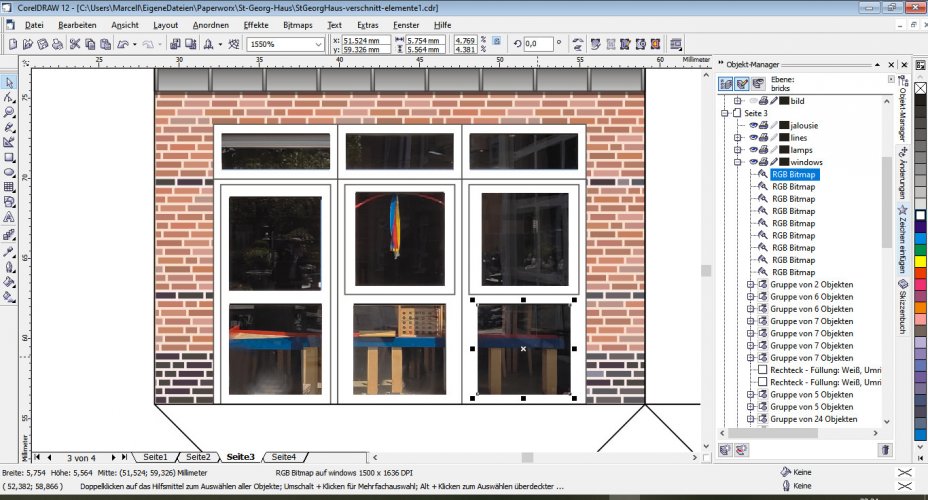
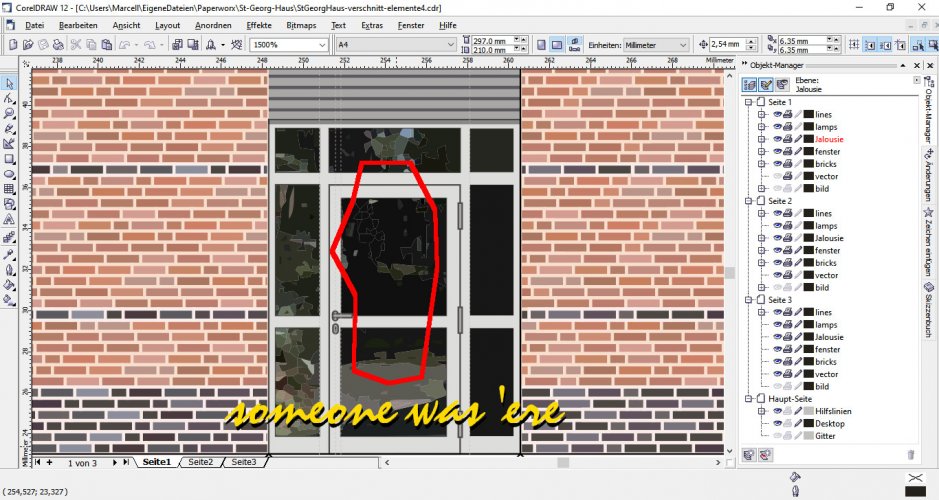
Now it was time to create the other elements one by one: Window frames, door frames, lamps, guttering, aluminium covers and so on. Having done the first windows I had to decide how to add the texture to them. There were two options: A vectorized texture which could be manipulated easily in Corel or a photorealistic texture which shows the natural reflections in the windows like on the real ones. I tested both.

StGeorgHaus24.jpg

As you can see the photorealistic texture looks much better than the default vectorized one.

In several other cases I created vectorized versions of the photo texture which did not look too bad:

StGeorgHaus40.jpg

However, soon it became obvious that the vectoring was good but it did not satisfy me. First, the process was a bit labour-intense, second, the results were acceptable for the small scale I was aiming for, but the photo texture was crisper and looked somewhat nicer. Since I had not set a final size yet I wanted to make sure that the texture looked the best it could if I chose to upscale the pattern, and an upscaling would undoubtedly reveal any imperfections caused by the lesser details of the vector version. In addition, the vectoring required additional cropping steps which I did not need to do on the photo versions, so I could save some work and get the job done faster. In the end I chose to keep the vector texture on a separate but hidden layer and used the photo texture as the goto version on the final template.
 
Last edited:
Revell-Fan

Co-Administrator
Staff member
Administrator
Moderator
Aug 1, 2009
11,612
12,353
228
Vreden
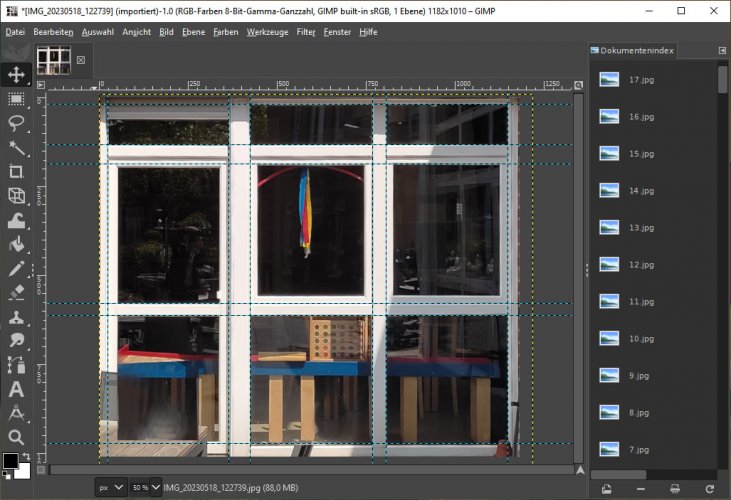
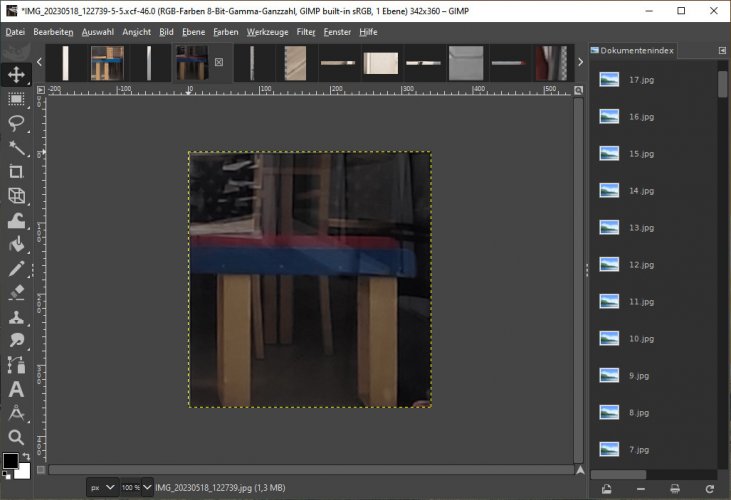
To use the pictures I had taken as texture some preparations had to be taken. First of all they had to be straightened out. This was done in Gimp by using the Perspective tool. First I imported the image containing the texture in Gimp. Then I cropped it to the texture content and went to Layers -> Layer to picture size. This step was crucial because otherwise the whole image including the unneeded parts outside of the canvas will be used in every upcoming edit. By bringing the layer to picture size you eliminate the unneeded parts and working with the image gets much easier.

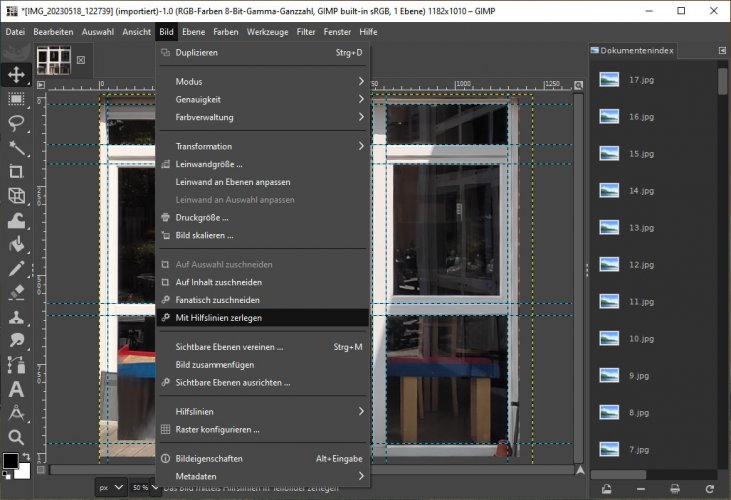
Now you have to turn each window into one separate picture. To do so I found a very handy new function in Gimp, the Slice using guides function. This is a real blessing because you pull a guideline into the image and the program will create a series of new images cut along those lines.

StGeorgHaus19.jpg

StGeorgHaus20.jpg

StGeorgHaus21.jpg

The layers are transformed using the Perspective tool so that the window reflection fills out the entire canvas. The window frames must be eliminated completely or they will become part of the texture later. Those images are then exported to JPGs and imported in Corel:

StGeorgHaus22.jpg

The images are pushed and pulled to match the desired position, et voilá - photo realistic texture applied!

StGeorgHaus23.jpg

And yes, this was done with (almost) EVERY window (at least the most prominent ones)!

image_2023_08_29T18_41_52_300Z.jpg

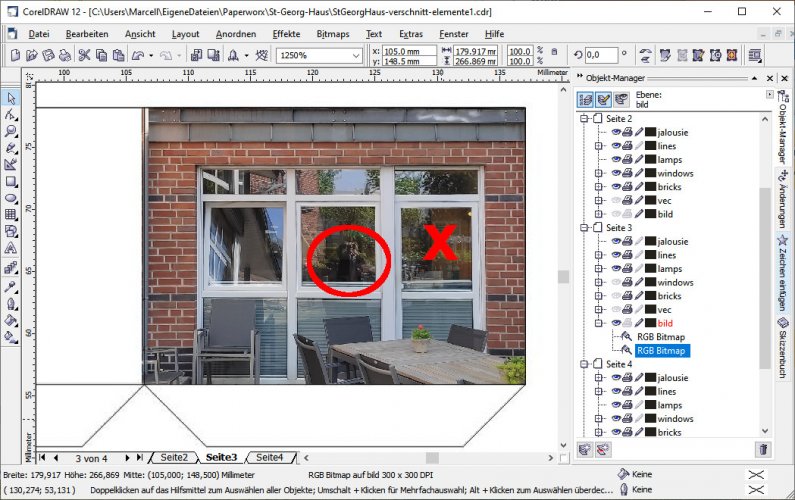
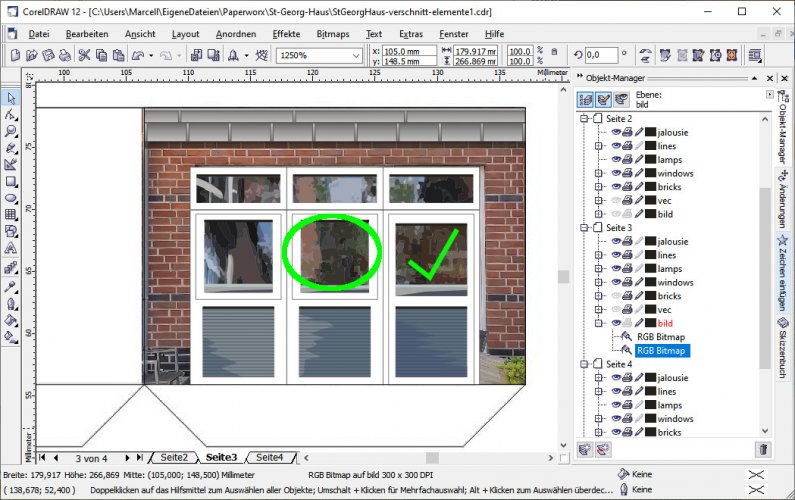
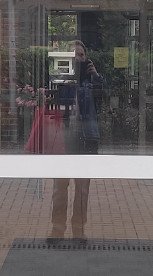
Sometimes I had to edit myself out of the image. ;)

image_2023_08_29T18_48_34_727Z.jpg

Sometimes it was easier to remove the paparazzi photographer from a vector image, so that one was used. :biggrin:

image_2023_08_29T19_12_39_925Z.jpg

image_2023_08_29T19_12_57_316Z.jpg

Tracing the elements revealed several oddities of the building itself.

image_2023_08_29T19_20_04_364Z.png

The window frames differed in thickness.

image_2023_08_29T19_49_56_123Z.png

I copied that accordingly. Strange but this is how things are. :drinksmile:

When the photoreal image did not show any color variations I chose to go with a vector copy to reduce the file size:

image_2023_08_22T17_30_45_702Z.jpg

This helped copying and pasting the same elements as well. :)
 
Last edited:
Revell-Fan

Co-Administrator
Staff member
Administrator
Moderator
Aug 1, 2009
11,612
12,353
228
Vreden
Thank you! But the worst is still to come. ;)

The texture work revealed a major problem with the balconies beside the V-shaped center wing. The number of floor tiles I was able to add did not match up with the real number. I found out that the balcony and the V-roof were too short. Prolonging them outwards would reduce the space of the atrium which contradicted the layout. I was a bit puzzled but then I moved the back wall of the balconies inside so that they would get closer to the front of the building. This increased the area for the floor tiles and made the V-roof longer - just as it looked on the real thing! YAY! :)

The bricks proved extremely helpful to determine the height of many elements. Since I was not going with a specific scale I used the height of the bricks and the number of rows as a ruler. That worked like a charm and made sure that everything was in proportion. In the end I made a small evaluation of the size of the model which revealed a scale of about 1/163 - 1/167. I rescaled it slightly to about 1/150 - 1/144 which brought it more in line with other models. It was a nice size and I was sure that no-one would ever go and check the dimensions to tell the difference. Alas, the real lamps and stairs differed in size as well (by about 3 cm - shocking!), so it was not too big an issue to have some creative license in the scaling. :biggrin:

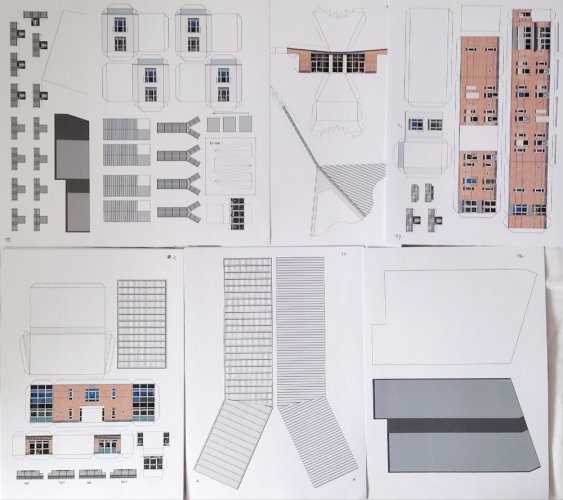
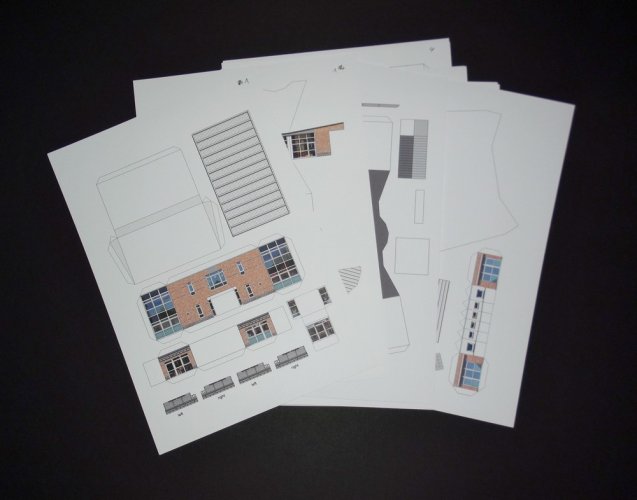
After several weeks of texture work it was PRINTING TIME - FINALLY!!! :)

IMG_20230917_123238a.jpg

Meanwhile it was August 2023. My big holidays had just begun, my scissors were sharpened and at the ready, but then came - THE SUMMER.

The sun was burning like hell and we got some of the hottest weeks ever! We were literally stewing in our own juices and it was impossible to begin assembly as planned. The printed pages were lying in front of me but there was absolutely no way of touching them without risking staining and thus ruining them instantly. Still, there were almost three months left, but it makes a huge difference if you have a whole day for building or only 6 hours in the evening and at night after two exhausting shifts at work.

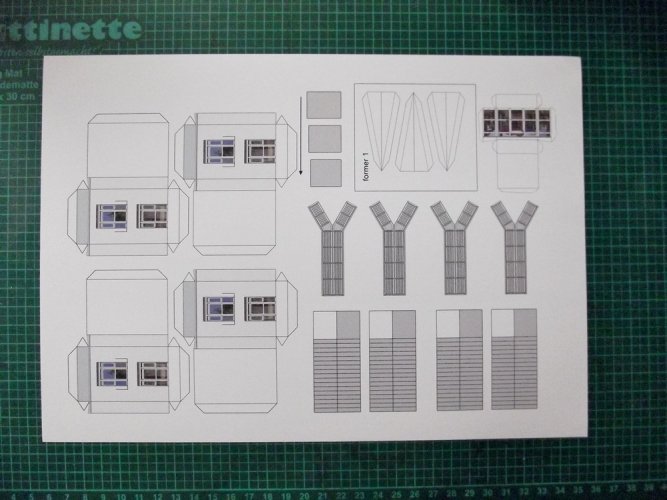
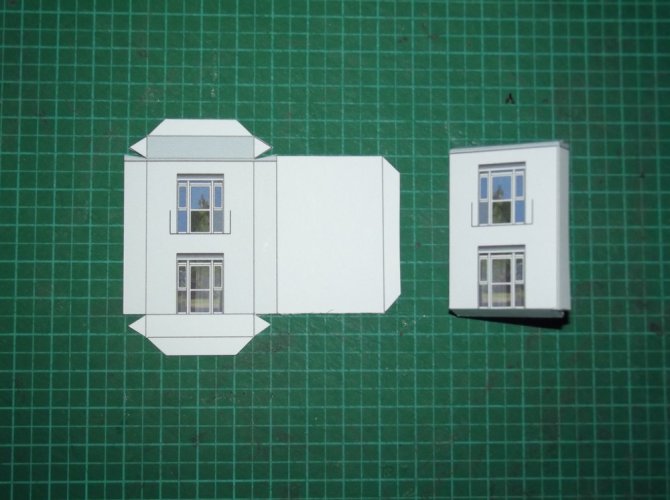
Each day was such a drag and I appreciated every small cool moment where I could actually make something. I chose to tackle the easier shapes first, like the internal skeletons which would be hidden inside forever later. Fortunately all major components were just simple boxes and I nicknamed them the "shoe boxes".

The build got into full swing in mid September. FINALLY. 10 weeks before ETA. :)
 
Last edited:
zathros

*****SENIOR ADMINISTRATOR*****
Staff member
Administrator
Moderator
Apr 5, 2013
13,498
9,549
228
You could use this as part of your portfolio for making buildings on a subcontract basis. You could make good money doing this, and you could do it at home. You certainly are more than talented for the work. :) :)
 

Revell-Fan

Co-Administrator
Staff member
Administrator
Moderator
Aug 1, 2009
11,612
12,353
228
Vreden
Thank you all so much! :)

You could use this as part of your portfolio for making buildings on a subcontract basis. You could make good money doing this, and you could do it at home. You certainly are more than talented for the work. :) :)
I will keep that in mind. ;)

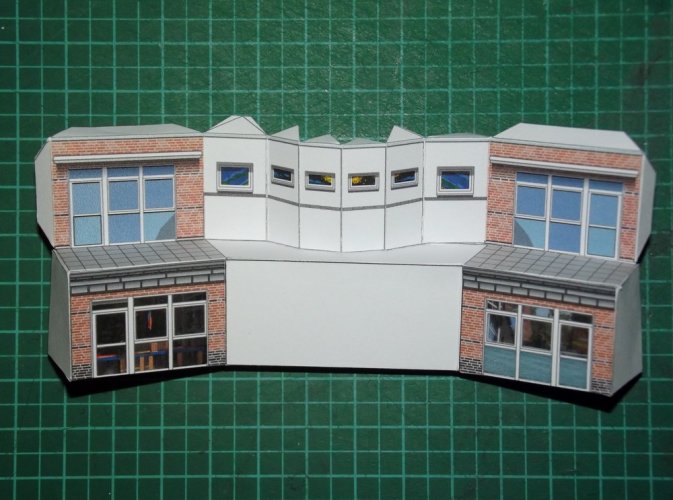
Well then, I started the build with the first segment of the house. This is the center with the entrance at the front and the entrance to the atrium at the back.

DSCF2395.jpg

DSCF2401.jpg

The middle part is the balcony I mentioned above.

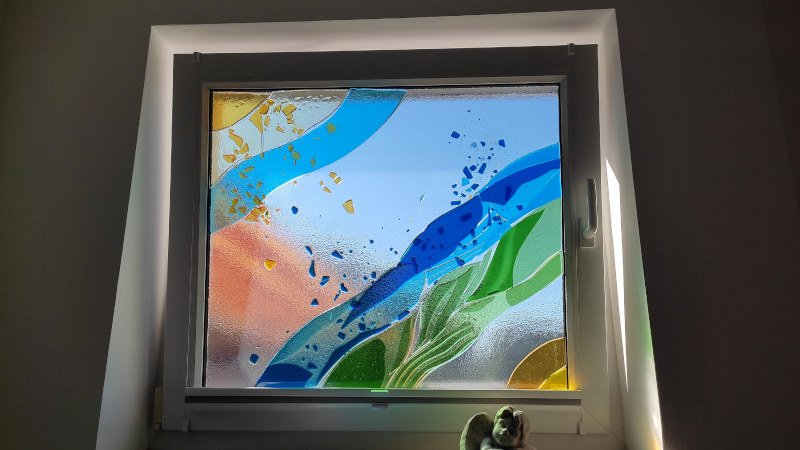
The top part is the front of our oratory. Each window features a glass painting which was faithfully reproduced. To do so I took some close-up pictures from the inside when the sunlight was shining through them, emphasing the colour of the paintings.

1694084834280.jpg

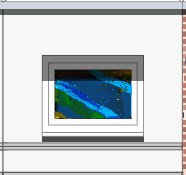
Then I mirrored the images (because they were supposed to be displayed from the outside), cropped and stretched them to fill out the canvas and made the white colour transparent. The single images were exported as *.png and placed on top of a 90% black window:

mural.jpg

DSCF2402.jpg

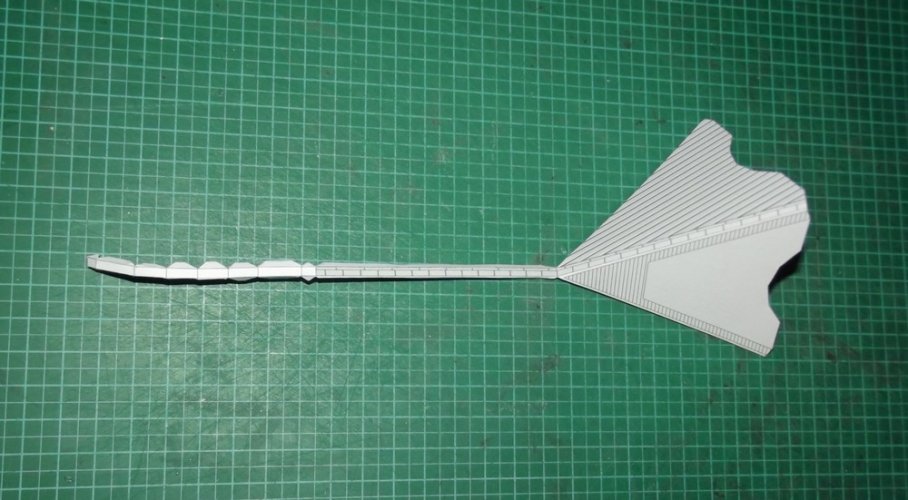
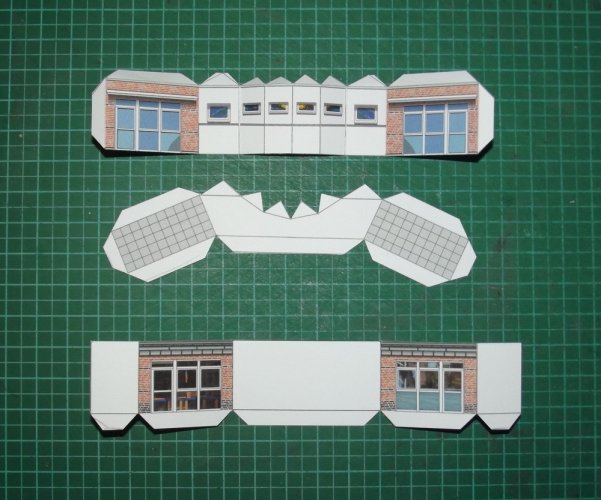
The trapezoid piece and the triangular roof were separate parts:

DSCF2403.jpg

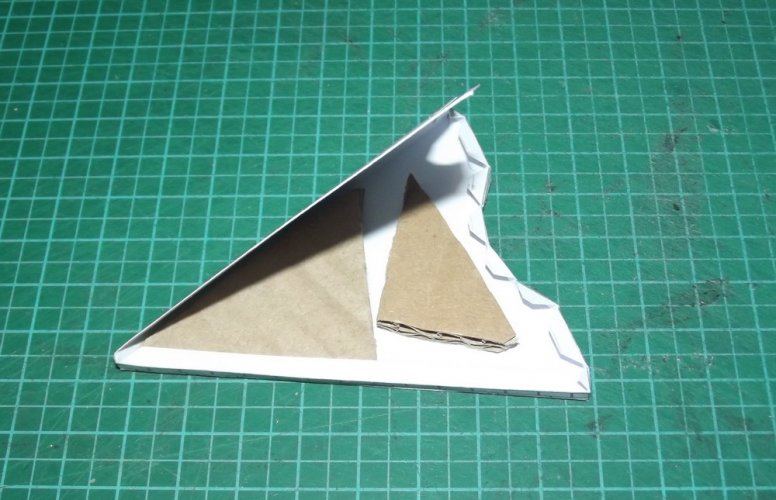
The roof was reinforced with some corrugated card:
DSCF2404.jpg

DSCF2405.jpg

DSCF2408.jpg

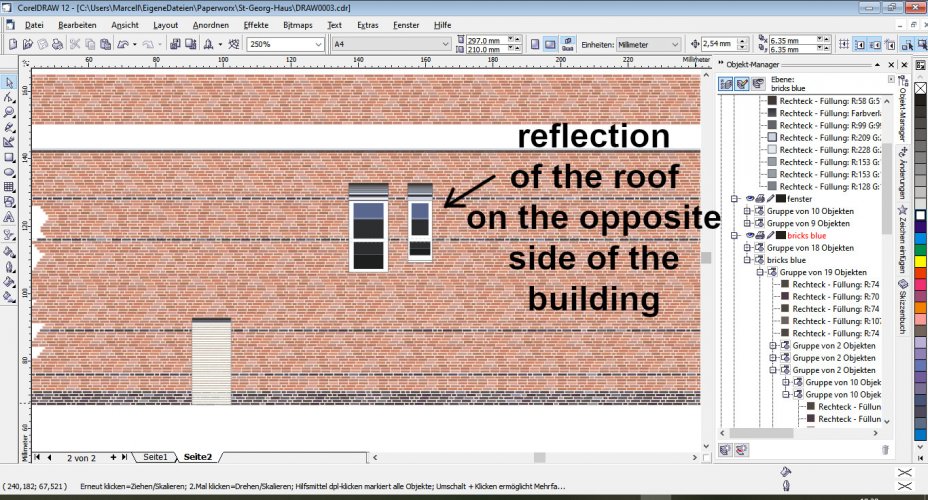
If you look closely the photo texture on the trapezoid creates the illusion of looking straight through the windows onto the other side of the building. This is a very neat effect which proved that my approach was correct.

DSCF2409.jpg

DSCF2410.jpg

DSCF2411.jpg

As you can see the aluminium frame was too low and got covered by the triangle. I revised the graphics, pushed all elements of the oratory up by 1mm, printed out a new facade and laminated it onto the part. That way I did not have to rebuild the section.

DSCF2396.jpg

DSCF2398.jpg

The jutties are simple boxes. Each of them received a T-shaped internal former made from leftover paper. I made it on-the-fly.

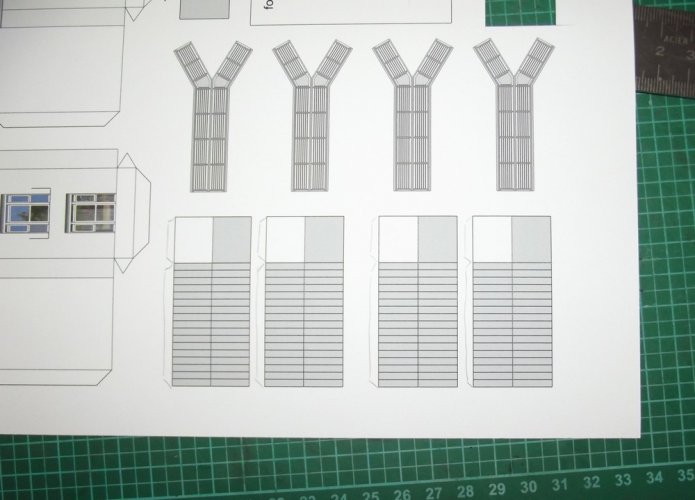
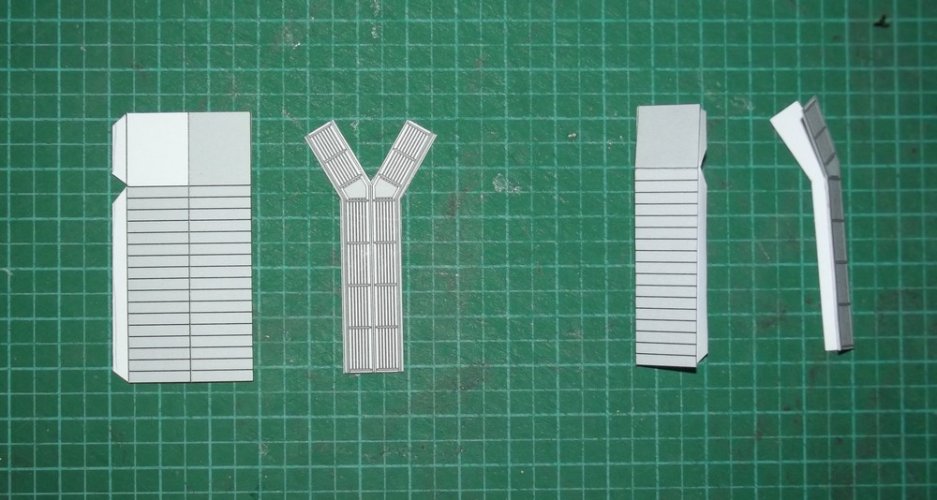
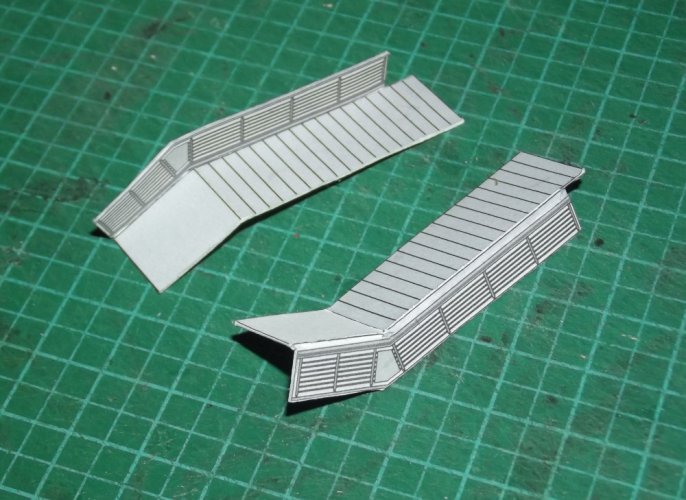
The stairs were folded in the middle and laminated together. The railing was folded in the middle and laminated around the flaps of the stairs. This was pretty effective and resulted in a clean finish.

DSCF2397.jpg

DSCF2399.jpg

DSCF2755.JPG