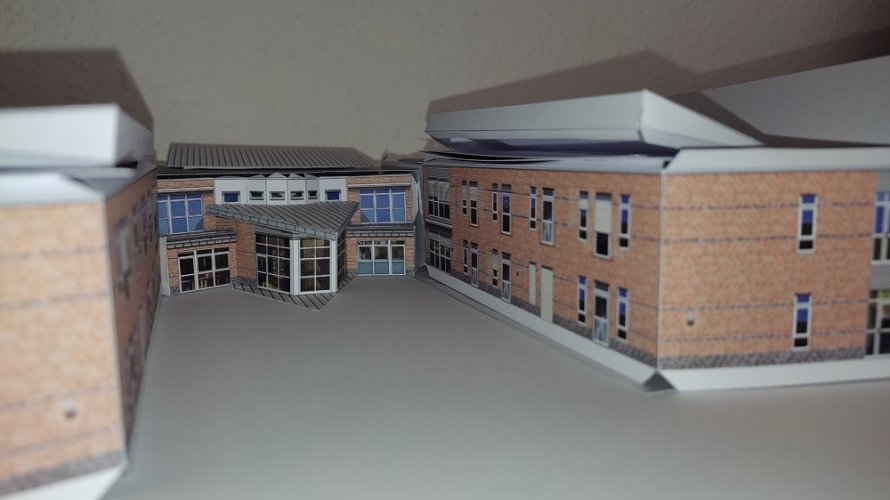
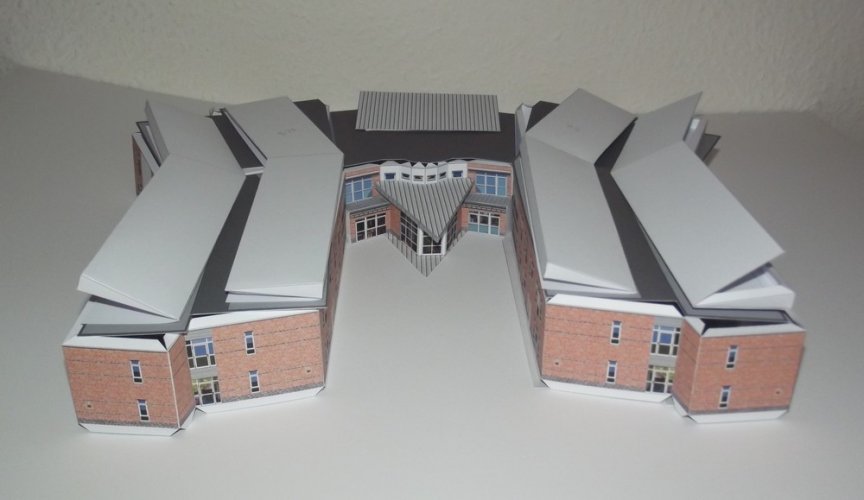
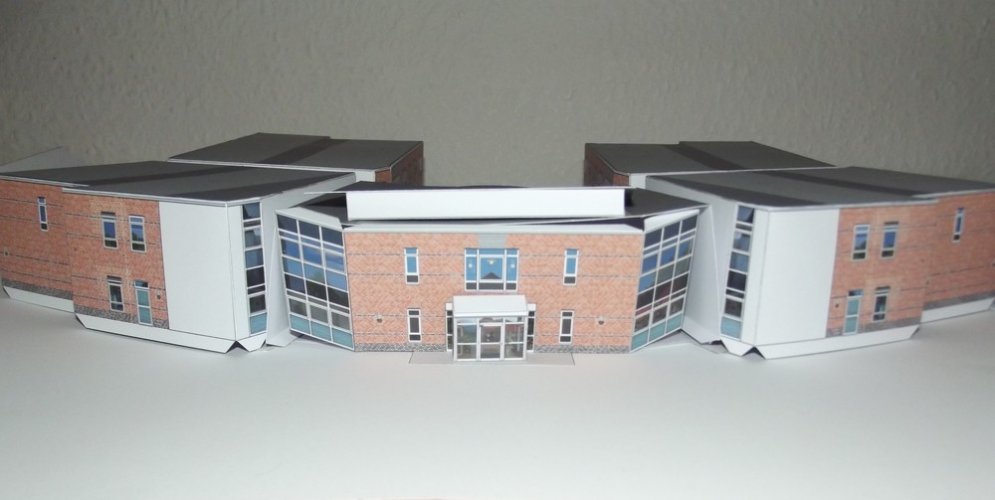
St. Georg Care Center, Vreden - A very special Home
- Thread starter Revell-Fan
- Start date
You are using an out of date browser. It may not display this or other websites correctly.
You should upgrade or use an alternative browser.
You should upgrade or use an alternative browser.
Im blown away and the 3d view you created with the window is. awesome. Keep up the great work.


Thank you! 
Early in the planning stage I had the idea to cut out the windows, attach a layer of transparent sheet behind the holes and glue the texture behind the sheet. That would have given real reflections and enhanced the effect. However, when I saw how tiny those windows were, I skipped that idea.
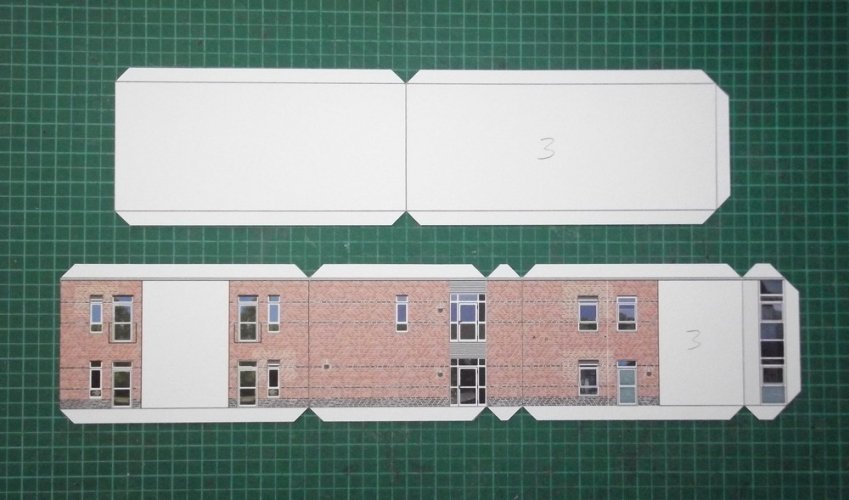
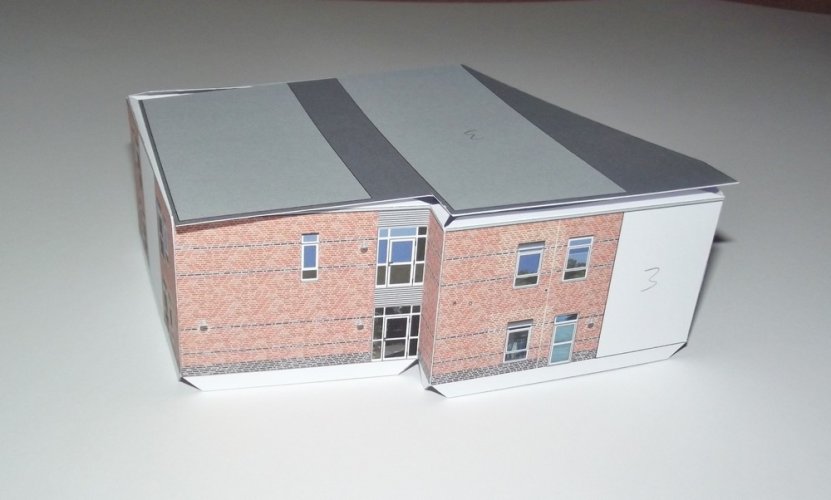
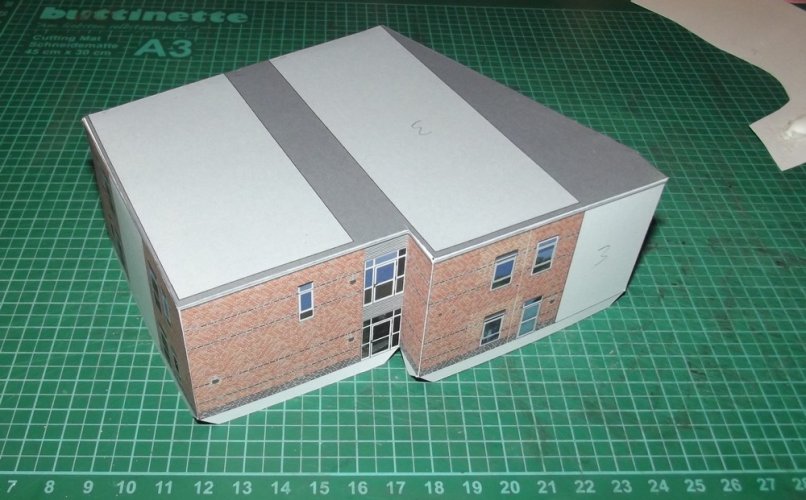
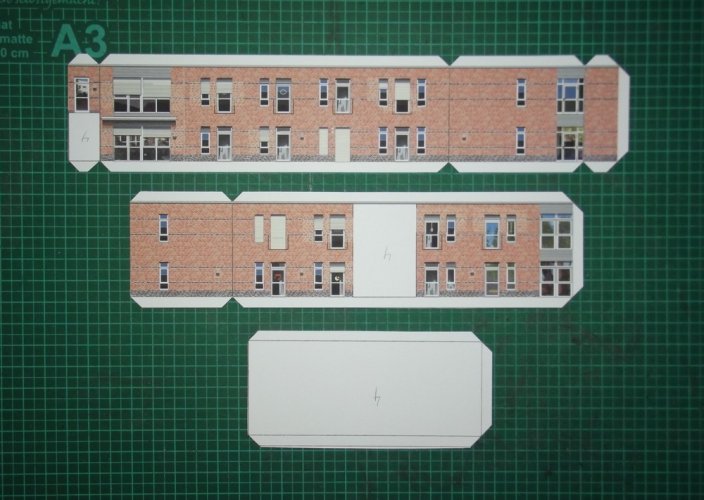
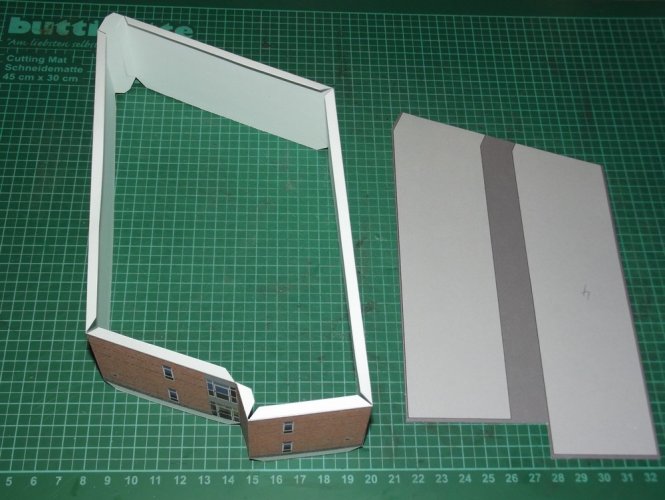
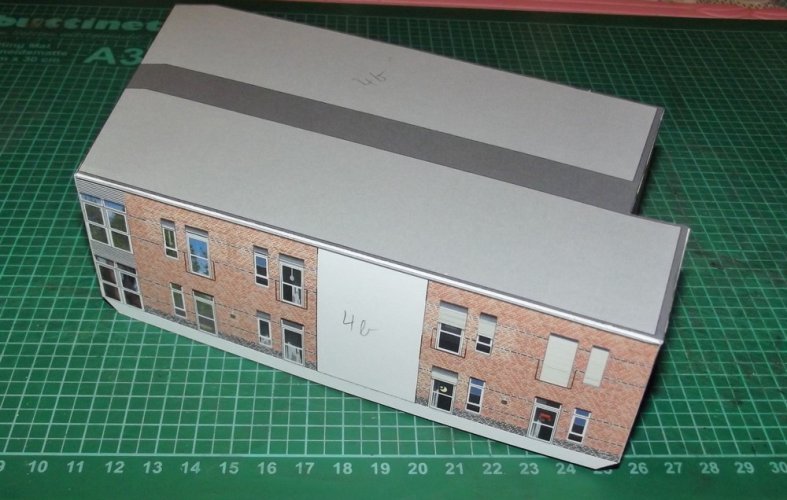
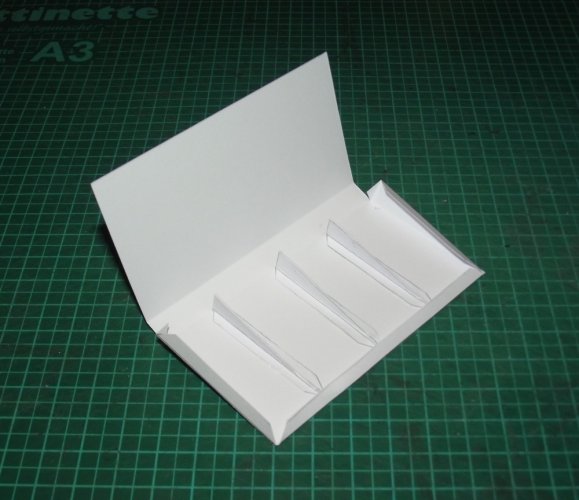
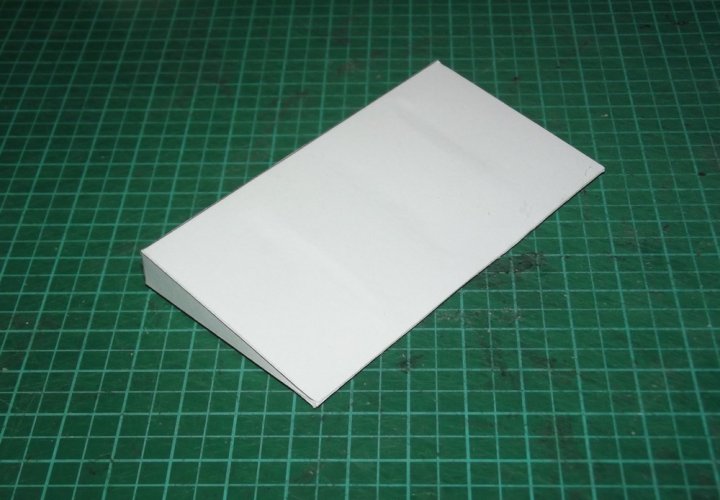
Let's continue with the internal skeletons and the roof plates. No biggies there.
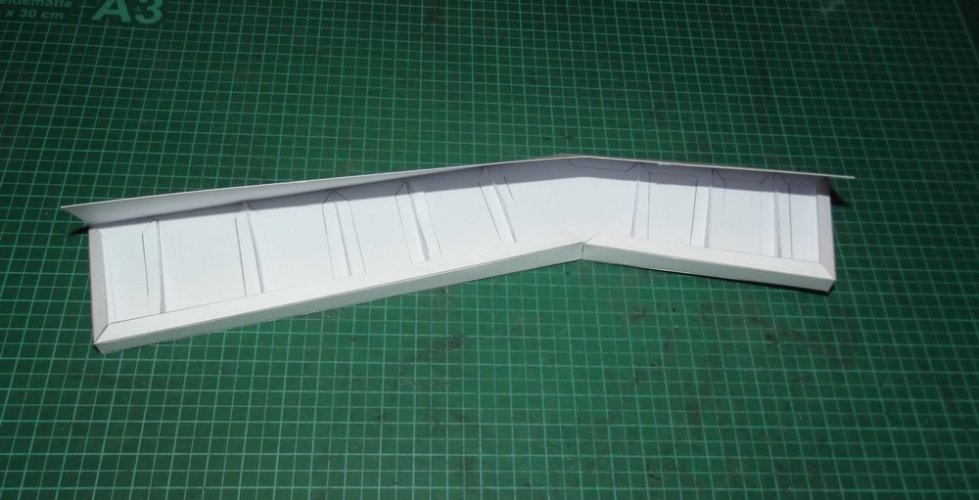
All roof parts were laminated to 1mm card. They were textured on the bottom
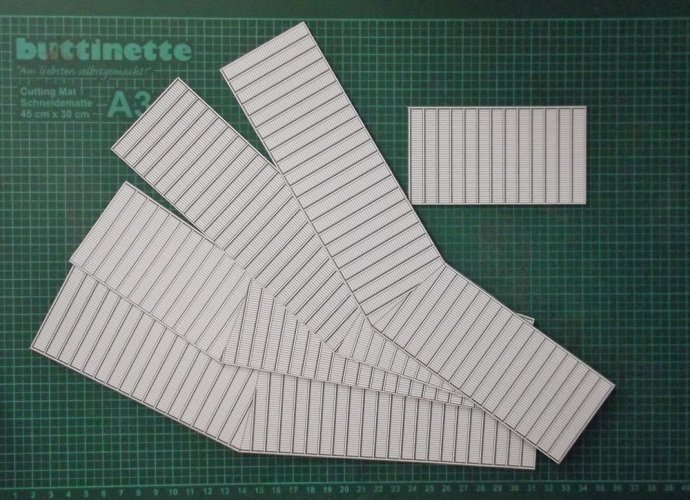
and on the top.
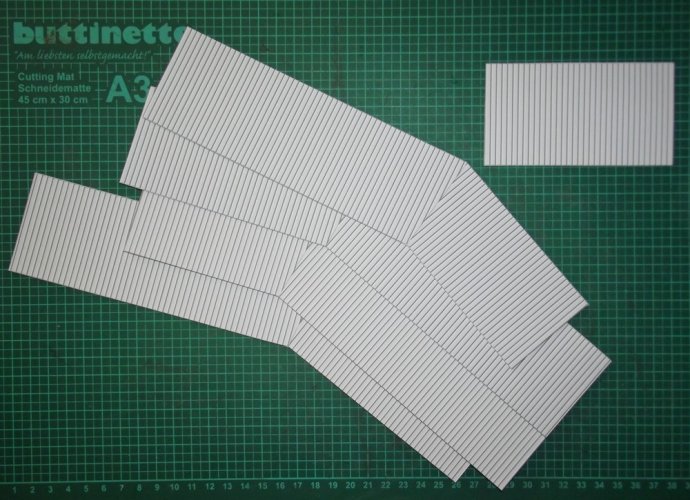
The outer edge was painted white which was a bummer. Unfortunately the sun was playing a trick on me because the real edges are aluminium coloured which I only noticed by accident. So I printed a light-grey area on a new sheet, cut that area into thin strips and glued them around the edges. Easy fix but that was avoidable.
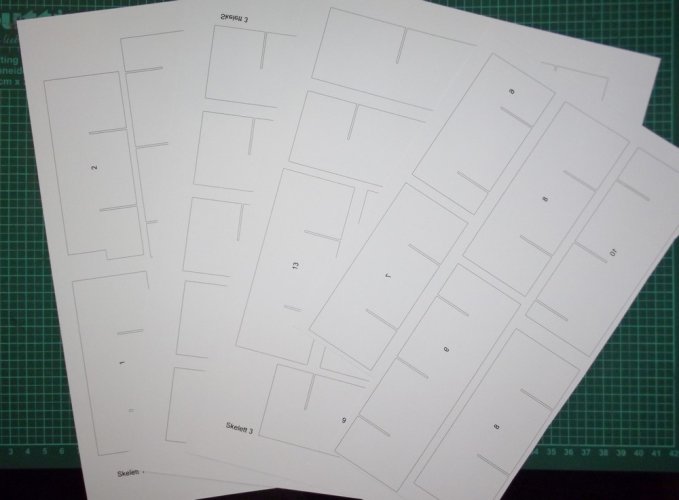
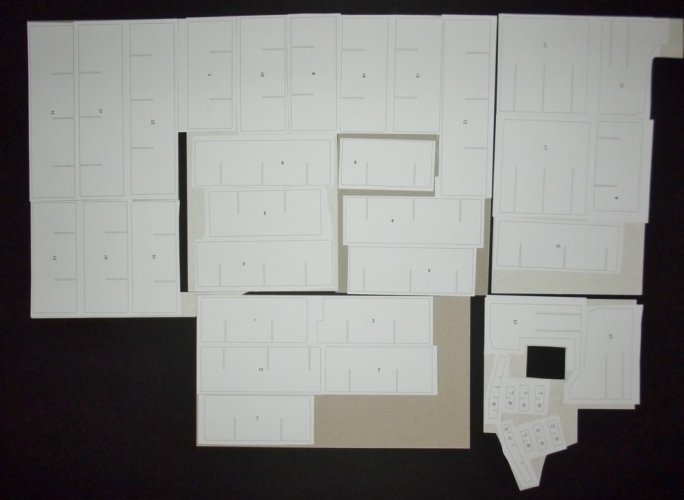
The main skeleton parts were laminated to some card and pushed together.
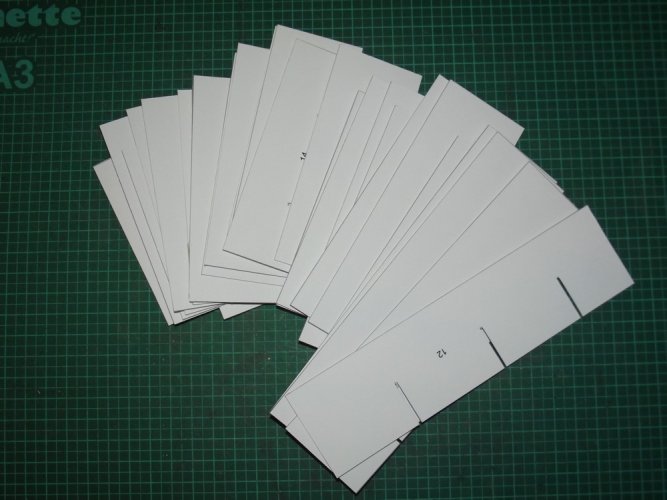
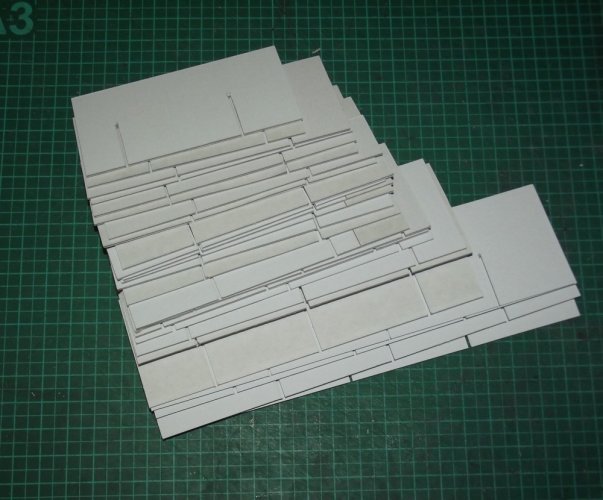
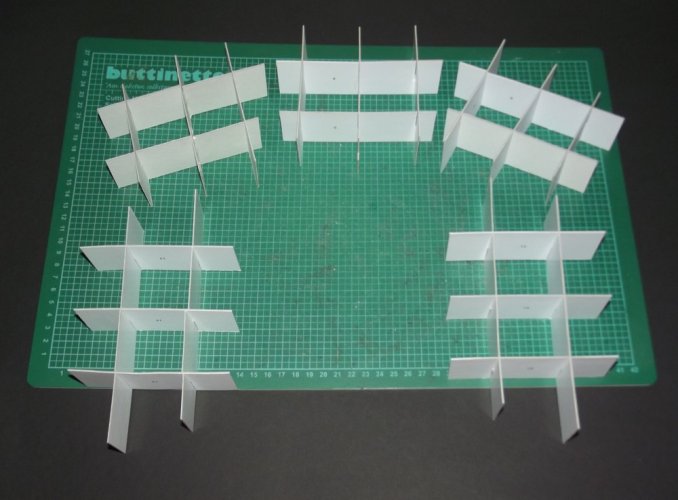
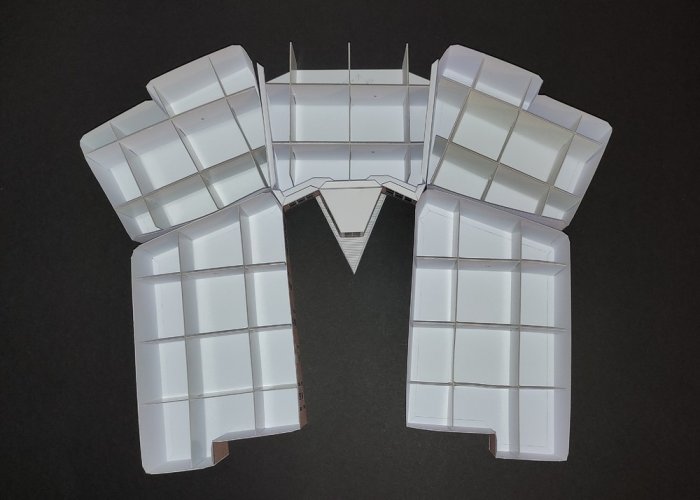
Early in the planning stage I had the idea to cut out the windows, attach a layer of transparent sheet behind the holes and glue the texture behind the sheet. That would have given real reflections and enhanced the effect. However, when I saw how tiny those windows were, I skipped that idea.
Let's continue with the internal skeletons and the roof plates. No biggies there.

All roof parts were laminated to 1mm card. They were textured on the bottom

and on the top.

The outer edge was painted white which was a bummer. Unfortunately the sun was playing a trick on me because the real edges are aluminium coloured which I only noticed by accident. So I printed a light-grey area on a new sheet, cut that area into thin strips and glued them around the edges. Easy fix but that was avoidable.
The main skeleton parts were laminated to some card and pushed together.


Last edited:
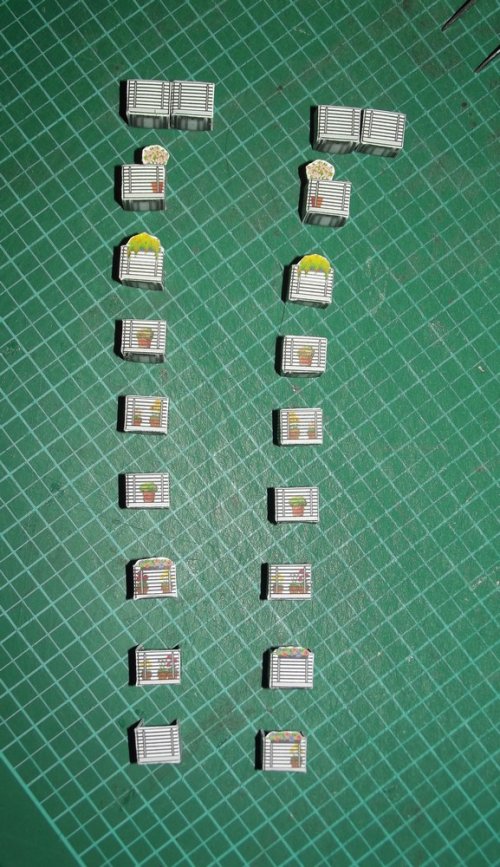
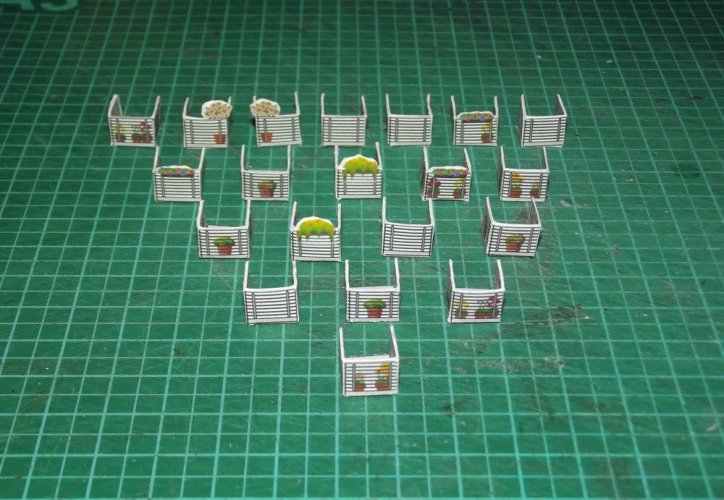
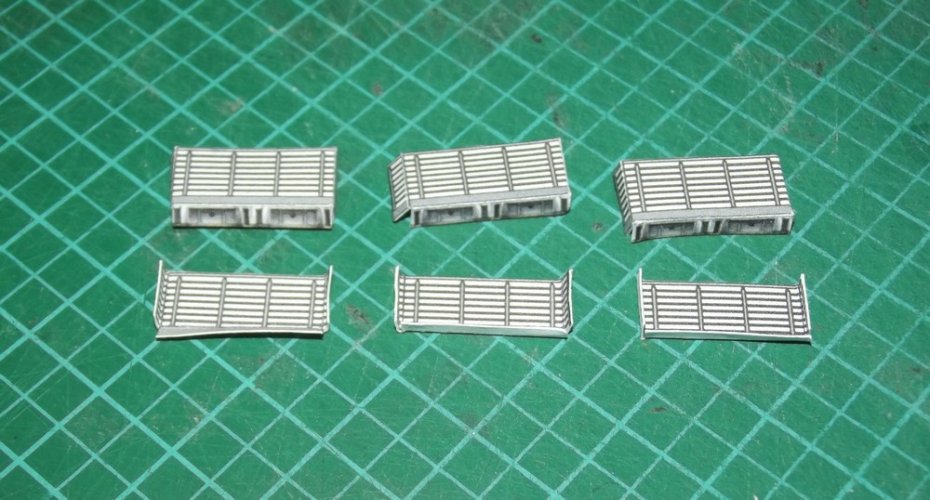
Now it was time for the balconies. The first draft showed them without any decoration. Since many tenants have put plants and flower pots on them I wanted to mimick that appearance. However, if I had put a flower pot on the miniatures no-one would have been able to see it unleass you would look at it directly from above. All other areas would be concealed by the balcony itself because the side and fron faces were solid paper. Due to the small size I could not cut the areas between the beams out.
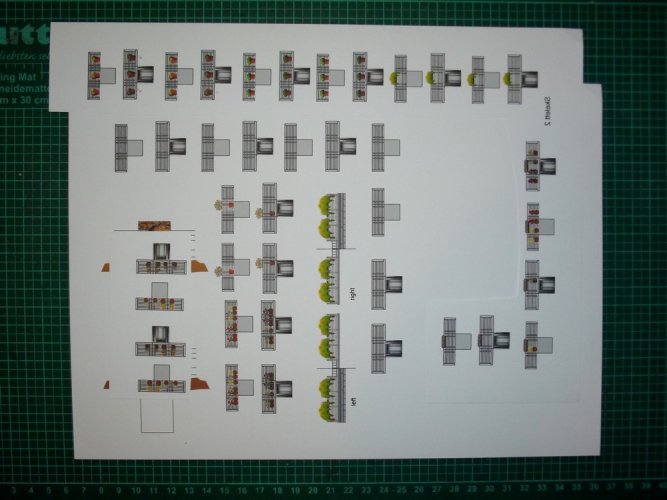
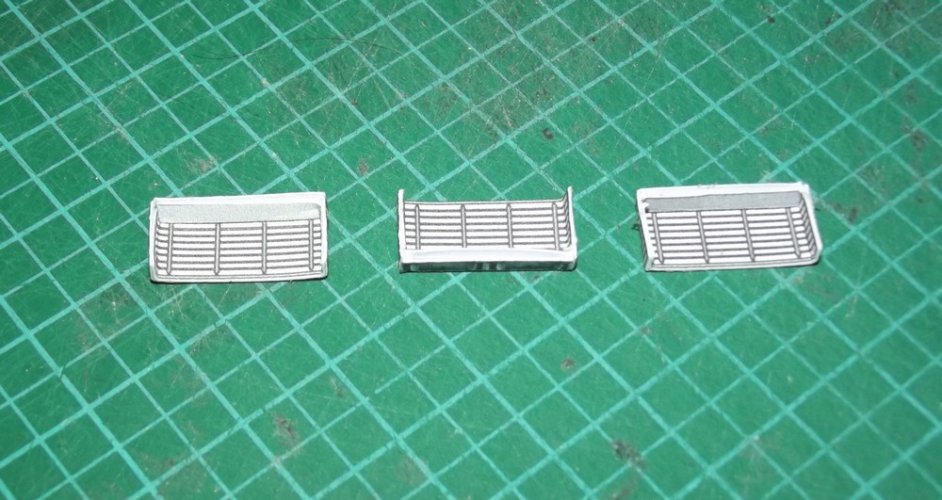
So I decided to add a few plants to the faces themselves. The outside got images which were obscured by the beams, the inside got a clean image (like you would see it on the real one).
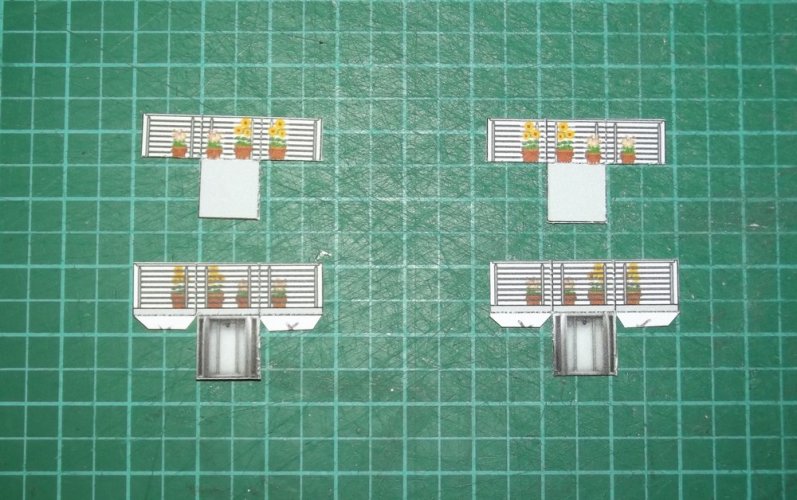
Since I had to speed up the process I used textures from the web for the flowers and plants.
The bottom of the balconies was a picture of the real thing. And yes, you can see the drain!
The inner part is a bit smaller than the outer hull and was glued into place without issues.
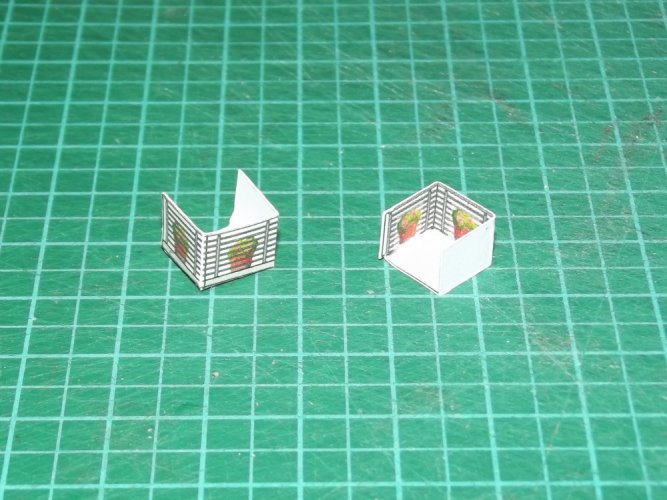
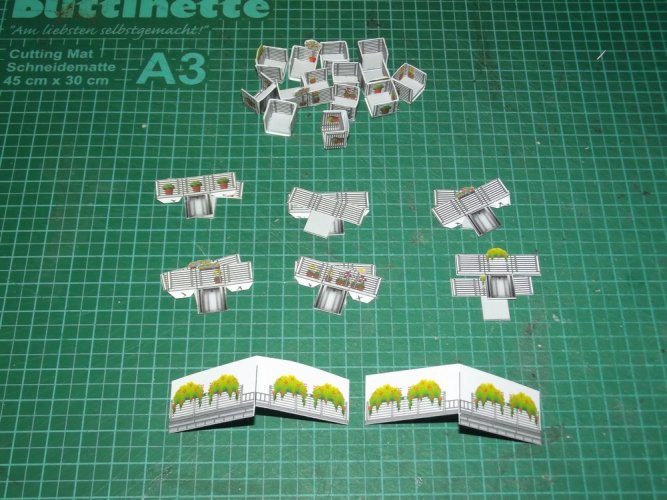
I used the textured pieces randomly all over the model. Some balconies were left bare like it would be in reality.
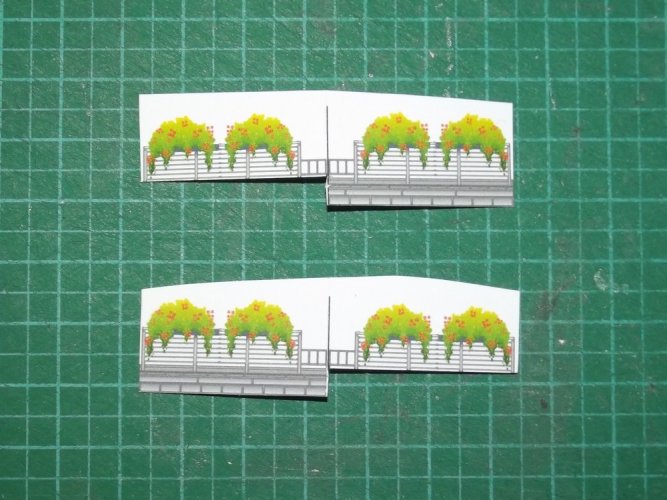
The railing of the big balconies beside the V-roof got some ivy vines:
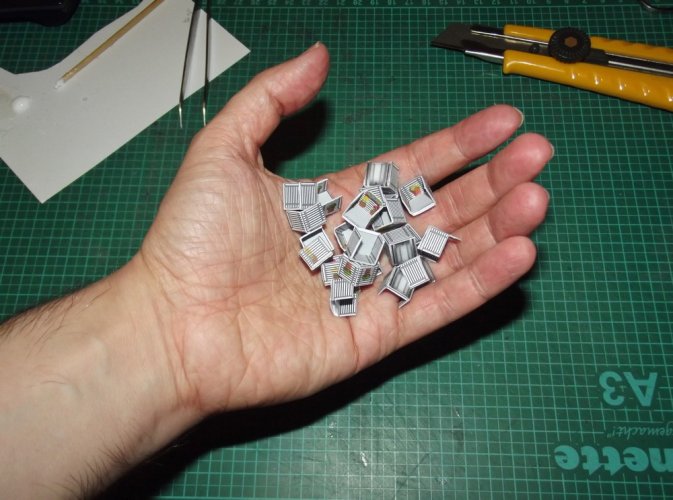
The assembed pieces were put aside for later. I did not attach them yet because the show boxes had to be finalized first or I would risk ripping them off by accident.

So I decided to add a few plants to the faces themselves. The outside got images which were obscured by the beams, the inside got a clean image (like you would see it on the real one).

Since I had to speed up the process I used textures from the web for the flowers and plants.
The bottom of the balconies was a picture of the real thing. And yes, you can see the drain!
The inner part is a bit smaller than the outer hull and was glued into place without issues.


I used the textured pieces randomly all over the model. Some balconies were left bare like it would be in reality.


The railing of the big balconies beside the V-roof got some ivy vines:


The assembed pieces were put aside for later. I did not attach them yet because the show boxes had to be finalized first or I would risk ripping them off by accident.
Last edited:
With these components at the ready the model of the house was basically finished. On September 28th I began working on the base to give it something to rest on. As a first guide I printed a very basic layout which served me as a placement guide of the five show boxes. With the internal skeletons inside they had become pretty sturdy now and it was much easier to move them around to see how they would look on different bases.
It was then when my mom came up with the idea to use the cardboard box in which the transparent sheet came which I used for the display box of the Aston Martin. It was a nice and clean opening and closing box, nothing smelled (YES, before I use any cardboard on my models I check if it smells first - there is nothing more embarassing than a present that starts to smell a few days later!), and the size was dead-on. The remaining sheets went into another box and the house parts were put on top of it where they would remain for the rest of the project.
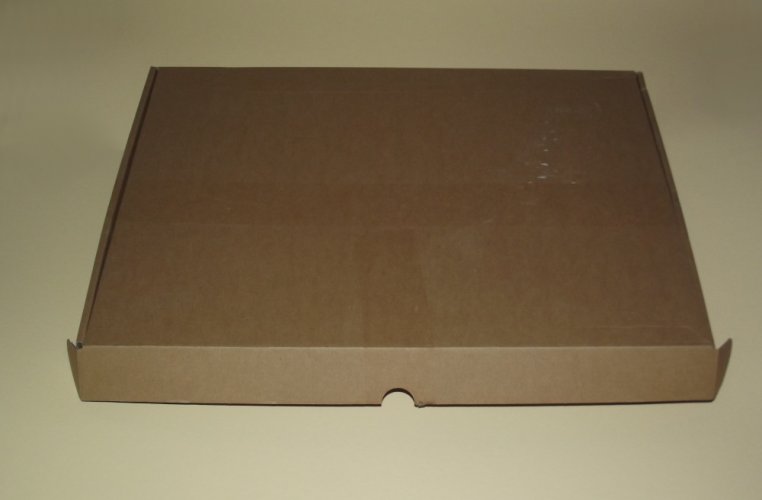
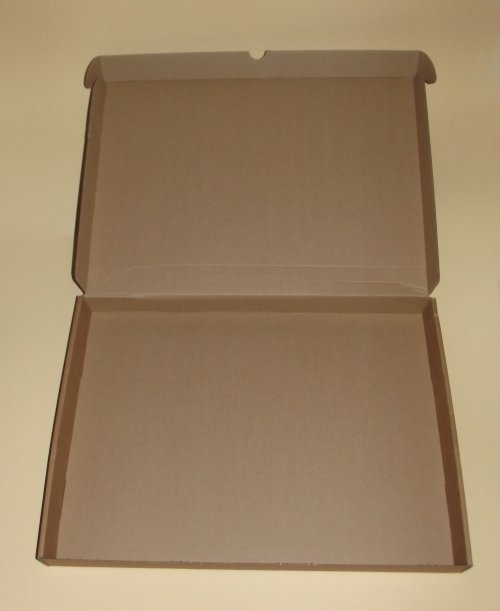
So this box determined the size of the base and how many other details of the real estate had to be replicated. At the same time it changed the way the book was to be stored. Instead of a pull-push mechanism (which might have led to damage to the ribbon and the area the ribbon would be attached to the box) it would now be a simple open - take out / put in - close scheme. Only the bare cardboard had to be concealed to create something more pleasing to the eye.
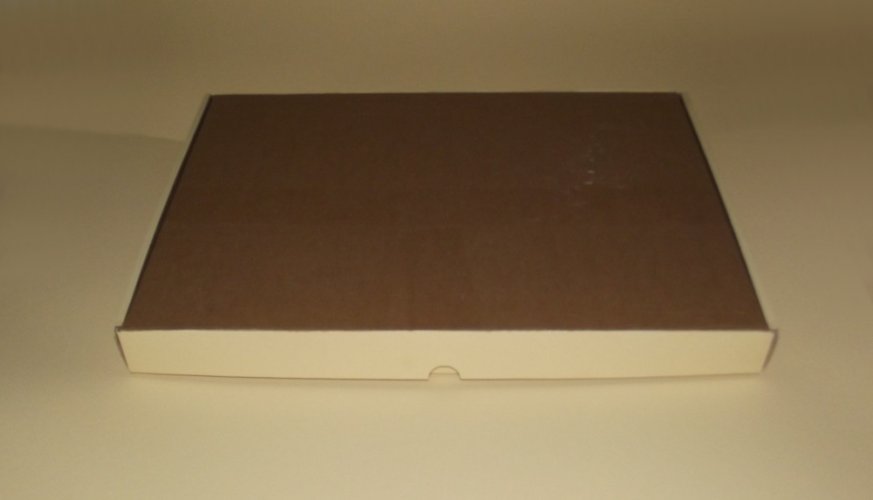
All visible areas were covered up with cream-coloured card. The was quite a challenge because the box had no perfect right angles. Every shape had to be custom cut to fit.
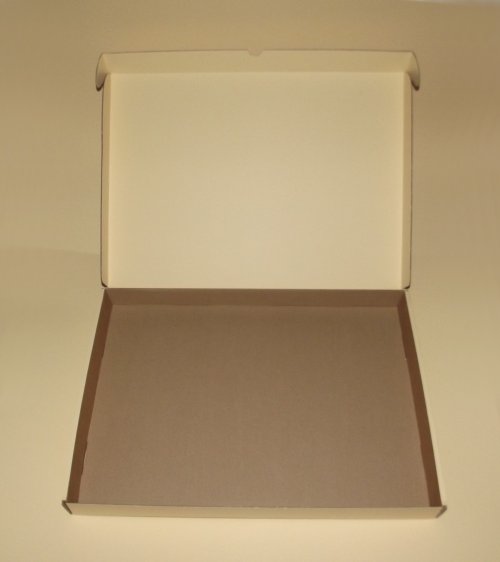
To achieve the best possible fit I laminated a slightly larger piece of card to the surface and cut the overlapping piece off or I used the desired face as a stencil and cut the card together accordingly.
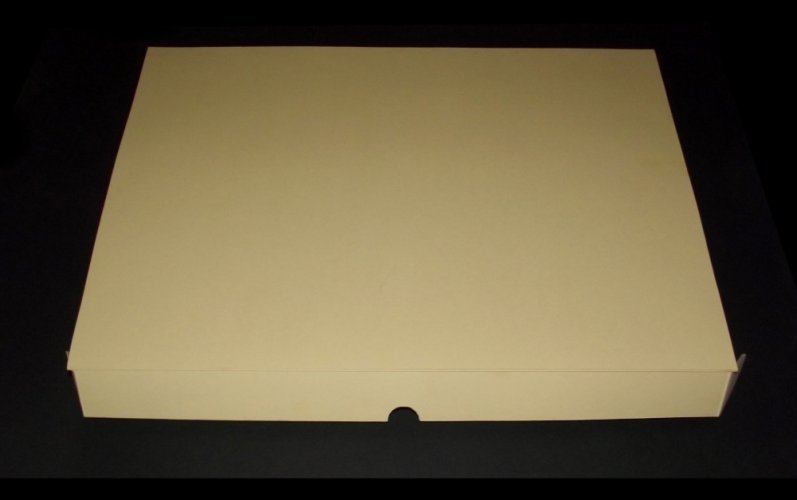
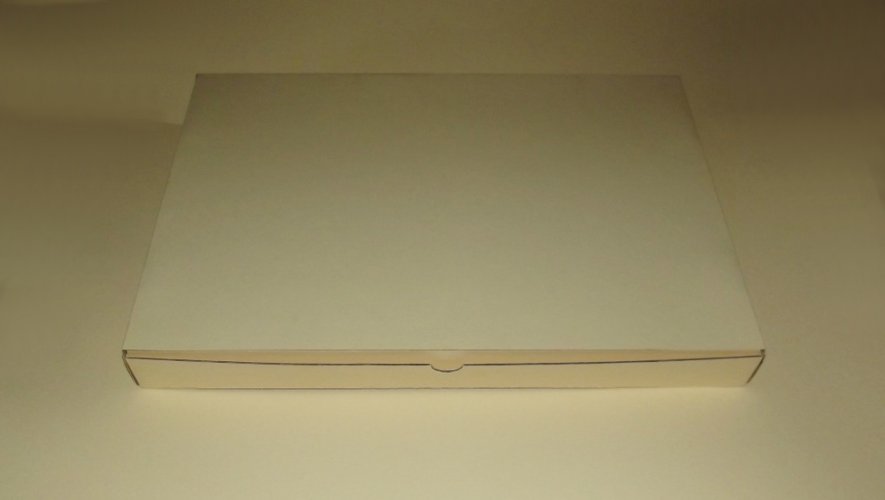
Bottom view. To make sure that the book was held in place securely an inlay was required. I put the box aside and decided to continue work on it as soon as the book arrived. That way I guaranteed a perfect fit.
It was then when my mom came up with the idea to use the cardboard box in which the transparent sheet came which I used for the display box of the Aston Martin. It was a nice and clean opening and closing box, nothing smelled (YES, before I use any cardboard on my models I check if it smells first - there is nothing more embarassing than a present that starts to smell a few days later!), and the size was dead-on. The remaining sheets went into another box and the house parts were put on top of it where they would remain for the rest of the project.


So this box determined the size of the base and how many other details of the real estate had to be replicated. At the same time it changed the way the book was to be stored. Instead of a pull-push mechanism (which might have led to damage to the ribbon and the area the ribbon would be attached to the box) it would now be a simple open - take out / put in - close scheme. Only the bare cardboard had to be concealed to create something more pleasing to the eye.

All visible areas were covered up with cream-coloured card. The was quite a challenge because the box had no perfect right angles. Every shape had to be custom cut to fit.

To achieve the best possible fit I laminated a slightly larger piece of card to the surface and cut the overlapping piece off or I used the desired face as a stencil and cut the card together accordingly.


Bottom view. To make sure that the book was held in place securely an inlay was required. I put the box aside and decided to continue work on it as soon as the book arrived. That way I guaranteed a perfect fit.
Next was another survey mission, this time to see how the ground looked like. I took about 250 new pictures to document the stones, green areas, gullies and additional architecture surrounding the house. I took the preliminary ground plan with me and used it to write down any oddity and deviation from the rule. This revealed certain ingenious design aspects from the architect.
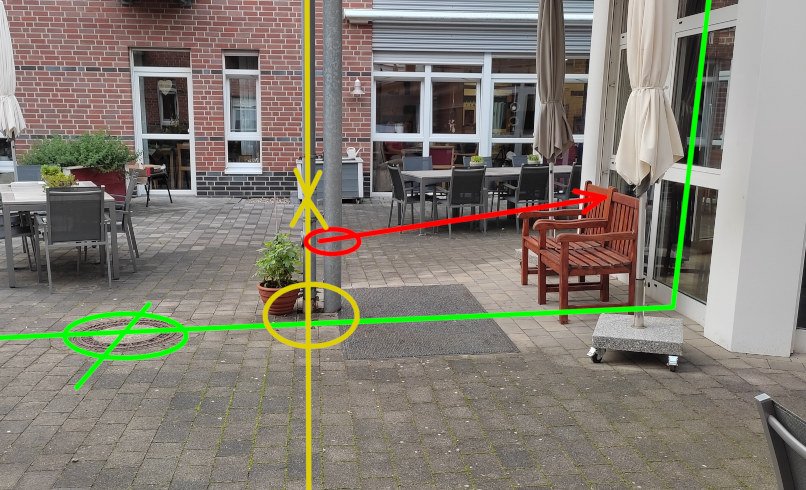
Having found out that the architect used the golden ratio on the roof I was thrilled to find out more secrets of the build. The small red gully in the atrium (red) lives on a line from the left corner of the trapezoid toward the center of the yard (the middle of the fountain). The big round gully (green) lives on a line which goes straight through the middle of the right window of the trapezoid.
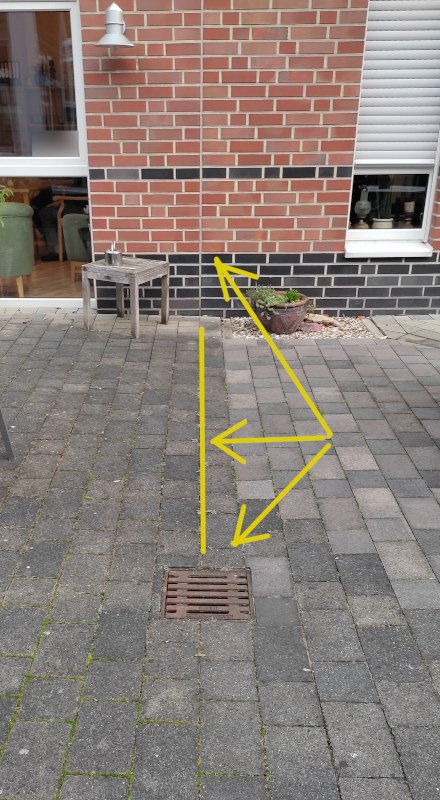
And there is a bright line on the left and on the right half of the house. If you draw a line between those lines on the bottom the resulting line marks the mounting point of the pipe which supports the triangular roof (yellow). It too marks the center of the red gullies. I copied those finds faithfully onto the model.
The house lives near the river Berkel. On the other side of the river is a hydropower plant. Sometimes the water can be pretty loud and the architect placed a sound barrier at the rear of the building. When I was taking a better look at it I found a real eye-opener. I had been working at this facility for 16 years and I had never noticed a plexiglass wall right next to it!
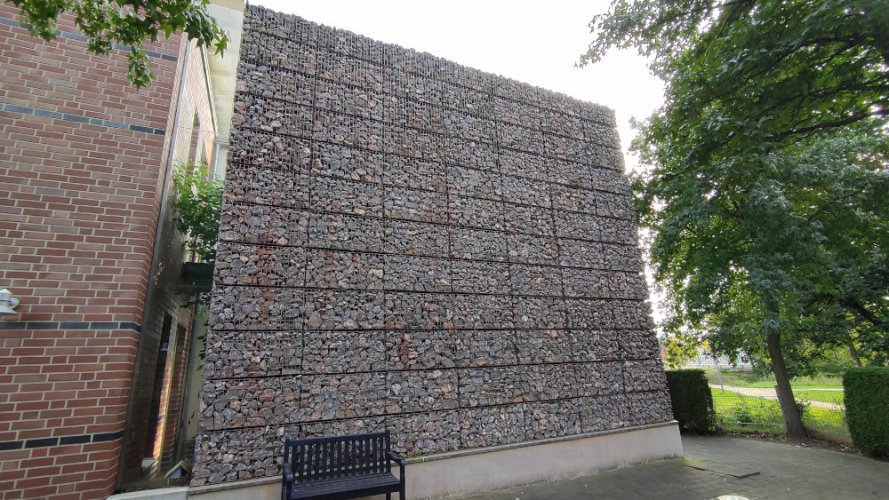
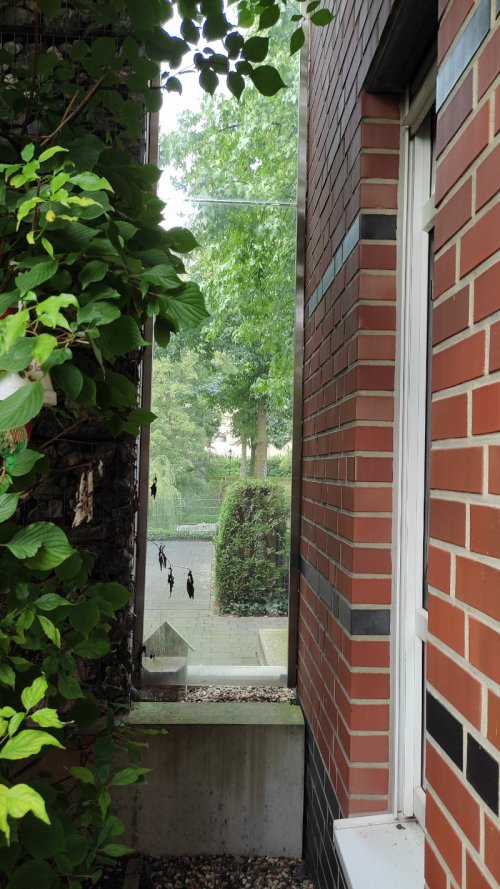
So the model would feature a clear section there accordingly.

Having found out that the architect used the golden ratio on the roof I was thrilled to find out more secrets of the build. The small red gully in the atrium (red) lives on a line from the left corner of the trapezoid toward the center of the yard (the middle of the fountain). The big round gully (green) lives on a line which goes straight through the middle of the right window of the trapezoid.

And there is a bright line on the left and on the right half of the house. If you draw a line between those lines on the bottom the resulting line marks the mounting point of the pipe which supports the triangular roof (yellow). It too marks the center of the red gullies. I copied those finds faithfully onto the model.
The house lives near the river Berkel. On the other side of the river is a hydropower plant. Sometimes the water can be pretty loud and the architect placed a sound barrier at the rear of the building. When I was taking a better look at it I found a real eye-opener. I had been working at this facility for 16 years and I had never noticed a plexiglass wall right next to it!


So the model would feature a clear section there accordingly.
Last edited:
There are three kinds of stones on the ground. It was necessary to determine their size and position to make an accurate representation. At first I tape-measured everything but soon realized that this would be a never-ending endeavour. Then I found a much easier way. Since everything had to be sound with the proportions of the house I used its dimensions for it. So instead of scaling down a stone and filling the area with multiples of it (which would lead to mismatching results because I skipped the wall recesses for example) I counted the number and rows of stones and then filled the respective area with them.
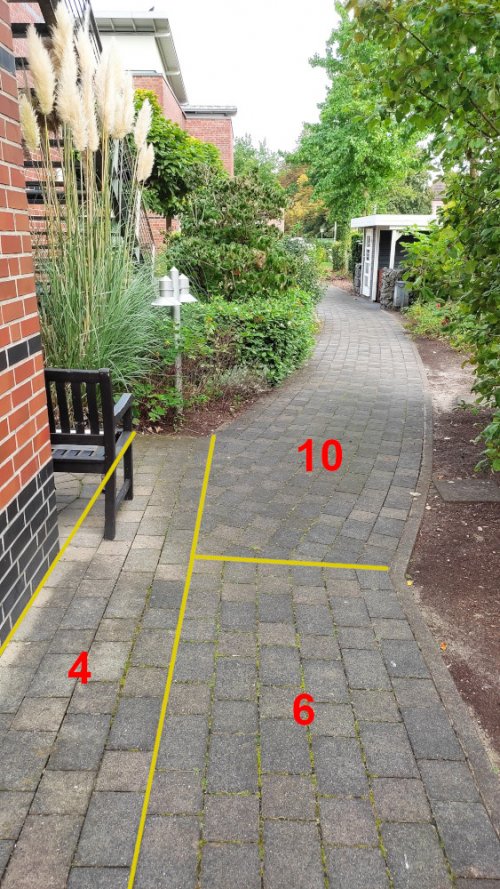
To determine the size of the stones themselves I took strategic points of the building, like a door, and counted how many stones and how many rows of stones would be there. This was similar to using the bricks for height measurement. This strategy proved extremely successful, easy, and I did not have to take any new measurements at all. All I had to do was counting lines and rows. That way I was able to determine the exact position of certain objects like gullies, too.
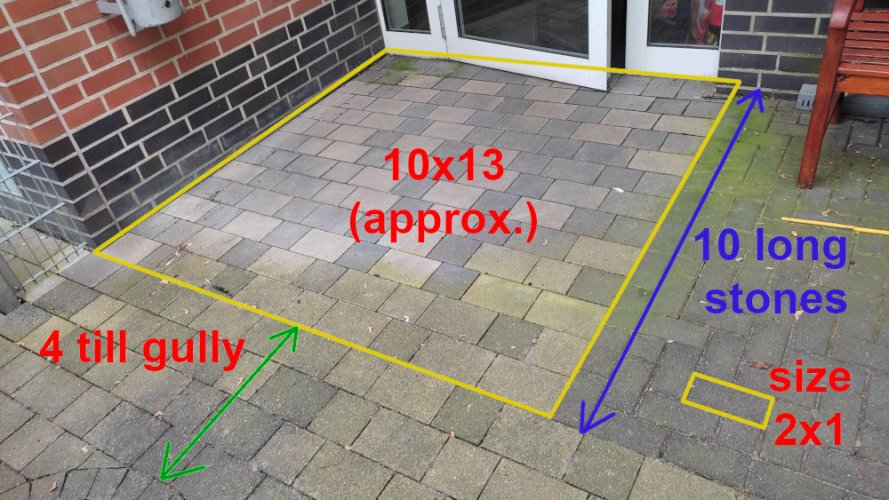
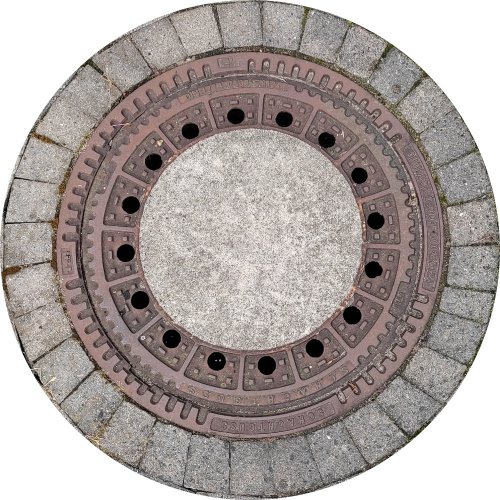
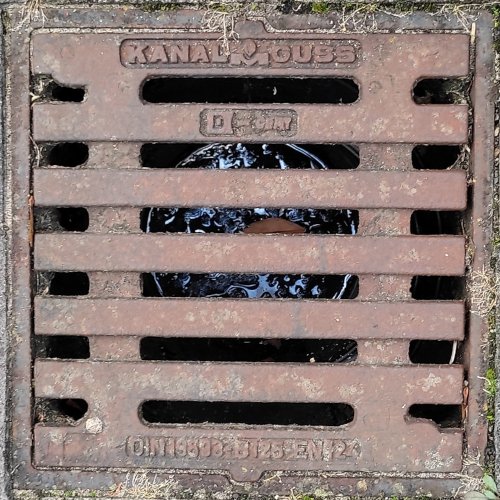
While doing so I took some pictures of the gullies which I edited in Gimp to use them as a texture. I noticed that two of the square red ones were misaligned (one was rotated by 90° on the ground). I couldn't help and copied that to the model.
I replicated the stone structure as vector drawing in various variants:
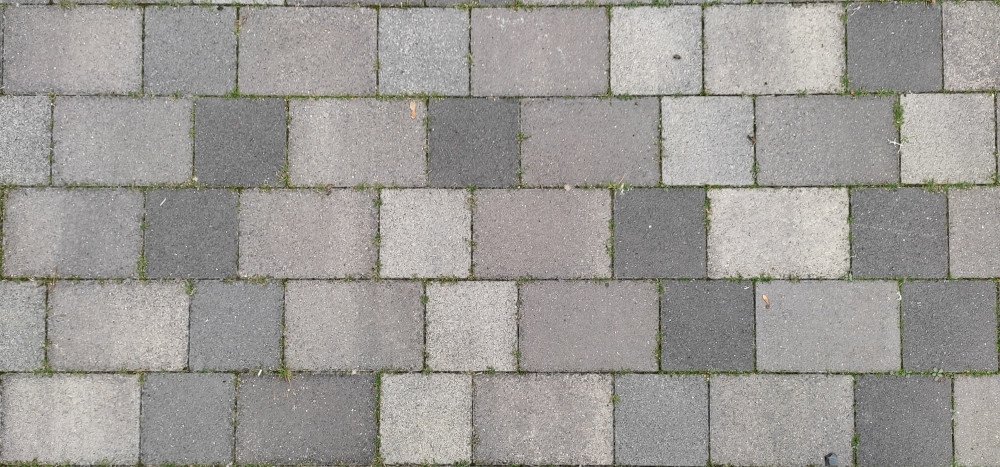
(original)
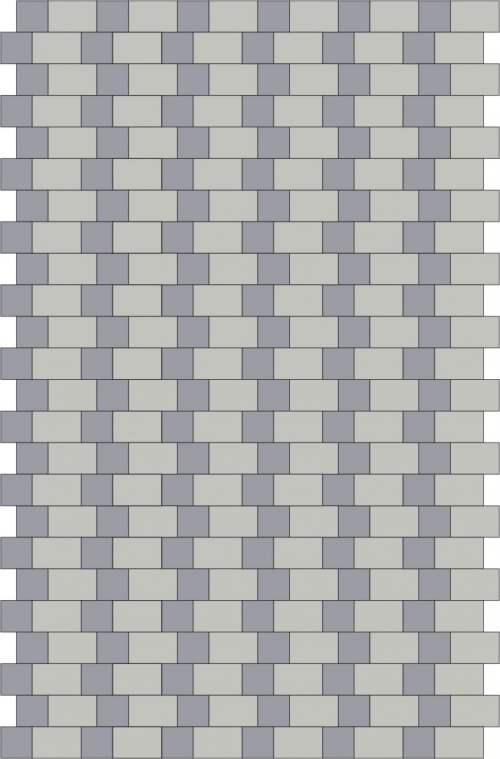
(vector)
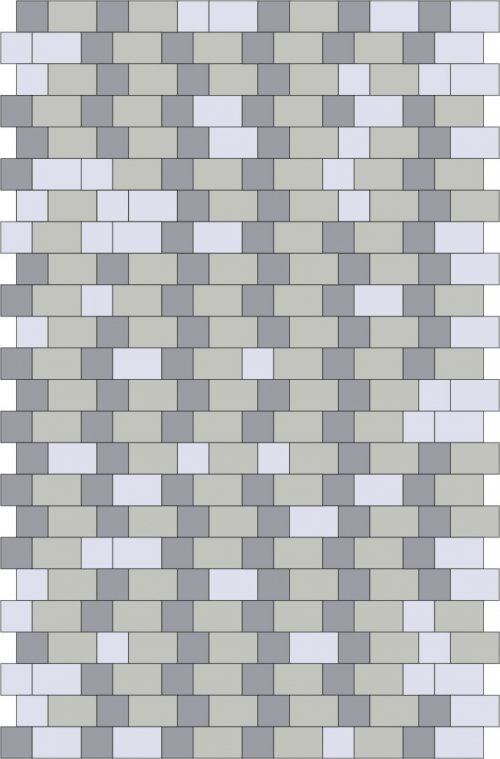
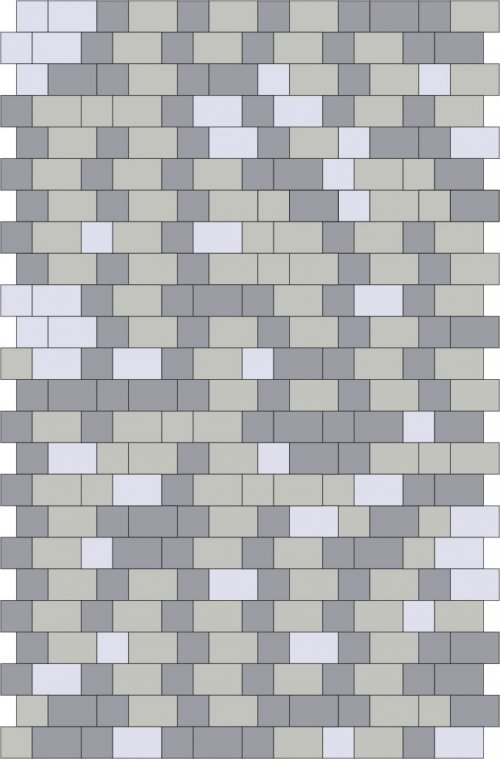
However, even though this was a fair reproduction the result was very turbulent and uneasy:
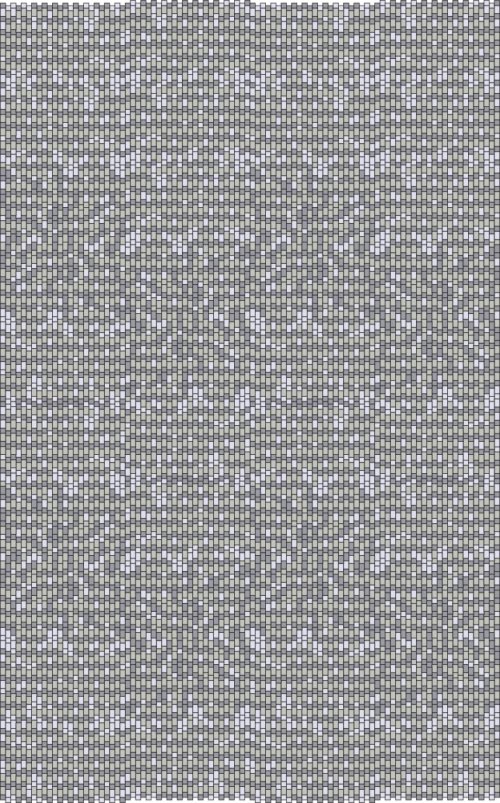
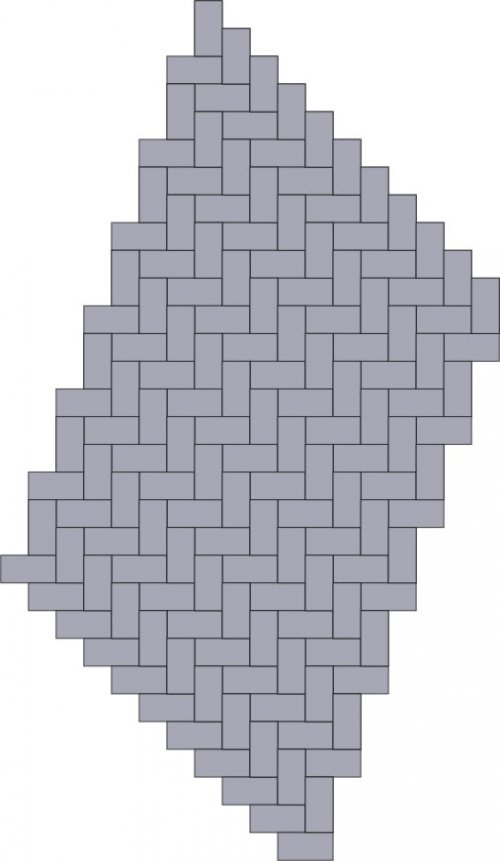
So I skipped the idea and used only one shade of grey. A sample of the herringbone pattern:
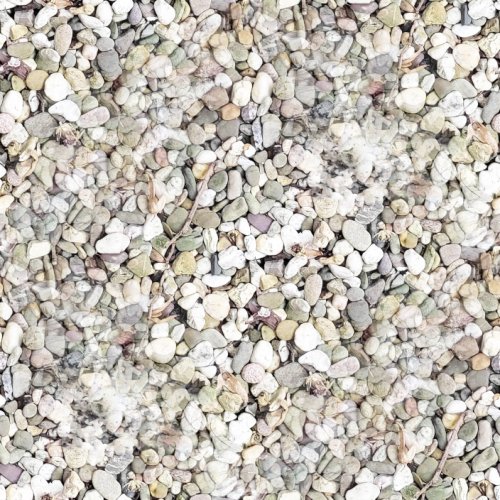
The grit texture was taken directly from a picture of the original thing.

To determine the size of the stones themselves I took strategic points of the building, like a door, and counted how many stones and how many rows of stones would be there. This was similar to using the bricks for height measurement. This strategy proved extremely successful, easy, and I did not have to take any new measurements at all. All I had to do was counting lines and rows. That way I was able to determine the exact position of certain objects like gullies, too.

While doing so I took some pictures of the gullies which I edited in Gimp to use them as a texture. I noticed that two of the square red ones were misaligned (one was rotated by 90° on the ground). I couldn't help and copied that to the model.


I replicated the stone structure as vector drawing in various variants:

(original)

(vector)


However, even though this was a fair reproduction the result was very turbulent and uneasy:

So I skipped the idea and used only one shade of grey. A sample of the herringbone pattern:


The grit texture was taken directly from a picture of the original thing.
Last edited:
A few days later I ended up with a fairly reasonable ground plan:
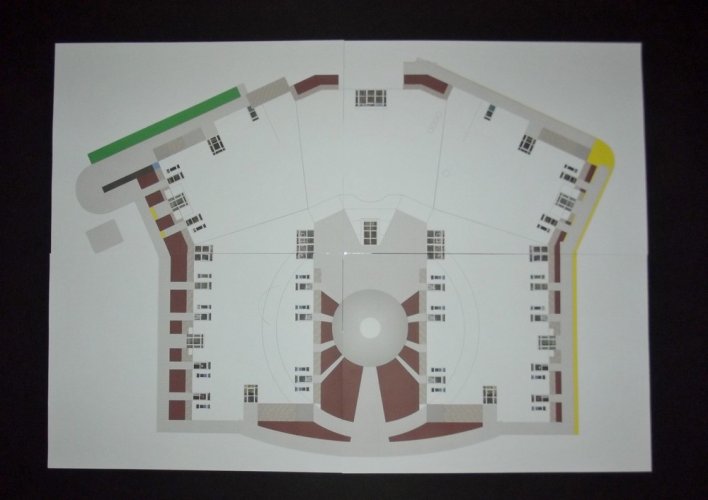
I used brown to fill out the green areas to simulate the colour of the soil. However, that looked too cartoonish and graphic.
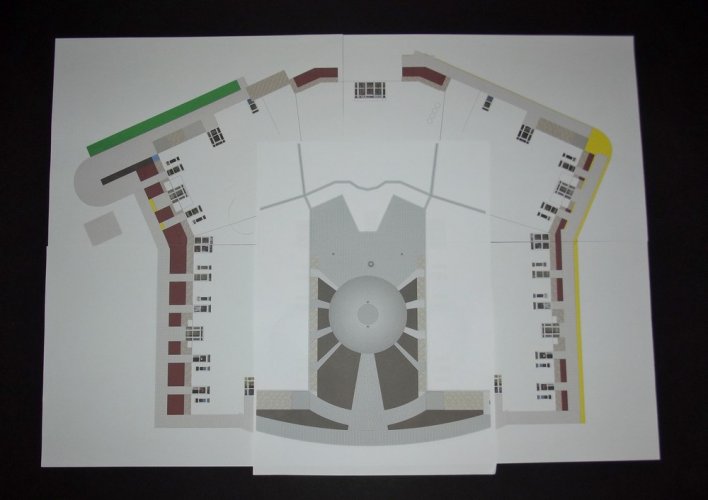
A desaturated overlay did not improve the look either. The question was how to simulate all the bushes and plants at this small scale. The areas had to look busy but should not look overcrowded because if you add too many 3 or 2.5 D elements you will no longer be able to see the details behind them. So there is always the danger of doing too much and inadvertantly hiding portions of the model which makes it very difficult for the viewer to appreciate the hard work that went into its creation. I was aiming for a well-balanced look.
After some googling I found a nice moss (!) texture. It had the right mix of green, mottled grey and browns sprinkled in and looked awesome on the model:
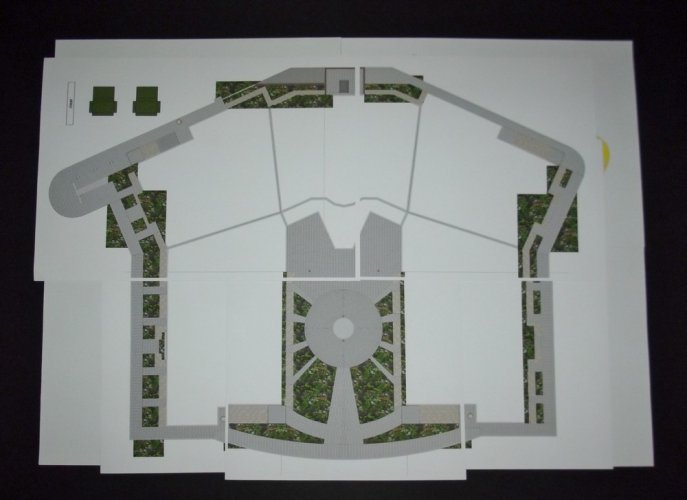
Quick display test:
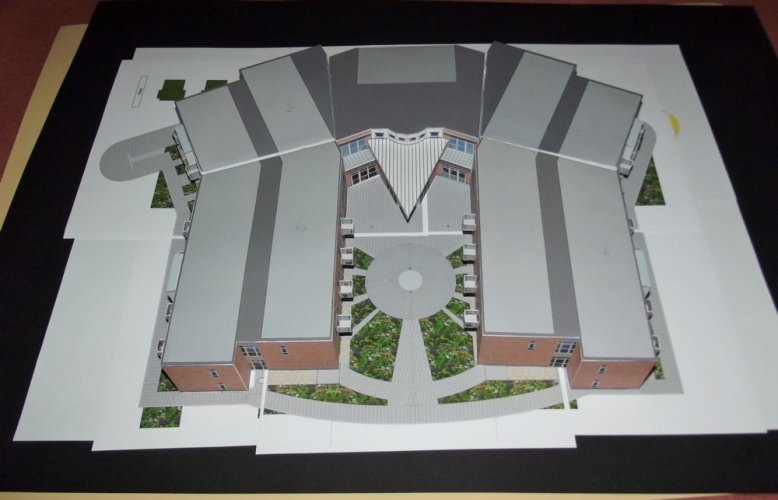
Hell yeah! That's more like it!

I used brown to fill out the green areas to simulate the colour of the soil. However, that looked too cartoonish and graphic.

A desaturated overlay did not improve the look either. The question was how to simulate all the bushes and plants at this small scale. The areas had to look busy but should not look overcrowded because if you add too many 3 or 2.5 D elements you will no longer be able to see the details behind them. So there is always the danger of doing too much and inadvertantly hiding portions of the model which makes it very difficult for the viewer to appreciate the hard work that went into its creation. I was aiming for a well-balanced look.
After some googling I found a nice moss (!) texture. It had the right mix of green, mottled grey and browns sprinkled in and looked awesome on the model:

Quick display test:

Hell yeah! That's more like it!
With all that new data gathered it was time to continue the build.
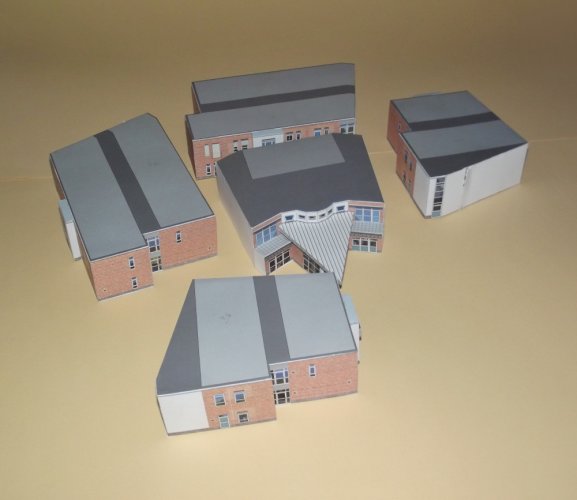
I attached the protrusions. I left the shoe boxes open to be able to apply pressure from the inside till the glue had cured so that no gaps were showing. Next all boxes were closed:
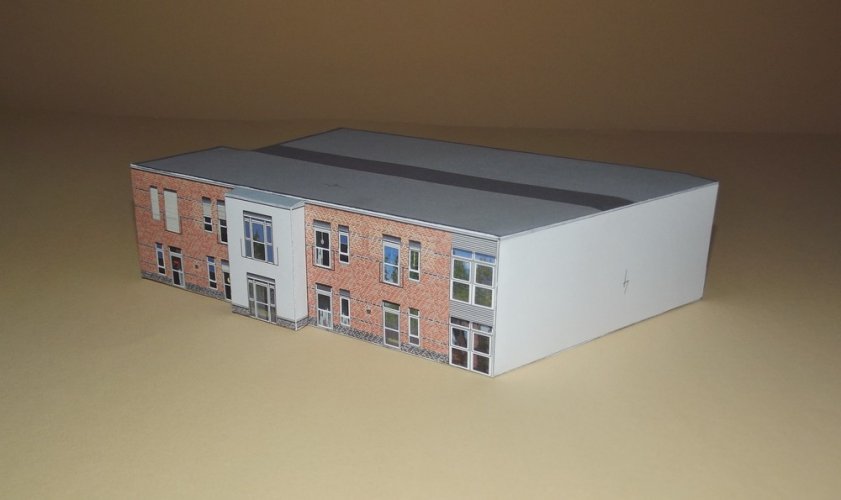
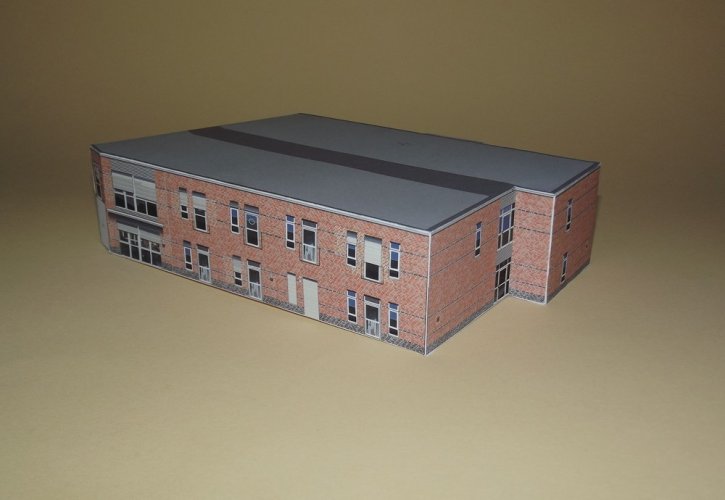
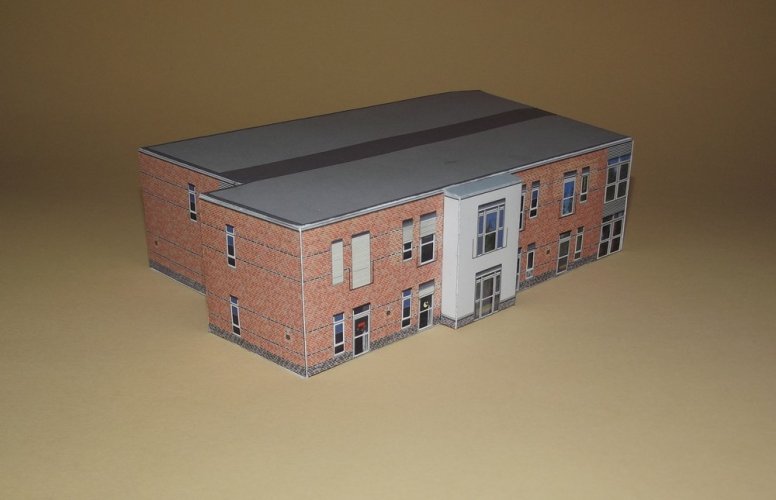
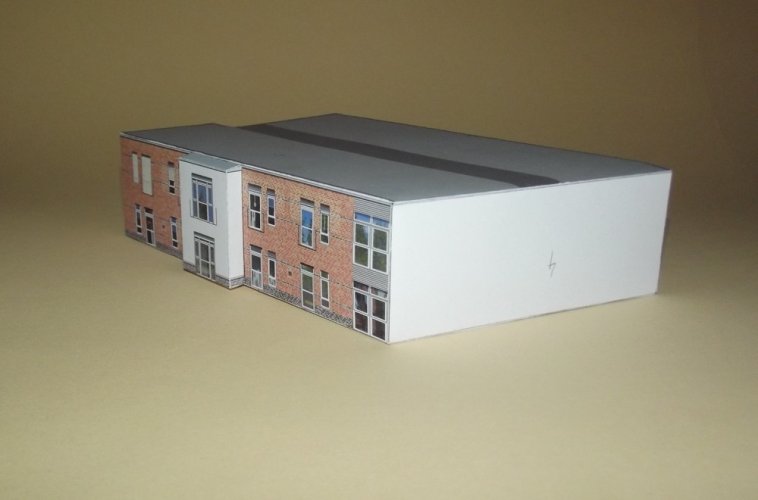
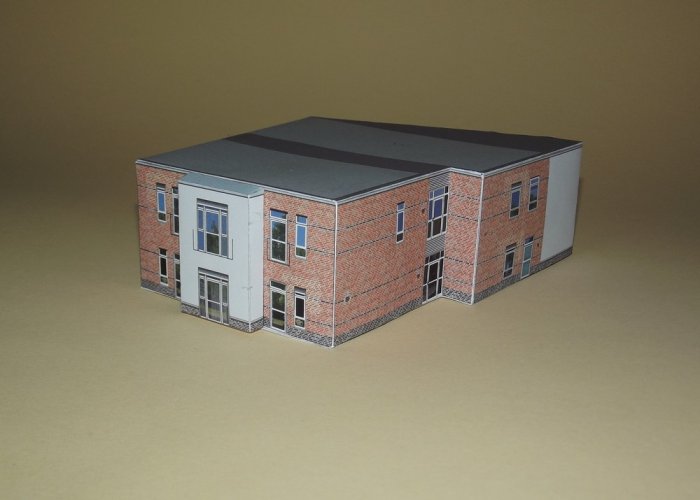
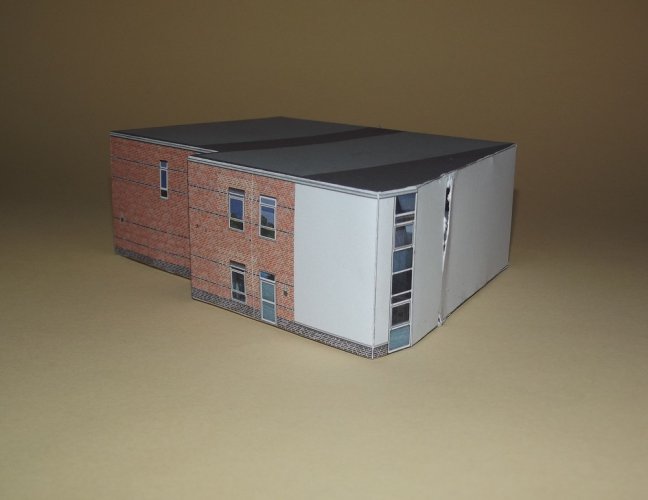
Somehow the internal formers fit too tight. I had to cut the side open and shorten them with a pair of scissors. The cut will later be covered up by the next segment.
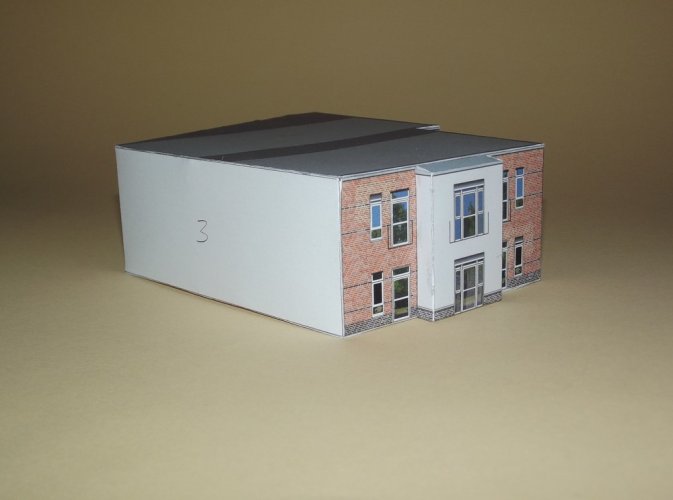
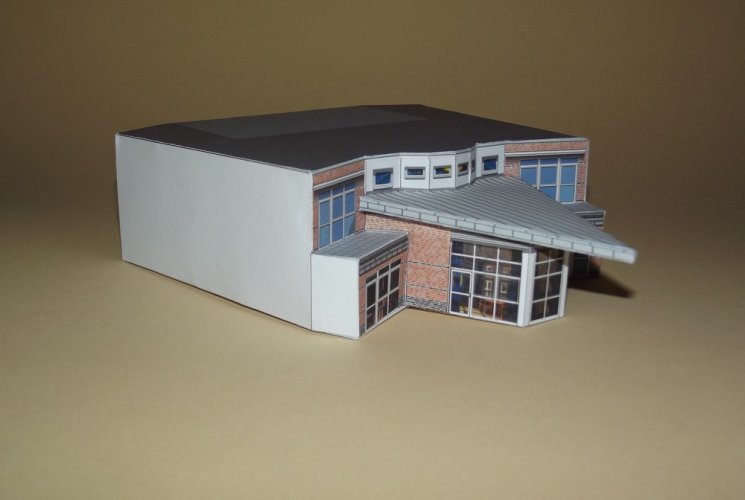
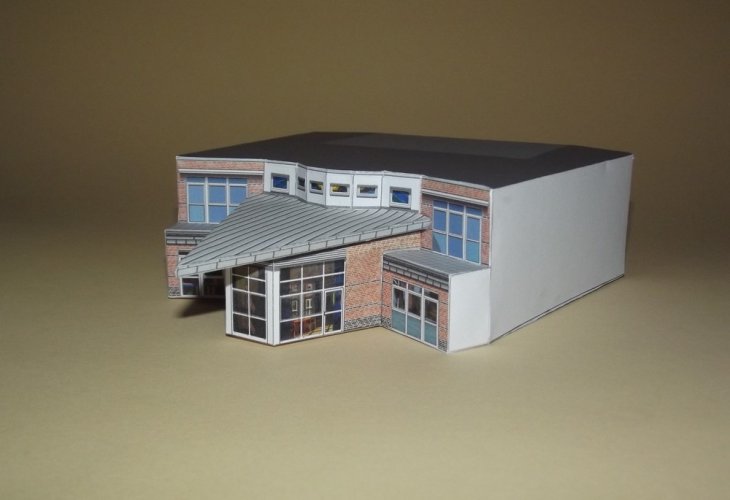
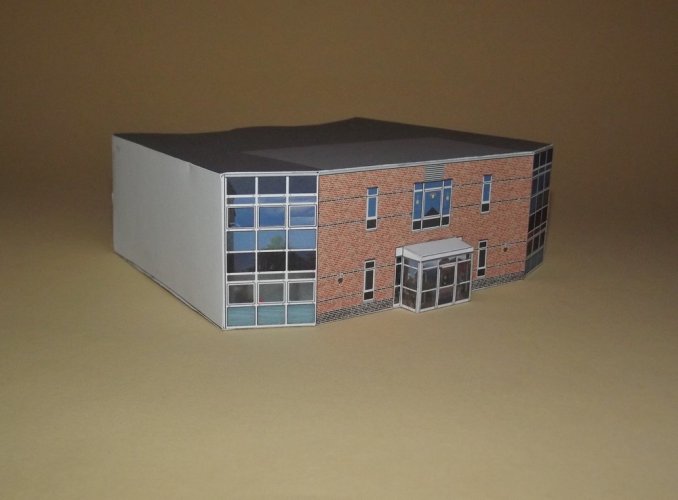
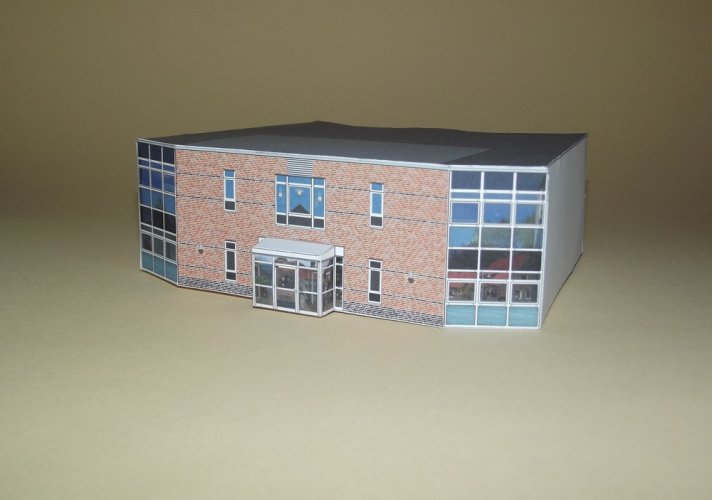
All parts assembled:
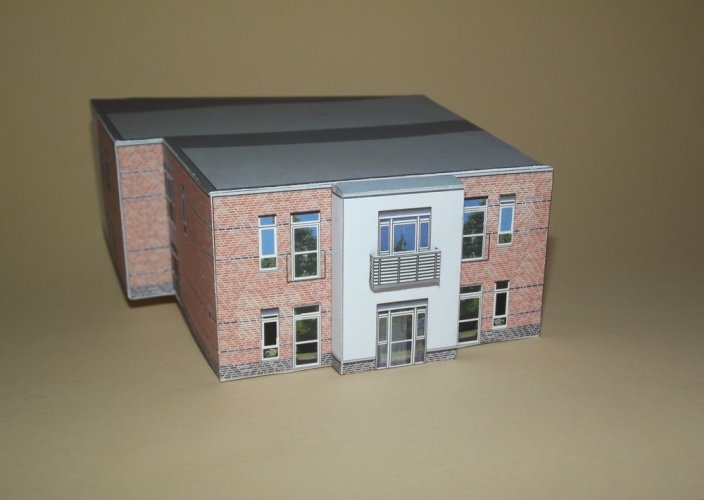
The small balconies were attached to the protrusions.
I attached the protrusions. I left the shoe boxes open to be able to apply pressure from the inside till the glue had cured so that no gaps were showing. Next all boxes were closed:


Somehow the internal formers fit too tight. I had to cut the side open and shorten them with a pair of scissors. The cut will later be covered up by the next segment.


All parts assembled:

The small balconies were attached to the protrusions.


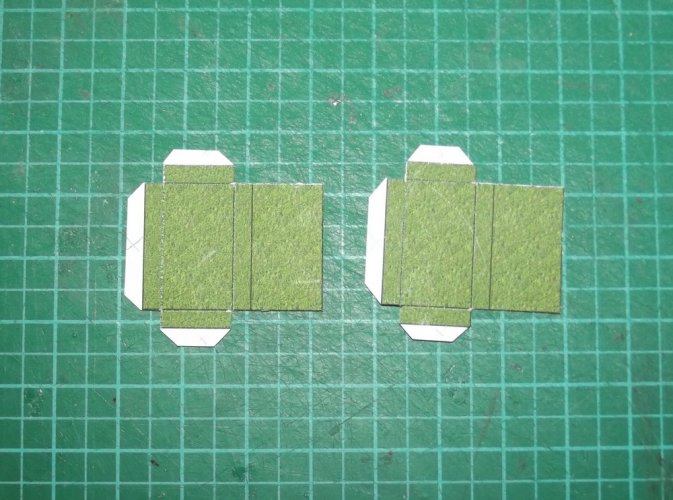
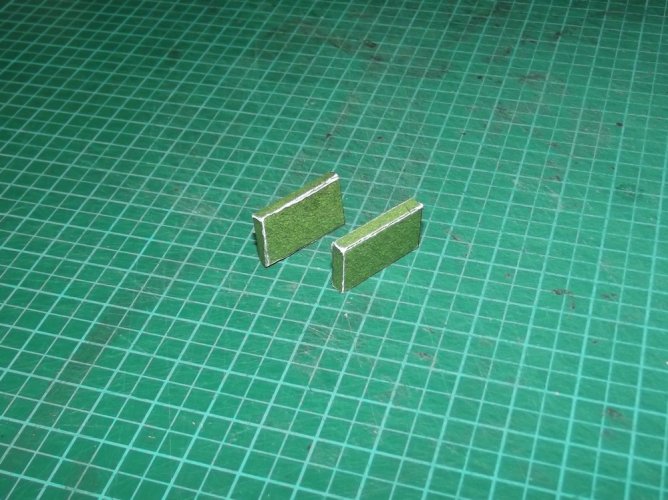
Two hedges were assembled:
The sound barrier:
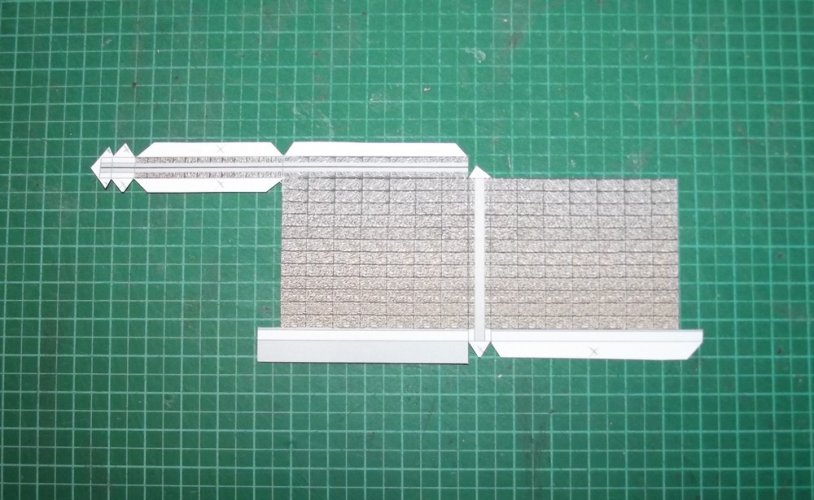
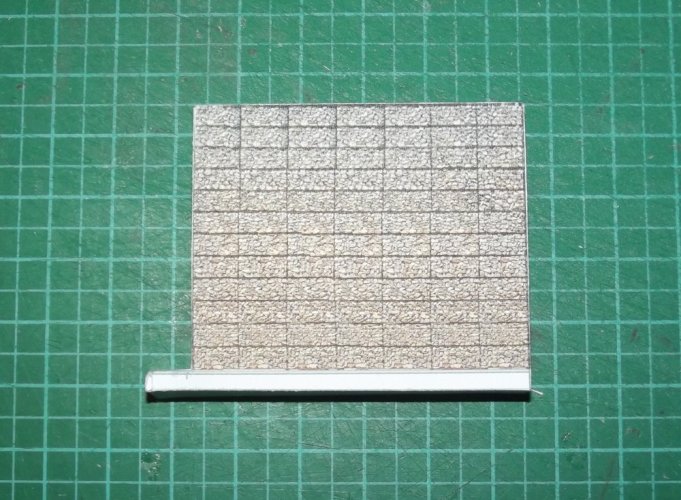
Clear part attached:
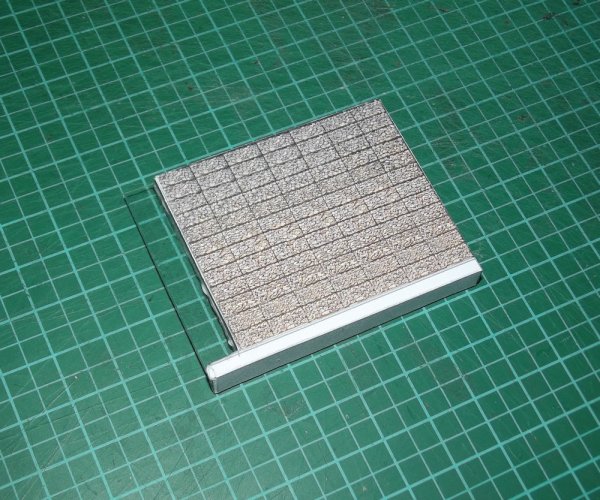
The textures for both components were taken from a picture of the originals.
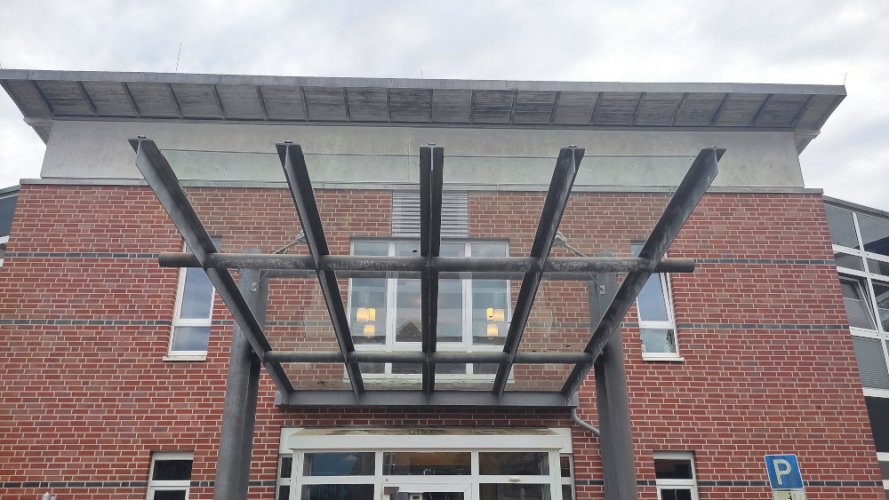
Then came the clear roof at the entrance. This was a real head-scratcher. There were many ways to build it and I debated which would be the most efficient one. In no way I intended to produce a detailed replica. It was supposed to be easy-peasy, 10-minute-adventure.
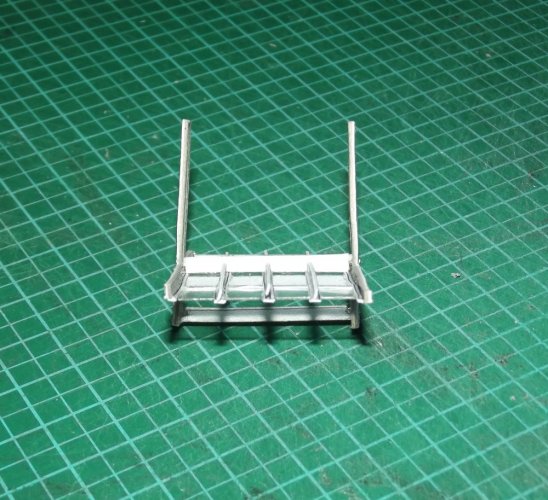
However, I took my time and that had a side effect. I spent way more time thinking about the build than actually building. I knew I had to do something to speed up the process but still did not quite knew what to do. So I decided to tackle the parts which had definitely to be there, the frame and the clear sheet:
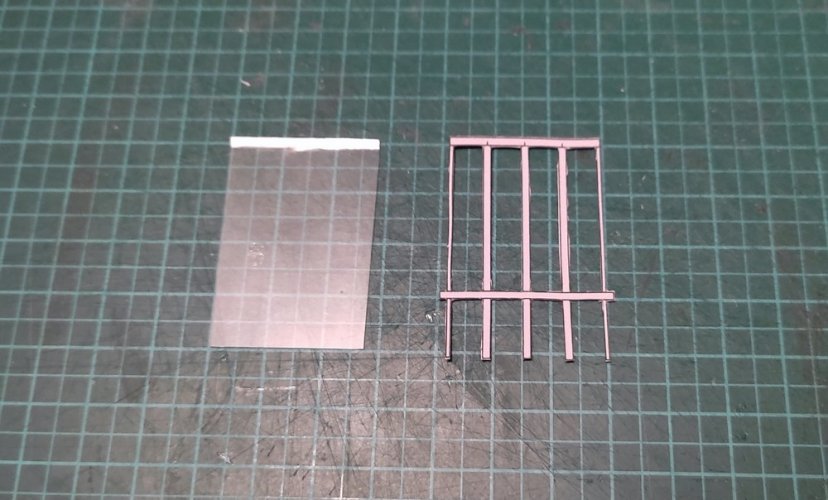
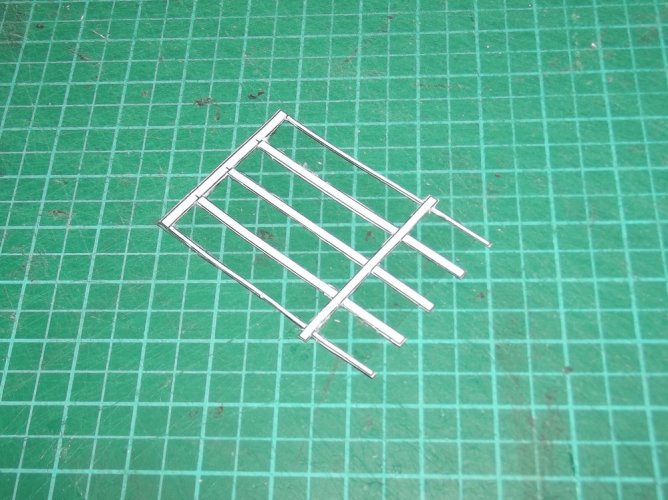
Another frame part was glued to the bottom.
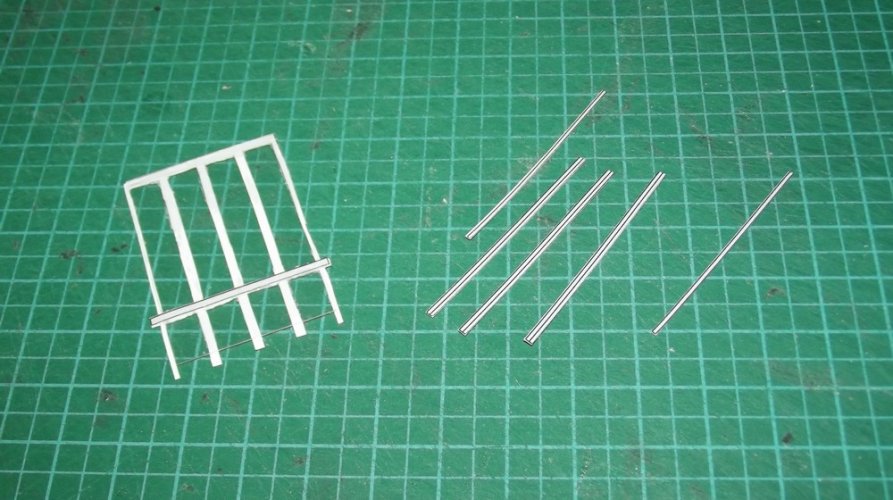
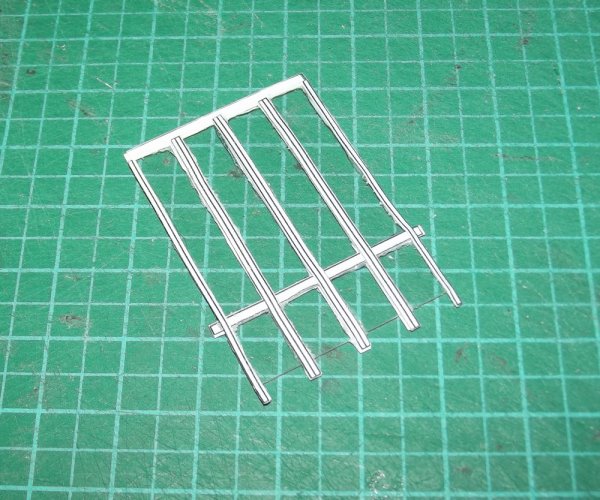
That was it. Nothing more was on the schedule. I started thinking again and time was going by. I had to do something and decided to start laminating and cutting a few more parts out ...
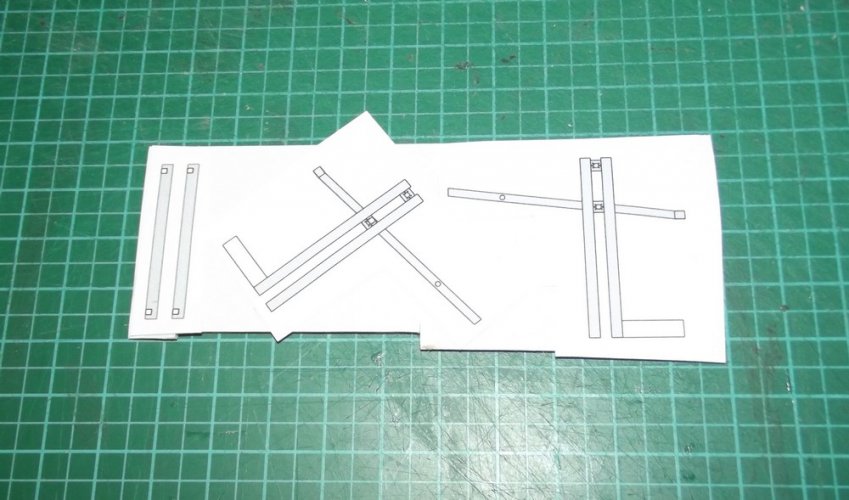
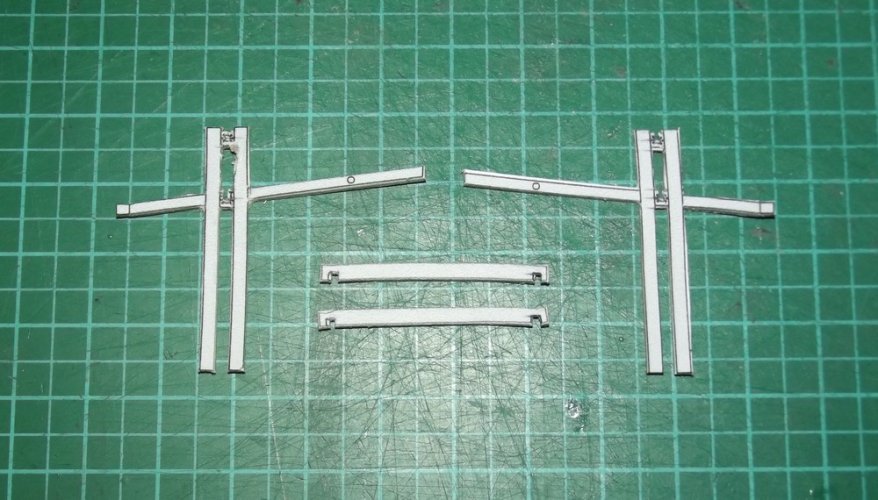
Clear roof attached ...
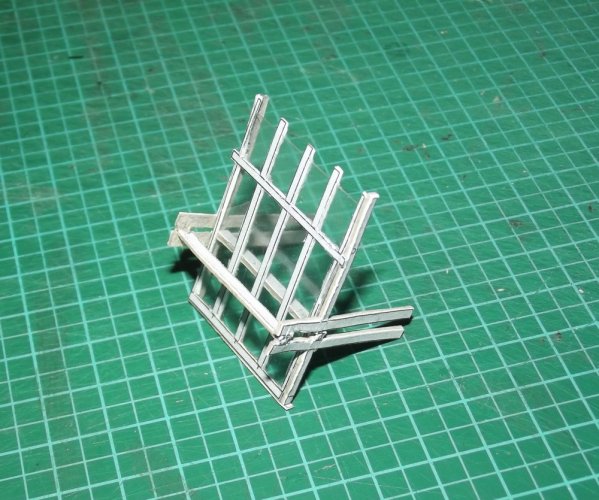
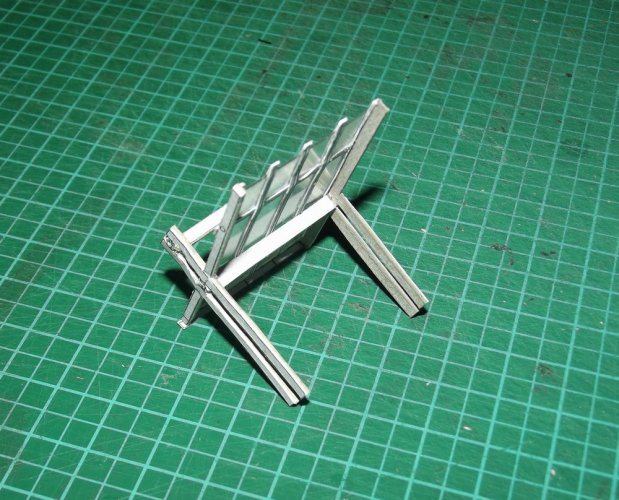
... and more laminations ...
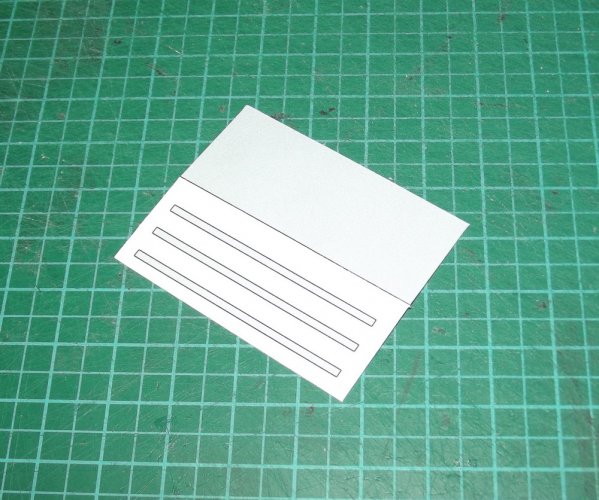
... and so I got some fully fleshed out T-beams:
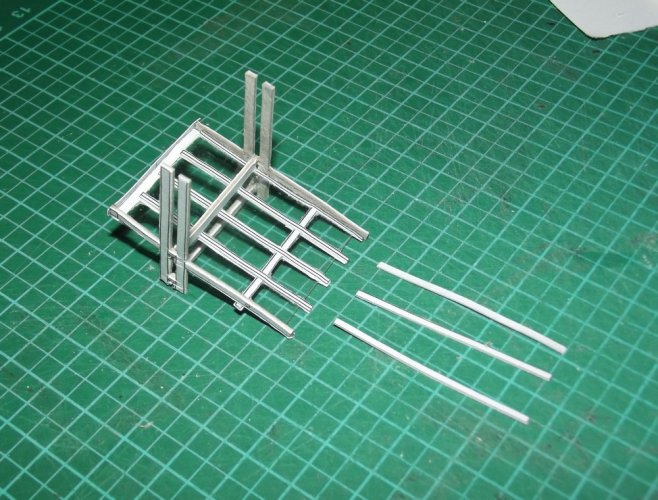
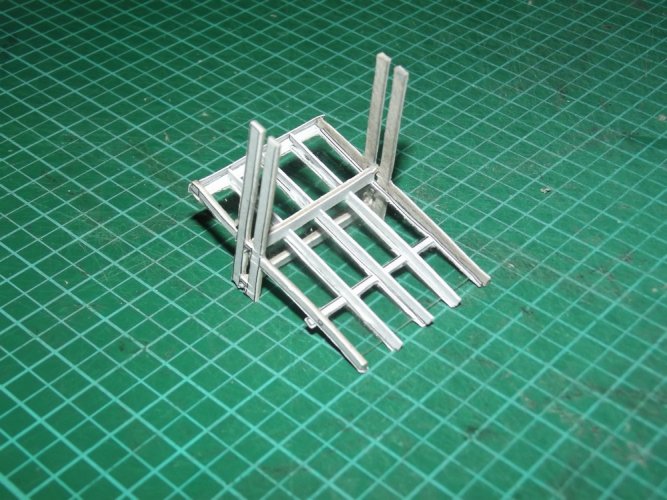
The strips had to be cut in two because of the support beam in the middle. Surprisingly the small piece fit right in the back area behind the beam, giving the illusion that the T-beams were penetrating the horizontal support. Just like on the real thing.
I am honest. This was not planned at all. This happens when I have too much time to cut things into stripes.
Granted, the pictures reveal every smudge and inaccuracy, but let me assure you, the original looks fine.

Hell, THOSE THINGS ARE TINY AND I WORK WITHOUT GLASSES!!! WHERE IS THE RHAVEN BLAACK WHEN YOU NEED HIM???


The sound barrier:


Clear part attached:

The textures for both components were taken from a picture of the originals.
Then came the clear roof at the entrance. This was a real head-scratcher. There were many ways to build it and I debated which would be the most efficient one. In no way I intended to produce a detailed replica. It was supposed to be easy-peasy, 10-minute-adventure.
However, I took my time and that had a side effect. I spent way more time thinking about the build than actually building. I knew I had to do something to speed up the process but still did not quite knew what to do. So I decided to tackle the parts which had definitely to be there, the frame and the clear sheet:


Another frame part was glued to the bottom.


That was it. Nothing more was on the schedule. I started thinking again and time was going by. I had to do something and decided to start laminating and cutting a few more parts out ...


Clear roof attached ...


... and more laminations ...

... and so I got some fully fleshed out T-beams:


The strips had to be cut in two because of the support beam in the middle. Surprisingly the small piece fit right in the back area behind the beam, giving the illusion that the T-beams were penetrating the horizontal support. Just like on the real thing.


I am honest. This was not planned at all. This happens when I have too much time to cut things into stripes.

Granted, the pictures reveal every smudge and inaccuracy, but let me assure you, the original looks fine.

Hell, THOSE THINGS ARE TINY AND I WORK WITHOUT GLASSES!!! WHERE IS THE RHAVEN BLAACK WHEN YOU NEED HIM???

Last edited:
I am where I always at, RIGHT HERE! You did not ask me to cut these pieces out for you. Had you done so, I would have been more than happy to do so, and then ship them to you (at your cost, or that of the company).Hell, THOSE THINGS ARE TINY AND I WORK WITHOUT GLASSES!!! WHERE IS THE RHAVEN BLAACK WHEN YOU NEED HIM???

Thank goodness the next parts were easier. 
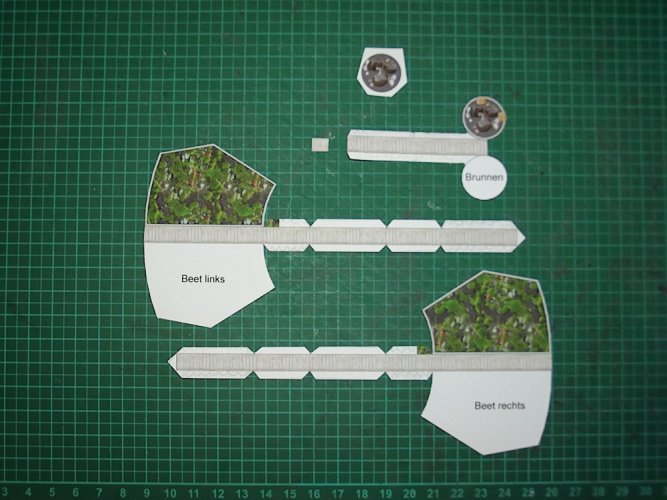
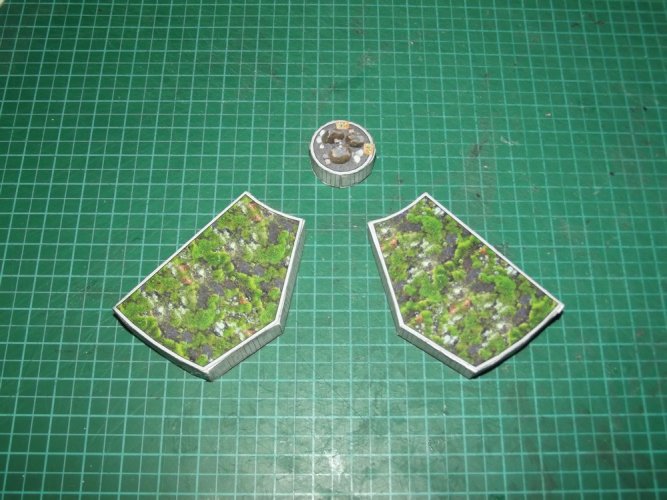
The fountain and two elevated flower beds.
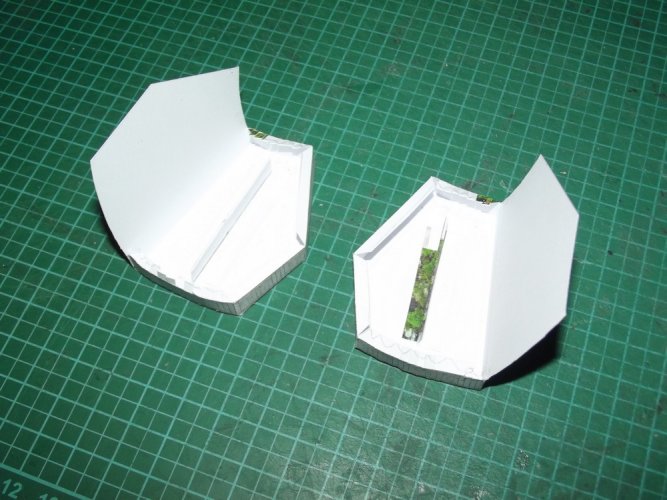
To give the fountain a more life-like appearance I printed the top piece again and laminated it to 1mm card.
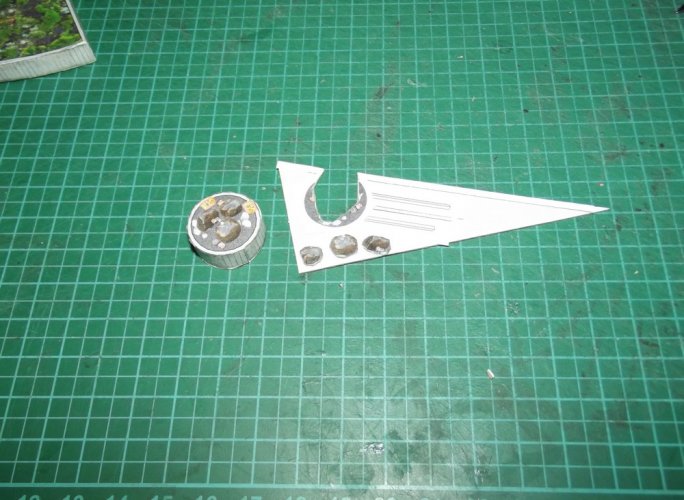
The stones were cut out and attached to get a raised look.
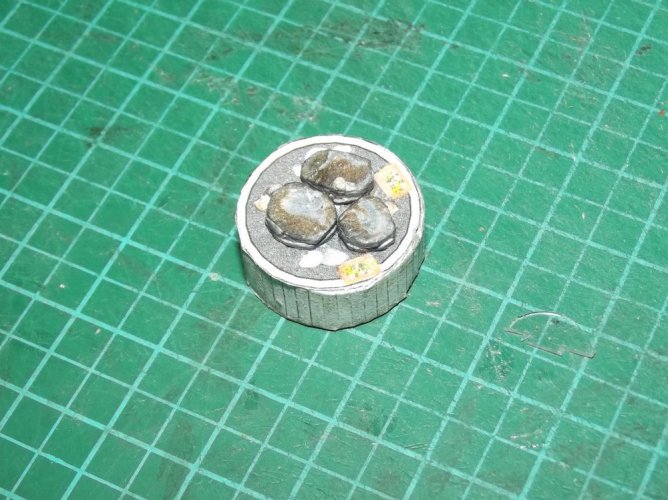
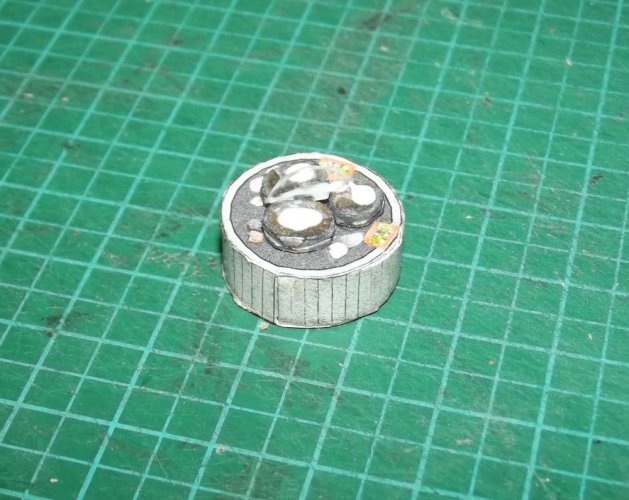
Now I applied several nice drops of glue to the stones. When the glue has cured it will get shiny and give the illusion that the stones are wet. To emphasize the effect I also attached a small half circle of clear sheet.
Two movable flower beds were assembled.
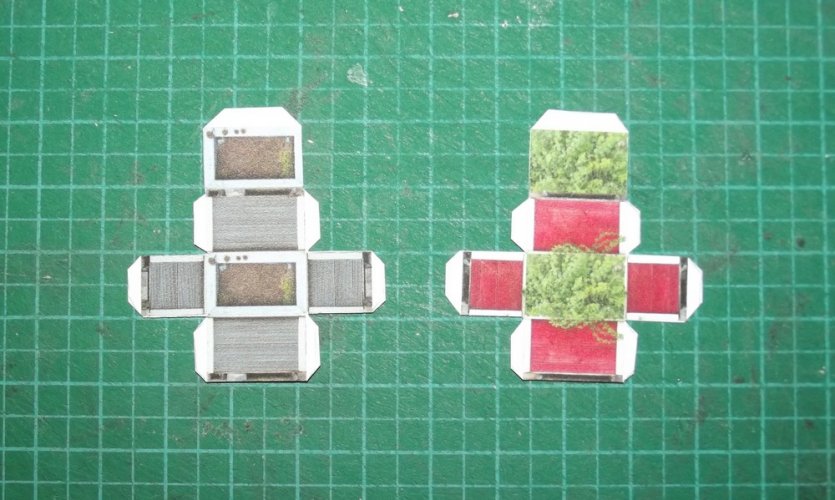
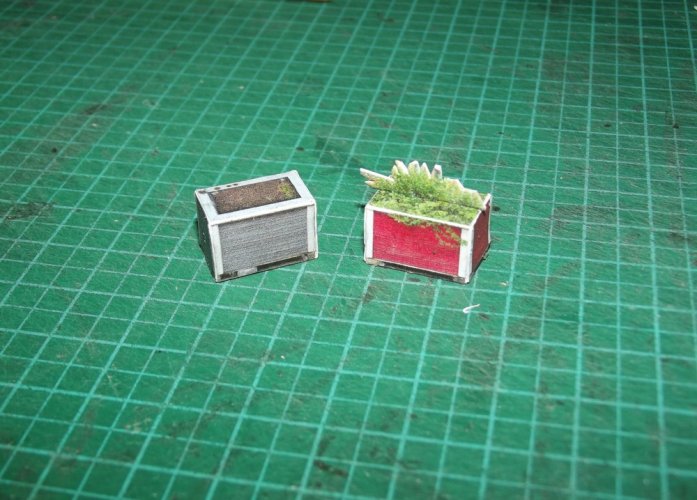
Of course I painted the edges later.
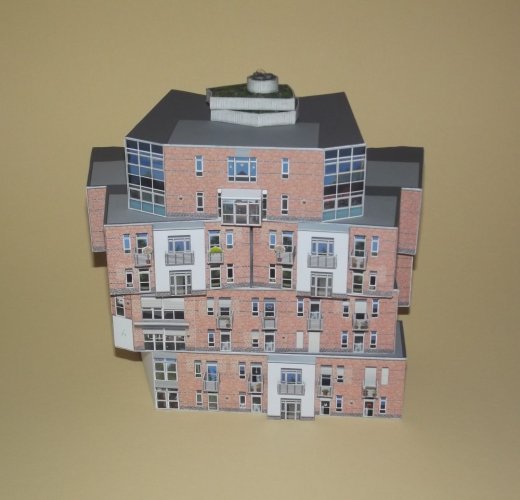
All segments of the house received their balconies and were attached to each other. It was important to add the balconies before combining the segments because it would have been too difficult to attach them properly on the assembled house, especially around the courtyard.
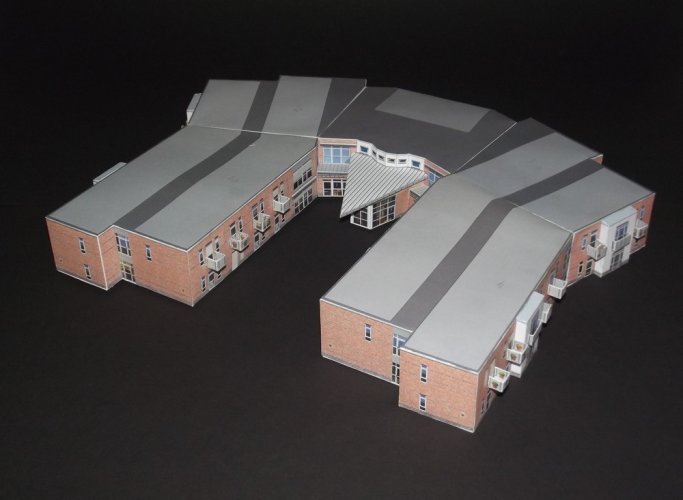
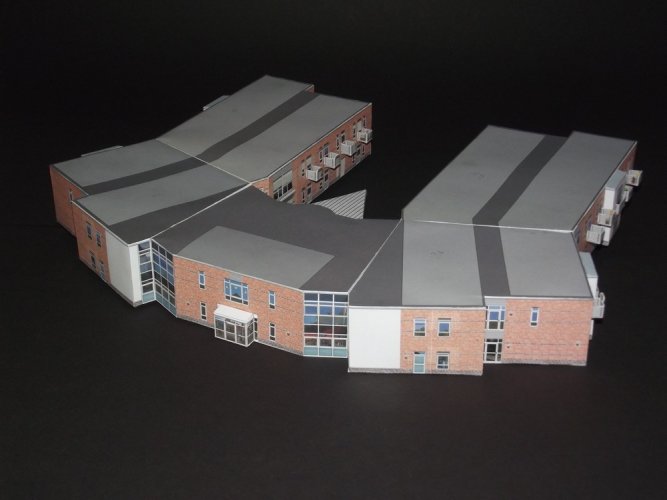
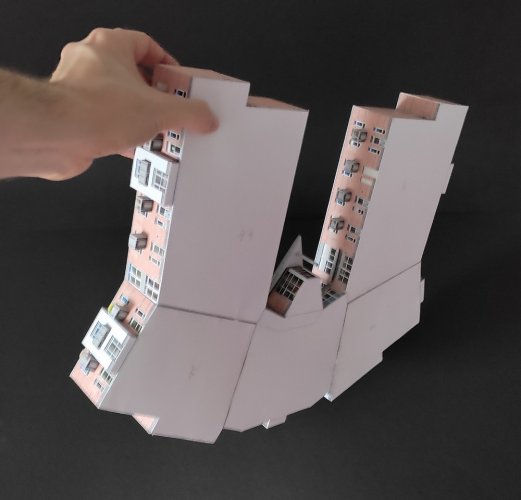
The model is pretty sturdy and can be lifted up without issues.
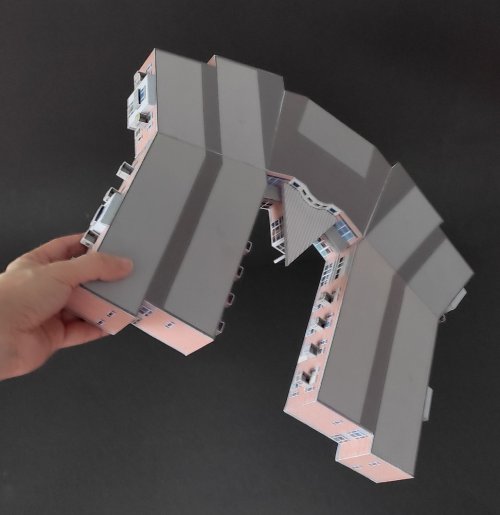

The fountain and two elevated flower beds.


To give the fountain a more life-like appearance I printed the top piece again and laminated it to 1mm card.

The stones were cut out and attached to get a raised look.

Now I applied several nice drops of glue to the stones. When the glue has cured it will get shiny and give the illusion that the stones are wet. To emphasize the effect I also attached a small half circle of clear sheet.

Two movable flower beds were assembled.


Of course I painted the edges later.

All segments of the house received their balconies and were attached to each other. It was important to add the balconies before combining the segments because it would have been too difficult to attach them properly on the assembled house, especially around the courtyard.


The model is pretty sturdy and can be lifted up without issues.

Last edited:
+++ INTERMISSION +++
In the middle of the project I was questioning my motifs. Was it right to build the model of a house??? Would I not violate my obligation to build spaceships only??? Well, while I was thinking about it I noticed that the house itself had the silhouette of a spaceship. But would looks alone be enough to justify such a major deviation from the rule? I had to be sure.
So I swang into action and did some research. And in fact - I was not assembling a house, I was indeed assembling a spaceship! A very famous one. One which starred in one of the most exciting movies of all time: RETURN OF THE JEDI!


Granted, it took a while to find some proof because the movie was digitally altered by George Lucas in the late 90s. However, I was lucky and found some unaltered (pre-CG) footage of the Original Trilogy. And here she is, in her full glory, en route to destroy the Death Star:
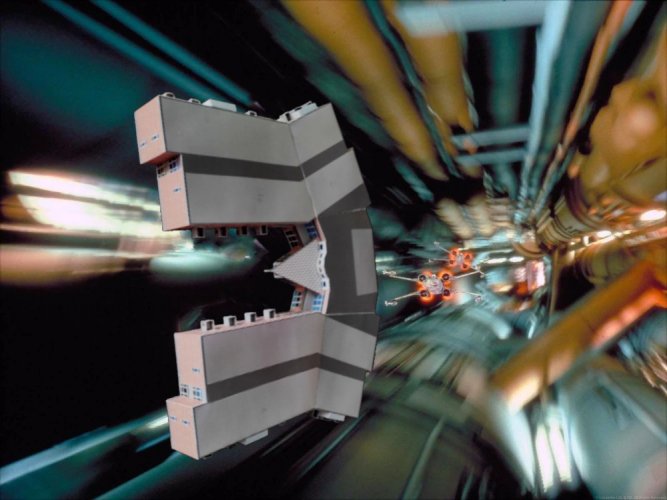
That eliminated my concerns and saved the project. Now back to topic.

You see it here, and pics don't lie..!You had me there... I missed that movie shot.


