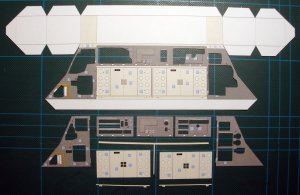
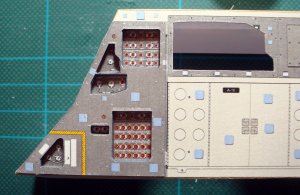
1:16 Space Shuttle flight deck

zathros

*****SENIOR ADMINISTRATOR*****
Staff member
Administrator
Moderator
Apr 5, 2013
13,498
9,549
228
I have to say that your work has compelled me to say you are in the same category. Different subject matter, but definitely in the same category. No doubt. I have seen what you have with done with virtually nothing, and your work astonishes me. ;)
 

Tonino

Well-Known Member
Apr 15, 2004
791
1,775
83
61
Republic of San Marino
www.facebook.com
Now let's go with the fun stuff!
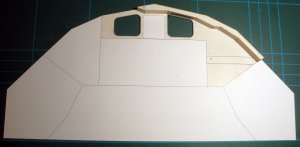
First of all I glued the floor to a thick cardboard (1 mm) because my first prototype showed some problem when the load of added parts tended to distort the model.
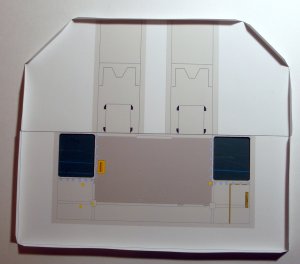
DSC08132.JPG
Then I added some details cut from a second copy of the base to add a better 3D feeling.
First the yellow handle near one of the passages to mid-deck
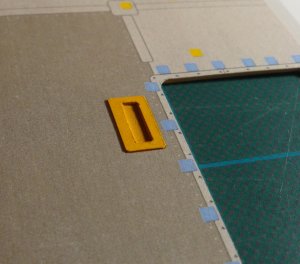
DSC08133.JPG
and then I took a a decision that will have an heavy influence on all my following work: I started to cut out and glue all the velcro patches
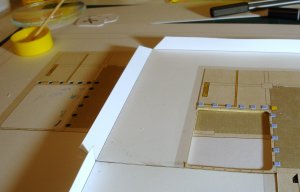
DSC08135.JPG
You see on the left the "donor" and, on the right, the actual floor with the patches already in place.
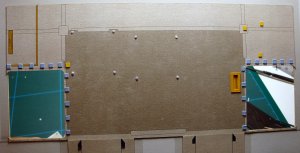
DSC08145.JPG

undoubtedly this way the looking is much better but this thing I started here will force me to cut and paste ALL the hundreds of velcro patches I'll meet from now on...
Note that I placed also seat coupling points (if they are so).

Now I want to spend some words about a technique I already used widely on LEM build: the "microtabs"
When you need to glue a "difficult" piece and you don't want to use tabs to have seamless joins you can prepare some little tabs (about 1 x 2 mm) with a light scored line in the middle (to easily fold them).
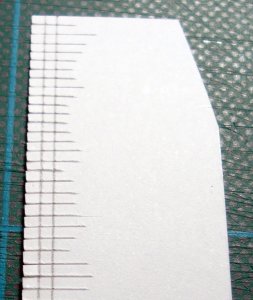
DSC08138.JPG DSC08139.JPG
They will be applied all around one of the pieces, especially near angles or edges, and will help greatly to keep in place the other piece when you glue it, applying small amounts of glue to some tabs at a time with a little piece of spare cardboard, until you have covered all the perimeter. Eventually you'll finish with a really flush and clean junction.
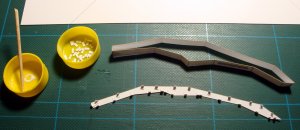
DSC08140.JPG DSC08143.JPG
DSC08144.JPG

And here is the base ready for all the stuff to be added on...
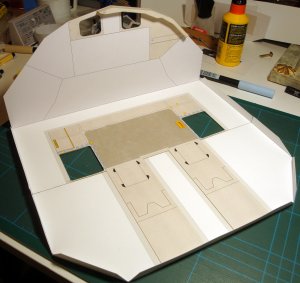
DSC08146.JPG

:D
 

Rhaven Blaack

!!!THE MAN BEHIND THE CURTAIN!!!
Staff member
Administrator
Moderator
Jun 12, 2009
12,525
9,909
228
Oregon
www.deviantart.com
You are off to a really good start. I like the "microtabs" (I know that @zathros has mentioned this technique many times, and I know that I need to give it a go.). It does indeed make the components look very clean and crisp.
 
  • Like
Reactions: Tonino

zathros

*****SENIOR ADMINISTRATOR*****
Staff member
Administrator
Moderator
Apr 5, 2013
13,498
9,549
228
Wow, I have been watching the SyFy series "The Expanse", the seats look srikingly familiar to yours. I could see lots of the parts you have made being kit bashed into other models. You have really made something here. This would be great for a school project. Much to be learned here. :)
 
  • Like
Reactions: Tonino

zathros

*****SENIOR ADMINISTRATOR*****
Staff member
Administrator
Moderator
Apr 5, 2013
13,498
9,549
228
The "Build" starts, this project required much research, but I know what you mean, I too have been anxious to see this come together. :)
 
  • Like
Reactions: Tonino

Tonino

Well-Known Member
Apr 15, 2004
791
1,775
83
61
Republic of San Marino
www.facebook.com
Today session started with a big disappointment :(
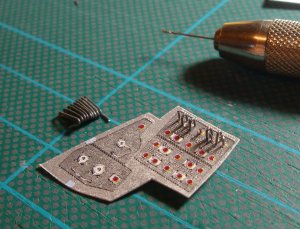
Perhaps some of you remember that some time ago I was thinking about making all the switch protections with metallic wire. Today I started a check to verify if this very ambitious part of the project was feasible...
Well, after many tries I concluded that the work is too complex in this scale and the result would be very poor compared to the efforts involved.
DSC08150.JPG
So I decided to abandon this idea... The plain panel is much better than this mess...

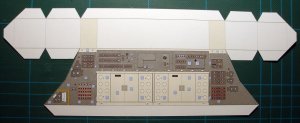
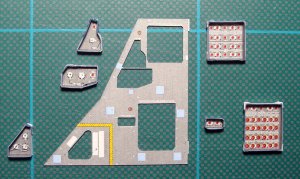
Let's start with the lower aft console.
DSC08147.JPG
This is the simple way to build it, matter of minutes. Not enough for me but a good alternative for a quick build.


DSC08148.JPG
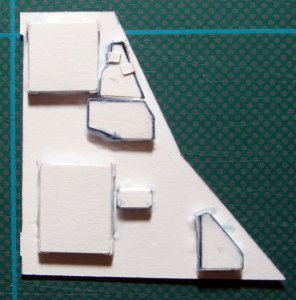
This is the complex way. I definitely prefer this one. I printed several copies of all teh sheets to have the chance to use several layer and have a much more "greebled" surface.

Here is the first panel
DSC08153.JPG

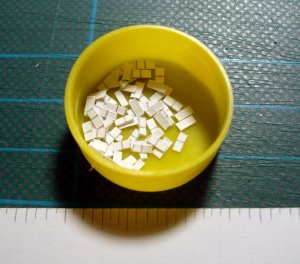
The little boxes are glued to the back side.
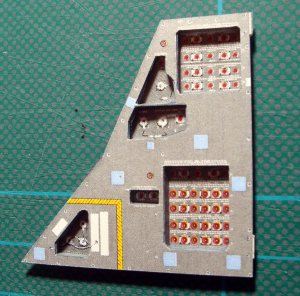
DSC08154.JPG

The result is pretty good
DSC08156.JPG DSC08157.JPG

After all I don't miss a lot the metallic switches... :)
 
Last edited: