1:16 Space Shuttle flight deck
- Thread starter Tonino
- Start date
You are using an out of date browser. It may not display this or other websites correctly.
You should upgrade or use an alternative browser.
You should upgrade or use an alternative browser.
RF don't say things like this! You know how I'm receptive to certain advices! 
To be honest I already had this exact idea... Many of the features I was planning to add to my model (lighting included) are too difficult to manage in this scale. So I must consider the possibility of a future upgrade (the whole cabin - or part of it - in a GIGANTIC scale?).
But let's think one thing at a time, you know, men aren't multitasking devices (like wives for example...)
OK I suppose I should find a way to put some metal wire in this model  ... the occasion is here: panel A12.
Here the wire work is affordable and really adds to the appeal.
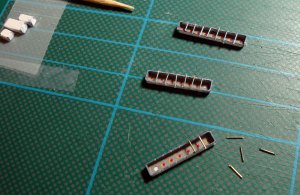
This is the idea: here the metal rods are straight and their positioning in not a great challenge so I'll not abandon this one.
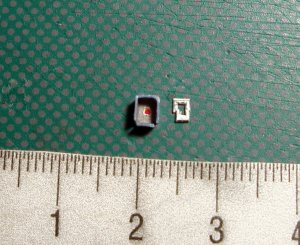
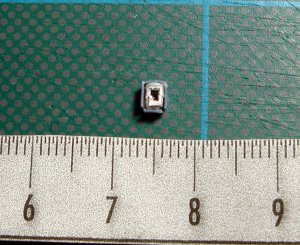
And here is another little paper challenge. This switch guard is really tiny...
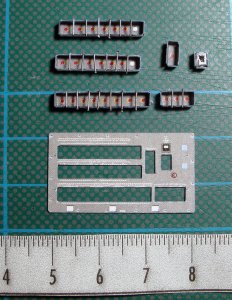
All the parts for panel A12 ready for assembling
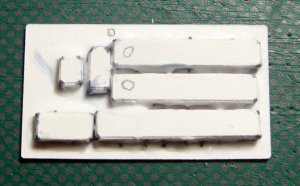
As usual the glue is put from behind all around the little boxes
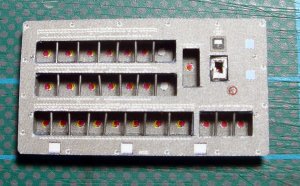
And here is panel A12 WITH the wire works
And below the panel just fitted in its own spot in the aft console.
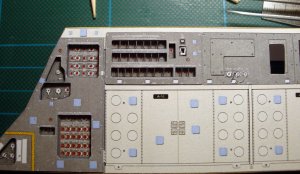

Here the wire work is affordable and really adds to the appeal.

This is the idea: here the metal rods are straight and their positioning in not a great challenge so I'll not abandon this one.


And here is another little paper challenge. This switch guard is really tiny...

All the parts for panel A12 ready for assembling

As usual the glue is put from behind all around the little boxes

And here is panel A12 WITH the wire works
And below the panel just fitted in its own spot in the aft console.

I've two more panels to show you.
A13
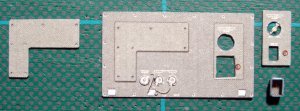
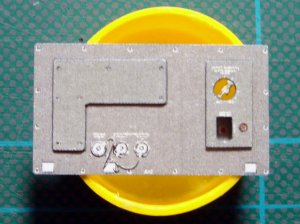
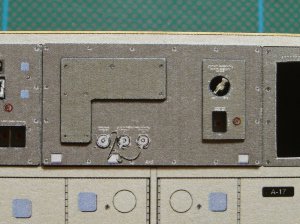
and A14 (some more metal work here
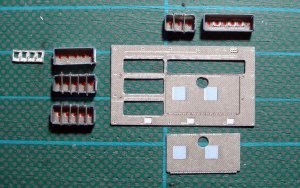
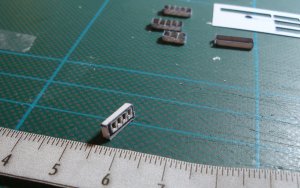
Those switch guards are one of the littlest cutting work I've ever made.
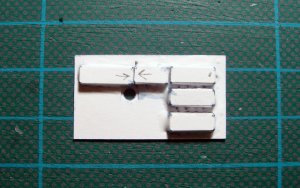
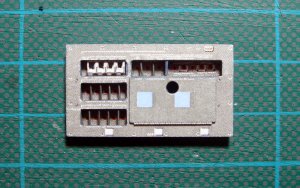
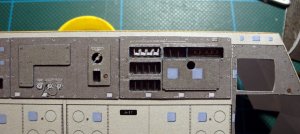
That's all folks!
Have a good week!
Ciao ciao!
I want to comment, but, then I would be banned for my language...... 

Here is last panel in lower aft console: A15.
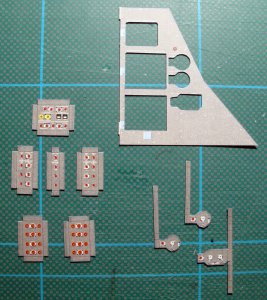
The components before folding
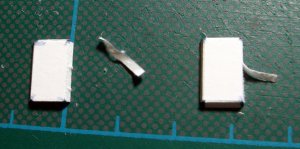
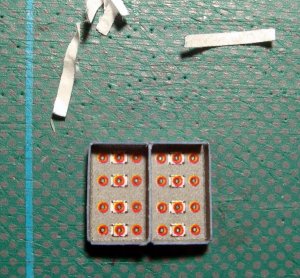
Before joining the adiacent boxes it's better to peel off a cardboard layer from the sides in contact or the resulting wall will be too thick.
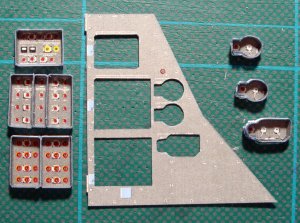
All the parts are ready...
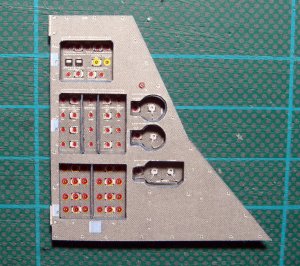
And here is A15.
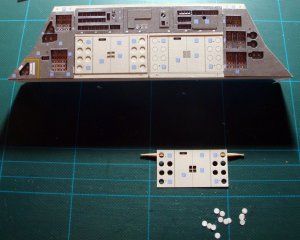
Now some preparation on the other components of the front wall
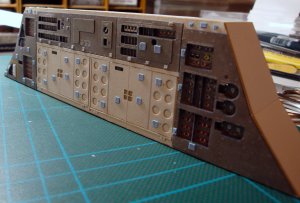
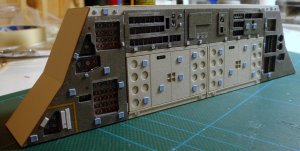
...and, after applying all the velcro patches and other little details (as the white cable holders) the lower aft console is READY!!!!!

 !
!

The components before folding


Before joining the adiacent boxes it's better to peel off a cardboard layer from the sides in contact or the resulting wall will be too thick.

All the parts are ready...

And here is A15.

Now some preparation on the other components of the front wall
...and, after applying all the velcro patches and other little details (as the white cable holders) the lower aft console is READY!!!!!


Last edited:
Why? Dutch is a very leuk language..!I want to comment, but, then I would be banned for my language......
RF: some other keys arriving to try! 
Here is a little update on aft deck intrumentation.
We start to build upper aft console.
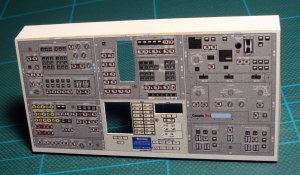
This is the empty base ready to accept its panels
The first one: A6U
Panel and sub-panels
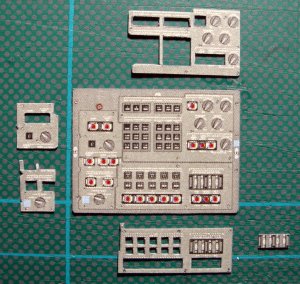
And the first time of a job I'll face many and many times from now on: the knobs. Very little two-parts pieces...
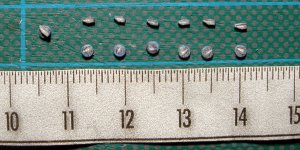
... that add so much to the look of the panel where they are placed.
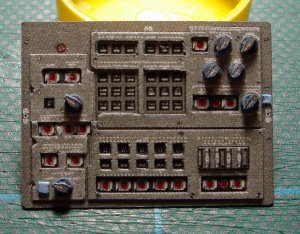
And here is the A6L (upper section)
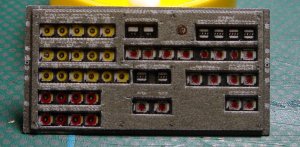
For the joystick base on A7U, after my previous test build, I decided to cut away the tabs (too little to be handy) and to utilize my usual microtab method.
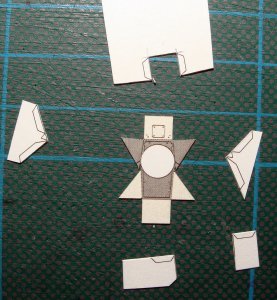
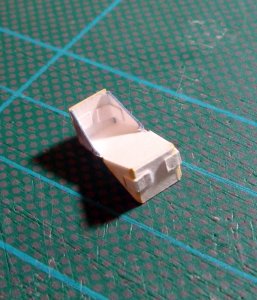
Here is A7U
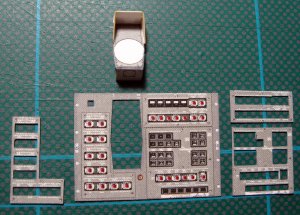
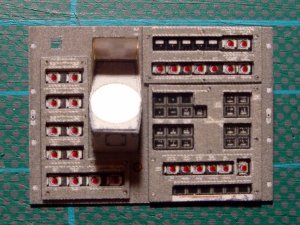
So this is actual status of the aft upper console.
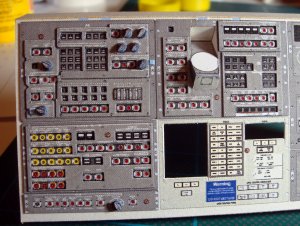

Here is a little update on aft deck intrumentation.
We start to build upper aft console.

This is the empty base ready to accept its panels
The first one: A6U
Panel and sub-panels

And the first time of a job I'll face many and many times from now on: the knobs. Very little two-parts pieces...

... that add so much to the look of the panel where they are placed.

And here is the A6L (upper section)

For the joystick base on A7U, after my previous test build, I decided to cut away the tabs (too little to be handy) and to utilize my usual microtab method.


Here is A7U


So this is actual status of the aft upper console.

Thank you all my friends. You are too kind, it's a great pleasure to feel your appreciation. Believe me, it means a lot to me. 
Well... time to finish upper aft console.
Here arrives an important improvement.
I'm speaking about APDS panel (A7L). It has a distinctly different looking, as it comes from russian space industry that has a very peculiar style in its panels.
It deserves some special attention because it's an important point of interest in this section of the cabin.
Here the switch guards are pretty bigger so I can try to implement them without too much pain.
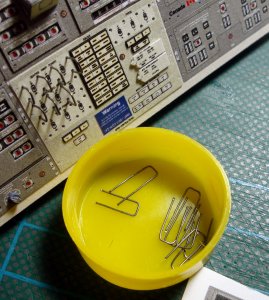
The metal pieces here are not too tiny and the resulting look is pretty good.
Now it's time to prepare some little red-headed switches
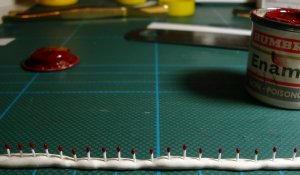
They look like matches
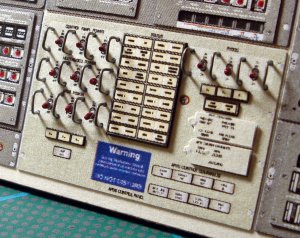
The finished panel is perhaps the most realistic one I made till now. Very close to the real photos.
Now let's go with the Canadian Arm controls... another nice panel.
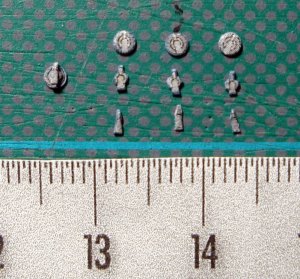
Here are some knobs that are different from any one used in other shuttle panels. I scomposed them in 3 parts instead of 2 (just to have more fun!)
And here are all the many components needed to realize the A8U panel
And the finished panel with the new knobs (two of them are the old type).
For the A8L I had another crysis!
Some of the switches have an additional protection, a sort of metallic bar that is usually closed to avoid operating them by mistake.
I tried to reproduce them with little boxes (as little as I can make them) but the result is very ugly and way too big, not in scale. I rejected them at first sight.
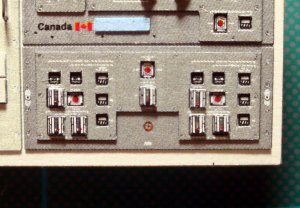
I cut the details away from another copy of the panel. They are much better this way. I'll adopt this choice for all the switches of this kind I'll find from now on.
And here it is: the aft upper console with this addition is finally completed!!!
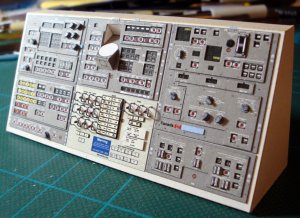
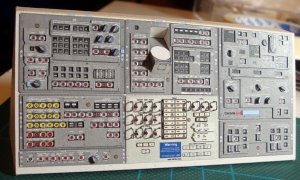
ooooops... I just realized there are some little velcro patches missing up there... OK let's say, then, ALMOST completed!

Well... time to finish upper aft console.
Here arrives an important improvement.
I'm speaking about APDS panel (A7L). It has a distinctly different looking, as it comes from russian space industry that has a very peculiar style in its panels.
It deserves some special attention because it's an important point of interest in this section of the cabin.
Here the switch guards are pretty bigger so I can try to implement them without too much pain.

The metal pieces here are not too tiny and the resulting look is pretty good.
Now it's time to prepare some little red-headed switches

They look like matches

The finished panel is perhaps the most realistic one I made till now. Very close to the real photos.
Now let's go with the Canadian Arm controls... another nice panel.
Here are some knobs that are different from any one used in other shuttle panels. I scomposed them in 3 parts instead of 2 (just to have more fun!)

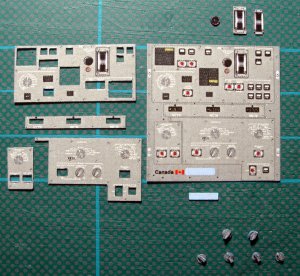
And here are all the many components needed to realize the A8U panel

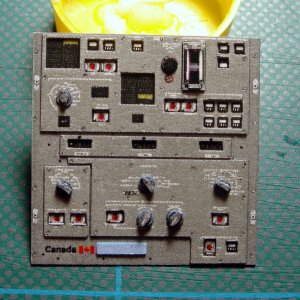
And the finished panel with the new knobs (two of them are the old type).

For the A8L I had another crysis!

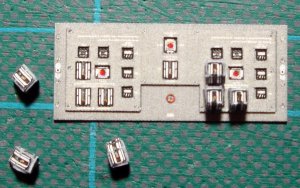
Some of the switches have an additional protection, a sort of metallic bar that is usually closed to avoid operating them by mistake.
I tried to reproduce them with little boxes (as little as I can make them) but the result is very ugly and way too big, not in scale. I rejected them at first sight.

I cut the details away from another copy of the panel. They are much better this way. I'll adopt this choice for all the switches of this kind I'll find from now on.
And here it is: the aft upper console with this addition is finally completed!!!


ooooops... I just realized there are some little velcro patches missing up there... OK let's say, then, ALMOST completed!


