Tie Raptor

mijob

Tie designer
Staff member
Moderator
Jul 5, 2020
3,193
5,404
95
54
Netherlands
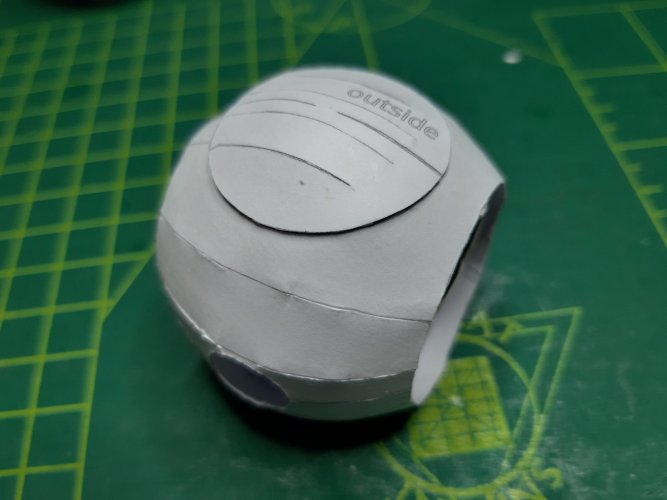
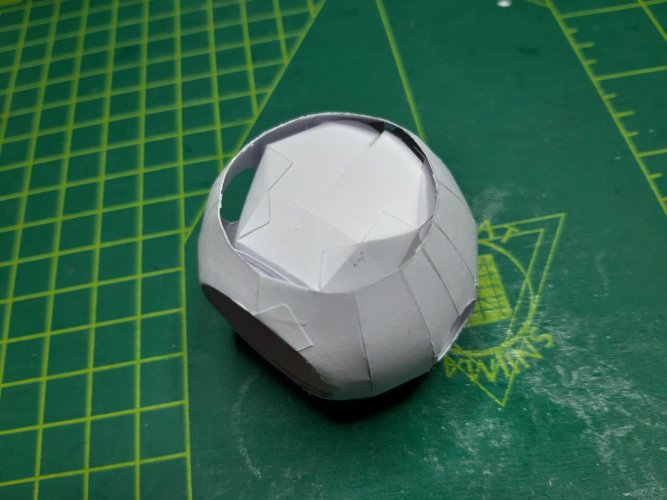
Top hatch test it fits but I will make a bigger opening because of the inside hatch details.
20230803_141937.jpg
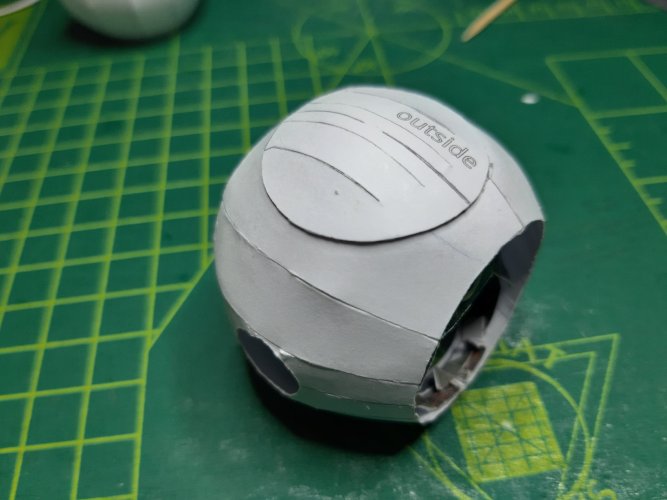
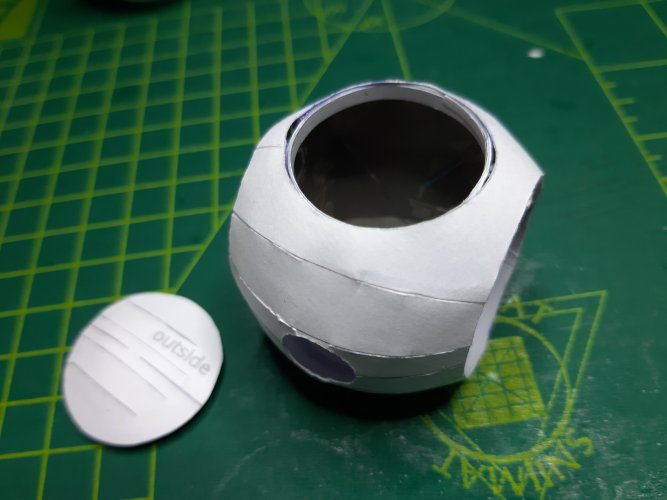
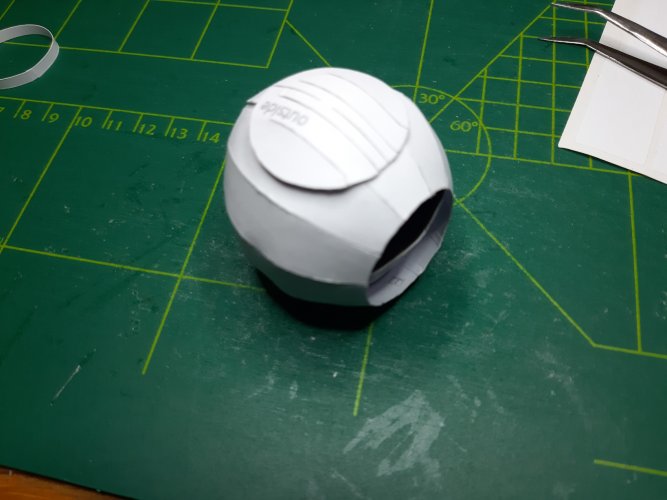
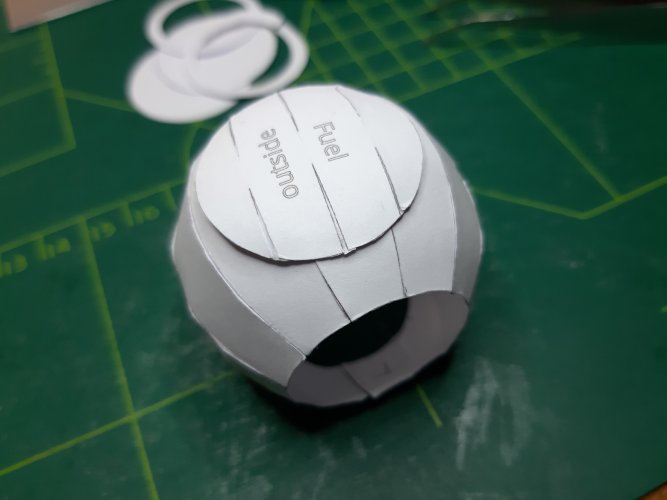
Next test is the fuel tank hatch no need for a fix here. This is the outside if the fuel tank.
20230803_144846.jpg
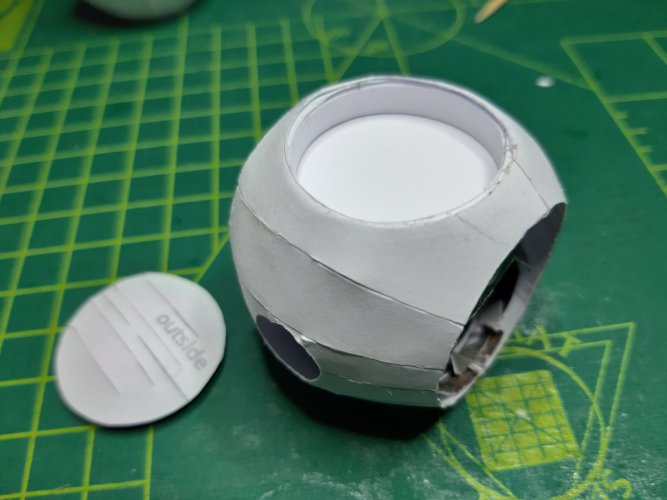
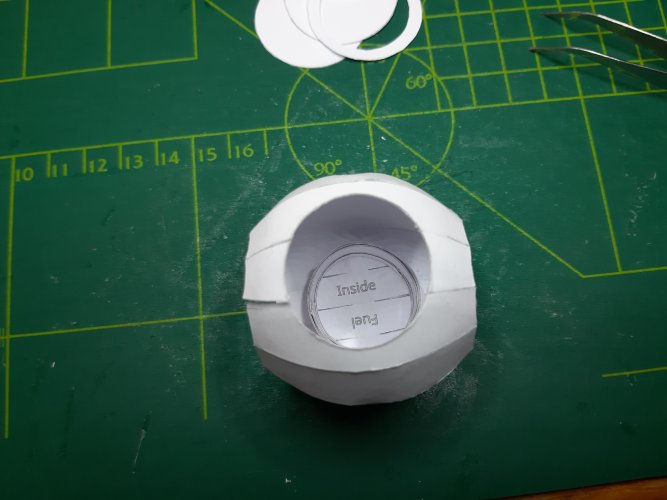
And here you see the inside of the tank.
20230803_144858.jpg
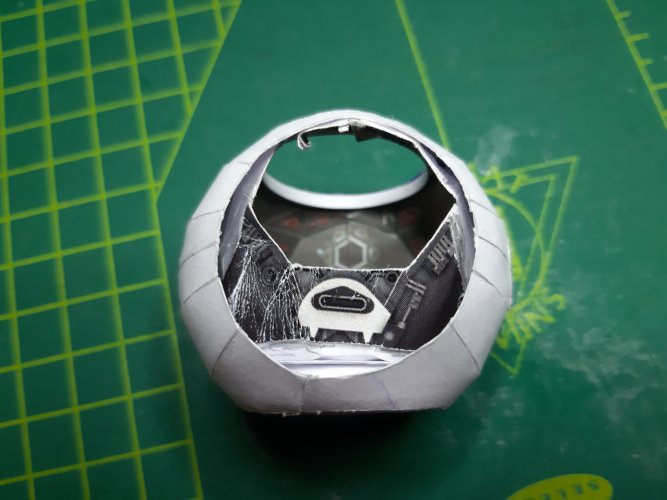
The inner ring for the laser power convertor this ring is to smal. If its a bit bigger the fuel hatch will fit like a glove.
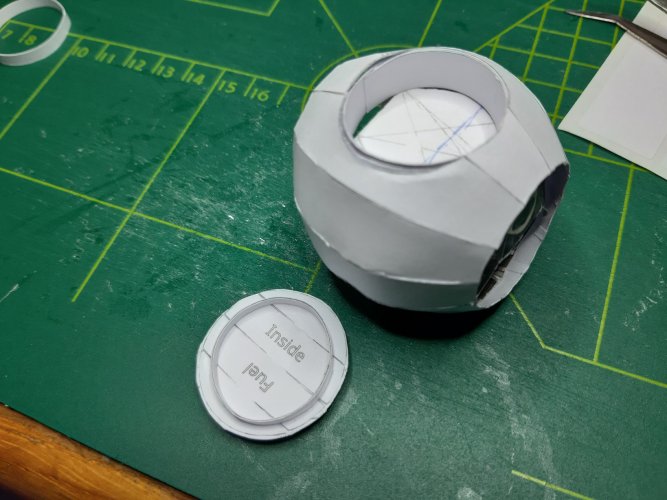
20230803_141848.jpg
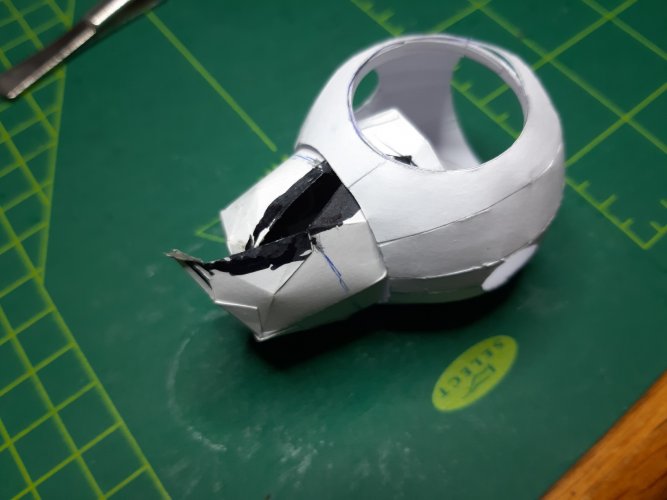
The last test is the height of the ring when the interior is in place. The ring has to be a few mm lower.
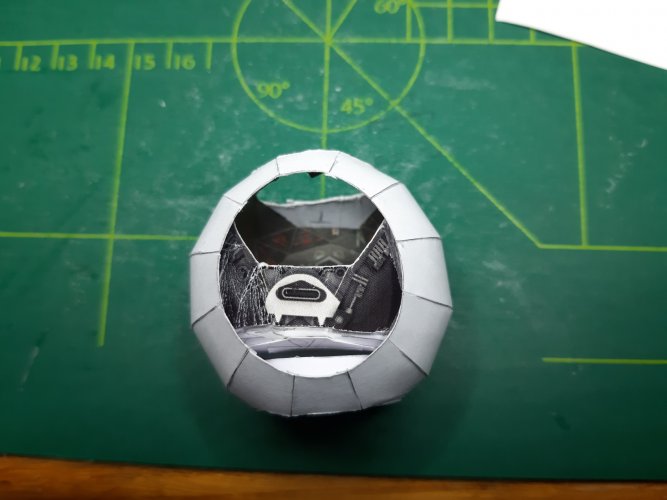
20230803_141924.jpg
Overall Im pleased that I can upgrade this model with a fuel tank and the laser power convertor. So back to the drawingboard and update the template.
 
Last edited:

mijob

Tie designer
Staff member
Moderator
Jul 5, 2020
3,193
5,404
95
54
Netherlands
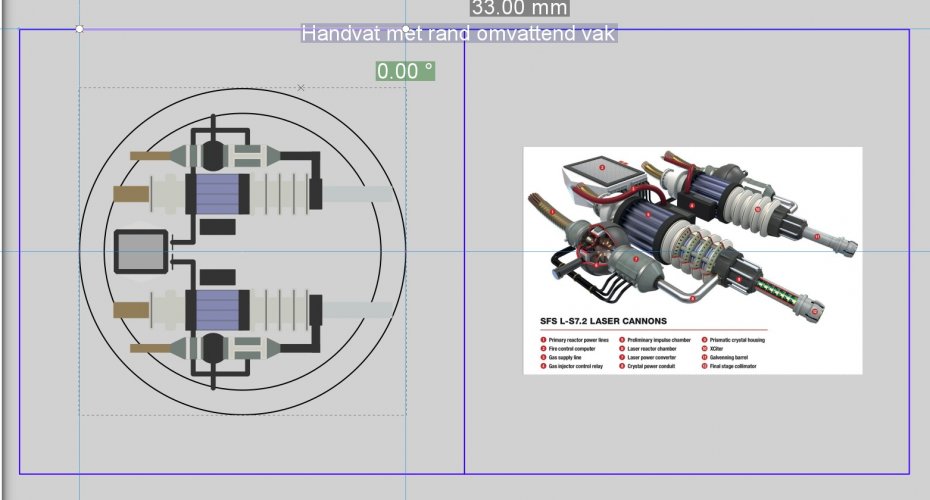
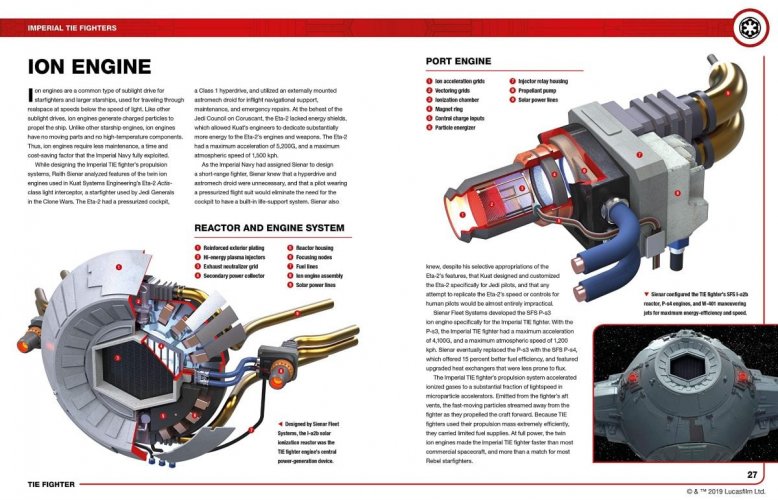
Well I found another part that I can add to the Raptor. Its the inside of the engine. Let see what I can make off it.
P026-027.jpg
This project is getting bigger then I thought. I will devide it in sub projects.
1st Design the Raptor basic form. All outside parts have to be removable for the second part.
2nd Design and add the extra details.

If I don't do this I will focus to much on the details thats what hapend when I build the Bomber..
 

Rhaven Blaack

!!!THE MAN BEHIND THE CURTAIN!!!
Staff member
Administrator
Moderator
Jun 12, 2009
12,538
9,924
228
Oregon
www.deviantart.com
Well I found another part that I can add to the Raptor. Its the inside of the engine. Let see what I can make off it.
View attachment 212952
This project is getting bigger then I thought. I will devide it in sub projects.
1st Design the Raptor basic form. All outside parts have to be removable for the second part.
2nd Design and add the extra details.

If I don't do this I will focus to much on the details thats what hapend when I build the Bomber..
This will make for a very interesting addition to the model.
 

mijob

Tie designer
Staff member
Moderator
Jul 5, 2020
3,193
5,404
95
54
Netherlands
So back to the basic build of the raptor. Im still not happy with the sphere I did something wring with the four opening of this model. I have used the correct circle fiameters but when I build it, I end up with an oval shaped opening. I will rebuild the sphere without openings and draw the circles on it. Then break down the sphere scan the parts and redraw them.

I did some other work on the sphere for all the future details.

This is the fuel hatch dimensions are oke to use.
20230805_174155.jpg
Fuel hatch removed here will be the laser canon equipment attached. I made a thick paperring and a cover ring on to to be used as glue tab.
20230805_174218.jpg
And the top hatch same dimensions as the fuel hatch.
20230805_174246.jpg
Fuel hatch removed and here you can see the paper ring without the cover ring. This was my first attempt to make the ring.
20230805_174258.jpg
Here comes the tricky part. Im using the UHU interior normaly you leave one part of the sphere open to install the interior. With this sphere its not possible because the sphere is closed otherwise its not possible to glue the rings at place. So take a sissor and cut the interior and fold it together. Now it will fit in the sphere.
20230805_174335.jpg
Next is to get the interior in place. I need to make a new front cover plate.
20230805_174323.jpg
And the the engine there is enough room to put some details behind the interrior.
20230805_174311.jpg
Tomorow I will see if I can make a new sphere with the correct holes. Then cleanup the alpha build issues. Thanks for reading and have a nice weekend.
 

Revell-Fan

Co-Administrator
Staff member
Administrator
Moderator
Aug 1, 2009
11,620
12,365
228
Vreden

You have to insert the interior before closing the ball. :)
 
  • Like
Reactions: mijob

mijob

Tie designer
Staff member
Moderator
Jul 5, 2020
3,193
5,404
95
54
Netherlands
If I insert the interior first I cant glue the rings in place that why I cut ut. I have to look if there are other ways to insert the unterior and rings.
 

Revell-Fan

Co-Administrator
Staff member
Administrator
Moderator
Aug 1, 2009
11,620
12,365
228
Vreden
And if you skip the ring and glue a grey plate directly to the bottom? The little overhang should produce an additional 3D effect.
 
  • Like
Reactions: mijob

mijob

Tie designer
Staff member
Moderator
Jul 5, 2020
3,193
5,404
95
54
Netherlands
Could be a solution but then I cant make the laser canon bay and the fuel tank. I dont mind to cut the bathtub, after instalation you cant see a thing of the cutting.
 

Revell-Fan

Co-Administrator
Staff member
Administrator
Moderator
Aug 1, 2009
11,620
12,365
228
Vreden
Build the interior, attach the connector strips for the ball to the interior and attach the outer hull texture leaves to the connector strips. Basically how you would build a boat, put the ribs into place and attach the skin to them.

Or make a smaller ball without texture, wrap that one around the interior and then attach the textured leaves to the ball. That gives you more surface area to work with.

:)
 
  • Like
Reactions: mijob

mijob

Tie designer
Staff member
Moderator
Jul 5, 2020
3,193
5,404
95
54
Netherlands
Thanks for your suggestion, I will first improve the sphere and the rings and then see what I can do with the interior.
You gave me some idea's that I can work out.
 
  • Like
Reactions: Revell-Fan

zathros

*****SENIOR ADMINISTRATOR*****
Staff member
Administrator
Moderator
Apr 5, 2013
13,498
9,549
228
You are making great spheres. If you can find a rod, with a ball at the end, and some soft, but firm rubber sheet, you could press those lines with the Ball end, one the rubber sheet, and make the sphere truly round. You will be surprised how fast you will get this down. ;)
 

micahrogers

Moderator "Where am I, and how did I get here?"
Staff member
Moderator
Jul 12, 2012
3,773
4,639
113
Shannon GA
Look in the cake decorating section, they sell ball end formers in several sizes for cakes.
 
  • Like
Reactions: mijob