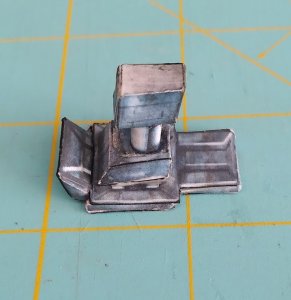
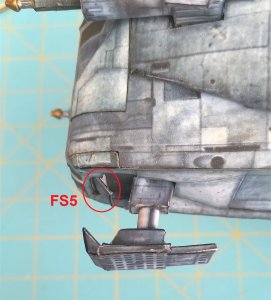
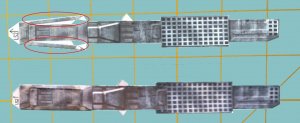
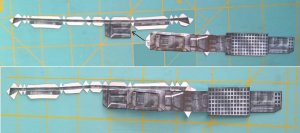
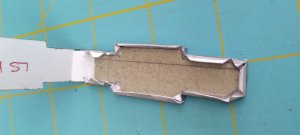
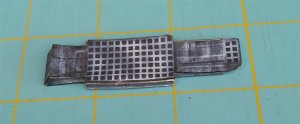
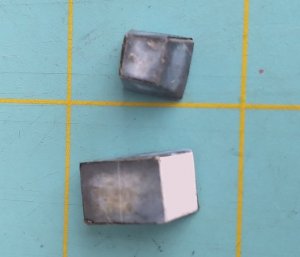
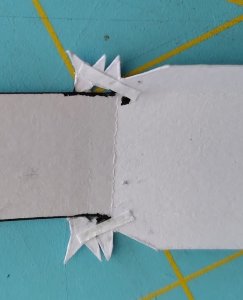
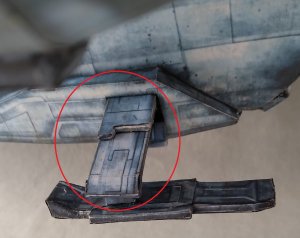
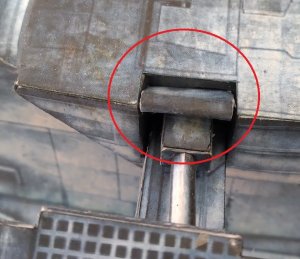
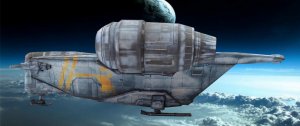
I cut a 10mm x 180mm strip of 2mm card and chamfered the ends as shown.

This was glued in place across the body, in line with the panel marks as shown. Note that it does not interfere with the triangular tabs.
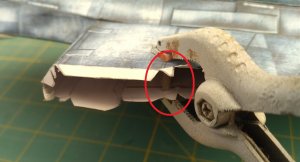
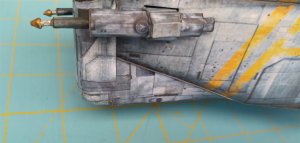
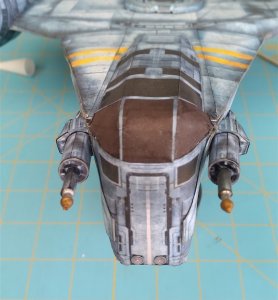
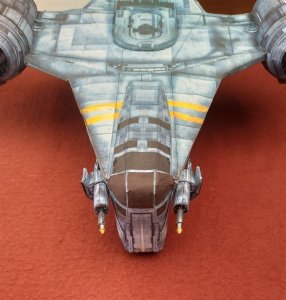
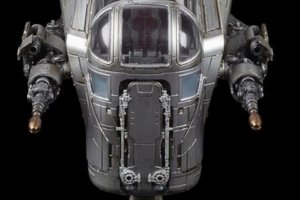
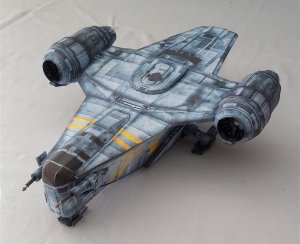
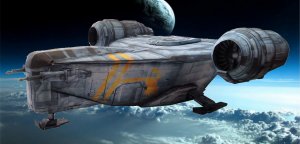
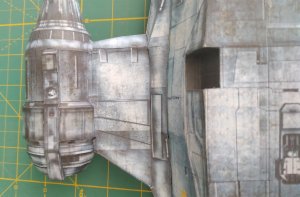
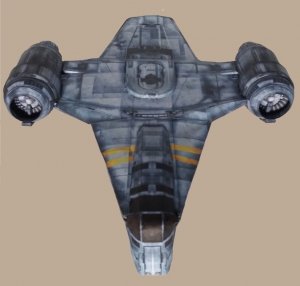
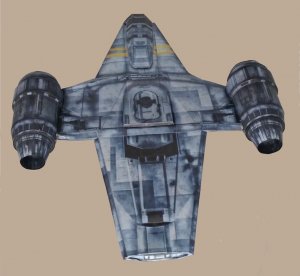
The port engine was now glued in place. I found that the best position for it to fit on the tabs was more or less midline although the engines on the real ship were higher in relation to the wing. A liberal amount of pva was spread on the wing tabs and the engine pushed into place.
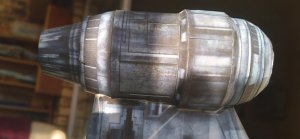
The model was set in a vertical position to dry before fitting the starboard engine in a similar fashion.
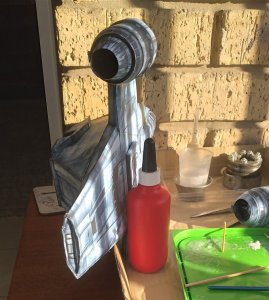
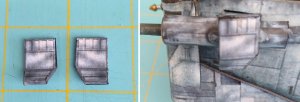
Any slight gaps in the fit were filled with pva using a paintbrush. This would dry clear. To finally cover any gaps in the joints between the engines and the wings, wing fillets have been provided. Print them on 80 gm paper, test fit them and then put a bead of pva along the joins and tease the fillets into place with narrow tweezers. Run your finger along the join to collect any surplus glue.
Once dry, this would not be noticeable (it dries shiny), as eventually the model will be sprayed with clear acrylic lacquer to preserve the ink from fading.
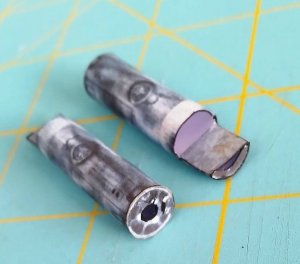
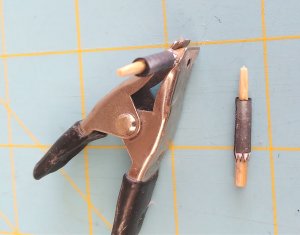
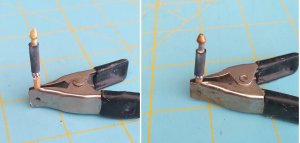
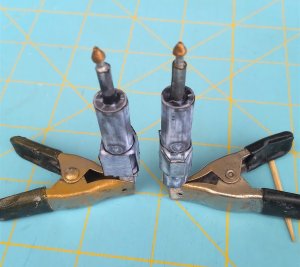
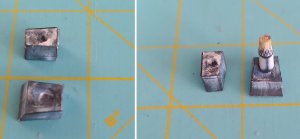
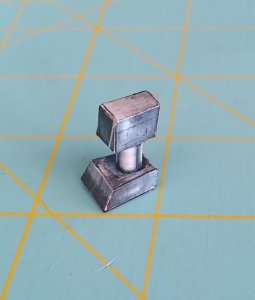
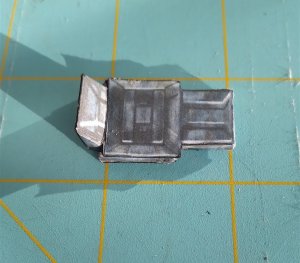
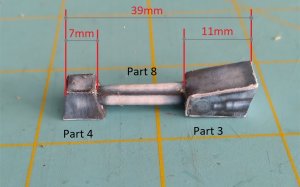
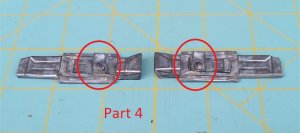
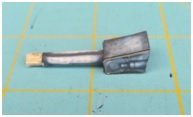
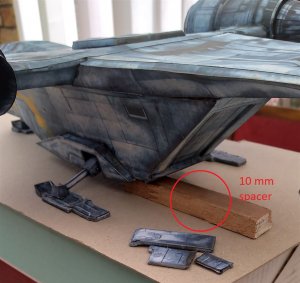
Next step is the armour. I built the parts as they were originally but a few changes needed to be made to simplify the construction.

This was glued in place across the body, in line with the panel marks as shown. Note that it does not interfere with the triangular tabs.

The port engine was now glued in place. I found that the best position for it to fit on the tabs was more or less midline although the engines on the real ship were higher in relation to the wing. A liberal amount of pva was spread on the wing tabs and the engine pushed into place.

The model was set in a vertical position to dry before fitting the starboard engine in a similar fashion.

Any slight gaps in the fit were filled with pva using a paintbrush. This would dry clear. To finally cover any gaps in the joints between the engines and the wings, wing fillets have been provided. Print them on 80 gm paper, test fit them and then put a bead of pva along the joins and tease the fillets into place with narrow tweezers. Run your finger along the join to collect any surplus glue.
Once dry, this would not be noticeable (it dries shiny), as eventually the model will be sprayed with clear acrylic lacquer to preserve the ink from fading.


Next step is the armour. I built the parts as they were originally but a few changes needed to be made to simplify the construction.
Last edited:


