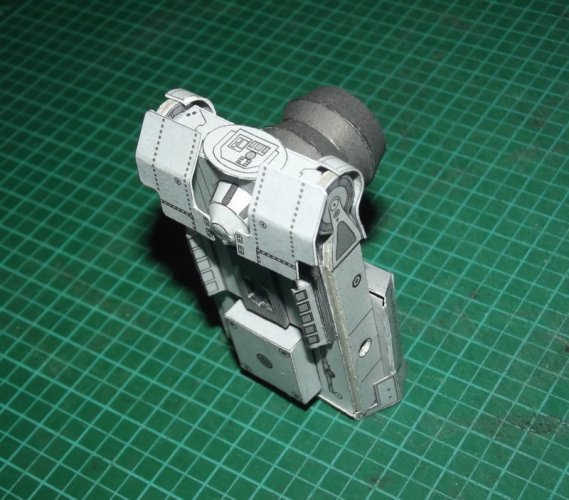
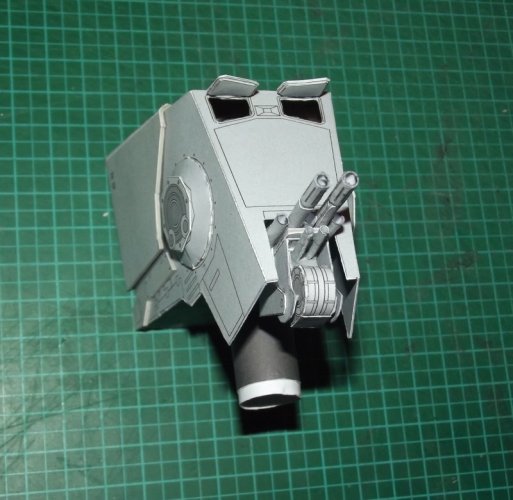
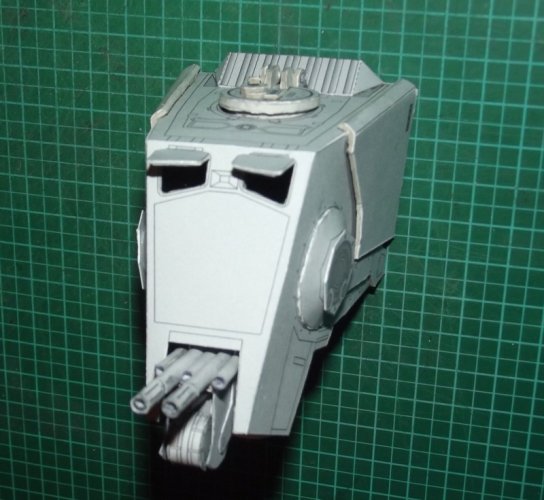
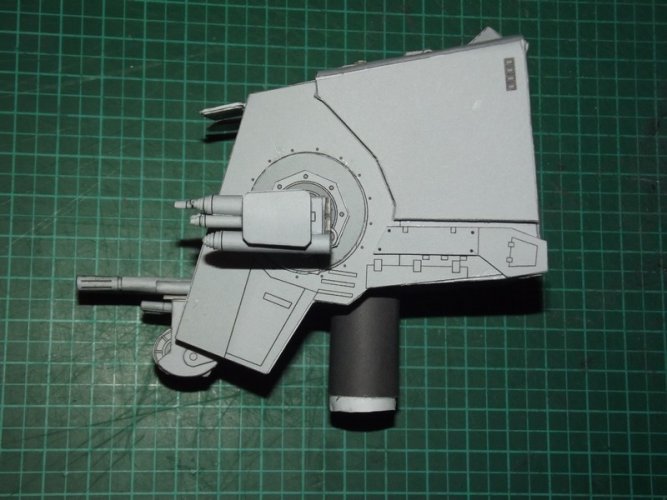
Pick your chicken (Imperial edition) ;-)

Revell-Fan

Co-Administrator
Staff member
Administrator
Moderator
Aug 1, 2009
11,611
12,352
228
Vreden
Thank you very much! :)

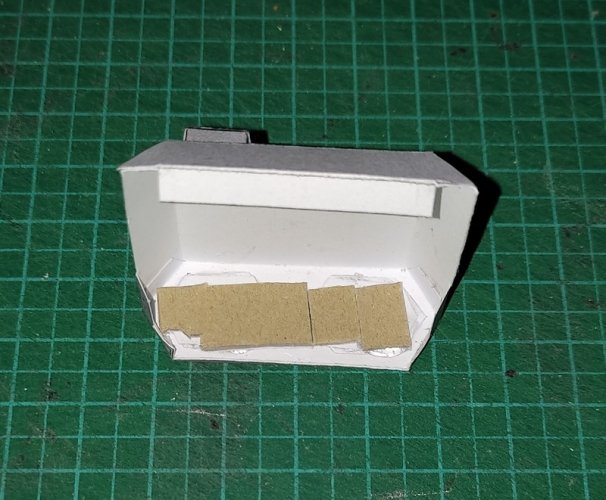
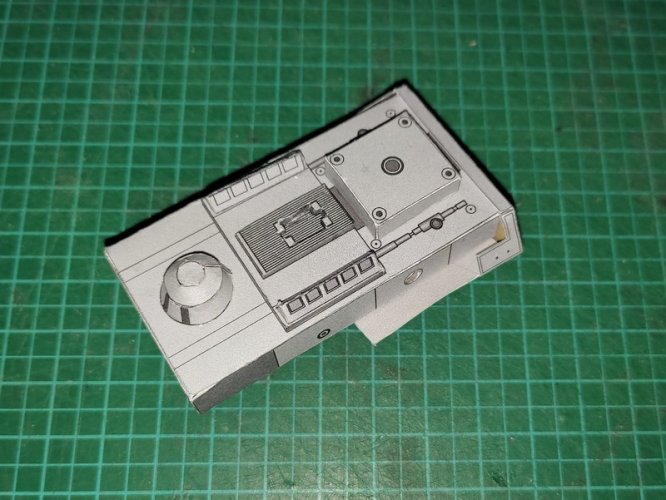
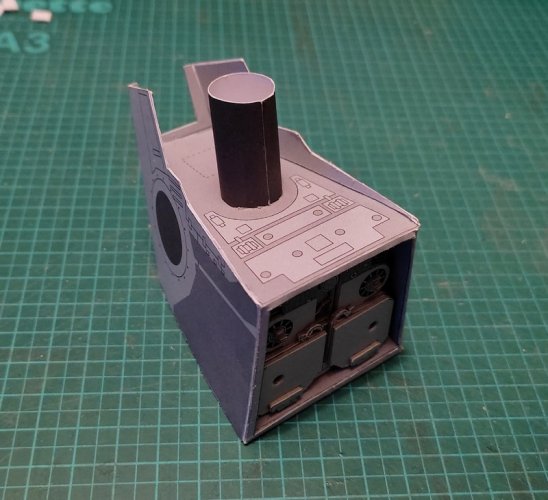
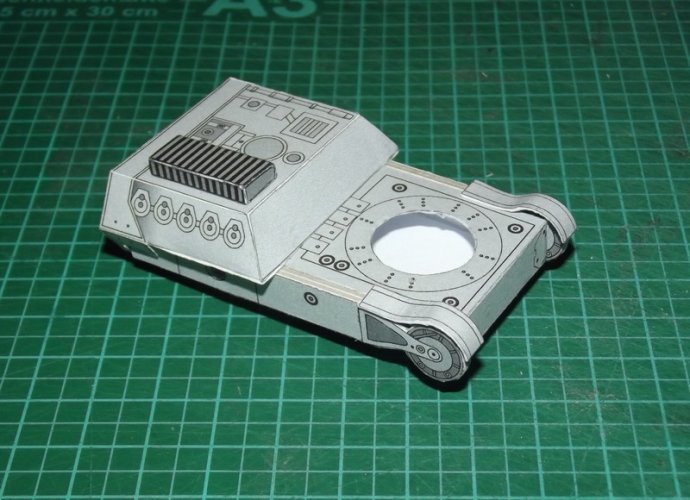
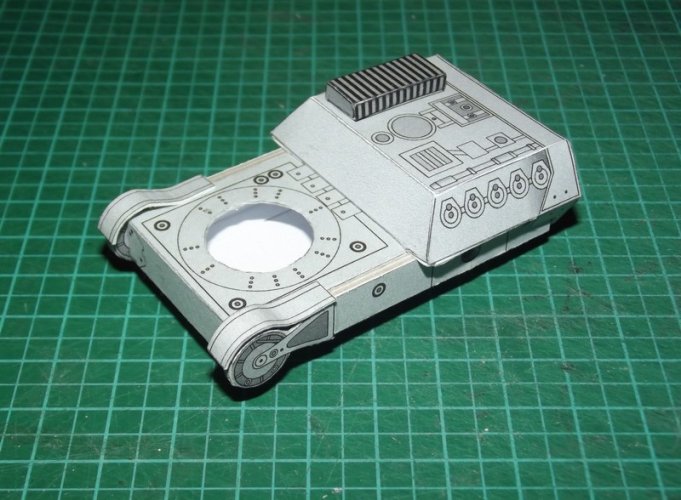
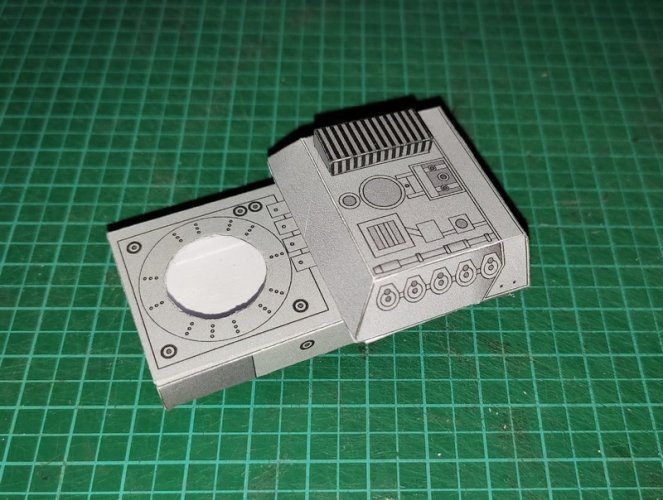
The engine section is finished:

1669577161851.jpg

B-1 gets some card to touch the rear of the B-2 box.
1669577161774.jpg

1669577161750.jpg

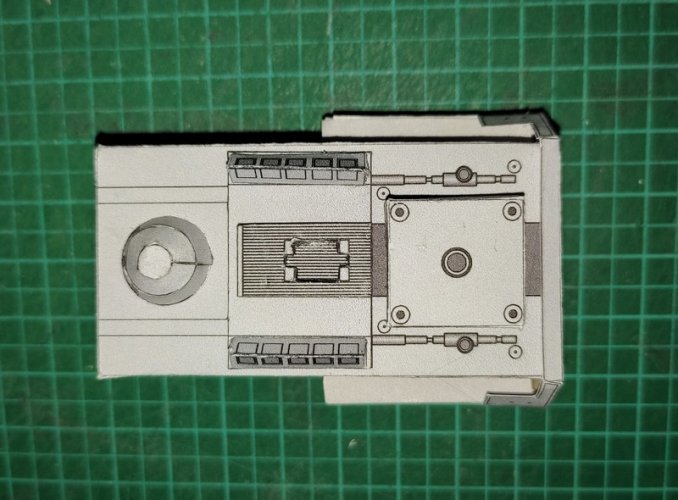
I noticed that the cover is not fully closed. I added a grey plate to change that:
1669577161725.jpg

It is a bit hard to see but trust me, it is there. :)

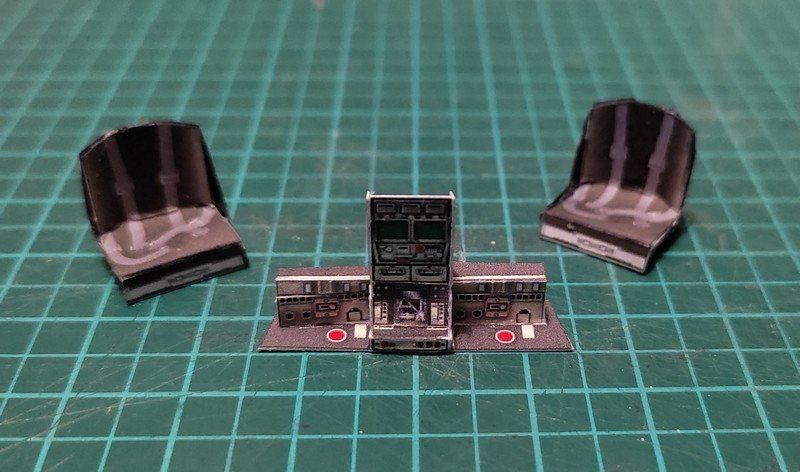
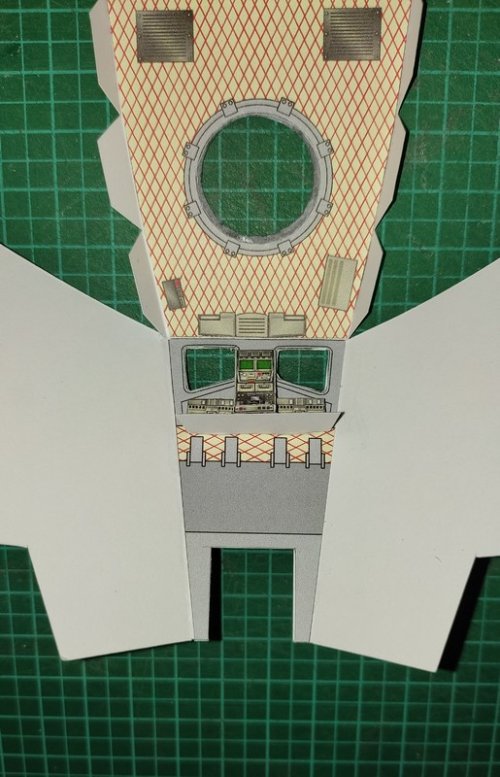
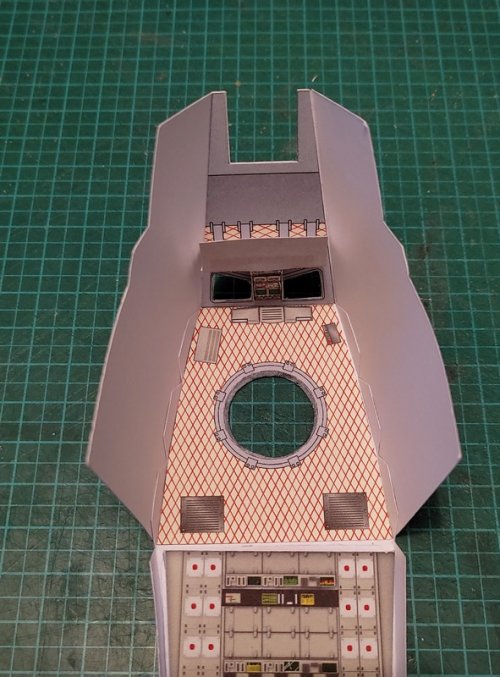
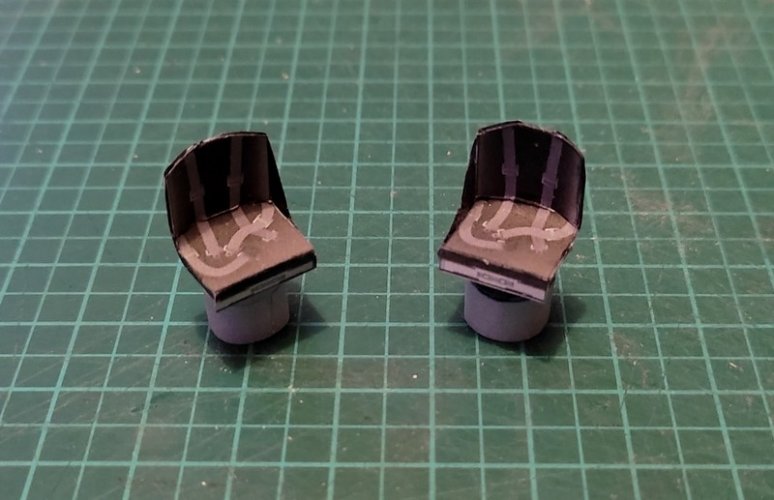
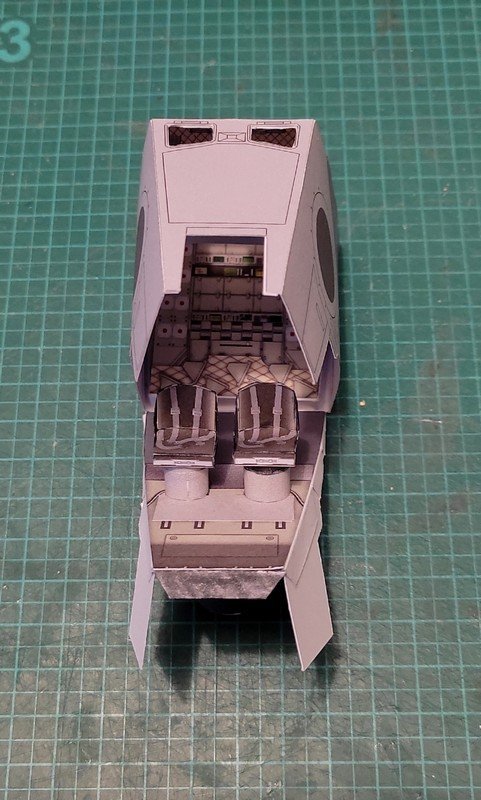
The cockpit interior parts come from UHU02's AT-ST. They had to be adapted a bit to fit.
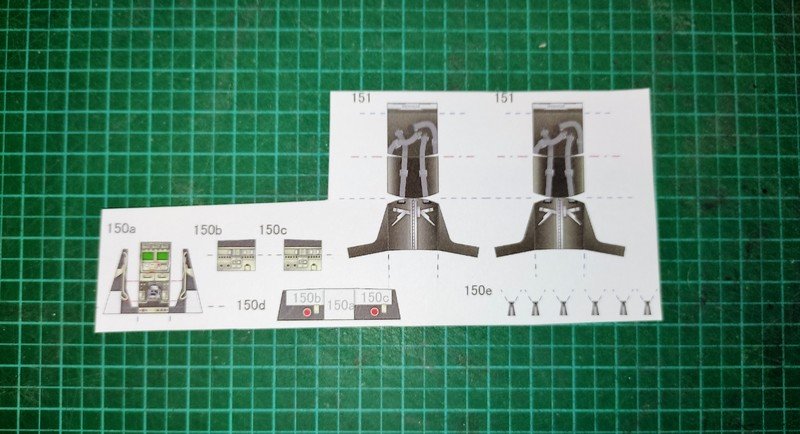
1669577162180.jpg

1669577162154.jpg

1669577162127.jpg

I added a simple plate to complete the look:
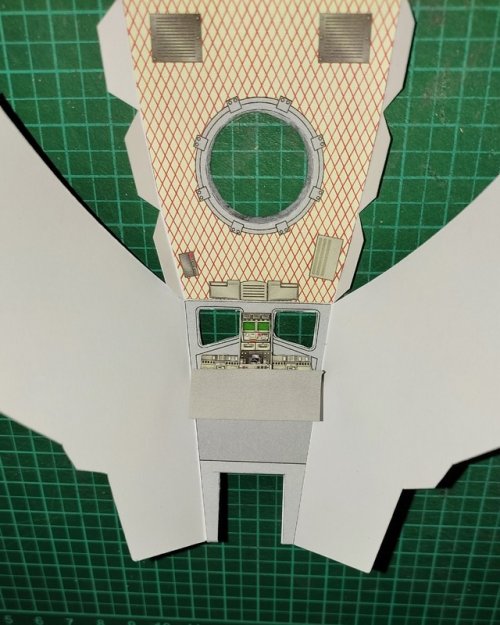
1669577161622.jpg

1669577161575.jpg

The head is higher than UHU02's so it was necessary to add some height to the seats:
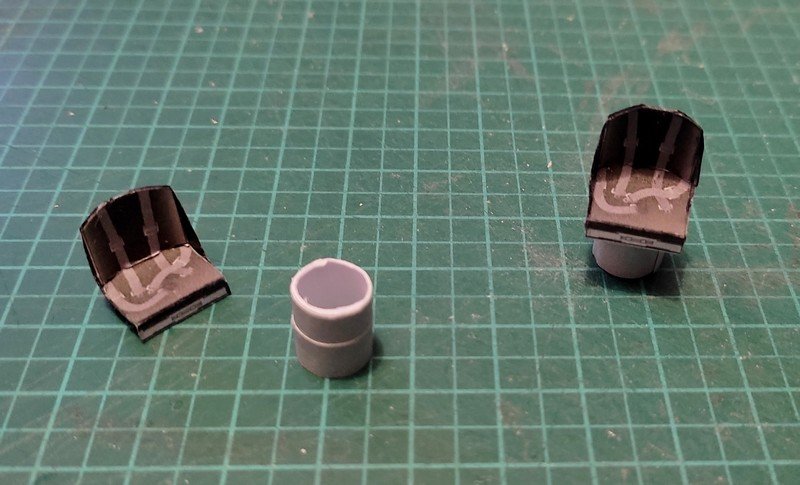
1669577161682.jpg

1669577161666.jpg

For the same reason they had to be pushed a bit back:
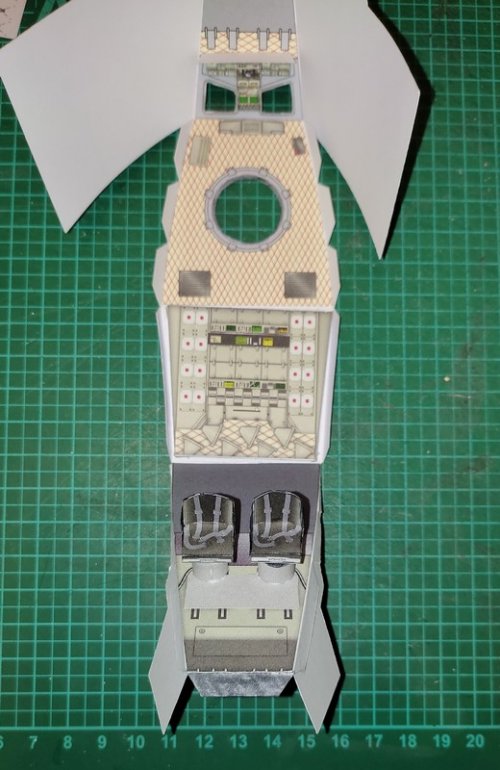
1669577161634.jpg

1669577161550.jpg

1669577161529.jpg

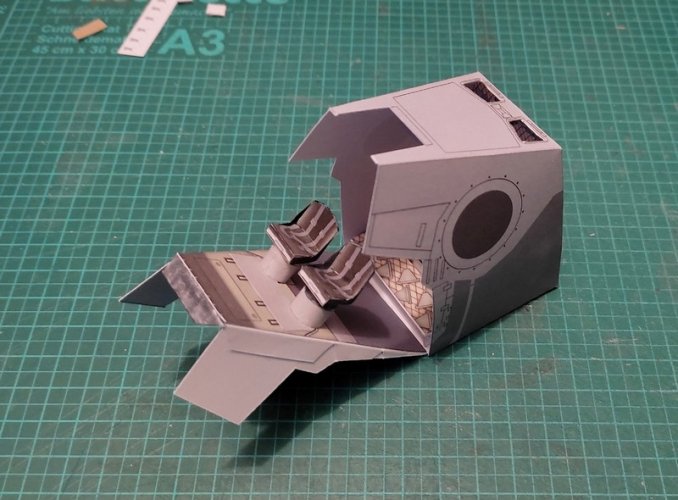
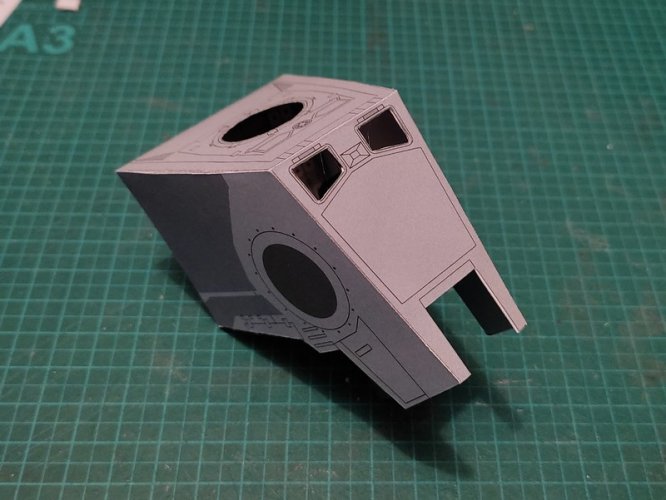
The flap at the front is folded up. The side pieces have two tasks: To texture the back side of the mouth region of the kit and to act as glue tabs.

The head is closed. Here I made a mistake: I worked too fast and closed the head without adding the internal side walls! Now what to do? I cut open the back and installed the walls.
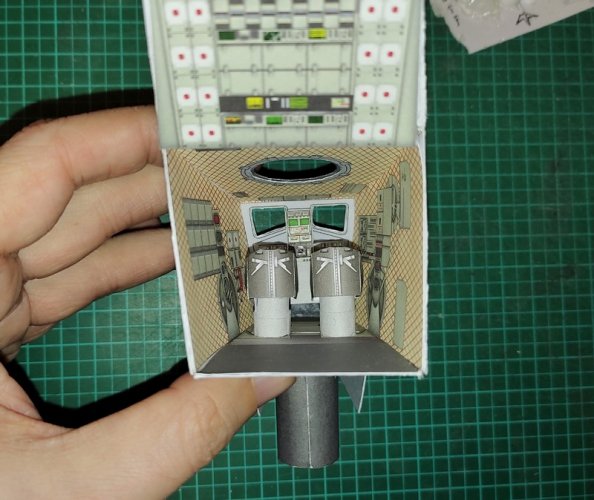
1669577161383.jpg

Then I glued the back back to its previous position.
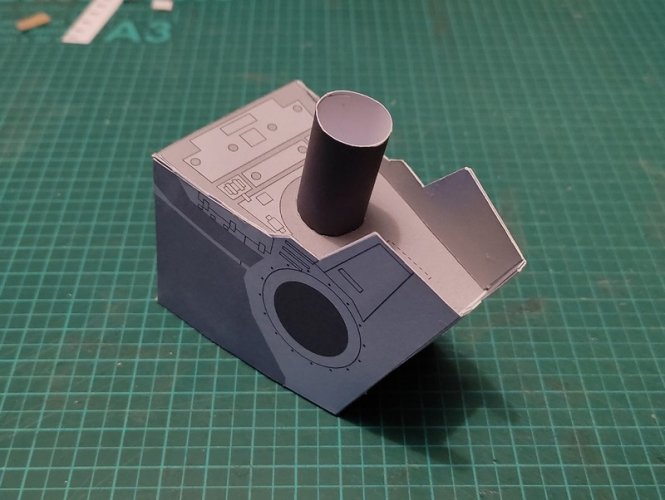
1669577161508.jpg

1669577161489.jpg

1669577161473.jpg

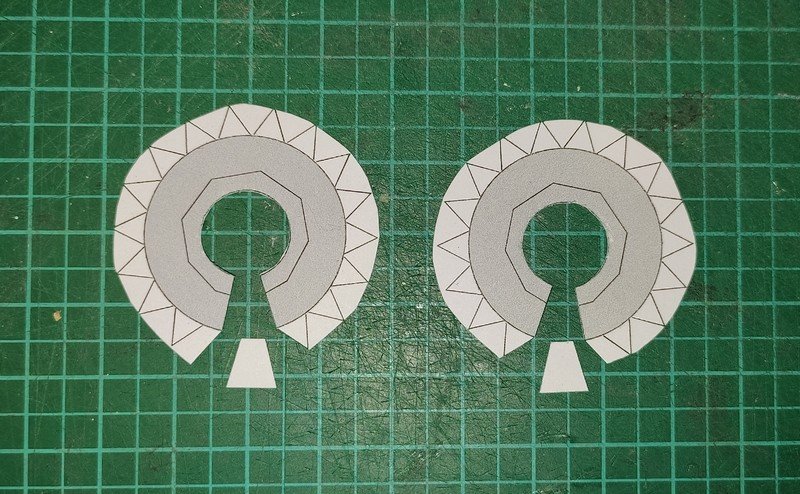
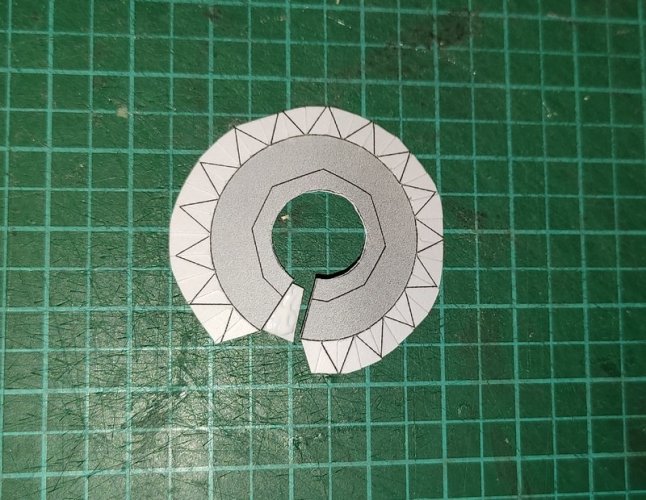
The "ears":

1669577161454.jpg

1669577161435.jpg

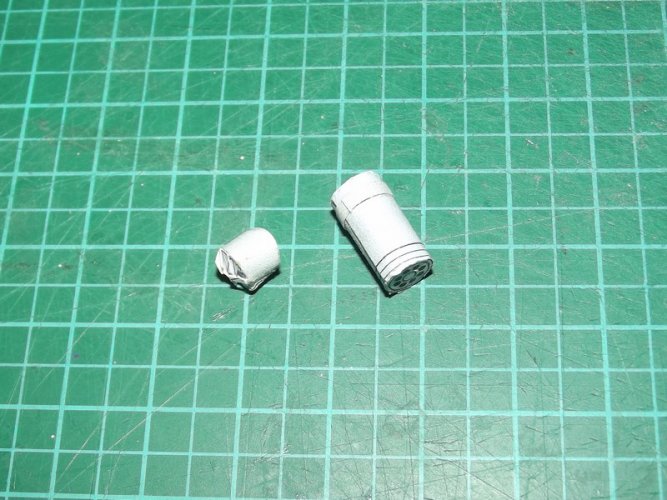
Please note that I used the small trapezoid piece that has to be cut out from the full circle to close the part from the back. So I recommend not throwing it away. ;)
 
Last edited:
zathros

*****SENIOR ADMINISTRATOR*****
Staff member
Administrator
Moderator
Apr 5, 2013
13,498
9,549
228
What you've done here is beyond impressive. The detail you added makes it possible to greeble this walker up to "Nth" level! Truly awesome!! :)
 

Revell-Fan

Co-Administrator
Staff member
Administrator
Moderator
Aug 1, 2009
11,611
12,352
228
Vreden
Thank you but there are still several things which I cannot address now because of the short time frame. There will be one or two more edits necessary to make the ultimate one. :)
 

Revell-Fan

Co-Administrator
Staff member
Administrator
Moderator
Aug 1, 2009
11,611
12,352
228
Vreden
...and then Hasbro re-releases the AT-ST yesterday!
I literally said the same thing yesterday! We are obviously in a state of walker feaver! :animated:
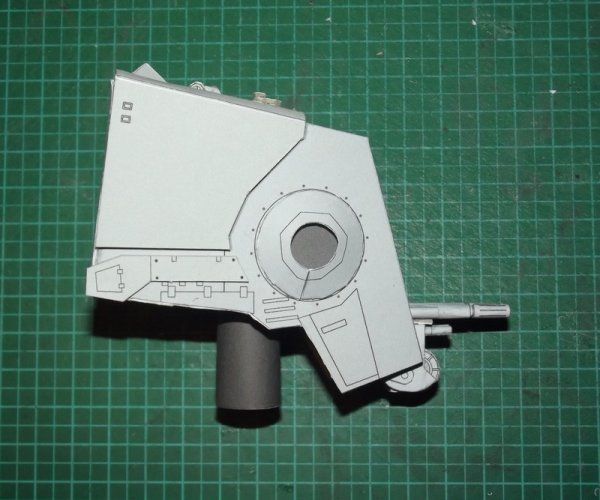
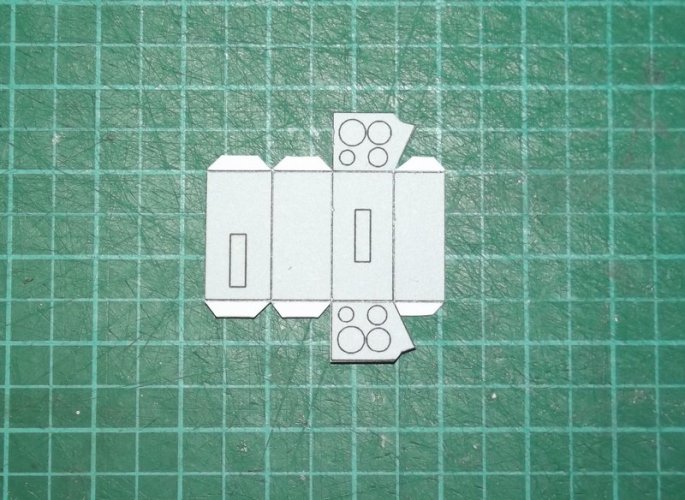
I have the first TVC release. It's a gorgeous model but from what I have heard it does not stand very well. Mine is packed away so I cannot comment on that. However, regarding the paper version I must say that it DOES fall over. I have added all joints necessary to give you some posing fun but once you are satisfied you'll have to glue the joints together. Because if you don't:

endor-star-wars.gif

...

Well, which in retrospect is TOTALLY screen-accurate!!!

:animated:
 

Revell-Fan

Co-Administrator
Staff member
Administrator
Moderator
Aug 1, 2009
11,611
12,352
228
Vreden
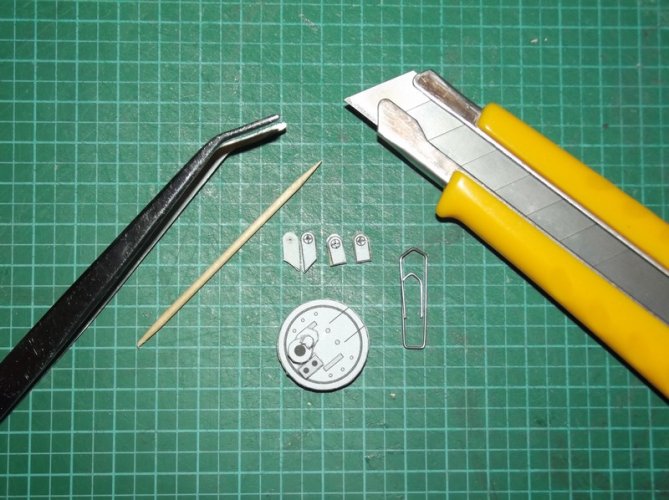
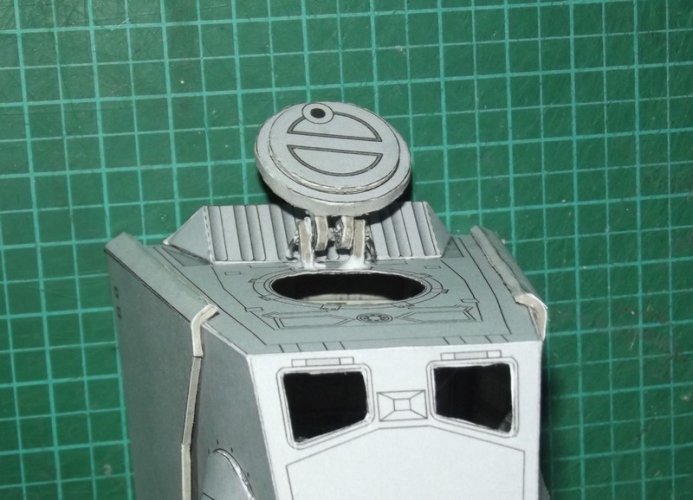
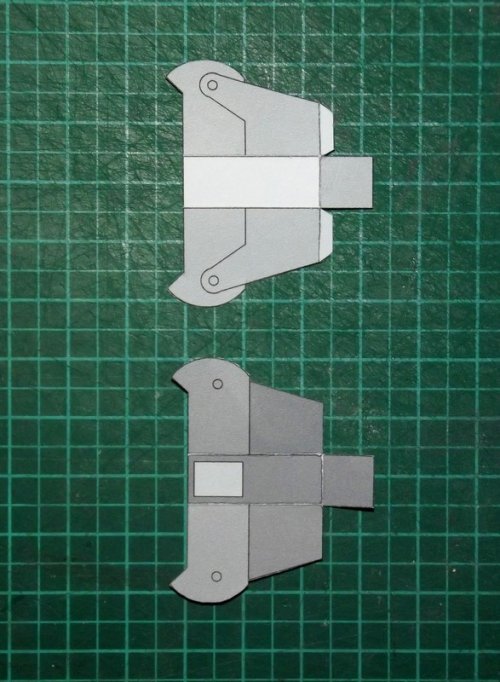
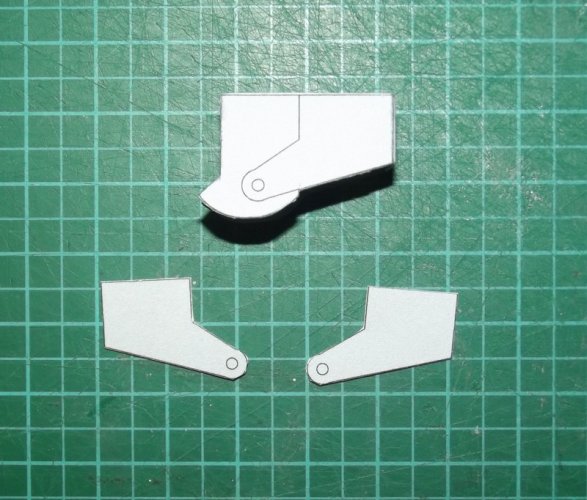
Let's get back to the top hatch. The original kit has a simple paper strip as a hinge. I thought this was too unstable and came up with a more sturdier version consisting of two vertical and two horizontal struts and some paper clip wire.

DSCF1795.jpg

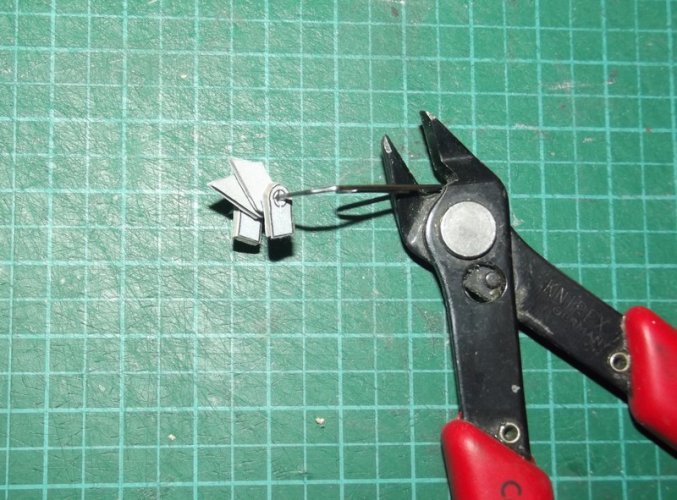
It is important to dry-fit everything to make sure that the hatch is closing nicely. The length of the vertical struts need to be adjusted by the builder depending on the thickness of the hatch. The mounts need a hole. This is made by cutting a cross into the center of the circle and carefully widening it with a sharp toothpick. Then the wire is pushed through and cut to fit. Both ends are bent over to secure everything.

DSCF1796.jpg

DSCF1798.jpg

DSCF1799.jpg

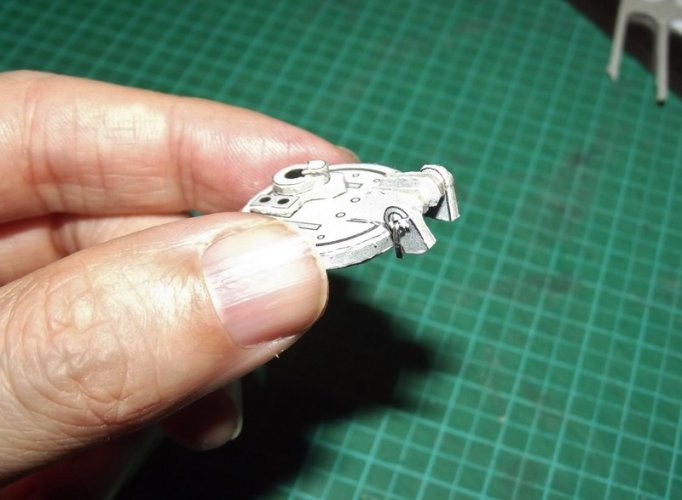
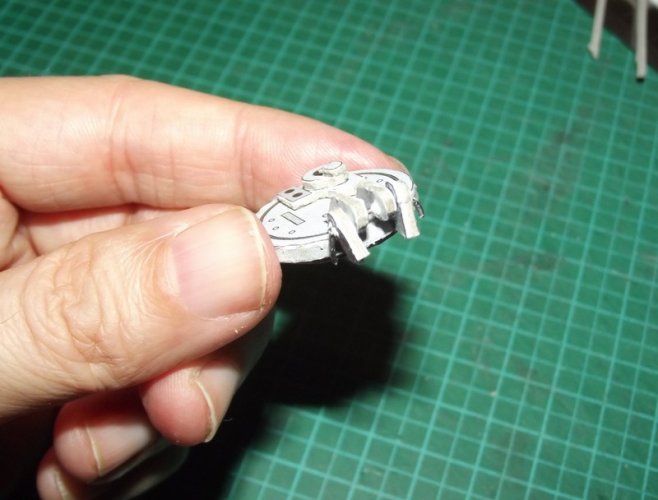
The horizontal struts are glued to the hatch, the vertical struts are glued to the head.

DSCF1800.jpg

Let everything dry completely to make sure that the connection is stable.

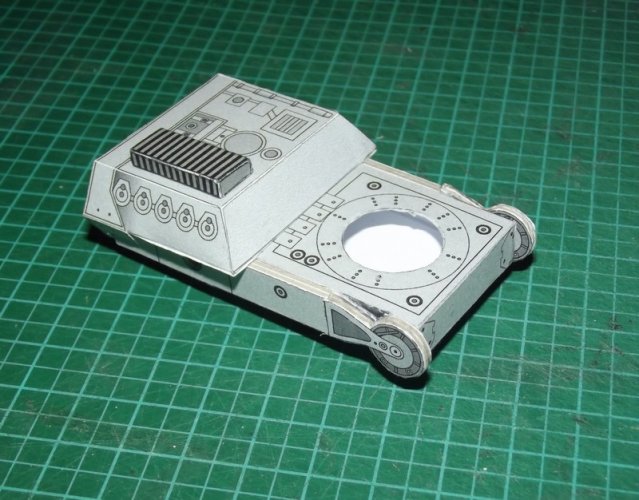
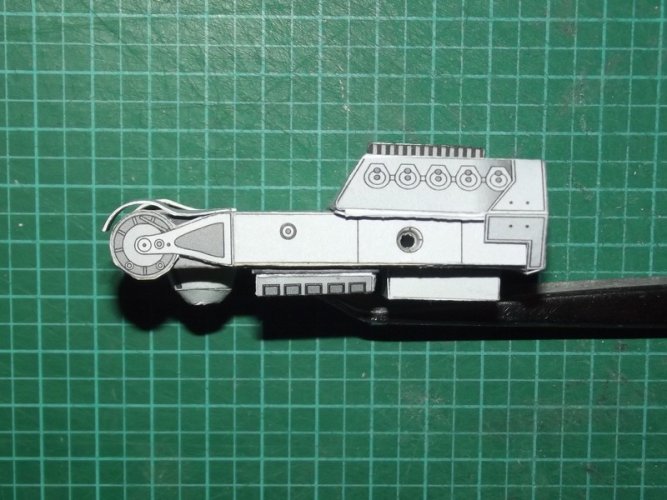
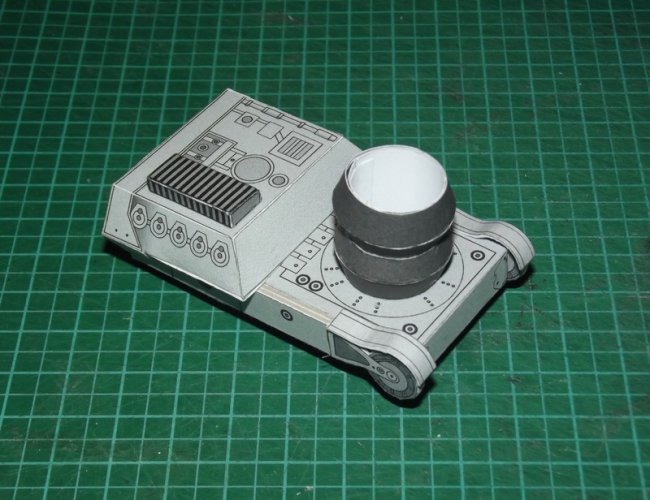
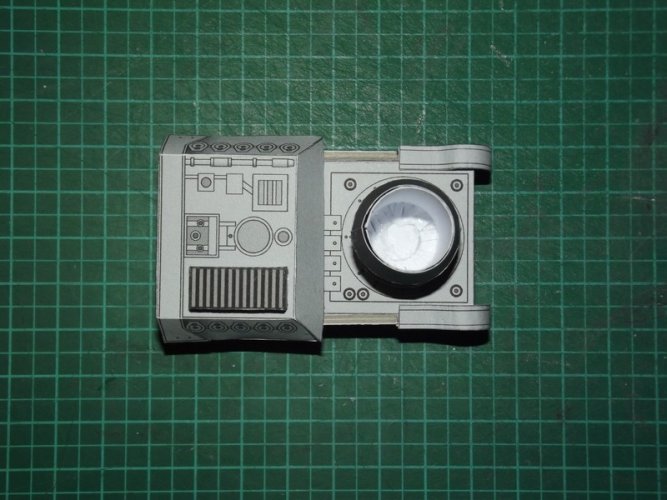
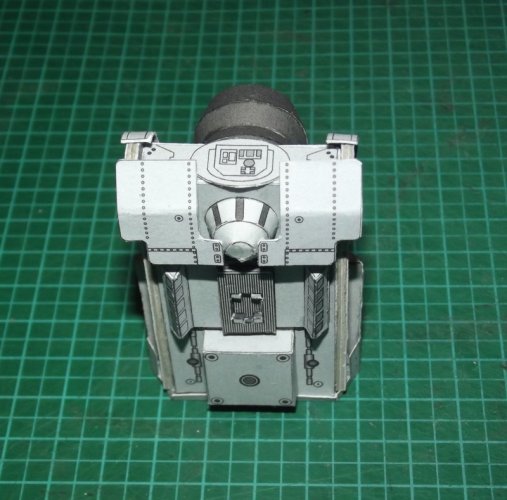
The engine section gets two laminated strips with the wheels at the front:

DSCF1803.jpg

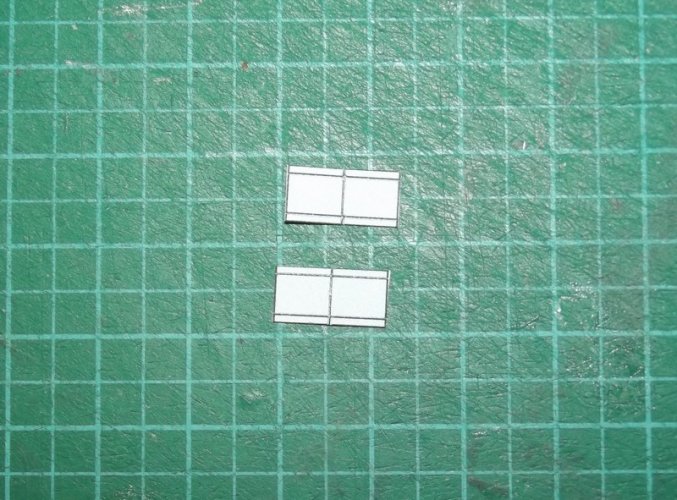
The top shields are assembled and attached:
DSCF1801.jpg

DSCF1802.jpg

DSCF1804.jpg

DSCF1805.jpg

DSCF1806.jpg

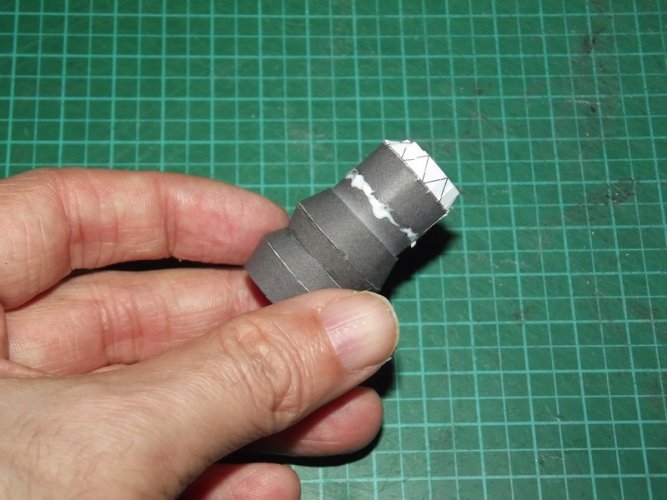
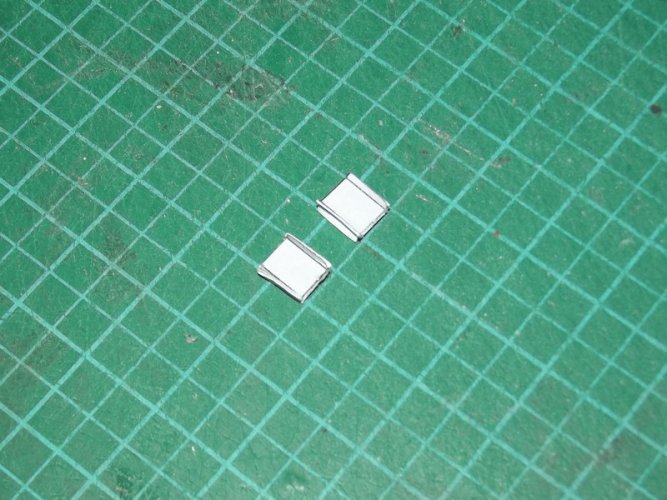
The neck tube is installed and the stacked cups are glued to it:
DSCF1807.jpg

DSCF1808.jpg

DSCF1809.jpg

:)
 

Revell-Fan

Co-Administrator
Staff member
Administrator
Moderator
Aug 1, 2009
11,611
12,352
228
Vreden
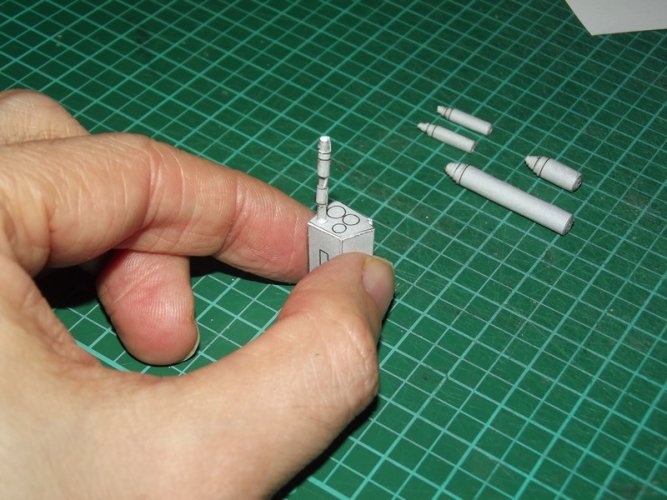
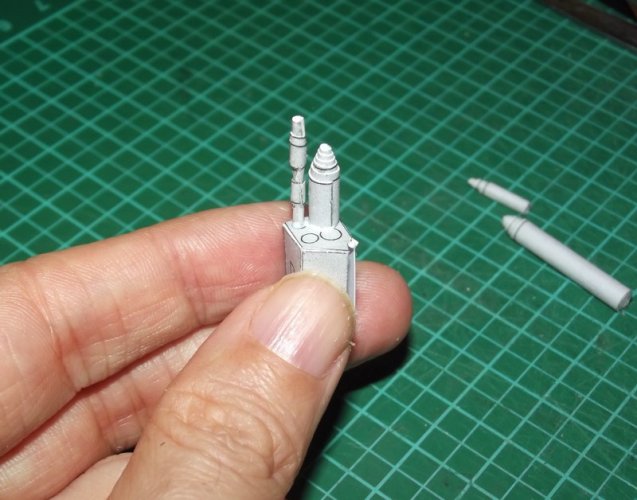
Now we are dealing with the chin guns. The original had no interior texture. I changed that:

DSCF1811.jpg

DSCF1812.jpg

Two extra parts were added:

DSCF1815.jpg

DSCF1816.jpg

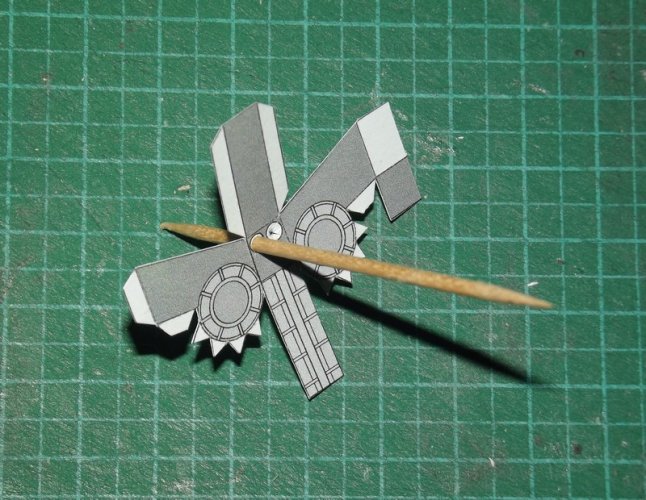
The laser generator thingie gets two holes which are widened with a toothpick:

DSCF1817.jpg

DSCF1818.jpg

The oiginal structure was open, now it is closed. Too late I noticed that I cut the holes at the wrong end. This was fixed easily by laminating a piece of grey paper over the holes and making new ones in the correct positions. Two rods were pushed through the holes and glued to the part:

DSCF1823.jpg

DSCF1824.jpg

DSCF1810.jpg

A plate was added:

DSCF1826.jpg

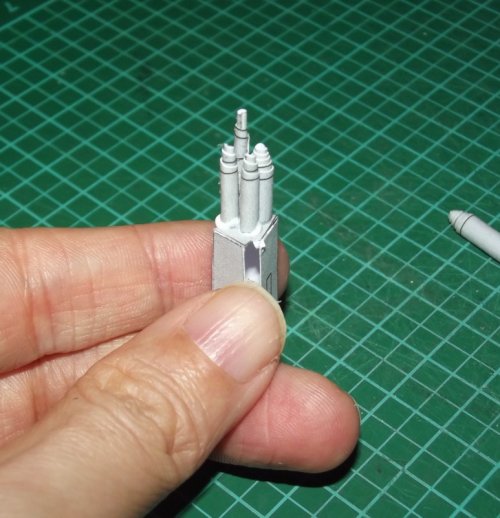
The parts for the main guns:

DSCF1827.jpg

DSCF1828.jpg

DSCF1829.jpg

DSCF1830.jpg

DSCF1831.jpg

DSCF1832.jpg

DSCF1833.jpg

And everything in place:

DSCF1834.jpg
 

Revell-Fan

Co-Administrator
Staff member
Administrator
Moderator
Aug 1, 2009
11,611
12,352
228
Vreden
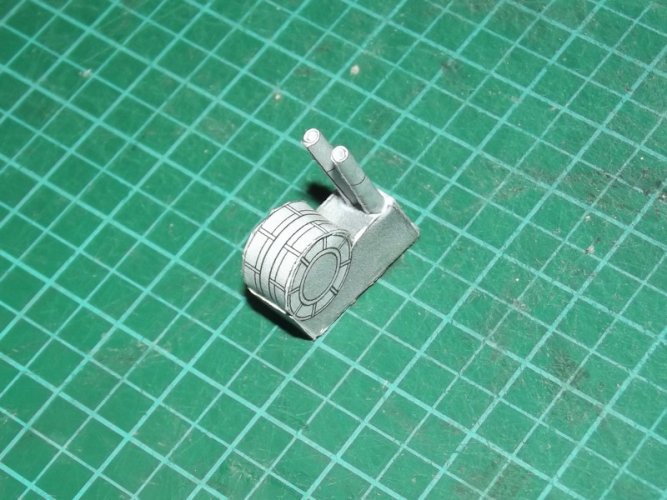
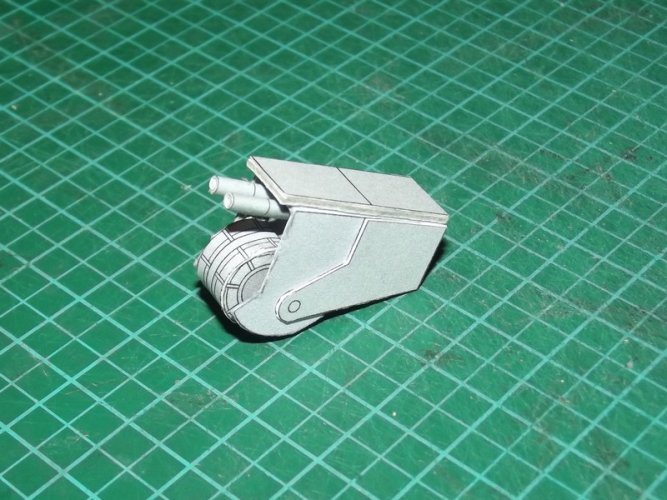
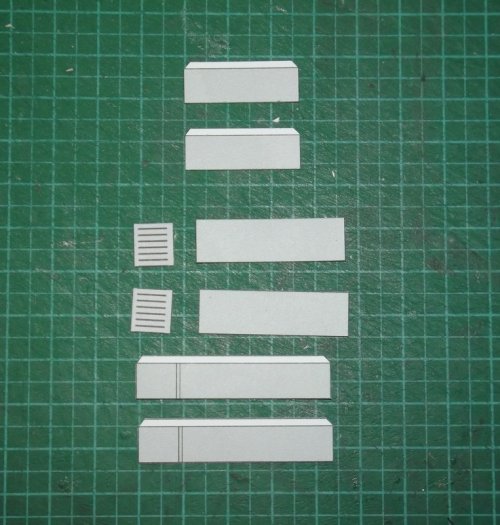
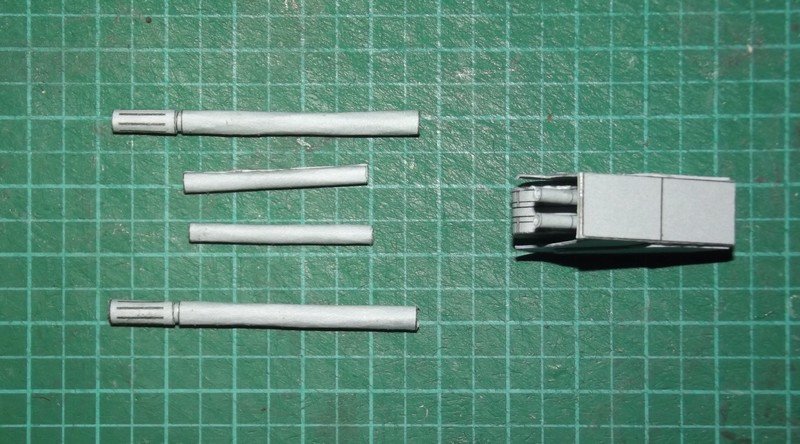
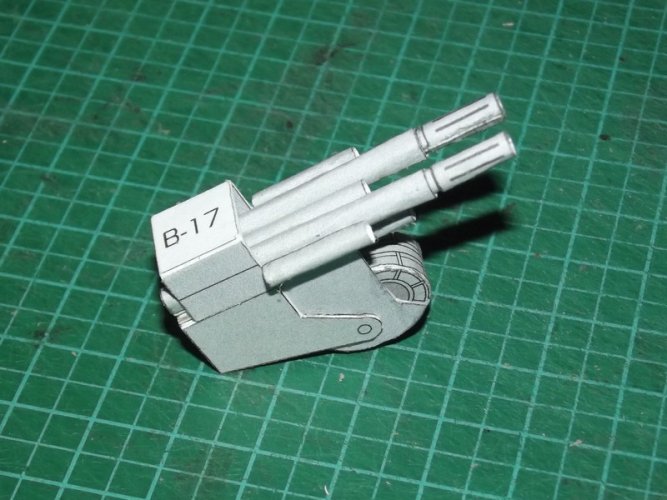
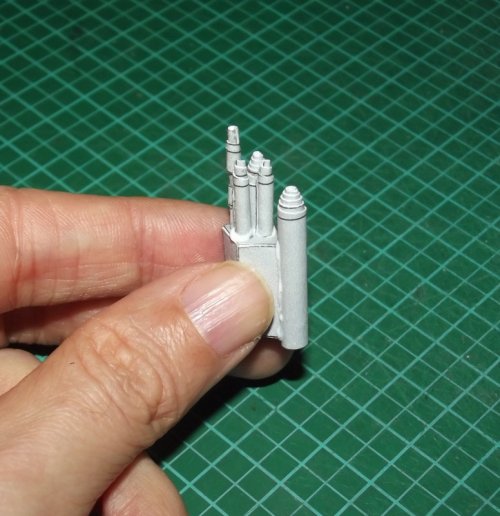
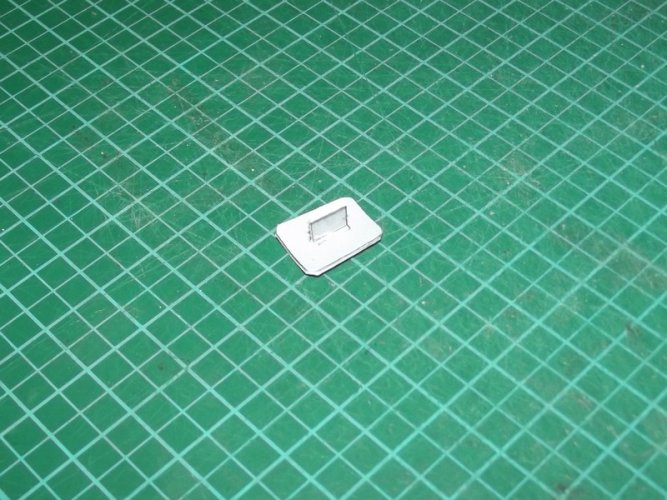
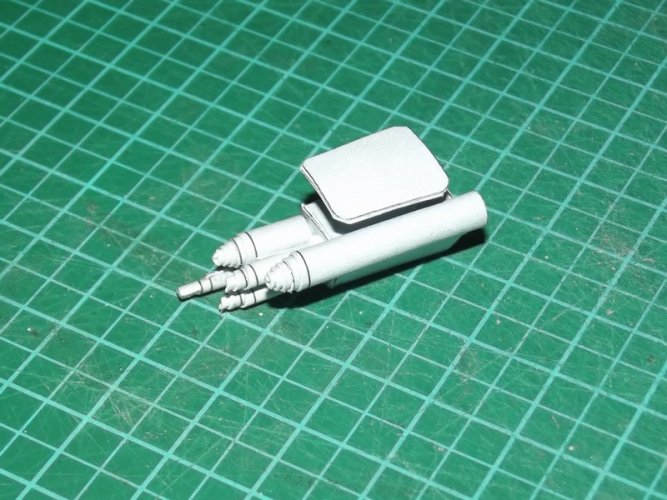
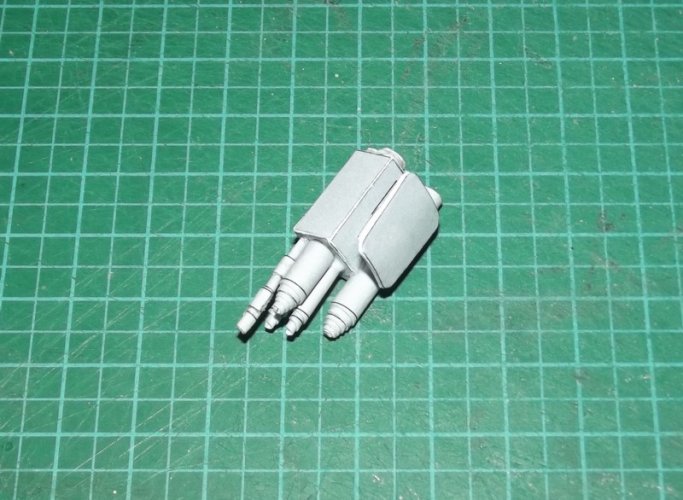
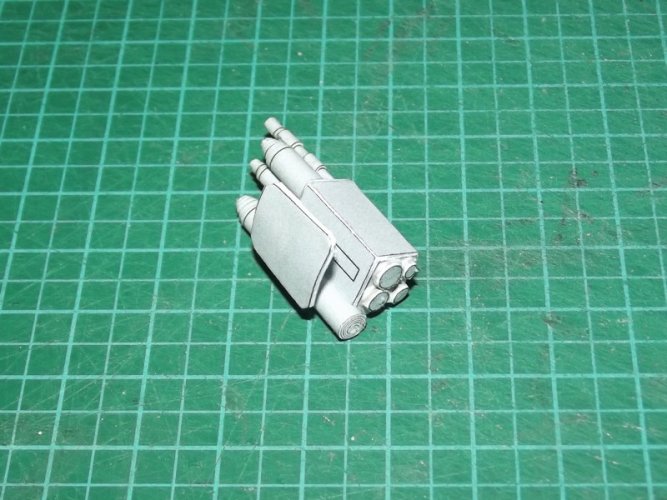
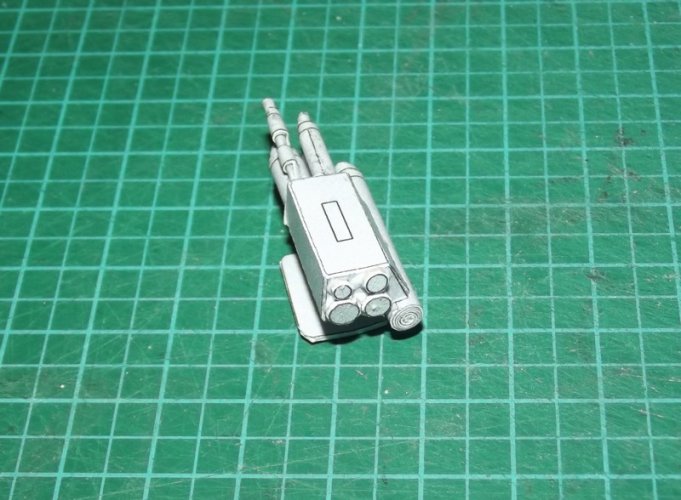
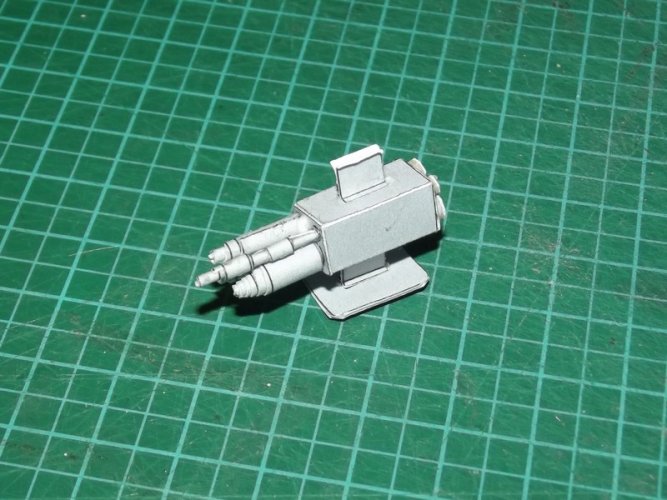
The side gun array was completely renewed. The first attempt failed because it was too detailed and unbuildable at this scale, so I had to simplify it. As a result I have chosen to build a simple box:

DSCF1819.jpg

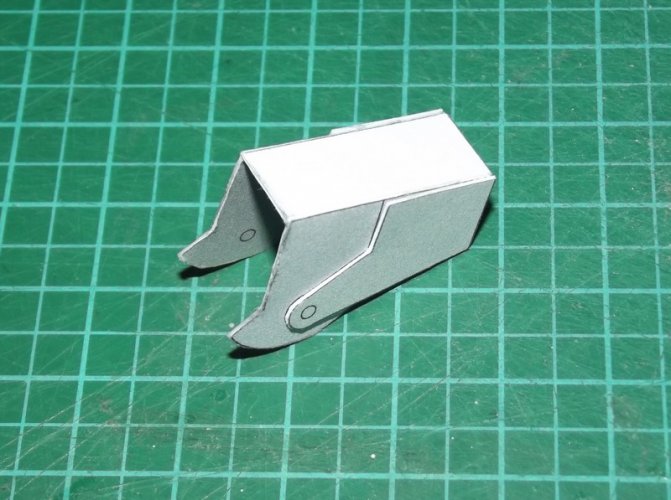
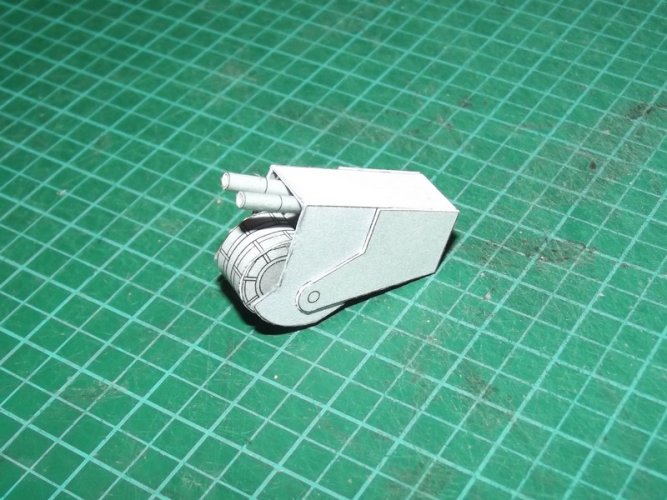
Two H-shaped mounts:

DSCF1820.jpg

DSCF1822.jpg

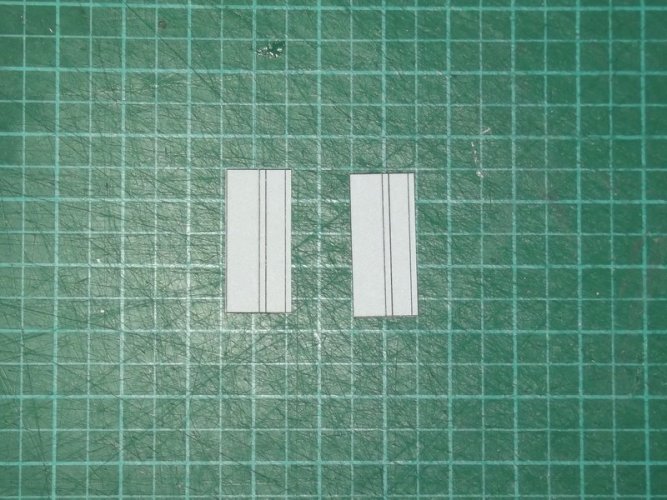
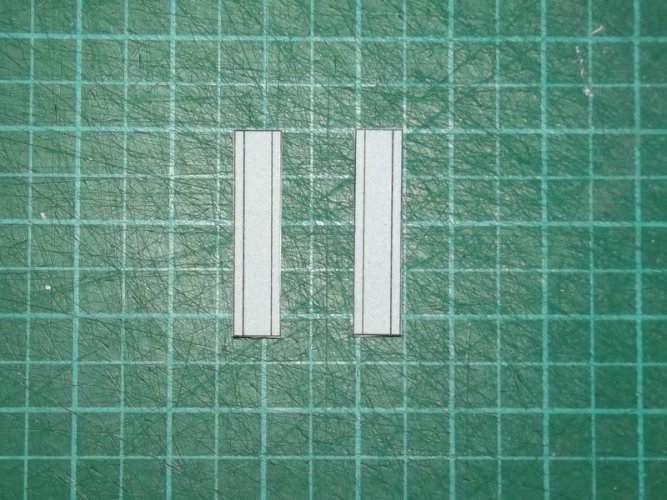
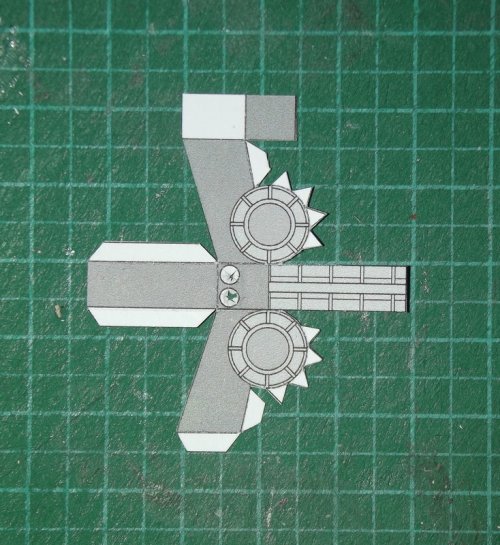
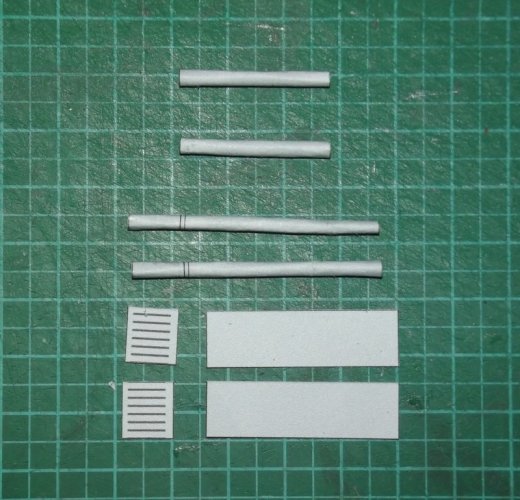
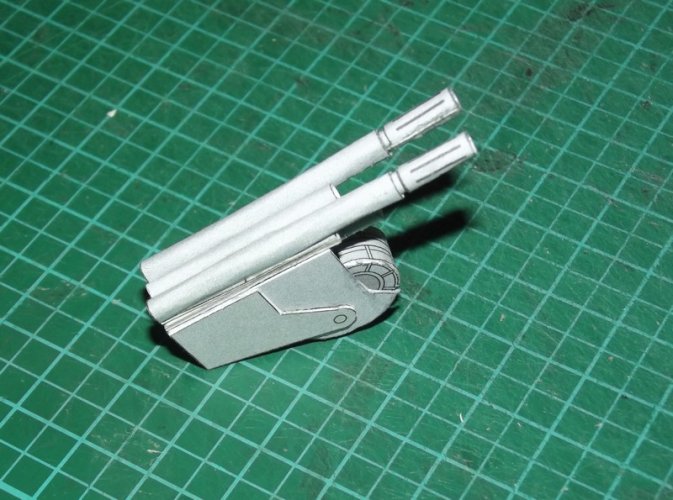
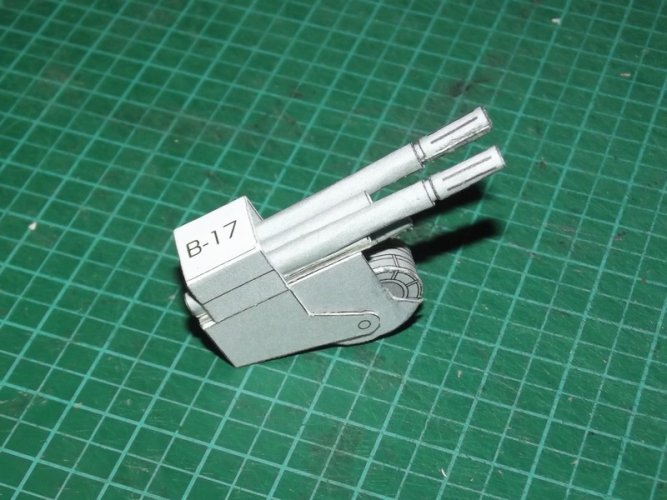
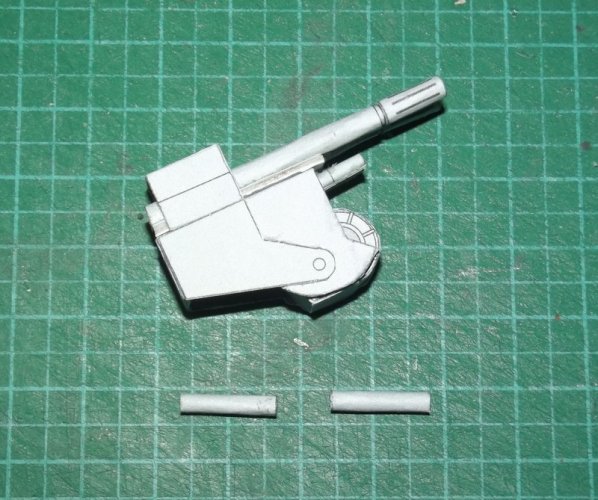
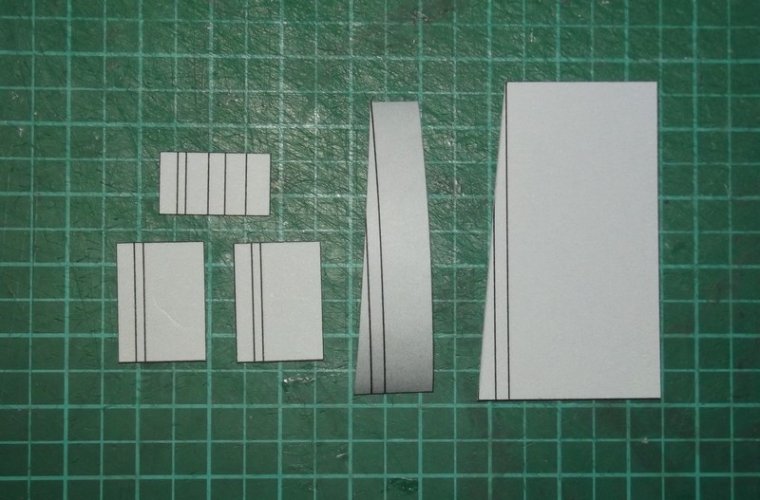
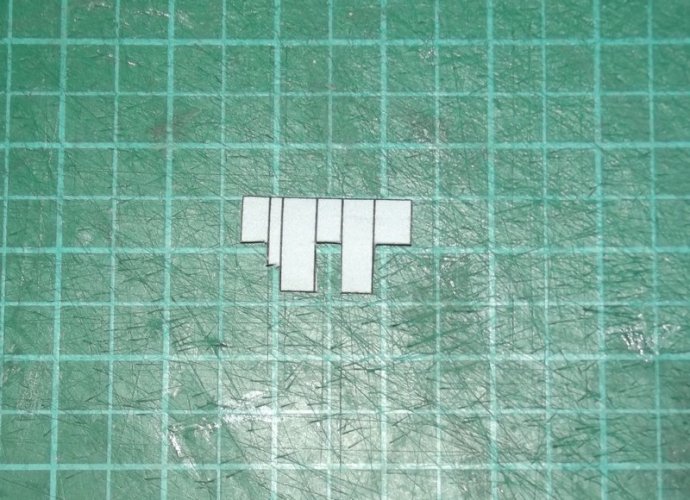
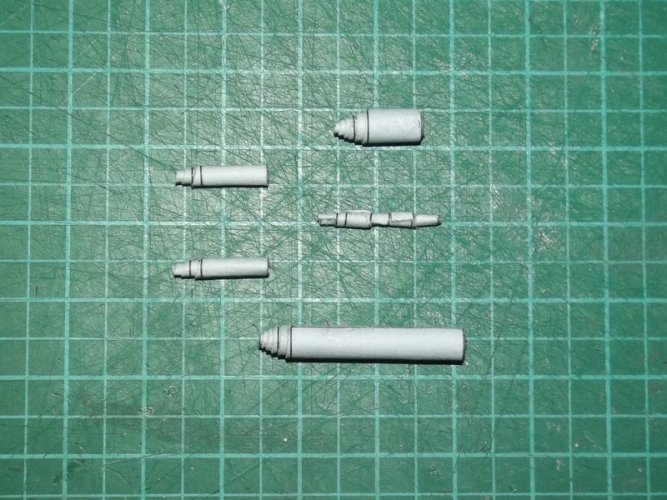
The original barrels were made of tubes. I think everyone knows how much I like making tubes... :hammerhead:Ah well. To make them more true to the filming model I chose a different way: I cut out several textured rectangles and simply rolled them up. To give them a pointy tip and some structure I cut the strips to shape.
DSCF1835.jpg

DSCF1837.jpg

DSCF1838.jpg

You may use toothpicks or wire instead. ;)

The tubes were glued to the box:

DSCF1840.jpg

DSCF1841.jpg

DSCF1842.jpg

DSCF1843.jpg

One of the mounts was used to attach the side armour plate:

DSCF1844.jpg

DSCF1846.jpg

DSCF1847.jpg

Four laminated circles were glued to the back to give the impression that the tubes go all the way through the box.

DSCF1848.jpg

DSCF1849.jpg

The other mount will keep the array on the head later:

DSCF1850.jpg

Not perfect but it will do. :)
 

Revell-Fan

Co-Administrator
Staff member
Administrator
Moderator
Aug 1, 2009
11,611
12,352
228
Vreden
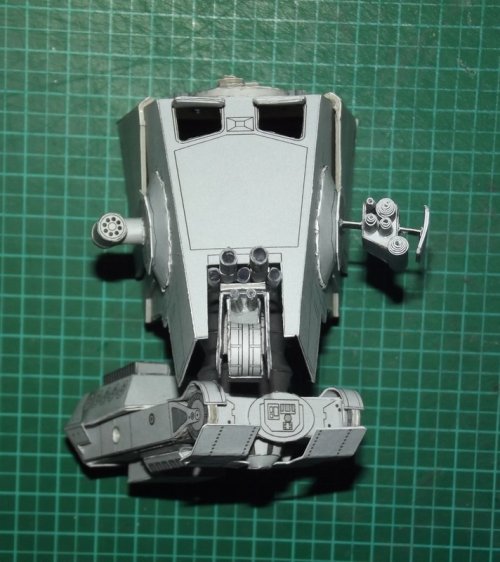
The well-known armour plates at the bottom are attached:

DSCF1851.jpg

DSCF1852.jpg

I copied the parts directly from Shunichi's AT-AT and recoloured them to match the lighter paint scheme. :)

DSCF1853.jpg

The neck was prolongued a bit so that it does not bounce into the armour plate above the wheels when you turn it around. The head pivot is the only point of articulation aside from the opening hatch which will work on the finished model.

DSCF1854.jpg

DSCF1855.jpg

DSCF1856.jpg
 

Revell-Fan

Co-Administrator
Staff member
Administrator
Moderator
Aug 1, 2009
11,611
12,352
228
Vreden
Thank you! :)

I may add a small mount to the bottom shield plates, similar to the cheek gun mounts, to move them a bit further away from the body.

The right side:

DSCF1857.jpg

The mount was improvised to save time but it works! :)

DSCF1858.jpg

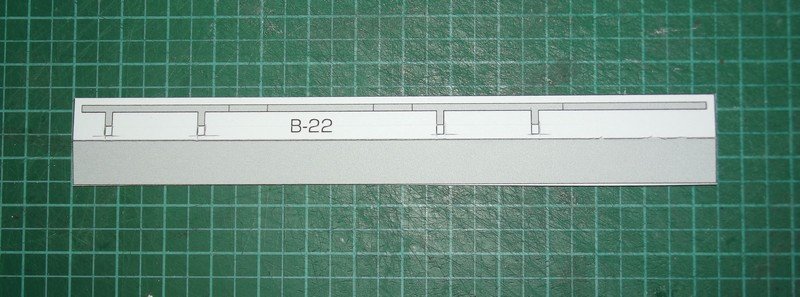
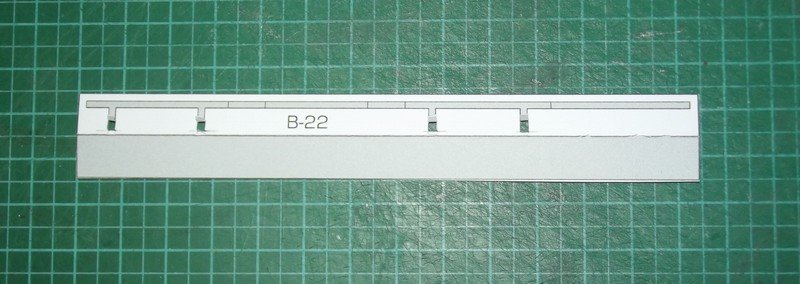
The railing did not have a textured back side. This was changed:

DSCF1859.jpg

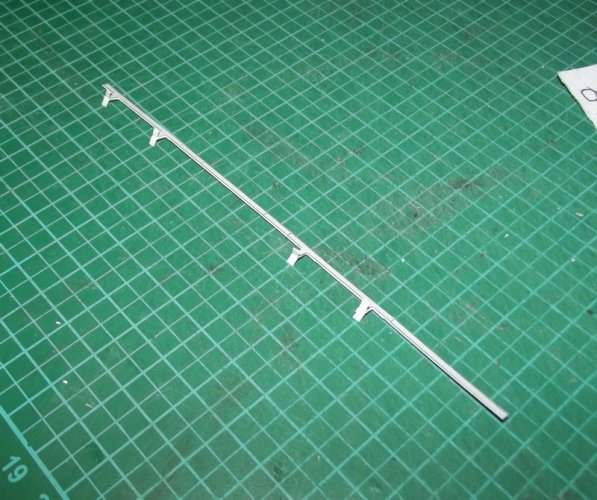
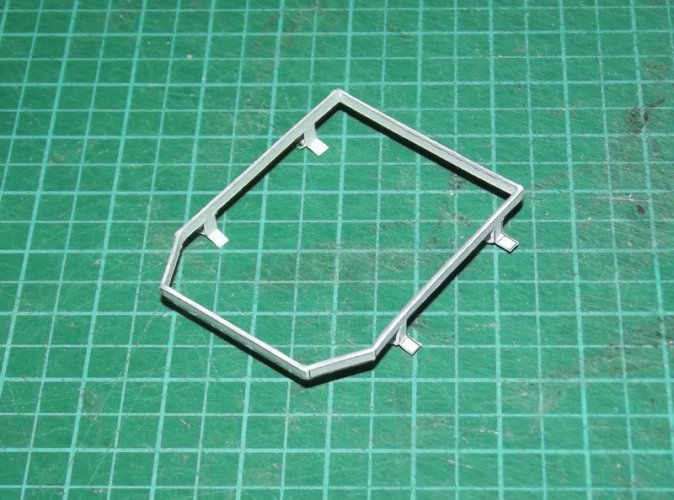
I wanted to create a secure mount for the railing. For that reason I cut in the tabs and folded them up so that they were not gued to the back side.

DSCF1860.jpg

DSCF1861.jpg

DSCF1862.jpg

DSCF1863.jpg

Here you can see the little "feet" at the bottom. The final installation will show if they are kept or not. ;)

DSCF1864.jpg

To be continued! :)
 
Last edited: