A Little Bit of This, and a Little Bit of That...! ~ Carolyn Dawn Johnson
Even though it has been over 3 weeks since I have posted anything in this thread, rest assured there has been work going on in the background, when life has permitted me ......

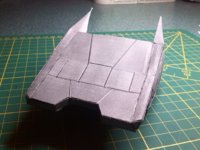
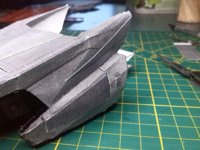
I finished off the panelling work on the head assembly, and sanded and smoothed things out, with a little filler and various grits of sandpaper. The spotlight recesses were then given a few generous coats of primer. The rest of the head assembly was then masked off, so that the recesses can go and get chromed and clear-coated, along with the spotlights.
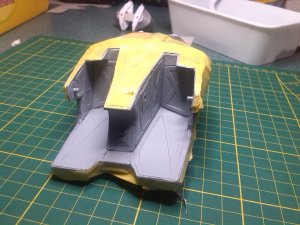
I am patiently awaiting their return .....!

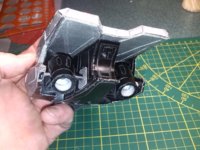
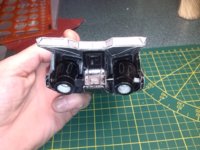
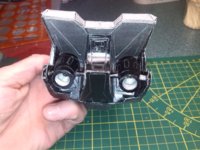
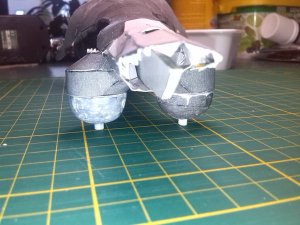
In the meantime, I started working on the leg mounting pods at the rear of the fuselage. These pods will be under load stresses when the model is standing on its legs. I want to transfer these load stresses from the legs, through the pods, directly onto the internal former/frame, thereby eliminating any stresses on the fuselage shell itself. Back in post #180, I showed how I made up the pods. I now have a completed set of two.
After careful measurement, I cut slits in the upper mounting pieces of the pod assemblies and cut corresponding slits in the fuselage mounting pieces, as well as a slot in the internal former/frame. These slits will accomodate a thick cardboard 'bar.'
Things will become a bit clearer in a minute.....
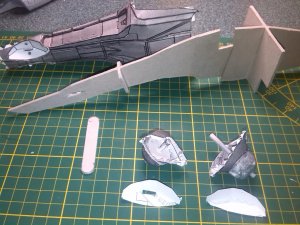
The actual pods that the legs mount to, have a rolled paper tube running through them. One end of the tube will later be glued into the leg. Once the leg is attached, all the stress will be transfered to the tube, instead of the pod itself. I stuffed a thin wooden dowel down the tube to really give it strength! The tube was then pushed through the hole in the pod-to-fuselage mounting assembly.
I then glued a disk to the tube only, which will stop the pod falling off, but still allowing it to rotate.
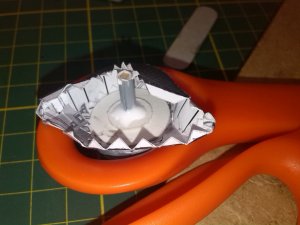
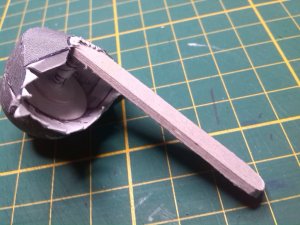
Once these were dry, I made accurate measurments and cut the tube to length. Eventually, the ends of the cardboard bar will pass through the cut slits and be glued to the top part of the pod assembly. The end of the pod tube will push on the bottom of this bar, thereby transfering the load stresses from the tube to the bar. Hopefully the next pic will clarify this....
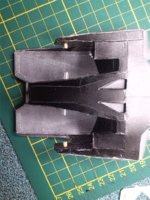
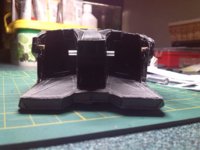
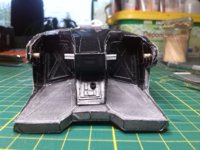
Next up, I attached the pieces on the rear of the fuselage where the wings mount to. I cut a hole for the wiring from the wing tip lights. I left the fuselage open at the bottom to allow access when gluing the wings. The three parts that close up the bottom rear of the fuselage will be added later when the wings are attached, the wiring run and I am satisfied with everything!
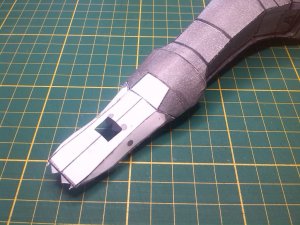
I put the internal former/frame in position in the partially completed fuselage to test fit everything.
First the bar was inserted through the fuselage as shown in the pics below, making sure everything was square and perpendicular.
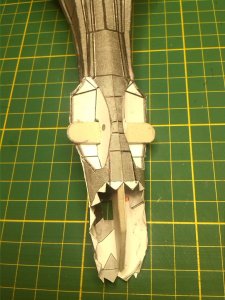
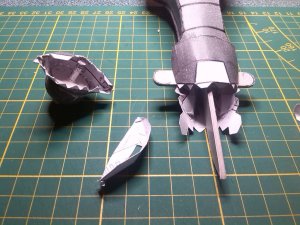
I finished off the assembly of the pods and dry fitted the pods in position on the fuselage, carefully making sure the ends of the bar sat correctly above the pod tube.
I am very pleased with the result........ The mounting is really strong and stable!
One thing I think we can safely say: This is definately a
male bird .....


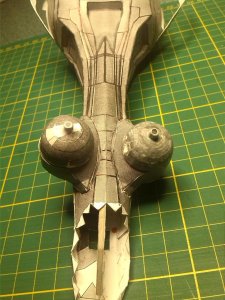
I then started on building up the middle section of the fuselage where the engines mount to ..... Nothing special here, just edge-gluing and back-tabbing all the joints .........
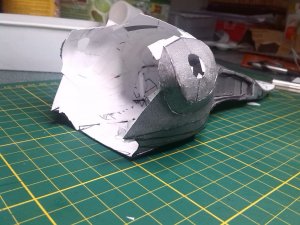
I will be back soon with more. I have been informed that I will be getting the nose section of the fuselage back from chroming tonight. Once I have fitted the spotlights, I will take some pics and post them here in the next day or two.
See ya all around .......


