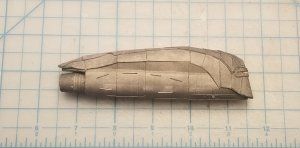
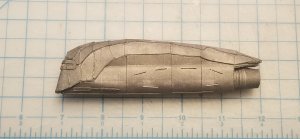
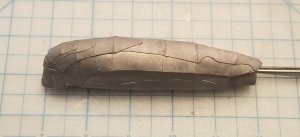
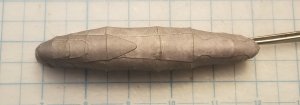
Ninjatoe's Cylon Raider (TNS)

Rhaven Blaack

!!!THE MAN BEHIND THE CURTAIN!!!
Staff member
Administrator
Moderator
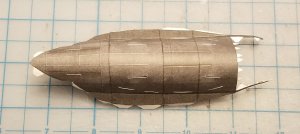
I have decided to try my hand at Ninjatoe's Cylon Raider again.
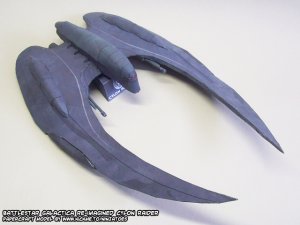
bsgraiderpic2.jpg

This time, I am adding a bit of detail. Once I am finished, it will be going to my brother.

Here is a link to Ninjatoe's website: https://ninjatoes.wordpress.com/
Here is a link to his BSG templates: https://ninjatoes.wordpress.com/category/battlestar-galactica/

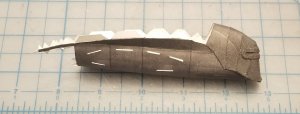
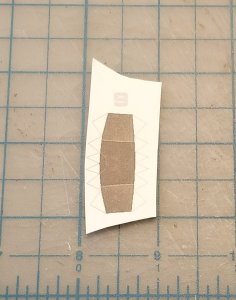
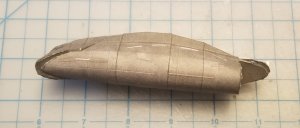
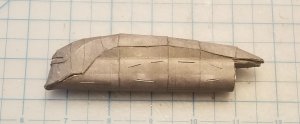
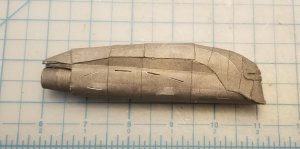
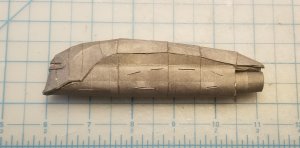
Starting with the under part of the body of the Raider.
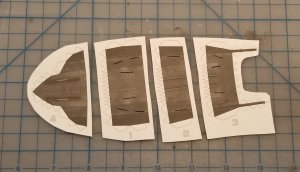
20200101_133713.jpg

20200101_173817.jpg

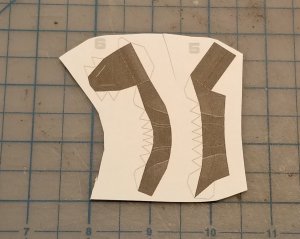
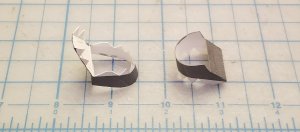
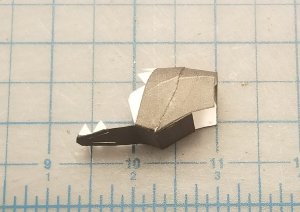
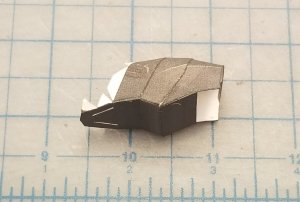
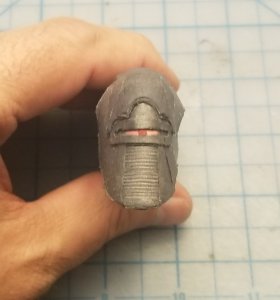
Now working on the head.
20200101_173835.jpg

20200103_203901.jpg

20200103_204359.jpg

20200103_205118.jpg

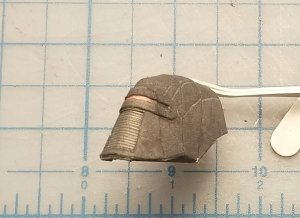
I raised the "ring" around the "eye".
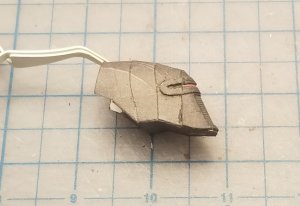
20200103_214806.jpg

I recessed the "mouth" and scored the lines.
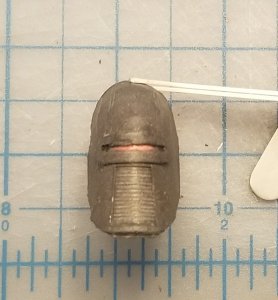
20200103_214859.jpg

20200103_214907.jpg

The head is attached to the lower part of the body.
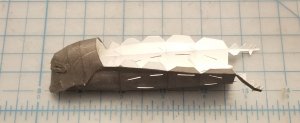
20200103_224655.jpg

20200103_224705.jpg

I now return you to your regularly scheduled programming. Please stay tuned to your local Colonial Broadcast Network for further updates as they come in.
 

zathros

*****SENIOR ADMINISTRATOR*****
Staff member
Administrator
Moderator
I was an avid BSG fan. These ships were basically "raised" as organic creatures, described as obedient guard dogs. The skins were not smoth, and the edges were very organic. This leaves much room for interpretation. Great model choice!! :) Coming out great too! :)
 

Rhaven Blaack

!!!THE MAN BEHIND THE CURTAIN!!!
Staff member
Administrator
Moderator
Thank you both for the kind words of encouragement! :Drinks:
 

Rhaven Blaack

!!!THE MAN BEHIND THE CURTAIN!!!
Staff member
Administrator
Moderator
I was an avid BSG fan. These ships were basically "raised" as organic creatures, described as obedient guard dogs. The skins were not smoth, and the edges were very organic. This leaves much room for interpretation. Great model choice!! :) Coming out great too! :)
You are right, it does indeed have a very organic look (and in some respects, it looks like an armadillo).
 

Rhaven Blaack

!!!THE MAN BEHIND THE CURTAIN!!!
Staff member
Administrator
Moderator
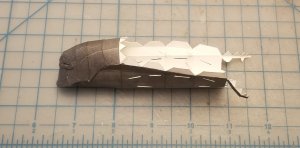
To continue work on the body and internal formers.

20200104_105422.jpg

20200104_110037.jpg

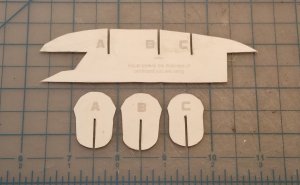
Here are the internal formers.
20200104_104227.jpg

20200104_105341.jpg
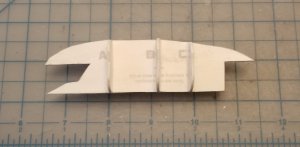
The internal formers are inserted.
20200104_114529.jpg

20200104_114927.jpg

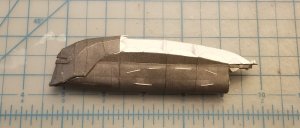
The skin for the top of the body.
20200104_114958.jpg
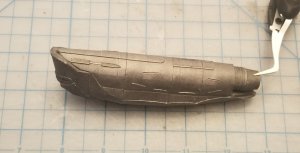
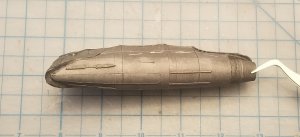
The main part of the body is finished.
20200104_123122.jpg

The main engine exhaust components.
20200104_123216.jpg

20200104_135209.jpg

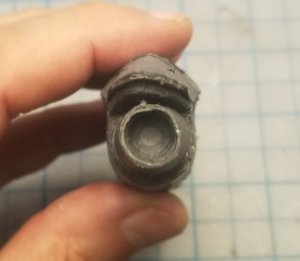
The main engine exhaust is attached and the main body is complete.
20200104_135430.jpg 20200104_135448.jpg
Now on to the wings.

I now return you to your regularly scheduled programming. Please stay tuned to your local Colonial Broadcast Network for further updates as they come in.
 

Rhaven Blaack

!!!THE MAN BEHIND THE CURTAIN!!!
Staff member
Administrator
Moderator
I just had a minor setback.:Computer: I messed up the body and now, I have to rebuild it! :robot3::robot3::robot3::frak::frak::frak::robot1::robot1::robot1:
 

mtrappett

Well-Known Member
Your project is looking fantastic! :Drinks: The good thing is we can just print out new parts instead of waiting for them to arrive in the mail like with plastics or the like!

Look forward to seeing it coming along!
 

Rhaven Blaack

!!!THE MAN BEHIND THE CURTAIN!!!
Staff member
Administrator
Moderator
Your project is looking fantastic! :Drinks: The good thing is we can just print out new parts instead of waiting for them to arrive in the mail like with plastics or the like!

Look forward to seeing it coming along!
Thank you sir!!!
This is one of the main reasons why I prefer paper/cardstock models opposed to plastic. Like you mentioned, with paper/cardstock, if you make a mistake (like I did), you can always print new parts sheets (and the cost is minimal compared to that of plastic, that can cost, in some cases, in the hundreds, if it is a rare model).

I will post photos of the (new) body after I have finished it. Then pick up the normal build reports afterwords.

Thank you all for the kind words of encouragement on this build!
 

ennder

Well-Known Member
I just had a minor setback.:Computer: I messed up the body and now, I have to rebuild it! :robot3::robot3::robot3::frak::frak::frak::robot1::robot1::robot1:

I'm sorry to hear this RB. I know that the vast majority of us have experienced this at some point, so please understand we share your frustration.
I've printed this model a few times and tried to build it and could only get so far before I lost interest in building it. :( as well as the viper.... I would
love to have both of them completed.... but for some reason I lose interest in building them, or I find another model that grabs my interest more
 
Last edited:

Rhaven Blaack

!!!THE MAN BEHIND THE CURTAIN!!!
Staff member
Administrator
Moderator
I'm sorry to hear this RB. I know that the vast majority of us have experienced this at some point, so please understand we share your frustration.
I've printed this model a few times and tried to build it and could only get so far before I lost interest in building it. :( as well as the viper.... I would
love to have both of them completed.... but for some reason I lose interest in building them, or I find another model that grabs my interest more
I too have been there with losing interest in building certain models (mostly due to either a forced break (i.e. real life gets involved) or having issues with a particular model because parts not fitting properly). I usually will return to the original build, or completely start over with a clean and clear mind. The second time usually works out better for me. Both this model and the Viper are fairly easy models and really do not have a great deal of detail. However, both have greebling potential.
Since I am building this model as a gift for my brother, I need to finish it.

@ennder if you do return to these models, I look forward to seeing your build. Not only that, but if you have any questions, problems, concerns, or issues, you can contact me anytime and I will do what I can to help you.
 

ennder

Well-Known Member
Thanks RB, I probably will try again in the future..... I just don't know when. But if I have trouble... I know where to go to ask for help. :)
 

Rhaven Blaack

!!!THE MAN BEHIND THE CURTAIN!!!
Staff member
Administrator
Moderator
So, as promised, I have finished the body of this Raider!

As you can see, I have enhanced the scanning "eye" (by cutting a circle and painting it red) and raised the border around the "eye", recessed and scored the "mouth" (by "mouthpiece"area open and layering another "mouthpiece" behind it, and added detail to the inside of the main exhaust by layering the texture.
20200109_154310.jpg 20200109_154322.jpg

I added additional details to the body.

I raised the "spine" details by printing the parts on (four additional sheets of) printer paper and layering the parts accordingly.
20200109_154244.jpg 20200109_154255.jpg


20200109_154819.jpg 20200109_154801.jpg

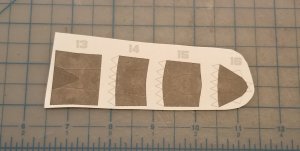
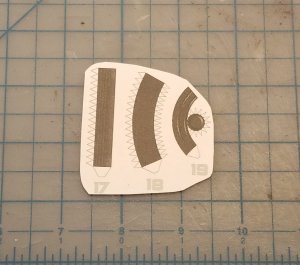
I raised the "belly" details as well, by printing the parts on (three additional sheets of) cardstock and layering the parts accordingly. I also raised the rings around the base part of the engine (part 17)
20200109_154938.jpg 20200109_154902.jpg 20200109_154851.jpg

Now onto the wings.

I now return you to your regularly scheduled programming. Please stay tuned to your local Colonial Broadcast Network for further updates as they come in.
 
Last edited:

Toutenkarton

Active Member
Super detail, it is really more beautiful than the first version.
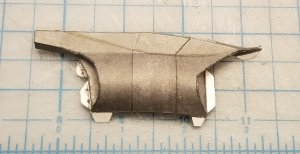
Please can you post the details improvements when the model is finished. I can't wait to build this model. But for now, I have tackled the "Alien Derelict" hoping to be able to finish it. Many thanks to Revell-Fan for the documentation.
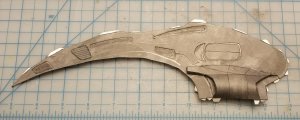
 

Rhaven Blaack

!!!THE MAN BEHIND THE CURTAIN!!!
Staff member
Administrator
Moderator
Super detail, it is really more beautiful than the first version.
Please can you post the details improvements when the model is finished. I can't wait to build this model. But for now, I have tackled the "Alien Derelict" hoping to be able to finish it. Many thanks to Revell-Fan for the documentation.
I will go back through and add more detailed notes to my thread. You are more than welcome to use this thread as a guide for project. You are more than welcome to as me direct questions and I will do what I can to answer them for you.
 

Rhaven Blaack

!!!THE MAN BEHIND THE CURTAIN!!!
Staff member
Administrator
Moderator
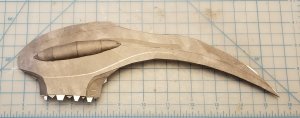
I have started with the wings. I have to say that the wings are a bit tricky. There are interlocking glue tabs. SO, cut them off and use glue strips (unfortunately, I did not).

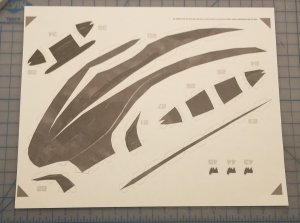
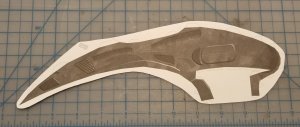
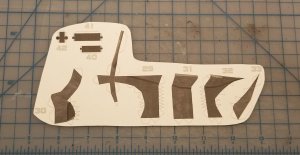
Starting with the top part of the wing. Here are the parts sheet for it.
20200109_194435.jpg

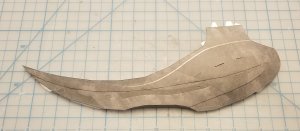
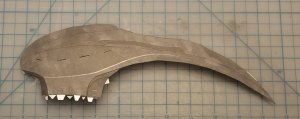
Here is the main body of the wings. Be careful of lining everything up. IF you do not, the wing will warp.
20200109_213833.jpg

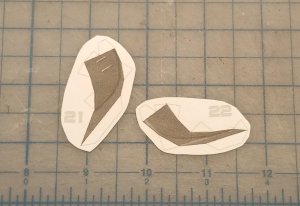
These are part of the wing root.
20200109_214834.jpg

20200109_223934.jpg

This component goes on top of the top part of the wing.
20200110_122128.jpg

The component is assembled (The component looks like a "slug")
20200111_101044.jpg

The "slug" is attached.
20200111_101544.jpg
 

Rhaven Blaack

!!!THE MAN BEHIND THE CURTAIN!!!
Staff member
Administrator
Moderator
Here is the bottom half of the wing.
20200111_163101.jpg

As you see, I recessed a few areas and louvered a section. So, to complete this, I printed out two parts sheet for this. I cut out the areas that I wanted recessed, and then glued the second part to the back (giving the look of the areas being recessed). I then made "louvers" for the "vent" in the front of the wing.
20200111_231608.jpg

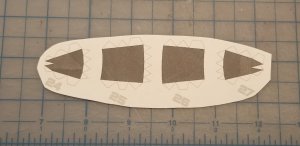
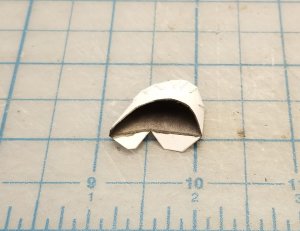
These are the parts for the air-intake and wing mounted engines.
20200111_231651.jpg

Here is the air-intake.
20200112_120548.jpg

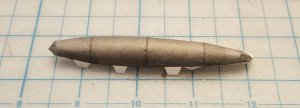
The engine is assembled.
20200112_164119.jpg

The engine is mounted to the wing.
20200112_170139.jpg
 
Top