My old "500"

Tonino

Well-Known Member
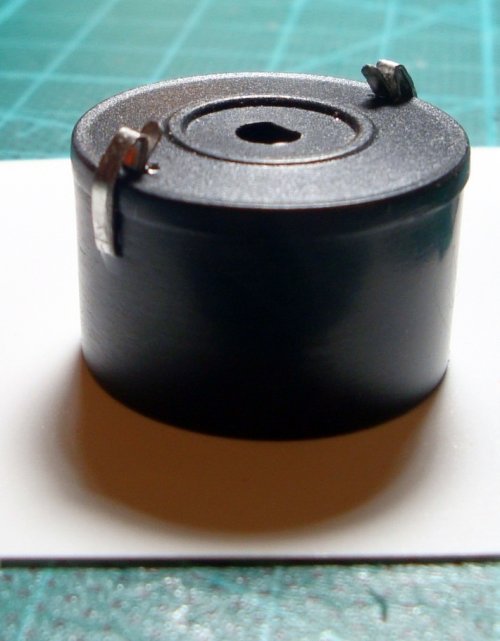
The battery: my intention was to redo every little detail of my old car based on my memory, but there are some things I just cannot remember. One of them is the battery. It was a component subject to be substituted so there wasn't really THE battery, the only and one to represent. So for this detail I turned again on the web and choose a model suitable for installation on a Fiat 500 even if this is not necessarily the one installed on my car when I drove it.

Anyway the basic, and somewhat implausible shape provided by Hachette, didn't seem appropriate to me
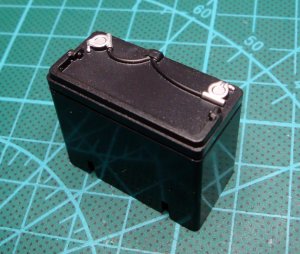
DSC09047.JPG

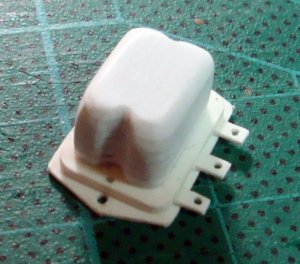
So I started cutting away the upper section (the body shape is, after all, acceptable) and replacing the "cap" with pieces of plasticard.
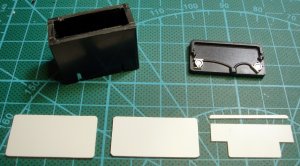
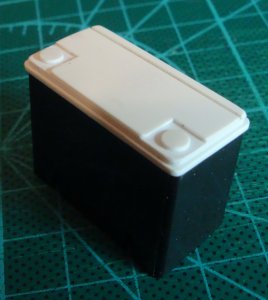
DSC09049.JPG DSC09052.JPG

The most difficult part was to recover the cable connectors (that I liked) from the cutted section.
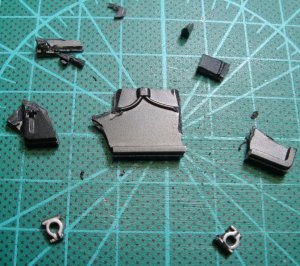
DSC09053.JPG

Once added the last details, battery is ready for painting
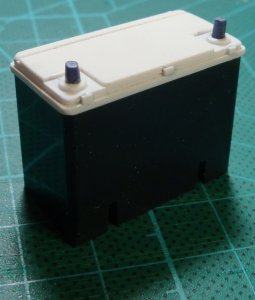
DSC09056.JPG

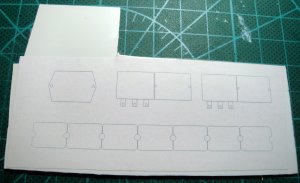
Drawn the various labels on computer and printed them on glossy self-adhesive plastic sheet, the new battery is ready for installation.
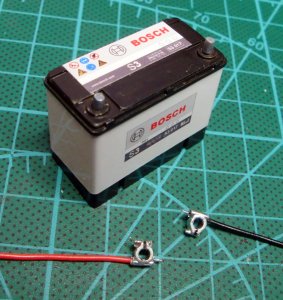
DSC09058.JPG
 
Last edited:

Revell-Fan

Co-Administrator
Staff member
Administrator
Moderator
Are the squares on your cutting mat 1 x 1 cm or inch? I guess it is the first... How is it that your prints come out so sharp?
 
Last edited:

Tonino

Well-Known Member
Yes squares are 1x1 cm. I used an ordinary inkjet printer (HP Photosmart C4400) on a very good media (this one) printing at max resolution (I'm not really sure what real resolution is. The dialog box has only three setting: low normal and high).
 

zathros

*****SENIOR ADMINISTRATOR*****
Staff member
Administrator
Moderator
The battery: my intention was to redo every little detail of my old car based on my memory, but there are some things I just cannot remember. One of them is the battery. It was a component subject to be substituted so there wasn't really THE battery, the only and one to represent. So for this detail I turned again on the web and choose a model suitable for installation on a Fiat 500 even if this is not necessarily the one installed on my car when I drove it.

Anyway the basic, and somewhat implausible shape provided by Hachette, didn't seem appropriate to me
View attachment 172078

So I started cutting away the upper section (the body shape is, after all, acceptable) and replacing the "cap" with pieces of plasticard.

View attachment 172079 View attachment 172080

The most difficult part was to recover the cable connectors (that I liked) from the cutted section.

View attachment 172081

Once added the last details, battery is ready for painting

View attachment 172082

Drawn the various labels on computer and printed them on glossy self-adhesive plastic sheet, the new battery is ready for installation.

View attachment 172083


Geeze! That battery is awesome!! ;)
 

Tonino

Well-Known Member
An update in this long-term project (still waiting to have all parts in hand... now at 90%)

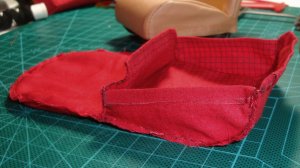
This time I made some sewing... I'm not a tailor but have some friends...

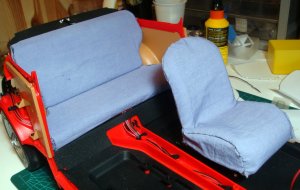
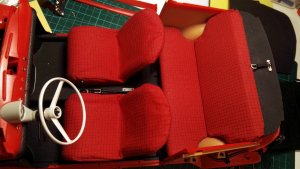
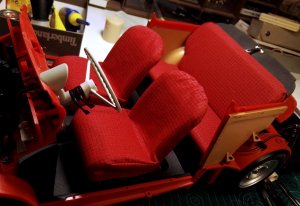
My old 500 had an ugly set of red seat covers. Since my objective is to add as much details as I'm able to remember I couldn't avoid this.

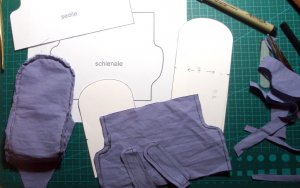
I started with some prototypes measured directly over the seats.
DSC08893.JPG

A first "dress fitting"

DSC08894.JPG

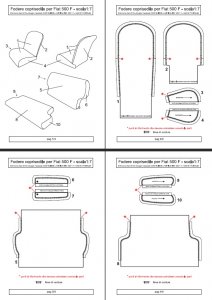
After some corrections I realized a real paper pattern (it's available if someone of you would like to test it on another 1:7 model car)

cartamodello.jpg

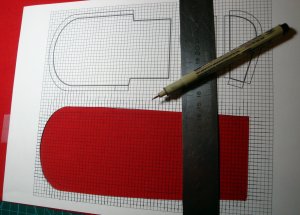
The squares was traced directly on the fabric with an ink pen

DSC08922.JPG

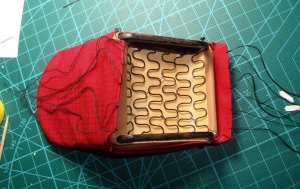
Here comes the friend: I cannot sew with good results (see photos above) so I asked to my colleague Marisa (she is very clever with needle and thread) some help. The result was truly remarkable.

DSC09081.JPG

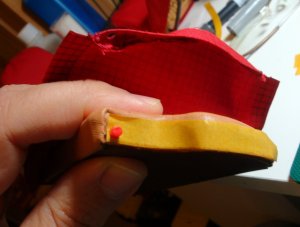
In some spots I helped myself with double sided adhesive tape to keep fabric in place without folds

DSC09024.JPG

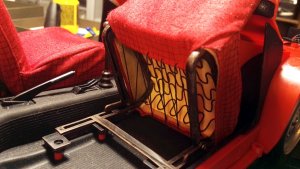
Anterior seat covers was held in place by elastic bands and I reproduced also this detail.

DSC09019.JPG

...and this is the result

IMG_20190810_222021.jpg

IMG_20190810_221907.jpg

IMG_20190810_221806.jpg

Absolutely similar to the original. I'm very pleased with my seats.

See you soon!

T.
 

xaero892

Mad Modeller
That is amazing @Tonino. You're doing a fantastic job on this. The seat covers look brilliant (kudos to Marisa) and that radio is absolutely mind blowing. :Bravo:
 

zathros

*****SENIOR ADMINISTRATOR*****
Staff member
Administrator
Moderator
Your adding some excellent touches to this model. At that scale, they will really show, and make your model unique.. Very nice!! :Bravo:
 

Revell-Fan

Co-Administrator
Staff member
Administrator
Moderator
Absolutely fabulous! :) Thank you for re-uploading the pictures. I have deleted the orphaned links, now everything looks smooth and clean again. ;)
 

Tonino

Well-Known Member
Absolutely fabulous! :) Thank you for re-uploading the pictures. I have deleted the orphaned links, now everything looks smooth and clean again. ;)

Thanks RF! It will be a long and tedious work to restore every image in all old threads but, a little bit at a time, it needs to be done. We have here a big treasure to preserve and I feel it's my duty, as a thread owner, to restore all the contents I still have on my disks for the people to come. Thanks to your precious advices the task is easier than expected so... Like you said in a recent post, there's no hurry, available time is little, other people need our presence in the world out there, but, with some patience, we are going to have back ALL our Zealot as before... No... not AS before... Much BETTER than before! :)
 

Revell-Fan

Co-Administrator
Staff member
Administrator
Moderator
That's the spirit, mate! I know how much work it is; I still have to tackle many of my older threads, too. I'd love to see the Shuttle thread restored - and this time I will save everything immediately!!! :)
 

Tonino

Well-Known Member
Hi all my friends... COVID lockdown didn't raise the time to work on my model, au contraire... as I work in hospital (precisely in our hospital clinical lab) I was VERY busy doing COVID tests instead of being locked in my house building my 500 during last months.
Anyway I wasn't stopped at all, I realized several little details but I hadn't the time for share my progress here with you.
Here is some news from my desk covering the work done since my last building update.


DSC09087.JPGDSC09090.JPG
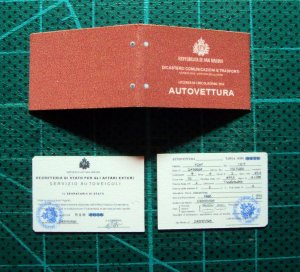
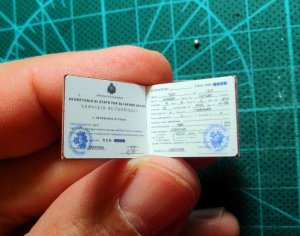
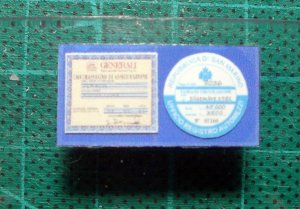
This is a perfect copy of the original San Marino registration document directly from 80's

DSC09108.JPG
And those are the insurance and tax labels on the windscreen.

DSC09111.JPGDSC09112.JPGDSC09123.JPGDSC09122.JPG
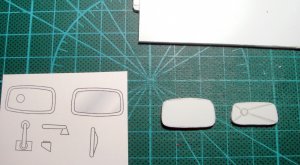
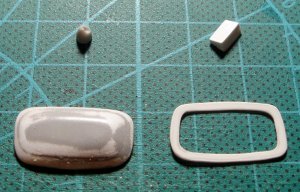
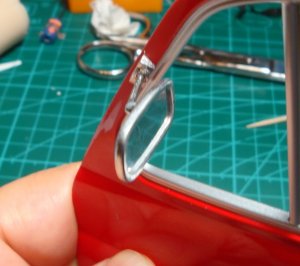
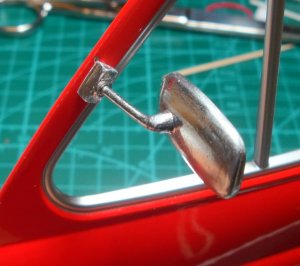
This is the driver external rear mirror (that was not provided by model manufacturer)

DSC09162.JPG
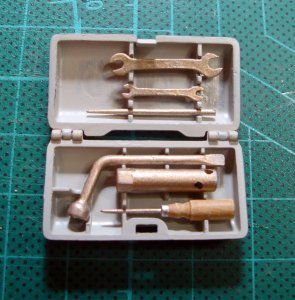
This is the tool box (a really nice detail, I remember very well the original one)

DSC09171.JPG
DSC09178.JPG

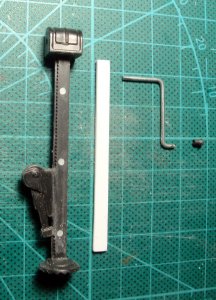
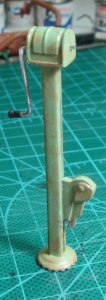
...the jack, detailed and wheatered...
 

Tonino

Well-Known Member
DSC09181.JPGDSC09184.JPG
DSC09186.JPGDSC09192.JPG
The tension regulator, a detail for the engine hood that was not provided at all.

DSC09213.JPGDSC09214.JPGDSC09218.JPG
DSC09221.JPG
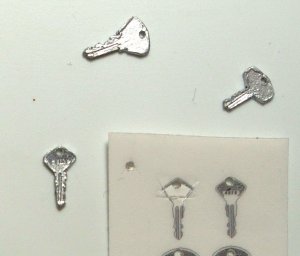
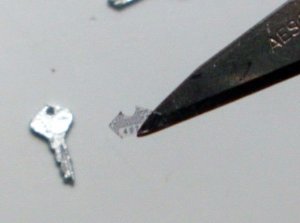
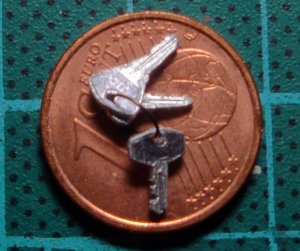
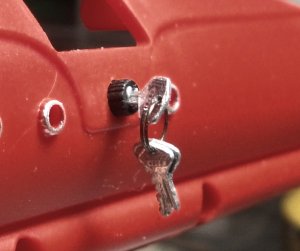
And the keys! This is a real madness... I reproduced the exact details on every key taking the drawings from the original FIAT user's manual and printing on transparent autoadhesive plastic foil.

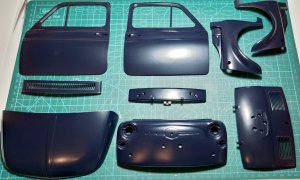
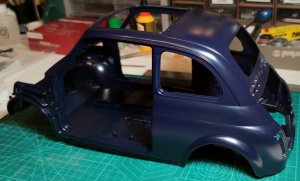
Now it's the time to start thinking to paint the car in the real color it was mine: dark blue.

Paint the metallic chassis was a real nightmare (it's a strange metal alloy that doesn't retain any kind of paint. I had to try several different primers before finding one who doesn't fall away from the metal at any little touch).

Now the car is going to look like the real one every day a little more...

IMG_20200729_104254.jpgIMG_20200729_104419.jpg
Still to be polished...
 

Tonino

Well-Known Member
One thing I would like to point is that many of the skills I've learned from cardmodeling now are translated in plastic and make a great result... Paper rules!!! :)
 

zathros

*****SENIOR ADMINISTRATOR*****
Staff member
Administrator
Moderator
Hi all my friends... COVID lockdown didn't raise the time to work on my model, au contraire... as I work in hospital (precisely in our hospital clinical lab) I was VERY busy doing COVID tests instead of being locked in my house building my 500 during last months.
Anyway I wasn't stopped at all, I realized several little details but I hadn't the time for share my progress here with you.
Here is some news from my desk covering the work done since my last building update.


View attachment 187173View attachment 187174
This is a perfect copy of the original San Marino registration document directly from 80's

View attachment 187175
And those are the insurance and tax labels on the windscreen.

View attachment 187176View attachment 187177View attachment 187179View attachment 187178
This is the driver external rear mirror (that was not provided by model manufacturer)

View attachment 187180
This is the tool box (a really nice detail, I remember very well the original one)

View attachment 187181
View attachment 187182

...the jack, detailed and wheatered...


I have 4 of those exact jacks, also two Mercedes Benz versions. A great way to lift a car fully in the air. My M.G. Midget is 50/50 balanced on the jack points. I had the car in the air for 6 months, just to see if anything would bend, fortunately nothing did. Didn't have the same luck on my 450Sl, the jack hole mount was rusted one one side, on the inner frame (of the outer rail). :)
 

Tonino

Well-Known Member
Here I am again! After a long pause in my reports the work continued, slowly, very slowly, but now it's done, and, in my opinion, this is the most complex building I've done so far. I put in to it all my love for the original car and the result is great...
But I have to make a step back and restart from the point where my thread stopped... in the far august 2020 BC (before COVID).

Last photos were the chassis. The big challenge that followed was ... the engine! A real model into the model...

Here are some of the steps...

THE ENGINE:

DSC09225.JPG
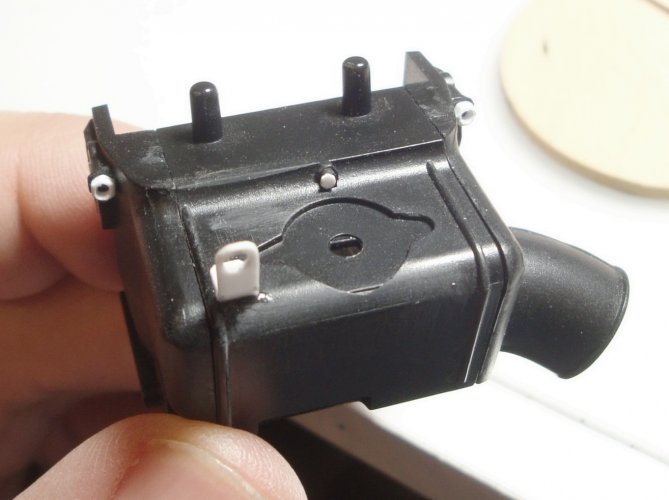
The air filter received metallic closing clips


DSC09229.JPG
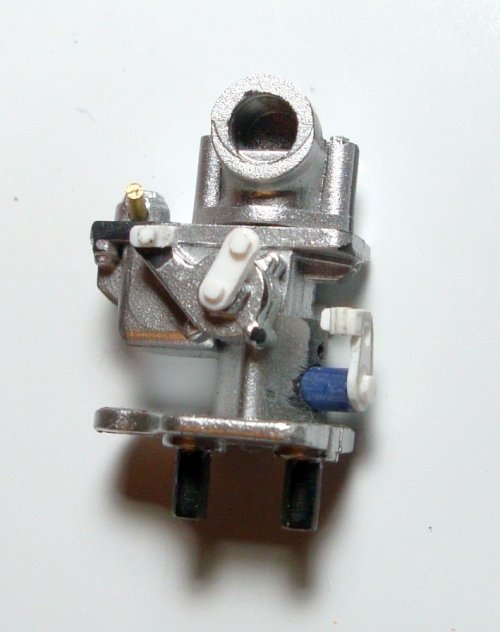
Carburetor was slightly improved

DSC09260.JPG
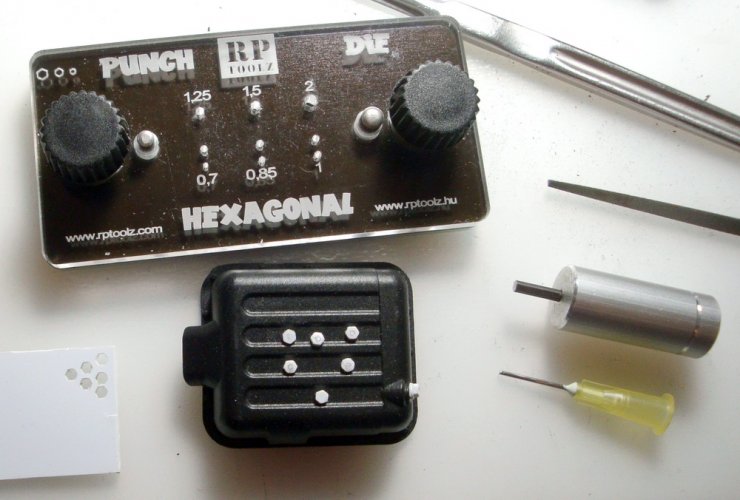
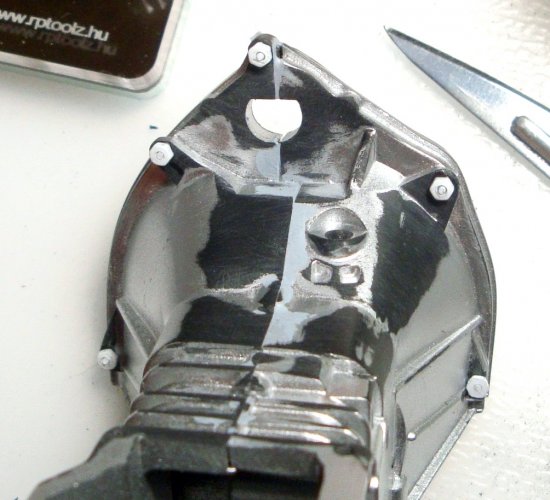
My hexagonal punch'n'die set produced lots of bolts for many spots in the engine body

DSC09265.JPG
just for showing some of them...

DSC09270.JPG
other details added

DSC09272.JPG
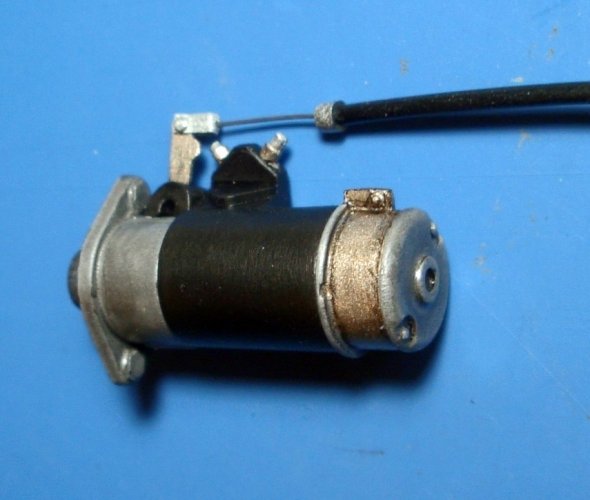
The starter motor was modified and upgraded

DSC09309.JPG
Thisi is the final result with its command cable already connected

DSC09274.JPG
Several engine parts after having received the first black primer coat

DSC09294.JPG
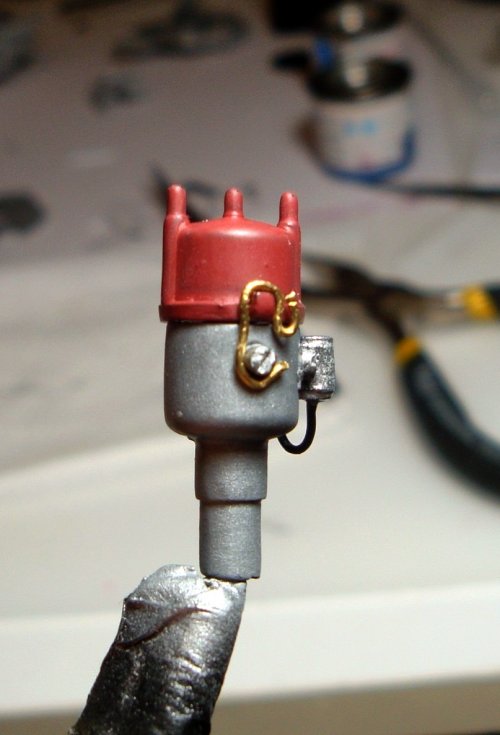
The distributor was detailed with many parts ignored by Hachette

DSC09316.JPG
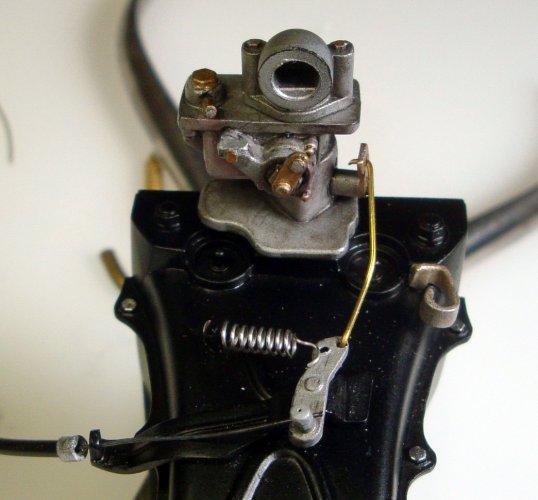
and this is the carburetor with throttle cable and leverage completely built from scratch
 
Last edited:
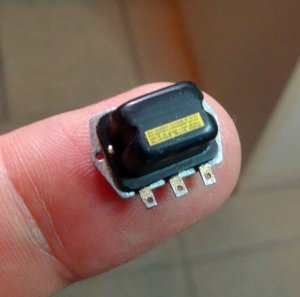
Tonino

Well-Known Member
DSC09335.JPG
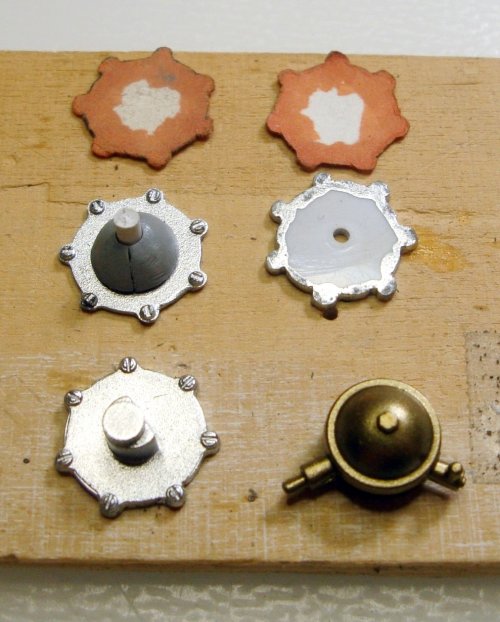
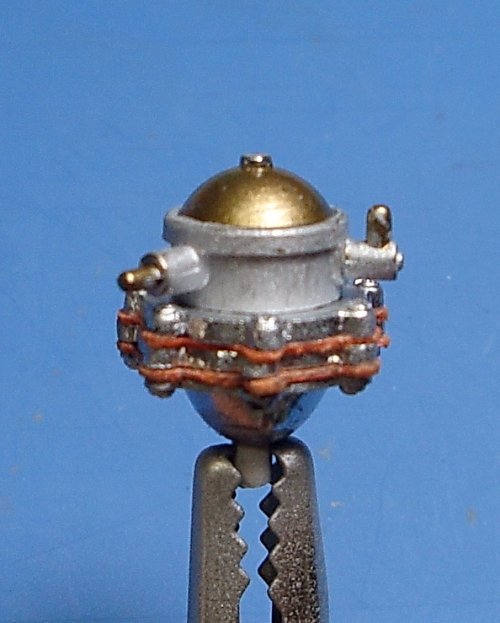
The fue pump was completely revised. Here I used my preferred material: cardboard (to make the seals).
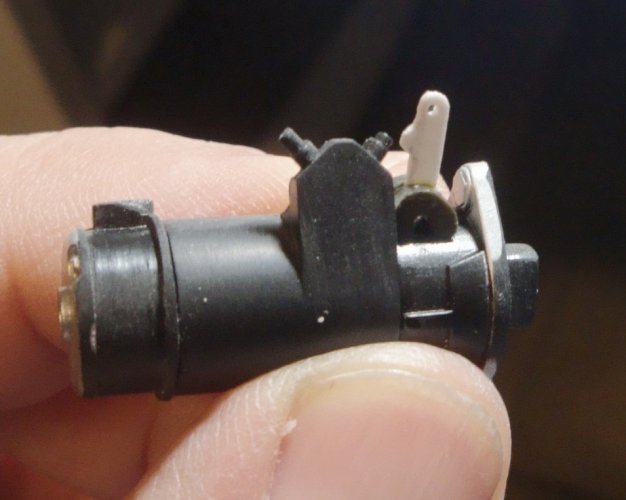
DSC09336.JPG
The pump once painted is almost real

DSC08823.JPG
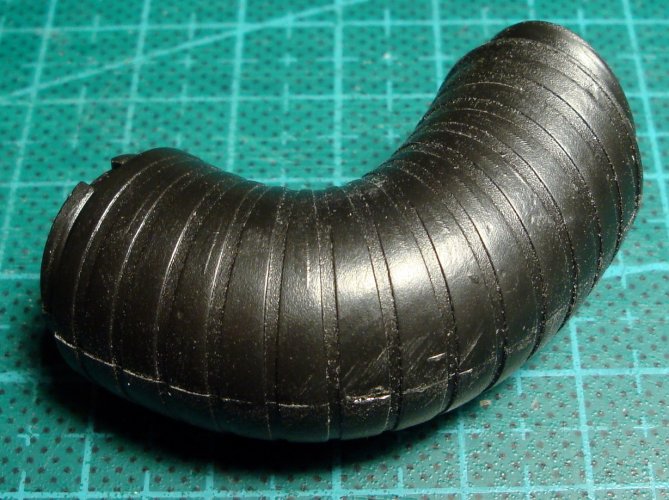
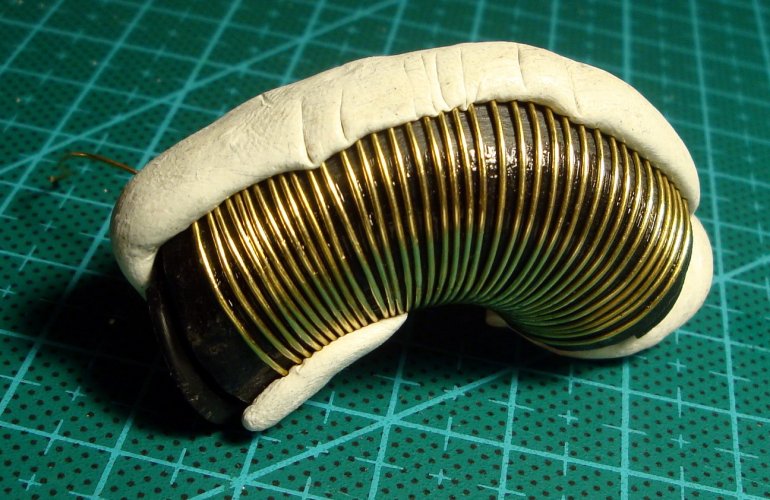
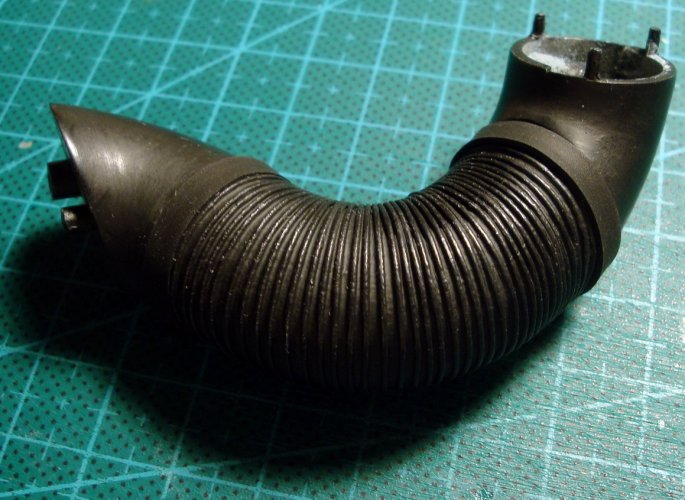
Air intake tube provided by Hachette had nothing to do with the real one...

DSC08826.JPG
I sanded roughly the piece...

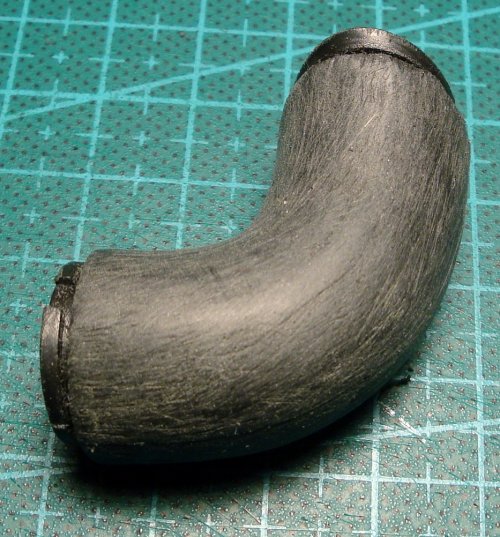
DSC08827.JPG
and detailed with brass wire brushed with CA glue

DSC08836.JPG
final result is much more convincing

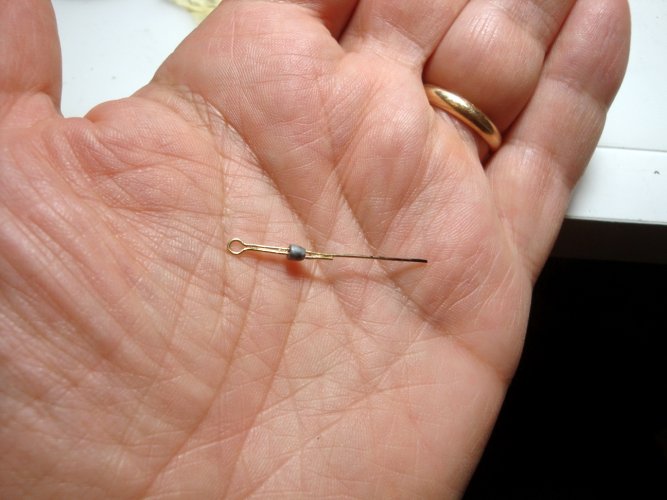
DSC09273.JPG
No detail is missing. In and out! This is the oil level rod...

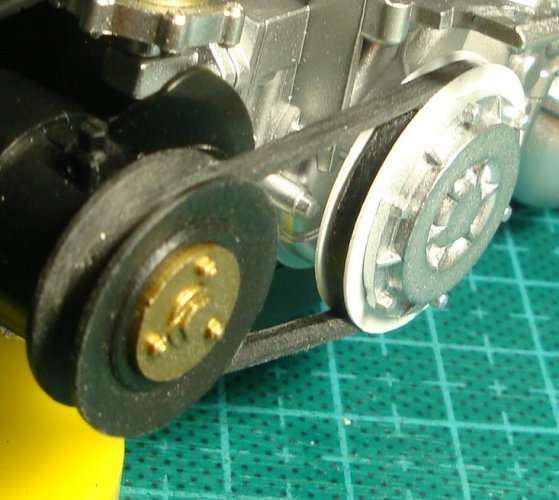
DSC08822.JPG
The strap distribution and the pulleys were upgraded

...
 
Top