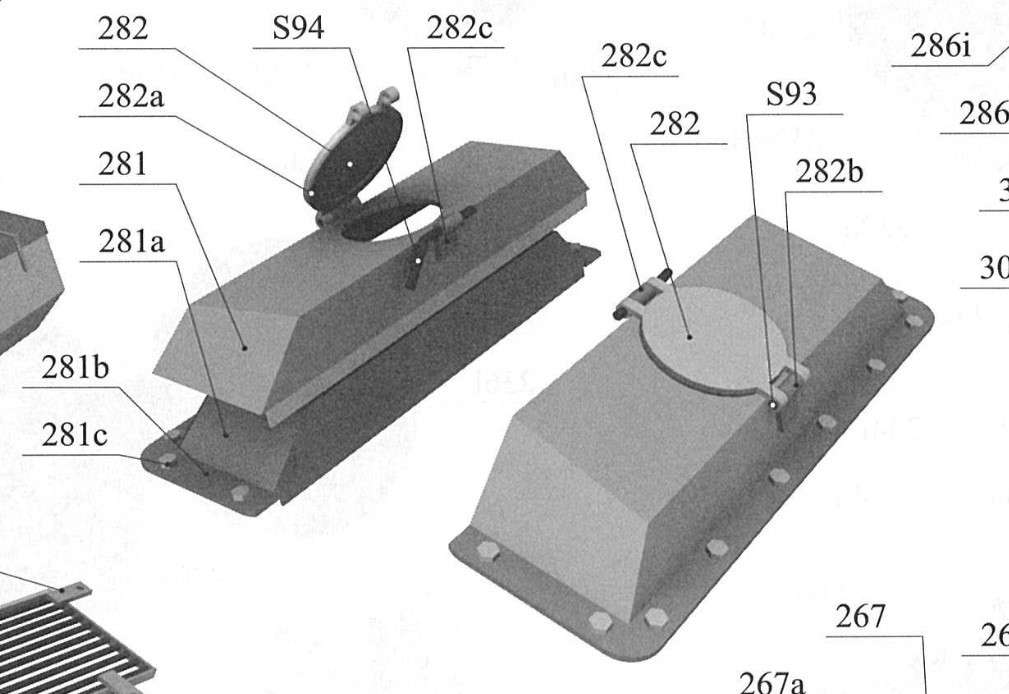
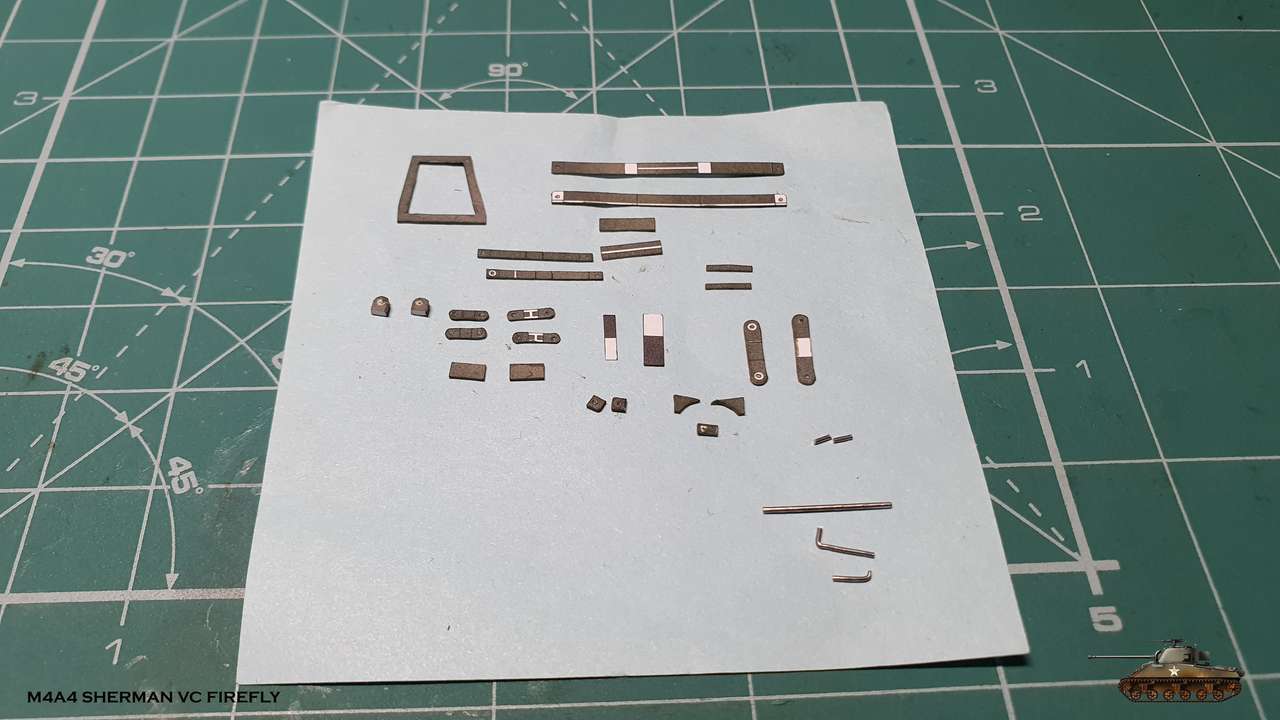
A lot of fiddling parts, but i managed to put it together and leave everything movable.
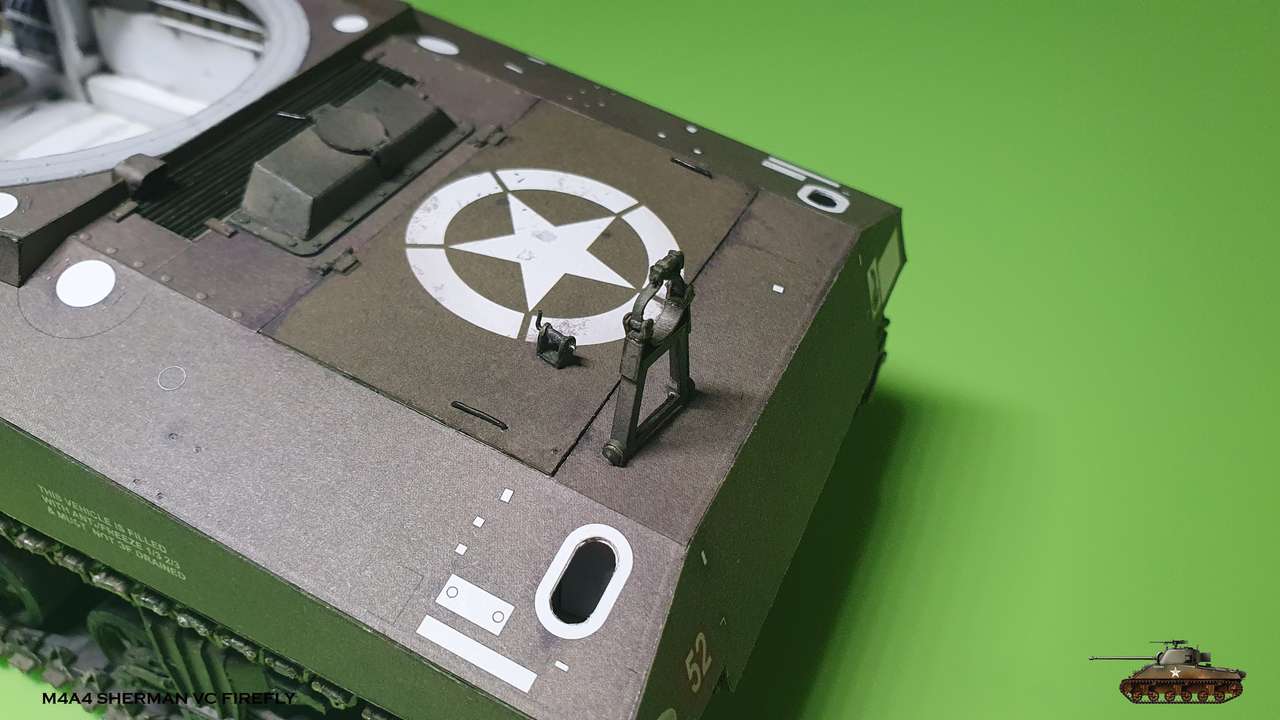
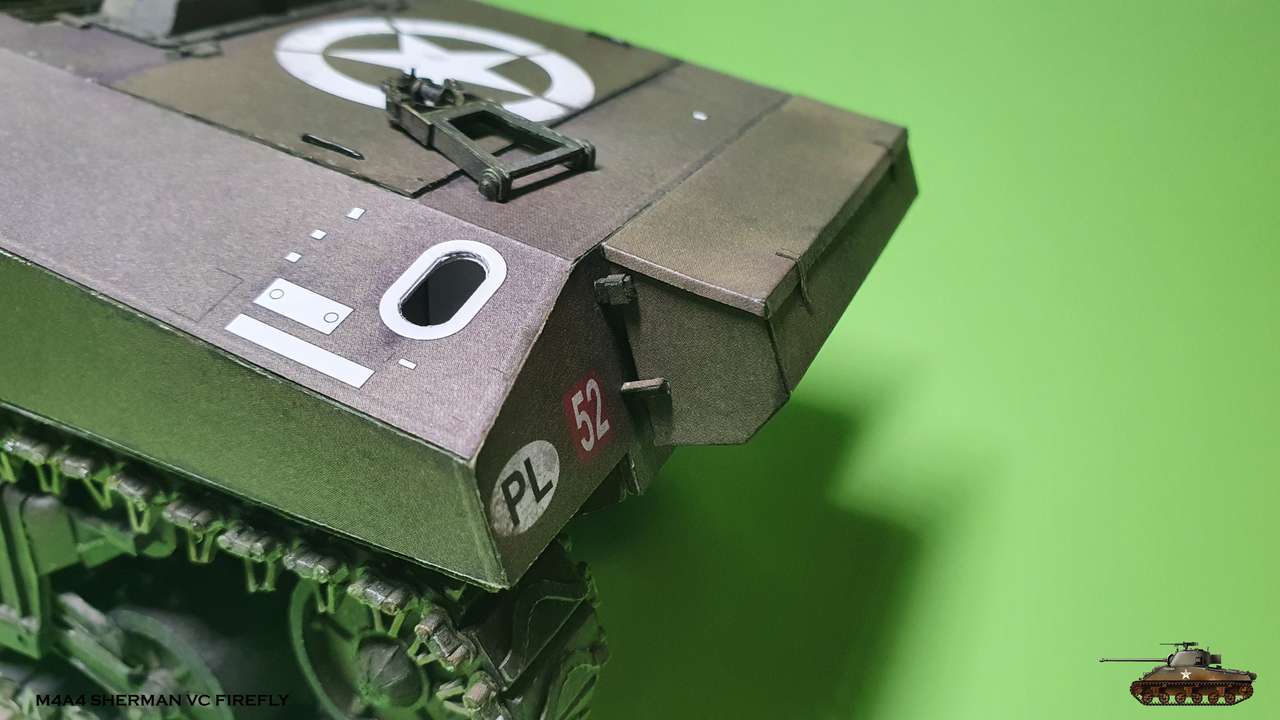
Here is lock assembled with secure hinge
Lock placed on it's marking
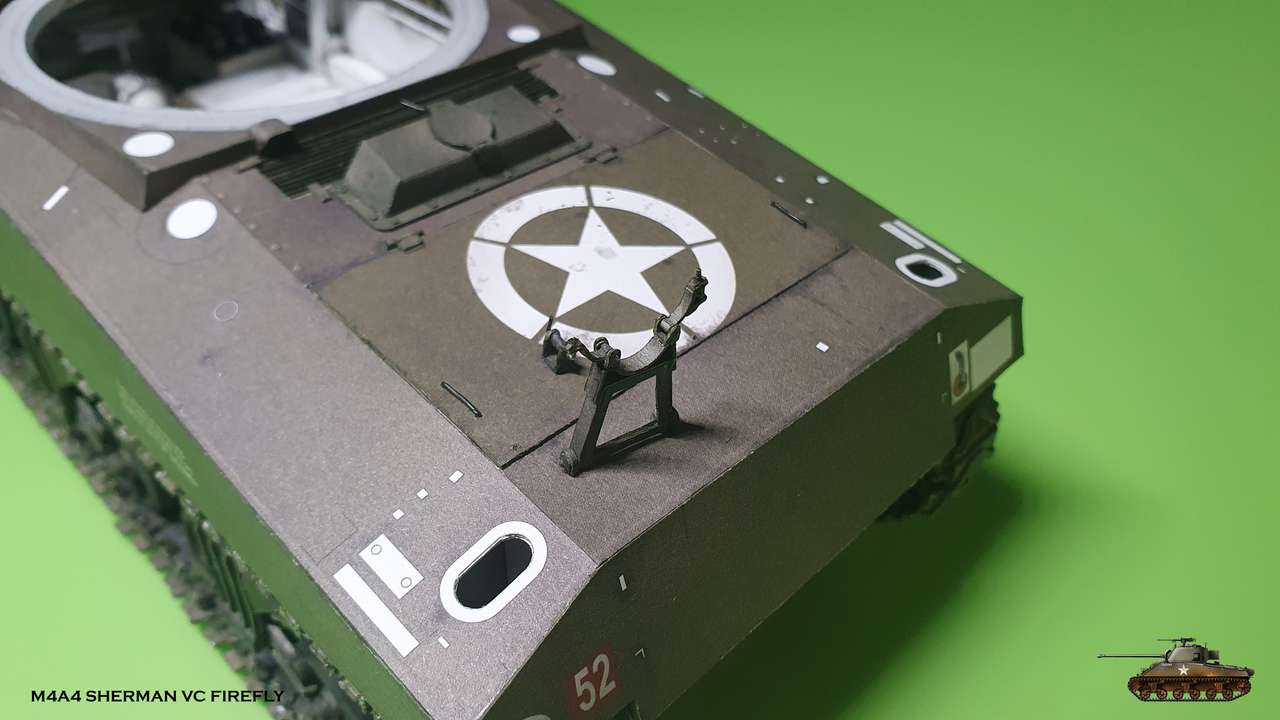
Down position when not in use
Up position when in use
Open lock
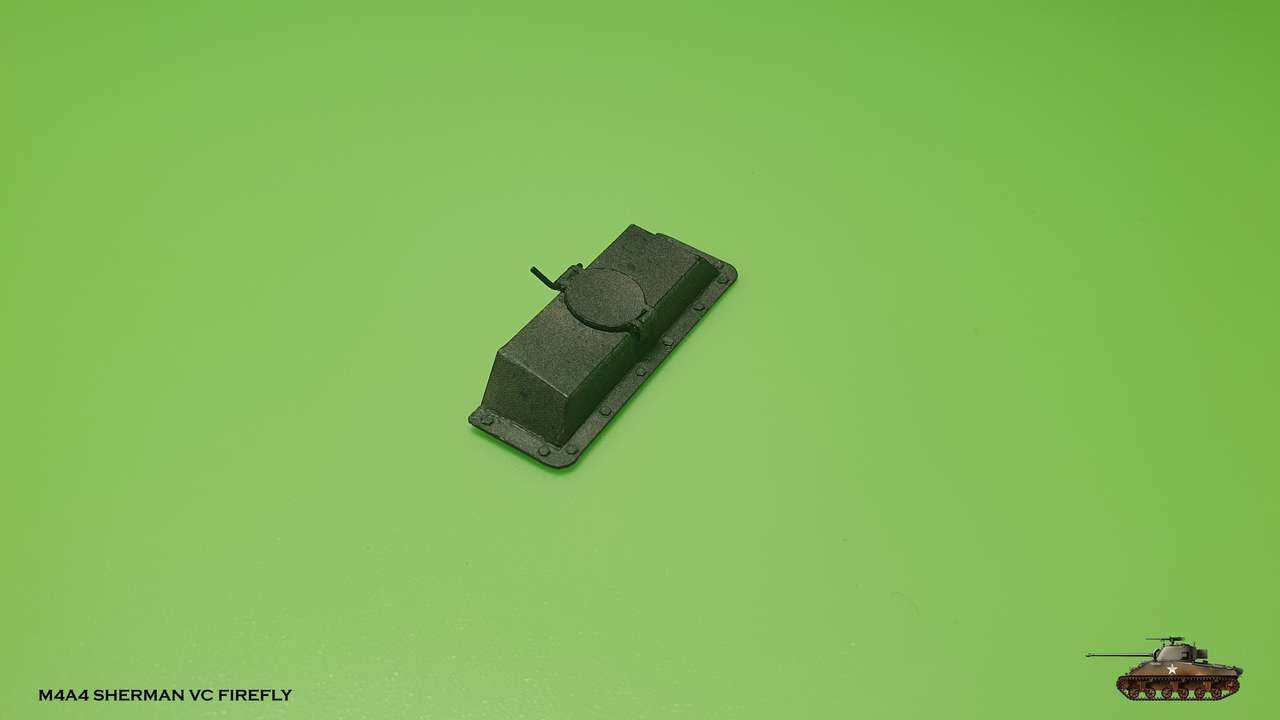
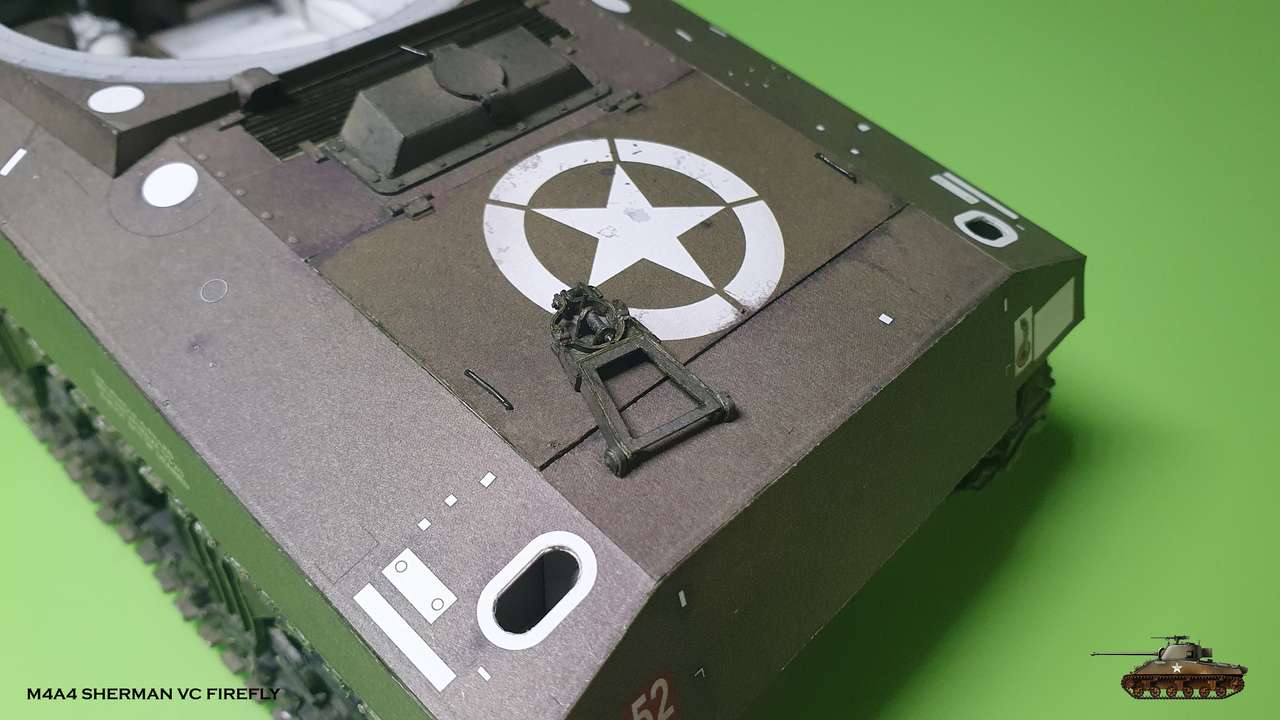
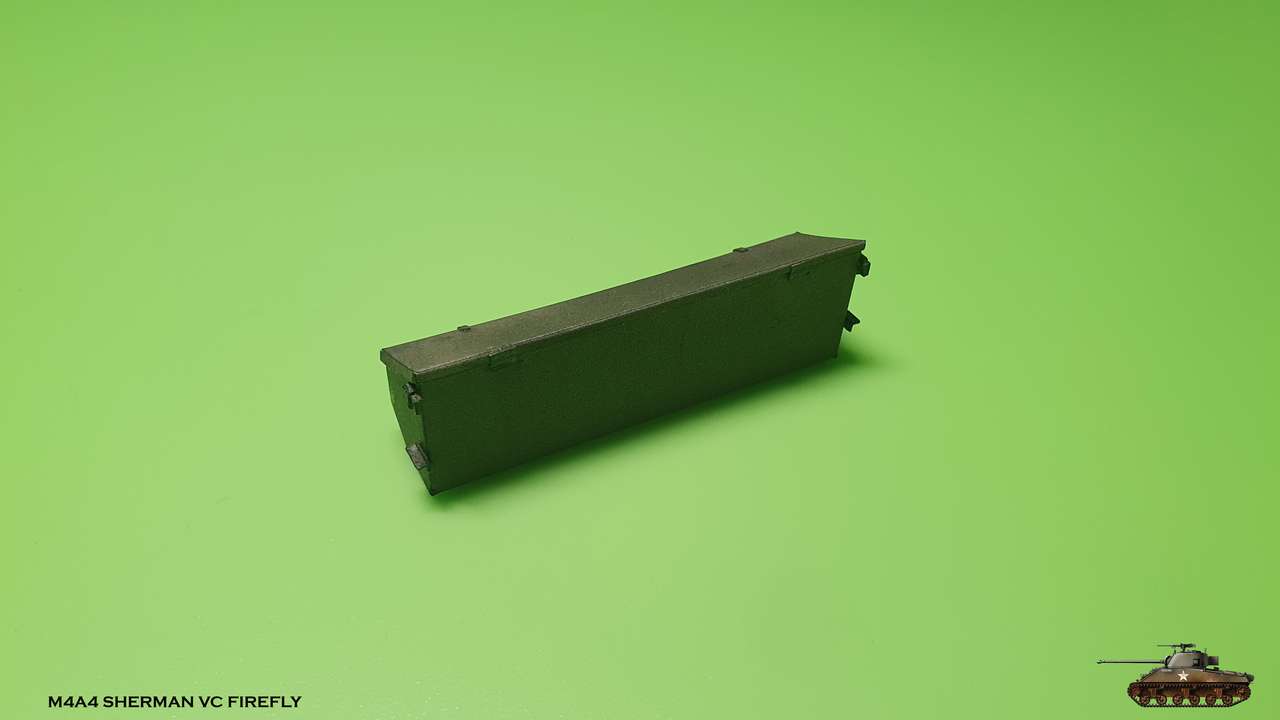
Fun fact: gun travel lock was added at the back since the gun overhang was 1.4 m, and the tank normally traveled with turret reversed.
The travel lock was offset to the left to prevent the driver's hatch been blocked by the radio box in the turret rear.
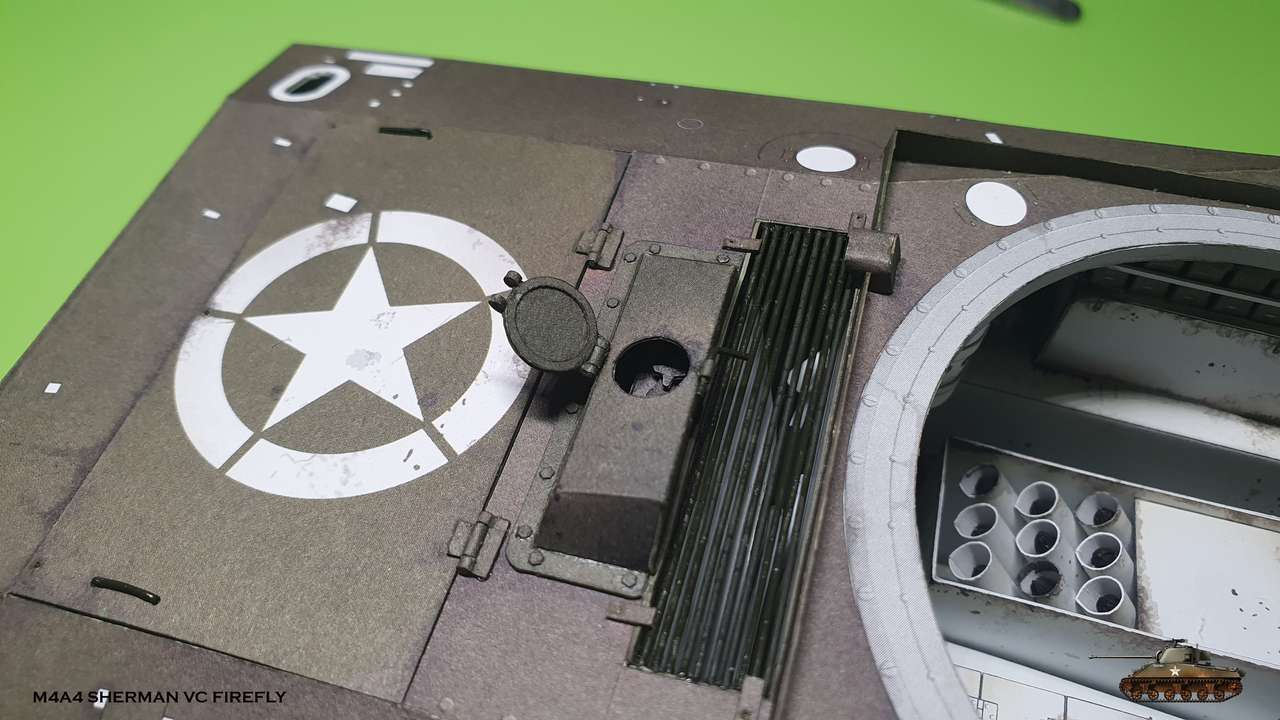
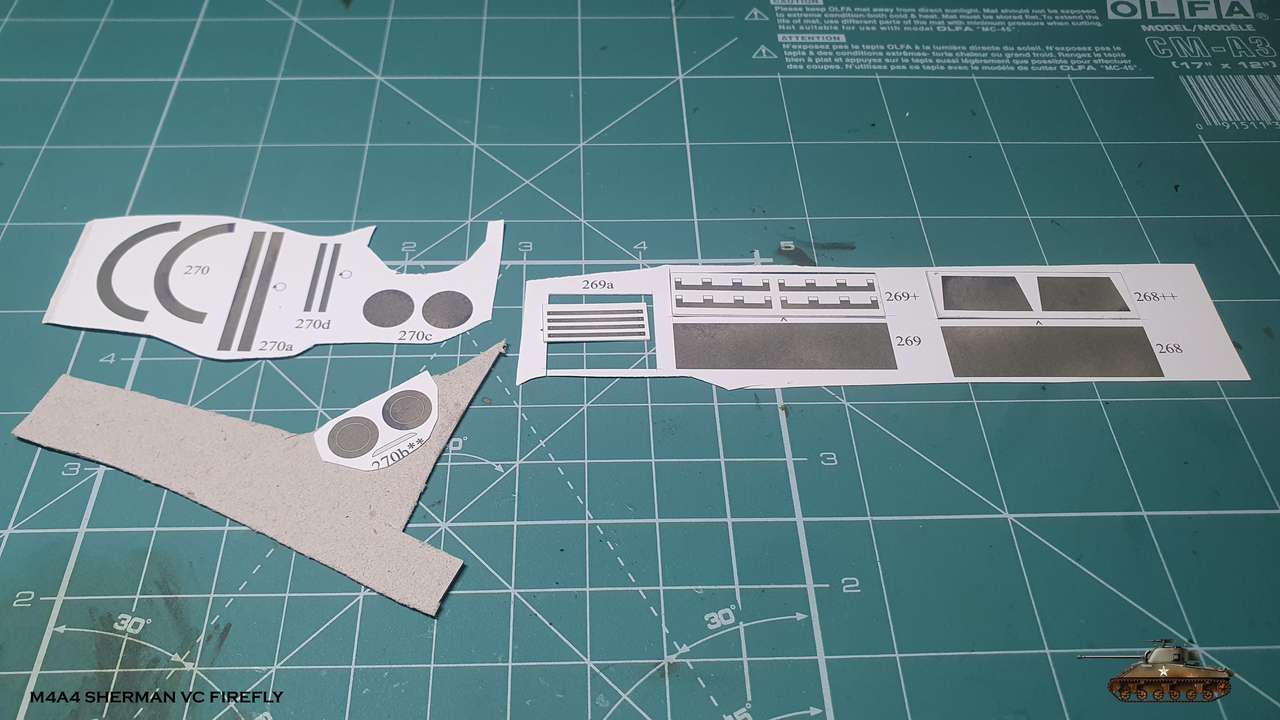
At this point instructions send the builder to finish placing all parts on an armor in free order.
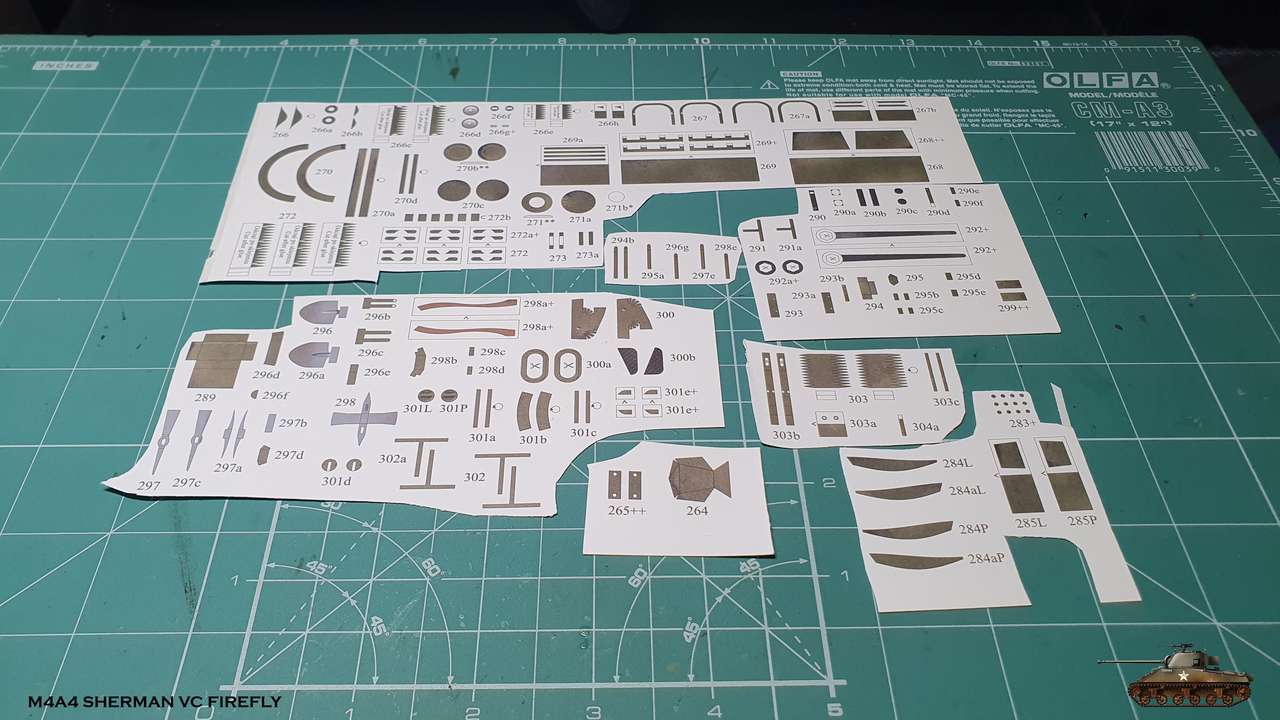
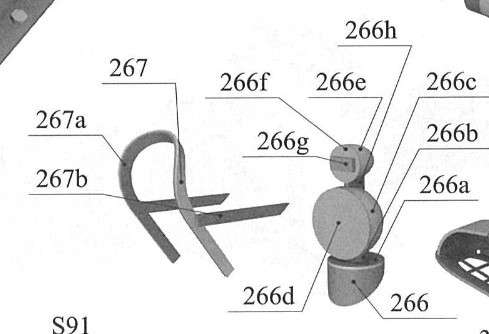
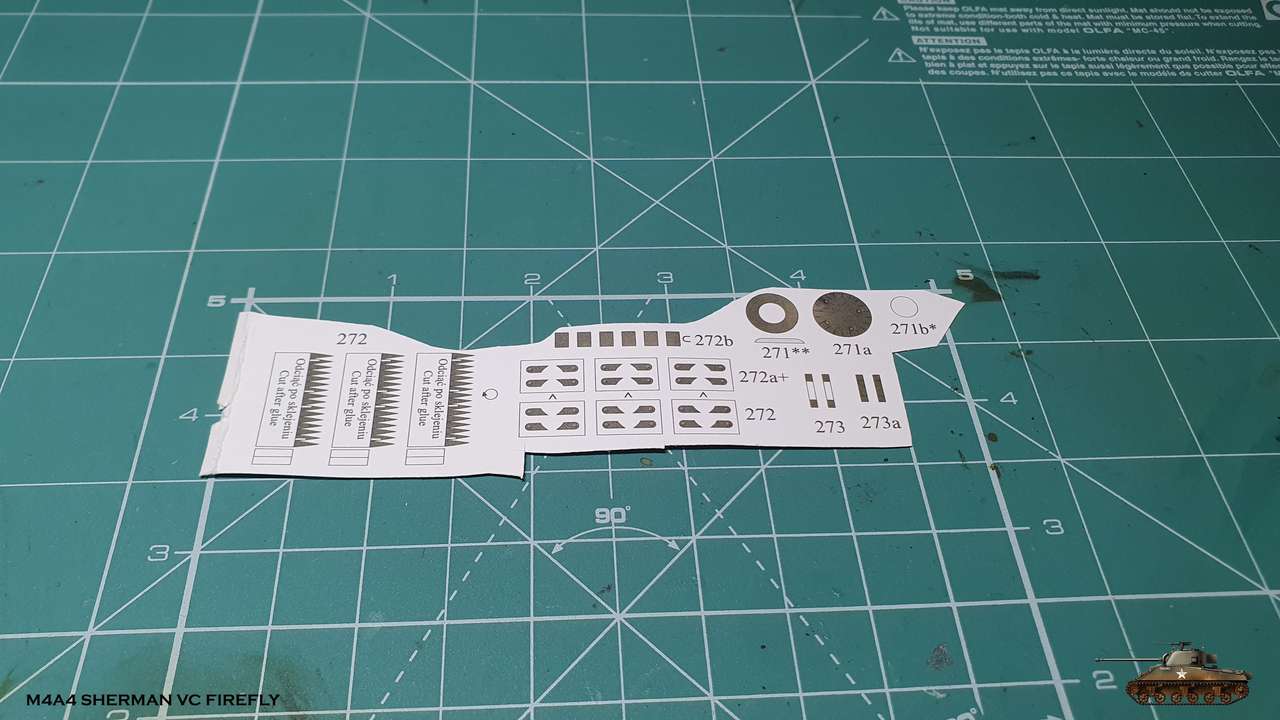
So those are all parts that left, before i will start to assemble a turret. From 264 to 304.
I decided to go by ascending numbers.
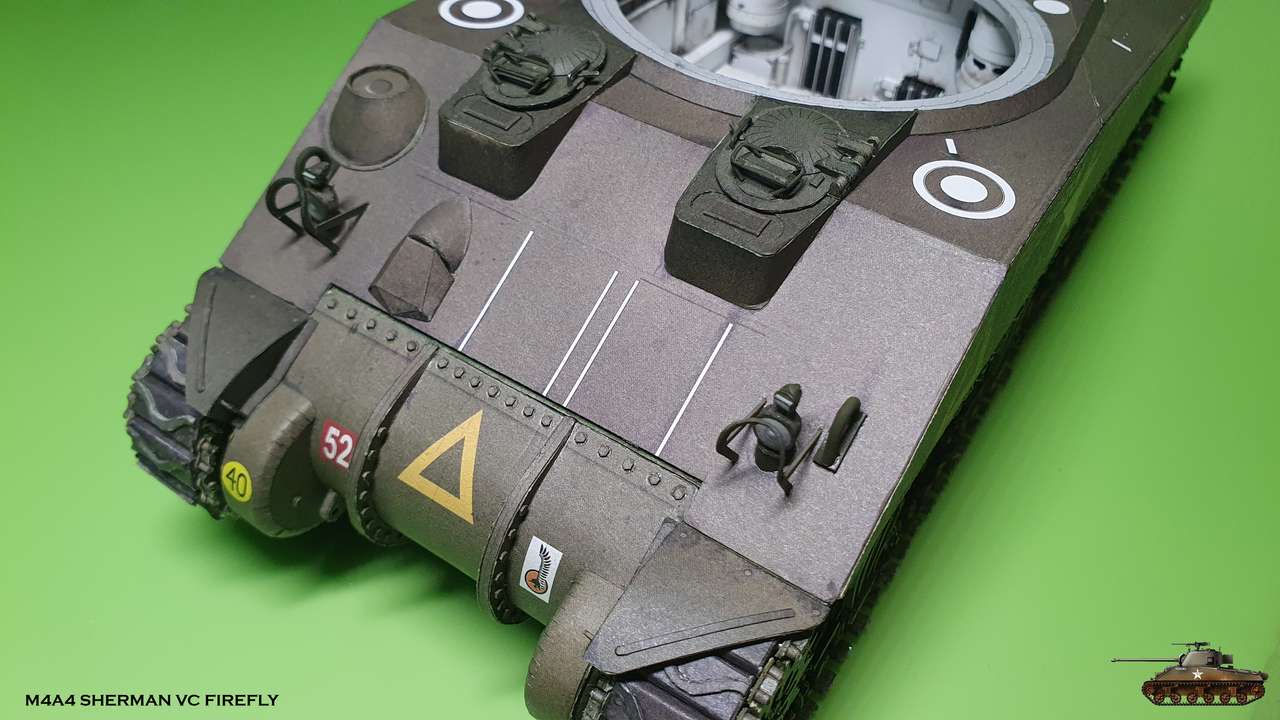
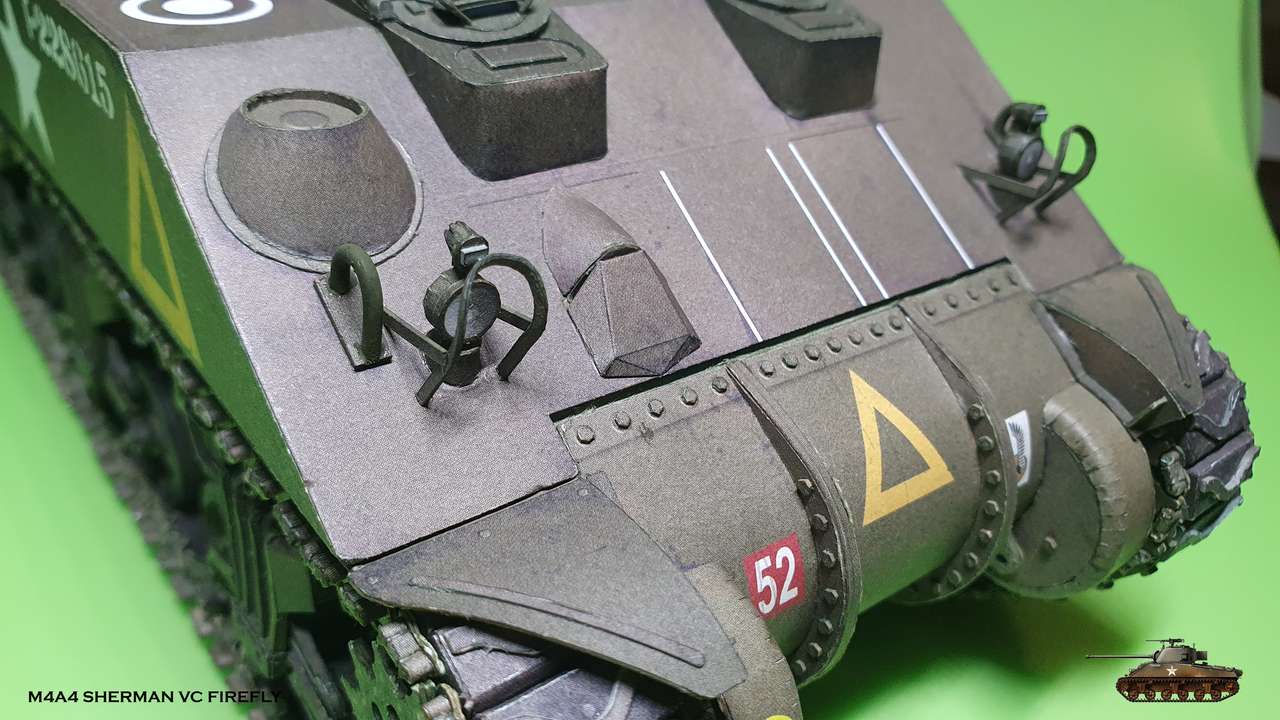
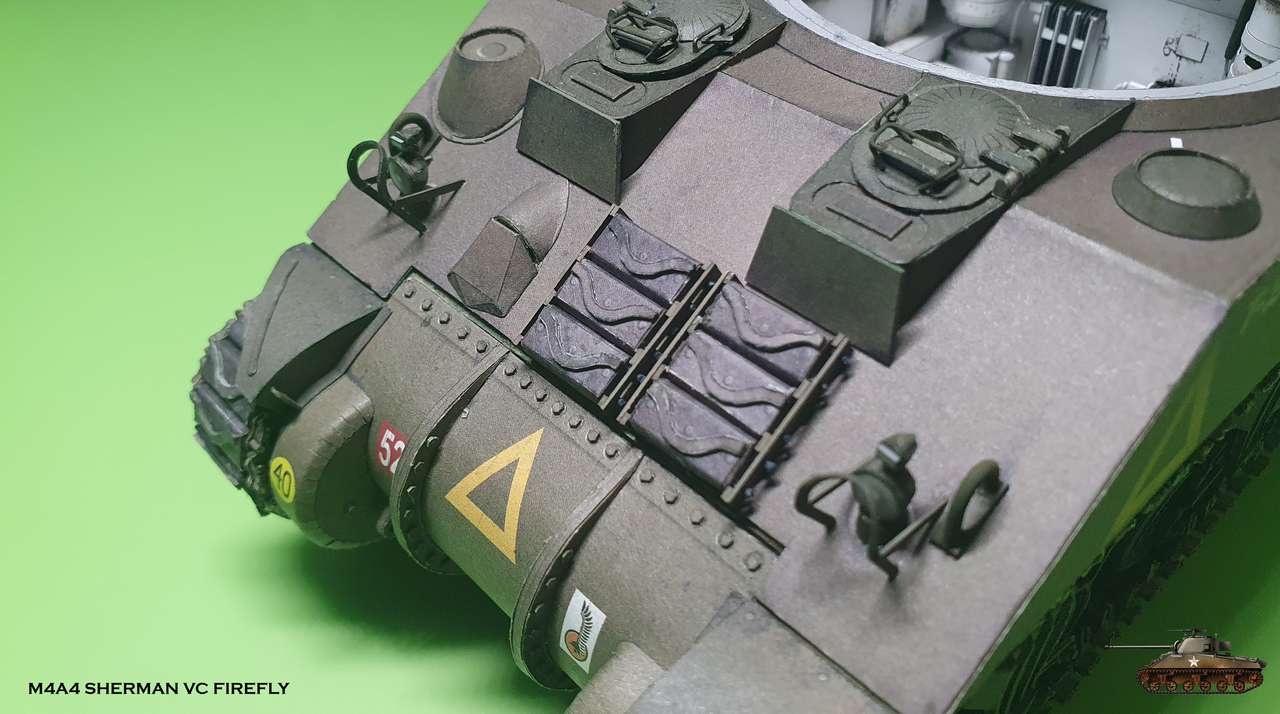
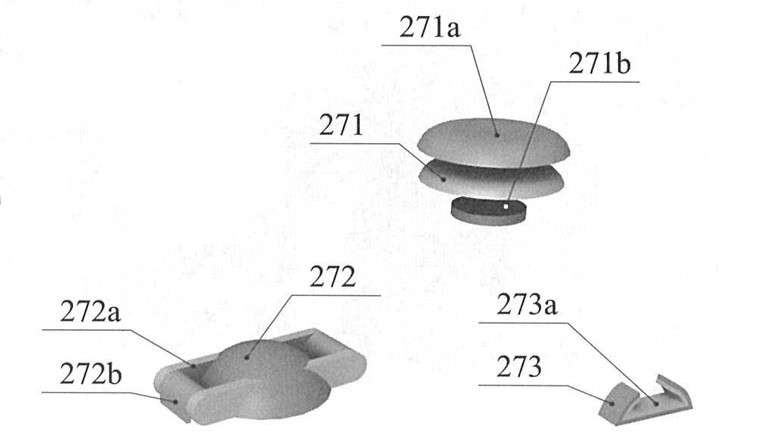
Armored plug for bow machine gun hole and two lifting eye casts with mounting pads.
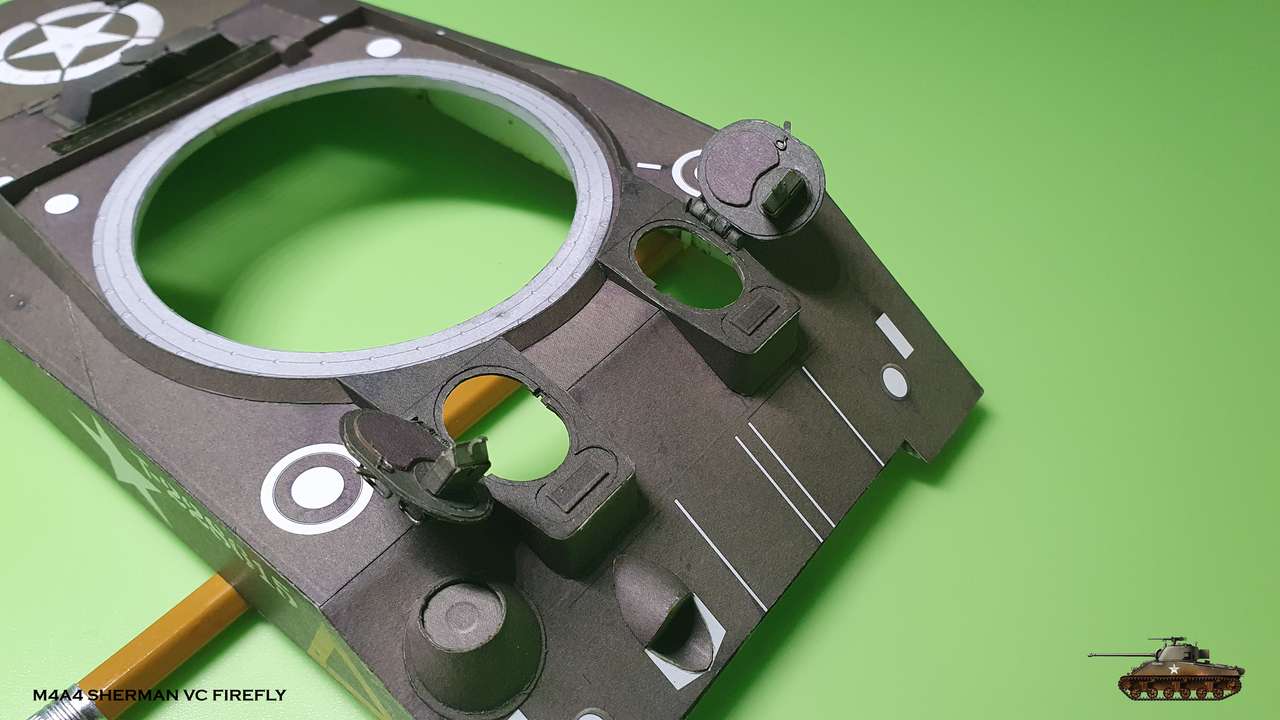
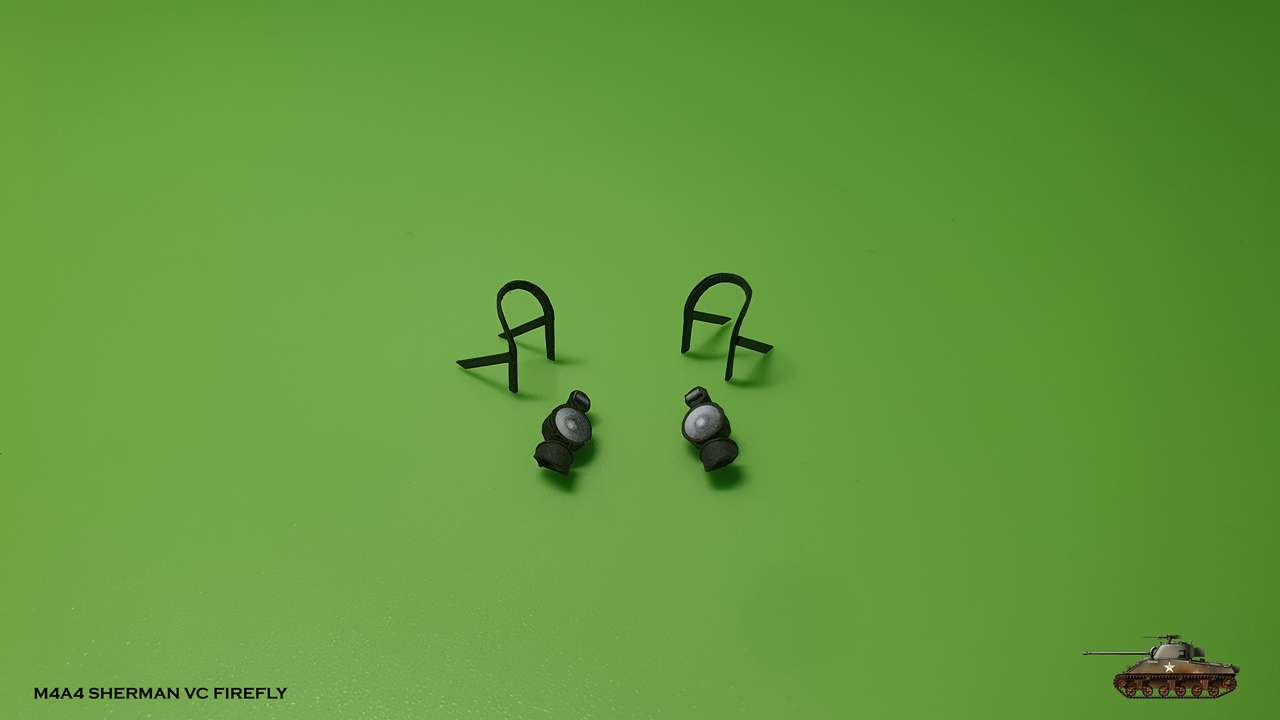
Headlights with blackout lamps and brush guards.
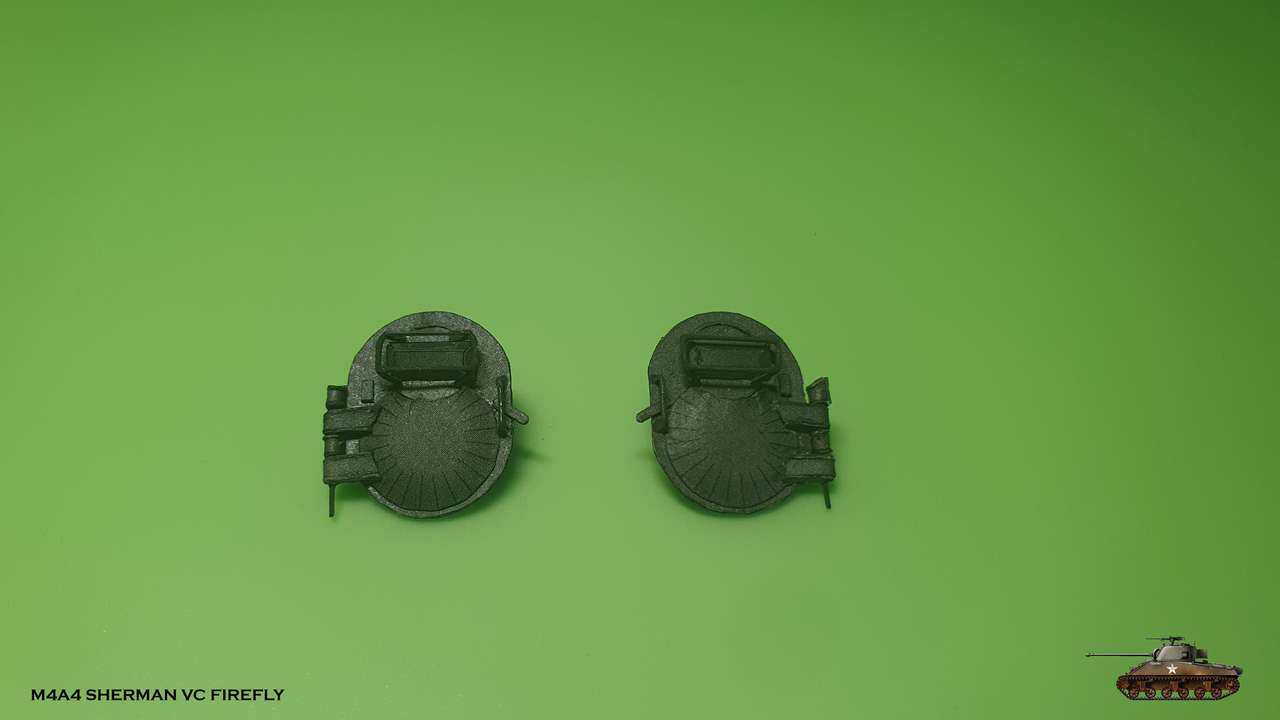
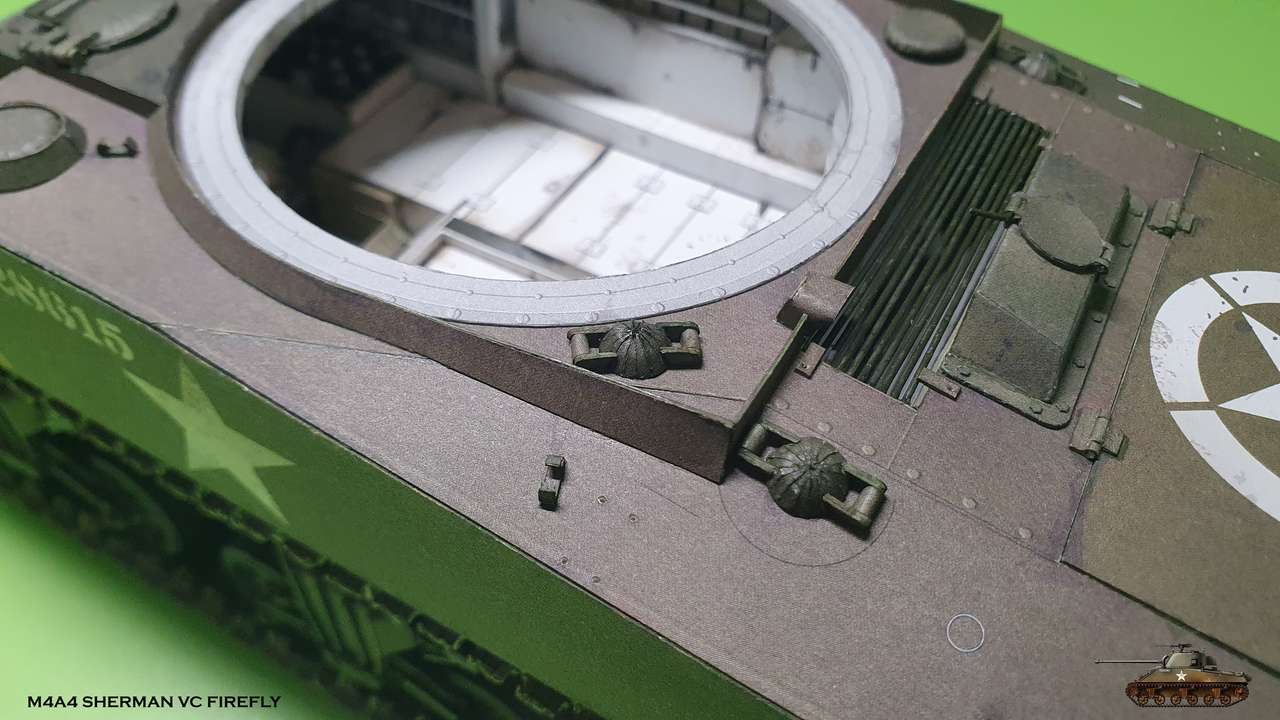
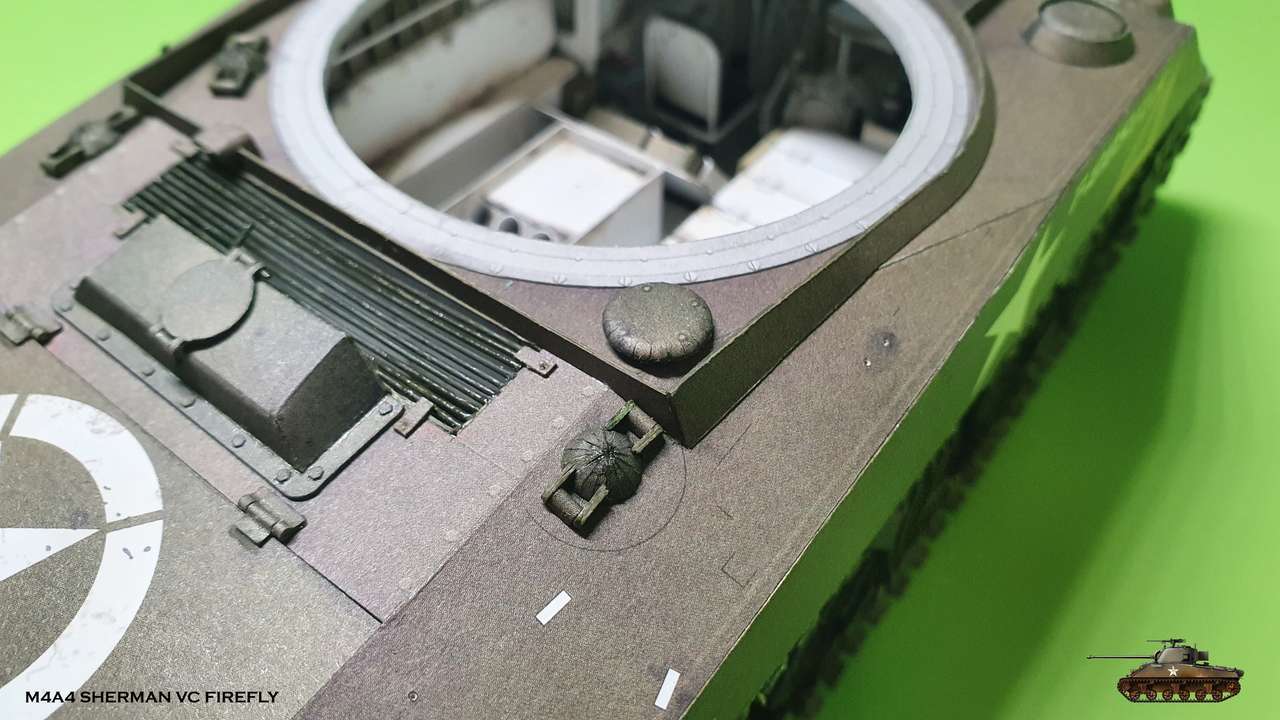
Still learning how to properly glue spherical parts...
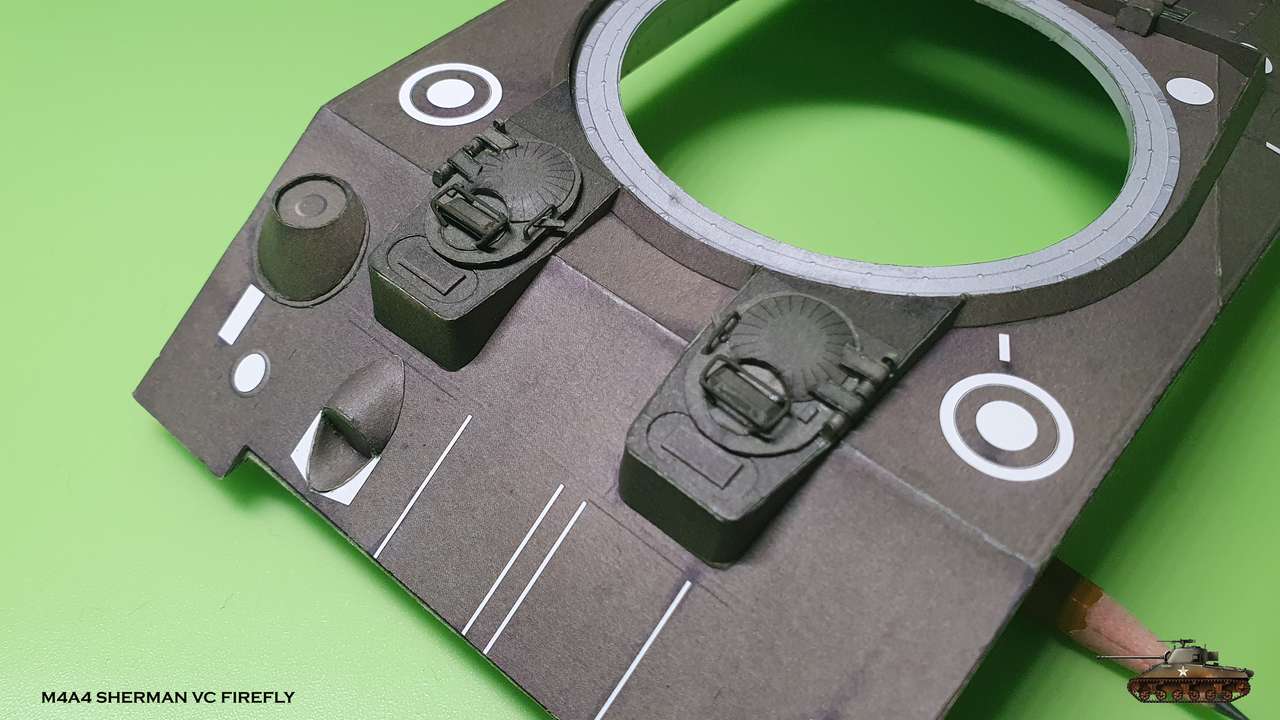
All parts are placed on armor
Fun fact: headlights could be dismounted in combat, by just unplugging wires from the inside and unscrewing from the outside. Plugs were provided to seal up the holes.
I feel like I am constantly repeating myself in this thread, but this model has really set the bar so high. I saw an advertisement for an engine from one of these, it was running. They were asking $60,000 dollars for it, of course, it was sold, and the ad was 10 years old!!
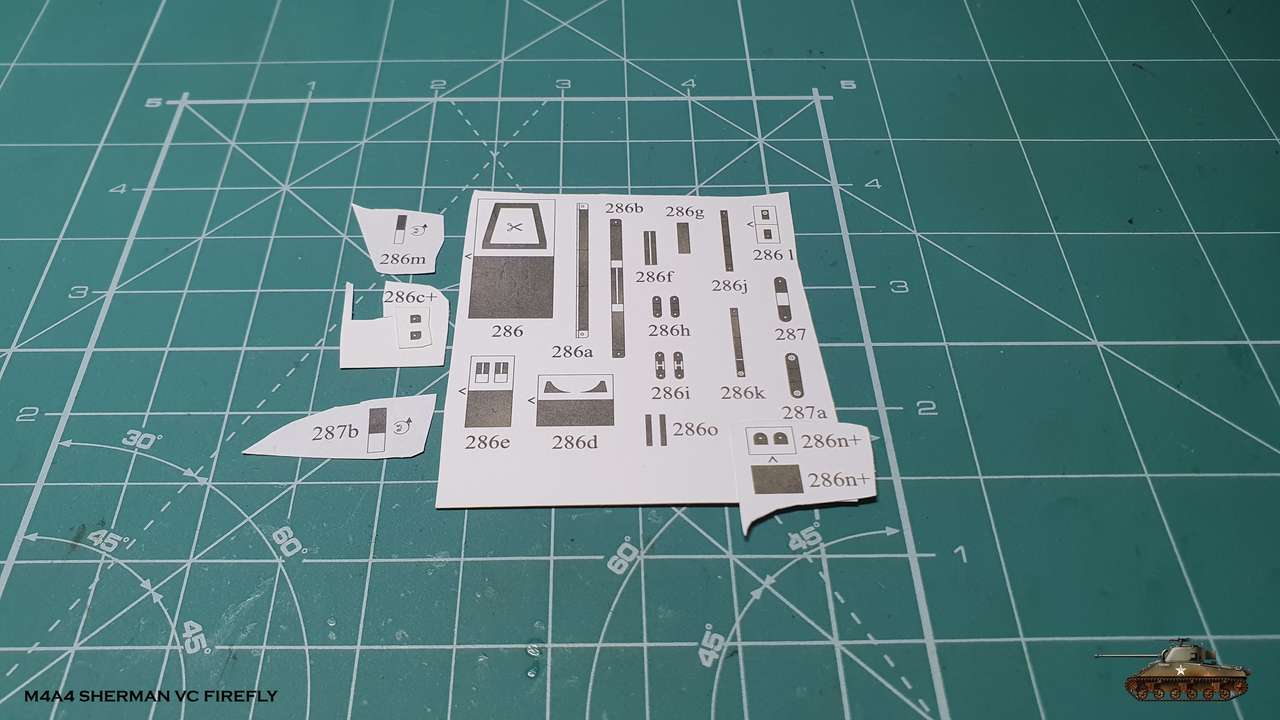
And detailing continue:
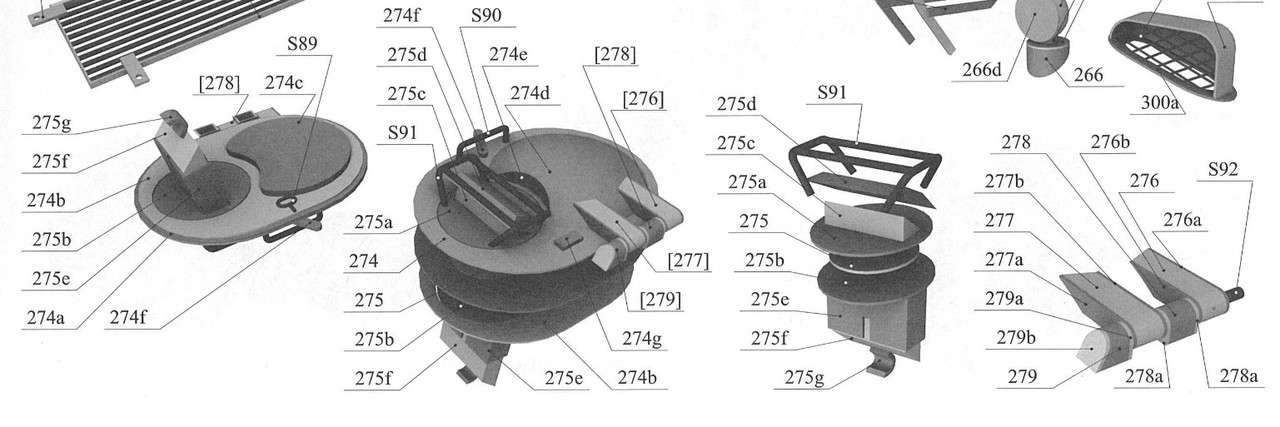
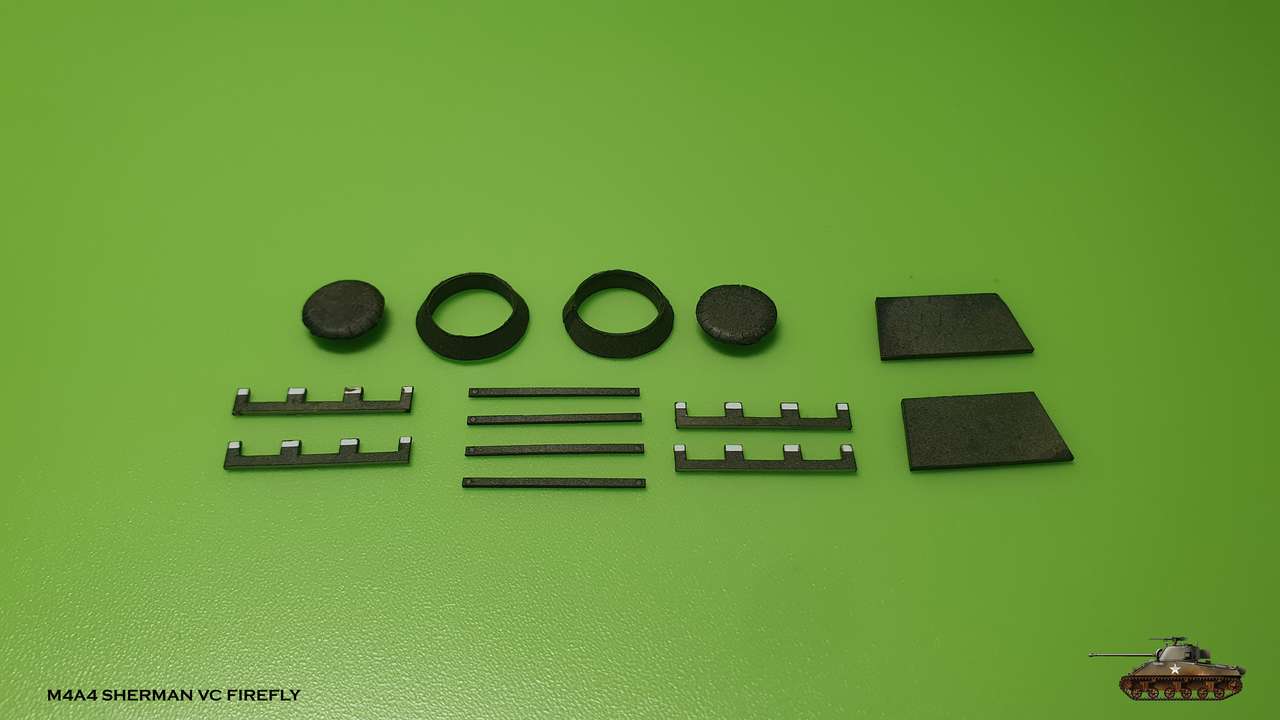
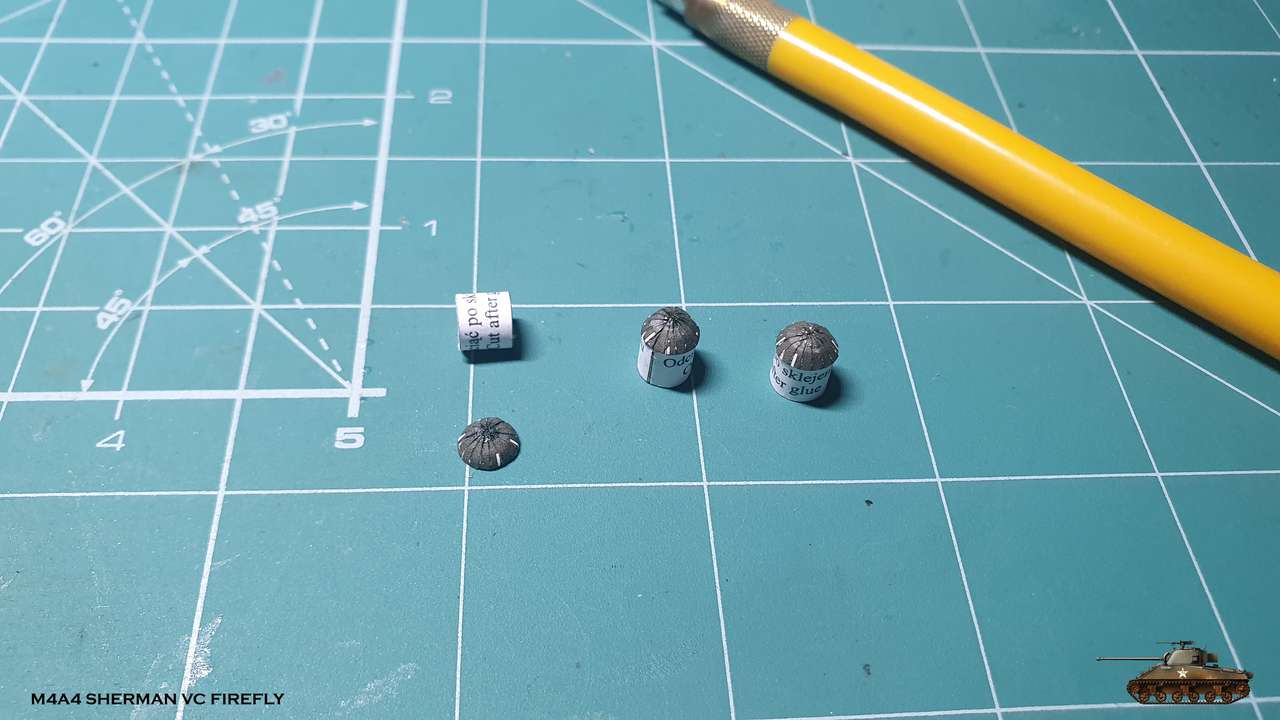
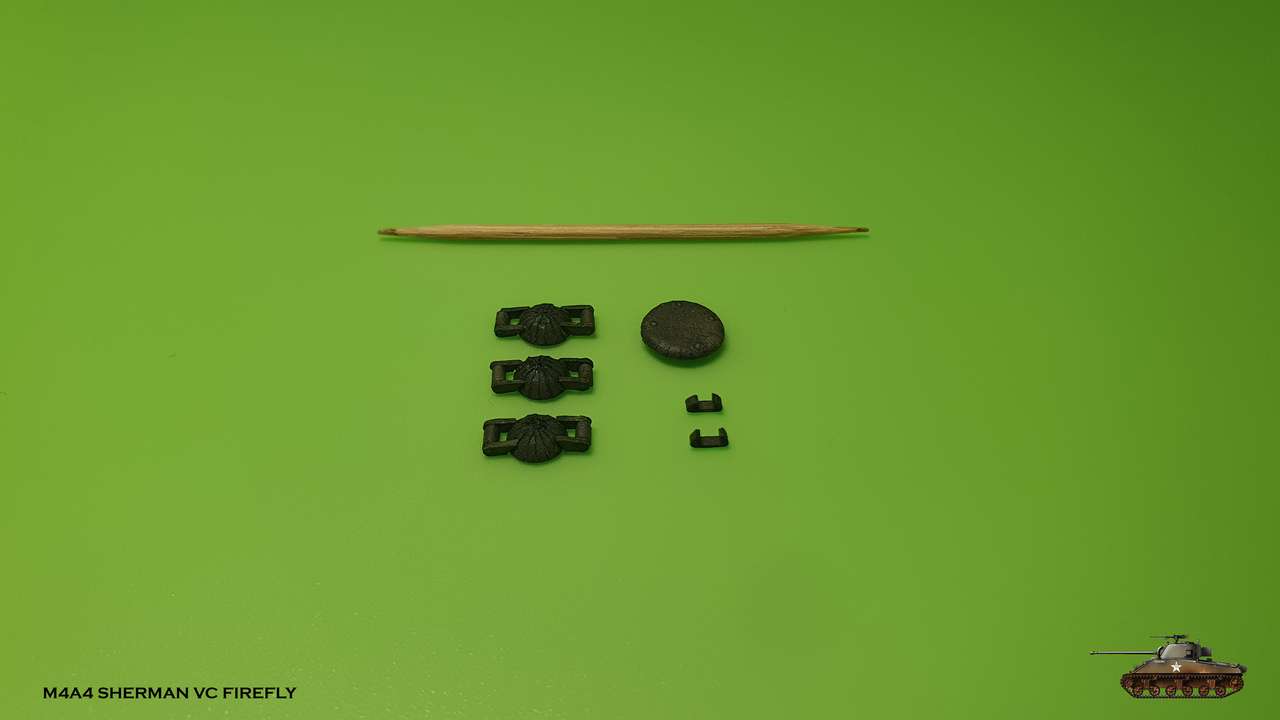
Three armored cups for fuel filling ports - two of main fuel tanks and one of auxiliary generator fuel tank.
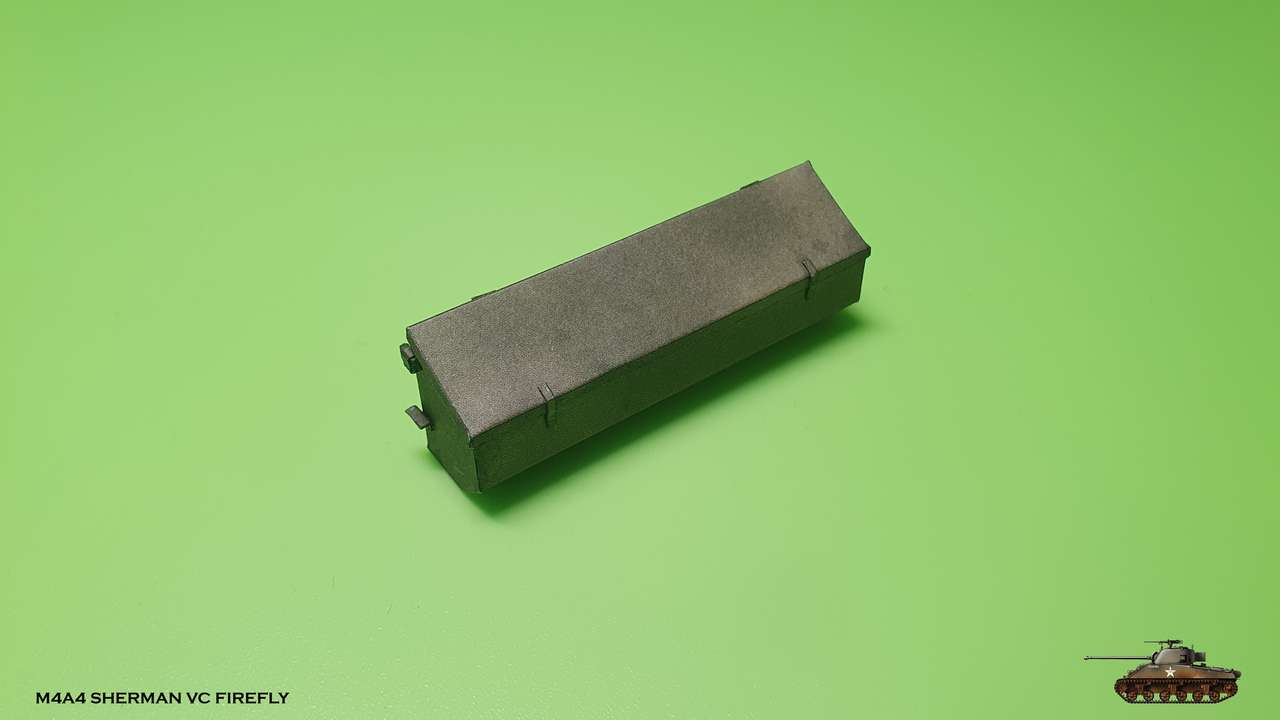
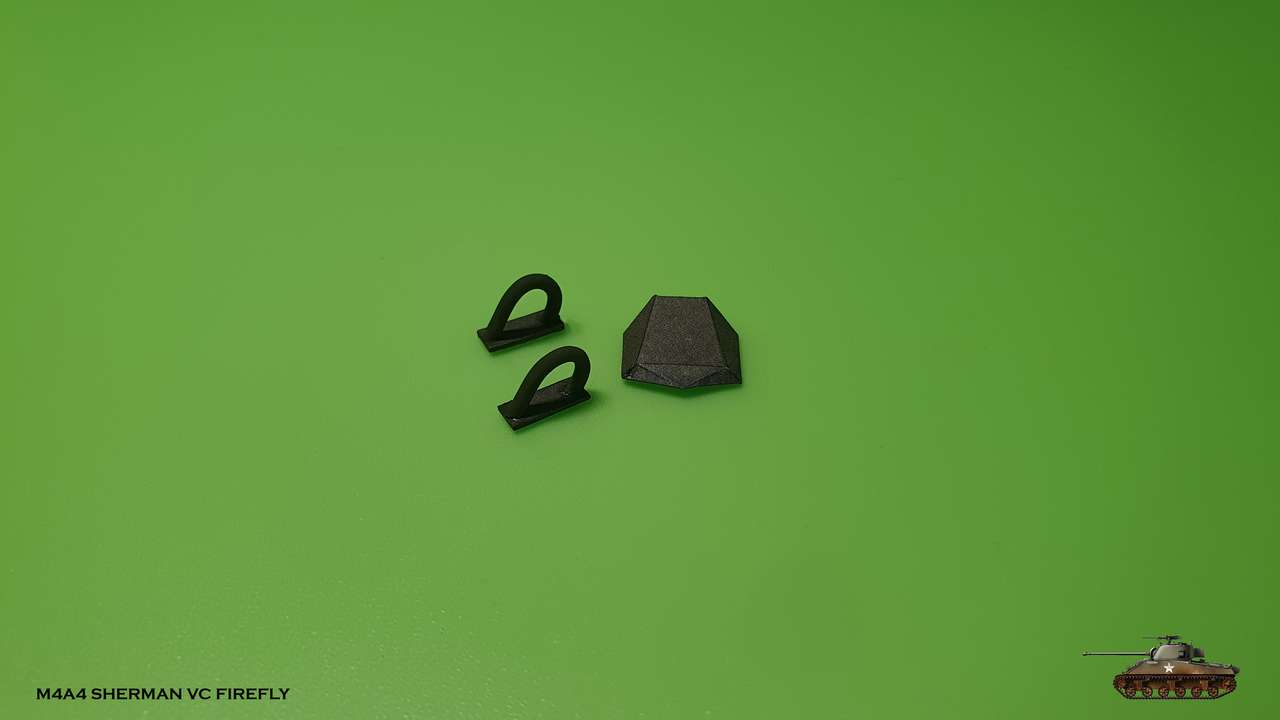
Two tow cable holders.
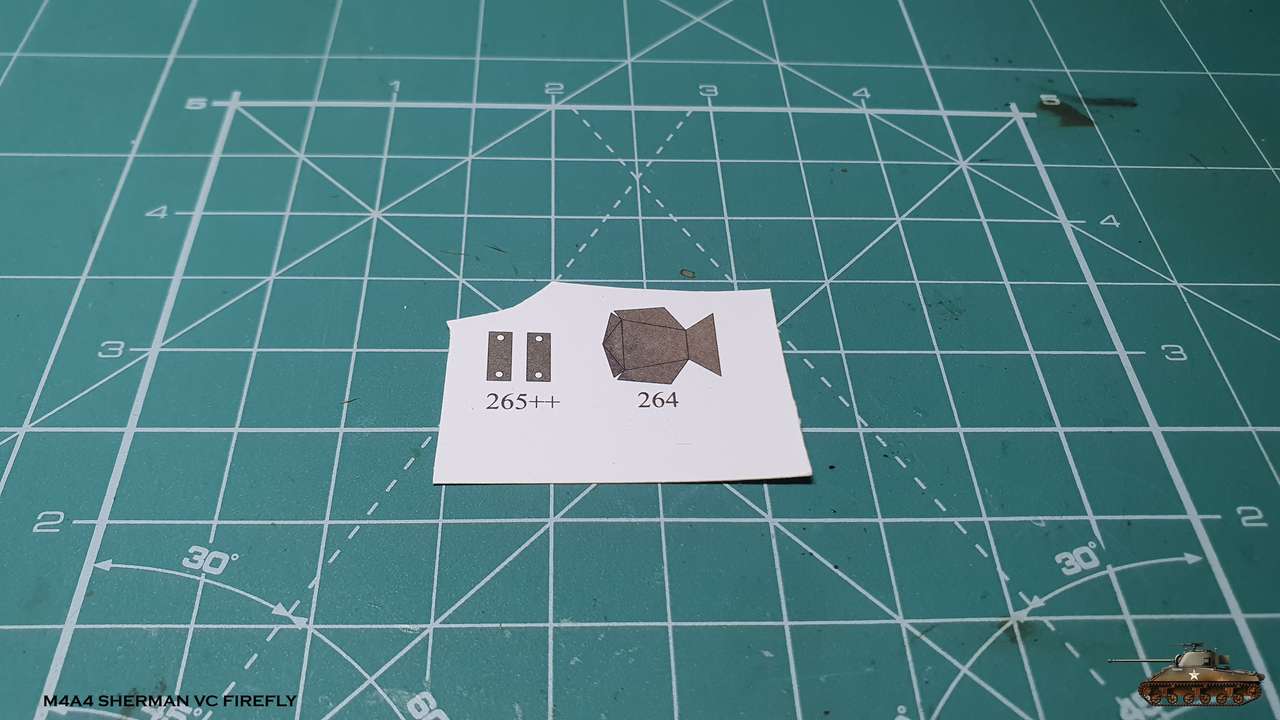
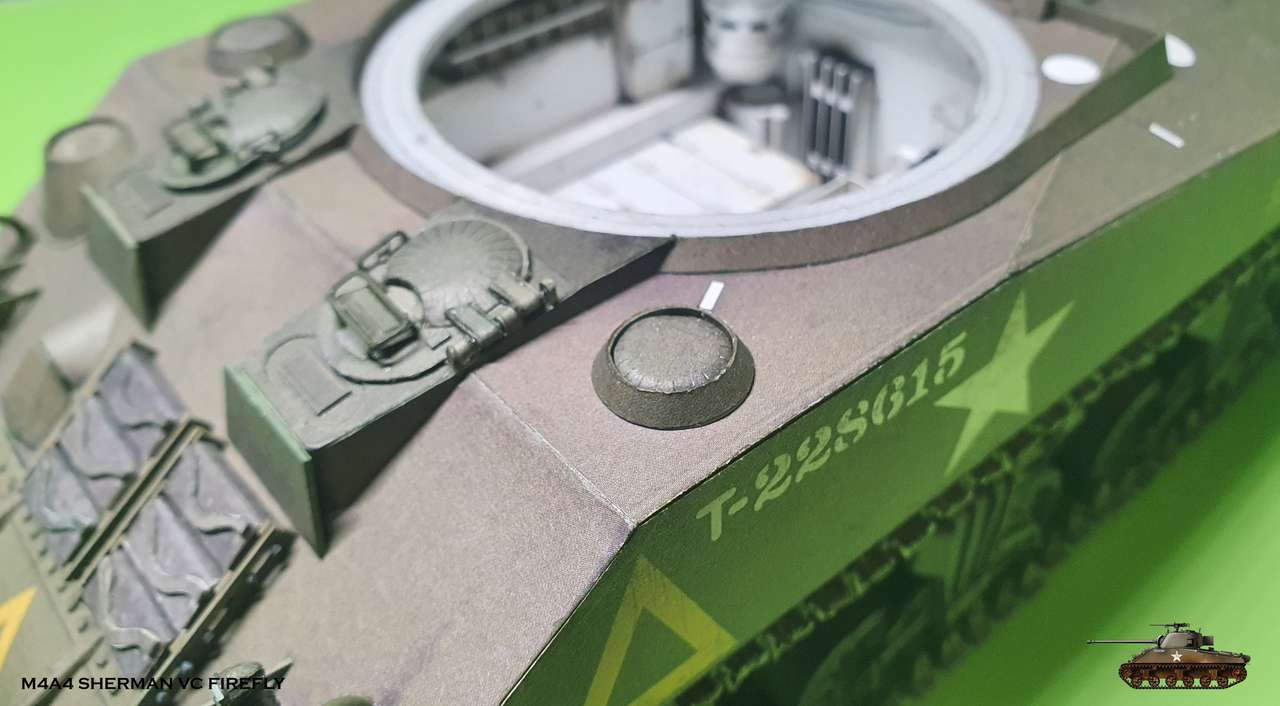
One rear rooftop ventilator cover.
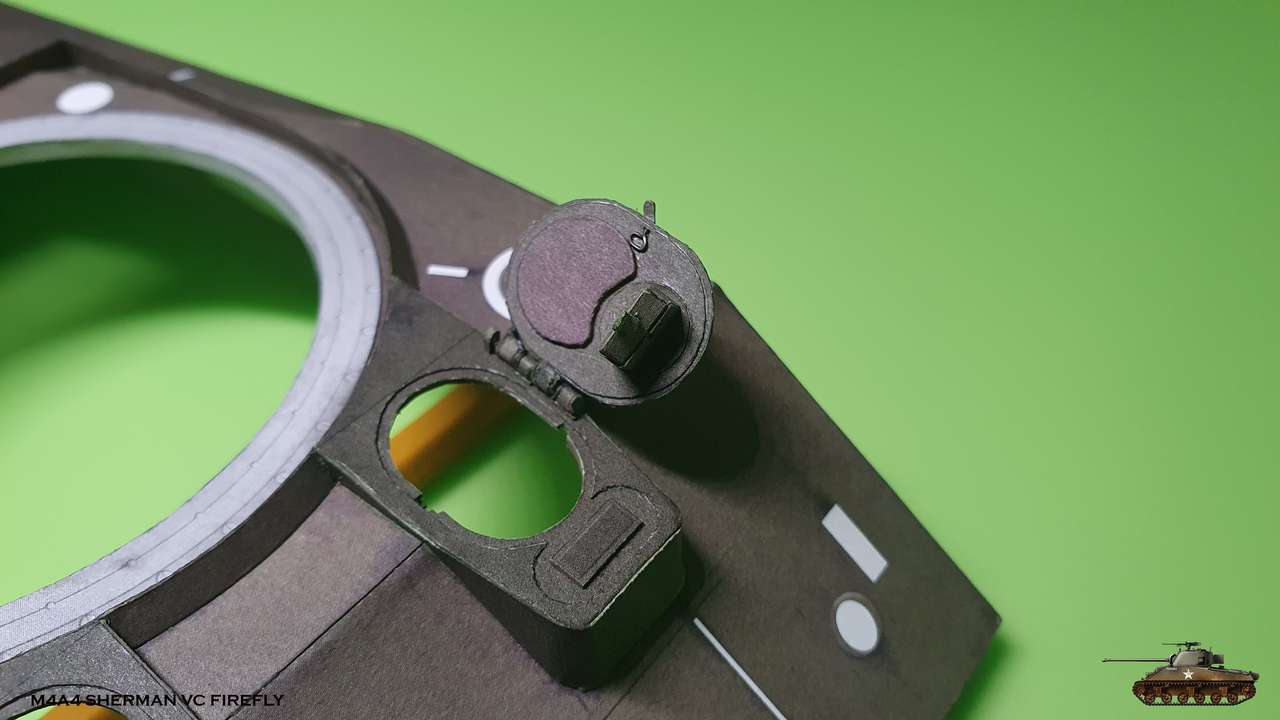
I really like designer's solution for sphere assembling. And still learning how to glue this difficult parts


")