HOn3 locomotive shops

Bill Nelson

Well-Known Member
SMLA_1 combn int.-1.jpg hen I was handling the combine, while un weathering it the roof came off. these fit quite tightly, and I usually have a very thin smear of white glue on them that keeps them attached, but lets you remove them if you need to for maintenance. with the roof off, I took a picture to show the interior. the interior of this car is not my work, as the combine was picked up built, at a train show. I did repaint the outside to match my State Line RR scheme. Whoever built this car originally did a fine job, it was painted brown and lettered for the Bonanza and Rawhide railroad.


I have done interiors in several on my ho cars, but would need to notch the quality of work up some if I do the narrow gauge cars to match what is done in this combine. the combine does need some boxes of freight, lugggage, and some bags of mail in the baggage area, and possibly a desk and chair for the conductor.


Bill Nelson
 
Last edited:
Z

Zathros

Aren't you surprised when people ask, "Why did you do the inside, no one is ever going to see it?". That picture is the answer to me. Not because the roof came off and and you were able to look inside, but, because when the roof came off, and you had a look inside.......................:inw:!
 

petergloor

New Member
Hi Bill
I actually started my Hon3 hobby by using HO Roundhouse kits (like the floor you were using) and cut them up. After a few models I thought it would be less work to scratchbuild whatever car models I wanted, and I have never gone back to the kitbashing method. Later on, when E&B valley started in Hon3 I was glad I had some nice kits that were easy to build.
Peter
 

Doctor G

Well-Known Member
Hi Bill,

Very nice interior shot. You certainly have a nice model of an interesting prototype.

Are there interior pieces in the "new" kit you are working on???

Tom
 

Bill Nelson

Well-Known Member
Tom, the L abelle kits do not come with interior detailing they do have drawings that show the proper placement of interior details. The parlor car had a room divided off as a kitchen, with a hall along side of it and the half of the car that provided room for the pass passengers had round tables, with what looked like four plush chairs mounted around each table.

Both of my standard gauge Labelle cars I have installed interior details of varying quality.; and I have done some simple interiors in many of my standard gauge MDC cars as well.


As for why do interior detail, there is only one good reason, and that is more detail is better. Likewise there is only one reason not to, it takes more time, effort and money. Our modeling resourses, time, effort and money, are almost always limited, so one must determine, what is worth the effort.


If you check my main thread in the logging section, you can see that I occasionally go overboard with extensive interior detailing on some buildings, while others are empty. Even on empty buildings walls and floors can go a long way toward keeping a model from looking like an empty shell. also picking a couple buildings that are either prominent, and easy to see into, or something like an engine house, which will naturally draw interest, pulling out all the stops and detailing it to the nines will draw interest. and the viewer will not notice that other buildings nearby are empty.


Like wise with cars, passenger cars and cabooses will draw a little more interest than freight cars will, so they are worth more effort, and with the windows you can see in, so you can tell if there are seats in there or not. however the details don't photograph well; I knew these details were in there, the roof coming off just gave me a good excuse to photograph them , and share them here.


Bill Nelson
 

petergloor

New Member
I still have some work to do on the roof before it gets painted black, and some touch up on the green coach body, and the brown trim, then it will be glazing for the window, after which I will need to decide if I'll do interior detail. Nelson

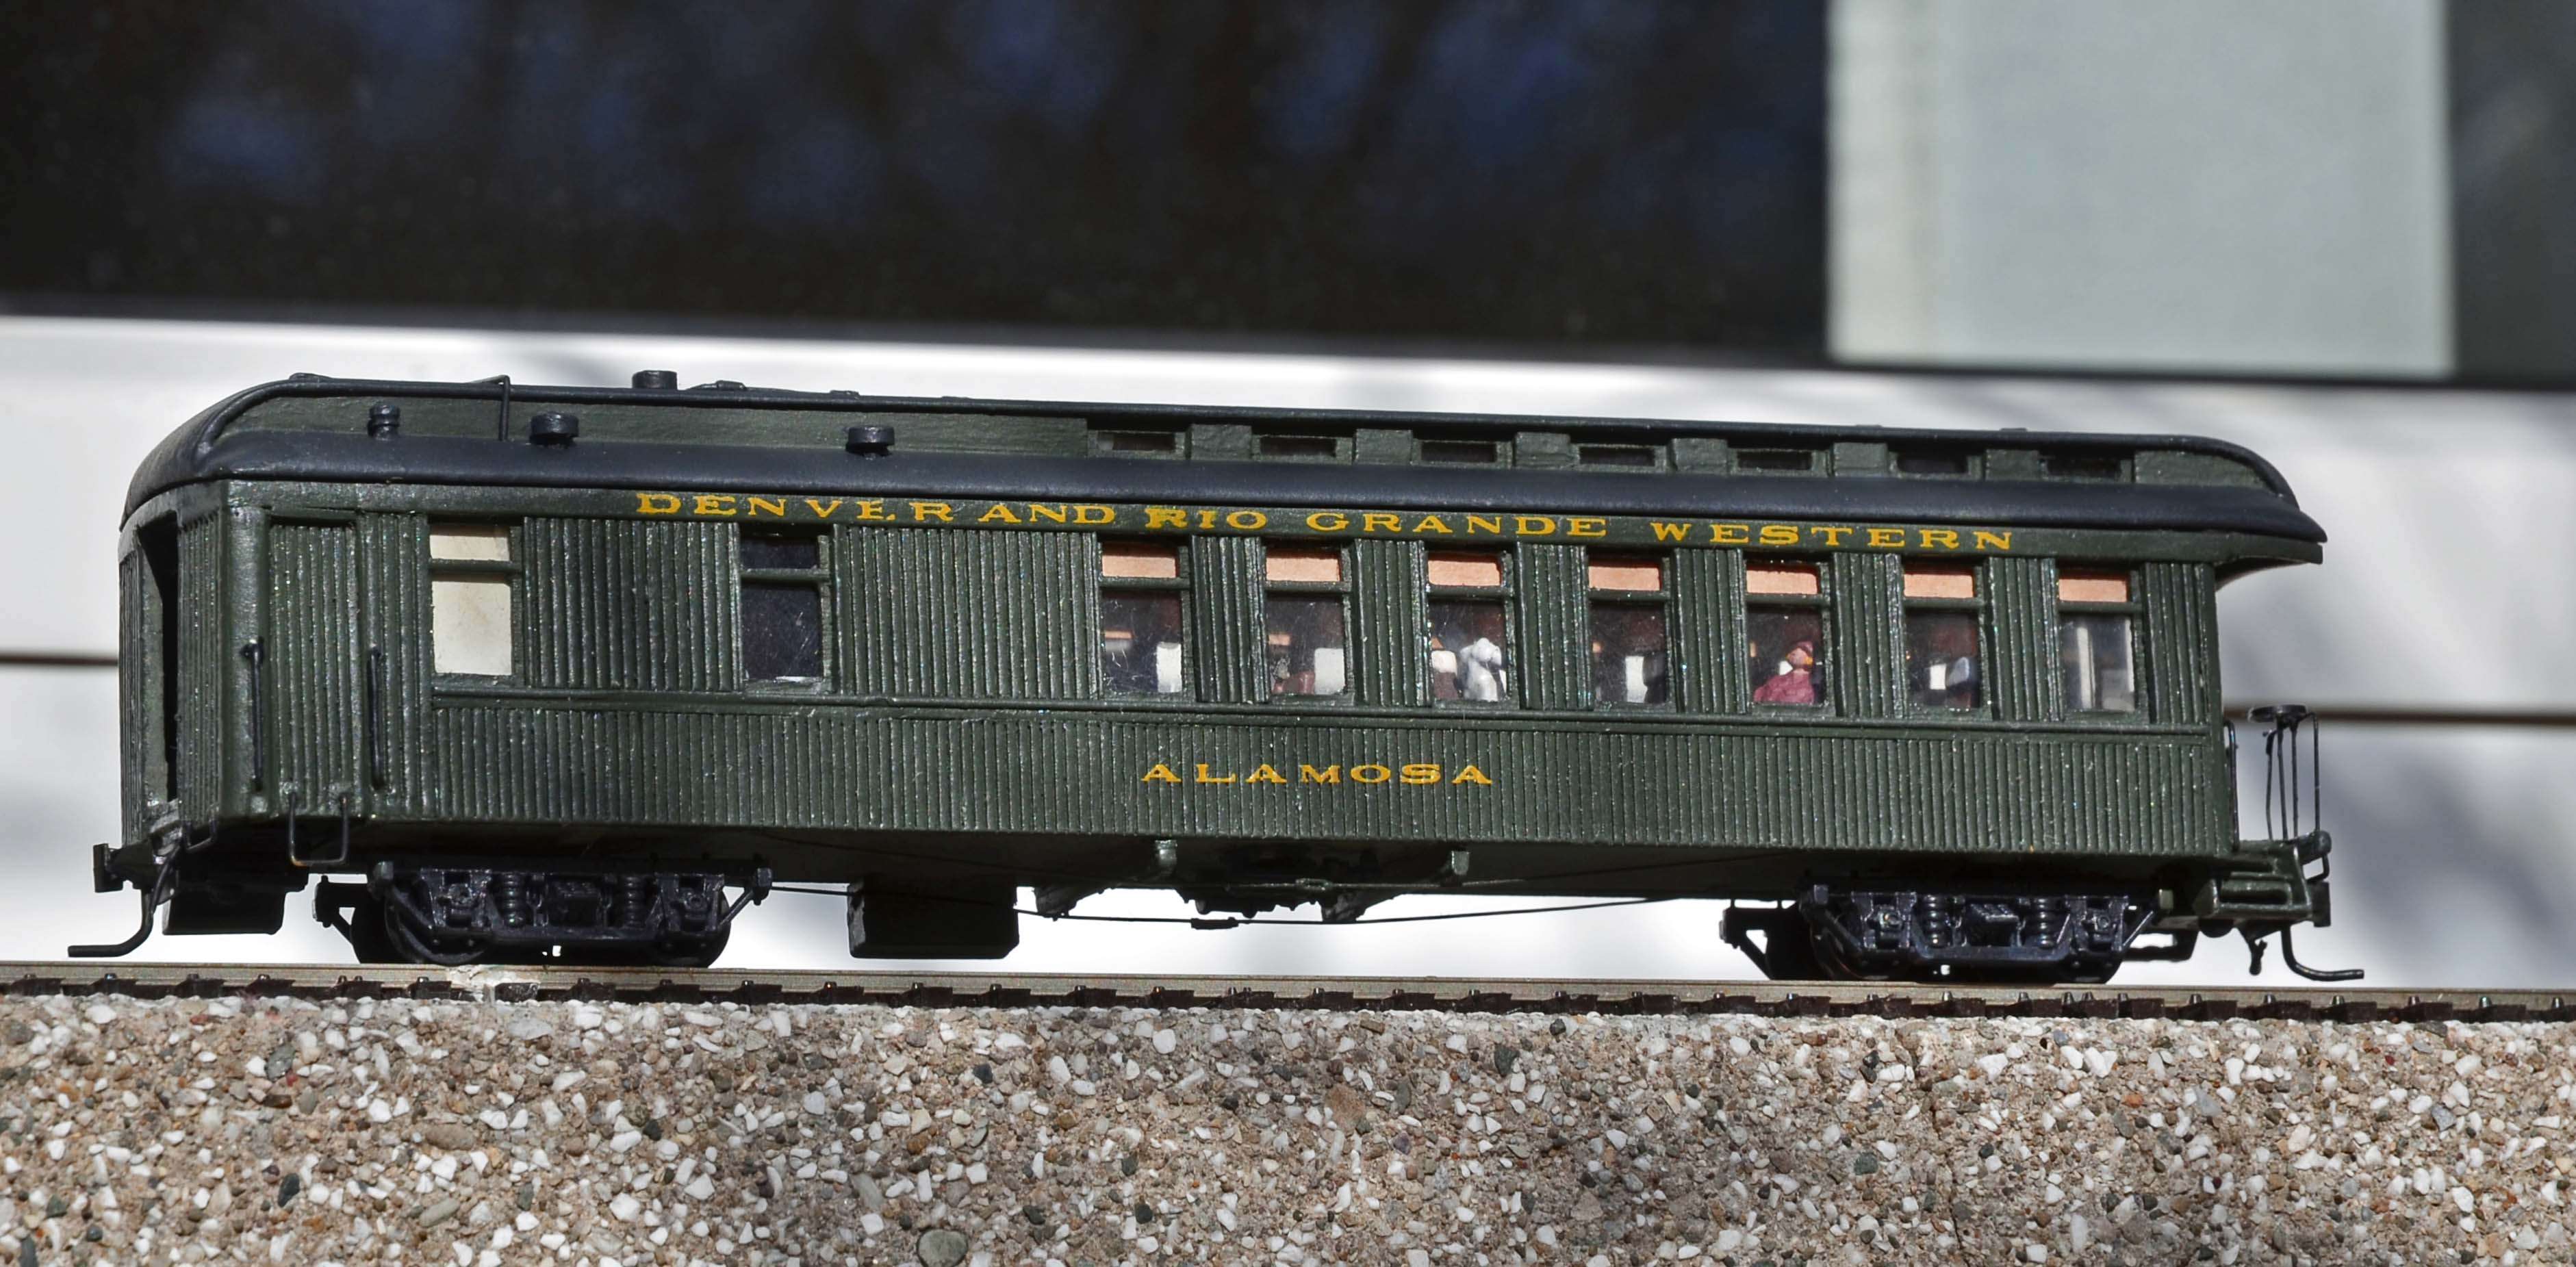
I have done the same kit but for the D&RGW Alamosa parlor car:

dsc4545r.jpg


Peter
 

Bill Nelson

Well-Known Member
SMLA-1 rr trim#1.jpg SMLA-1 rr trim#2.jpg SMLA-1 rr trim#3.jpg Peter, that is an excellent car, and built as designed. Mine, built for the State line RR , on the TN NC border, may stray some from purity.


where did you get info on placement of the roof details, and undercarriage details these seemed to be lacking on the instructions.


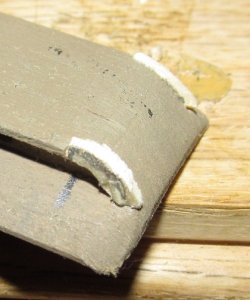
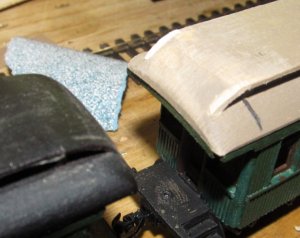
I got home from work this morning and did some work on the roof end trim, possibly the trickiest part of building one of these fine kits
 
Last edited:

Bill Nelson

Well-Known Member
C-16 & plr cr w blk rf.jpg I got a first coat of black on the roof to the parlor car, I still have a lot of detail work to do on the roof. I was finally able to locate the plans (they were under a stack of stuff near my work table, so I can start to look at my wood supplies and see if I have some material that would make good interior walls , which might determine if I do some rudimentary work on the interior. with the plans I know where the bathroom kitchen walls go, and where the dinning nook is, which would be enough to start.. But more important than that right now is the roof and undercarriage detail


The Blackstone C_19 went back up to the RR room, it doesn't run smoothly with the cheap throttle on my work bench. it does better up on my layout, but really wants DCC, like most dual mode locomotives.


My Westside C-16 came down to the work bench. With it's locodoc motor conversion it runs as smooth as silk on the work bench
 
Last edited:

Bill Nelson

Well-Known Member
SMLA-1prlcr rf det #2.jpg I have added the little raised panels between the celestory windows. they are in unpainted wood, and show up on the black roof very clearly. they will mostly disapear once painted black.

I did this with some divergence from the plans, which seemed to show a single raised panel in the short curved ends, and along the kitchen end of the car, which has it's celestory windows filled in.

since I am making a generic car, and not the Alamosa, I'm doing it my own way. Also I think the plans may show the Alamosa in it's current state, I don't know for sure. It was built as a coach, converted to a parlor car, converted back into a coach by the Durango & Silverton, and then later rebuilt back into a parlor car.

In any case the drawings do not show a smoke jack, or give info on roof vent location for kerosene lamps. I will probably try to extrapolate some reasonable location for the lamp vents. I may wait on the smoke jack, as if I do an interior later, Placing the stove properly will determine the needed smoke jack location. Nothing is more frustrating than doing a passenger car interior and finding the smoke jack on the roof puts the stove in a place that makes no sense, and having to re do the roof.


Bill
 
Last edited:

petergloor

New Member
Bill Nelson;942131 where did you get info on placement of the roof details said:
Thanks. I just looked at a picture I had found in a book, which was taken on the Silverton line from above, it was not very sharp, but I guessed the electrical conduit must be like so-and-so. The kitchen vents were well visible. Forget about the undercarriage details. I just put the brake cylinder and air tank in the middle, this is something that is common to all cars, but I did not bother to model any rods or lines, as this is not seen. The car is made to run on our layout, and most people just look down on the trains.
Peter
 

petergloor

New Member
In any case the drawings do not show a smoke jack, or give info on roof vent location for kerosene lamps. Bill

My version is its early Silverton years before it was repainted into Aspen gold. I don't know if it kept its diaphragm, but there is none available from any detail maker anyhow. The cars lost their coal stoves when they were modernized for the San Juan/Shavano, and thus there are no more smokestacks. Also, they go electric lighting, and the lamp vents disappeared, only to make room for the electrical conduit. I guess there was no room for any stove at all until the car was rebuilt into a coach in the 60's, so the car may not have been heated and not used in cold weather. There was no steam heat on the Silverton line at any time.
Peter
 

Bill Nelson

Well-Known Member
I figure I will use the interior diagram to guestimate a pre electricity interior plan before I add a smoke jack, and keep that plan on hand in case I do an interior later . I make my models to run as well, and much of my narrow gauge is in the background. I don't do much undercarriage detail on my either , on some of the cars I have detailed under there, I ended up having to modify the details to allow free truck movement, and for me operation is critical.

I'm so excited to have decent running HOn3 power, If I were to start a layout from scratch now, my standard gauge might be in the background.

Bill Nelson
 
Z

Zathros

I have added the little raised panels between the celestory windows. they are in unpainted wood, and show up on the black roof very clearly. they will mostly disapear once painted black.

I did this with some divergence from the plans, which seemed to show a single raised panel in the short curved ends, and along the kitchen end of the car, which has it's celestory windows filled in.

since I am making a generic car, and not the Alamosa, I'm doing it my own way. Also I think the plans may show the Alamosa in it's current state, I don't know for sure. It was built as a coach, converted to a parlor car, converted back into a coach by the Durango & Silverton, and then later rebuilt back into a parlor car.

In any case the drawings do not show a smoke jack, or give info on roof vent location for kerosene lamps. I will probably try to extrapolate some reasonable location for the lamp vents. I may wait on the smoke jack, as if I do an interior later, Placing the stove properly will determine the needed smoke jack location. Nothing is more frustrating than doing a passenger car interior and finding the smoke jack on the roof puts the stove in a place that makes no sense, and having to re do the roof.


Bill

Thar car is really beautiful. It looks alive in the picture! :)
 

Bill Nelson

Well-Known Member
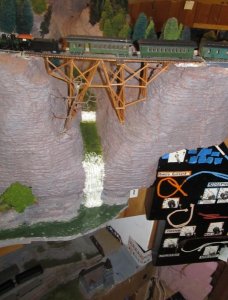
SMLA-1 lbelle cars @  Gegokayoosa #1.jpg SMLA-1 lbelle cars @  Gegokayoosa #2.jpg SMLA-1 lbelle cars @  Gegokayoosa #3.jpg
Thar car is really beautiful. It looks alive in the picture! :)


Thank you Zathros,


I got off of work late this morning, as my relief didn't show, this is the seconf week that happened. I'm wanting to move to that shift (WEEKEND DAYS) SO THAT MAY BE IN MY FAVOR. (I hit caps lock bu acident, and am too lazy to fix it.)


I had always assumed that these Labelle cars would not negotiate the 16 inch radius return loop in Gegokayoosa ( Bleeding nose in Cherokee , I have a medicine man translator), but I carried them up to the fifth level of my RR, to test them on the loop that is six feet four inches above the floor, and I was astounded to finf there is no problem, and they go around like a charm. these cars won't be going back to the club, except for short visits Although Tight radius return loops could easily make the club's narrow gauge a lot more interesting.


Also I am considering making some kind of portable Hon3 layout, and if I can go to a 16 inch radius lots of stuff is possible. My NWSL/Keystone shay wont do a 16 inch radius, but my PFM benson shay will do 12 inches, My Con-cor Goose Pierce Arrow kitbash, that I make from a buss bodied goose, before they released a PA goose, will go around the 16 in radius just barely, the freight body contacts the car body

video link


Nelson
 
Last edited:

Bill Nelson

Well-Known Member
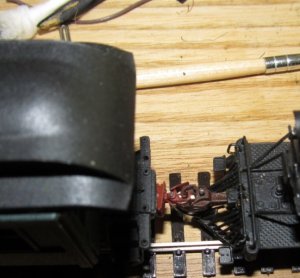
SMLA-1 C-16 frnt  coupler  #2.jpg SMLA-1 C-16 frnt coupler.jpg The Labelle passenger cars are up on top of the mountain, in Gegokayoosa with the Blackstone C-19. the passenger cars still need handrails and a little other detail work .


My Westside C-16 came down to the work bench not because I was wanting to work on it, but because I wanted to watch it's sikly smooth mechanism go back and forth on my workbench. I had previously taken a drill to the scale coupler pocket hoping to open it up enough for a coupler. I had given up on making enough room for a coupler box , as that wouldn't leave enough of the pilot left. I was cleaning up the work bench and I found a plastic magnetic coupler that looked close to scale, off of a standard gauge locomotive. I remove plastic couplers from locomotives, as the KD's are a lot stouter. A scale size standard gauge coupler, is actually correct for the D & RGW, which used standard gauge couplers. The KD 714 Hon3 couplers are overscale for a three foot gauge coupler, and they couple well with a scale size HO coupler. the plastic shank on the Ho coupler was easy to cut and trim until it would fit nicely into the hole drilled into the scale coupler pocket casting on the cowcatcher of the C-16. I used an end cutter to cut down the trip pin, and used a construction adhesive to glue the plastic coupler shank into the hole in the scale coupler pocket n the C-16's cow catcher. the coupler is fixed, it can't move from side to side, and it won't uncouple magnetically, but it will probably be seldom used, but this will allow doubleheading, and pushing trains.


Nelson
 
Last edited:

Bill Nelson

Well-Known Member
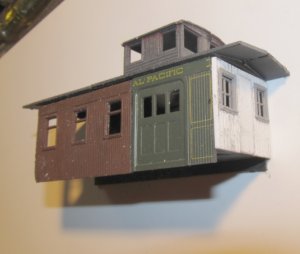
ASL rpo & cbss.jpg leftover parts kitbashed caboose

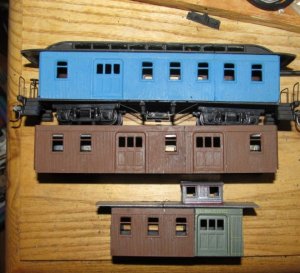
I have cut down some long MDC wooden baggage cars to make shorter , coach, combine and RPOs. I had some leftover pieces, and I added some leftover MDC caboose parts to start a HON3 combine caboose. this is only my second HOn3 caboose the other being a tiny 4 wheel C&S caboose built from a Grant line kit.

I don't have a frame or floor to work with, so I will have to scratch them and the end walls, but this has been fun so far.

the kitbashing of the Ho gauge cars is documented in the Logging mining and industrial railroad section in the logging in eastern Tn on the DG CC & W RR thread, and the Bill and Tom's excellent adventure thread.


Bill Nelson
 
Last edited:
Bill Nelson

Well-Known Member
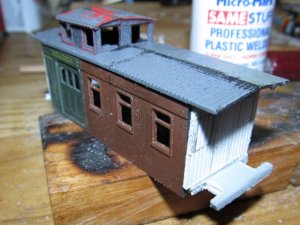
ASL hon3 kb cbs.jpg kitbashed caboose

I'm making some progress on the little caboose made from pieces cut out of shortened HO baggage cars.


I have built one end wall with some evergreen styrene and some Tichy train group windows
 
Last edited:

Bill Nelson

Well-Known Member
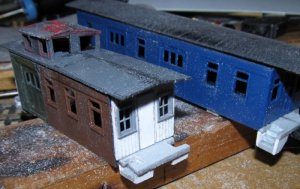
ASL HOn3 caboose #5.jpg more caboose!

Thanks Tyler, this has been an interesting project, and well overdue. I have been messing with HOn3 since 1974, and this will be only my second caboose. the first is a little C&S 4 wheel caboose built from a Grant line kit. It is down at the club; so tiny and light You can sneeze across the room and blow it off the tracks.

I separated the cupola, and sanded down the bottom a little so it didn't stick up quite as tall. when I cut the windows for the other end wall, I want to lower them down to the level of the windows in the side wall. the windows in the baggage end are higher, with the bottom sill even with the windows in the baggage door.


I have also cut a frame/ subfloor for it and used my nibbler to cut slots for the steps , which I will build up like the ones on my RPO project documented on my main thread Over in the logging mining and industrial section.
 
Last edited:

Bill Nelson

Well-Known Member
ASL cbse #6.jpg caboose steps

caboose steps!!!

I sanded off some of the letter board, and that lowered the roof a little.

I will need to test fit some trucks under it, the big question, passenger trucks or archbars? I'll test fit some and see how it looks
 
Last edited:
Top