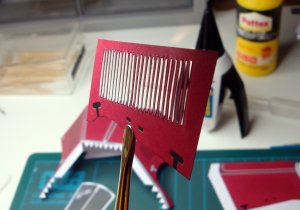
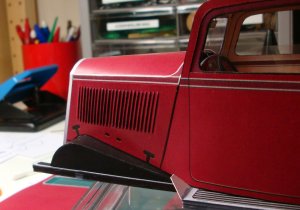
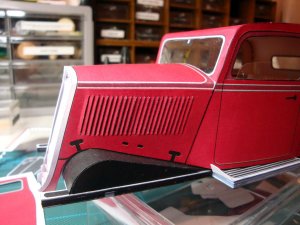
I had a little incident on my build. I was so depressed with it that I was very close to trash my work in progress and start over from the beginning... But let's go in order.
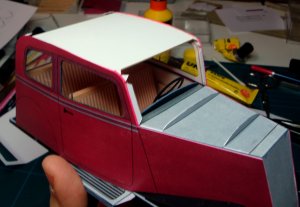
This is the heavy cardboard piece that closes the ceiling giving shape to the roof of the car.
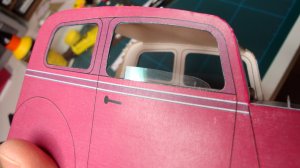
The original piece had no color, it was not printed. I decided to paint it because it's clearly visible from the windows.
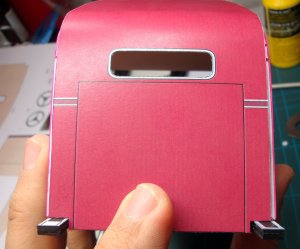
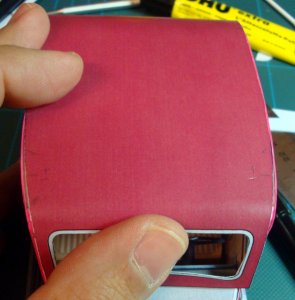
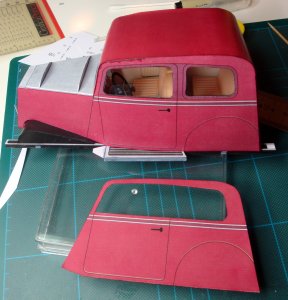
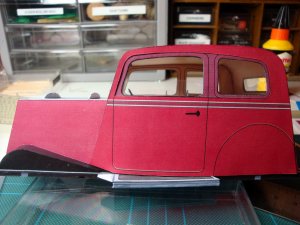
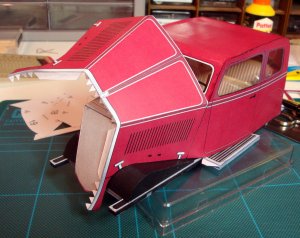
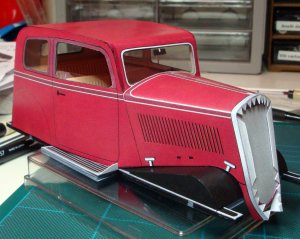
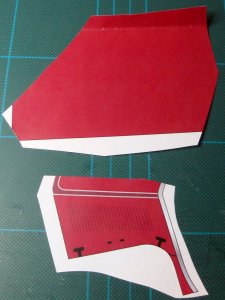
...and here is the problem. The upper bodywork piece doesn't fit with the existing sidewalls. There is more than a millimeter at every side in the rear wall and other gaps in the front part as you see.
I redraw the piece leaving something more than needed to be able to trim the excess once the part is in place (melius abundare...)
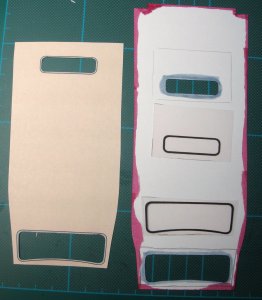
Redrawn the ceiling with the new shape.
Prepared the "glass" pieces for windshield and rear window.
Prepared an inner sheet with interior colour to be glued to the underside of the ceiling.
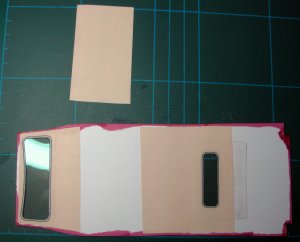
The parts are now glued togheter.
I cut the central section (not visible under the heavy cardboard seen above) to concentrate my attention to the windows (I prefer to glue only one window at a time).
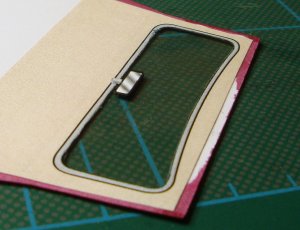
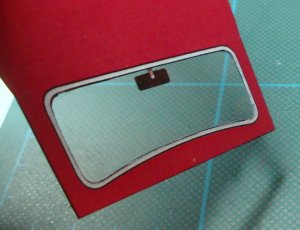
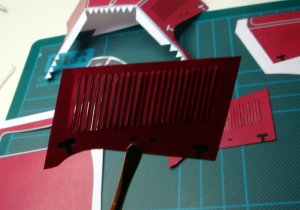
Prior to place the ceiling I glued the rearview mirror to the inside. Nice detail!
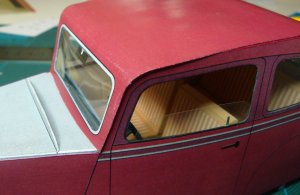
Now this edge is not flush with the side wall. I tried to cut the excess with scissors and ... TRAGEDY!!!!! The scissor blades scratched away big sections of ink from the parts.
Conclusion: NEVER USE LASER PRINTER FOR YOUR CARDMODELS ! ! ! ! I swear I'll not do it nevermore!!!
I choose laser print to have a more "glossy" look, I thought it would be better for a car.
But the laser pigment has very low "grip" on the paper. Only touching it with fingers changed the color of the bodywork.
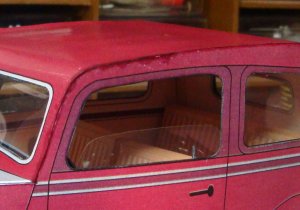
Now the scissors have produced big white scratches.
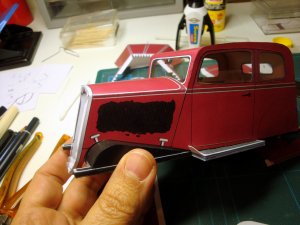
I have ruined my car. I tried to retouch the scratches with a felt tip pen but the result is a disaster!!!
...continues...


