Dr Tetrode's Valkyrie build.

dr_tetrode

Active Member
Hi,

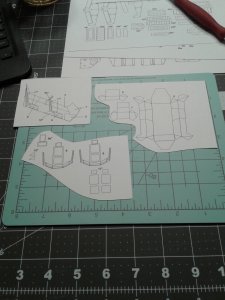
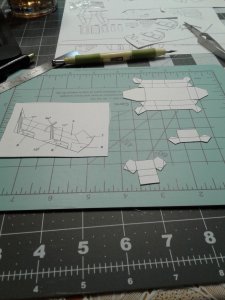
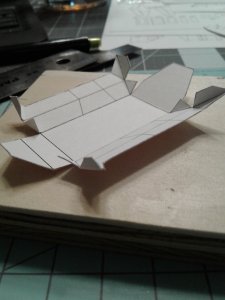
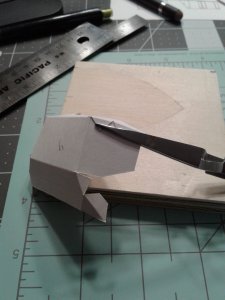
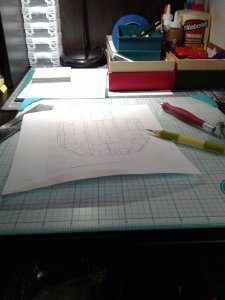
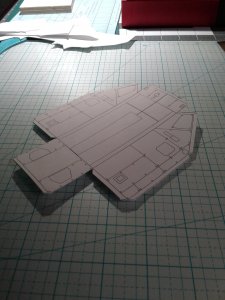
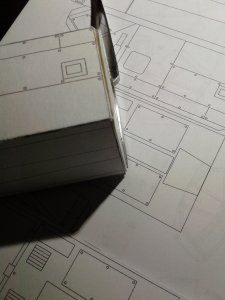
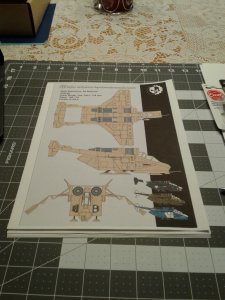
I am starting on the Valkyrie, from Armourman's collection, thank you! I am just starting in the paper realm so this will be for my benifit of recording the process, asking questions when stuck and learning the process of building a complex(?) model. I like the look of the Valkyrie, so that is why I am attempting this. The model is all line art, with no color. I will build it this way the first time to learn how it goes together. I need to learn the techniques, methods, tips and tricks of this craft. So far, it has been fun!20190602_142122.jpg
 
Last edited:

dr_tetrode

Active Member
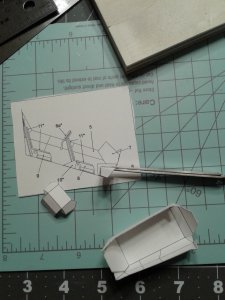
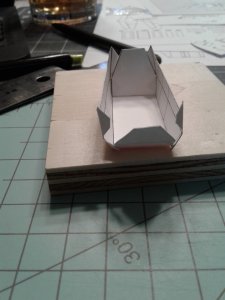
Then the cockpit itself. Slowly figuring out what goes where, but am confused. The outer shell makes sense, but, I am not sure about parts 6 and 7. Looks like 6 belongs in front of the pilot, but, on the floor? When rotated, like the drawing, it looks like a tall foot rest? To be installed inside the shell? Part 7 looks like the instument panel.

20190602_165240.jpg20190602_170506.jpg20190602_170736.jpg

20190602_194910.jpg20190602_195532.jpg20190602_175521.jpg
 
Last edited:

dr_tetrode

Active Member
Thanks guys!

Step by step, in unknown order, but sure is fun solving the 'puzzle'.

I have a question, what are some methods to coloring paper models? I know if you can get a kit in color and print in color, that works.

Thanks,

Scott

Happy cutting!
 

Sudsy

Well-Known Member
Thanks guys!

Step by step, in unknown order, but sure is fun solving the 'puzzle'.

I have a question, what are some methods to coloring paper models? I know if you can get a kit in color and print in color, that works.

Thanks,

Scott

Happy cutting!

Welcome to the world of manufacturing! Nothing but the drawings...
 

Rhaven Blaack

!!!THE MAN BEHIND THE CURTAIN!!!
Staff member
Administrator
Moderator
You are off to a great start on this project! I will be watching it closely.
 

Sudsy

Well-Known Member
Oh, by the way, lesson learned from the Vulture, and I'm sure the Valkyrie is not much different (same cockpit and all from the plans...), put some weight in that nose prior to final assembly. Preferably under the cockpit somewhere, whenever you get around to building the nose of the aircraft. Not sure how the Valk compares in balance to the Vulture, but I'll bet a six pack of root beer that it's similarly rear heavy.
 

Gandolf50

Researcher of obscure between war vehicles...
Staff member
Moderator
Thanks guys!

Step by step, in unknown order, but sure is fun solving the 'puzzle'.

I have a question, what are some methods to coloring paper models? I know if you can get a kit in color and print in color, that works.

Thanks,

Scott

Happy cutting!
You couldn't follow a better example than @Sudsy Vulture build for coloring your model...

Other ways are using cheap spraypaint as the model is built... or $$$ and use software to read in the PDF and color using Photoshop or Corel Paint ...

Some FREE alternatives that will read in the PDF are Inkscape ( just for basic coloring/fill very complicated for anything else) and I believe Gimp will also work... and is a lot more like Photoshop.

Yes just checked and GIMP will import the pages out of a PDF

3 second color in gimp using fill and airbrush tools...

Gimp-Import.png
 
Last edited:

Sudsy

Well-Known Member
You couldn't follow a better example than @Sudsy Vulture build for coloring your model...

Other ways are using cheap spraypaint as the model is built... or $$$ and use software to read in the PDF and color using Photoshop or Corel Paint ...

Some FREE alternatives that will read in the PDF are Inkscape ( just for basic coloring/fill very complicated for anything else) and I believe Gimp will also work... and is a lot more like Photoshop.

Yes just checked and GIMP will import the pages out of a PDF

3 second color in gimp using fill and airbrush tools...

View attachment 172070

Hmmm.... Ideas...

Nah, I still like the black and white templates with the paint. But seeing that GIMP will open PDFs, I might just have to cut/paste and change page layout to match my US Letter size from A4 in the future!
 

Papa Mashy

Masher of paper
Looks like a good start to me. I don't know much about this genre, but I shall be interested to see how the build goes and the challenges you encounter and overcome. :)
 

dr_tetrode

Active Member
OK, cockpit finished.
Keeping things square is a challenge, did my best.

Lesson or comment. Items 6 and 7 should be built together as the form the console and instument panel, then installed. I did them seperatelty and item 6 ended up off center.

I see some parts marked with an asterix is the plans / drawings. Looks like they are overlays on other parts. Is that the correct interpreation?

Thanks for comments on coloring. GIMP can become a whole new hobby! I did not know that PDFs can be imported. That may get interesting. Yes, Sudsy's paint technique would work. But I don't know what is an assemply or not, on this model, yet. Hate to prime something and then can not locate where another part goes on it. ;-)


View attachment 172093 View attachment 172094 View attachment 172095 View attachment 172096 View attachment 172097 View attachment 172098 View attachment 172099 View attachment 172100 View attachment 172101 View attachment 172102
 
Last edited:

Gandolf50

Researcher of obscure between war vehicles...
Staff member
Moderator
Hmmm.... Ideas...

Nah, I still like the black and white templates with the paint. But seeing that GIMP will open PDFs, I might just have to cut/paste and change page layout to match my US Letter size from A4 in the future!


YES!!! For re-scaling it is PERFECT!!! If the PDF includes the vector file, then you can do TONS of things with it using GIMP, but a better alternative is Inkscape as it is a VECTOR EDITOR!

Part-1.png

Vector is far better as it will always maintain a clean clear line no matter how much it is scaled!!
The only way to know if it has vector data is to just import into Inkscape and find out! 8/10 do!
 
Last edited:

dr_tetrode

Active Member
That is nice to know. What are the goods and bads, copyright related to resizing and coloring, for others, not just yourself?

Scott ;-)
 

Gandolf50

Researcher of obscure between war vehicles...
Staff member
Moderator
That is nice to know. What are the goods and bads, copyright related to resizing and coloring, for others, not just yourself?

Scott ;-)

If it is given away as a free model under the Creative Commons Licence, then you can basically do anything to it but sell it! But to be a decent modeler you should ALWAYS ask permission from the author if at all possible, and give them credit for the original, if you plan on re-distributing it!
 

zathros

*****SENIOR ADMINISTRATOR*****
Staff member
Administrator
Moderator
If you don't redistribute it, you need ask nothing. If you make parts to enhance the model, and post them as a separate alternative, you need not ask anybody.

I am not sure with resizing the model to U.S.. paper size as being a violation, however, I doubt the author would mind, and may actually do it for you, and on his website. Again, if you don't distribute it, you need not ask, but distribution, well, it's a matter of courtesy, but I personally don't view resizing the model as changing the model, as long as you give all credit to the original author, with links to his page. face it, you aren't changing the model, just the size, and what could a model designer say "No?". If so, I would re-size it anyway, and keep any redistribution private.

I just don't see that being the case though. These free models by these generous authors want to see their models built by many people. It is in their interest to say "Yes", and many times, asking let's them know that they need to do so, and the feedback becomes appreciated.

Bottom line, send an email, ask the original designer if he would consider offering a U.S. paper size, and if not, would he mind you doing so, for redistribution, and maybe upload to hear, noting he could have it removed whenever he wishes. Check to see if he is a member here already, you could get a response quicker, and there will be a confidence established, as he can then see your work on it, which is great, by the way. :)
 

dr_tetrode

Active Member
Thank you for the clear direction, will be referring to this in the future. Depends on if I like this model enough to learn how to color on PC. ;-)

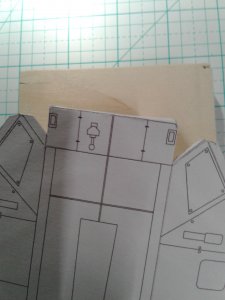
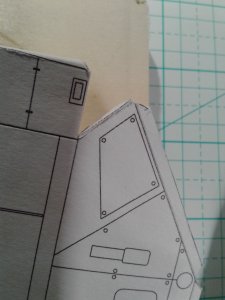
Notes to self. Titebond III did not work well as a laminating glue, hard to get thin and when dried, even between to 12" ceramic tiles, even with a paper towel to absorb moisture, pages came out curling. After cutting, where in it felt like I was cutting plastic, it is still curling.

20190609_200710.jpg 20190609_203015.jpg


Tabs, that were laminated, are hard to bend, scored on top, and the glue won't let them bend.

20190609_203419.jpg 20190609_203431.jpg


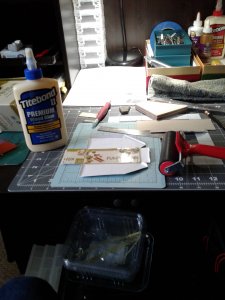
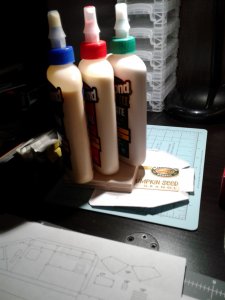
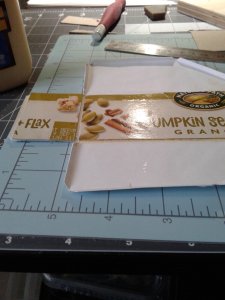
Next attempt a laminating. Found a cereal box, cut to inside dimensions and used TiteBond II, this time, spreadable and got a thinner layer. Also used newly purchased brayer on the lamination, and put 1 1/2 pounds of glue on top for 15 mins. Actually came out flat, this time.


20190613_183408.jpg 20190613_210501.jpg 20190613_183417.jpg


Next, starting to glue the box together, finding out that thickness of laminations has an impact at the corners.


20190613_212521.jpg 20190613_212542.jpg

So, this build is just to learn as I go.

Having fun, hope you are too!

Scott ;-)
 
Last edited:

Sudsy

Well-Known Member
Hmm... Tiles and paper towels... Not much air flow. I've not had too much trouble laminating with Titebond III, so long as I allow for more air flow. That, and sticking to the ceral box material. When I made the Vulture wings (which are similar) I was using spray adhessive on the index card stock sheets to avoid the curling inherent in gluing the sheets together. When I ended using the Titebond, it was already lamninated material with that project.

You probably remember the issues I encountered laminating sheets on that one project we worked on when you were visiting. I believe I forgot to spray them with the clear coat which was part of the issue (but then, maybe I did spray them). The parts got rusty from using the scrap steel to compress them. Lesson learned, like your experience above!

I might have to look into a roller like that... Beats my dowel pieces (which sometimes give unintentional wood grain texture...).
 
Top