Dr. Tetrode - Valkryie Build II - attempt with color.
- Thread starter dr_tetrode
- Start date
You are using an out of date browser. It may not display this or other websites correctly.
You should upgrade or use an alternative browser.
You should upgrade or use an alternative browser.
Thanks for all the comments!
Sudsy, this is where you need to be careful to roll and glue while the glue is wet. I rolled them just after I glued the cylinders, and also, I used Aileen's Tacky glue, not our favorite, wood glue. The PVA is more flexible than the wood glue. And... not extremely tight roll.
Scott ;-)
Sudsy, this is where you need to be careful to roll and glue while the glue is wet. I rolled them just after I glued the cylinders, and also, I used Aileen's Tacky glue, not our favorite, wood glue. The PVA is more flexible than the wood glue. And... not extremely tight roll.
Scott ;-)
Last edited:
I use the foam and round tool to shape the cylinder, then glue the ends together. Might make it easier.
Scott ;-)
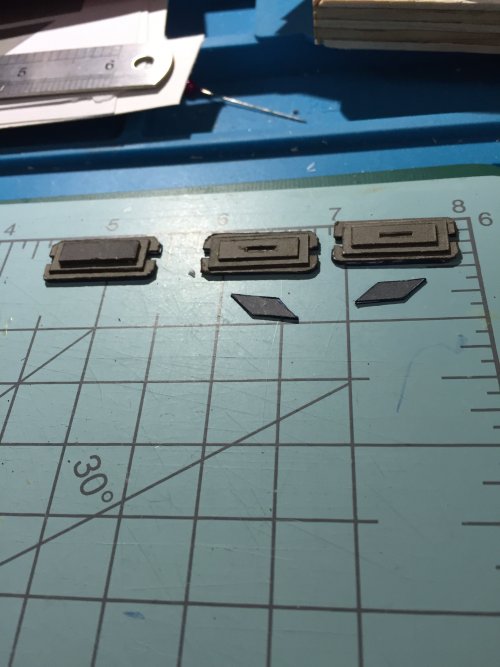
Moving on to more sub-assemblies. I had a devil of a time figuring out how to choose the landing gear. I had built the older Valkryie with the 4 landing skids in a tripod configuration with an extra in the middle back. When building this one, the bottom of the main fuselage had some skids and almost outrigger type landing skids. Reviewing the plans was confusing, since it looks like a mix of the old and new. Sooo, I decide to go with the old tripod arrangement, nose and two on the back fuselage. Tripods are more stable! ;-) So here goes. Laminate and cut out, and color the edges and glue the pieces together.
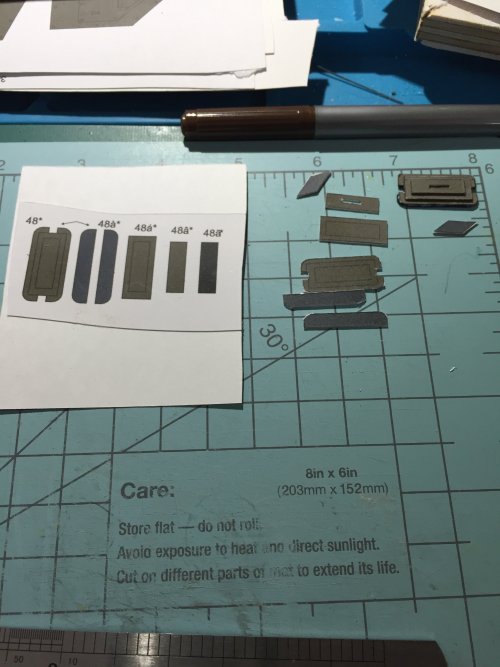
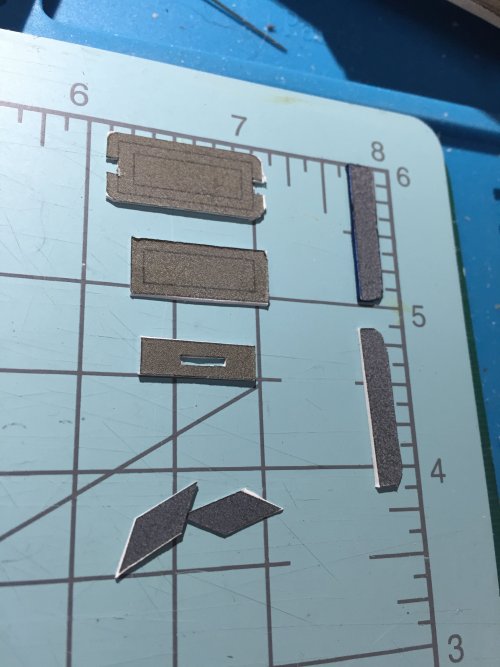
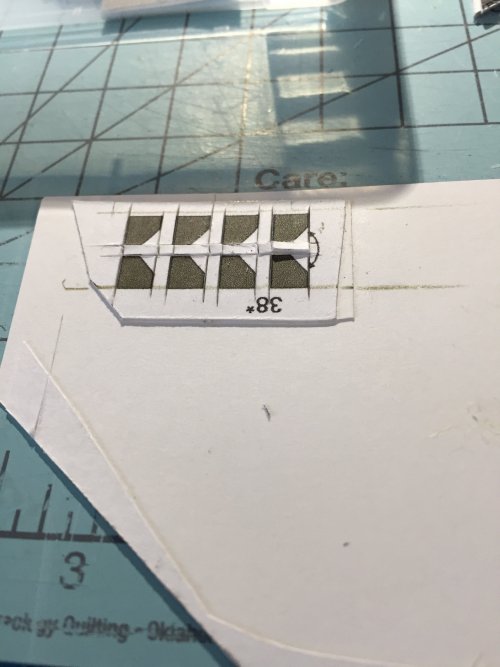
Next, I know I will need some pretty thick braces for the wings when I do them, so laminate the pieces, then laminate them again, cut them out and glue them to each other for thickness.

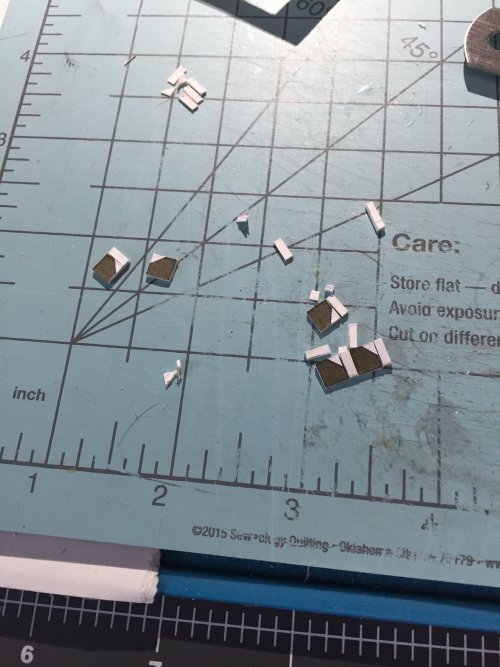
Result: Make sure you don't lose them! I put'em in a box, fro now.
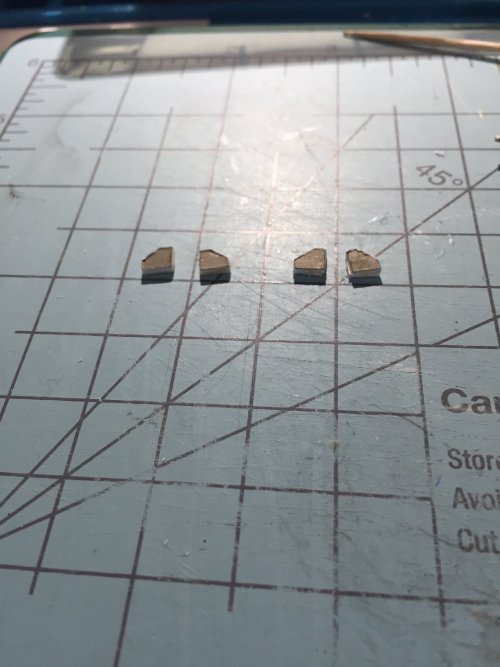
Keep cutting!
Scott


Next, I know I will need some pretty thick braces for the wings when I do them, so laminate the pieces, then laminate them again, cut them out and glue them to each other for thickness.


Result: Make sure you don't lose them! I put'em in a box, fro now.

Keep cutting!
Scott
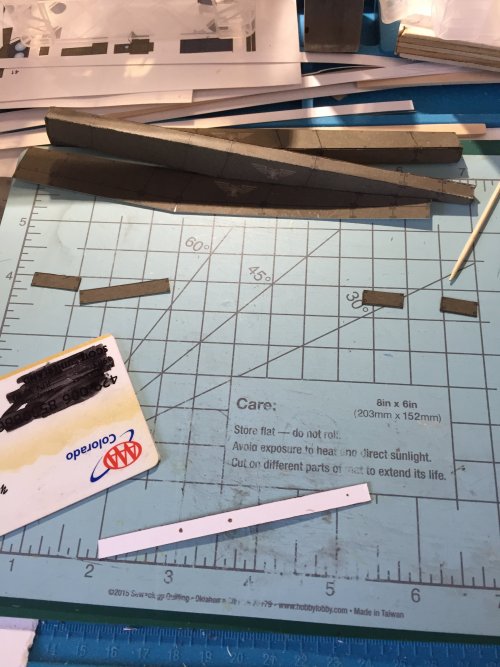
Next is the spars to the tail. First we use an embossing tool to score the fold lines.
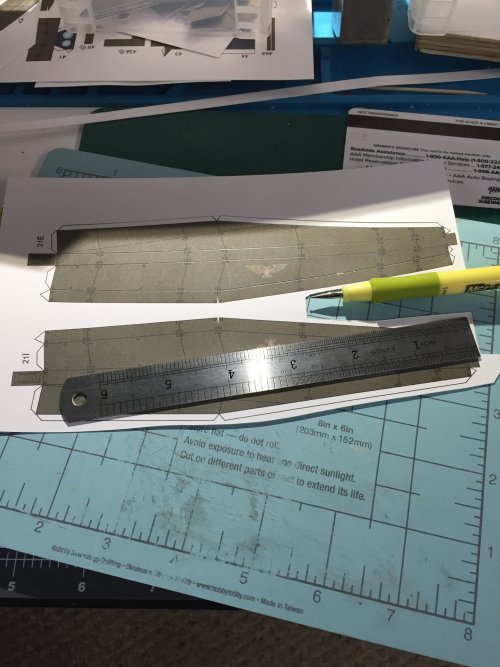
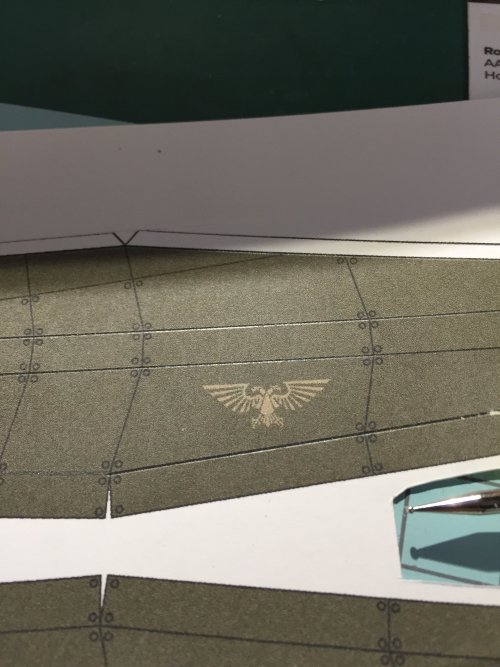
Then we cut them out.

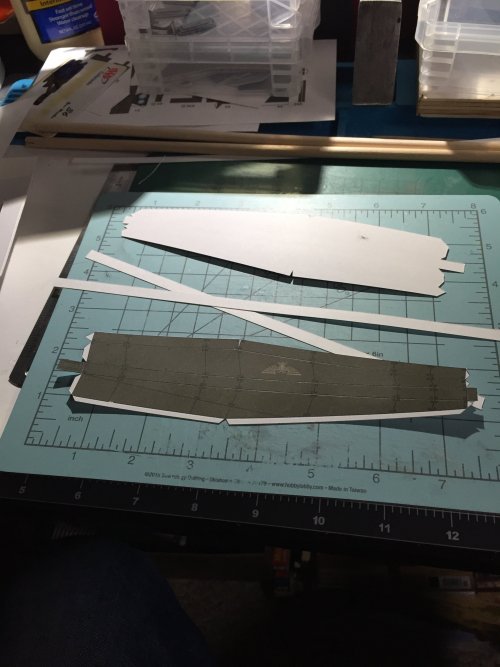
Using a clear box lid, we fold over the score lines.
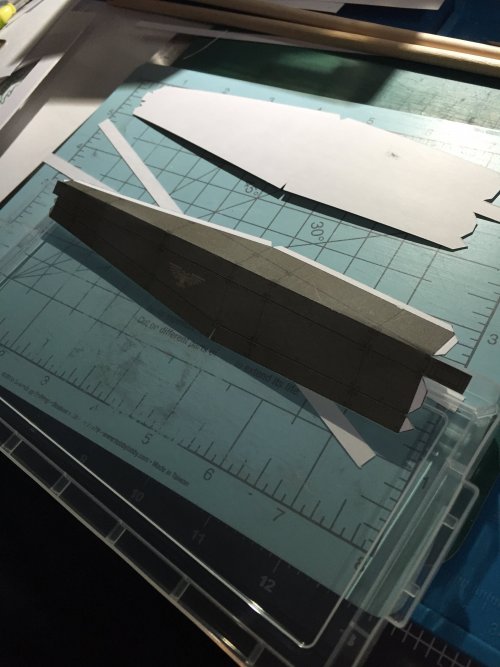
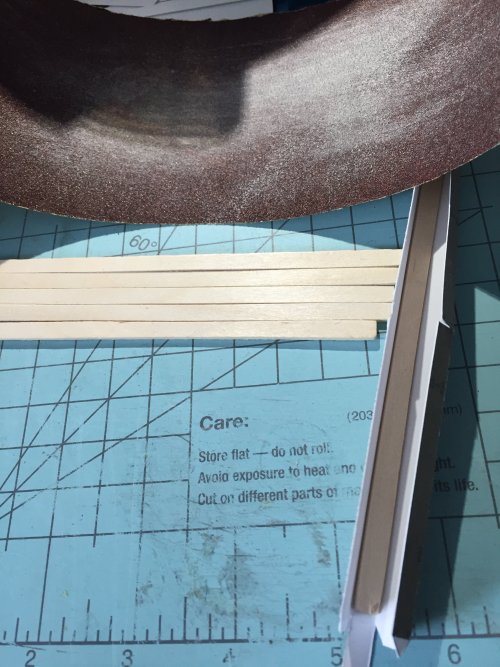
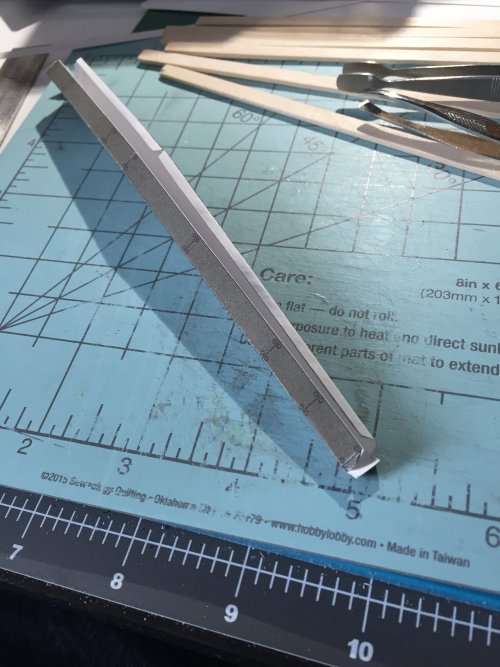
Now to reinforcements.... I found some flat wood sticks in Walmart and sanded them a little to narrow them, then glued them to the narrow part of the spar to prevent it from bending, during my handling of the model.
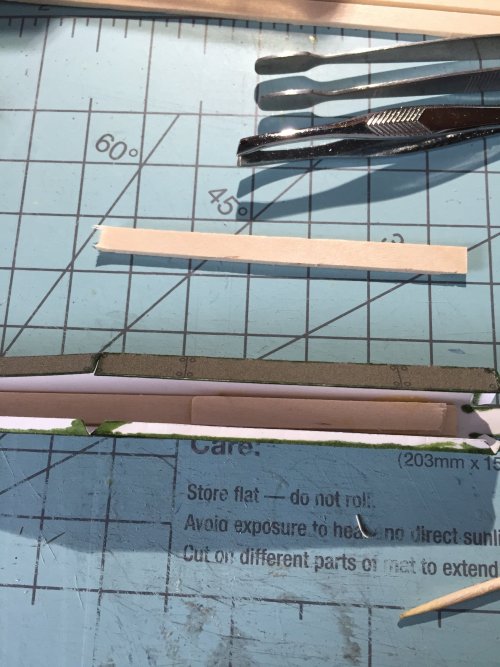
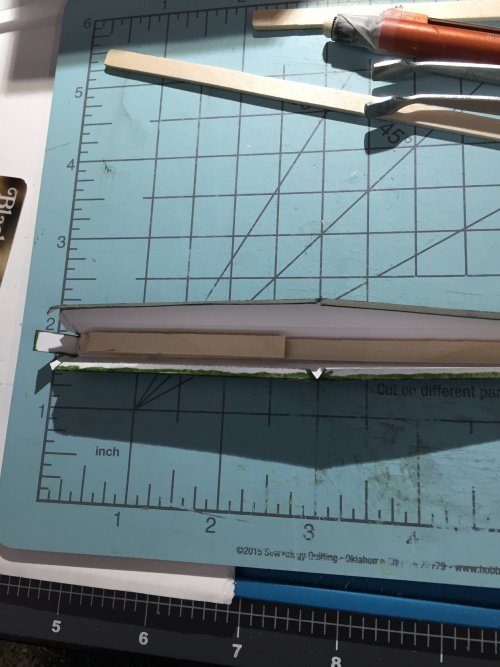
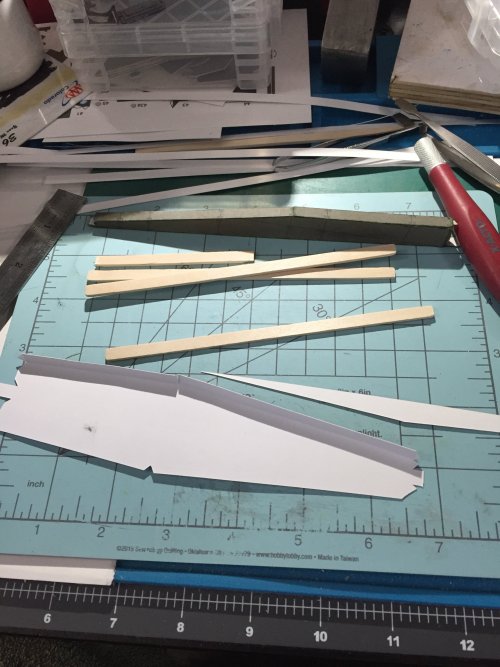
I printed another sheet and cut out a piece to fit inside to help the sides.
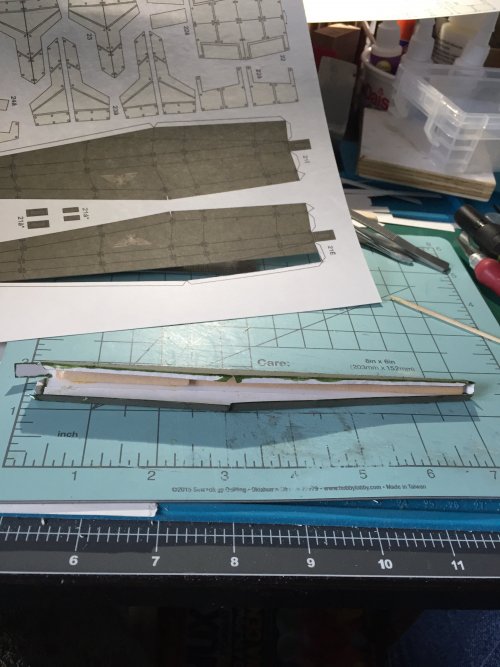
And... done, both are glued up and strenghened.
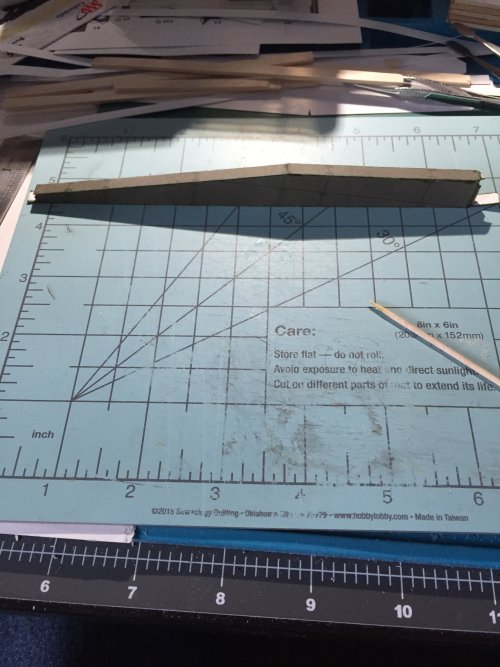
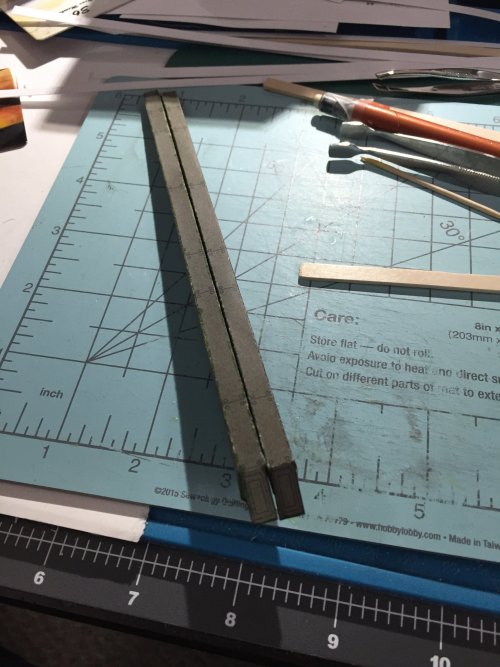
Keep making!
Scott


Then we cut them out.


Using a clear box lid, we fold over the score lines.


Now to reinforcements.... I found some flat wood sticks in Walmart and sanded them a little to narrow them, then glued them to the narrow part of the spar to prevent it from bending, during my handling of the model.


I printed another sheet and cut out a piece to fit inside to help the sides.

And... done, both are glued up and strenghened.


Keep making!
Scott
This is really coming together nicely!!!
Adding the additional panel (as well as other greebles) is what brings this model to life! So, go for it and add the panels (and other greebles).
Adding the additional panel (as well as other greebles) is what brings this model to life! So, go for it and add the panels (and other greebles).
Last edited:
- Apr 5, 2013
- 13,876
- 10,214
- 228
Lamination is our friend! Add the layers! Why just use the sticks to reinforce when you can reinforce even more with added layers of detail (okay, a touch of overkill never hurt).
Okay Okay! I agree with all of you, so here is the process and results.
Begin with printing out a second sheet, going to the garage in 14 degree weather, and spraying both sides with matt finish sealant. Then, waiting forever for it to dry, and finally, when brought into the house, listening to complaints of the smell! That spray was volatile! After an hour it did go away!... Or, I can't smell it any more.... ;-)
Begin with the end pieces, colored and laminated and now applied.
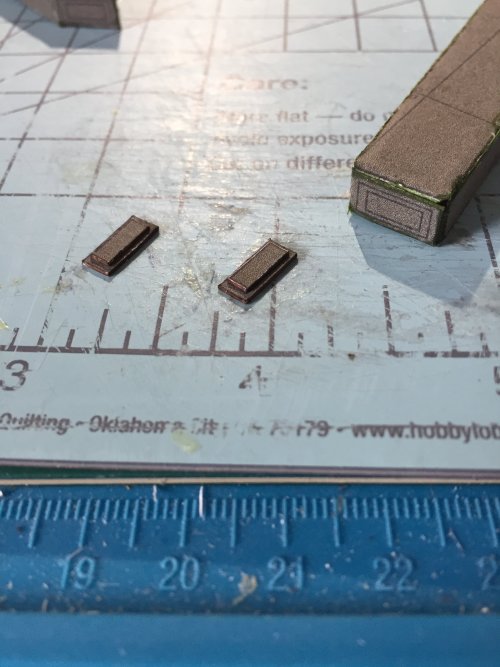
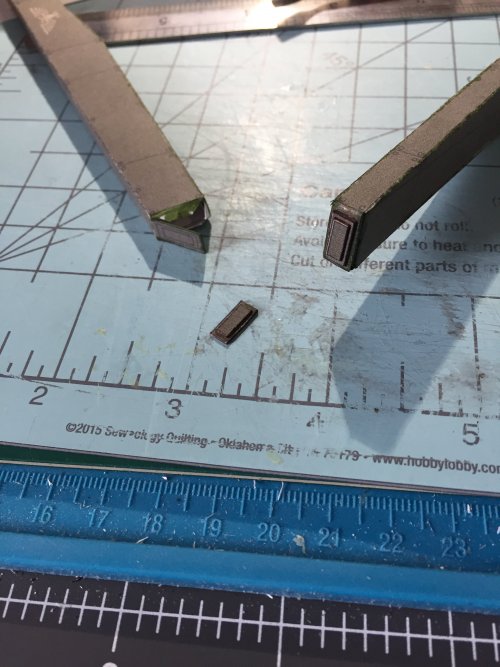
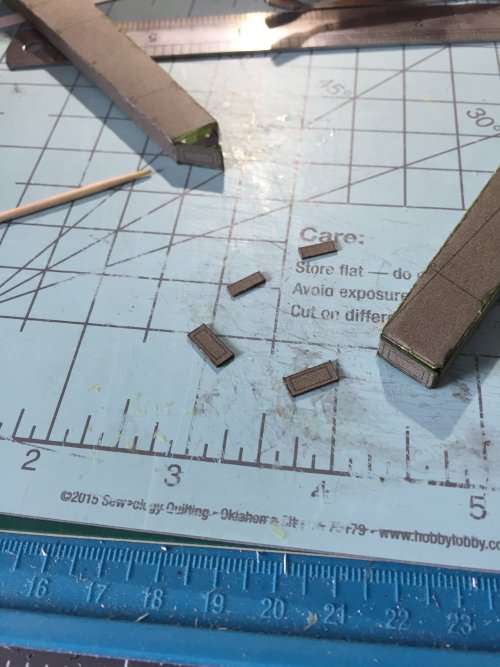
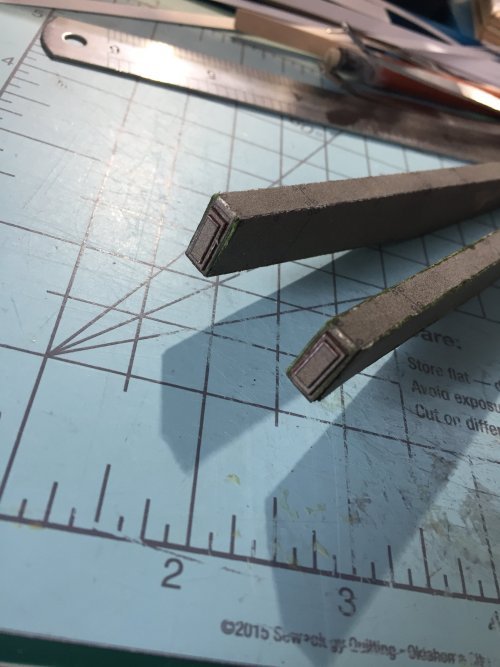
And so the 'greebleing' begins.
Scott ;-)
Begin with printing out a second sheet, going to the garage in 14 degree weather, and spraying both sides with matt finish sealant. Then, waiting forever for it to dry, and finally, when brought into the house, listening to complaints of the smell! That spray was volatile! After an hour it did go away!... Or, I can't smell it any more.... ;-)
Begin with the end pieces, colored and laminated and now applied.


And so the 'greebleing' begins.
Scott ;-)
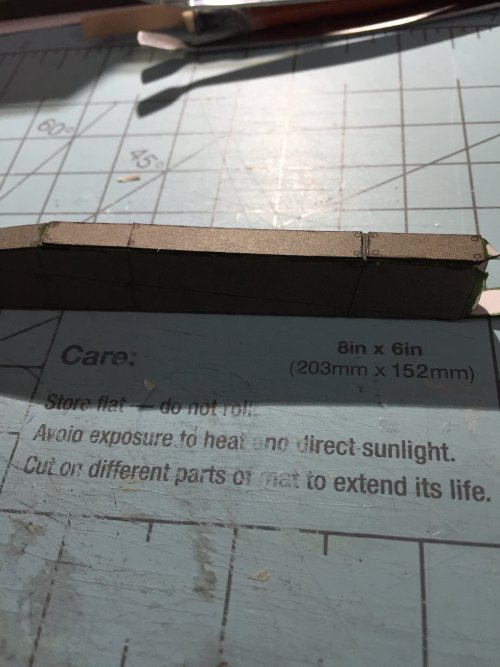
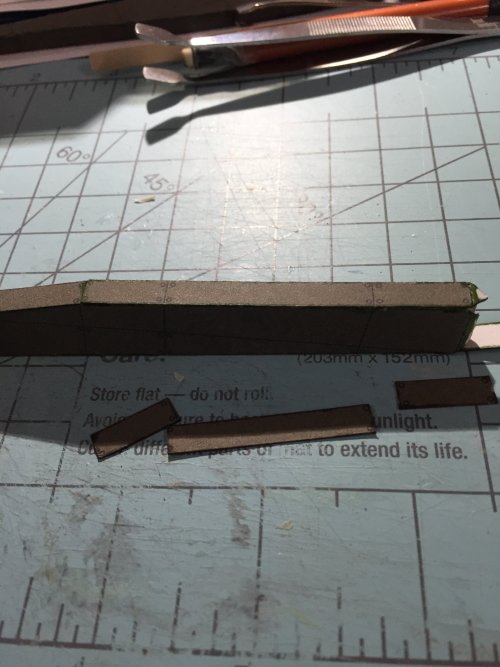
Begin by cutting out large sections, then color each edge, then cut the smaller sections, color their edges and then glue on, carefully!
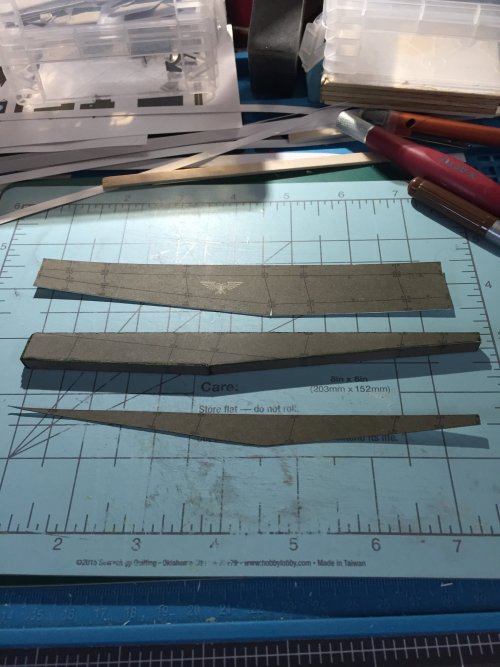
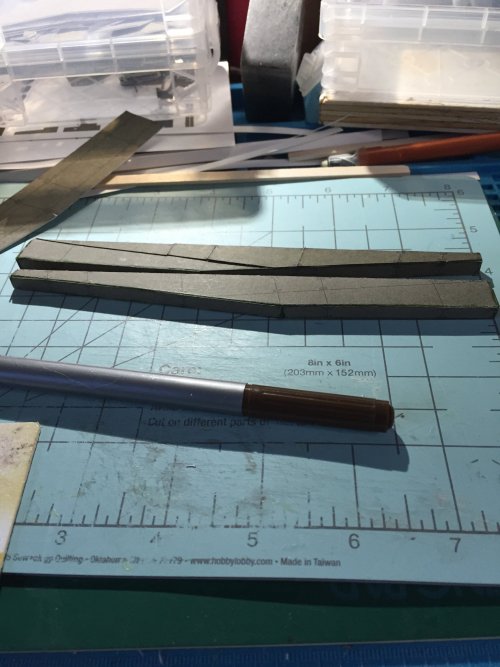
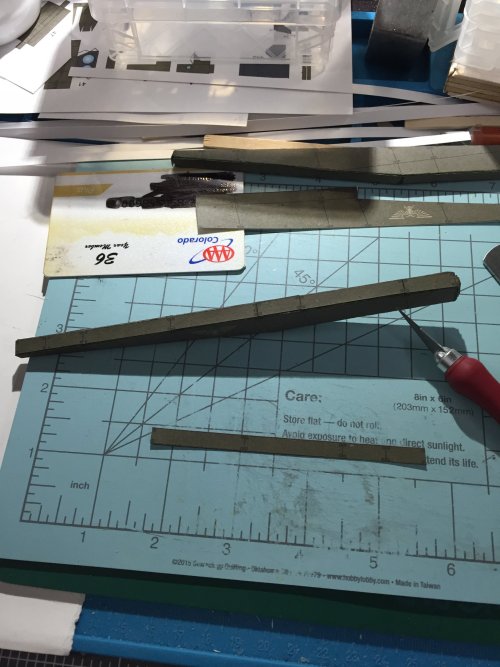
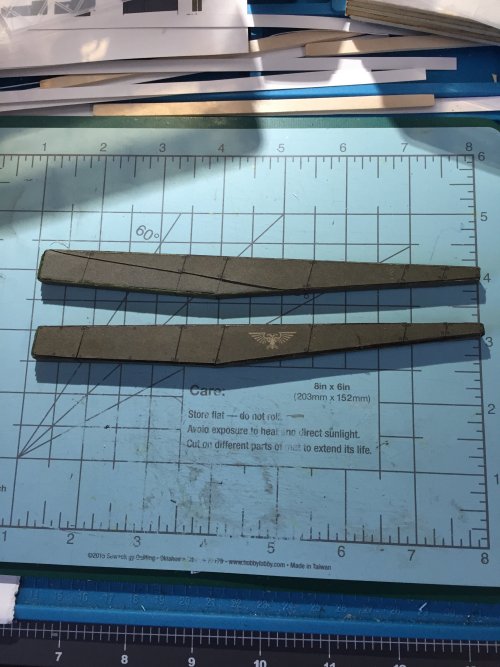
Some results, both booms, one with new layer and one without. I like them, with. When working with rectangles, mark a specific end of each piece before cutting! This prevents them from being glued on in wrong order or orientation! Don't ask how I discovered that one! ;-)
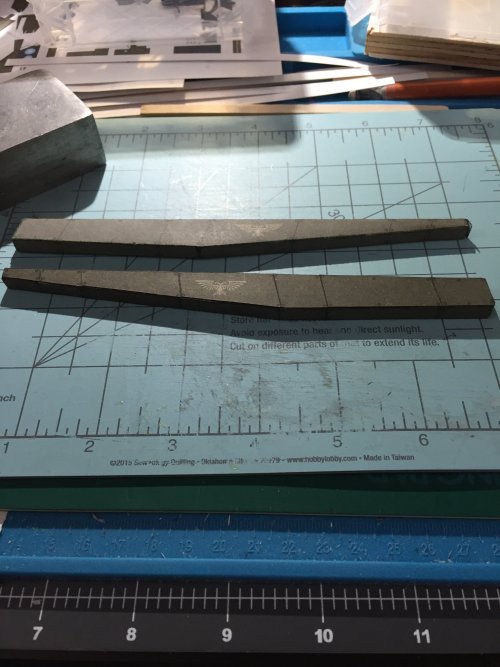
Final result. Looks like the fuselage could use the same treatment, but, much more to do and since this is only my second real paper model, I am still learning techniques that work or not and what to look out for and plan for.
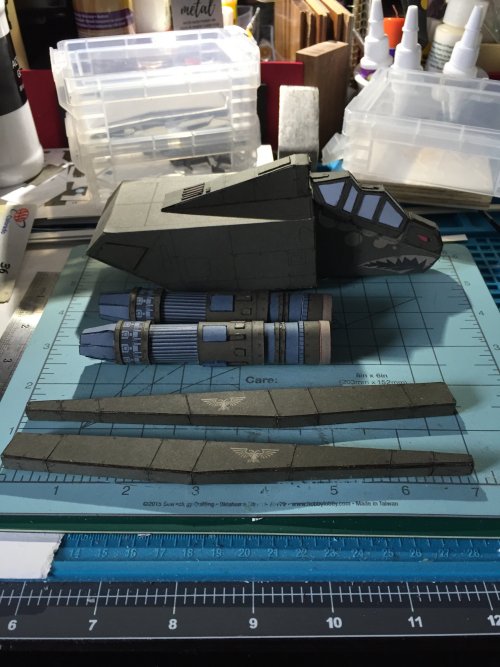
 The major subassemblies, so far.
Now, wings or tail first? That is today's question. ;-)
Keep building!
Scott


Some results, both booms, one with new layer and one without. I like them, with. When working with rectangles, mark a specific end of each piece before cutting! This prevents them from being glued on in wrong order or orientation! Don't ask how I discovered that one! ;-)


Final result. Looks like the fuselage could use the same treatment, but, much more to do and since this is only my second real paper model, I am still learning techniques that work or not and what to look out for and plan for.
 The major subassemblies, so far.
Now, wings or tail first? That is today's question. ;-)
Keep building!
Scott
The paneling really makes the model look more "realistic", and adds depth to the model as a whole!
KEEP U{ THE GREAT WORK!!!
KEEP U{ THE GREAT WORK!!!
- Apr 5, 2013
- 13,876
- 10,214
- 228
Your 2nd real model, are you being real? Most people on their second model, well, it doesn't look like this. Some people with many models under their belt don't looks this, me included). You cut everyting so squared and assemble everything so well. Wow! 
Hello,
Zathros, yes, my second real Paper model... Did a little building in paper, a Canon bulldozer, and that convinced me this was fun. Quite a few Plastic models in my youth, some model railroad modeling. The first real paper model is at (https://www.zealot.com/threads/dr-tetrodes-valkyrie-build.180705/), as you have seen. I am having lots of fun, too.
On to an update. Working on the tail as suggested. Middle of the tail, first. I had to print and coat another copy, not enough pieces on one copy to do all the panels.
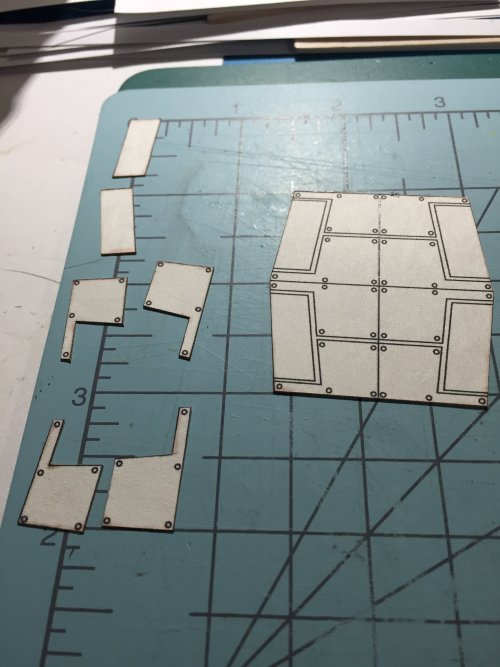
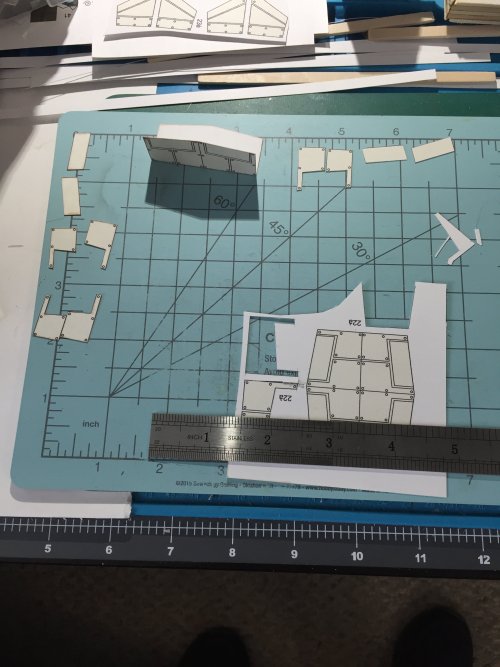
Note that the panels have a 'brown' on the edges that bled into the core of the paper, I am using Prismacolor pens, and they are juicy, I kind of like the look of it, so, will keep doing it.
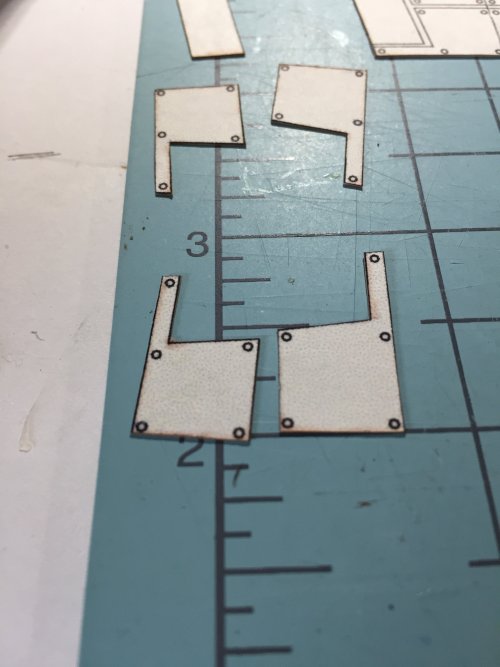
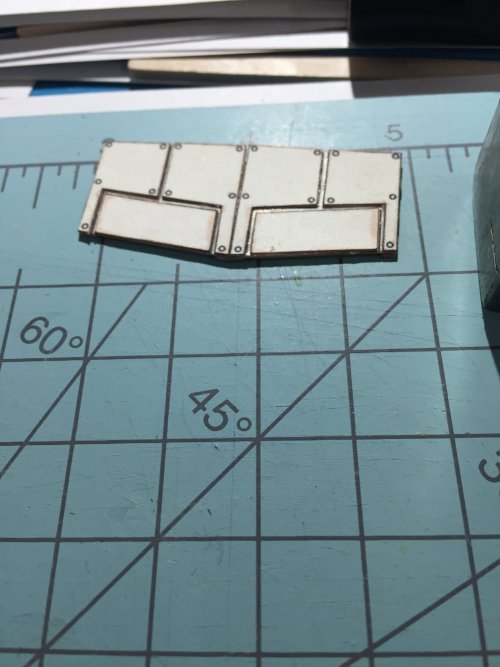
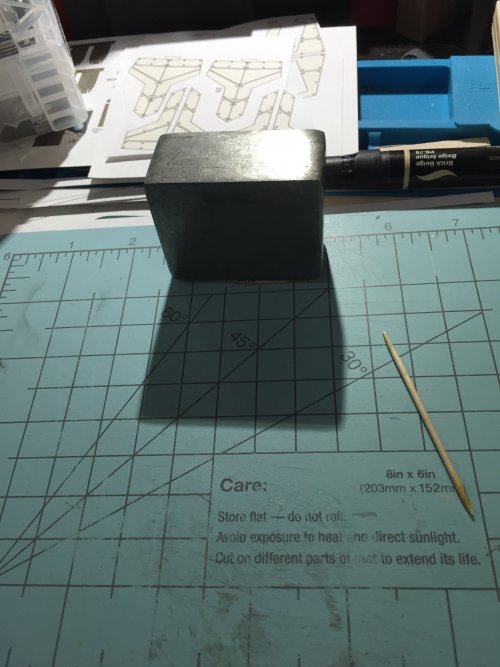
Next the outer upper rudders. Cut, edge color and glue and finally weigh them down to dry.
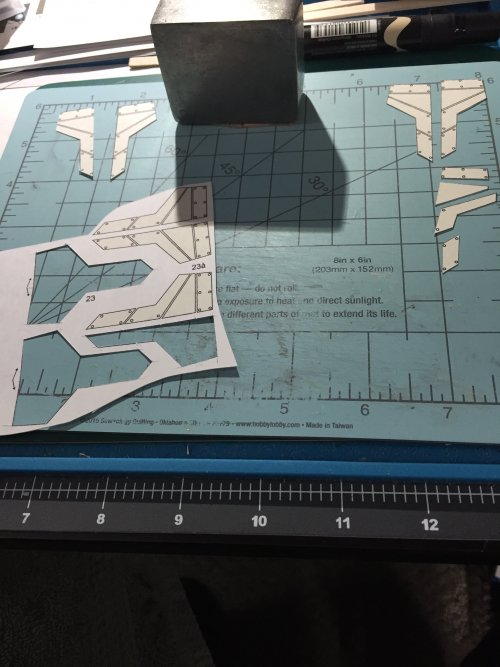
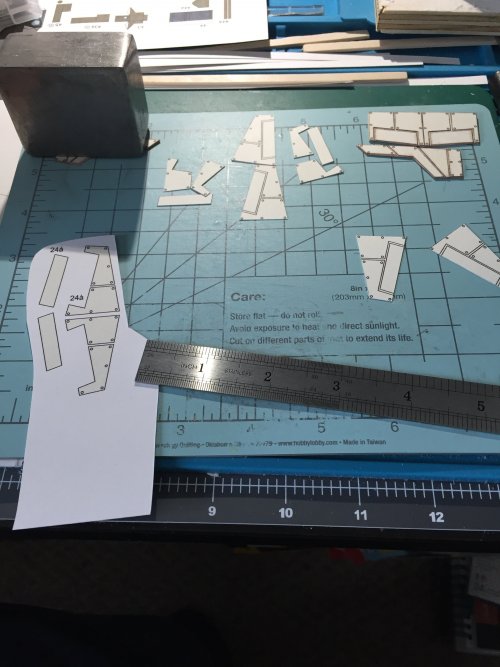
Now the lower rudders, in progress, cutting while upper rudder drys.
Enjoy the journey!
Scott
Zathros, yes, my second real Paper model... Did a little building in paper, a Canon bulldozer, and that convinced me this was fun. Quite a few Plastic models in my youth, some model railroad modeling. The first real paper model is at (https://www.zealot.com/threads/dr-tetrodes-valkyrie-build.180705/), as you have seen. I am having lots of fun, too.
On to an update. Working on the tail as suggested. Middle of the tail, first. I had to print and coat another copy, not enough pieces on one copy to do all the panels.


Note that the panels have a 'brown' on the edges that bled into the core of the paper, I am using Prismacolor pens, and they are juicy, I kind of like the look of it, so, will keep doing it.


Next the outer upper rudders. Cut, edge color and glue and finally weigh them down to dry.


Now the lower rudders, in progress, cutting while upper rudder drys.

Enjoy the journey!
Scott


