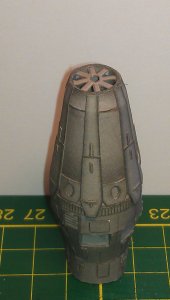
Detailed Thunder Fighter Project
- Thread starter Rhaven Blaack
- Start date
You are using an out of date browser. It may not display this or other websites correctly.
You should upgrade or use an alternative browser.
You should upgrade or use an alternative browser.
Last edited:
I don't see a difference between this and the standard size TF..! 
(And this is supposed to be a compliment!!! )
)
(And this is supposed to be a compliment!!!
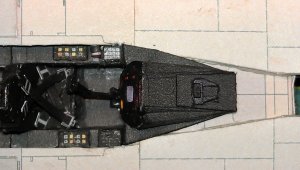
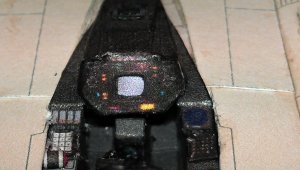
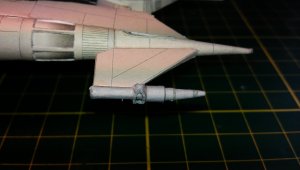
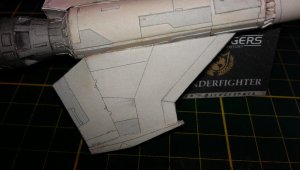
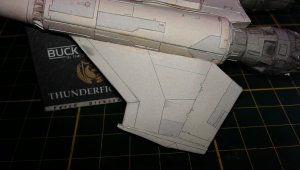
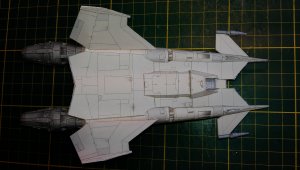
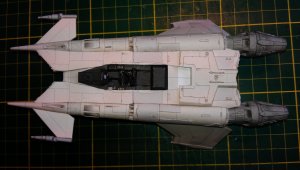
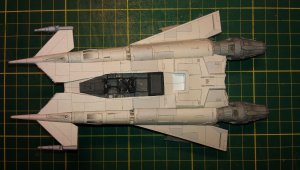
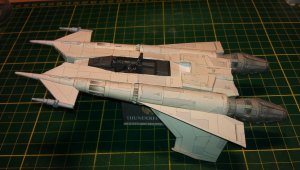
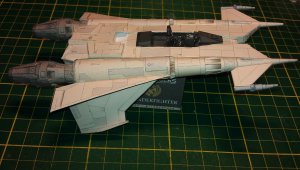
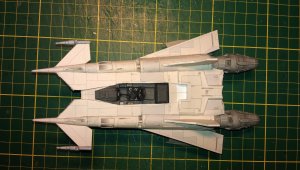
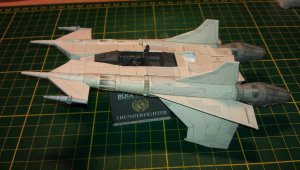
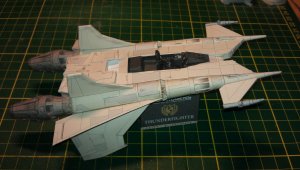
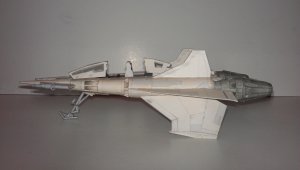
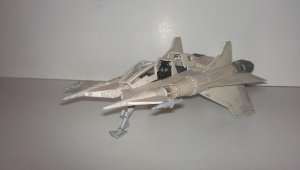
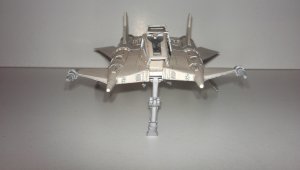
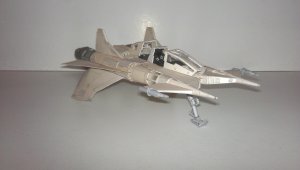
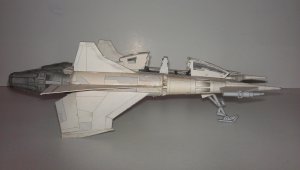
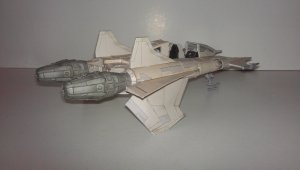
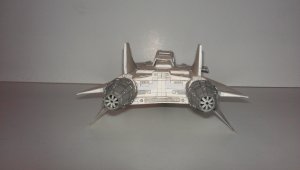
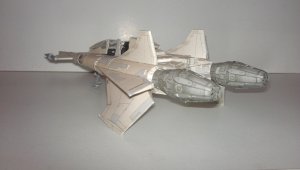
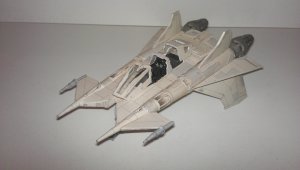
I have finished this little project.
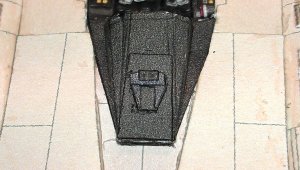
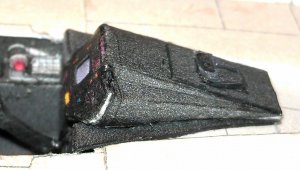
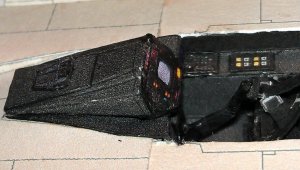
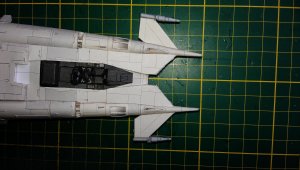
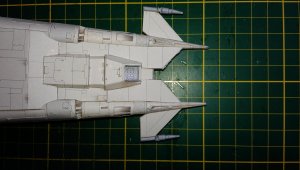
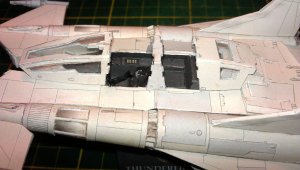
I attached the canopy.
I decided to take the easy way out by having the front and rear canopy hatches just set in place.
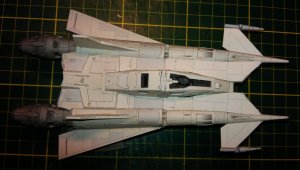
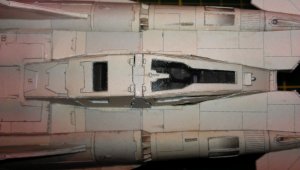
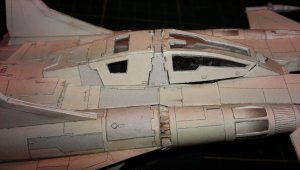
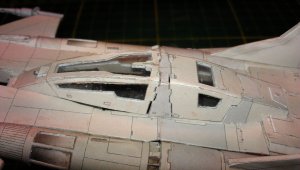
The canopy can be opened to see the cockpit interior.
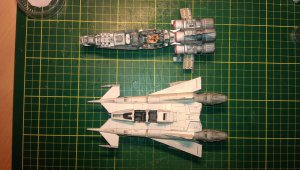
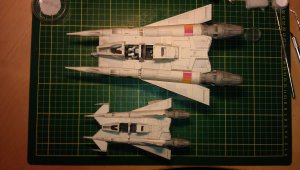
These show size comparison to both UHU02's Viper and the original size of the regular kit.
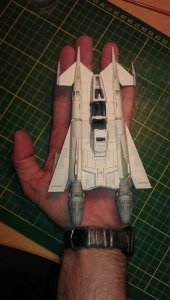
This is to show exactly how small it is compared to how big my hand is.
ENJOY!!!
I attached the canopy.
I decided to take the easy way out by having the front and rear canopy hatches just set in place.


The canopy can be opened to see the cockpit interior.

These show size comparison to both UHU02's Viper and the original size of the regular kit.


This is to show exactly how small it is compared to how big my hand is.

ENJOY!!!
Absolutely! I have the impression that you outdo yourself with every build. Excellent craftmanship!!! :Bravo::Bravo::Bravo:
Thank you both for the kind words.
Even though, I enjoyed the build, it was a bit of a challenge. It was well worth the effort though (especially to get the level of detail that I wanted).
This build was done for a few reasons.
Needless to say, the journey is not over. I will be building more Thunder Fighters (I have to rebuild my squadron). I also have another detailing idea that I want to attempt.
Not only that, but Revell-Fan and I have ideas for more fan-based versions.
Even though, I enjoyed the build, it was a bit of a challenge. It was well worth the effort though (especially to get the level of detail that I wanted).
This build was done for a few reasons.
- I am planning to build another diorama at 1:50 scale.
- I was curious if this model could be built (in its original format) in 1:50 scale (and to be able to put in as much detail as possible).
- To prove that small models can be built by people with large hands.
- To encourage others to build this wonderful model (regardless of the scale) and to post their work!!!
Needless to say, the journey is not over. I will be building more Thunder Fighters (I have to rebuild my squadron). I also have another detailing idea that I want to attempt.
Not only that, but Revell-Fan and I have ideas for more fan-based versions.
Last edited:
To give you actual dimensions of this model.
Length: 17.0 cm
Width: 10.0 cm
Height: 5.5 cm
Yes, it is quite small, indeed!
Length: 17.0 cm
Width: 10.0 cm
Height: 5.5 cm
Yes, it is quite small, indeed!
As mentioned above, I did have another idea to add even more detail into this (already extremely detail) model.
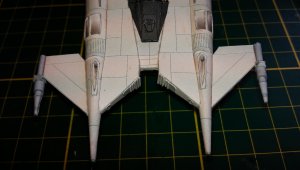
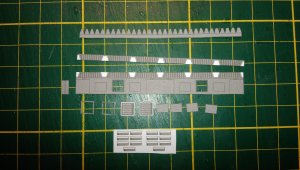
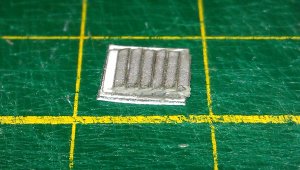
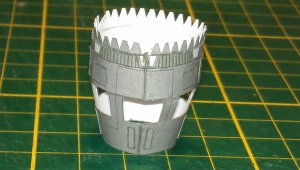
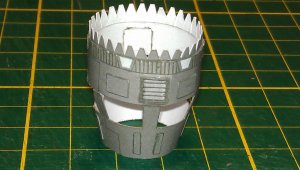
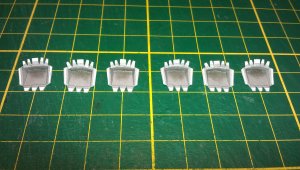
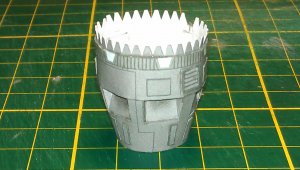
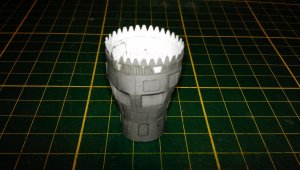
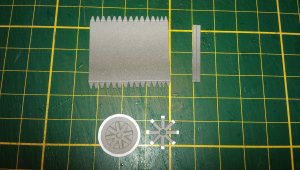
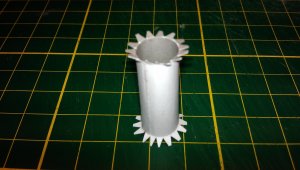
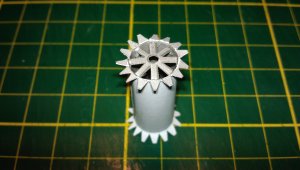
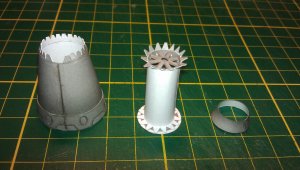
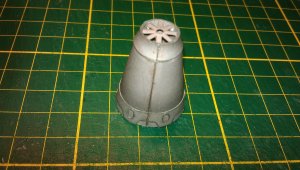
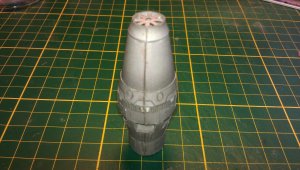
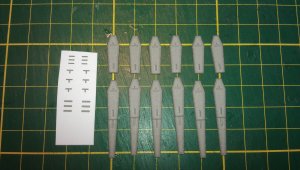
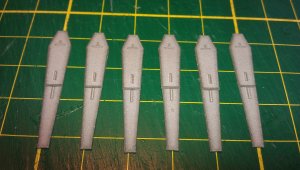
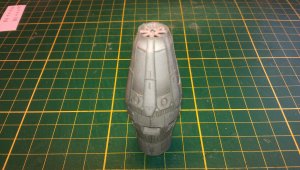
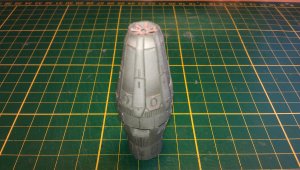
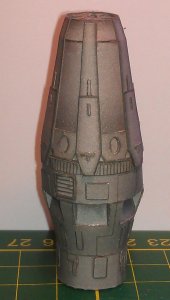
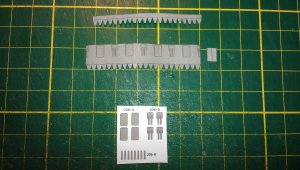
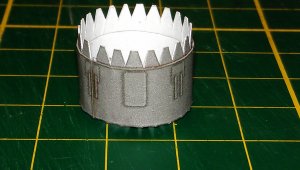
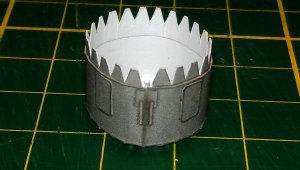
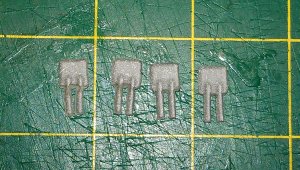
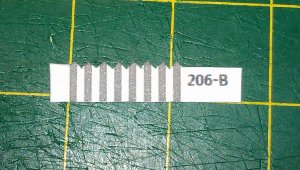
As I was building the previous Thunder Fighter (at 1:50 scale), I had gotten an idea to add a little, build more detail in the engines, by making the printed texture that looks like louvers, into physical texture that looks like real louvers.
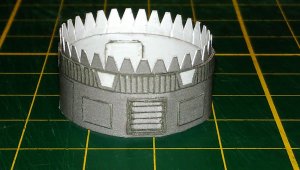
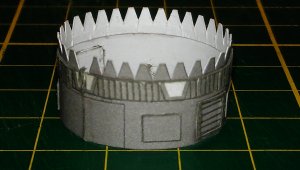
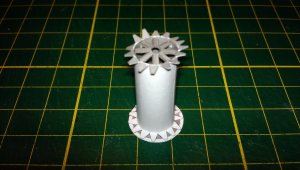
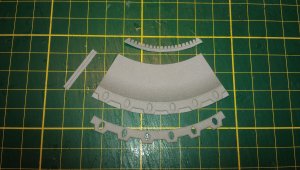
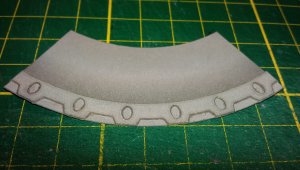
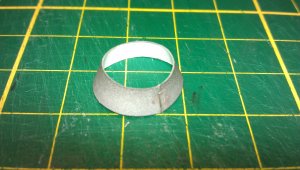
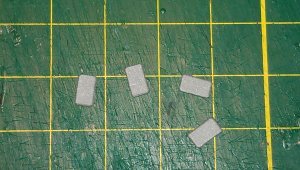
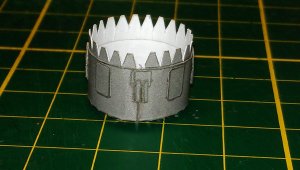
In this section, I have built the entire exhaust to show all of the detail that I have put into this.
Here I have started with the base.
As you can see by the photos, I have raised the printed detail and make it physical detail.


This is gorgeous! We should add this to every new fighter mod we are making as an option.


