Detailed Thunder Fighter Project
- Thread starter Rhaven Blaack
- Start date
You are using an out of date browser. It may not display this or other websites correctly.
You should upgrade or use an alternative browser.
You should upgrade or use an alternative browser.
- Apr 5, 2013
- 13,876
- 10,216
- 228
The longer the better!
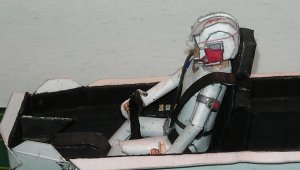
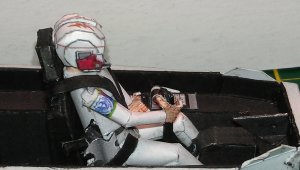
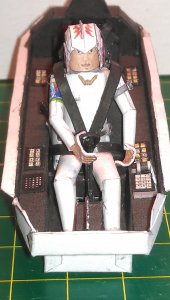
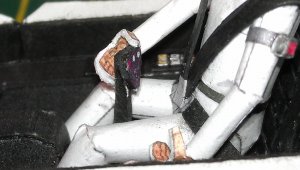
Geez, I thought that guy was just sitting in the seat!!
LOL! - Well, actually, he (OR: SHEGeez, I thought that guy was just sitting in the seat!!
Last edited:
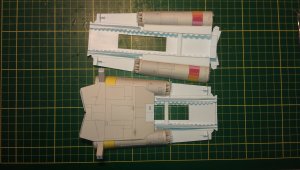
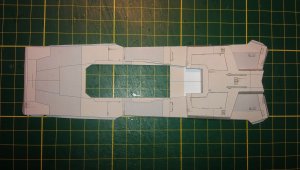
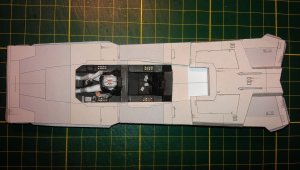
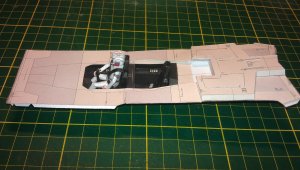
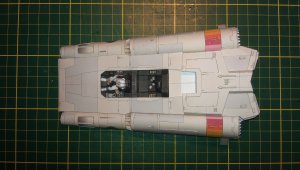
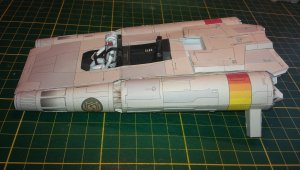
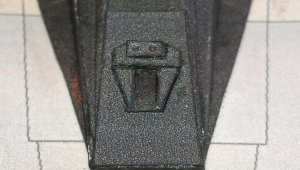
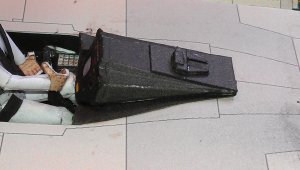
Here are some more detailed photos of my build.
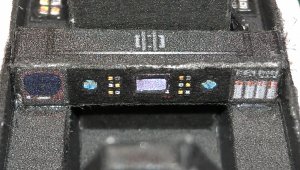
Here are the front side controls.
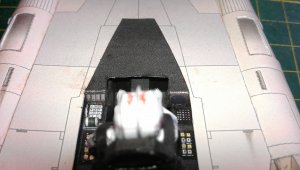
I recessed the screens.
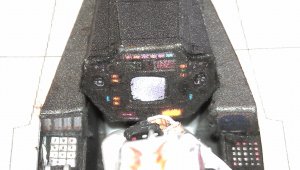
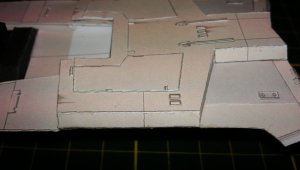
I decided to greebble this part out to give it some physical detail.

I completely detailed the rear end.
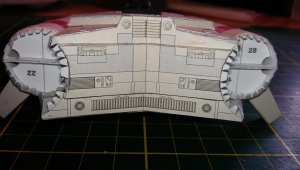
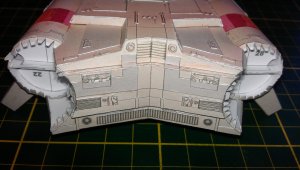
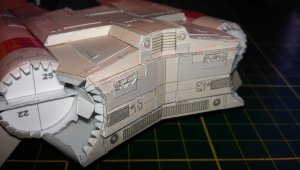
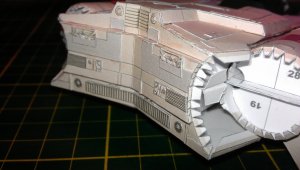
ENJOY!!!
Up next will be the engine exhausts.
Please stay tuned to your local Earth Directorate Broadcasting channels for further updates as they happen.
Thank you for watching.
Here are the front side controls.

I recessed the screens.

I decided to greebble this part out to give it some physical detail.


I completely detailed the rear end.


ENJOY!!!
Up next will be the engine exhausts.
Please stay tuned to your local Earth Directorate Broadcasting channels for further updates as they happen.
Thank you for watching.
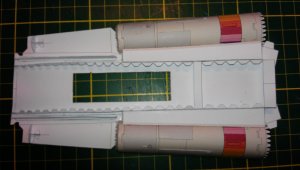
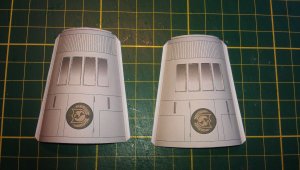
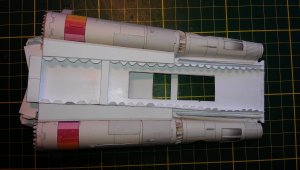
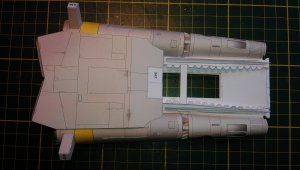
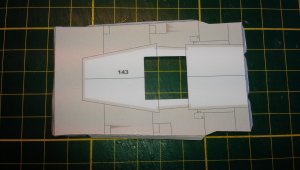
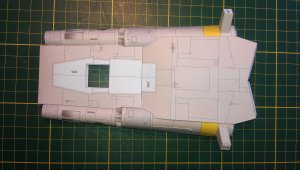
Here are the skins for the sponsons.
View attachment 133576
When you assemble these pieces, do you typically glue parts 178-180 together FLAT, and then roll them, or do you roll them individually THEN glue them? And I assume that 181 is a joining strip?
When you assemble these pieces, do you typically glue parts 178-180 together FLAT, and then roll them, or do you roll them individually THEN glue them? And I assume that 181 is a joining strip?
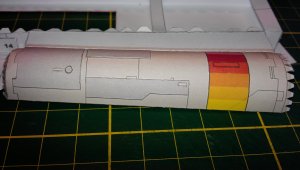
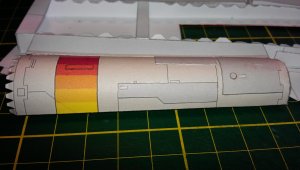
I rolled each part individually and the assembled the parts together and then once the glue is dry, I will give it a second roll.
Just take it slow and easy, when assembling them, so that way, everything lines up properly.
That's the way I do it, too. Moreover, I leave the piece intact at first. After the first roll I cut the white rectangles out. That prevents the tiny strips between the cutouts from being damaged during the roll. If you glue the parts together flat it will be very difficult to roll the part and may cause undesired side-effects (wrinkles and creases). 
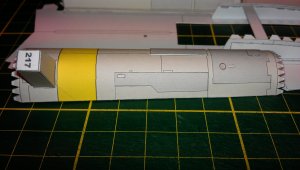
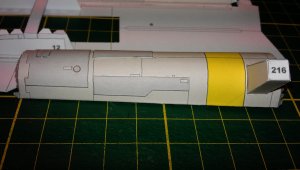
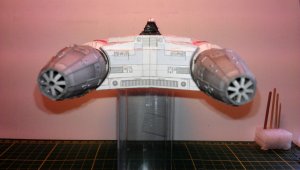
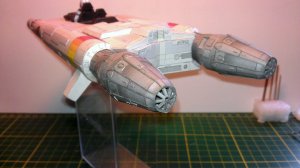
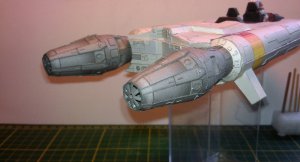
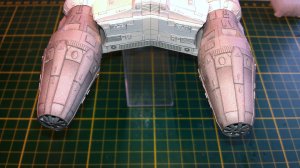
Here are the engine exhausts.
I have added as much detail as I possibly could in an attempted to make them as close to being screen accurate as possible.

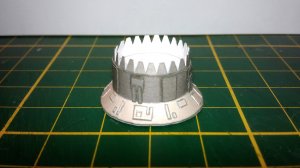
As you can see, I took the "star" grill (that you see on the original plane) and attached it at the end so that it can be seen (like it the studio version).
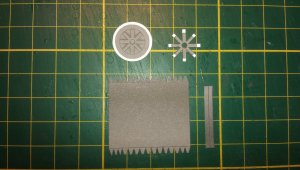
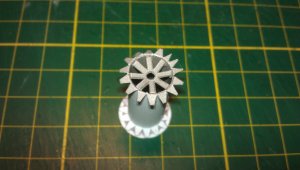
One exhaust is finished.
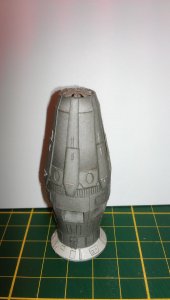
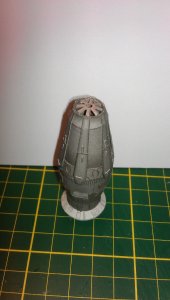
Both are now finished.
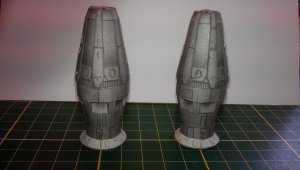
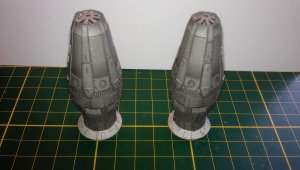
I have added as much detail as I possibly could in an attempted to make them as close to being screen accurate as possible.


As you can see, I took the "star" grill (that you see on the original plane) and attached it at the end so that it can be seen (like it the studio version).


One exhaust is finished.


Both are now finished.


Those engine exhausts are GORGEOUS! What color marker are you using to clean up the edges?
Those oval-shaped details could not have been easy to cut out!
Those oval-shaped details could not have been easy to cut out!


