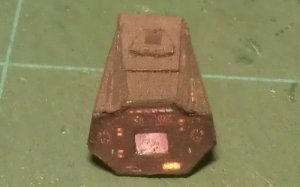
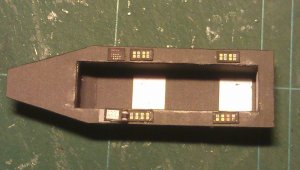
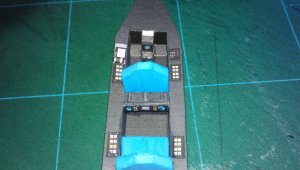
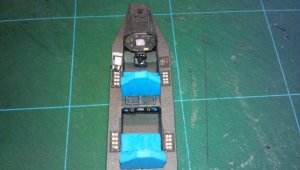
Detailed Thunder Fighter Project

Rhaven Blaack

!!!THE MAN BEHIND THE CURTAIN!!!
Staff member
Administrator
Moderator
After the EXPO that I had attended recently, I had given my entire Thunder Fighter squadron (with the exception of the one that I built in memory of my mother) to the children of a member of the PM club that I belong to. I am now rebuilding my entire TF squadron with cockpit interiors, landing gear, and as much detail as I possibly can.
I will be posting photos of the detailed parts and explaining what all I am doing along the way.
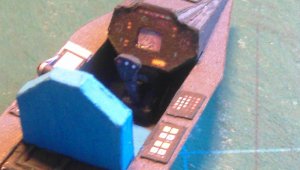
I have started with the cockpit interior. I know that some (if not most) of the detail will not be seen once the model is finished, but I am doing this for my own pleasure (and torture sign1)
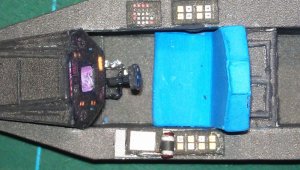
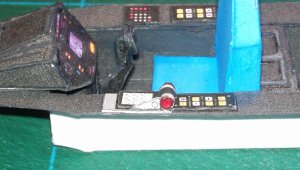
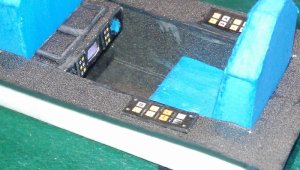
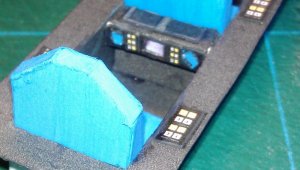
Here are the photos of what I have done so far:

Here I recessed the sensor screen.
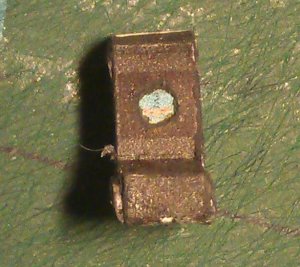
IMAG0455.jpg

I recessed the screens and raised the button panels.
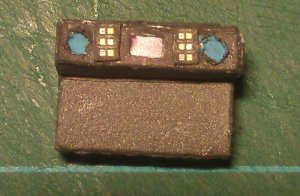
IMAG0456.jpg

I recessed the screen.
IMAG0458.jpg

Raised all button panels.
IMAG0459.jpg

Added seats and some control panels.
IMAG0460.jpg
 

trt

Member
It's torture and perverse pleasure at the same time :mrgreen:

Looking very good so far, as always keep up the good work.
 

ASC Mclaren

Well-Known Member
RB, I am watching this very eagerly! I have been sidelined do to health issues, so my builds have languished. That said, I will be watching and smiling (and stealing ideas). Build one up, ya know, to 1:18, for your Buck and Wilma figures!
 

Rhaven Blaack

!!!THE MAN BEHIND THE CURTAIN!!!
Staff member
Administrator
Moderator
RB, I am watching this very eagerly! I have been sidelined do to health issues, so my builds have languished. That said, I will be watching and smiling (and stealing ideas). Build one up, ya know, to 1:18, for your Buck and Wilma figures!

I am sorry to hear that your health is not doing so well.
I hope that you are able to recover quickly.

Thank you for the kind words and encouragement.

As for stealing ideas, you can not steal my ideas, but you (and everyone else that is viewing this thread) can use what ever technique that I post here ( and any other thread that I have posted.)
It is because of people like you that I post threads like this.
Even if just one person is able to get inspired by my work, then all that I have done is worth it.

I am looking forward to seeing your work as soon as you are better.

Unfortunately, I do not have any action figures of any kind.
I know, I need to get some.
 

Revell-Fan

Co-Administrator
Staff member
Administrator
Moderator
No action figures??? Not one little Luke Skywalker in X-Wing flight gear from 1977??? ... What a pity! :winter1:
 

Rhaven Blaack

!!!THE MAN BEHIND THE CURTAIN!!!
Staff member
Administrator
Moderator
No action figures??? Not one little Luke Skywalker in X-Wing flight gear from 1977??? ... What a pity! :winter1:

Are you offering to send me one (especially Buck and/or Wilma) (I would even settle for Starbuck)?
If so, I will be more then willing to build a mode the TF and LR (and Viper, once I have one to build) in 1:18 scale :twisted:.
 

Rhaven Blaack

!!!THE MAN BEHIND THE CURTAIN!!!
Staff member
Administrator
Moderator
Update

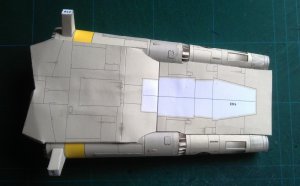
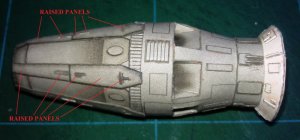
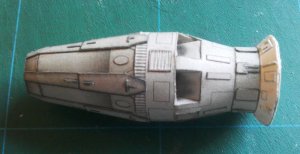
Here is an update on my progress of the project.
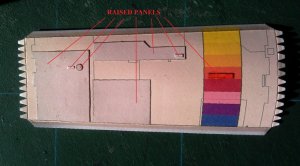
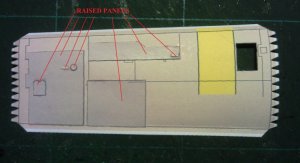
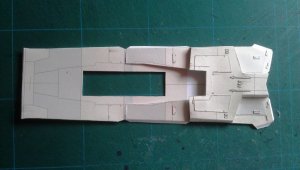
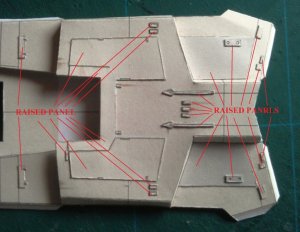
In this set of photos, all I really did was raise a few panels to give realistic texture to the model.

Here are the photos:

IMAG0470.jpg

IMAG0471.jpg

IMAG0472.jpg

IMAG0474.jpg

IMAG0478.jpg
 

Rhaven Blaack

!!!THE MAN BEHIND THE CURTAIN!!!
Staff member
Administrator
Moderator
More photos

Here are more photos:

IMAG0479.jpg

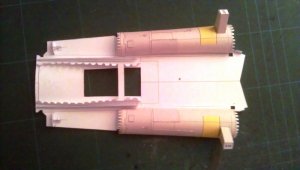
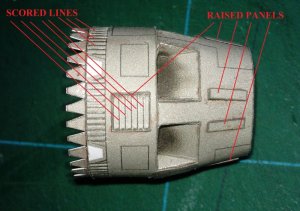
I scored the lines on the ribbed area that is on the front end of this piece.
IMAG0481.jpg

Both halves are now attached.
IMAG0485.jpg

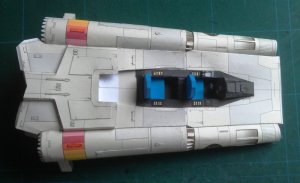
Cockpit interior now in place.
IMAG0486.jpg

IMAG0487.jpg
 

Rhaven Blaack

!!!THE MAN BEHIND THE CURTAIN!!!
Staff member
Administrator
Moderator
WOW! Love the detailing....
How big is the model, just out of interest?

This is just the standard model size and scale (1:32) (L: 29.5cm, W: 17.0cm, H: 7.0 CM).

The only thing that I am doing different, is adding more detail by raising or recessing (or a combination of both) the textured panels, scoring vent lines, and what ever else, I can think of to enhance the overall look of this model.
Yes, it is more extensive, but it is fun and i am enjoying every minute of the build.
 

Rhaven Blaack

!!!THE MAN BEHIND THE CURTAIN!!!
Staff member
Administrator
Moderator
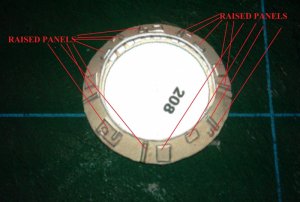
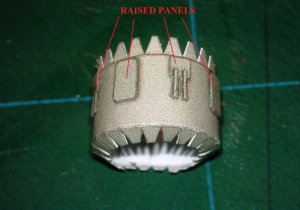
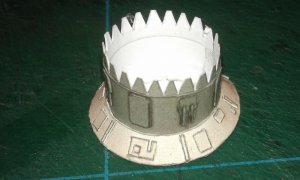
Update: Engine exhaust

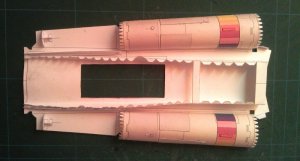
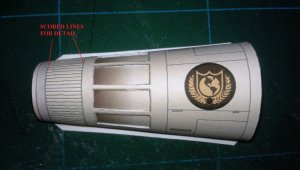
Here is the engine exhaust.
As you can see, I raised the textured panels and scored the vent lines.

IMAG0488.jpg

IMAG0489.jpg

IMAG0491.jpg

IMAG0492.jpg

IMAG0494.jpg

IMAG0495.jpg

More photos to come soon.
 

Rhaven Blaack

!!!THE MAN BEHIND THE CURTAIN!!!
Staff member
Administrator
Moderator
Thank you for the kind words and encouragement.
This is only the beginning though.
There is quite a bit more to come.
 

dnalor

Well-Known Member
it looks great....i'm watching this from the beginning...
And there are many great things you do for getting that detail stand out..

i have a question..

you score some lines to get a more 3d view of the engine..etc..

but when you do that don't you get the paper to fold there?
i wanted to do that with my xwing hull....but was afraid that when bending the hull over the frame that it would folded..
how did you do the bending without folding?
 

Rhaven Blaack

!!!THE MAN BEHIND THE CURTAIN!!!
Staff member
Administrator
Moderator
it looks great....i'm watching this from the beginning...
And there are many great things you do for getting that detail stand out..

i have a question..

you score some lines to get a more 3d view of the engine..etc..

but when you do that don't you get the paper to fold there?
i wanted to do that with my xwing hull....but was afraid that when bending the hull over the frame that it would folded..
how did you do the bending without folding?

First, Thank you for the compliment. The technique that I am using is a very easy one and (IMHO) it gets some of the best results without really doing much at all.

Second, to answer your question. Quite a bit depends on the part and where you want to score. The easiest and best way the "STRENGTHEN" the scored area (and keeping that area from bending or folding) is to laminate the back side of the part that you just scored with extra card stock. I hope that helps you.
 
Top