Combat Engineering Vehicle - IMR-1 'TEST SHOT' & Full Build

Chuffy70

Well-Known Member
Recovery or REME vehicles which come to the aid of, or help out on the battle field are some of my favourite tracked vehicles. Cranes, odd attachments, cables, stowage and bulldozers - all those cool things which make them look better than a massive gun!

When this was put up for download, I thought I'll take a look.

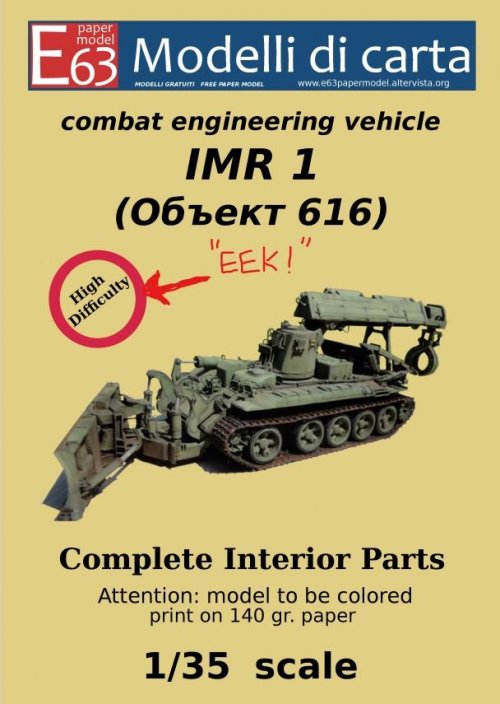
The first thing I noticed was the red circled notice - 'HIGH DIFFICULTY' and then the scale, 1/35! At that scale there's absolutely no way on earth I could build this model out of paper to save my life, but I could do a test build and see just how 'difficult' it could be.


Well for one thing in this hobby of ours is the flexibility for us to scale our models to what ever size we want.

I scratched my chin for a long time and those words 'high difficulty' kept on churning in my mind, so with that I took the files down to the copy shop and got them enlarged to what I'm thinking will be roughly 1/18th*
Strangely the inner sadist in me said "go on!" "have a go at 1/35th!"

So, before I tested the larger parts, I set about having a blind stab at the smaller scale. * (sneaky enough for Star Wars Figures!)

av1.jpg


To roughly set my scaling, I picked the pages with the seat on them - hopefully when I construct the drivers chair, I will get a rough idea as to whether 200% is high enough.
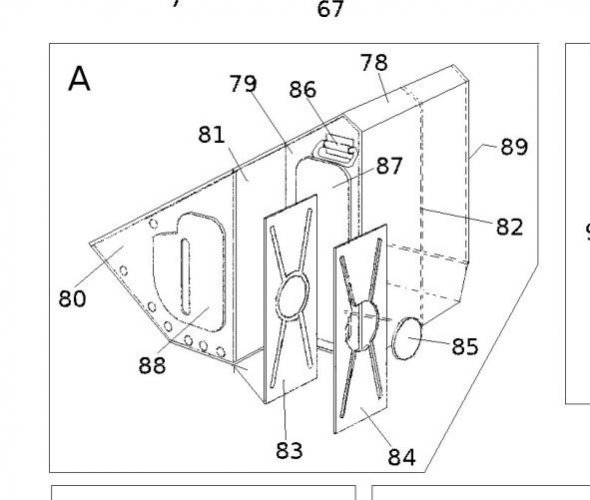
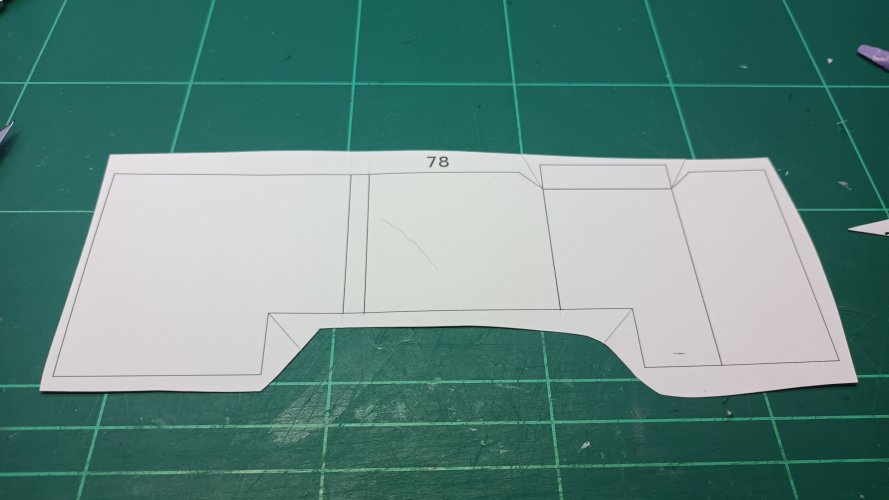
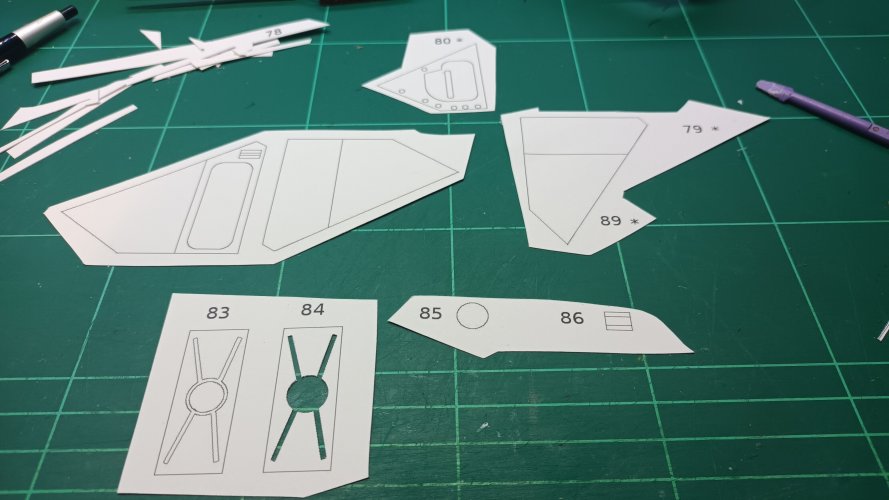
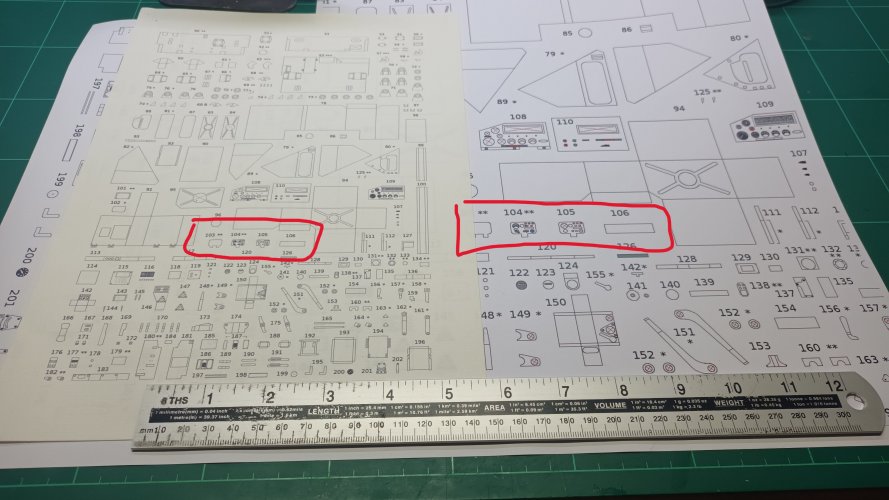
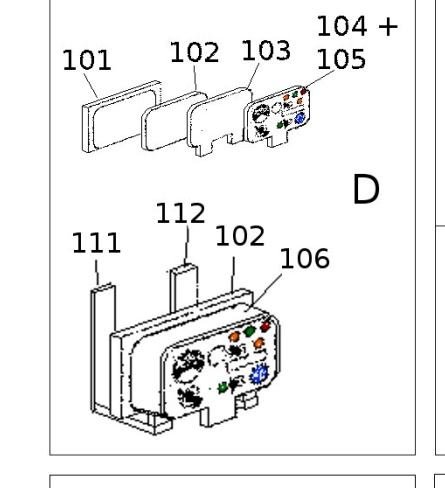
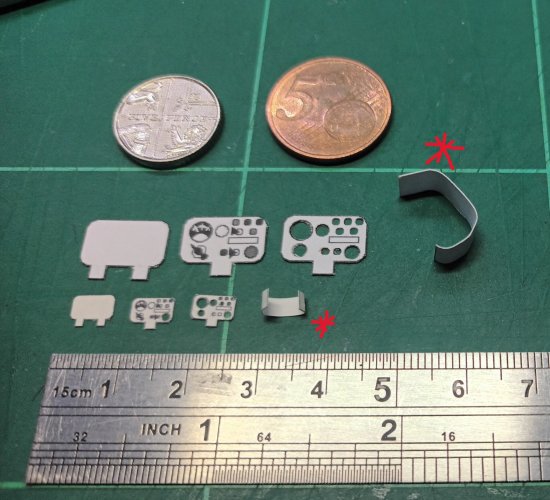
Parts selected for this small test however are the parts circled in red and form some kind of gauge/radio/doo-da?
av2.jpg
av5.jpg

I mainly picked these parts due to wanting to try my new set of circle punches.
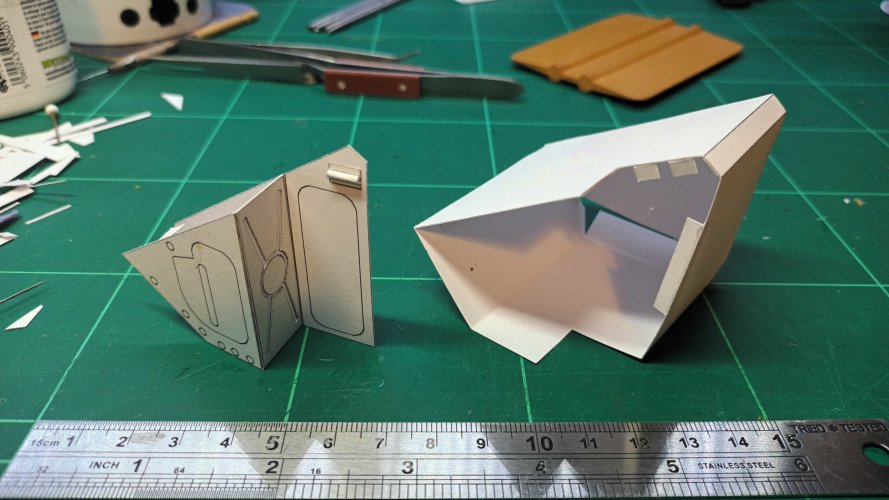
The parts marked red* are an oddity, by the looks of the instructions, it should form the casing, but does not encircle the part in question - the designers mistake or mine?
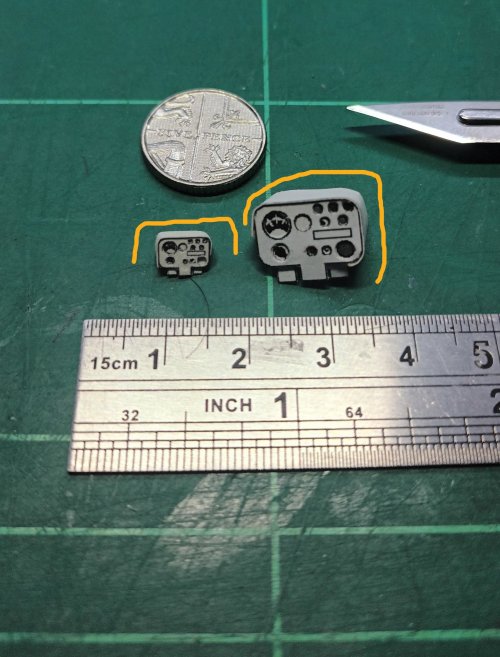
Top........ 1/18th
Bottom... 1/35th
av3.jpg
av4.jpg

In conclusion of this first test piece, I have decided at 35th scale this kit is not for me, I can cut and assemble the parts, but the time and effort required for them was considerably more frustrating than the 1/18th scale.

The outer shroud was frustratingly odd, which gets me thinking as to why this was too short? I have a map wheel measure, so next time I'll measure the outer edges on both parts to see if the match, or just extend the part.

I may add more to this if anyone else is interested in seeing any more parts added or you could gently persuade me to build the whole thing... :eek:
 

Rhaven Blaack

!!!THE MAN BEHIND THE CURTAIN!!!
Staff member
Administrator
Moderator
I think that you are off to a very good start on this. IT is look like the shroud is to go only part way. I would "center" the shroud and reapply it, and continue the build. I am curious to see how this turns out. I think that your build being used evaluation of this template as a whole, will be very informative for those who are interested in building this model in the future. So, I ask you to continue the build, please?
 

OldMiner

Well-Known Member
I think the ‘difficulty’ level must be taken with a grain of salt (or a dram of tequila…). I’ve worked on some difficult models before and the difficulty really seems to be in the mind, not the paper.
Good start, good luck on the rest of it, no matter what scale.

Watching! :bowdown:
 

Chuffy70

Well-Known Member
I think that you are off to a very good start on this. IT is look like the shroud is to go only part way. I would "center" the shroud and reapply it, and continue the build. I am curious to see how this turns out. I think that your build being used evaluation of this template as a whole, will be very informative for those who are interested in building this model in the future. So, I ask you to continue the build, please?
I think you are right... further inspection of the picture in the instructions have a lip which possibly means where it stopped on the sides.

Centering the shroud would seem logical - these were taken from the printers scraps, so the real test paper is still to be used.

I'll have a go at the rest of my test sheets, and also try the tracks before I commit to the whole thing, but it looks too cool not to build it
:cool:
 

Chuffy70

Well-Known Member
I think the ‘difficulty’ level must be taken with a grain of salt (or a dram of tequila…). I’ve worked on some difficult models before and the difficulty really seems to be in the mind, not the paper.
Good start, good luck on the rest of it, no matter what scale.

Watching! :bowdown:
I guess we are lucky in the fact that if its too difficult and mess up, we can just print another off and start again...sadly no Tequila in the house and I fear it could be a long........................watch :sticktongue:
 

Chuffy70

Well-Known Member
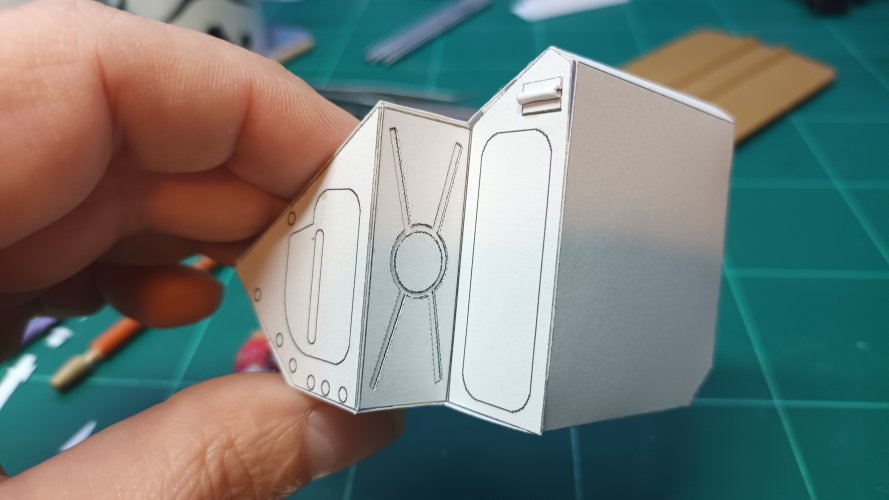
Following on from my test sheet I picked another picture in the instructions to see if I could my head around the lack of fold lines and verbal commands.
PLEASE NOTE the following construction has some parts omitted and construction is not perfect - The process/parts shown here are intended as purely explorative.
6av.jpg

iav.jpg
2av.jpg
3av.jpg
4av.jpg
5av.jpg

The hard part here, is knowing whether to go internally of flush fit to the internal or external edge - considerably more test/dry fitting is required.

I do like the 3d effect of layering up panels, rather than having just the line drawing - not sure if the circle withe the four lines shows up in the pics.

I will follow this one up with a tank-track link test and make my decision as to whether I go with a full build.
 

Rhaven Blaack

!!!THE MAN BEHIND THE CURTAIN!!!
Staff member
Administrator
Moderator
Edge fitting (flesh fitting) is difficult, indeed. I too have to play around to figure out how things go together. I think that the answer lies within the component itself, and how it will interact with other components within the model as a whole.
As for the circle with the four lines, I have to agree with you. It needs to be greebled. I too have fought that same fight of "Do I raise or recess the printed texture?" Again, as I mentioned before, I think that the answer lies within the component itself, and how it will interact with other components within the model as a whole.
With that being said, you are doing a great job!
 

Chuffy70

Well-Known Member
Edge fitting (flesh fitting) is difficult, indeed. I too have to play around to figure out how things go together. I think that the answer lies within the component itself, and how it will interact with other components within the model as a whole.
As for the circle with the four lines, I have to agree with you. It needs to be greebled. I too have fought that same fight of "Do I raise or recess the printed texture?" Again, as I mentioned before, I think that the answer lies within the component itself, and how it will interact with other components within the model as a whole.
With that being said, you are doing a great job!
Many thanks, the Moon bus had a considerable amount of the same fitting styles, which mirrors this build...I think I'll go for it - I have just done a paint test on one part and I'm slight chuffed with the result, pic to come with the track link test...lets say she'll be a leaky rust bucket!
 

micahrogers

Moderator "Where am I, and how did I get here?"
Staff member
Moderator
Build the assemblies, then use a clear coat, I like Krtylon Triple Thick Polyurethane spray can. Once the clearcoat is dry, paint with your choice of acrylics, or enamels.
Just don't put a true lacquer over the polyurethane, that will eat thru. Great work, these test pops look great.
 

zathros

*****SENIOR ADMINISTRATOR*****
Staff member
Administrator
Moderator
You have to research how the real vehicles are made, or that series of vehicles to determine how those pieces sit. As far as the Radio, a lot of them were open on the bottom as they were Tube based Radios and needed to felt the hear by sucking air up through the bottom. Inside the cab, this would not really be more bisible. More important would be to make a face plate to make the radio look proper, especially as 1/18th scale. White card models are difficult because a lot of what's there is a guide for you to fill in. Aluminum foil works good as chrome edges on radios like this. This is a very difficult model. It would have to have each section painted as you went along. The lines that suggest beads cand and should be form. A very small rod with a radius on the tip would do this. Research, download and make a folder of pics, will give you the overall method it was built. It just depends in how much you want to get into it. I would not build this model at any scale without painting and greebling the heck out of it, it's going to be difficult, and the greebling really won't take much time, but the end result will improve the model by unimaginable magnitudes. IMHO :)
 

Chuffy70

Well-Known Member
You have to research how the real vehicles are made, or that series of vehicles to determine how those pieces sit. As far as the Radio, a lot of them were open on the bottom as they were Tube based Radios and needed to felt the hear by sucking air up through the bottom. Inside the cab, this would not really be more bisible. More important would be to make a face plate to make the radio look proper, especially as 1/18th scale. White card models are difficult because a lot of what's there is a guide for you to fill in. Aluminum foil works good as chrome edges on radios like this. This is a very difficult model. It would have to have each section painted as you went along. The lines that suggest beads cand and should be form. A very small rod with a radius on the tip would do this. Research, download and make a folder of pics, will give you the overall method it was built. It just depends in how much you want to get into it. I would not build this model at any scale without painting and greebling the heck out of it, it's going to be difficult, and the greebling really won't take much time, but the end result will improve the model by unimaginable magnitudes. IMHO :)
Lots of good advice there @zathros the research part won't matter too much as I'm building this 'my way' there's bound to be something I miss, get wrong or put a part on which belongs to the Mark 2, rather than the second one with the flange, production block 20!
I'm guessing there are armour guys on here who know their tanks and AV's inside and out...I certainly do not.
I love the look of it, I wanted something big to build, possibly put in a sci-fi situation or use for toy photography at 1/18 scale.
The info on the radios is interesting to read and the aluminium foil is a neat idea, food for thought.
may take the form of wires, rods and tubing, I have started to scrounge some wires, but rubber tubing at small scales is becoming a frustrating search.
It will take a long while to construct this beast with a part count of over 1,300 parts just for the tank, I'm guessing many more for the tracks!
Whilst the end result will 'unimaginable' to some. the 'magnitude' of this build is staring right back at me, with a look of "come on then, think you're good enough!?"
 
Top