Blackadder's Scratchbuilt Thunderhawk Redux

Blackadder

Well-Known Member
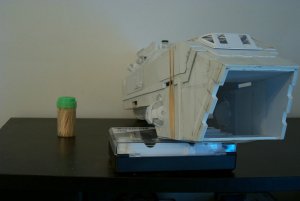
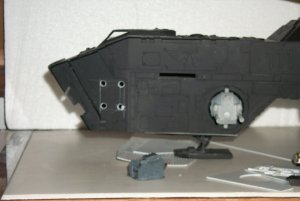
It's a good thing I took images of the Thunderhawk in grey because you can't see any detail with it painted black.

This weekend will see the beginning of the paint process and i still haven't come to grips with the ball turrets.
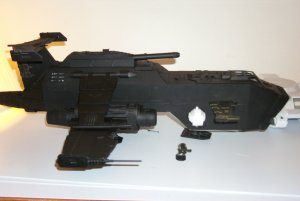
08.jpg

That shouldn't be a problem although my camera still cannot seem to focus and that is quite serious. I'd really hate to have to replace my trusty Kodak DC290. Anyone have any suggestions?


Instant Silvering and Patina:

Anything that can save me time and give good results is aces in my book; here is a simple way to give a metallic luster to your bare metal surfaces...........
05.jpg

This might not be up to standard for PRO painters but for a mere mortal such as me it yields adequate results and it's fast, did I mention it was fast? and it's economical; I probably won't be able to use all the aluminum powder I have; '3 ounces', in my lifetime.
06.jpg

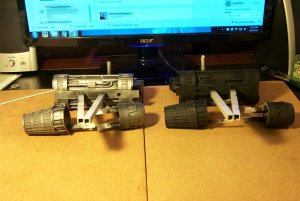
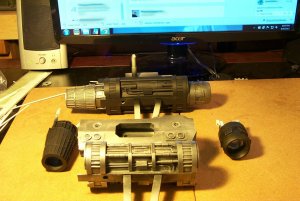
The entire engine and the wing root used just the powder that was stuck to the lid rim of the jar.

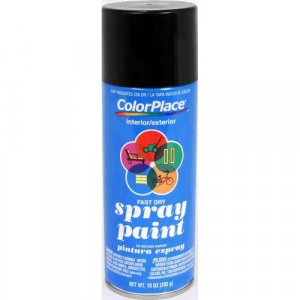
First I applied some really cheap flat black aerosol paint (Walmart generic $0.99 cents @ standard spray can)and let dry overnight.

Then with index finger I applied and rubbed in a bit of the powder and brushed it smooth and into the crevasses with a brush which took all of a minute or two to do the cowl and exhaust. and that's it; no drying time you're finished.

A couple more minutes to do the engine body......

Then I took the pictures.

I applied this powder for the first time on my Warlord Titan over a base coat of flat Black areosol can spray paint Walmart $0.99 cents a can generic house brand
BLACK PRIME.jpg

I sprinkled it onto the dried flat paint and brushes the powder into the surface to achieve the desired affect and the all it took. No fixative or covering was needed. After brushing off residual powder the model could and can be handled normally with no drying time and none of the pigment coming off on your hands that I can visually detect although I should caution you should wash your hands before putting them in your mouth or handling food as after all aluminum powder may be toxic in quantity. Also be careful using it around open flames as all finely divided airborne powders are extremely explosive when exposed to flames. I used nothing to seal the models but I suppose that can be done and I suspect the coating can be washed off with soap and water although I have not tried to do it as yet. I intend to paint various areas over the applied powder once I come up with a suitable colour scheme and at that point I shall broaden my dissertation on its uses.
 

Blackadder

Well-Known Member
Thunderhawk Cockpit:

Time to resume the Thunderhawk; most of the exterior detail is finished so I'm beginning with the interior furnishings starting with the cockpit.

My cockpit will not be as extensive as the FW version as I didn't have images of the interior prior to building the hull so what will be represented is the area directly below the canopy. Pictured below is the ForgeWorld Thunderhawk cockpit.

01.jpg

Hard to believe they pilot these things in full combat regalia
 

zathros

*****SENIOR ADMINISTRATOR*****
Staff member
Administrator
Moderator
It's Beautiful. I have run out of words. It's Beautiful. I love this. You Sir are an excellent modeler extraordinaire!! :)
 

Blackadder

Well-Known Member
Balled Up Turret:

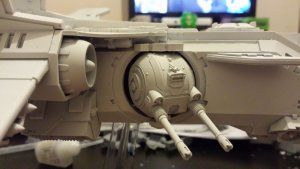
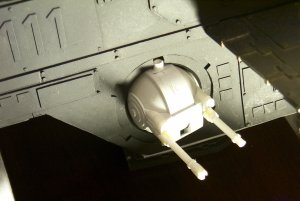
Likewise my first attempt at making a viable set of ball turrets turned out to be a disaster.

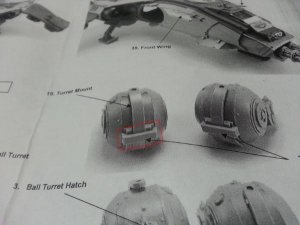
What I was seeking is a rotating ball turret as seen below

03.jpg

but with fully trainable guns and I believe the FW version doesn't have that capability.


04.jpg

07.jpg

08.jpg


09.jpg
 

zathros

*****SENIOR ADMINISTRATOR*****
Staff member
Administrator
Moderator
Better Balls out than a Bikini!!! :)

The chorus says:

:surprise::surprise::surprise::surprise::surprise::surprise::surprise::surprise::surprise::surprise::surprise::surprise::surprise::surprise::surprise::surprise::surprise::surprise::surprise::surprise::surprise::surprise::surprise::surprise::surprise::surprise: Glorious, counselor!!!

:bowdown::bowdown::bowdown::bowdown::bowdown::bowdown::bowdown::bowdown::bowdown::bowdown::bowdown::bowdown::bowdown::bowdown::bowdown::bowdown::bowdown:
 
BLACK ADDER! I was following your work over on Bolter and Chainsword! Great to see you back at it! Now to go back through and see your ideas.... must download and save images....
 

Blackadder

Well-Known Member
A few medical issues and we're back............

This Time We're Serious:

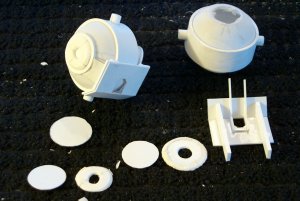
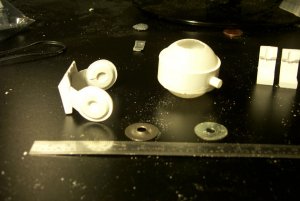
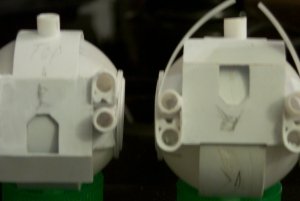
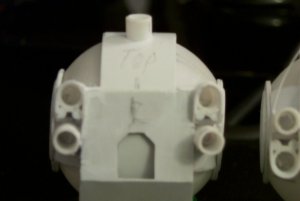
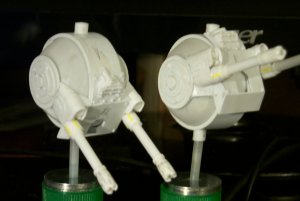
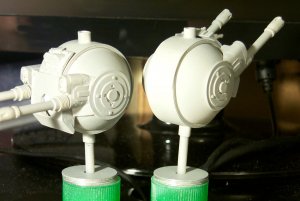
Okay time to separate the men from the boys...... I've yet to find an easy way to replicate spheres but it seems I never learn to stop trying. This latest fiasco involved substituting a pingpong ball for nittygritty hard work and planning and as per usual it didn't work so back to square one. The saving grace of employing the P.P.ball is I did manage to get a viable scale for the ball turret which seems to be right for a vehicle of this size.


x0kMvQV.jpg


To recap, what I am attempting to do is make a fully operational (as far as movement potential; Egad!) turret with guns that depress and elevate as a real ball turret would do so using the p.p.ball as a size guide I figure a centimeter would be correct for the swiveling elevation/depression cycle and the standard rim will suffice for the rotation.

This will hopefully be made clearer in the subsequent posts......... or fail utter-ably whichever the case may be.

It's all new ground to me, this one.

Oh, and BTW the new cockpit seats are to the background right; just saying............
"It is easier to deceive people than it is to convince them that they hav
 

Blackadder

Well-Known Member
Flogging a Dead Horse:

I'm forging ahead with the original ball turrets in spite of designing a set after the FW version so some of my work is original at least.

2.jpg

I don't know if the FW turret guns are elevate-able but mine are so therein lies the difference in appearance.
 

Blackadder

Well-Known Member
Fuzzy Images

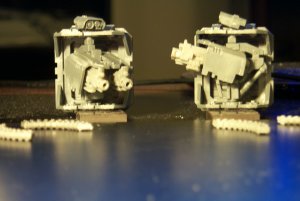
You wouldn't think I have a SOTArt Cannon digital SLR camera judging by these fuzzy images but I still prefer my 20 year old Kodak 290 for some reason...

3.jpg

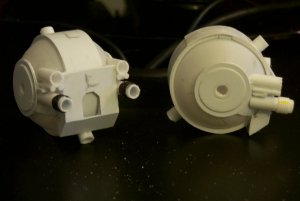
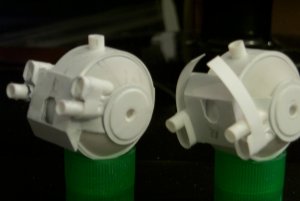
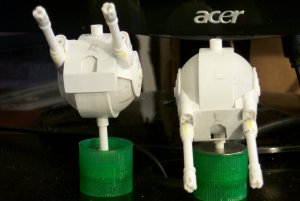
Anyway the ball turrets are proceeding apace shown here in different stages of completion.

4.jpg

Any questions you have on what I am doing or how I am doing it I'll be glad to answer.... 5.jpg

Hmmm, the above image doesn't bear close inspection; left gun sight is a bit cattywampus....

6.jpg
 

zathros

*****SENIOR ADMINISTRATOR*****
Staff member
Administrator
Moderator
You could have filled the Ping Pong balls with two part Epoxy and kept moving them till they dried. That would have given them strength to work with. Whatever you do seems to work, so soldier on!! :)
 

Blackadder

Well-Known Member
Thanks for the reply. The durability of the balls was not an issue and the curing heat generated might have distorted the balls......

What Am I Missing?

For the life of me I cannot figure out how these guns can elevate. With the rectangular view port and mount plate it seems that the gun mount shield (Plate between the guns) when the guns are elevated will interfere with the viewport and vise versa. If the side hemispheres only rotate upward then the viewport is not looking where the guns aim plus the entry hatch miss aligns. Or alternately it's just another FW bollock-up in the design department and it just looks good and can't function.

01.jpg

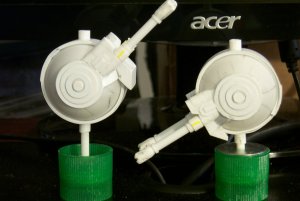
Anyway here's mine with out detail as yet but fully functional at least regarding movement.

02.jpg
03.jpg

the back of the turret and how it moves vertically.

Best I Can Do:

04.jpg

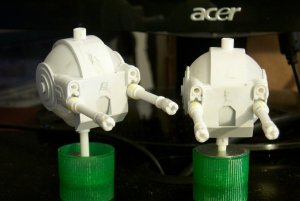
Try as I might this is the best range of elevation I can come up with using ping pong balls.

05.jpg

The front view is satisfactory so now for the detail:

06.jpg

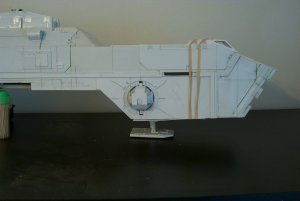
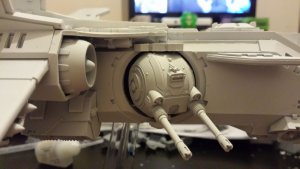
Okay with these final bits of fluff the exterior of the T'hawk is just about done. I daresay there might just be a couple of negligible items such as Turbo laser strut cradles et cetera but nothing that would preclude my painting the exterior. This has been a good year for me as most of my long term projects have reached fruition.

07.jpg

I decided to keep the ping-pong ball turrets as they are and add the view port and paraphernalia to the elevation race plate. The upper end of the elevation is in need of restriction so the canard wings won't get shot off in the heat of battle.

Now all needs be done is the interior of the cockpit and installing the interior of the forward cargo bay.

No I haven't decided whether to add the auto-fire dual bolters on either side of the nose abaft the front cargo door.
 

Blackadder

Well-Known Member
Some Dumb Disney Movie:

A pair of Wall-E esque bitz altered twin bolters round out the forward armament slated for the Thunderhawk.

I was scrounging around in my bitz box and came up with enough material to make my own version of the FW T'hawk bolter armament.

09.jpg

10.jpg

Now whether I actually cut the holes in the fuselage to accommodate these hefty trainable beauties remains to be seen.
 

zathros

*****SENIOR ADMINISTRATOR*****
Staff member
Administrator
Moderator
You have to use less hardener agent, and it takes longer but you get a stronger ball. It is true that heat can makes balls drop. :)
 

Rhaven Blaack

!!!THE MAN BEHIND THE CURTAIN!!!
Staff member
Administrator
Moderator
The amount of time, effort and work that you are putting into the details of this project is paying off! The ball turrets look FANTASTIC!
I would like to see where you would add the twin bolters.
 

Blackadder

Well-Known Member
Forward Bolters

Well after much soul searching I finally conceded that front firing bolters are not redundant on Thunderhawk as the ball turrets sport turbolasers. So placement of the turret mounts is pretty much ordained by the 3D drawing as nestled up to the froward belt armour.

11.jpg
 

Blackadder

Well-Known Member
Forward Bolters:

Since my Thunderhawk is outsized I have elected to use Landraider sponsons.

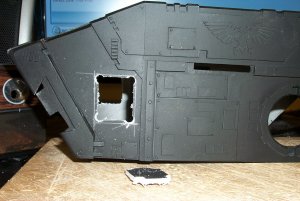
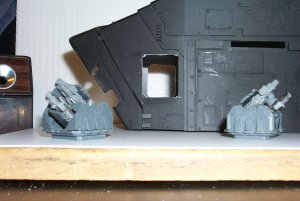
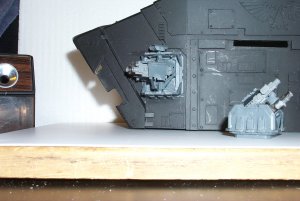
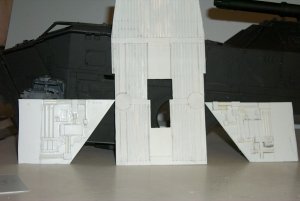
Cutting and placing these sponsons had best be left for the end of the detailing as they have to fit right in the proper position. I was lucky in that with virtually no planning on my part the sponson fit as if I HAD PLANNED IT ALL ALONG?

After drilling the corner holes I used an Xacto keyhole saw to cut between the corner holes.

12.jpg


I then pared the excess styrene to the penciled lines and filed the hole carefully for a snug fit of the sponson inner flange....

13.jpg

The plugs fit snugly; better than I expected.

14.jpg
 

Blackadder

Well-Known Member
Thanks for the replies,

Plug In Weapons:

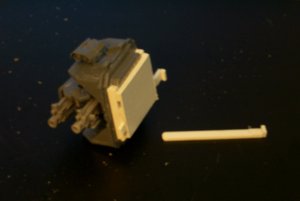
At the risk of belaboring the obvious I offer my mechanism for quick change weapons. in the image below I have mounted my Bolter assembly with a sliding bolt lock assembly where you slide out the upper and lower bolts to remove the bolter mount. A simple yet effective solution.

15.jpg

Below is the unit removed with one bolt slide in place and the other slide removed.

16.jpg
 

Blackadder

Well-Known Member
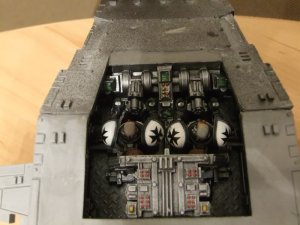
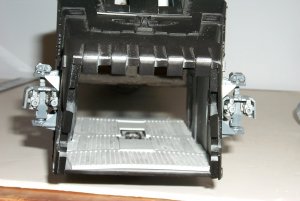
Forward Cargo Interior:

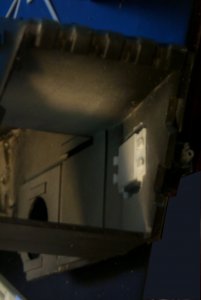
One of the first things (in my optimism) I built for this model was the interior lo these many years ago so yesterday I began adapting the floor and walls to fit the amended exterior.

17.jpg

First I had to cut out the floor to accommodate the nose gear housing which worked out rather well as the front reinforcing stringers gave sufficient height to clear the majority of the housing.

18.jpg

On further inspection of the interior it seems I have room for a few Space Marines on the upper level of the superstructure if the marines can stand and be suspended by a system of beams and hangers; wouldn't that be a rip
 
Top