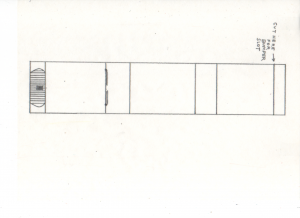
1960 Plymouth Valiant build thread.
- Thread starter Mark Crowel
- Start date
You are using an out of date browser. It may not display this or other websites correctly.
You should upgrade or use an alternative browser.
You should upgrade or use an alternative browser.
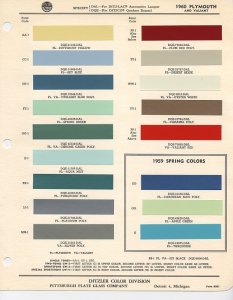
It was the desert Beige....bought it used for 100$What color was yours, on that color chart?
Took more photos, but can't upload them. A notice appears saying the mfc100u.dll can't be found. Followed the tutorials for reinstalling it, such as the command prompt scan and fix; and the Safe Start process, but nothing works.
I was able to upload the photos directly from the camera into the computer after all, just had to figure out what item to click. You know the way it is, old dogs, new tricks.
The bumpers and splash pan are attached. The wheel discs and strips are shown. Axle holes were made with a 1/8 inch paper punch.
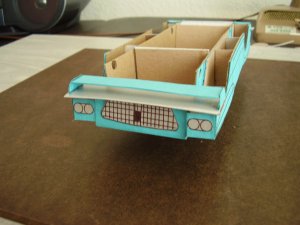

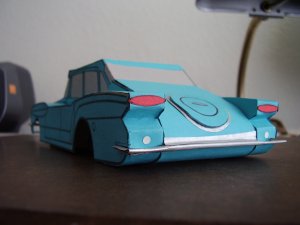
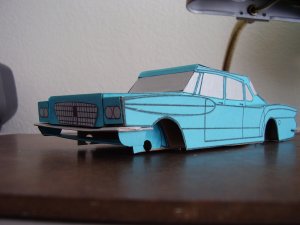
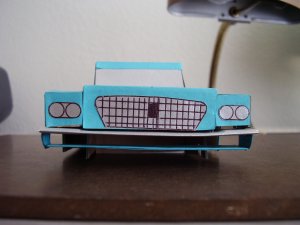
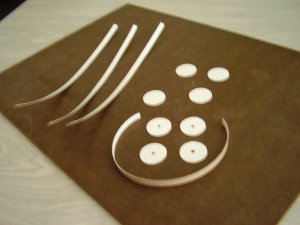
The bumpers and splash pan are attached. The wheel discs and strips are shown. Axle holes were made with a 1/8 inch paper punch.


Last edited:
- Apr 5, 2013
- 13,876
- 10,214
- 228
THE DC
Highly Esteemed Member
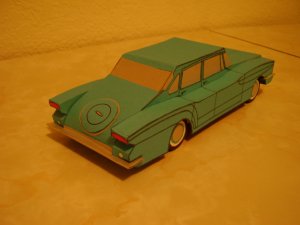
I like the addition of the spare tire hub on the trunk.
Mine doesn't have that because the Lancer's didn't carry this option past 1960.
I always thought it was a nice feature though...
Mine doesn't have that because the Lancer's didn't carry this option past 1960.
I always thought it was a nice feature though...
Hello THE DC,
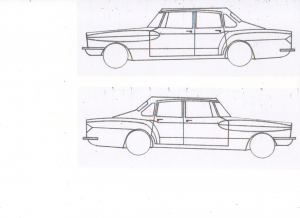
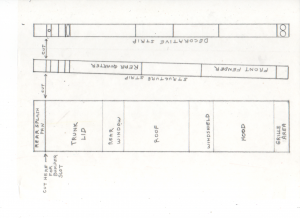
I haven't forgotten about the white copies of the plans. Have to map out the strip parts. (Been busy with some other stuff lately.)
Thanks for your patience.
I haven't forgotten about the white copies of the plans. Have to map out the strip parts. (Been busy with some other stuff lately.)
Thanks for your patience.
THE DC
Highly Esteemed Member
No worries! I'm pretty excited about the process.
When my father was growing up, he always built a plastic model kit of every car that he owned. Unfortunately, many of the vehicles I have are too odd to encourage mass produced kits (like the Lancer!).
It will be great to be able to build old Brandy!
Zathros: great idea regarding the tires! A keeper!
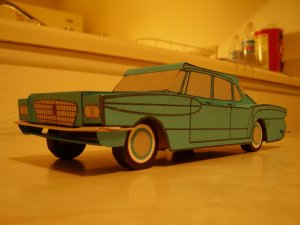
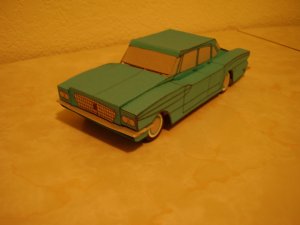
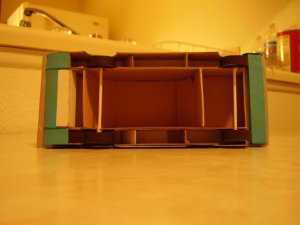
Zathros, forgive me for not applying your idea to the tires, but I was too eager to finish the model. The tires were built with the strip-and-panel construction method applied to the cardboard discs and strips shown earlier. Black paper strips formed the treads with tread strips drawn in ink. Colored paper discs decorate the wheels.
The axles are Q-Tips with the cotton removed.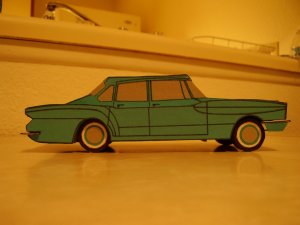
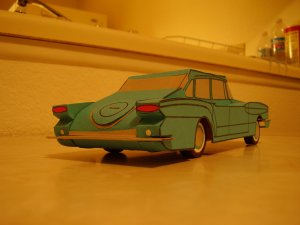
The axles are Q-Tips with the cotton removed.


THE DC
Highly Esteemed Member
If you still have the plans and parts I'd say it IS a kit - made by you.  And It looks gorgeous! :Bravo:
Like Zathros said, it is not "just" a model, it crosses the border to art. Admittedly, every designer is an artist and we have many artists here, but your way of construction is pretty unique. I haven't seen it before.
At first I thought the car was larger than it really is. Your designing procedure can be used as a template to make a much larger version, maybe out of plywood, as a display piece for the garden, for example. And with a few small changes you could add opening doors and an interior with a turning steering wheel for the kids. I can imagine that would be quite a hit.
Last edited:
Thank you, Revell-Fan, that's high praise! The model is about eight and a half inches long, and about three and a half inches wide.
WOW that is realy looking good. The pic's with the light make it realy special.
I would say job well done thumbsup
I would say job well done thumbsup
I hate to bump my own thread by saying thank you, but the encouragement I'm getting from all of you is appreciated.
- Apr 5, 2013
- 13,876
- 10,214
- 228


