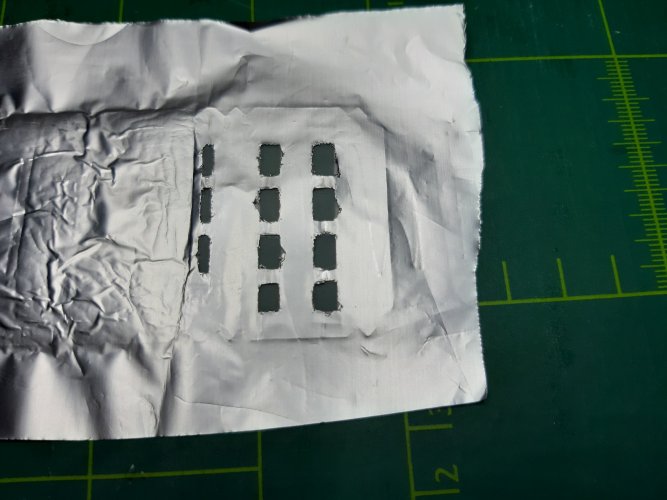
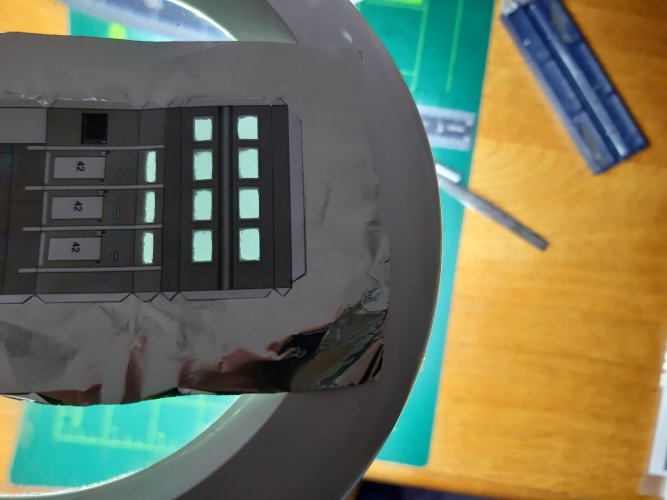
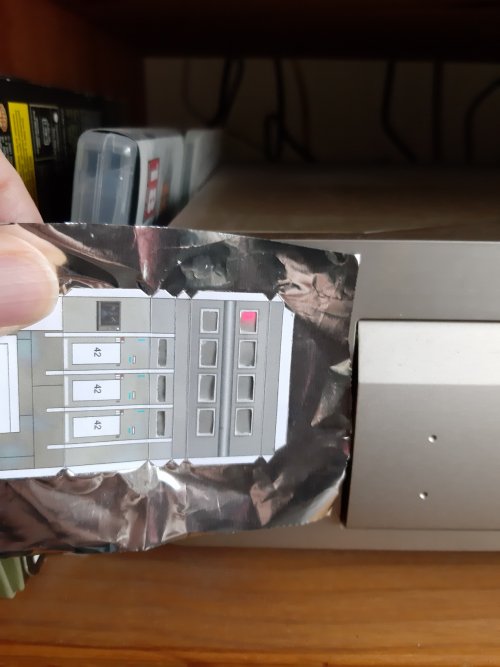
looking really good!
Thank you both.This is really coming together beautifully!
looking really good!
Thank you both.This is really coming together beautifully!
Bluch.... thank you so much for these kind words.mijob you never fail to impress!
Thank you I think at some points the model can be improved. For example the dimensions are too precise there is no room for error. I have ended up with some white tab areas if the designer made the colour areas a bit longer you would not have that problem. The same with the engines it is possible to design it less complex. But still its a great model.Spaceship engines! is there no end to their troublesome awkwardness!!!
Nicely handled, can't wait to get flustered by this one!
i used a wooden dowel through the holes for the wings to pivot on.. easier than rolling the paper..And Im on my way. First Im going to build the part shown in the image below.
View attachment 215958
First I have glued the parts needed on 1 mm thick cardboard then cut the parts. This is a real blade killer when cutting the curved lines.
View attachment 215959
To make the holes I used a hole punsher. You can see it in the picture.
View attachment 215960
Before assembling check the fitting of the parts if needed use a file. If all fits you can assemble the parts.
View attachment 215961
I used clamps to glue some parts.
View attachment 215962
One important note some parts are fragile dont worry if they bent you can fix it at a later moment. See the red circles.
View attachment 215963
This is it for today have a great weekend.
update 16 01 2024.
Before you glue the framework glue the parts as shown below to it. Otherwise its very hard to glue them to the framework.
View attachment 216199View attachment 216200View attachment 216201
Welcome back lyter its good to see you here. I have read it in your build thread but I did use the paper version.i used a wooden dowel through the holes for the wings to pivot on.. easier than rolling the paper..
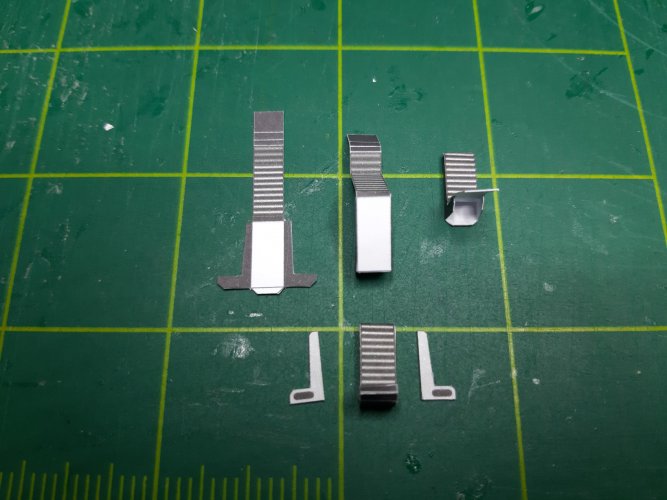
Thank you for sharing that link. It looks like very good information!
The fibres are new to me so it will be try and error. The electronics is not that hard. I think I will make a new thread for the light and electronics.Thank you in advance for posting all the progress with the electronics. I will follow your steps one day
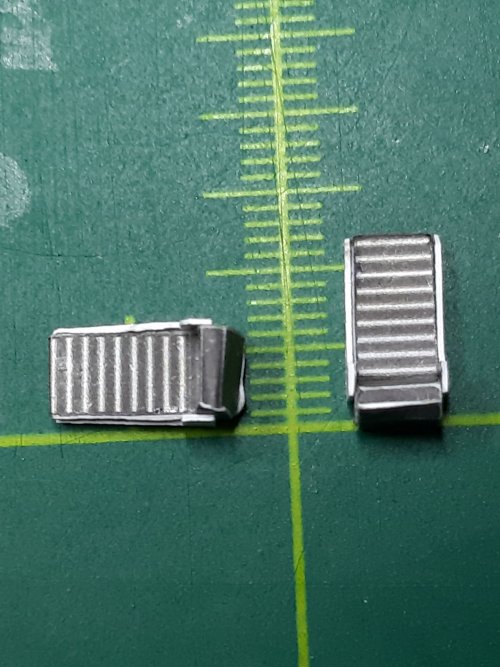
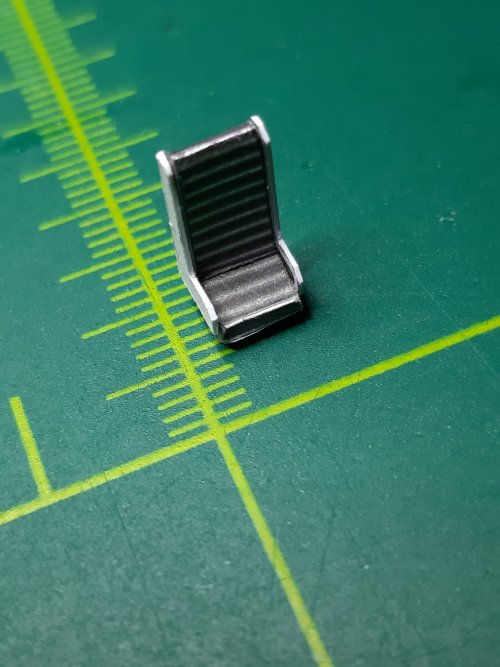
Thanks you RB.The seats look good!
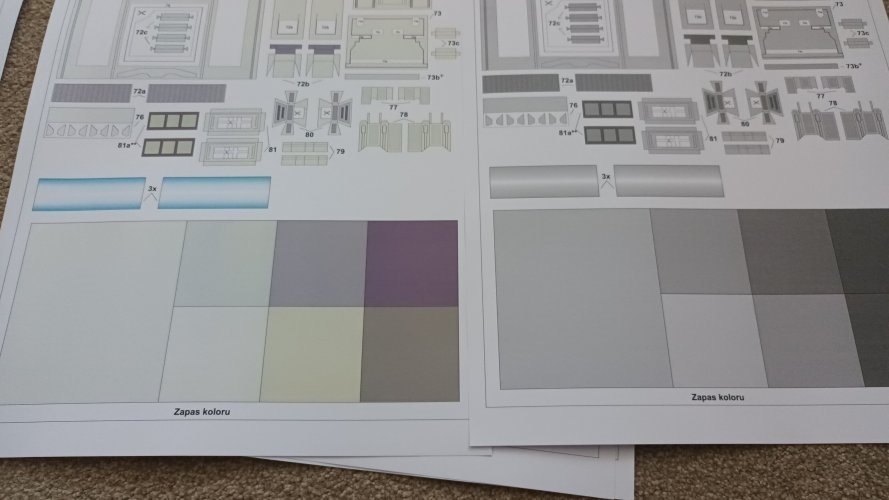
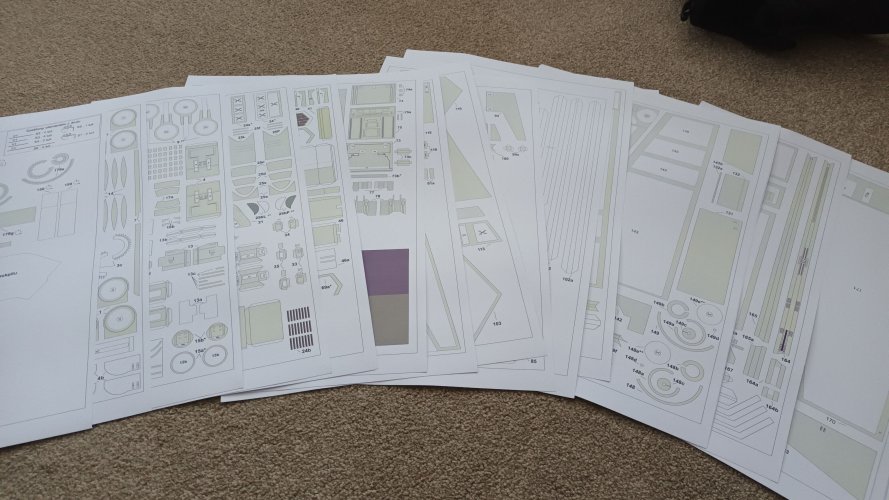
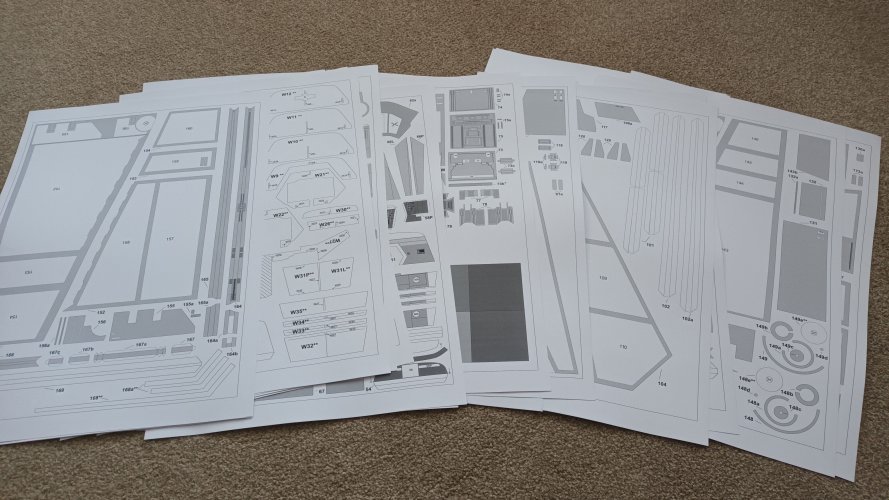
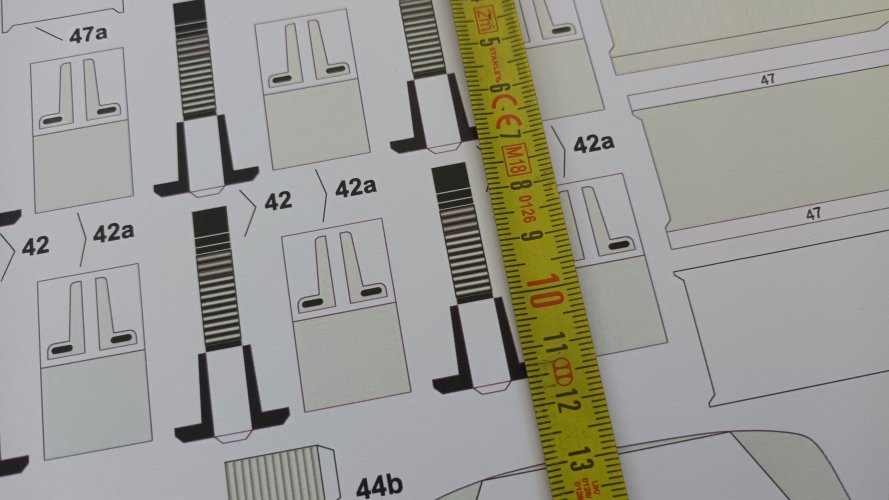
Luckily the prints were free... otherwise it would've cost me 0ver £20-23 Euros!O boy that doesnt look good indeed. It would be a very colour full model if you would build it. Are you going for the normal sized shutle or did you enlarge it? If so you internal structure needs thicker cardboard.
