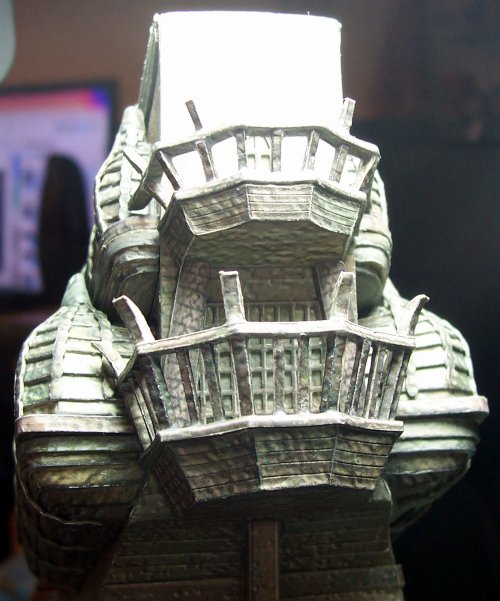
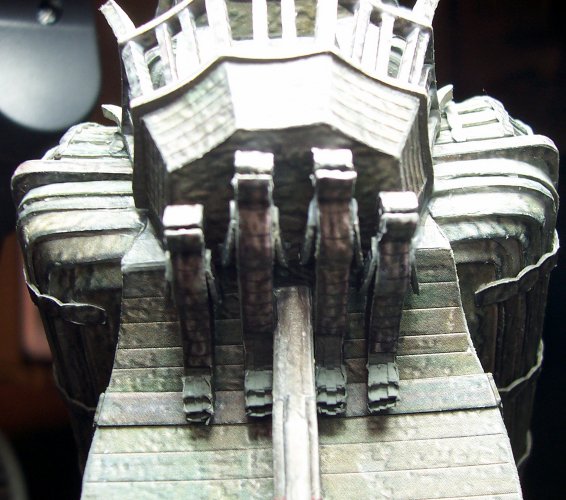
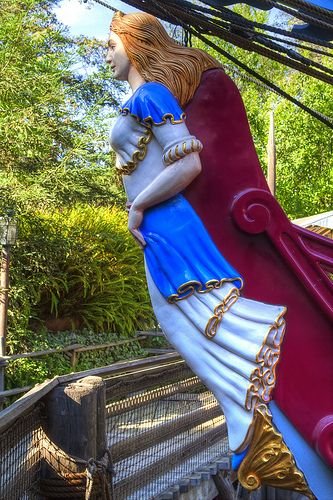
Like I mentioned before, there is a TON of work to do in these what I have now found out to be, "Quarter Galleries". That is the correct naming.
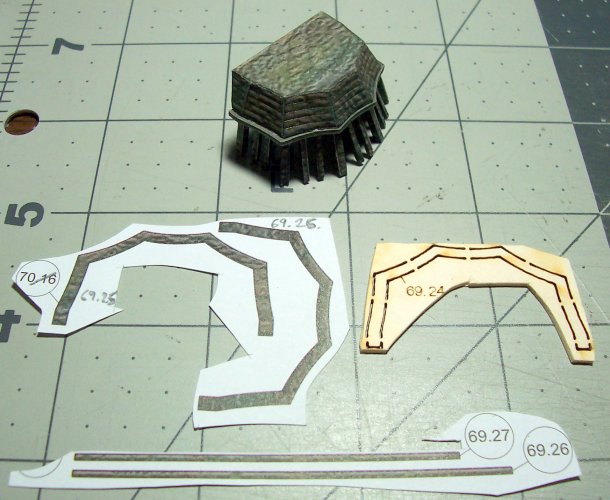
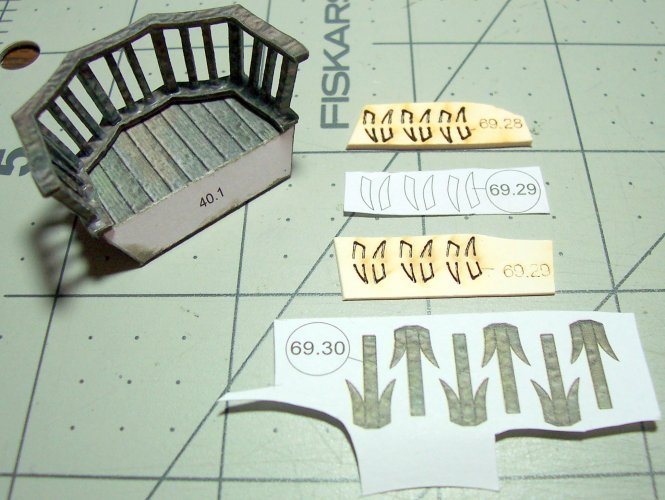
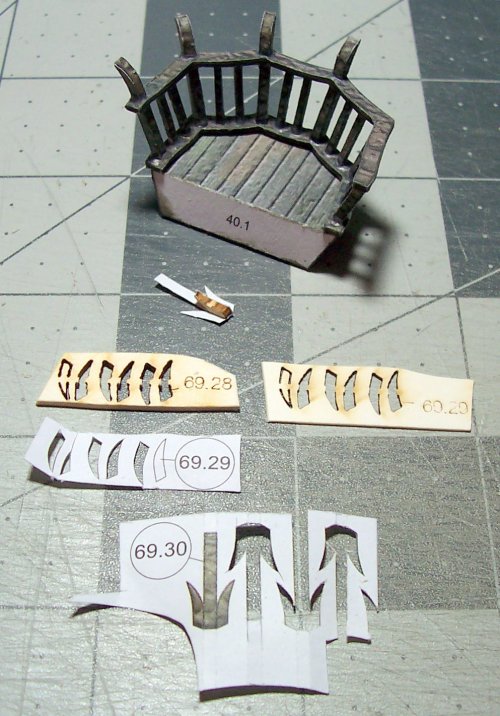
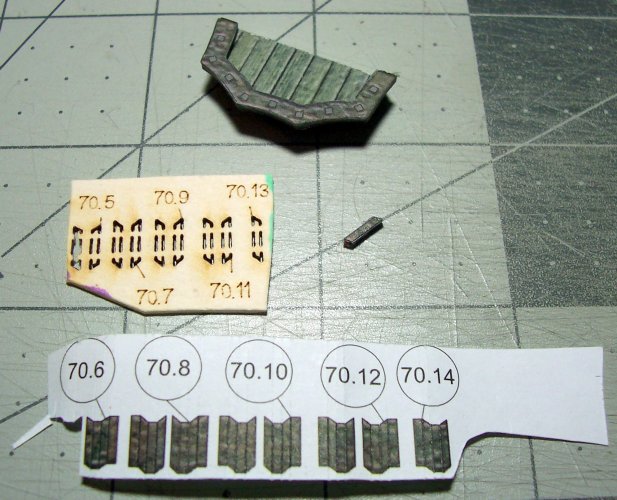
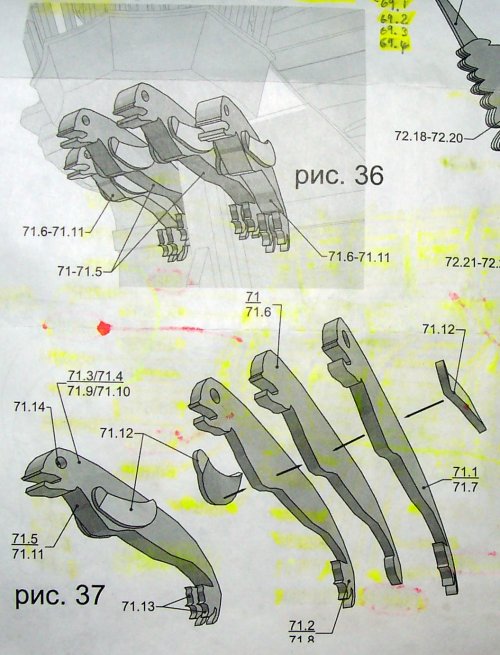
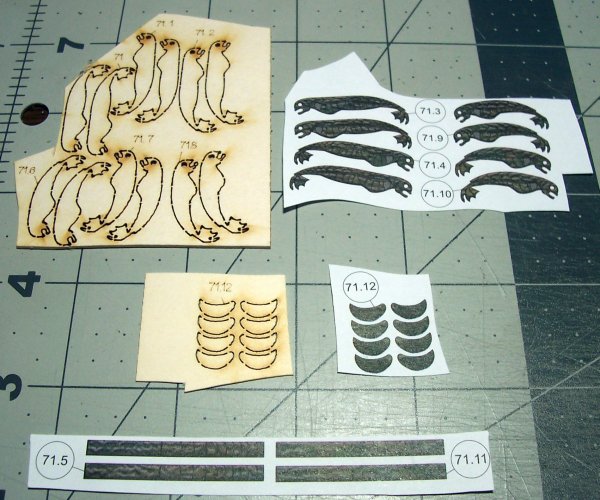
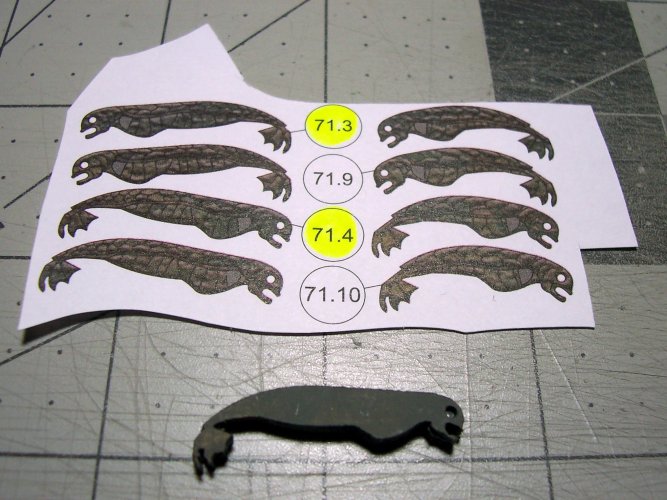
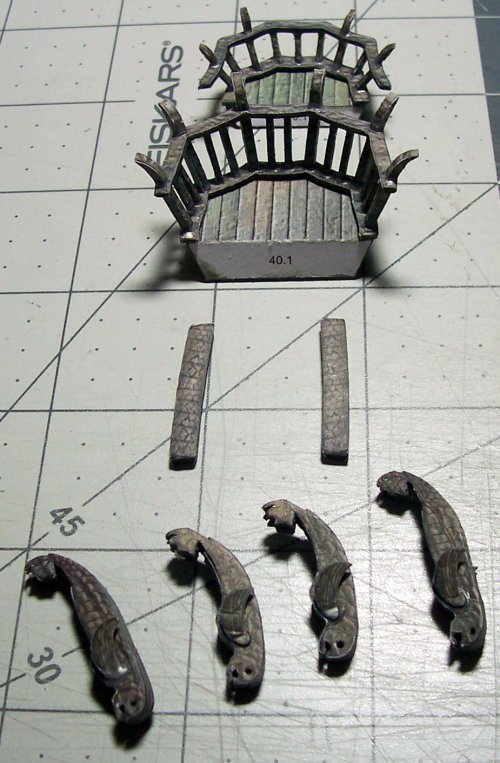
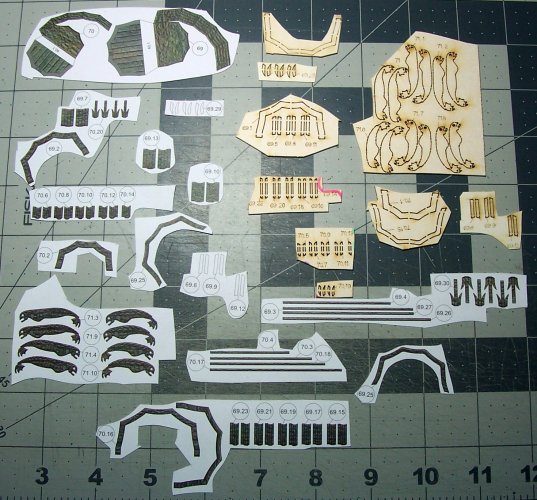
These are the parts for the left hand turret.
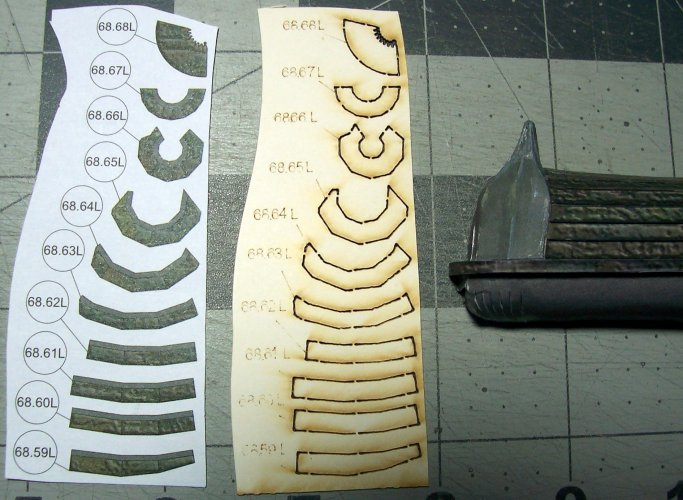
Start from the base plank upwards again. The construction is not the same as the right side turret, so just be careful.
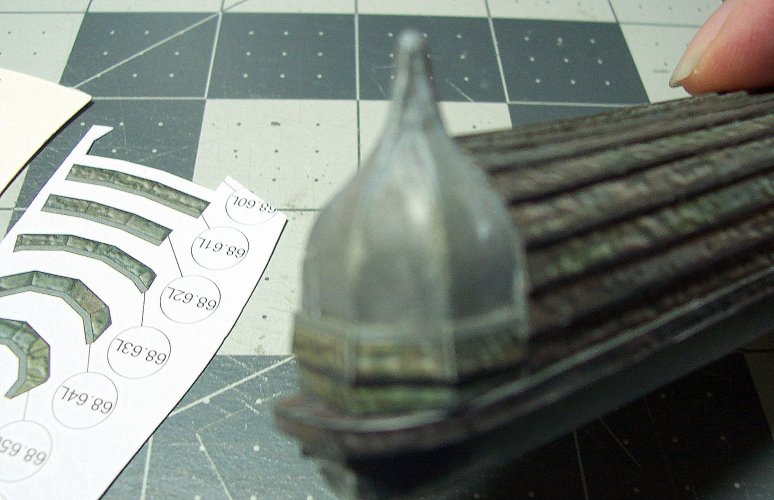
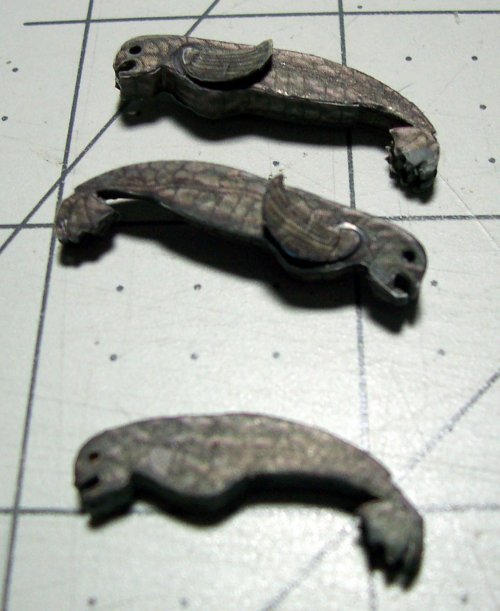
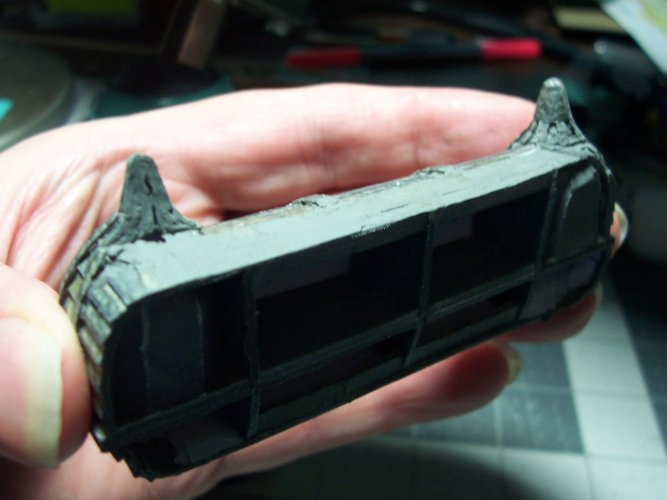
Its like building 4 small boats


The upper planking is the hardest to get right.
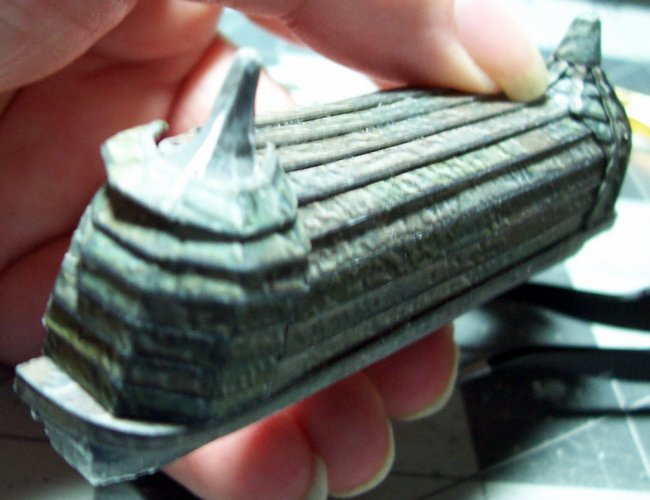
Again, you will need to carve and sand to make the planks and the cap fit nicely.
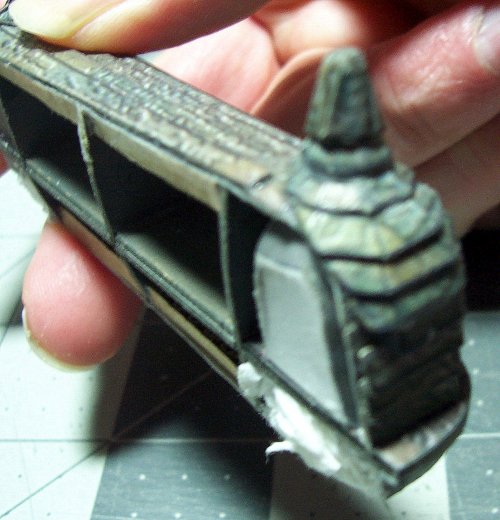
These are the inside edge planks that go around the turret. They are needed on both sides.
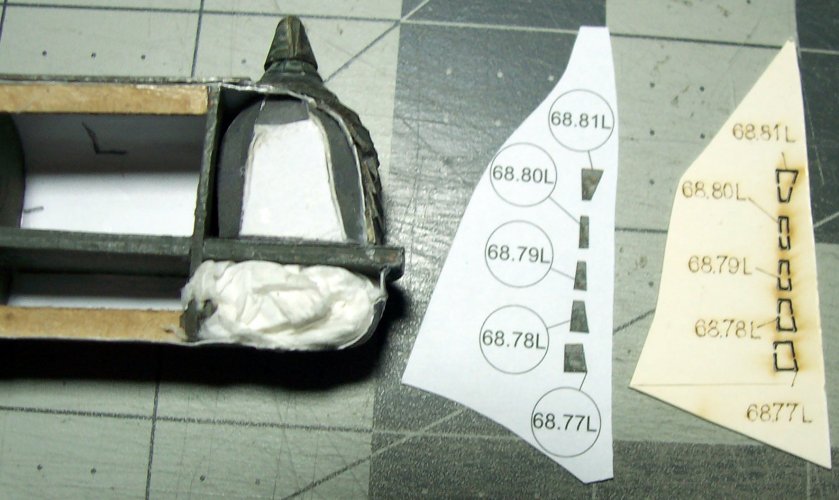
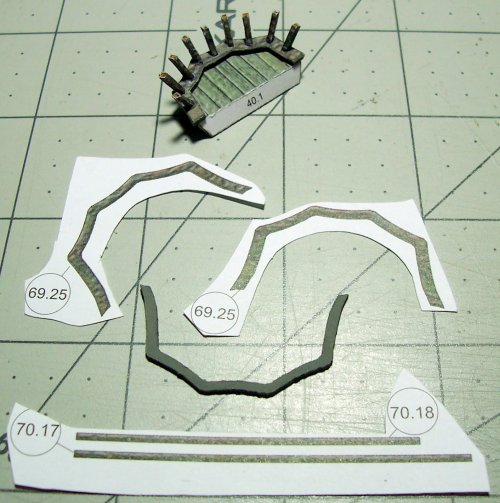
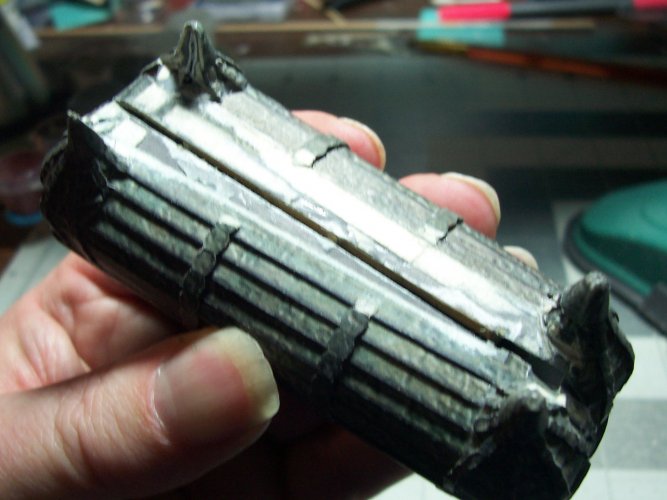
And now for the banding that goes around the turret in several places.
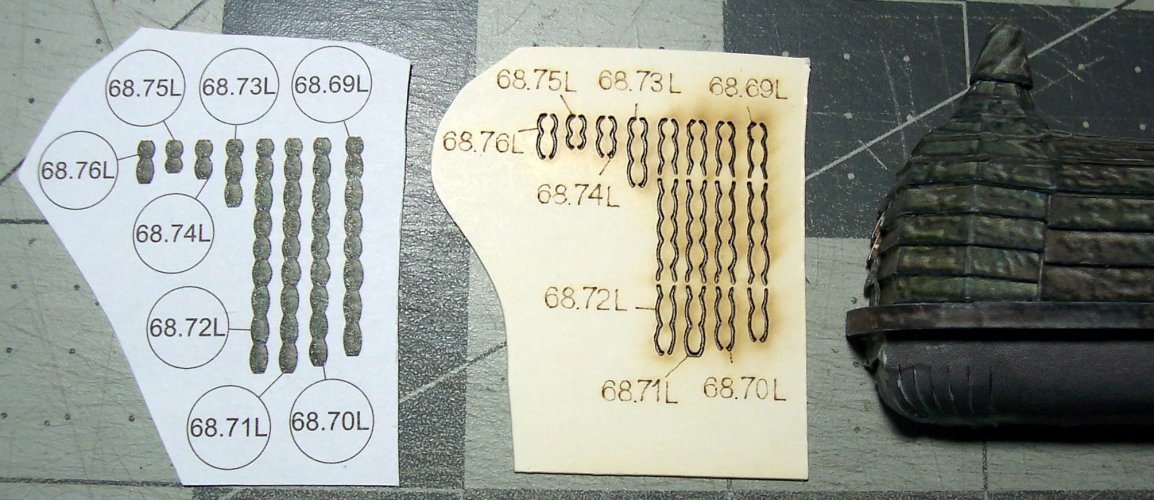
There are 8 bands in total.
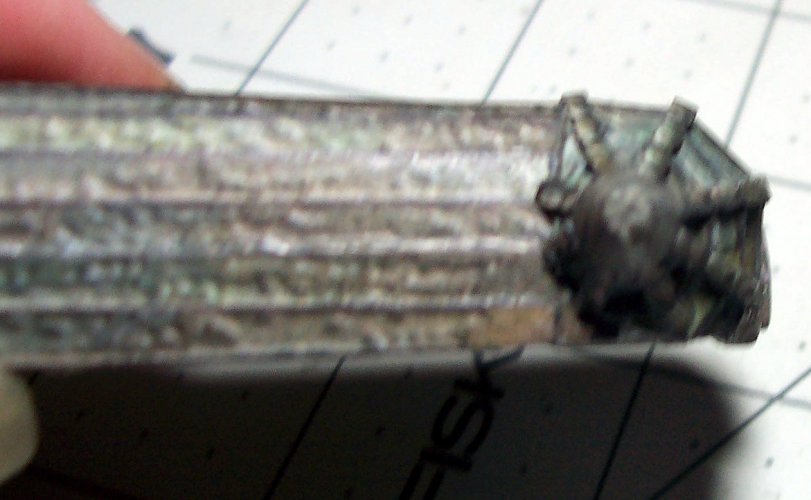
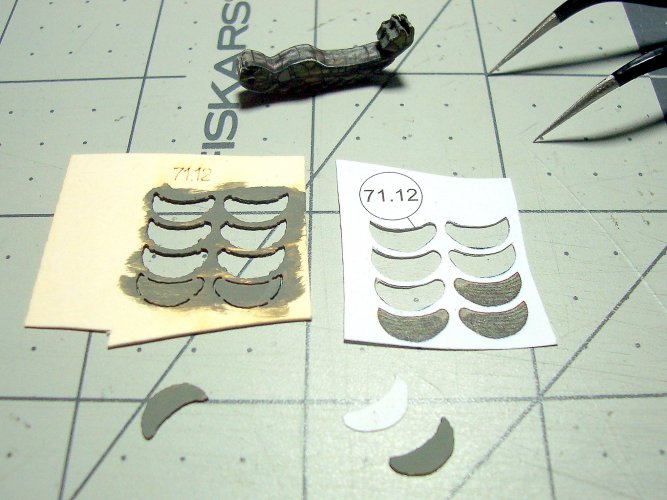
Its coming along nicely! Now for the lower planking. These are all the parts needed for this piece. Just one at a time, or you will get confused as there are so many parts and they are all different.
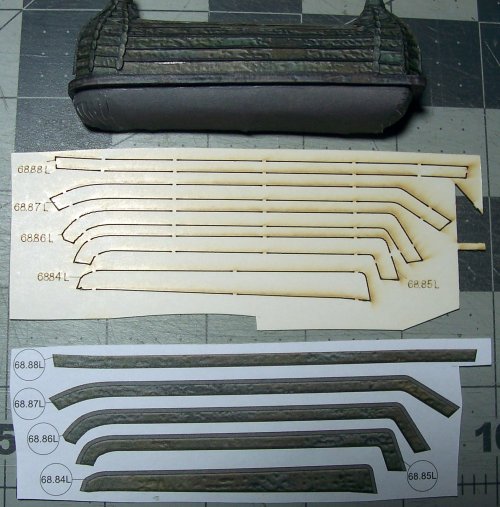
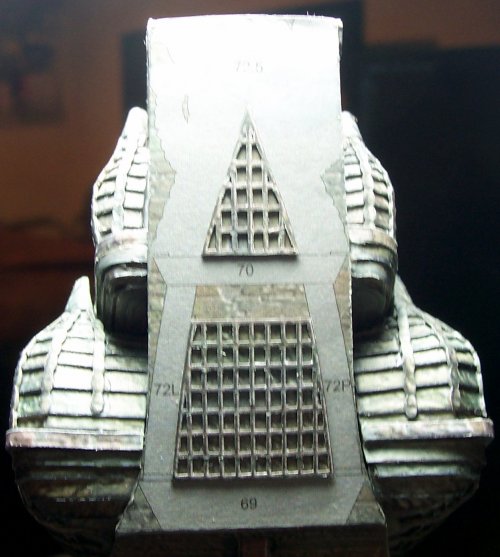
This is the port and starboard sides held next to one another so you can see what we need to get done here. The draft paneling in the upper part is where we will be adding all of the planking.
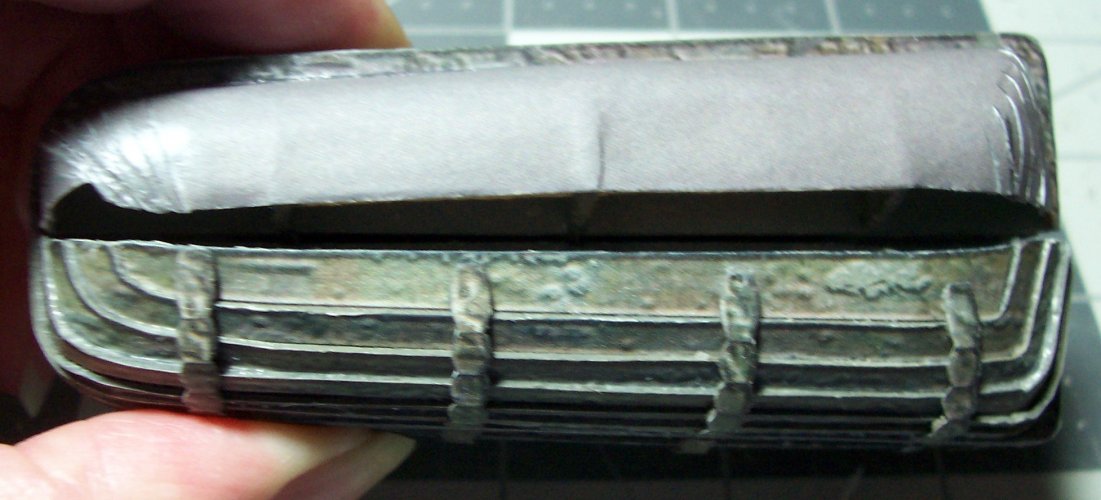
The first lower plank being held in place with small pegs/clips.

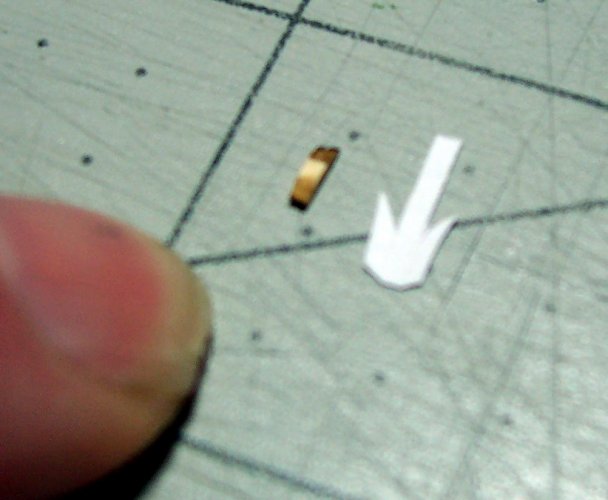
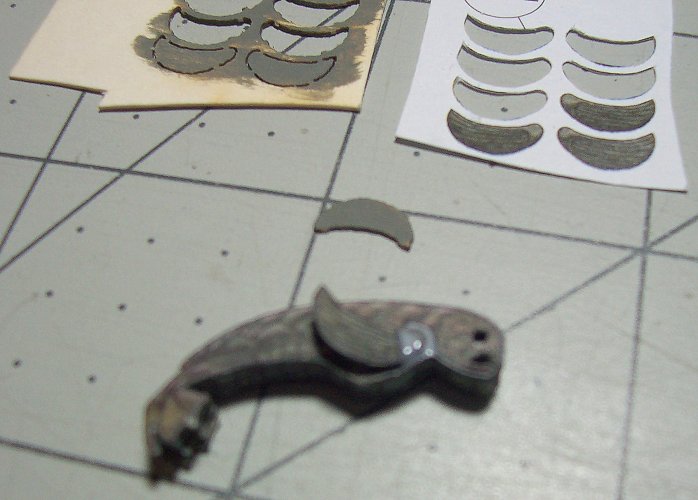
This is where I had to make a plank to fill the space.
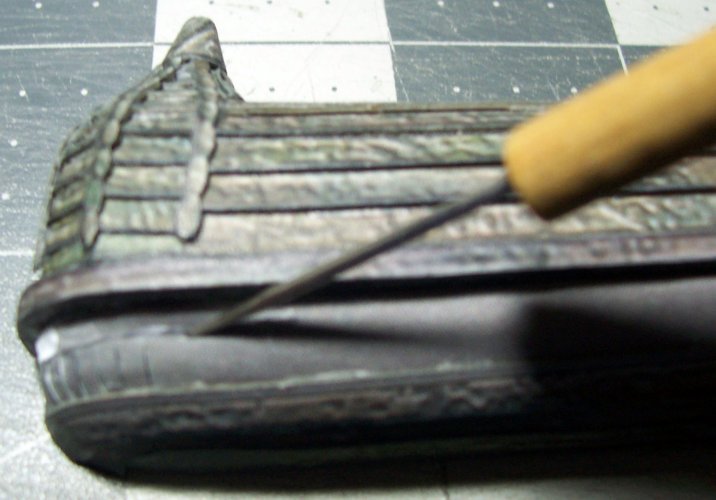
Just use some scrap card, and use the spare color paper that is supplied to make the new plank.
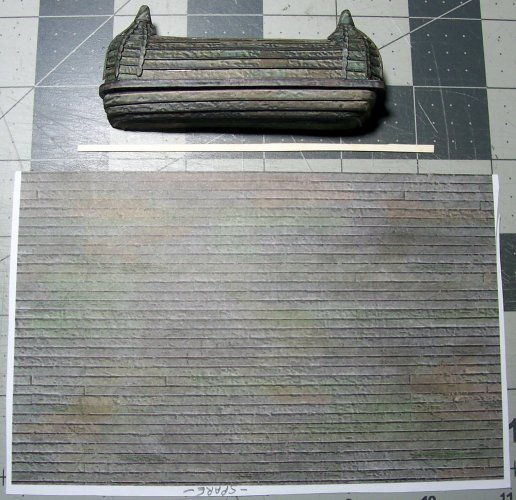
I thinned some paint to eventually get it to match the existing planks. I just applied it with a cotton swab

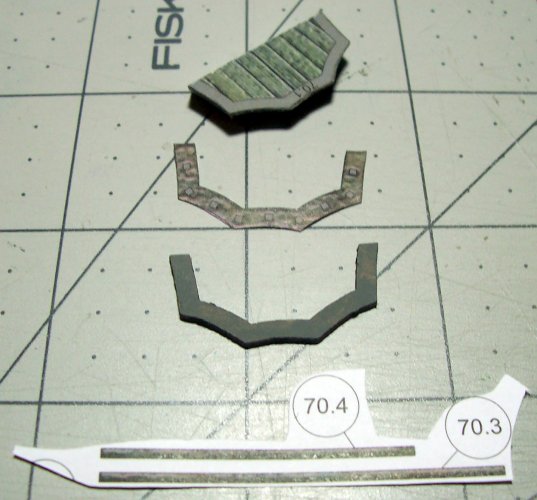
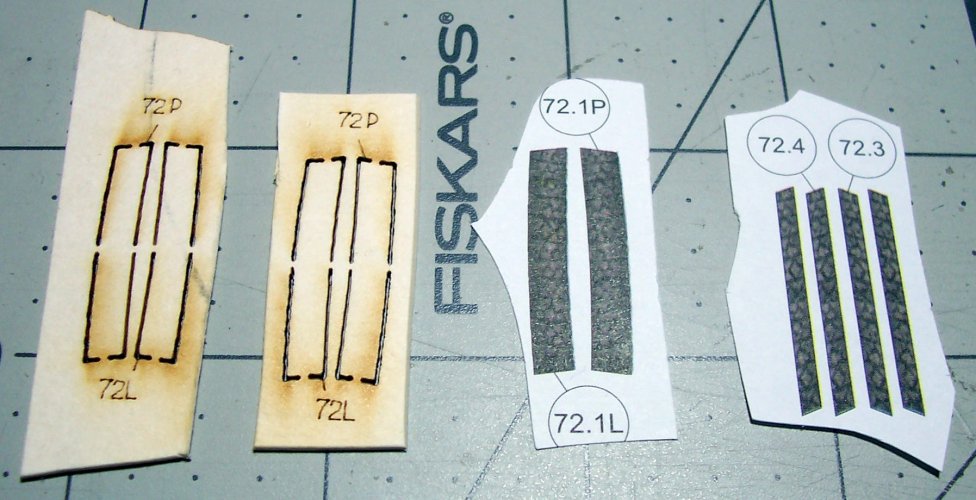
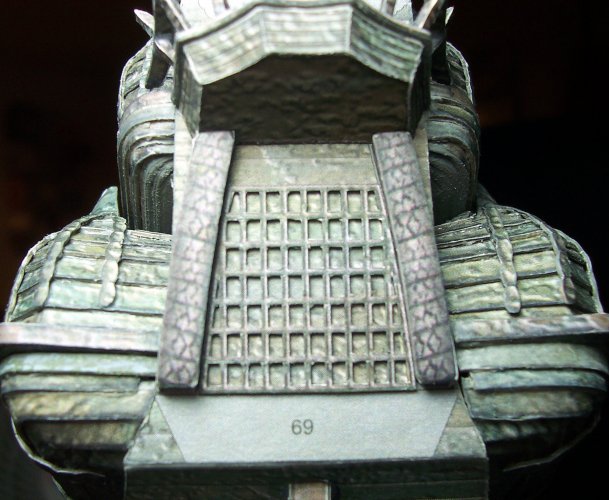
Now onto making the straps that go around the middle section.
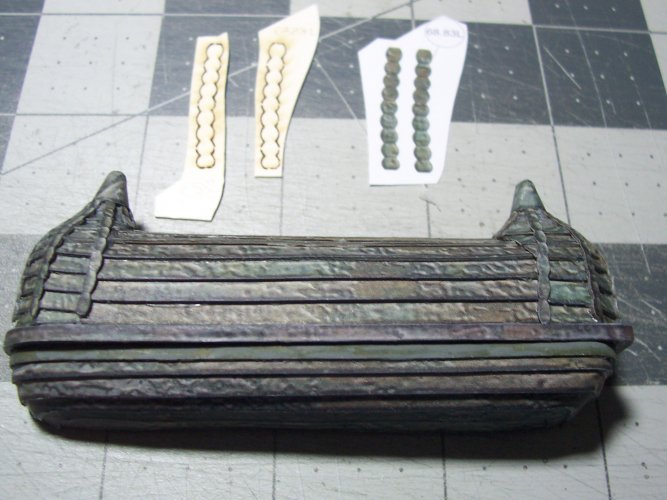
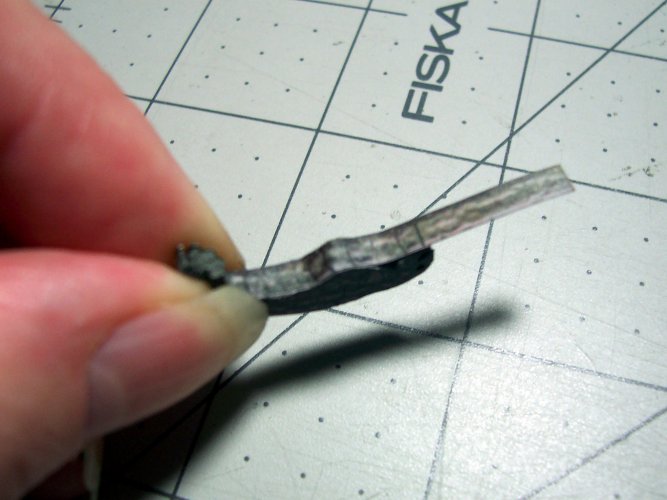
Next, the lower section has 4 'belts' that go around the body.

Play the drum roll...


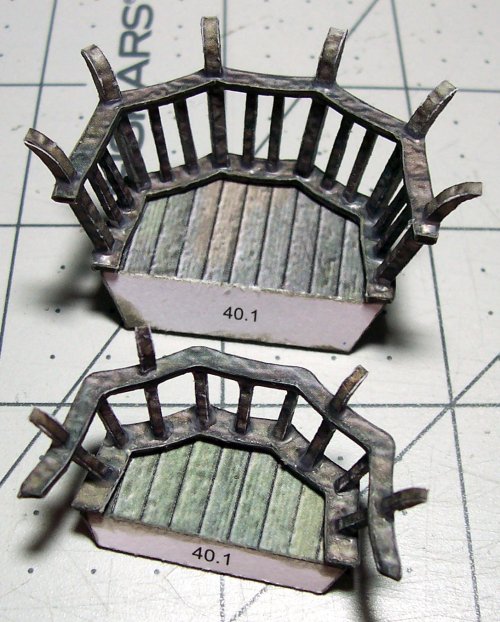
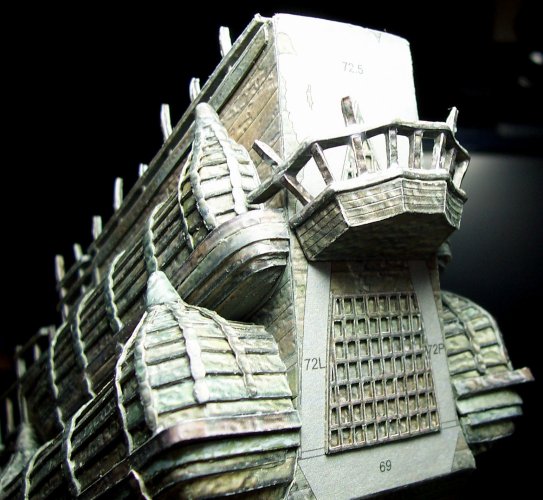
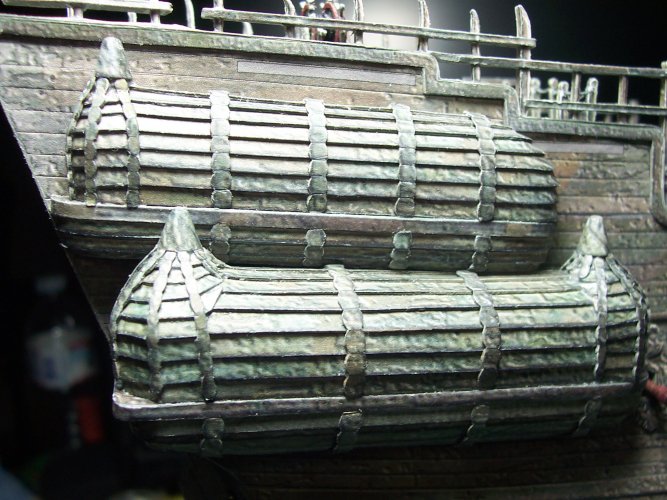
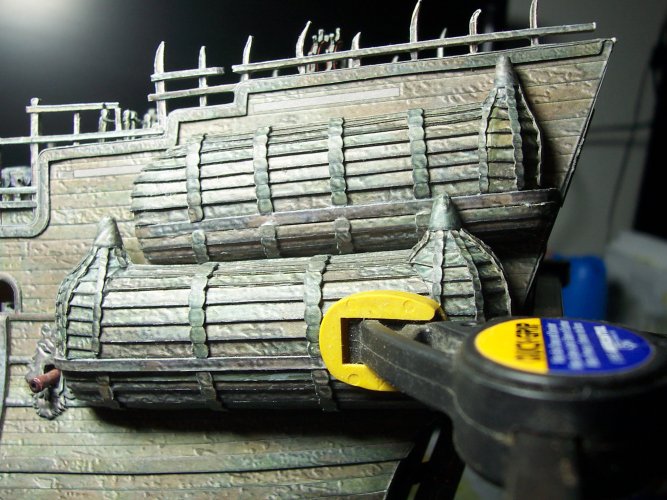
All four of the Quarter Galleries completed and ready to be installed on the sides of the ship! Phew, these were intense, and the most difficult part is next

The fitting of these bad boys!
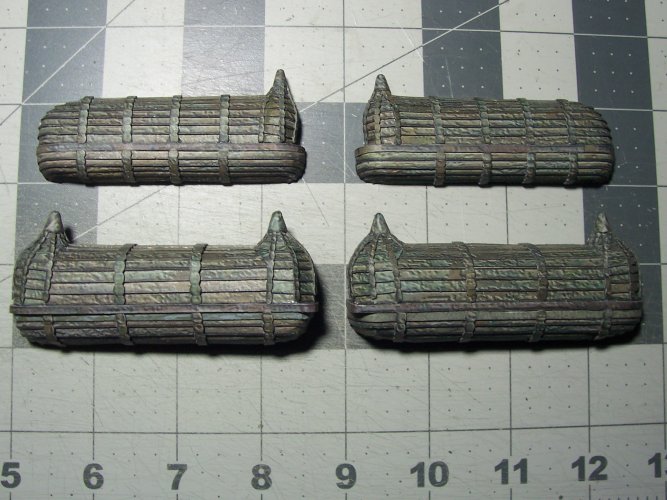
Just a recap on the what we just accomplished. I used a highlighter to keep a track on each part. Without doing something like this, I don't hold out much hope for building these!
Make sure to hang on to all of the offcuts, as its so easy to miss a part that is shared on the paper or card and accidentally sling it in the trash

Believe me, I did it! Its also useful for making some strengthening gussets and those kinds of things as you work through the model.
I like to keep an eye open for lines that can be scored on the parts too to simulate real wooden planks.
Make sure to glue that color paper veneers to the shiny side of the card if you are using the laser-cut pack.
Paining the edges of the card and paper help to disguise the medium used for construction, and everybody will ask, "is it made of wood?"
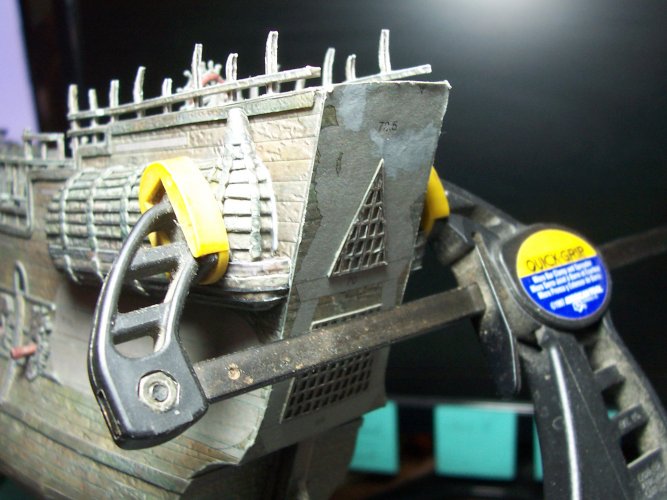
Be mindful of how to build the separate assemblies off the ship! The plan makes no reference to that, and it is extremely important to the success of building the model. As an example. if you try assembling these Quarter Galleries on the ship, it could increase the complexity of the build by several factors, or even make it a near impossible task... just saying

Sadly, I do feel there is a chance that the model could be a success or failure if the builder doesn't follow the steps.
I sometimes paint with water to help the glue flow nicely into the joints and to help soften the card just a little to form a complex shape.
Try to avoid cutting the parts to fit the model. They are likely the correct size, and you need to look at the place you are fitting the part to for correct assembly first.
It may be necessary to cut parts into smaller pieces to go around compound curves like the turrets of the Quarter Galleries here.
I used a full sheet of 100 and 200 grade sandpaper on a flat board to make sure the bottom edges of completed assemblies were perfectly flat to assist fitting difficult parts.
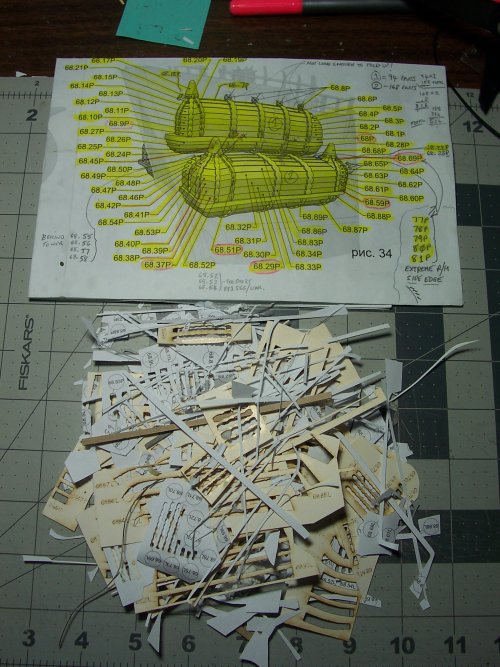
This is the first Quarter Gallery that will be fitted to the ship. It is for the upper, starboard location. This is where I needed to significantly modify the part to fit the ship. I used the sandpaper to grind the bottom so it is 3 planks deep.
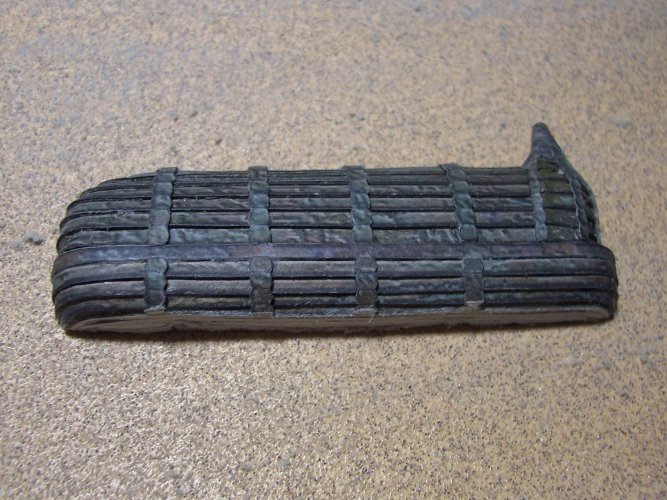
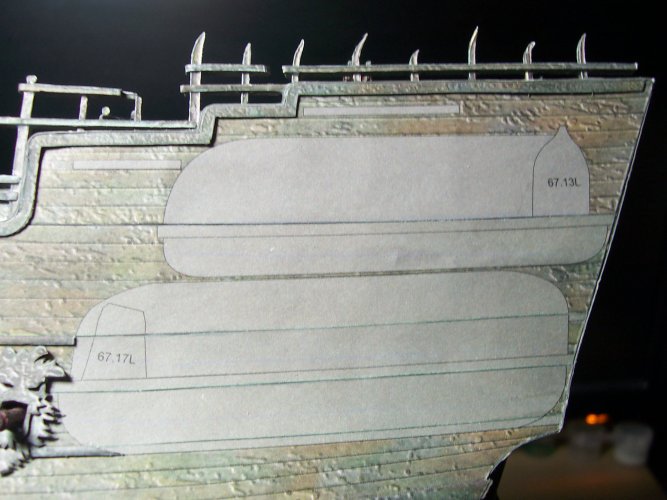
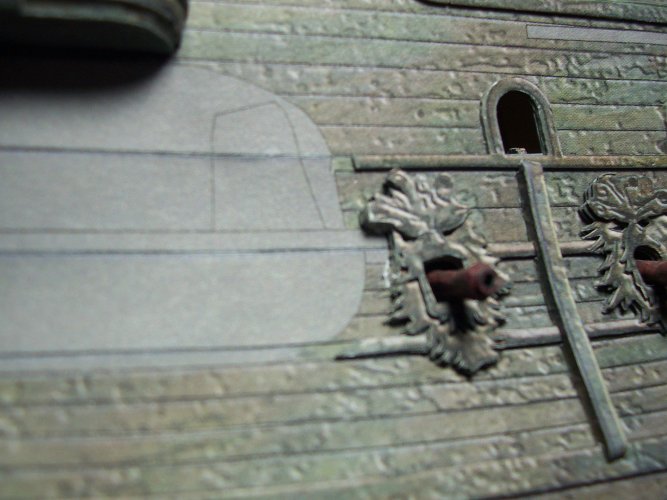
This is looking at where the part will be fitted in the upper section, 67.13P. I found that all the Quarter Gallery assemblies had to be significantly modified for them to fit within the marked lines. I had to get pretty medieval on them for sure

There is NO-WAY they are going to just be a drop fit! Lots of shaping and griding!
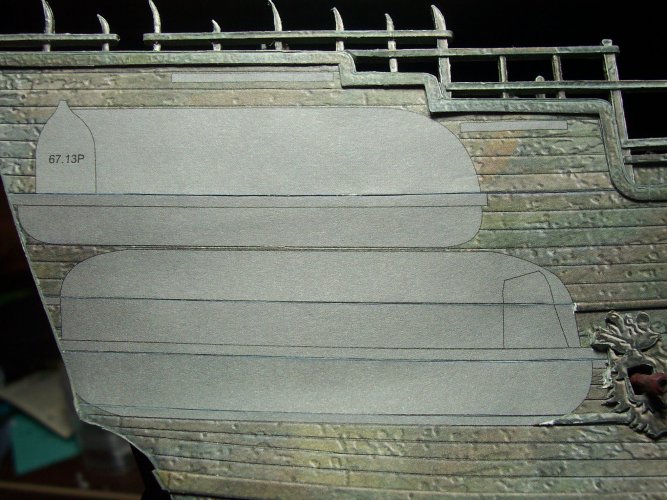
The bottom corners had to be split, pushed, pulled and glued into the correct shapes to match the lines. Lots of test the fit, modify, test, modify loops. And there it is! Don't be tempted to just think ah, I will just wing it and glue it! That will be a disaster because the stern walks and stern decoration amongst lots of other assemblies rely on these being an excellent fit!
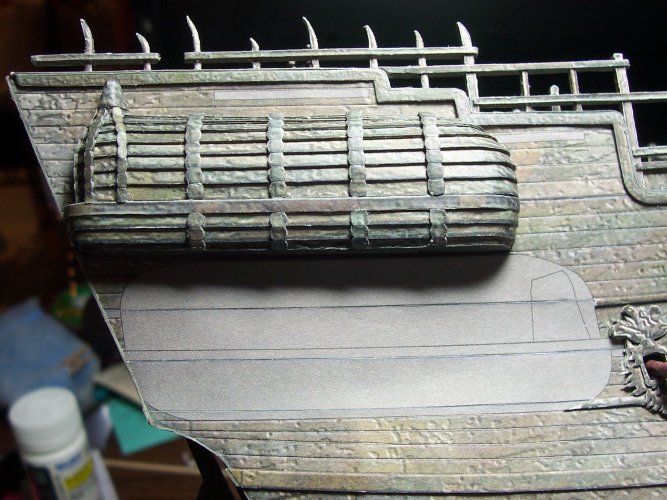

 They were getting bad before, even with the new glasses I got for close up stuff, but wow, some of the very small, close-up work is taking its toll


 Now onto making the straps that go around the middle section.


 All four of the Quarter Galleries completed and ready to be installed on the sides of the ship! Phew, these were intense, and the most difficult part is next
 Believe me, I did it! Its also useful for making some strengthening gussets and those kinds of things as you work through the model.


 There is NO-WAY they are going to just be a drop fit! Lots of shaping and griding!

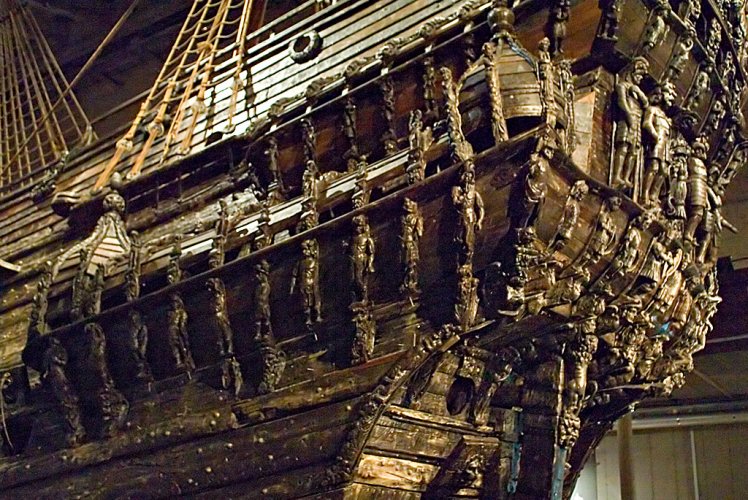
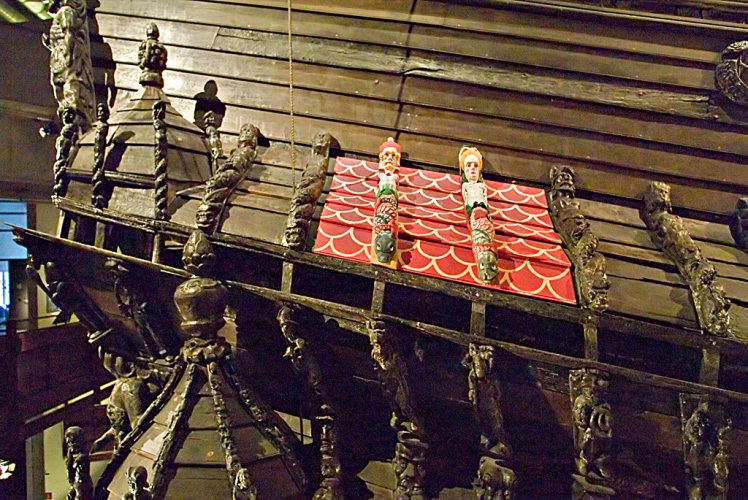
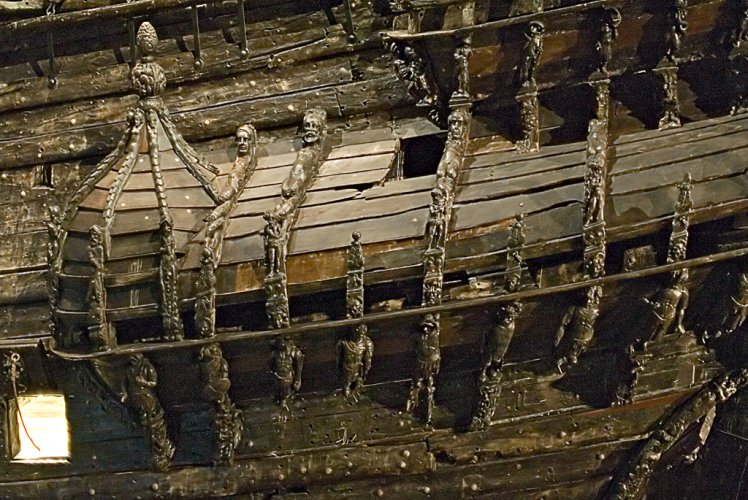
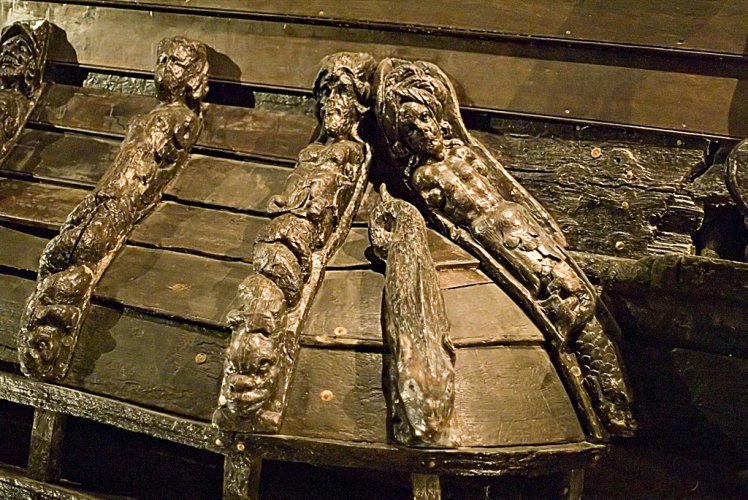
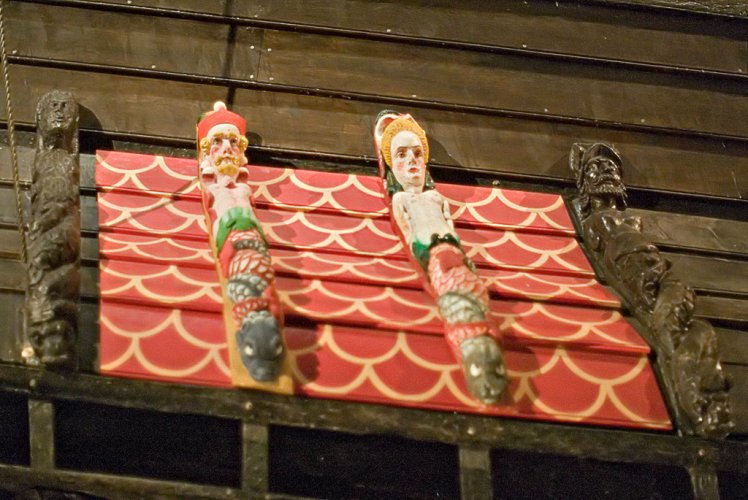
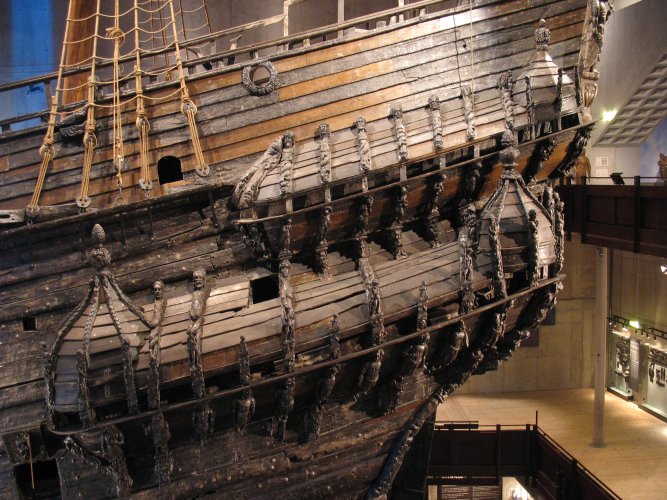
 This completes the starboard side.
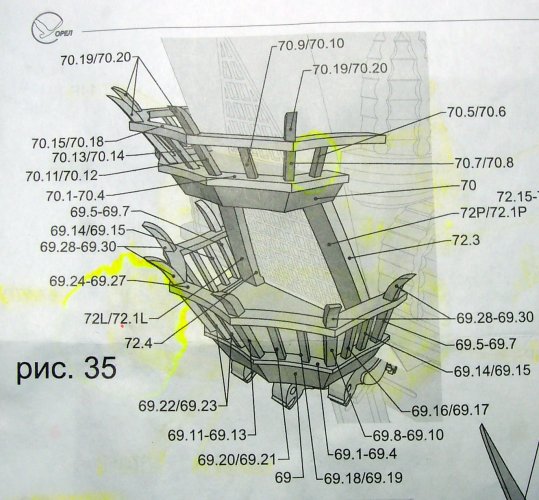
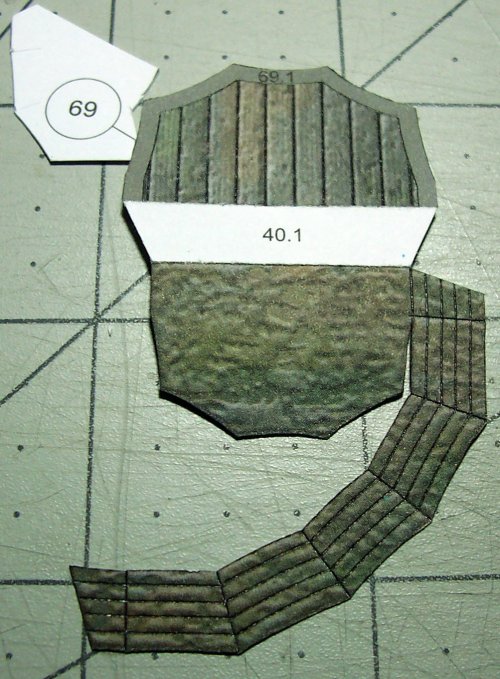


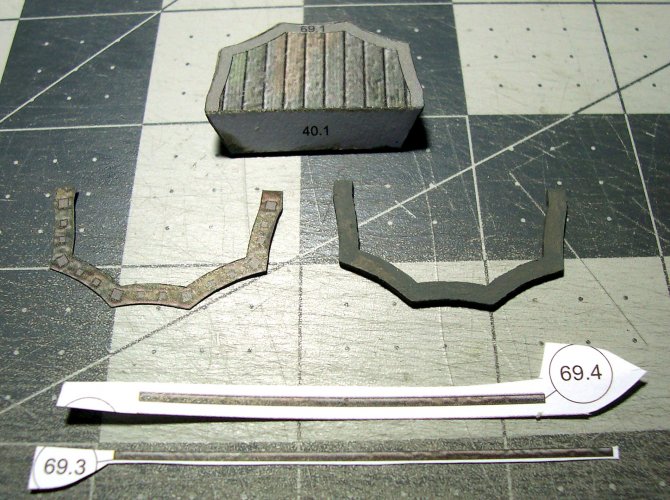
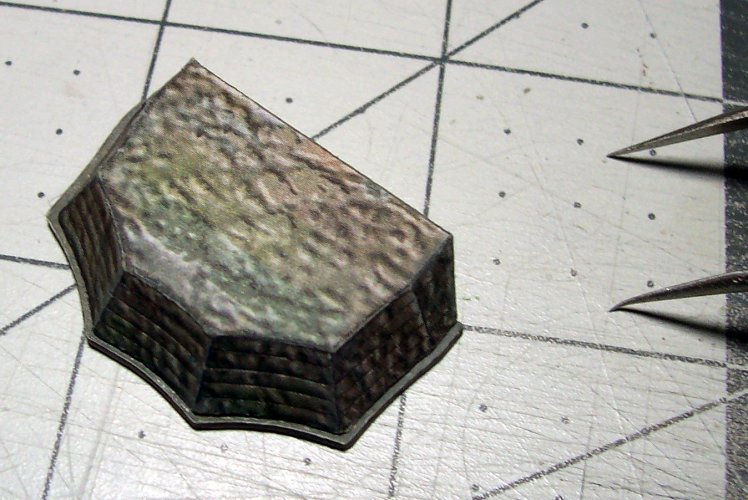
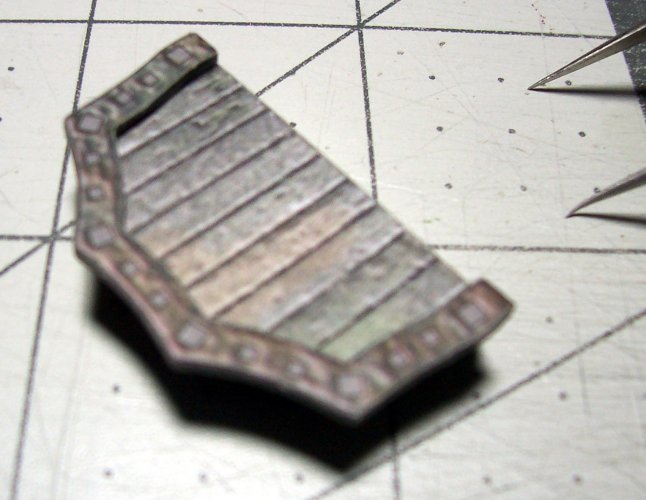
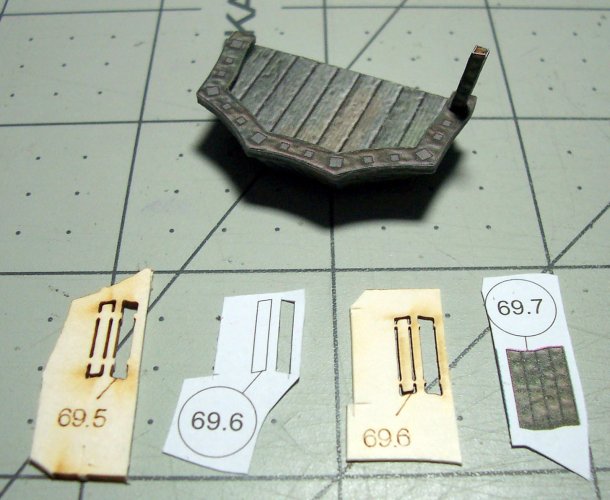
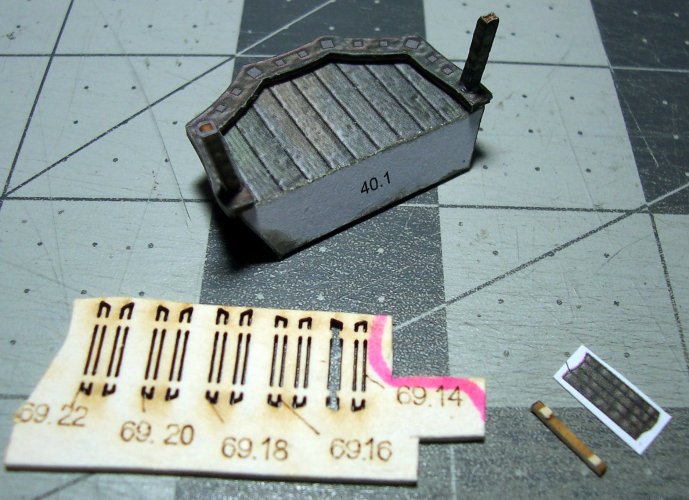

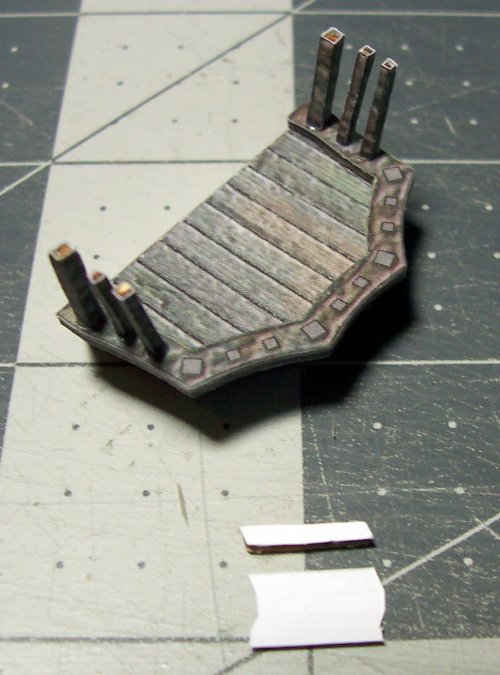

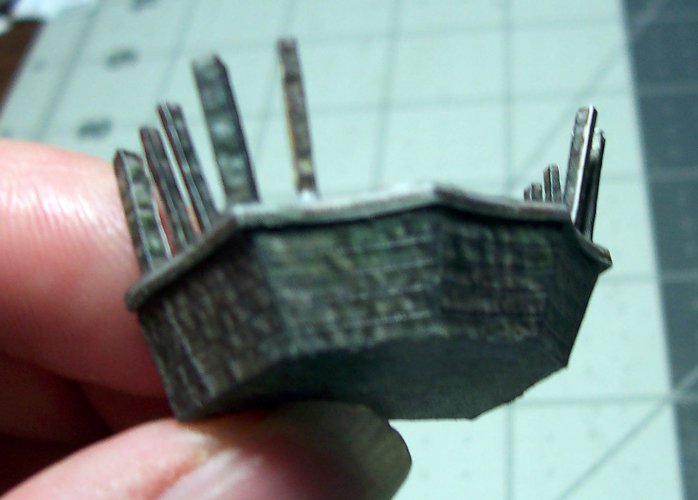
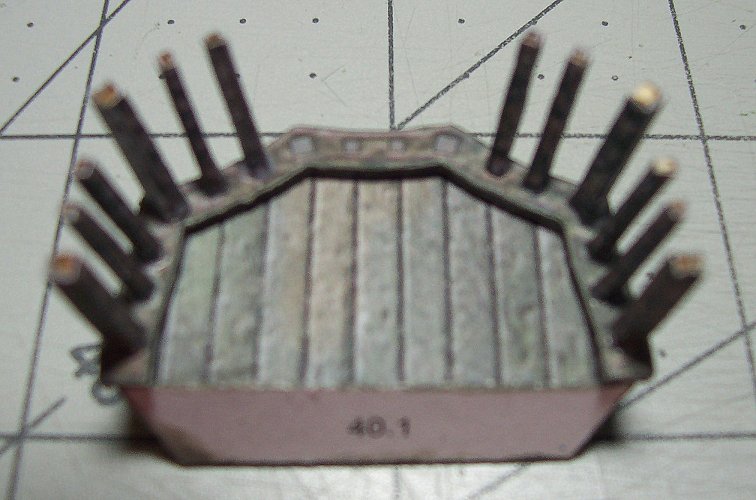
 Now to build the upper shelf. Note the part numbers are mixed up a bit according to the plan layout.