Time for another update. Now for the shrouds/cowling.
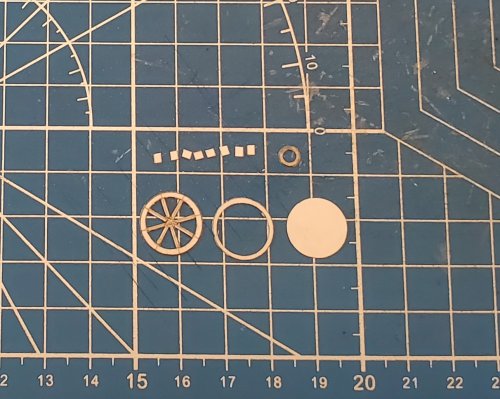
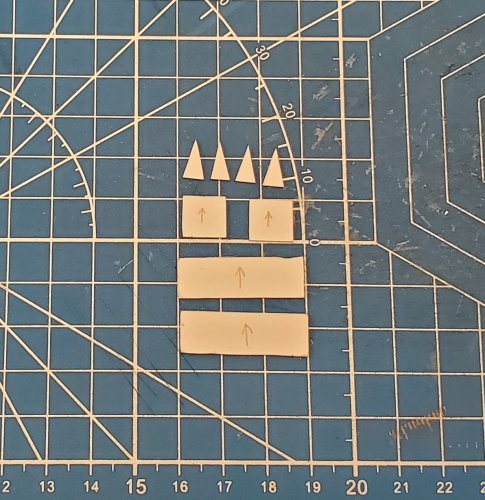
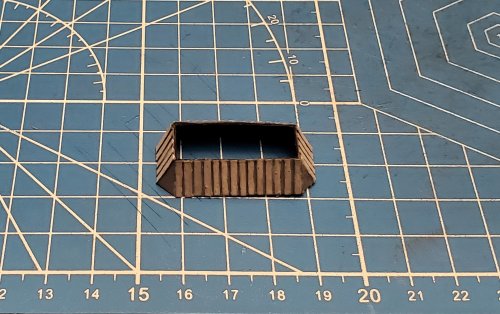
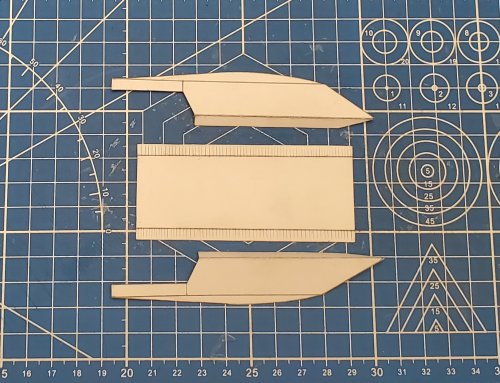
Here are the parts for the cowling for the top engine. I decided to angle the sides of the front of the intake part of the cowling.
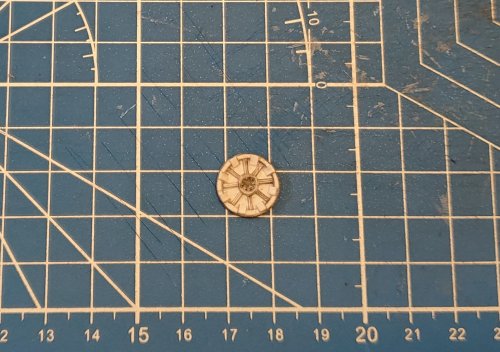
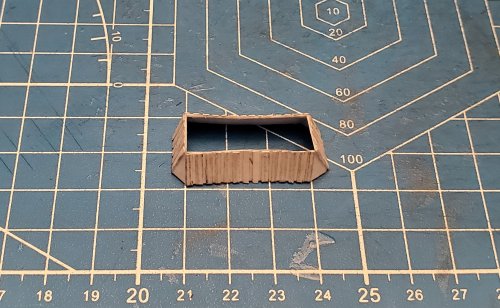
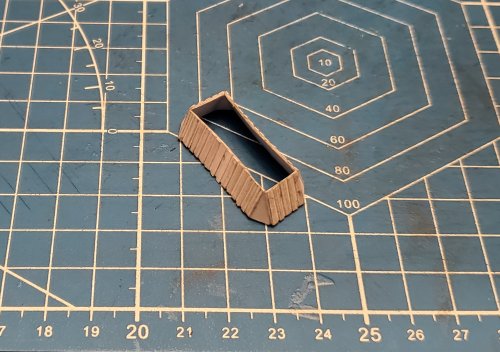
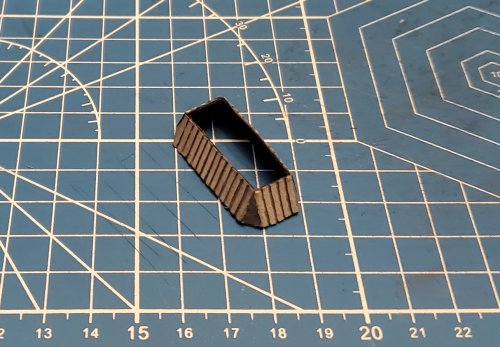
The cowling is assembled.
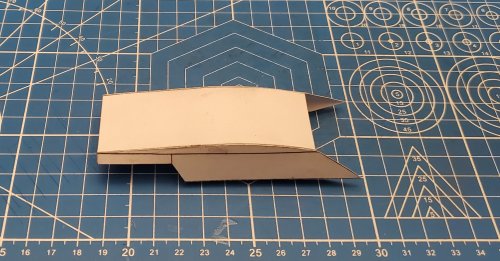
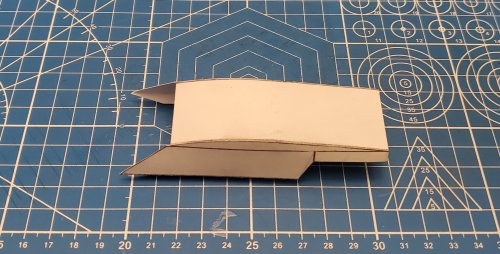
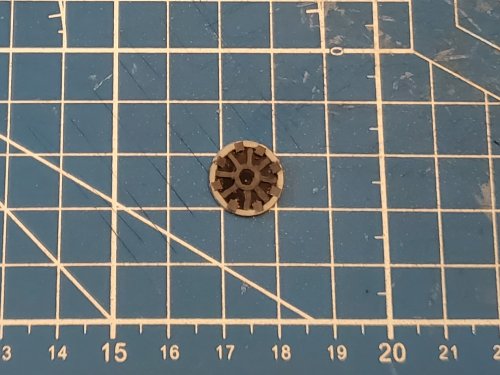
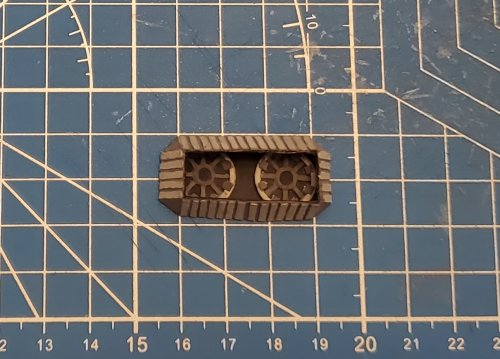
I dry fitted the top shroud/cowling. Yes, I know that the engines appear to be a bit short. Actually, they are. That was an accident on my part. However, I did not want to start over again. So, I decided to continue on and and make it work.
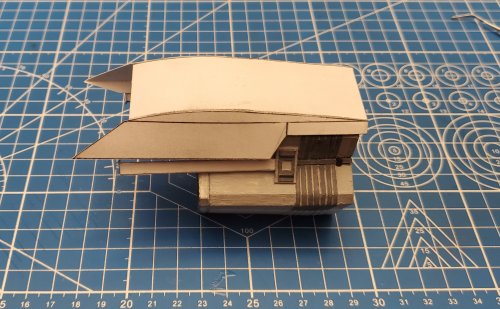
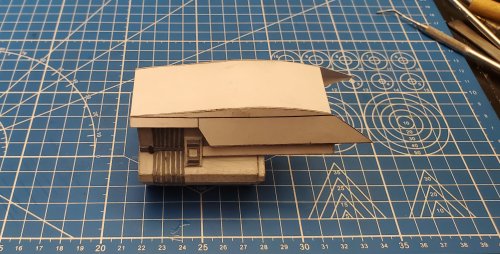
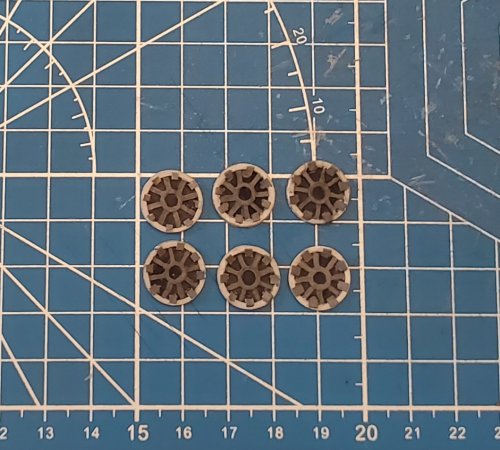
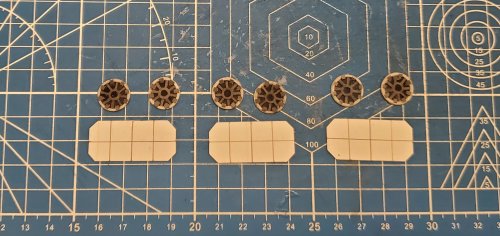
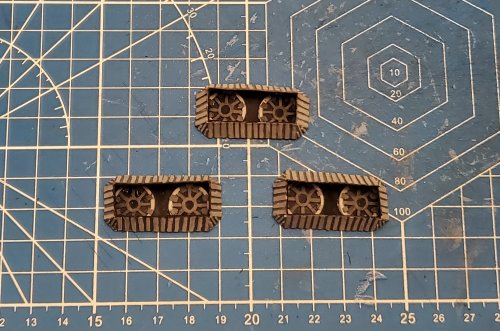
Here is the bottom shroud/cowling for the two lower engines. Since the bottom part will be covered with parts, I decided to make this all one piece.
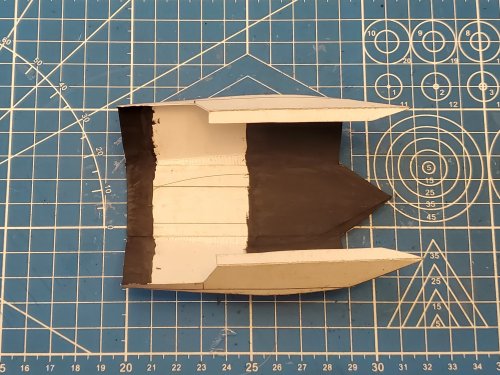
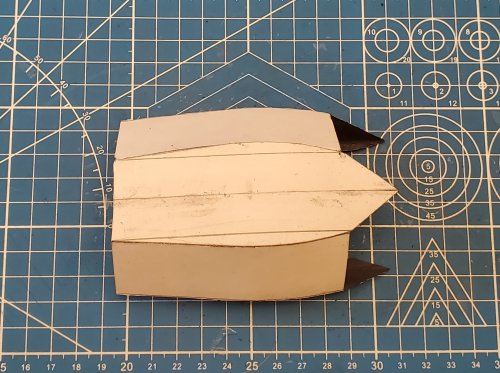
The lower shroud/cowling is dry fitted.
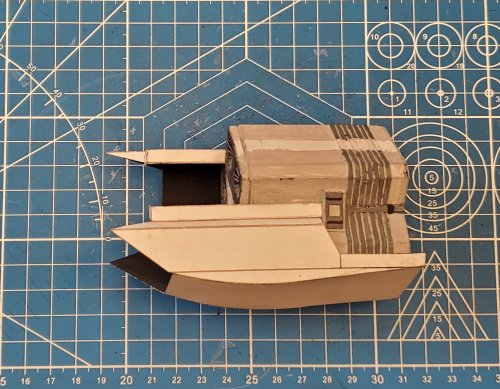
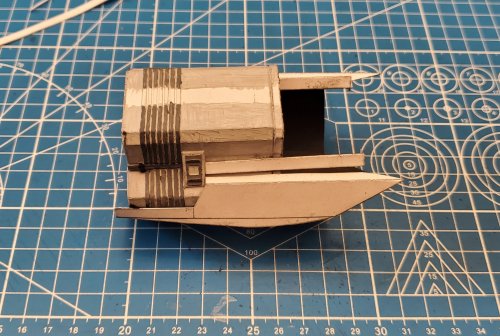
I attached the shrouds/cowling
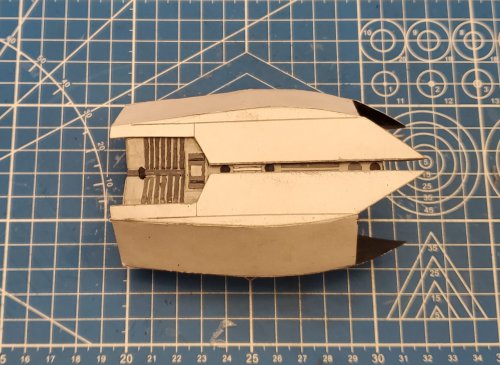
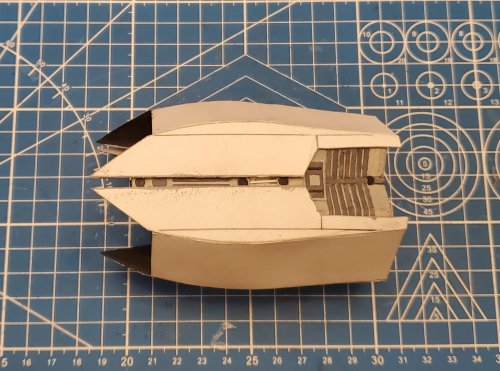
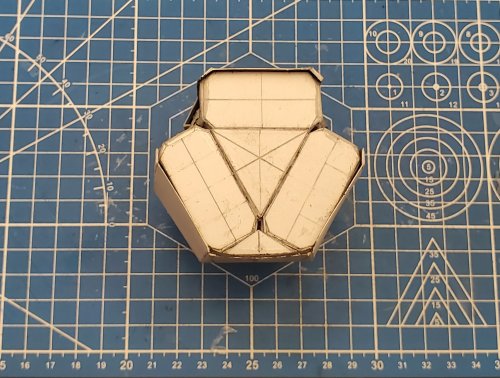
Here is a look at the front of the engine section.
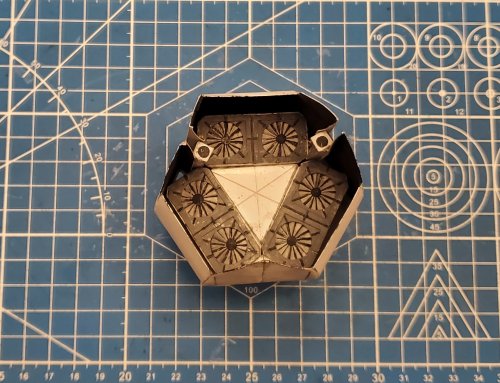
Here is a look at the rear of the engine section
Please stay tuned to your local Colonial Broadcasting Network for further development as it happens.
Here are the parts for the cowling for the top engine. I decided to angle the sides of the front of the intake part of the cowling.

The cowling is assembled.


I dry fitted the top shroud/cowling. Yes, I know that the engines appear to be a bit short. Actually, they are. That was an accident on my part. However, I did not want to start over again. So, I decided to continue on and and make it work.


Here is the bottom shroud/cowling for the two lower engines. Since the bottom part will be covered with parts, I decided to make this all one piece.


The lower shroud/cowling is dry fitted.


I attached the shrouds/cowling


Here is a look at the front of the engine section.

Here is a look at the rear of the engine section

Please stay tuned to your local Colonial Broadcasting Network for further development as it happens.


