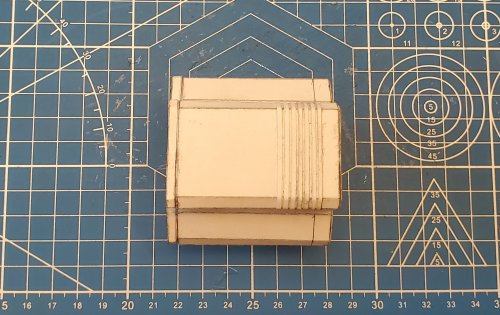
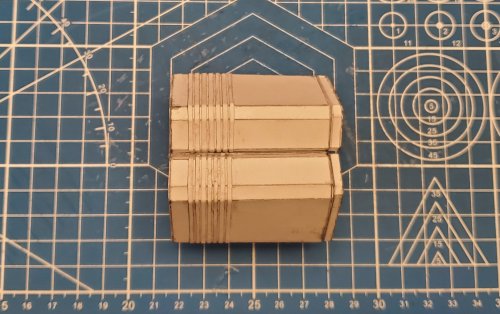
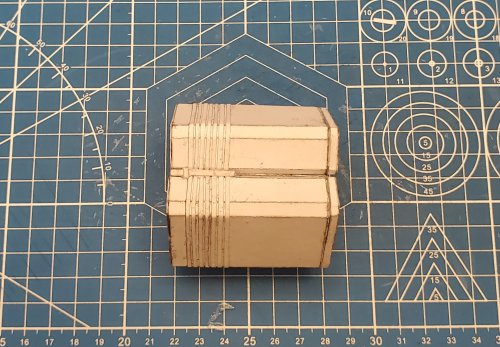
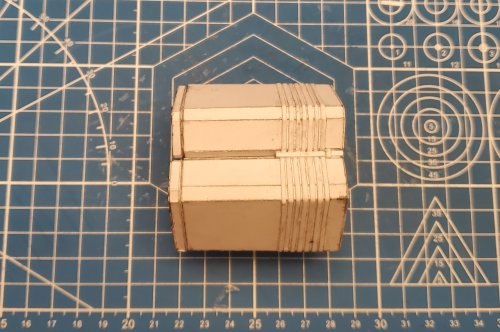
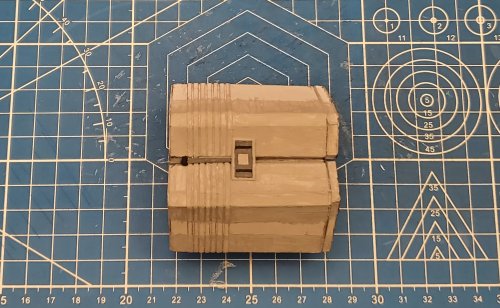
Colonial Viper (variant) scratch build.

Rhaven Blaack

!!!THE MAN BEHIND THE CURTAIN!!!
Staff member
Administrator
Moderator
Jun 12, 2009
12,493
9,854
228
Oregon
www.deviantart.com
As many of you who know me (and know the story of how I originally got into paper/cardstock model building), know that I started out scratch building (paper/cardstock) models. My very first one wat the Colonial Viper (from the original BSG). It was not until 2009/2010 that I started building kits/template models (starting with the Buck Rogers Thunder Fighter designed by Martin Saenger), and I have not stopped since.

With that being said, a few days ago, I was talking with my brother and was telling him about the models that I recently completed and what is in the beta test build queue (as well as a few projects that I have in mind to tackle). He proceeded to ask me when was the last model that I scratch built and what was it? I had told him that I had scratch build a FSW (forward swept wing) version of the Thunder Fighter (designation: MK-III). He then suggested that I do another (more recent scratch build (to "relive" my childhood again. However, I think that it is more for him to relive it, than I).

After some careful consideration, I have decided to do another scratch build. This time, I am going to build a Colonial Viper (of my own design). The general overall theme will be based off of the COBRA MK-III. However, there will be quite a few of my own added features (i.e. think "SCARLET VIPER").
(*NOTE* This is a scratch build ONLY! I am not making a template of this. However, there might be a template of the COBRA MK-III and a FSW version later on, but not now.)

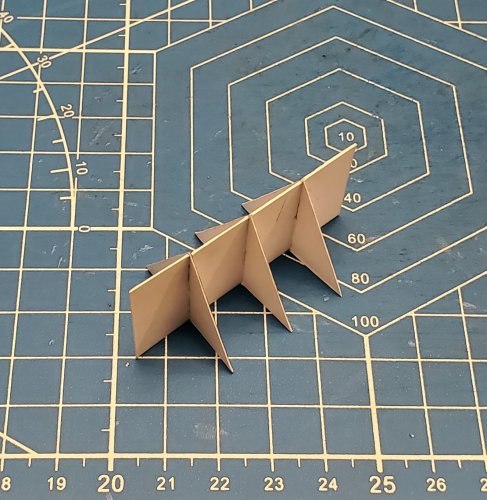
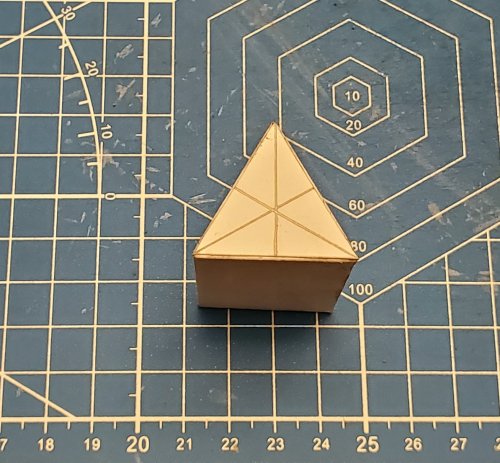
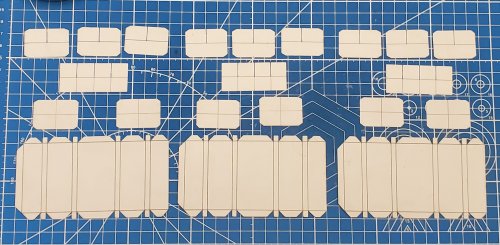
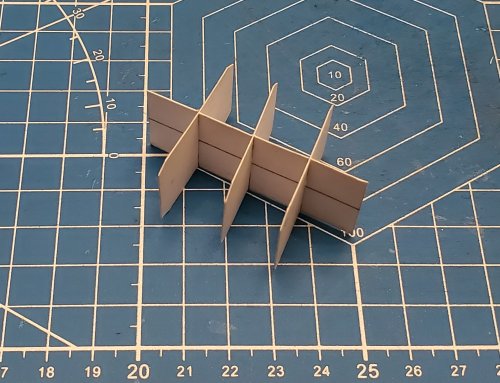
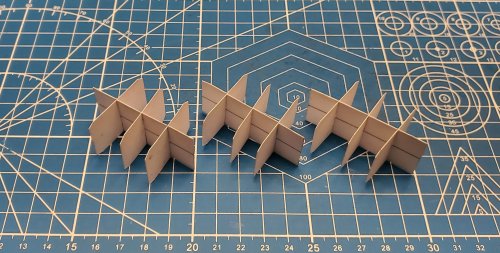
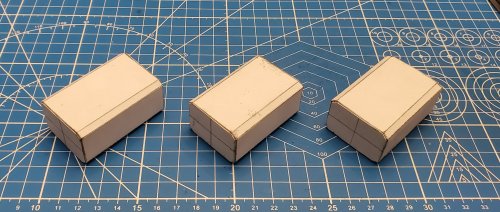
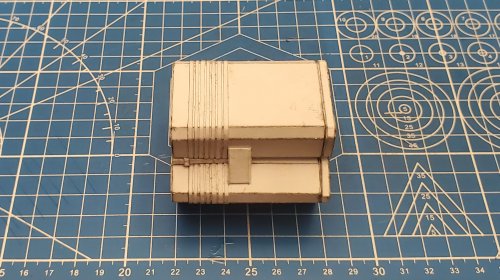
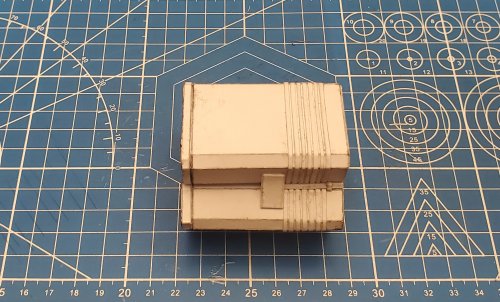
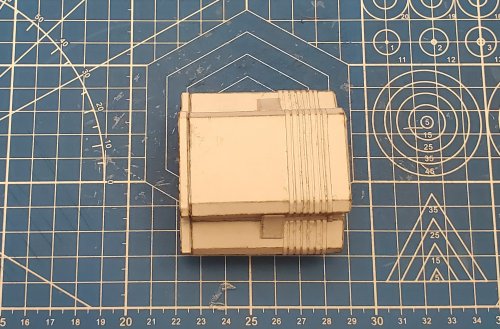
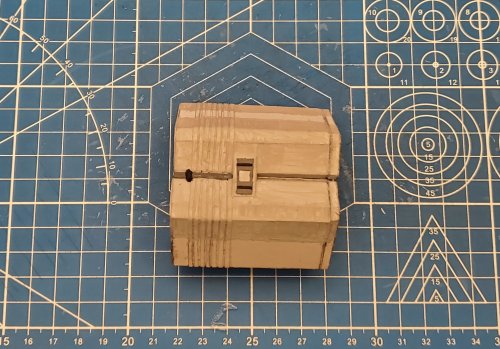
I started with the engine block/mount. Here are the parts.
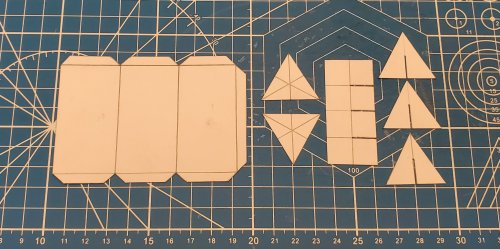
20210830_192452.jpg

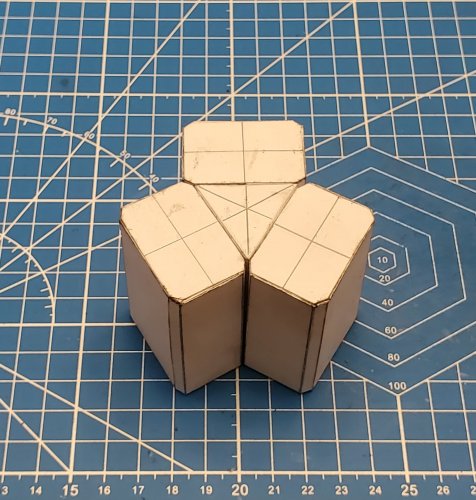
The formers are assembled.
20210830_192740.jpg

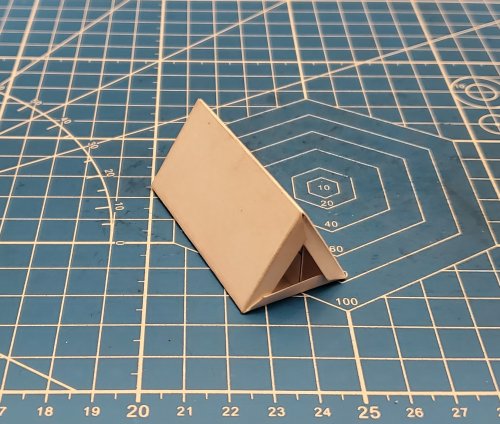
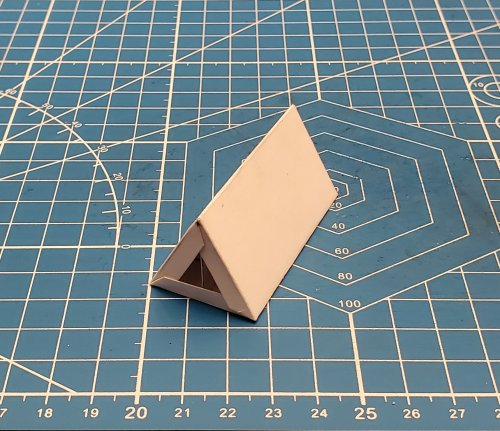
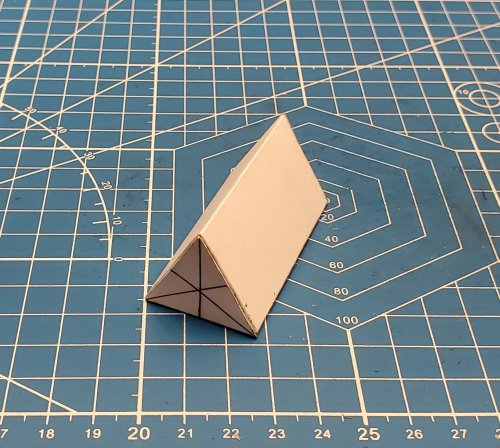
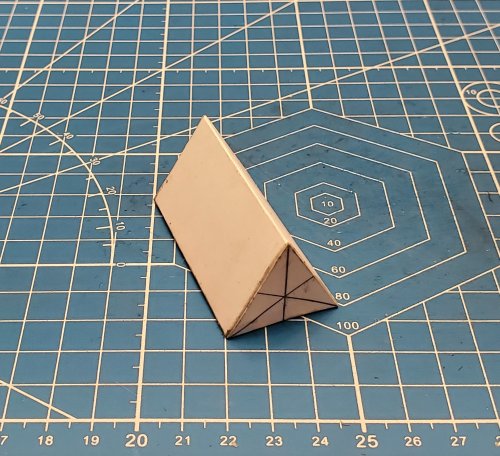
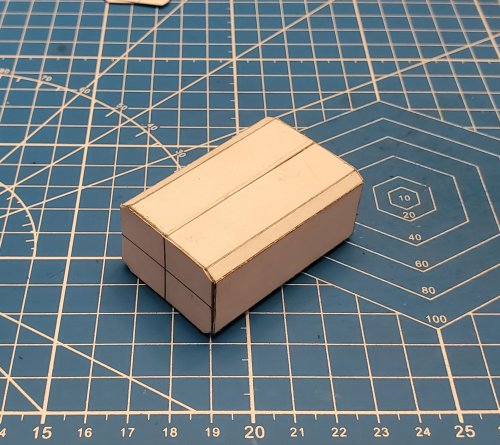
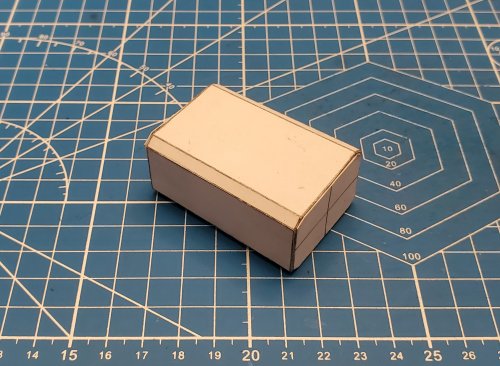
The side skink is attached.
20210830_193219.jpg

20210830_193244.jpg

20210830_193306.jpg

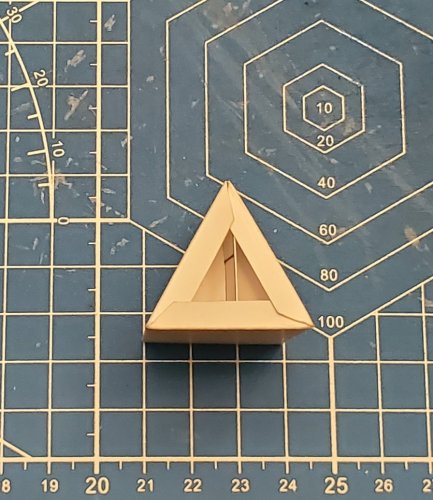
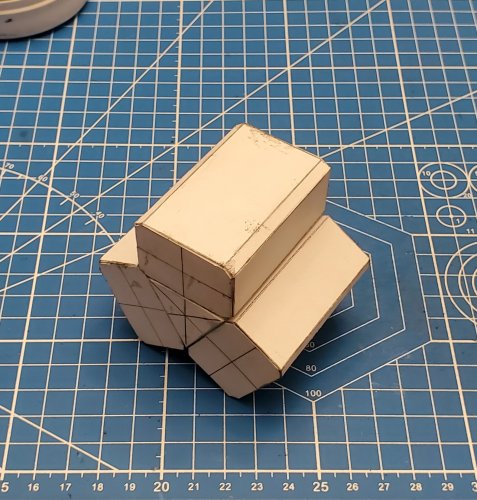
The end pieces are attached.
20210830_193810.jpg

20210830_193831.jpg

20210830_193855.jpg

Please stay tuned to your local Colonial Broadcasting Network for further development as it happens.
 
Last edited:

Rhaven Blaack

!!!THE MAN BEHIND THE CURTAIN!!!
Staff member
Administrator
Moderator
Jun 12, 2009
12,493
9,854
228
Oregon
www.deviantart.com
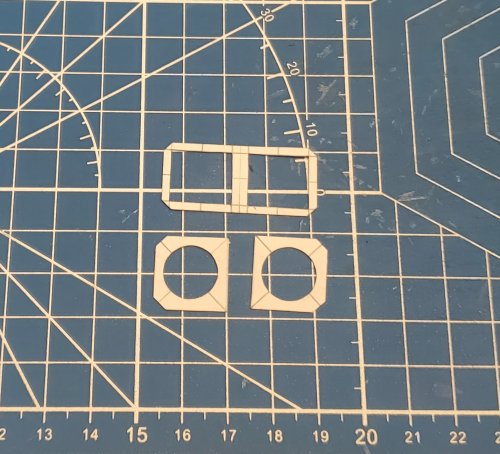
Now moving on to the engine bases.

Here are the parts for the engine bases.
20210831_191406.jpg

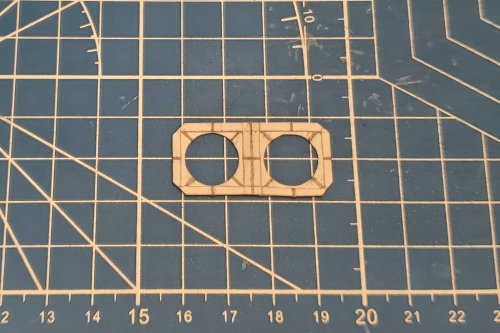
Internal formers are assembled.
20210831_191612.jpg

20210831_191823.jpg

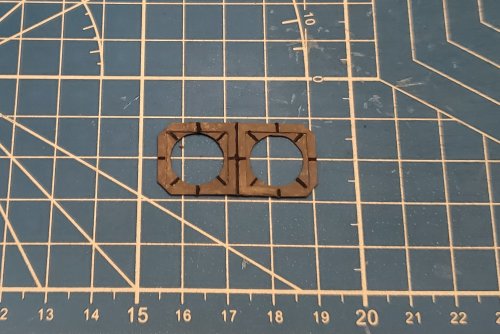
The engine bases are assembled.
20210831_192743.jpg

20210831_192818.jpg

20210831_195144.jpg

The engine bases are attached to the engine block/mount.
20210831_210528.jpg

20210831_210547.jpg


Please stay tuned to your local Colonial Broadcasting Network for further development as it happens.
 

Rhaven Blaack

!!!THE MAN BEHIND THE CURTAIN!!!
Staff member
Administrator
Moderator
Jun 12, 2009
12,493
9,854
228
Oregon
www.deviantart.com
It is time for another update. I am sorry that this has taken a bit longer than normal. However, this build has reminded me just how tedious and labor intensive scratch building truly is. With that being said, I am having fun and enjoying myself with this project.

Without further ado; here are the photos for the air-intake systems.

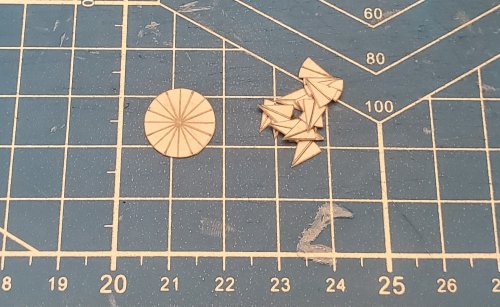
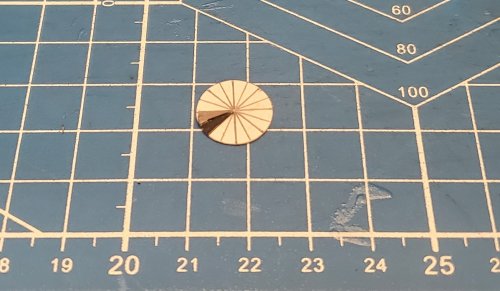
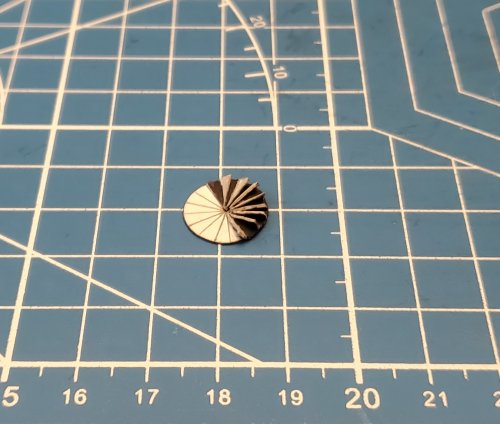
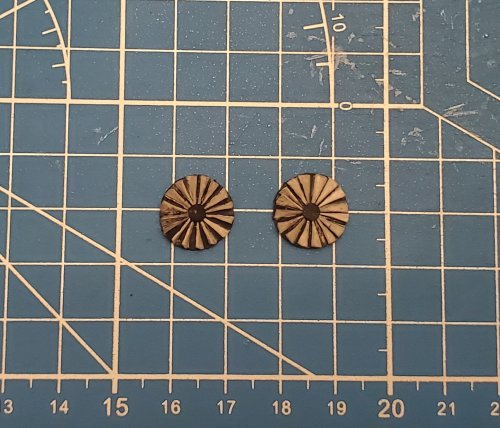
Starting with the fans. I cut out three circles. I then sectioned them out into 16 "wedges". I then cut two of the circles into sections to form the blades (and a base to attach them to the third circle "base").
20210906_100006.jpg

I painted the "fan blade" (section) gray and the "base" (section) black. Then attached the "fan blade".
20210906_100323.jpg

Showing more "blades" attached.
20210906_114819.jpg

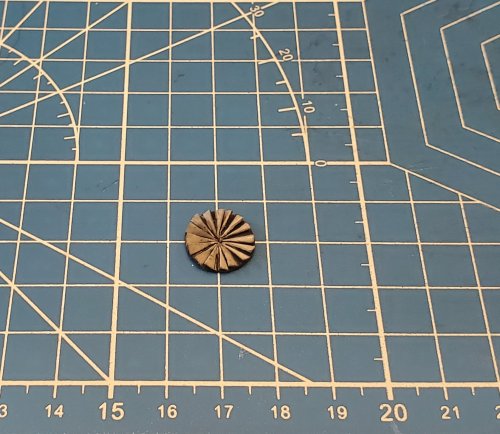
All of the blades are attached.
20210906_135725.jpg

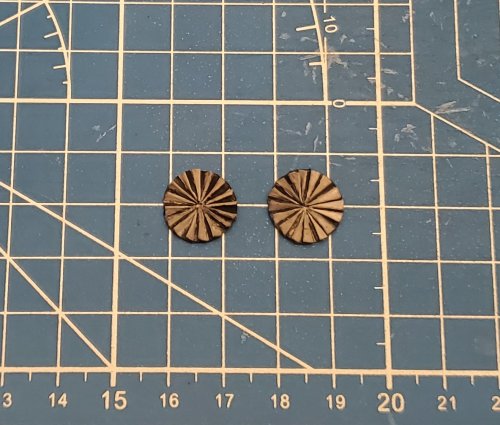
Both disc blade assemblies are finished.
20210906_195521.jpg

I attached a center piece to the fan blade discs.
20210906_200248.jpg

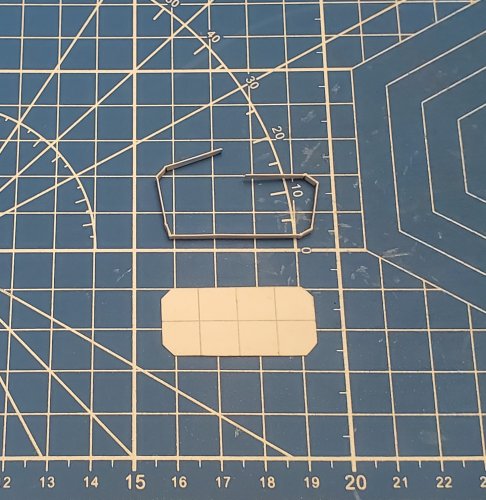
Here is the the base for the intakes.
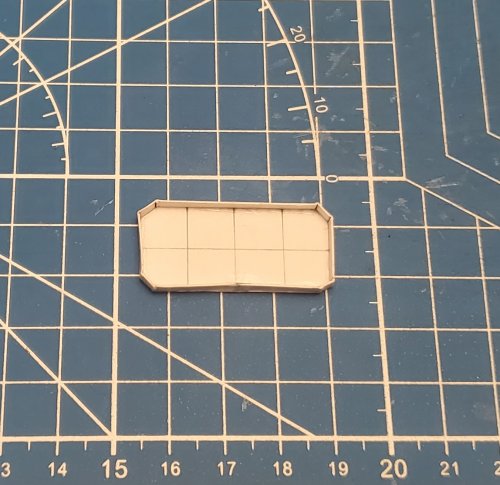
20210907_065946.jpg

The base is assembled.
20210907_070005.jpg

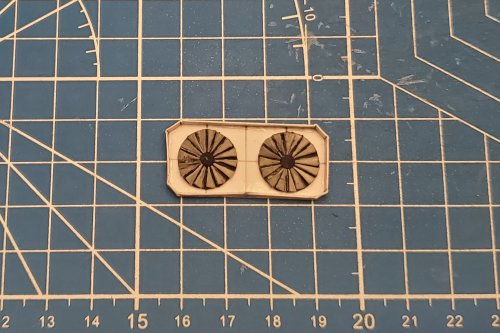
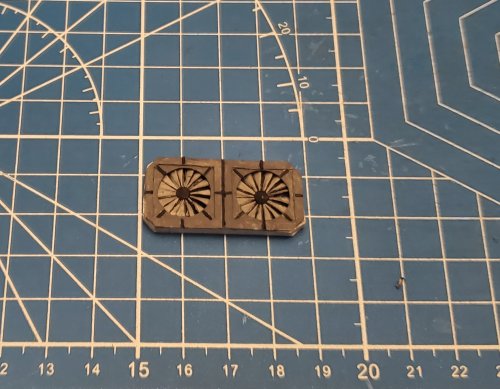
The disc fan blades are in place
20210907_070043.jpg

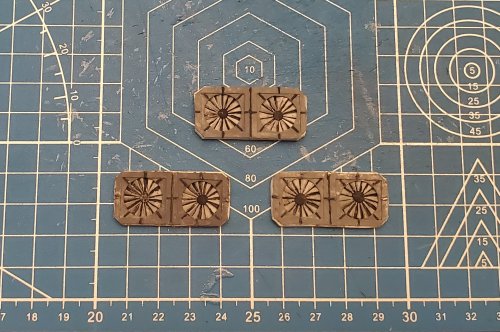
Here are the parts for the face place plate for the air-intake.
20210907_070136.jpg

The face place plate for the air-intake is assembled. I added a few raised lines for added detail.
20210907_070207.jpg

I painted the face place plate for the air-intake darker gray and the lines black.
20210907_071436.jpg

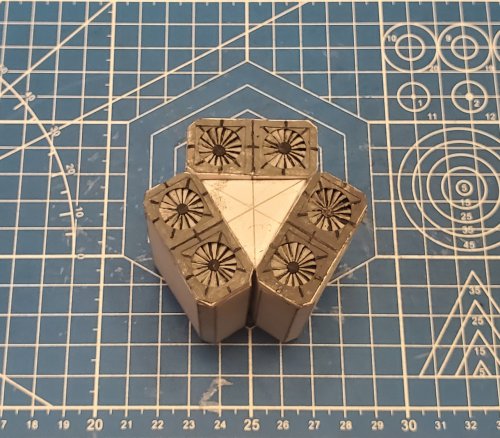
The face place plate for the air-intake is placed over the fan blade discs and attached to the base for the intake.
20210907_071934.jpg

All three air-intakes assembled.
20210908_182955.jpg

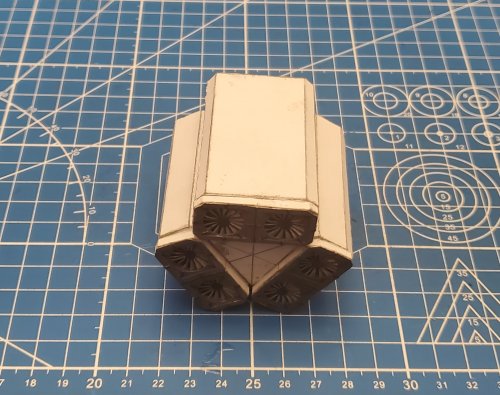
The three air-intakes are attached to the engine bases.
20210908_191516.jpg

20210908_191552.jpg

Please stay tuned to your local Colonial Broadcasting Network for further development as it happens.
 

Rhaven Blaack

!!!THE MAN BEHIND THE CURTAIN!!!
Staff member
Administrator
Moderator
Jun 12, 2009
12,493
9,854
228
Oregon
www.deviantart.com
Here is another update.

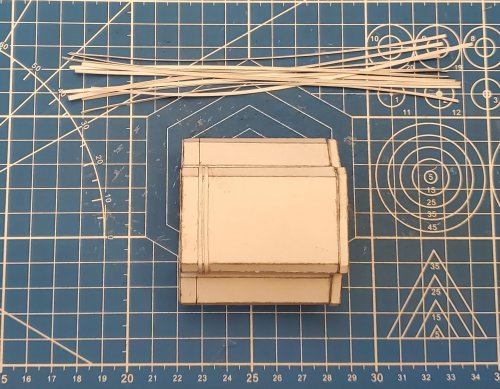
I wrapped seven bands around each engine (near the rear end of the engine, just before the exhaust).
20210909_140551.jpg

The first engine is wrapped.
20210909_144024.jpg

All three engines are wrapped.
20210909_190358.jpg

I added some more detailed components between to top engine and the two side engines.
These components are added before the initial painting (before attaching main shrouds/cowlings.
20210909_192443.jpg

20210909_192539.jpg

20210909_210158.jpg

20210909_210215.jpg

20210909_210239.jpg

Please stay tuned to your local Colonial Broadcasting Network for further development as it happens.
 

zathros

*****SENIOR ADMINISTRATOR*****
Staff member
Administrator
Moderator
Apr 5, 2013
13,499
9,551
228
It will be interesting t see where you go with this. "Comet" cable station shows the new "Battlestar Galactica" every night, 2 episodes, all in order. It's made so well, it's still looks fresh. I see things I didn't catch the first time, no one special effects scene is used twice, so each episode is unique. ;)
 

Rhaven Blaack

!!!THE MAN BEHIND THE CURTAIN!!!
Staff member
Administrator
Moderator
Jun 12, 2009
12,493
9,854
228
Oregon
www.deviantart.com
It will be interesting t see where you go with this. "Comet" cable station shows the new "Battlestar Galactica" every night, 2 episodes, all in order. It's made so well, it's still looks fresh. I see things I didn't catch the first time, no one special effects scene is used twice, so each episode is unique. ;)
Thank you! This whole project has proven to be a very interesting experience for me. I had forgotten just how tedious and labour intensive scratch building is. Especially since there are many components (i.e. the engine shroud/cowling, canopy, and wings) that I am creating from my own imagination, that differ from the original diagram that I am using as a guide. I find myself employing techniques that I have learned from building kit to make these components and make them fit properly.

Yes, the original series is a timeless classic, and quite enjoyable to watch over and over again. I have the complete series saved on external hard drive. Whilst working with @Revell-Fan, I have watched (and re-watch) every single episode countless times to make certain that we are as close to being screen accurate with our projects as humanly possible