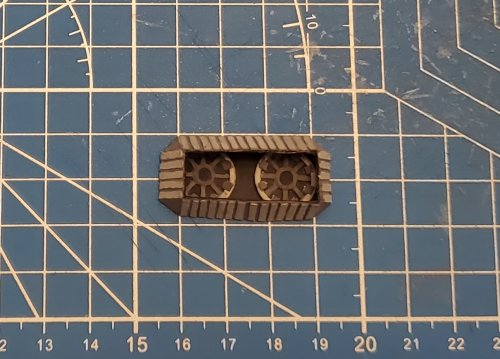
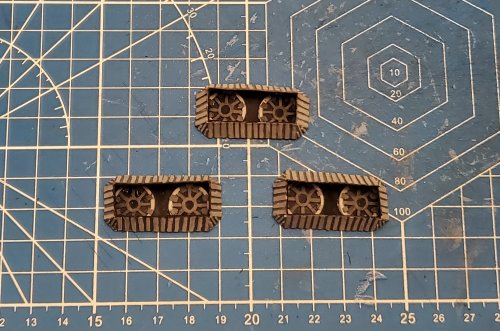
Colonial Viper (variant) scratch build.

Rhaven Blaack

!!!THE MAN BEHIND THE CURTAIN!!!
Staff member
Administrator
Moderator
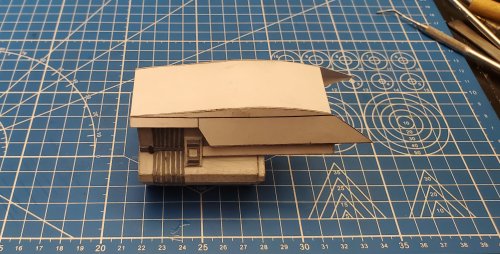
Time for another update. Now for the shrouds/cowling.

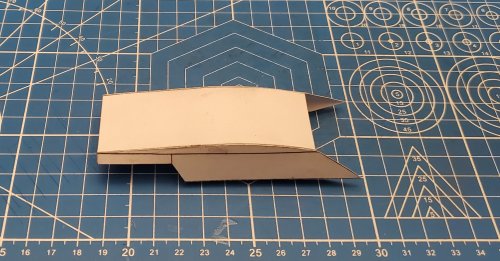
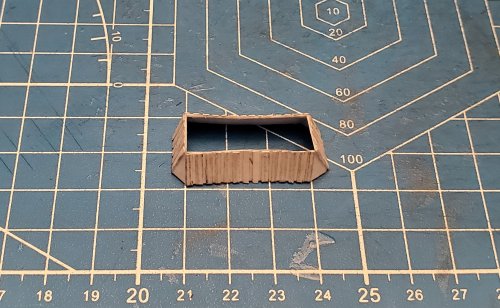
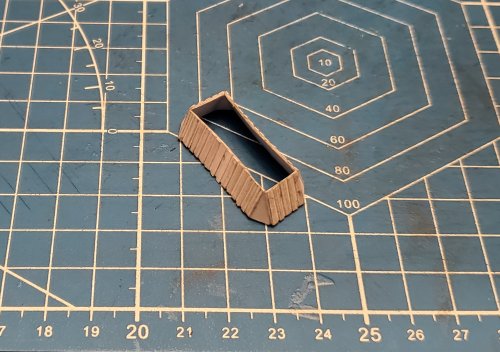
Here are the parts for the cowling for the top engine. I decided to angle the sides of the front of the intake part of the cowling.
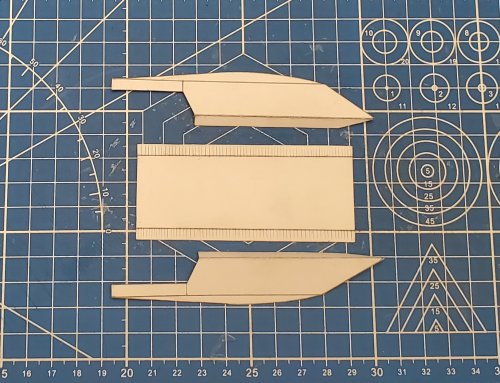
20210911_082112.jpg

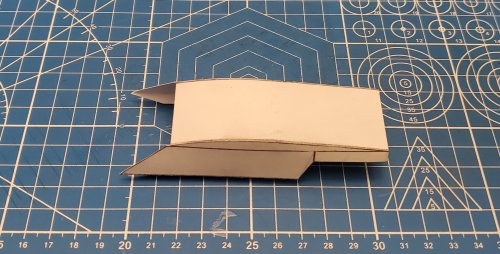
The cowling is assembled.
20210911_082139.jpg

20210911_082151.jpg

I dry fitted the top shroud/cowling. Yes, I know that the engines appear to be a bit short. Actually, they are. That was an accident on my part. However, I did not want to start over again. So, I decided to continue on and and make it work.
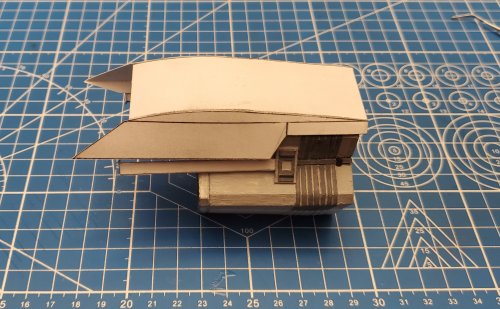
20210911_082229.jpg

20210911_082251.jpg

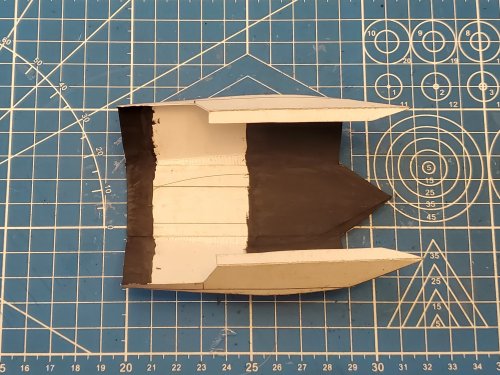
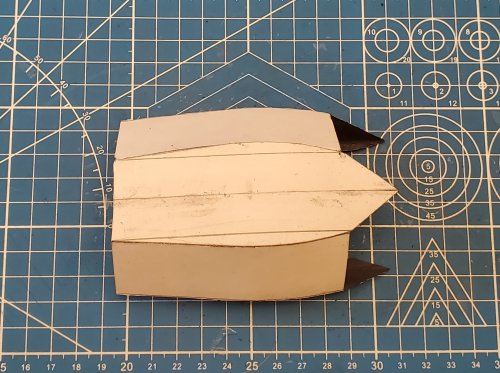
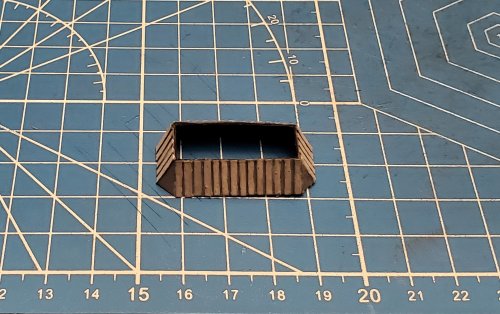
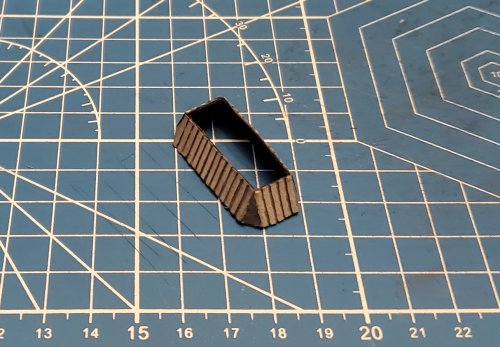
Here is the bottom shroud/cowling for the two lower engines. Since the bottom part will be covered with parts, I decided to make this all one piece.
20210911_120144.jpg

20210911_120158.jpg

The lower shroud/cowling is dry fitted.
20210911_120302.jpg

20210911_120438.jpg

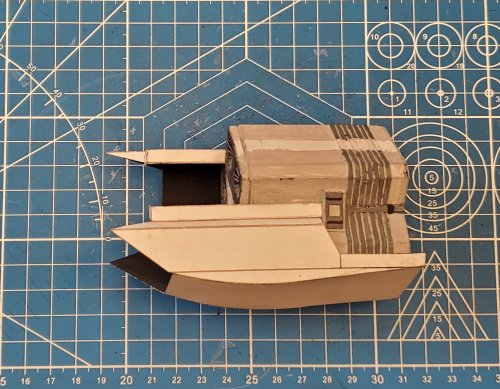
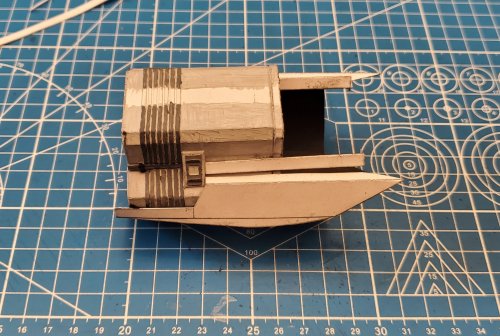
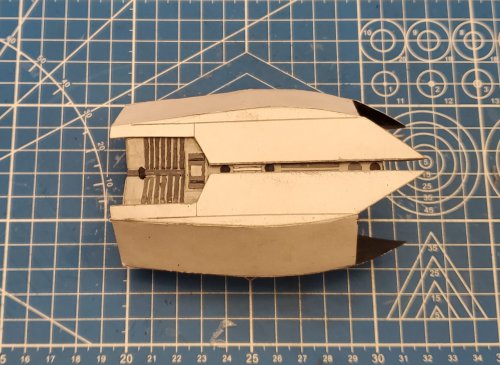
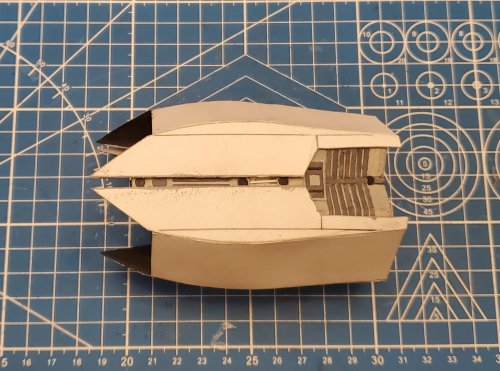
I attached the shrouds/cowling
20210911_194809.jpg

20210911_194821.jpg

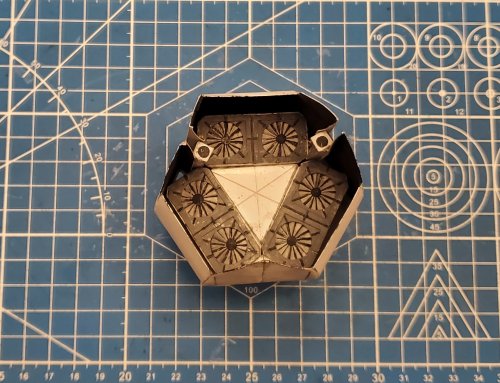
Here is a look at the front of the engine section.
20210911_194831.jpg

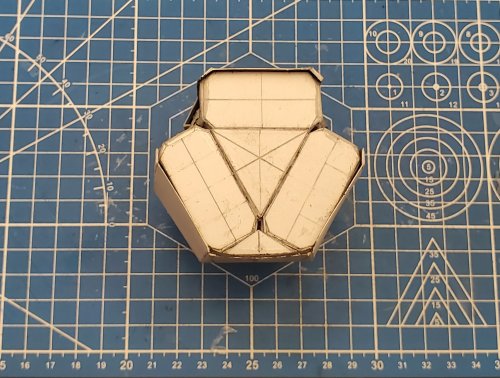
Here is a look at the rear of the engine section
20210911_194851.jpg

Please stay tuned to your local Colonial Broadcasting Network for further development as it happens.
 

Revell-Fan

Co-Administrator
Staff member
Administrator
Moderator
It's made so well, it's still looks fresh. I see things I didn't catch the first time, no one special effects scene is used twice, so each episode is unique. ;)


Doug Drexler, Mojo, Pierre Drolet, Gary Hutzel, Lee Stringer - just a few names but they should make clear that the best of the best were working on the show's vfx. Many of them worked on DS9 before and who does not remember the stunning space battles like these:


BSG was shot in full HD (1080p) but the shaking cam and out-of-focus imagery made the image still blurry. The VFX sequences were rendered in 720p instead. Reason for that: Full HD test renders were too sharp and crisp and did not blend naturally with the live action footage. So they reduced the resolution which lead to shorter rendering times. A few of the full HD renders were in fact used in the mini series.

An aspect ratio error squished the TOS shuttle together which was used in the opening sequence of the mini series. It ended up 1.5 times higher than usual which destroyed its frame. Early model manufacturers replicated that error which led to very awkward-looking shuttles. Mojo later fixed the issue and produced some marvellous renderings you can see on his flickr site:


They had a whole building with computers running 24/7. Calculating the ray-tracing (lights and shadows created by reflecting light bouncing back and forth on a surface) was so time consuming that they came up with an effective on-the-fly solution: key beauty shots were created with ray-tracing switched on. These images were then used as textures on the CG model in question which then had all the light bouncing on the surface in one piece. Next they switched off ray-tracing and rendered the desired sequence. So whereas the first image was done in a few hours, the next ones for the animantion sequence were done in a matter of minutes.

As the show progressed the PC power became stronger and the software (Lightwave!) got some updates so that the rendering times decreased which explains why you can see more and more unique vfx sequences in the later episodes. They DID re-use footage though, especially establishing shots of the fleet and Viper landings. ;)
 

micahrogers

Moderator "Where am I, and how did I get here?"
Staff member
Moderator
Time for another update. Now for the shrouds/cowling.

I dry fitted the top shroud/cowling. Yes, I know that the engines appear to be a bit short. Actually, they are. That was an accident on my part. However, I did not want to start over again. So, I decided to continue on and and make it work.
Turbine engines deep in the cowling are a fairly common thing in aircraft, The deep cowling stabilizes and slows the incoming air, which helps prevent compressor stall at High Alpha, and keeps the air stream subsonic in the transonic realm.
A long way of saying, that your "mistake" is grounded in aircraft design...

Great work, and lovely design.
 

Rhaven Blaack

!!!THE MAN BEHIND THE CURTAIN!!!
Staff member
Administrator
Moderator
Thank you all for the kind words and encouragement!

Turbine engines deep in the cowling are a fairly common thing in aircraft, The deep cowling stabilizes and slows the incoming air, which helps prevent compressor stall at High Alpha, and keeps the air stream subsonic in the transonic realm.
A long way of saying, that your "mistake" is grounded in aircraft design...

Great work, and lovely design.
That makes sense. Thank you for the explanation.
 

Rhaven Blaack

!!!THE MAN BEHIND THE CURTAIN!!!
Staff member
Administrator
Moderator
"Frankenstein Vipers" & "Viperstein"; I have to say that I like those terms. Yes, it does indeed open up a whole new world for cannibalization to make a variety of different "Viper" variants.
 

micahrogers

Moderator "Where am I, and how did I get here?"
Staff member
Moderator
The HobbyGods smiled on me today, :bowdown: :cool:

20210915_155229.jpg

1/72nd scale Viper, Mk VII 2 pack, two whole Viper kits for just $36 USD

But I had to drool over my dream, the Polar Lights 1/350 Refit Enterprise.... maybe another time....
 

Rhaven Blaack

!!!THE MAN BEHIND THE CURTAIN!!!
Staff member
Administrator
Moderator
Here is another update. I worked on the exhaust nozzles. I was thinking of making something a bit more elaborate. However, I really could not decide on what I wanted to do, initially. So, I decided to just stick with the one that was on the original diagram.

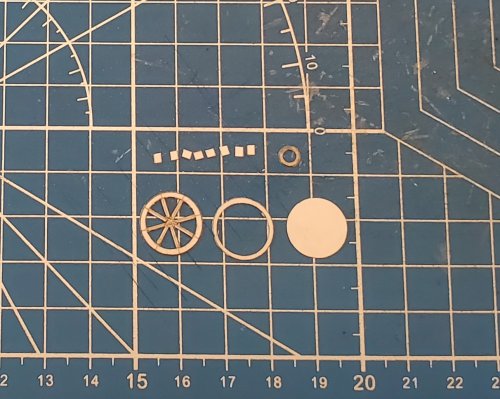
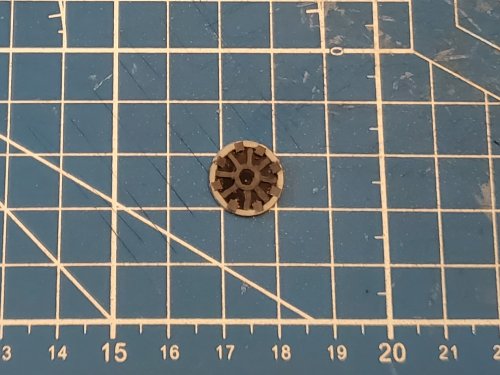
Starting with the exhaust turbine. Here are the initial parts. I will have to make a total of six of them.
20210913_113136.jpg

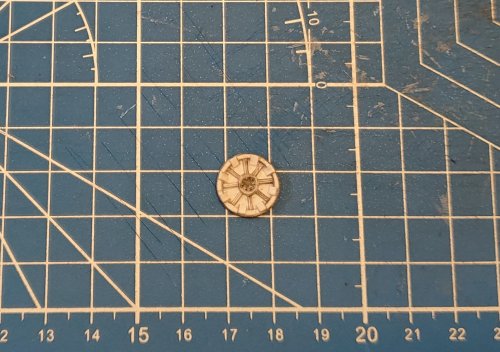
The turbine is assembled.
20210913_114932.jpg

The turbine is painted.
20210913_115047.jpg

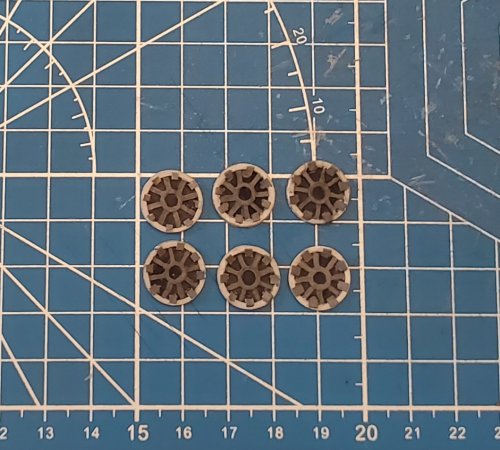
All six turbines are complete.
20210914_121655.jpg

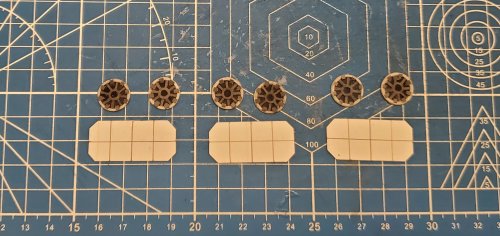
Here are the backplates for the rear turbines.
20210914_221809.jpg

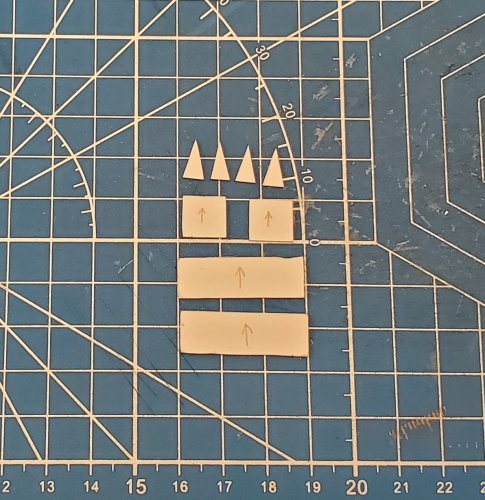
These are the parts for the exhaust nozzles. I will have to make a total of three of them.
20210915_122156.jpg

The exhaust nozzle is assembled.
20210915_222915.jpg

20210915_222930.jpg

The exhaust nozzle is painted.
20210915_224341.jpg

20210915_224350.jpg

Here are the nozzle and the turbines (on the plate).
20210915_230406.jpg

The exhaust system is assembled.
20210915_230810.jpg

All three exhausts are assembled. They are ready to be mounted on the back of the engines.
20210917_031349.jpg

Now, I need to move to the panels of the engine shroud/cowling.

Please stay tuned to your local Colonial Broadcasting Network for further development as it happens.
 
Top