Saltbox House Scratchbuild

eightyeightfan1

Now I'm AMP'd
Jun 18, 2002
2,772
0
36
62
Torrington, Ct.
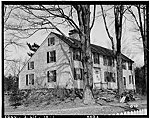
After seeing a program on Home and Garden TV about Saltbox Houses, I thought it would be a cool scratchbuild project, and since Saltbox Houses are found mostly here in New England, it just seemed fitting.

Saltbox houses were first built in the late 1700's to early 1800's. Though there are a few earlier examples, and some new 21st century designs. Saltbox houses are more common in New England, but in my research, I have found a few examples in other parts of the country, and some in Canada.
Saltbox houses are named, because the design resembles a saltbox, where in earlier times people would keep salt for cooking.Most common type of Saltbox house has two floors, but there are a few single floor spread around the country.
This is a Saltbox house that is located not far from where I live. The picture is from the Library Of Congress website.
 

Attachments

  • 023527pt.gif
    023527pt.gif
    21.7 KB · Views: 486

eightyeightfan1

Now I'm AMP'd
Jun 18, 2002
2,772
0
36
62
Torrington, Ct.
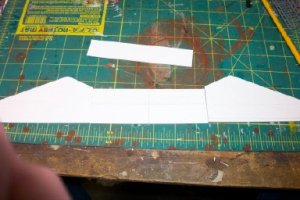
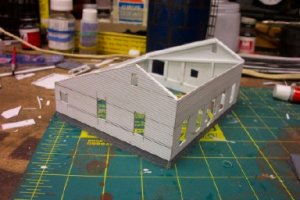
I picked a single floor design for my project. Of course the first step is to cut the walls. I used my favvorite medium-plastic. Its easy to cut, and all the popular plastic cements can be used. I used Evergreen Styrene Sheet, # 4061 Clapboard siding.
 

Attachments

  • basiccut.jpg
    basiccut.jpg
    48.8 KB · Views: 486

eightyeightfan1

Now I'm AMP'd
Jun 18, 2002
2,772
0
36
62
Torrington, Ct.
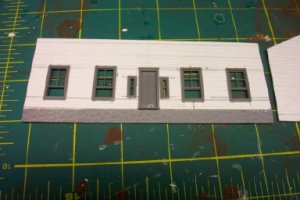
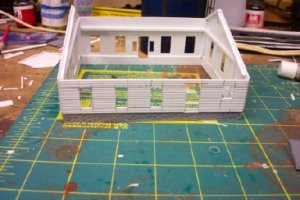
Next I cut openings in all the walls and fitted them for Tichy windows(Look for my review in the January E-Mag issue). Since homes were built on fieldstone foundations in the 1700's, I used Plastruct fieldstone, laminated on a .040 sheet of styrene for the foundation. It was painted gray form an earlier project.
 

Attachments

  • front.jpg
    front.jpg
    40.1 KB · Views: 483

eightyeightfan1

Now I'm AMP'd
Jun 18, 2002
2,772
0
36
62
Torrington, Ct.
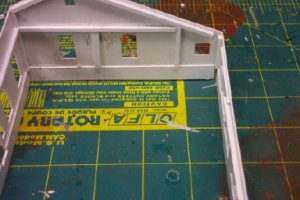
After all the openings for the windows and doors were cut and everything fitted, I assembled and squared the walls. Since the clapboard sheet was only .030 thick, I rough framed the walls for more strength and give some support. It was here, that I rounded foundation corners by sanding them.
 

Attachments

  • support.jpg
    support.jpg
    46 KB · Views: 487

eightyeightfan1

Now I'm AMP'd
Jun 18, 2002
2,772
0
36
62
Torrington, Ct.
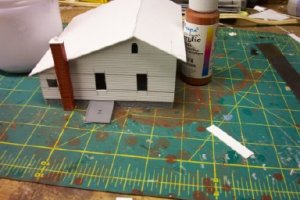
Here the roof is tempoarily fitted so as to check the placement of the chimney, which was made from spare DPM pillisters, capped with a styrene cap and a short section of tube.
Next up: Prime, paint add windows and place on the layout.
Watch this thread fro more developments.
 

Attachments

  • temproof.jpg
    temproof.jpg
    51.3 KB · Views: 461

Ralph

Remember...it's for fun!
Jun 18, 2002
5,134
0
36
64
St. Paul, MN
Visit site
That is shaping up very nicely Ed and you've written a great "how-to" build it! I've seen a lot of interest in scratchbuilding on the forum lately. Your project should get some of those modellers into it big time!
Ralph
 

SAL Comet

Member
May 13, 2004
409
0
16
N.W. Georgia
Nice work Ed. I noticed your model has the roof overhanging the walls, one feature of the saltbox style is there's no overhang, just a rake mold that the clapboards run up under. ( Just me being an architecture freak) It's said this is a result of thrifty yankee builders making no more roof than necessary.
 

eightyeightfan1

Now I'm AMP'd
Jun 18, 2002
2,772
0
36
62
Torrington, Ct.
Thanks again everyone.
Didn't know that Scott. But I made a story for the house to CMA that.

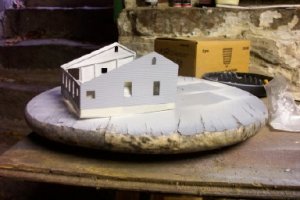
After test fitting the roof, I painted the whole house primer gray. After that dried I masked the foundation, and gave it another coat of primer. This is SUPPOSE to seal the tape, and prevent paint from bleeding through the edge.
 

Attachments

  • primer.jpg
    primer.jpg
    43.5 KB · Views: 230

eightyeightfan1

Now I'm AMP'd
Jun 18, 2002
2,772
0
36
62
Torrington, Ct.
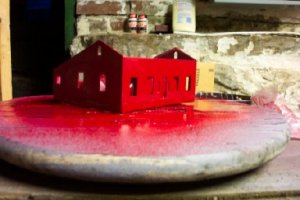
When the second coat of primer dried, I then put on two coats of Barn Red, waiting for the first coat to dry before shooting the second coat.
 

Attachments

  • redpaint.jpg
    redpaint.jpg
    41.4 KB · Views: 231

eightyeightfan1

Now I'm AMP'd
Jun 18, 2002
2,772
0
36
62
Torrington, Ct.
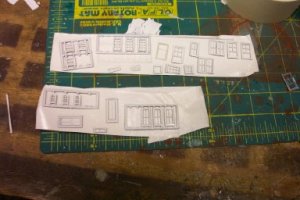
While the house was drying, I then painted the window frames and doors Gloss White.I stuck the windows to the sticky side of masking tape to prevent the parts from flying everywhere. Hint: Make sure you place the windows the right way on the tape.(Experience is the best teacher...We'll leave it at that!)
 

Attachments

  • windows.jpg
    windows.jpg
    45.3 KB · Views: 231

eightyeightfan1

Now I'm AMP'd
Jun 18, 2002
2,772
0
36
62
Torrington, Ct.
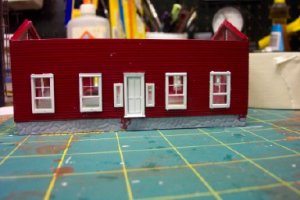
After the paint had dried over night, I then installed the windows and doors. As you can tell, that idea of spraying over the masking tape to seal it didn't work all that well.
 

Attachments

  • addwindow.jpg
    addwindow.jpg
    45.1 KB · Views: 225