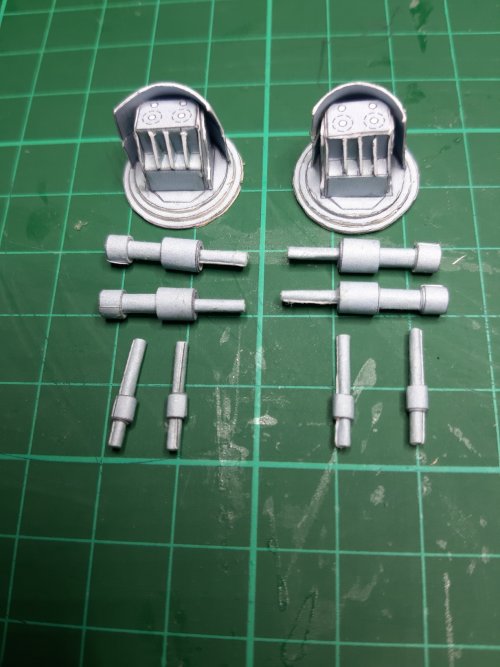
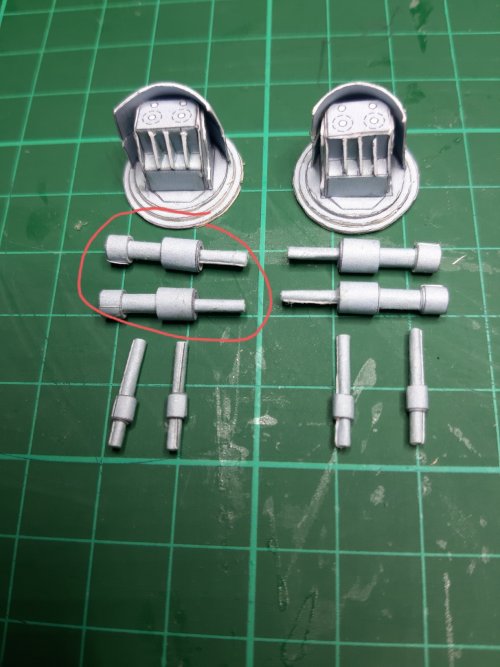
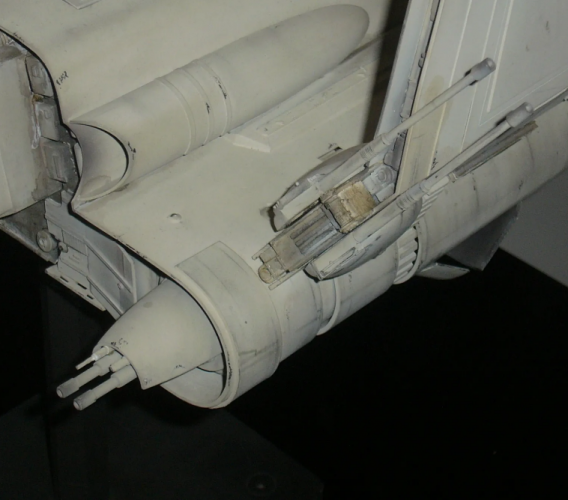
Imperial Lambda-class T-4a shuttle TYDIRIUM
- Thread starter mijob
- Start date
You are using an out of date browser. It may not display this or other websites correctly.
You should upgrade or use an alternative browser.
You should upgrade or use an alternative browser.
Today is a good day to work on the shutle.
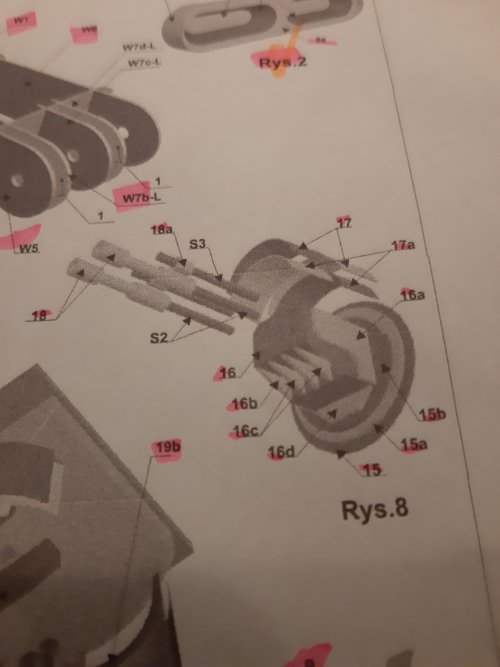
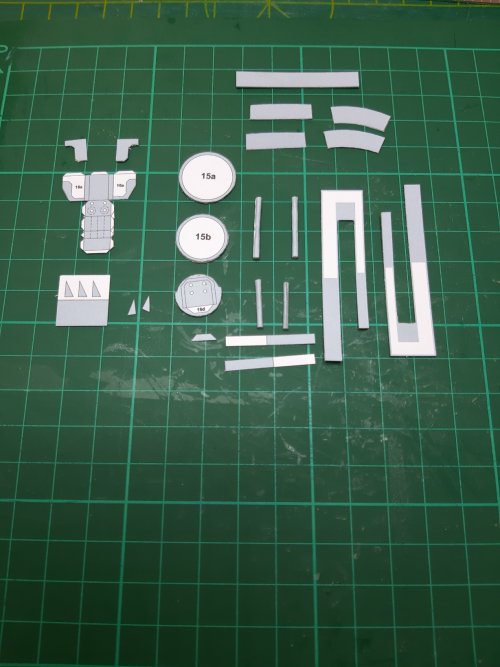
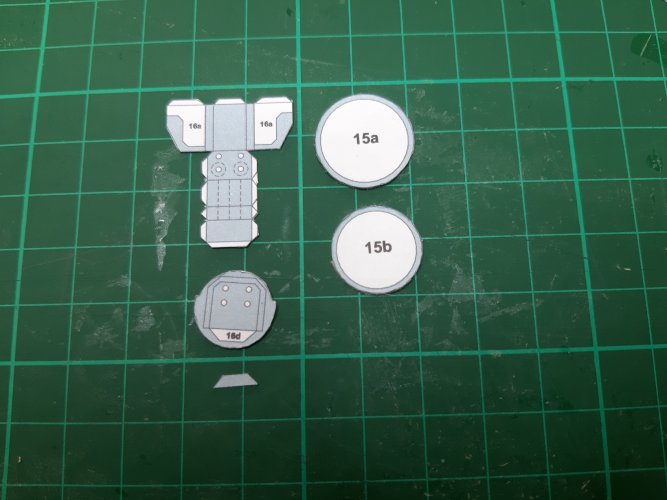
I worked on the engine.
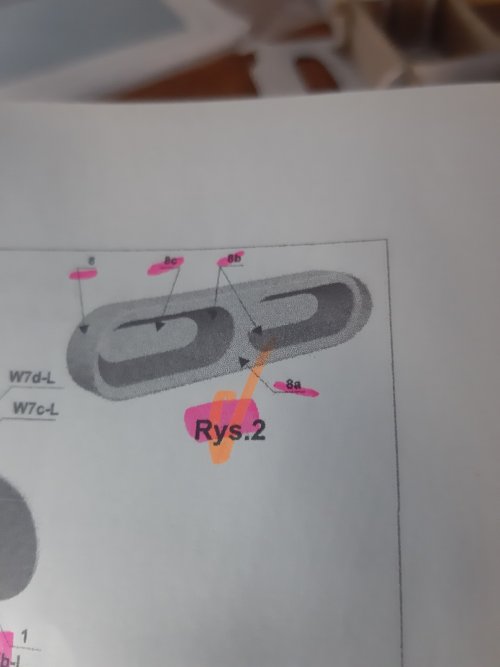
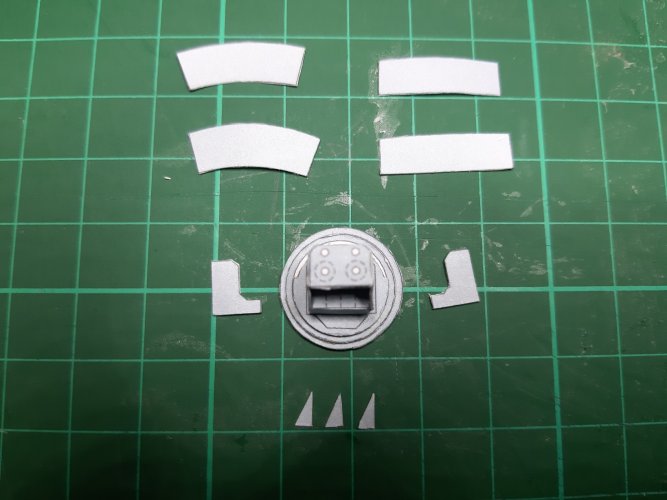
Parts needed tobe cut.
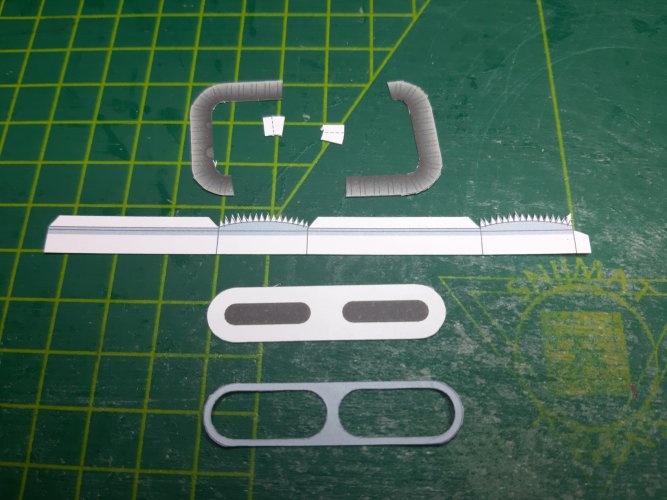
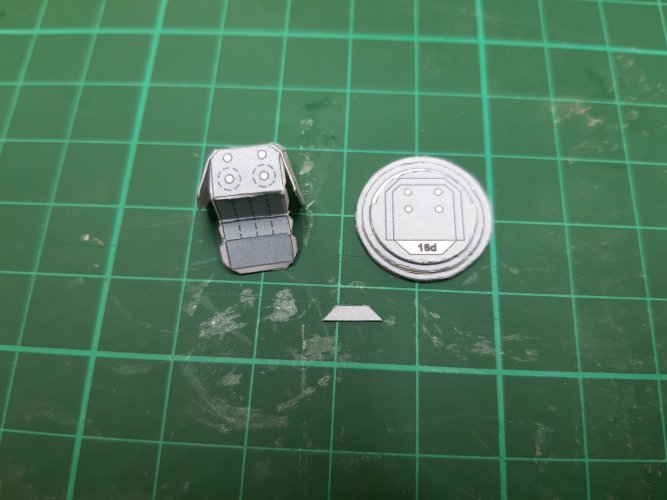
Assembling the exhaust.
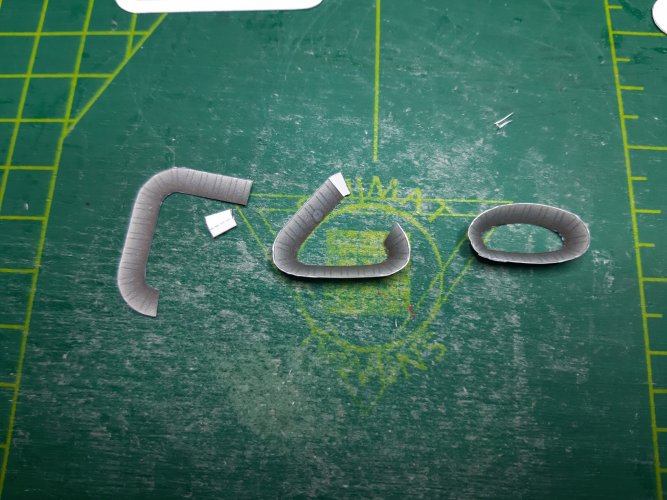
Exhaust assembling on top and bottom plate.
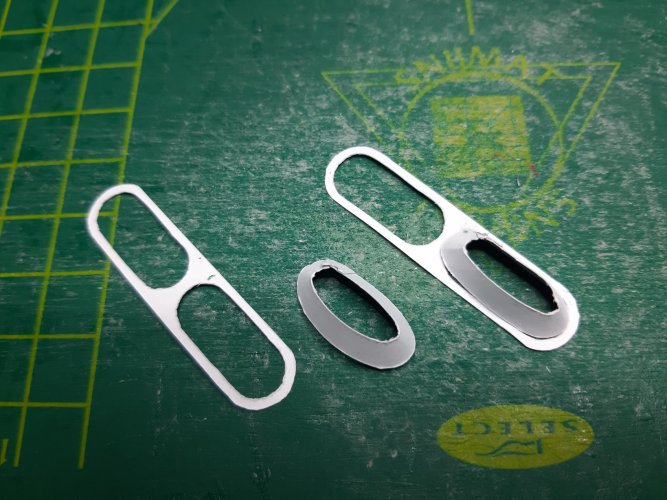
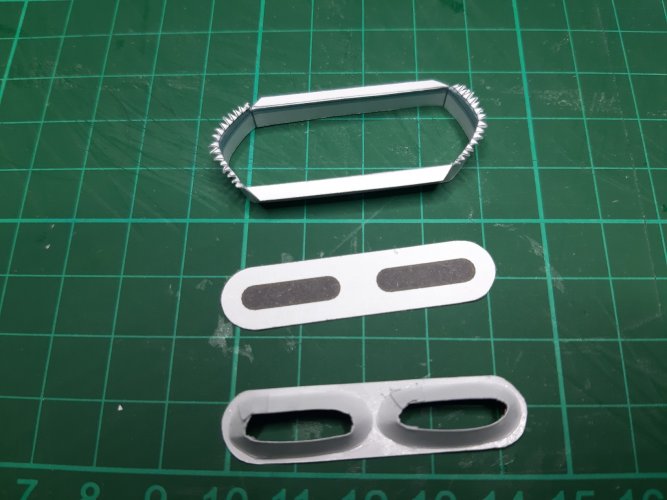
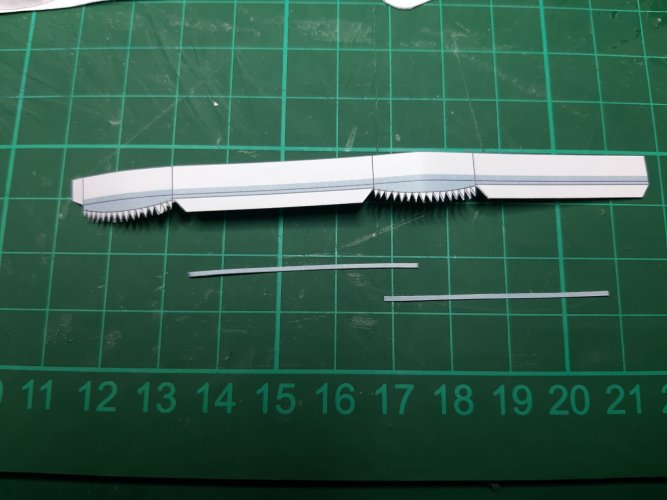
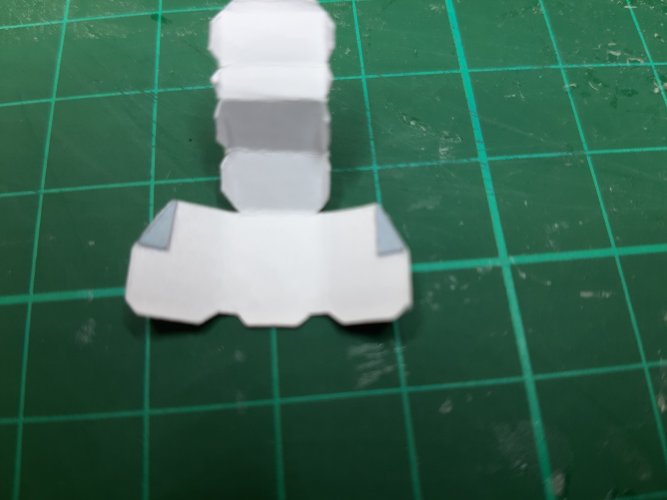
I used some ectra parts to hold the engine on its place otherwise it will fall out.
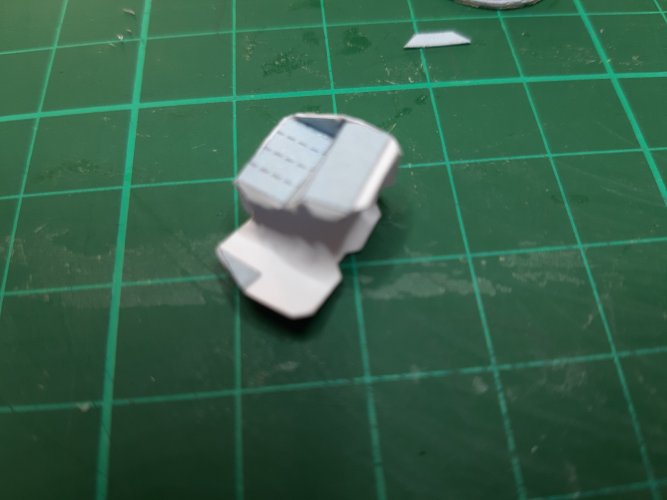
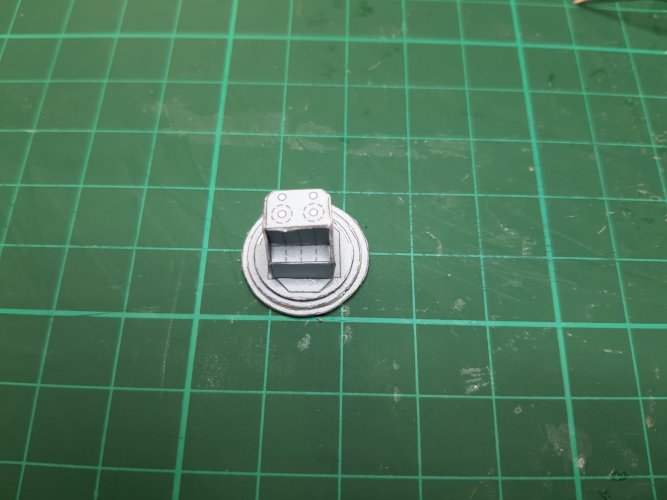
And done.
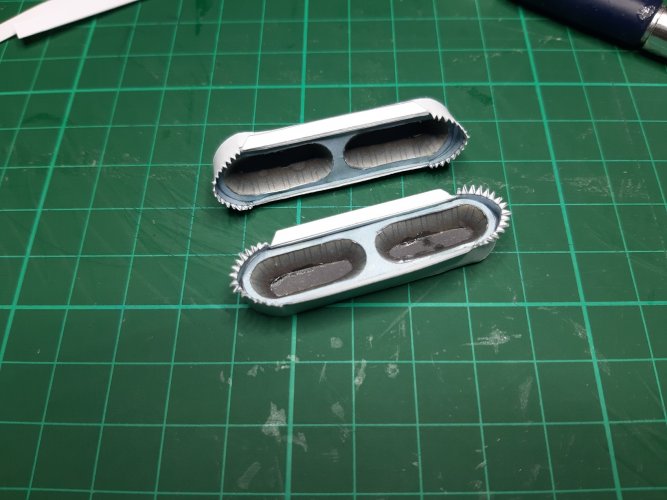
Take your time to assemble this part if need use extra cardstock for stifness. I could have use that tip my parts are a bit messy.
I worked on the engine.

Parts needed tobe cut.

Assembling the exhaust.

Exhaust assembling on top and bottom plate.


I used some ectra parts to hold the engine on its place otherwise it will fall out.
And done.

Take your time to assemble this part if need use extra cardstock for stifness. I could have use that tip my parts are a bit messy.
Last edited:
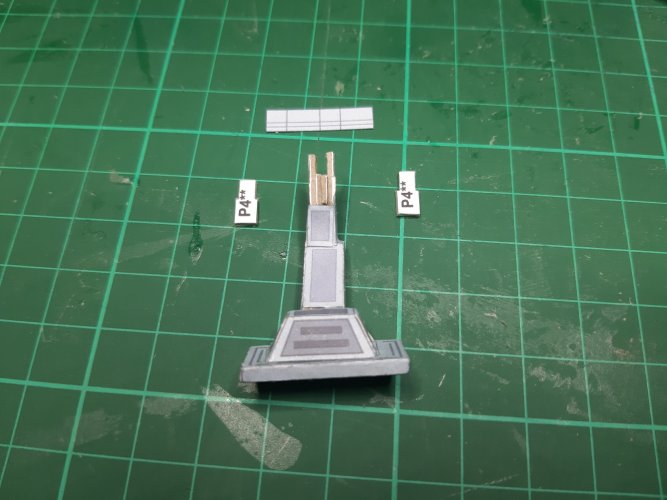
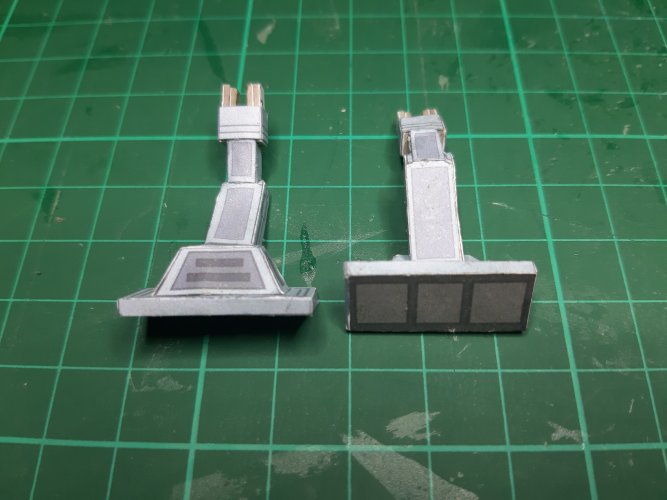
Today I assembled the wing hinges.
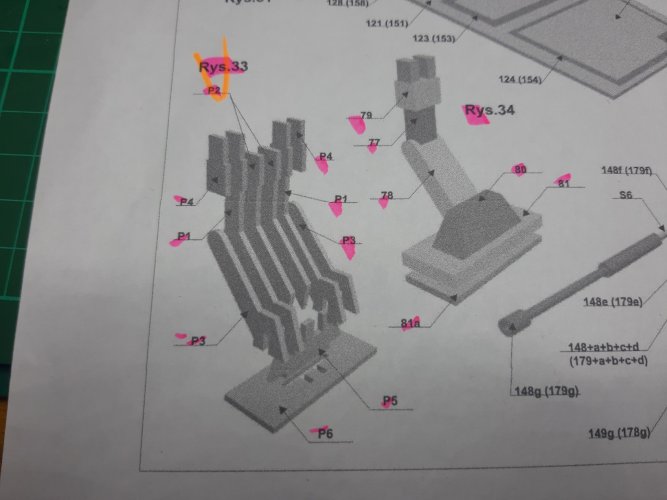
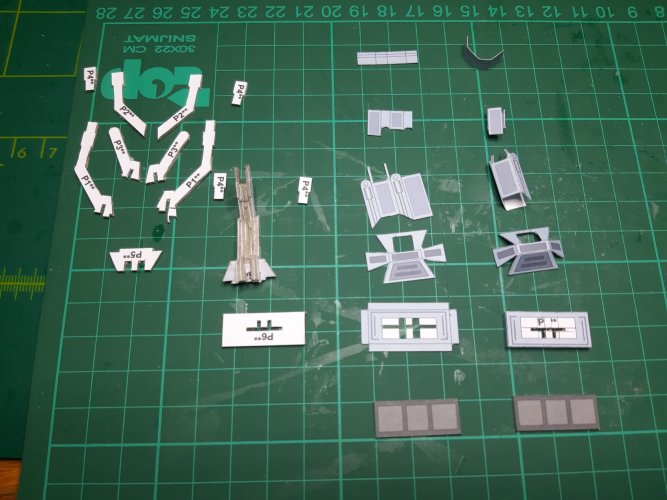
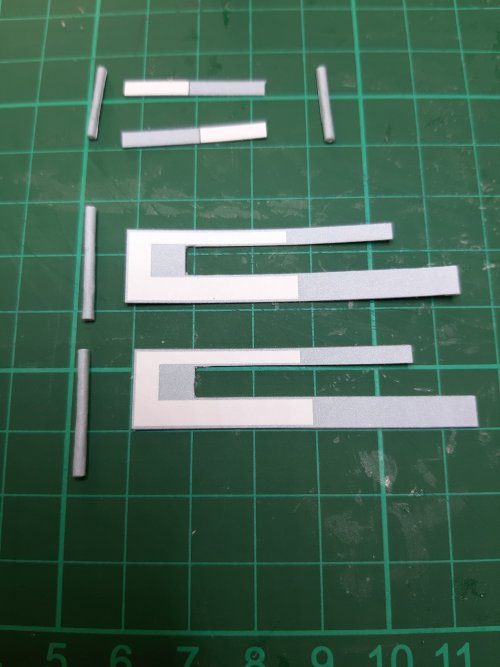
This is what has tobe made.
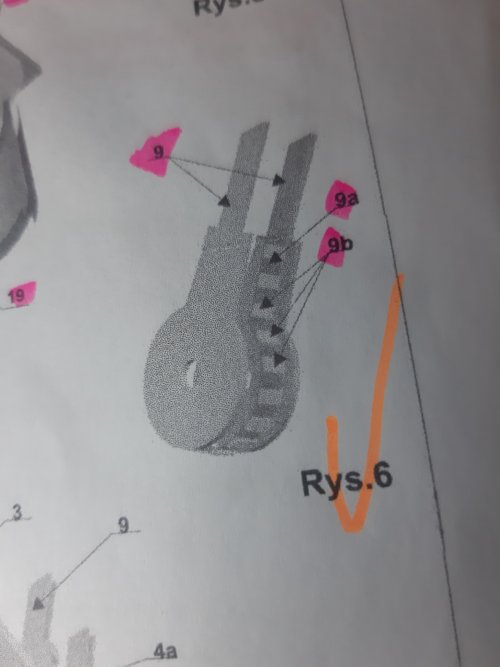
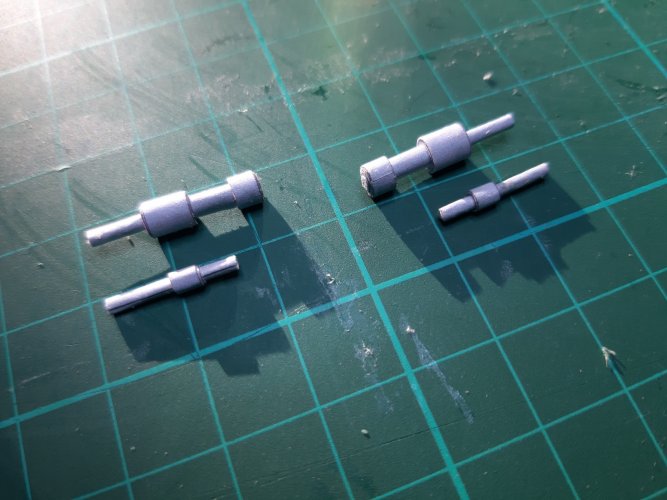
First roll paper dowls and check the fitting.
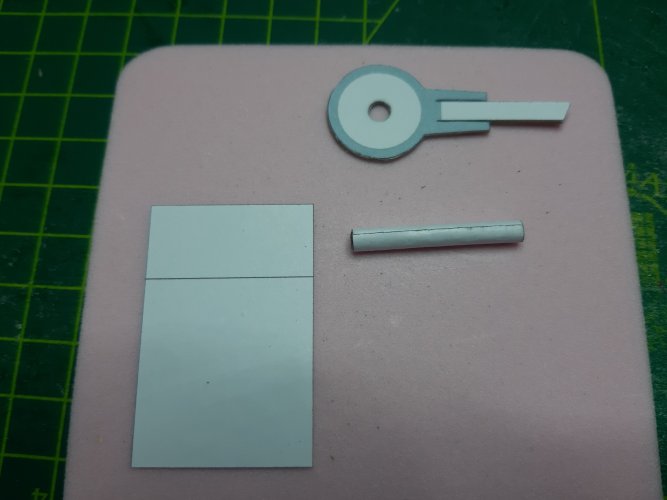
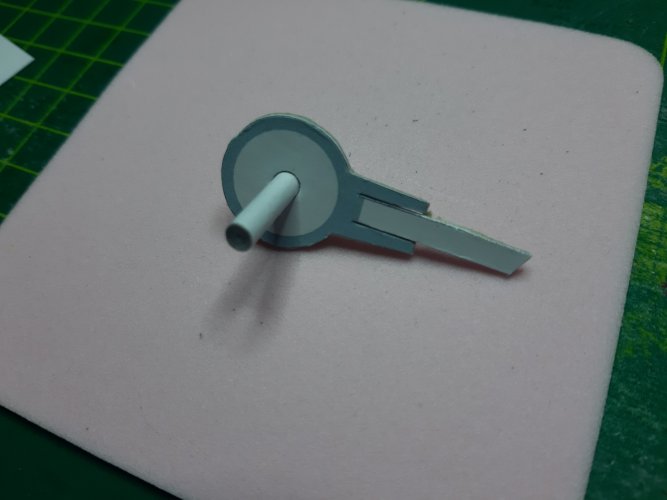
Next cut the parts and assemble them.
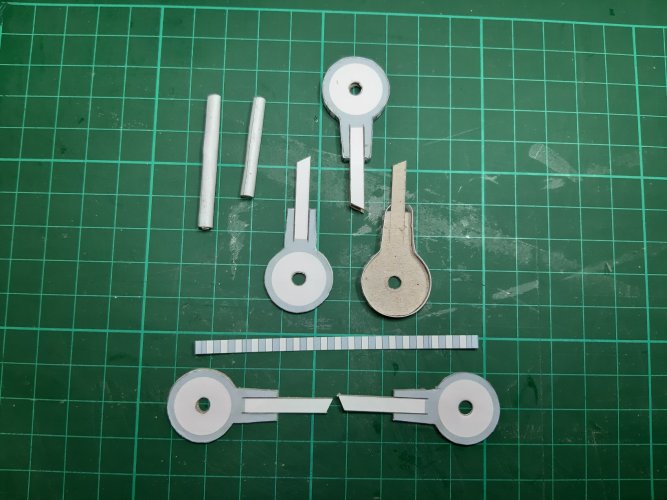
Then put the extra detailing on it.
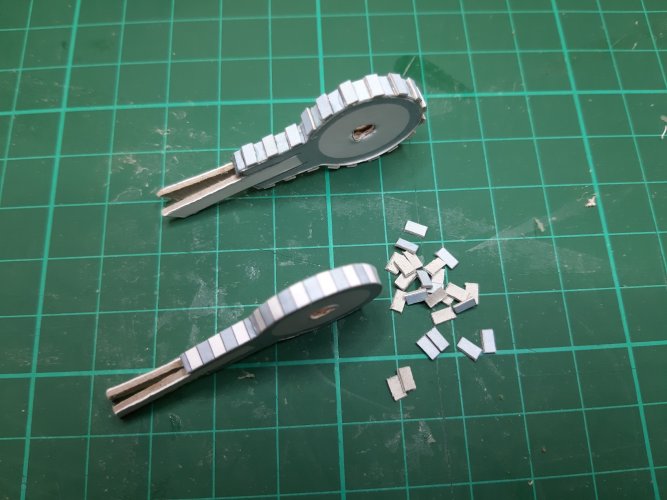
When all six are done attach them to the frame with the paper dowls. Be carefull dont haste this part you will brake parts of the frame.
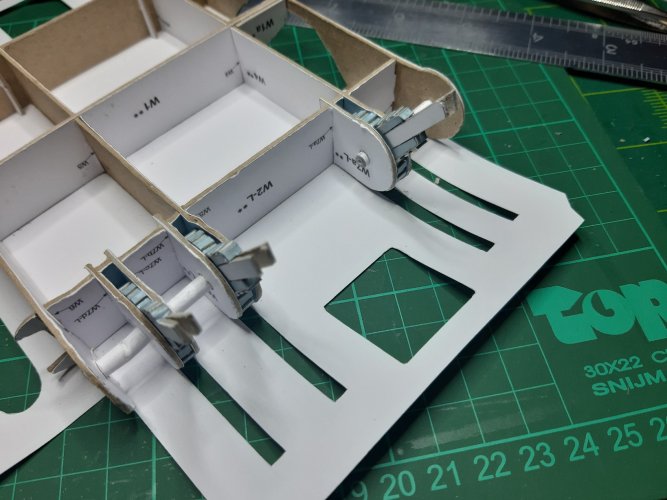
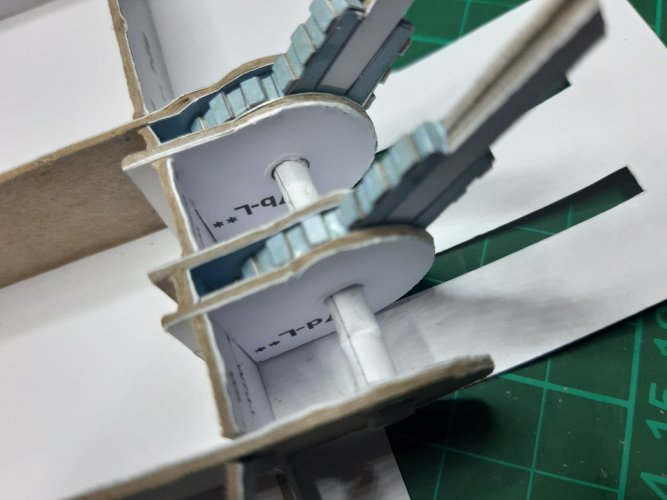
And we are up for the next part.
This is what has tobe made.

First roll paper dowls and check the fitting.


Next cut the parts and assemble them.

Then put the extra detailing on it.

When all six are done attach them to the frame with the paper dowls. Be carefull dont haste this part you will brake parts of the frame.


And we are up for the next part.
 having read this build thread ive aged 50 years, and decided to take up theoretical physics....something easier....lol amazing stuff
I get the shivers every time I see tubes that need to be rolled!
Well done on the gun front, only another six left!
Well done on the gun front, only another six left!
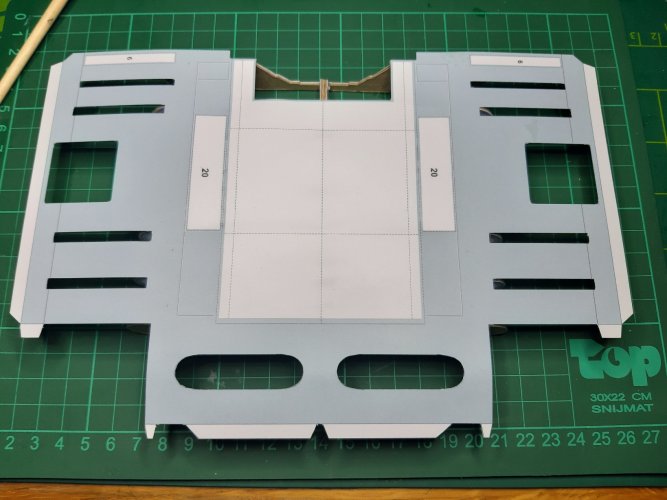
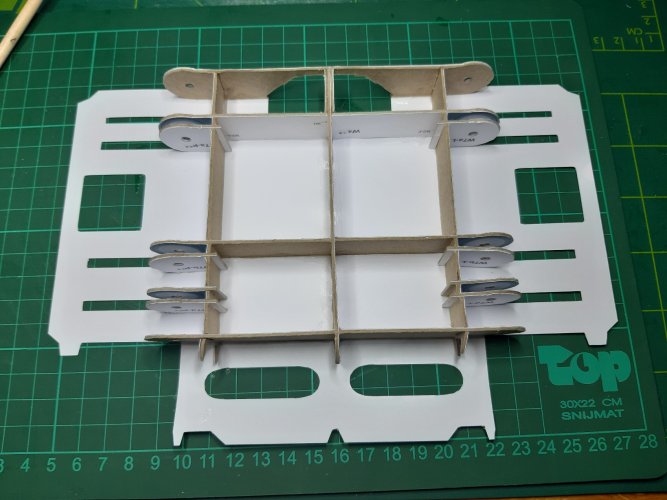
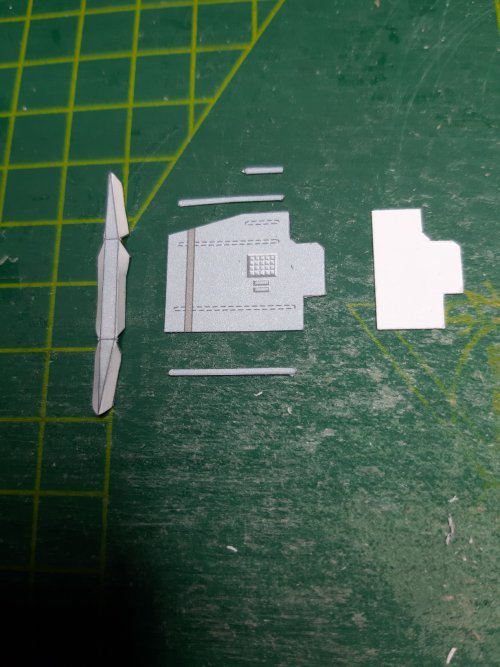
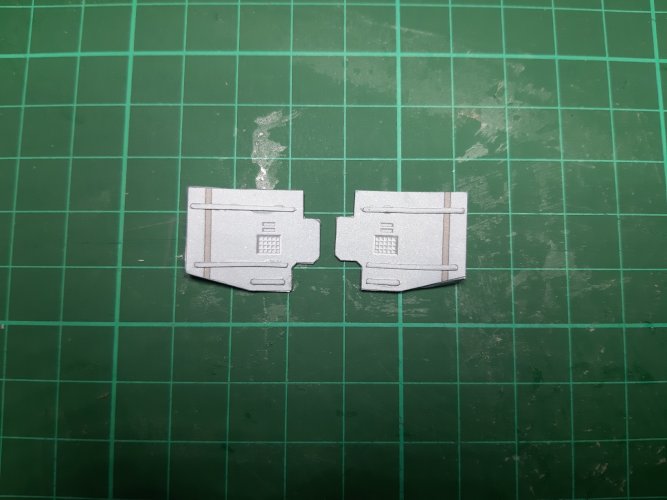
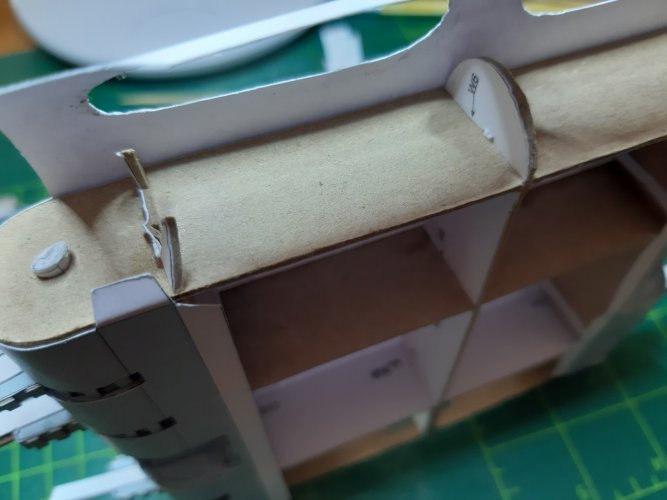
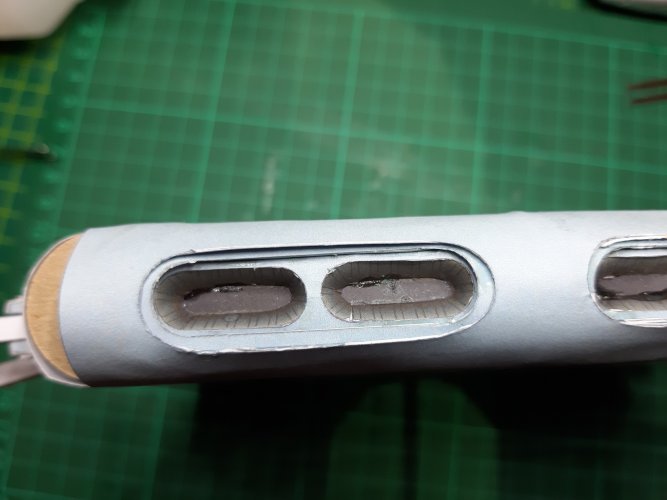
I had a fight with the rear engine somehow I was not able to fit it as instructed. So I desided to give the engine an upgrade. The problem is the fitting between the fuselage rear and the engine. If I want to fit the engine it deforms the rear end a lot and there are some gaps visable.
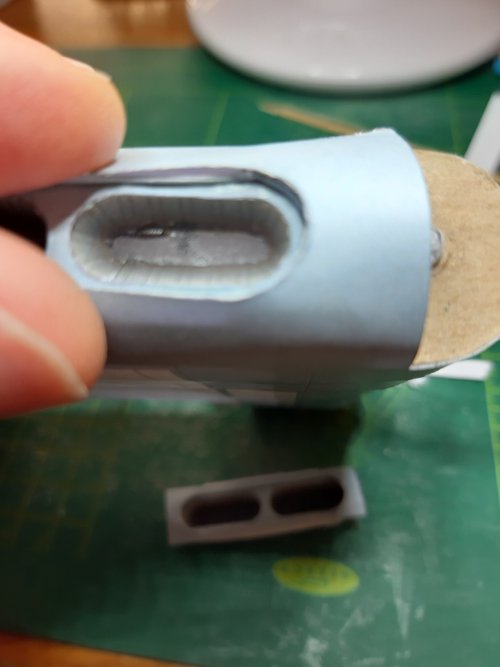
First I made a extra part on top of the engine and a extra piece of cardboard to give the engine an base to sit on.
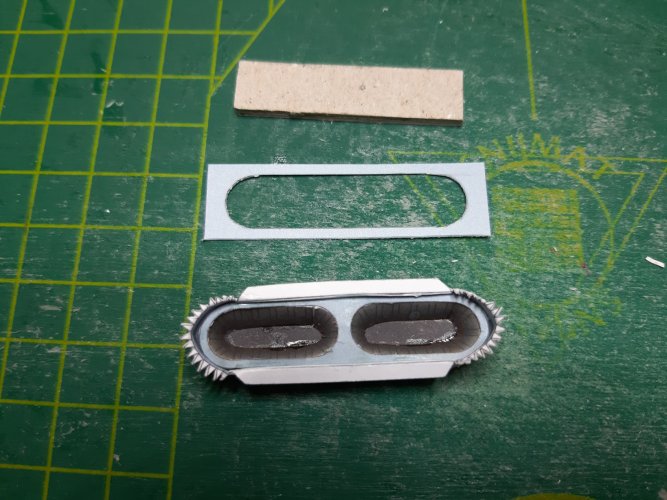
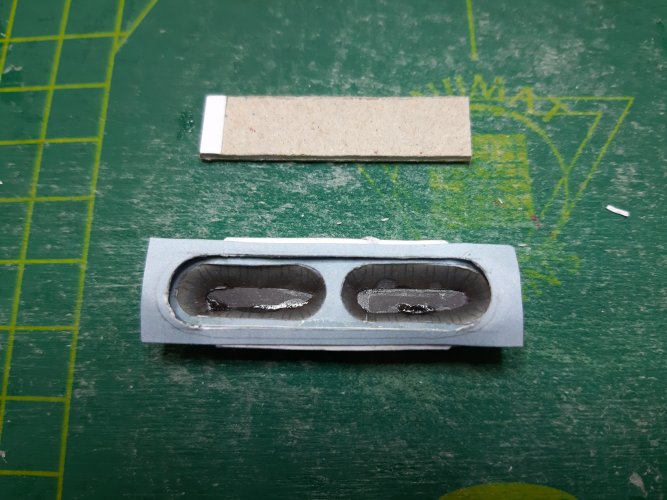
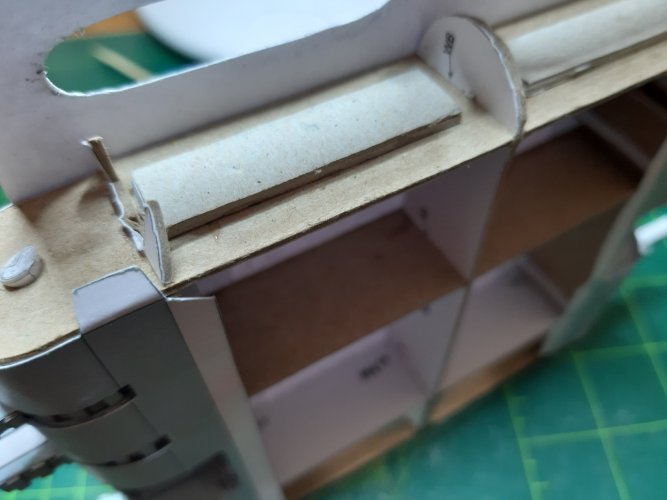
Then I used some scrap paper to cover thd inside.
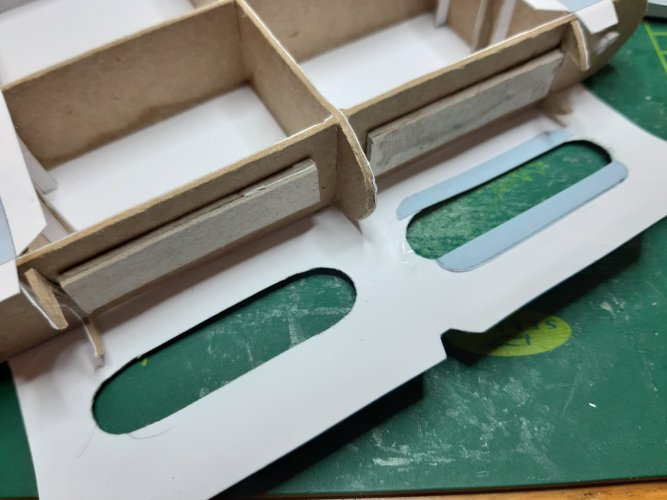
Then I glued the engines at there place. It looks way better not the best solution but its fine byme.
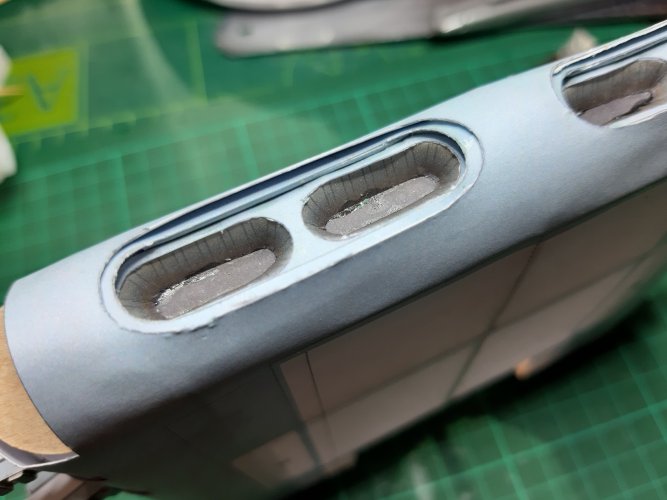
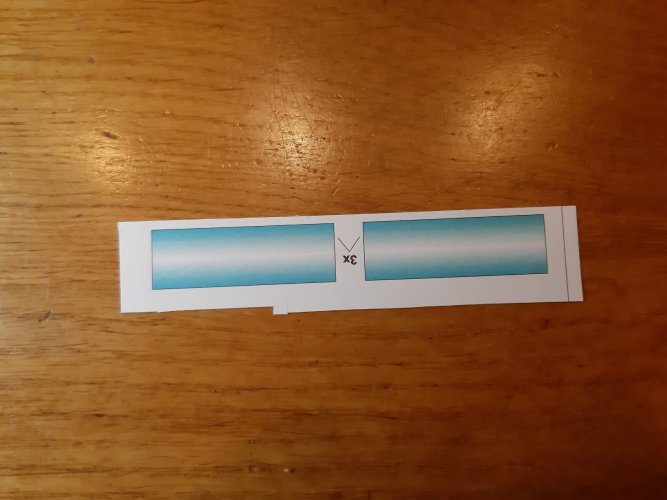
You can always go for the easy solution. Just glue this behind the engine port its available on the template. I guess the designer has know that its difficult to make the engine.
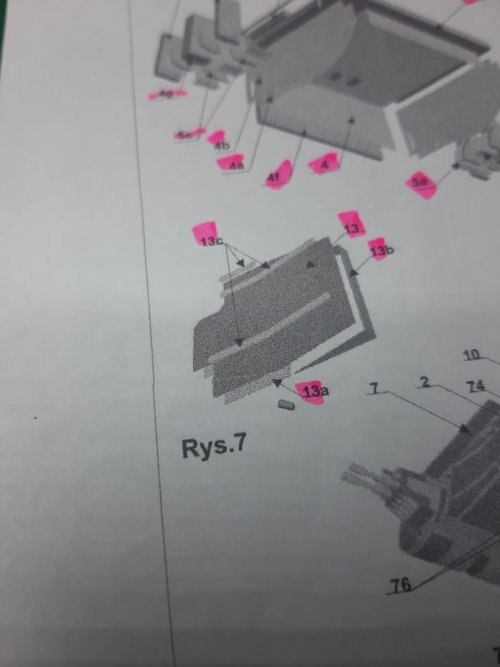
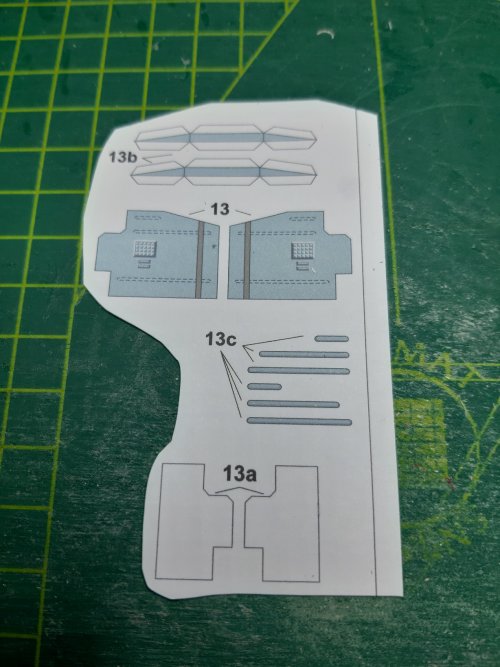
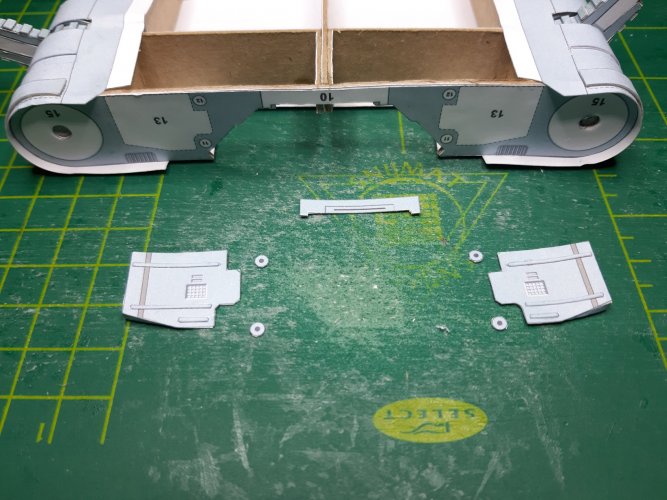
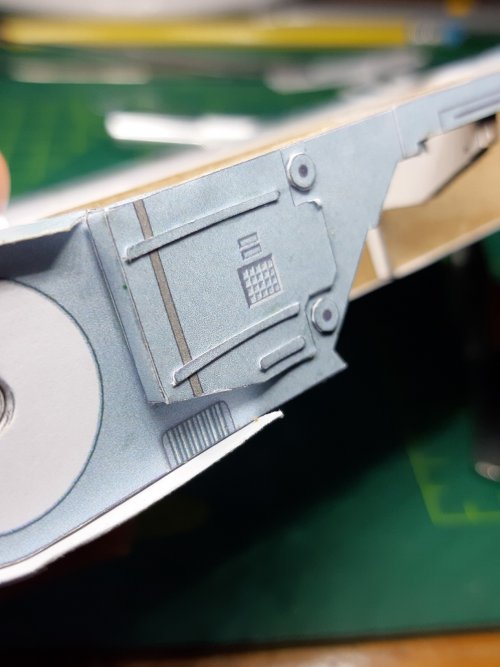
Then I worked on the front part its a strait forward assembly.

First I made a extra part on top of the engine and a extra piece of cardboard to give the engine an base to sit on.


Then I used some scrap paper to cover thd inside.

Then I glued the engines at there place. It looks way better not the best solution but its fine byme.


You can always go for the easy solution. Just glue this behind the engine port its available on the template. I guess the designer has know that its difficult to make the engine.

Then I worked on the front part its a strait forward assembly.


