Imperial Lambda-class T-4a shuttle TYDIRIUM

wedge

Well-Known Member
Nice job so far. I have also started to build this one, but never finished. I am just few steps ahead of you with the landing gear compartments complete. I will definitely watch your build carefully and I will build this beauty for sure.

This shuttle is one of my most favorite designs from star wars. Maybe the third one to be honest, with x-wing being the first and moldy crow the second favorite
 
  • Like
Reactions: mijob

Chuffy70

Well-Known Member
Jun 5, 2022
842
1,709
75
Norwich UK
Nice and simple so far - I've only just started to look at the instructions - will be interesting to see if it will sit on the landing gear and balance or possibly some weight distribution might be needed.

Will you be putting glazing in the canopy?

I may build a big version for one of my friends
 
  • Like
Reactions: mijob

Chuffy70

Well-Known Member
Jun 5, 2022
842
1,709
75
Norwich UK
This is an awesome model to build, built mine about a year or so ago. I have started one in polystyrene now. There is a few screw ups that I did on the paper one that I'm going to do better with the styrene one. You'll enjoy this model, it's very fun and a good challenge.
Your shuttle looks good, I think the AT-AT might need a slight dusting though ;)
 
  • Haha
Reactions: mijob

mijob

Tie designer
Staff member
Moderator
Jul 5, 2020
3,211
5,433
95
54
Netherlands
Nice and simple so far - I've only just started to look at the instructions - will be interesting to see if it will sit on the landing gear and balance or possibly some weight distribution might be needed.

Will you be putting glazing in the canopy?

I may build a big version for one of my friends
Yes I will instal windows. And thanks for pointing on the landing gear I will take a close look when I build it. First I build all the frames thats the easy part.
 
  • Like
Reactions: Chuffy70

mijob

Tie designer
Staff member
Moderator
Jul 5, 2020
3,211
5,433
95
54
Netherlands
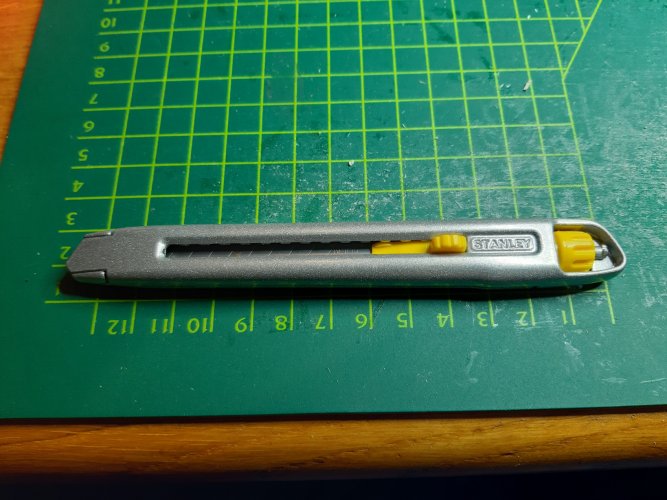
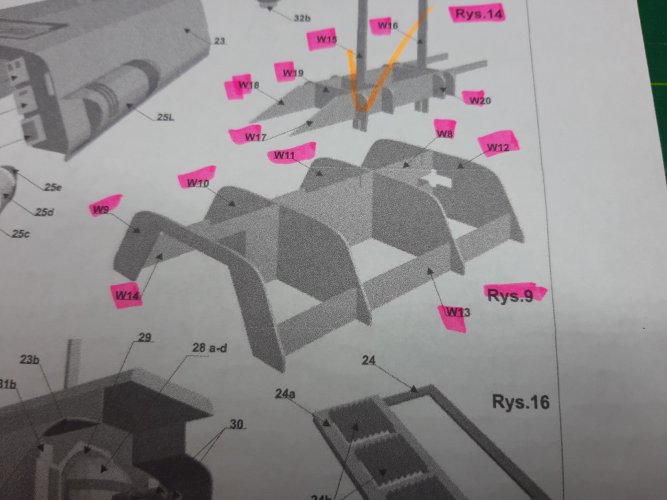
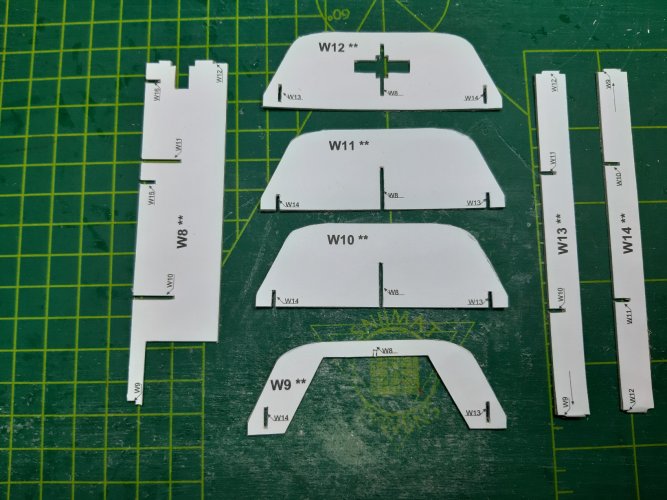
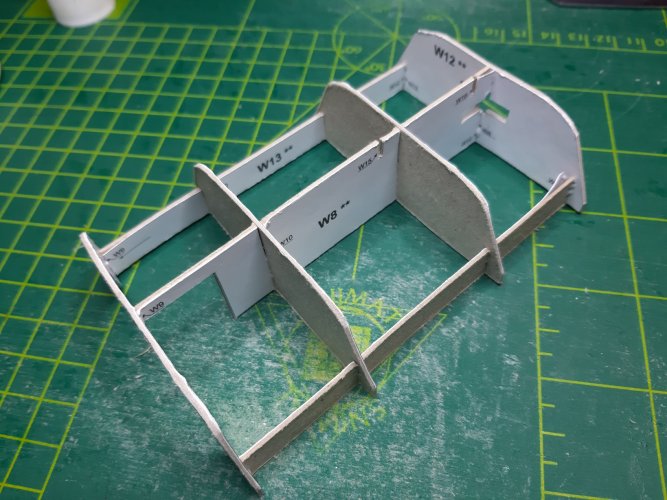
This evening I cut the parts for the top wing frame. First I glued the template parts on 1 mm cardboard. This time I used a heavy duty hobby knife to cut the parts.
20240108_210709.jpg

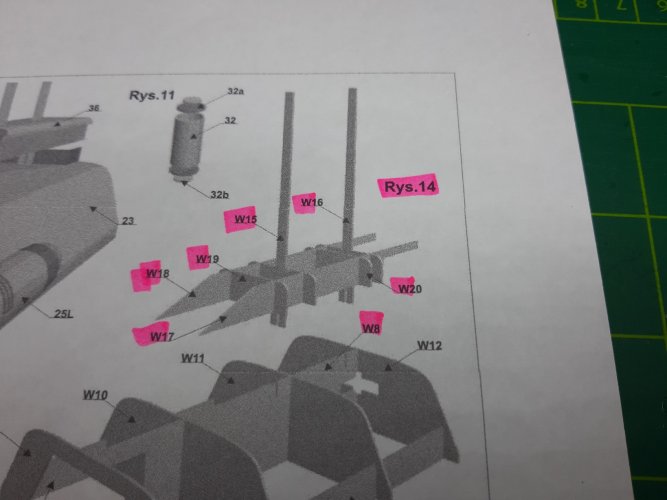
This is the part that Im going to build.
20240108_210331.jpg
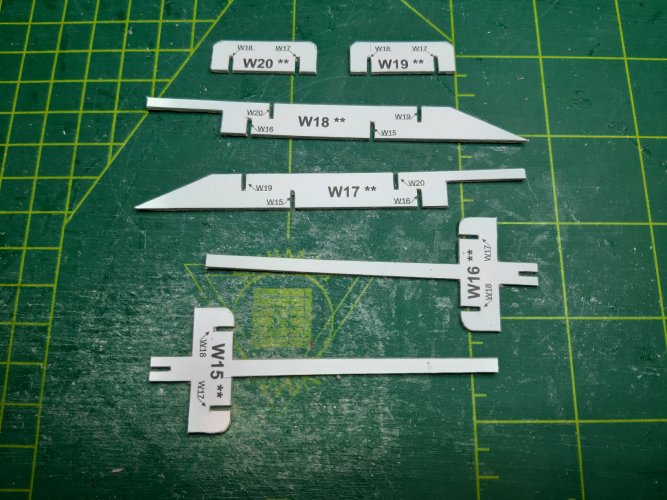
And the parts are cut. No blade killed tonight.
20240108_210349.jpg
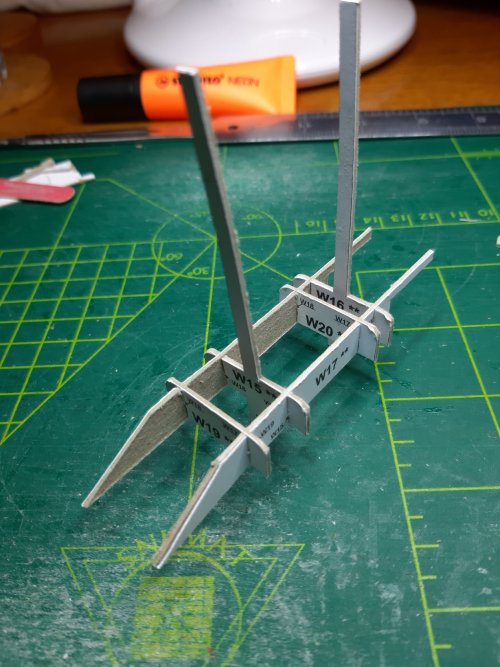
All parts assembled. I didn't glue them yet maybe I need to adjust it.
20240108_210407.jpg
 

mijob

Tie designer
Staff member
Moderator
Jul 5, 2020
3,211
5,433
95
54
Netherlands
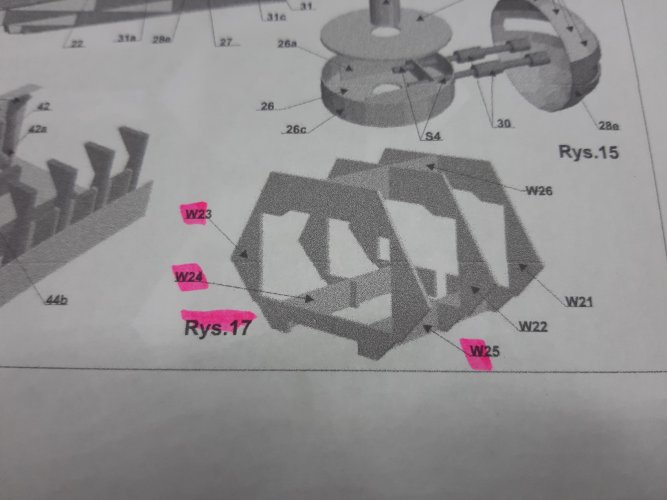
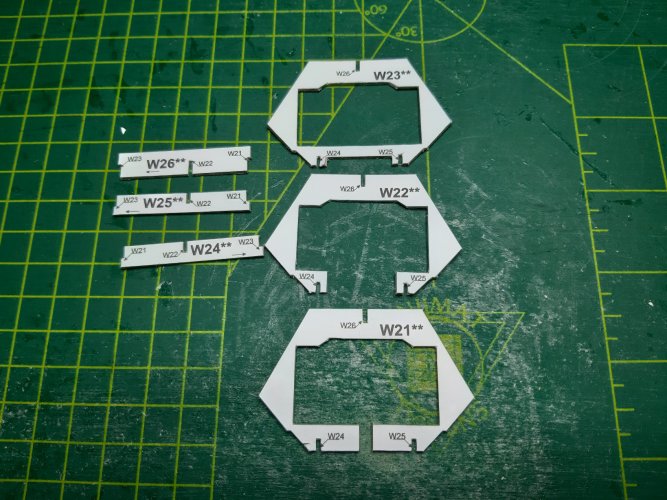
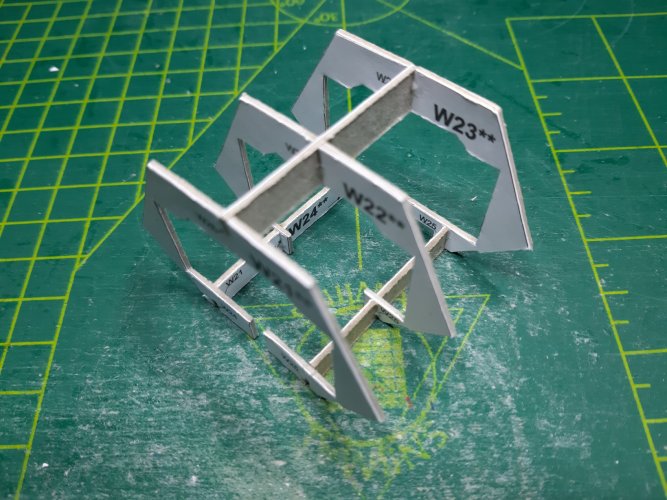
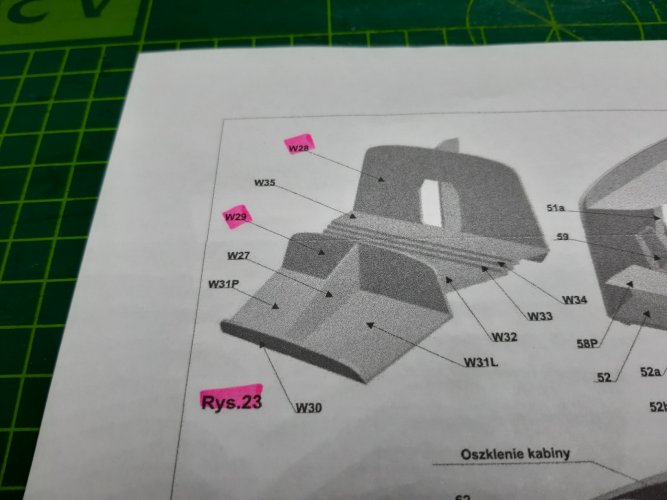
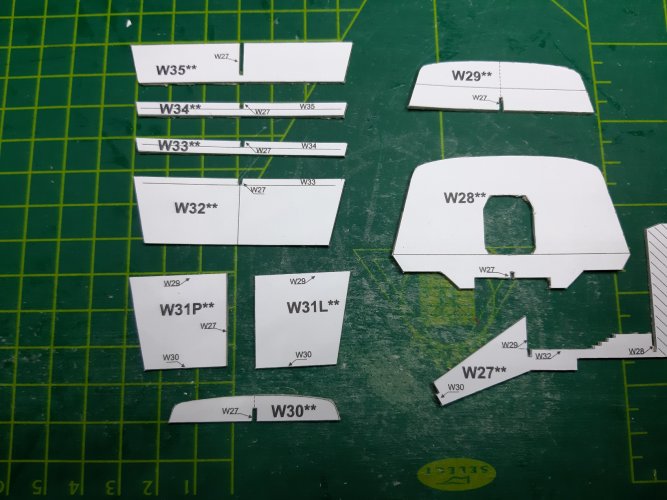
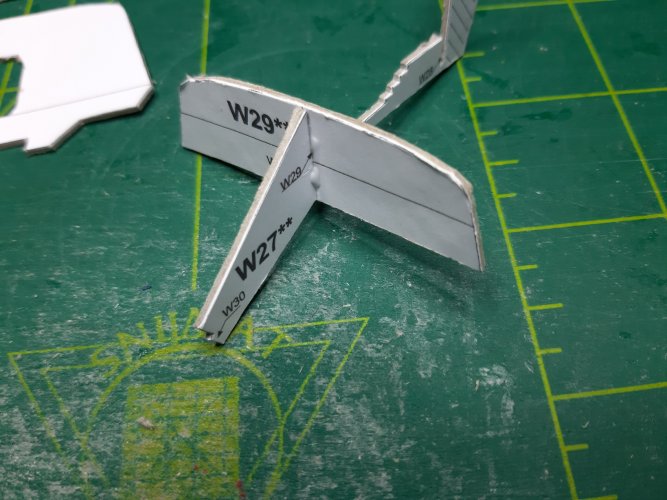
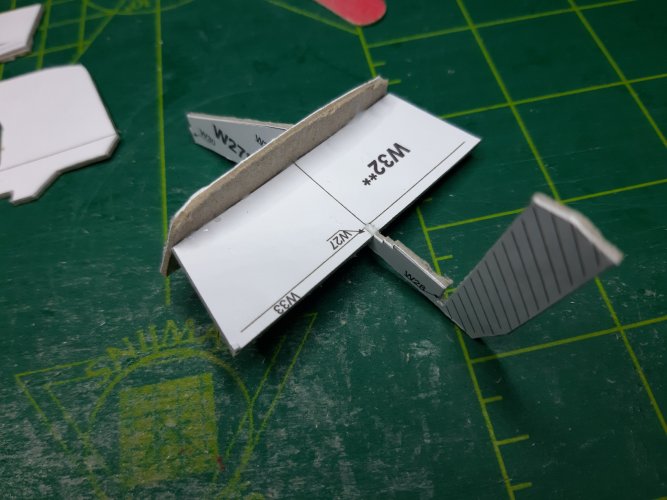
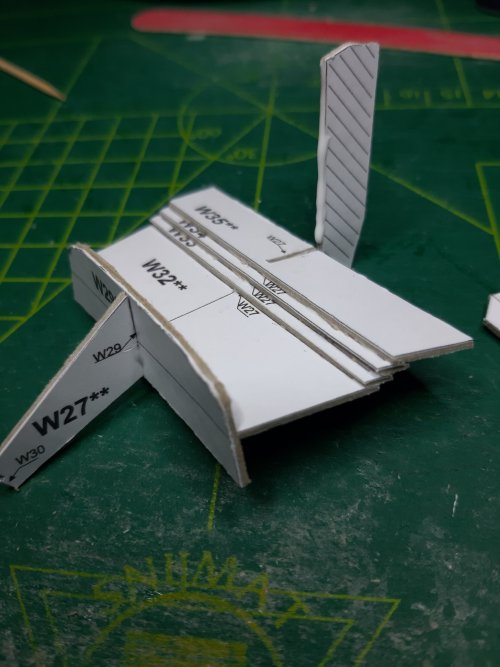
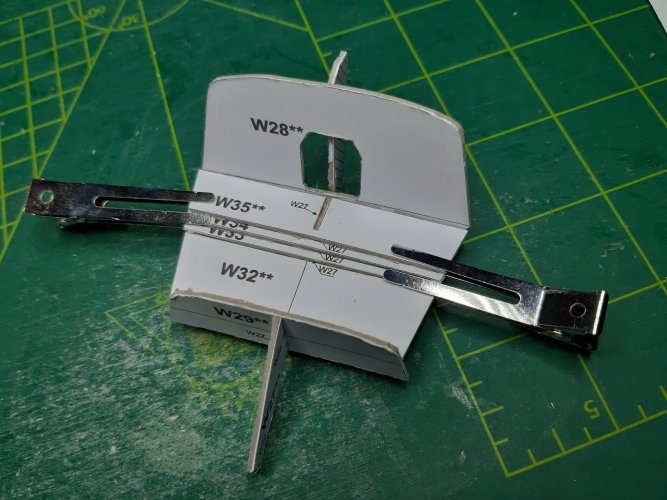
Time flys when you have so I have an update on the last frame. Its the frame for the cockpit. Below the assembly instruction.
20240110_214334.jpg
Parts cut.
20240110_215609.jpg
Steps to assemble the framework.
20240110_214347.jpg20240110_214359.jpg20240110_214410.jpg
I used claps to holp the parts.
20240110_214422.jpg
The last part I didn't glue yet. Im not sure how the need to be glued. I will check when I glue the surface.
20240110_214433.jpg
So all frames are done.
 

Chuffy70

Well-Known Member
Jun 5, 2022
842
1,709
75
Norwich UK
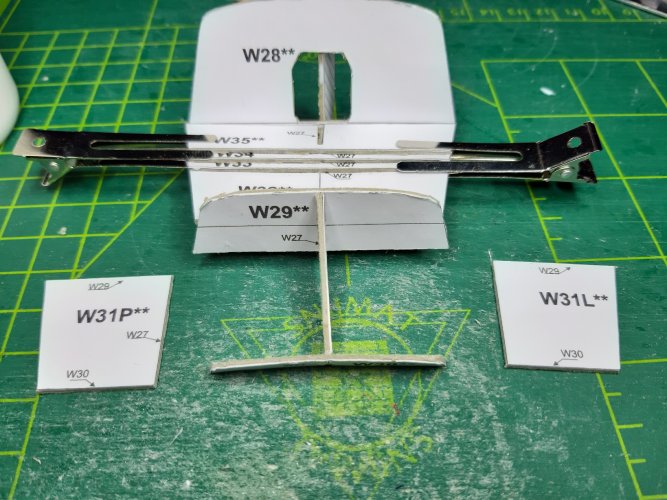
Frames are looking nice, but I'm finding it hard to get a scale here...

Could I politely ask for something relatable next to your parts please.


Such as a pencil, coke can or a bacon sandwich, or maybe the Zealot scale cube?

So we can get a sense of the scale of this build?